One of the key things that a bride-to-be should consider for her wedding (besides her wedding dress of course!) is the wedding bouquet. Any bride would want to be sure to choose the most amazing, beautiful and unique flower bouquet on her wedding day, but simply choosing beautiful blooms is sometimes not enough. Some flowers have different symbolism (older generations may point this out!), some may not withstand a whole day of carrying, while others may cause hayfever outbreaks! So it’s important to consider which flowers would be best for you on the big day and one sure-fire way to get the beautiful bouquet your heart desires is by making your own. And that’s where today’s guest post comes in..!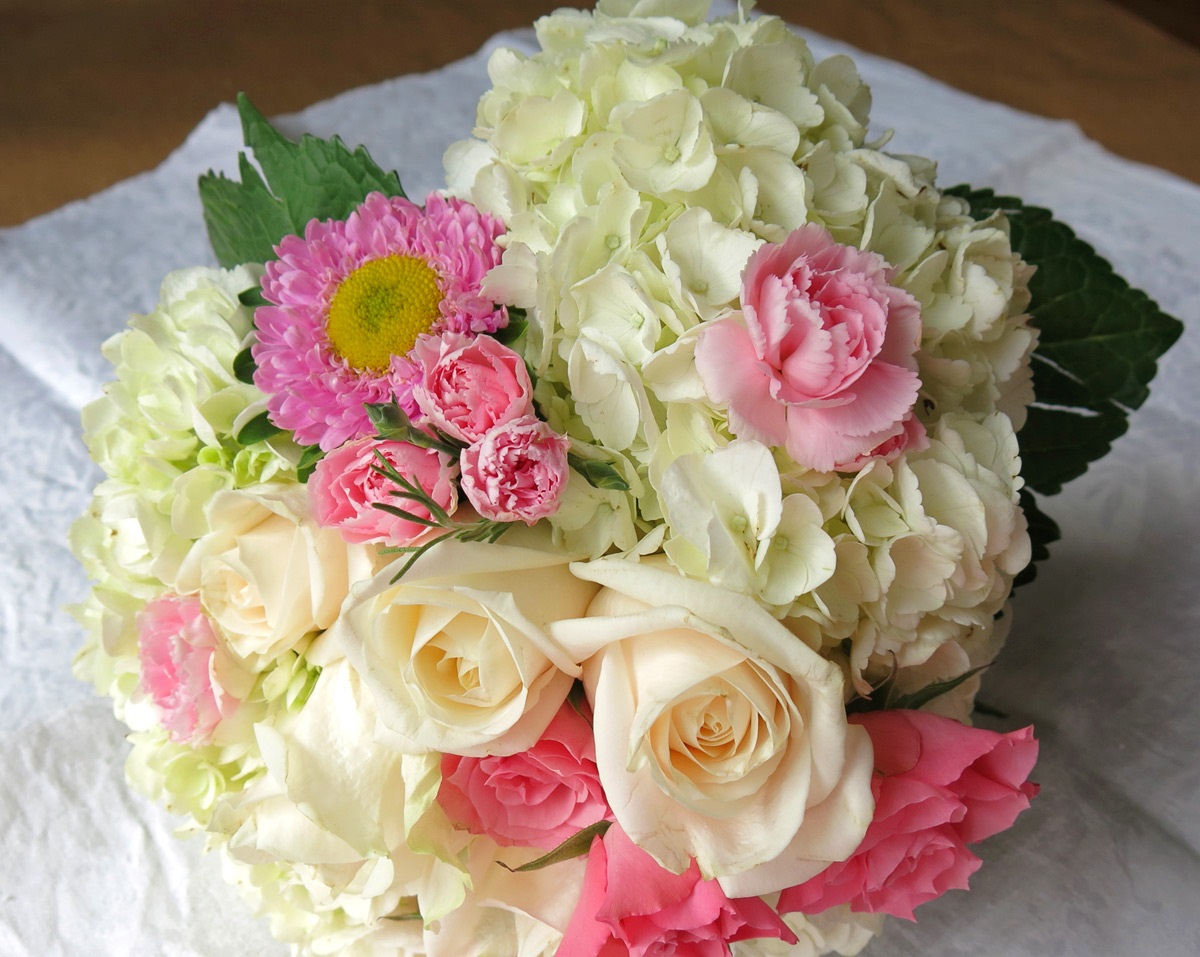
While I’m away for the half term holiday I’ve asked the specialist team at Fresh Flowers how to make a special, unique, and thrifty bouquet at home. Thankfully they were able to help and have come up with a DIY wedding bouquet project that you can follow step-by-step. This way you will be able to carry a beautiful personalised bouquet down the aisle, while also saving money. So for those women out there who are starting to plan for their weddings, here is the tutorial (with handy photos) that you can refer to in the run-up to the big day.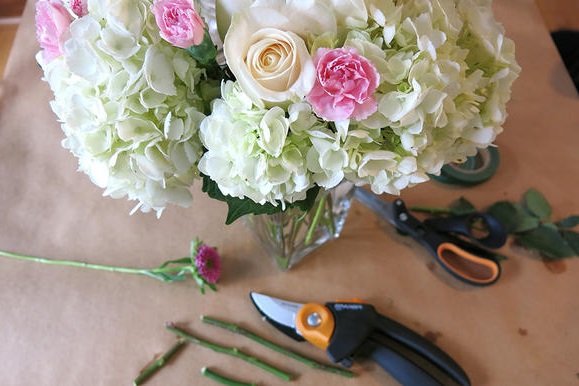 First of all, here are some of the things that you need to prepare to make this DIY wedding bouquet:
- Flowers – some of the most popular flowers used in wedding bouquets include red and pastel coloured roses, calla lilies, lily of the valley, gardenia and others. Home-grown flowers have more sentimental value but you can order from florists if you don’t have a gardenful of bulbs.
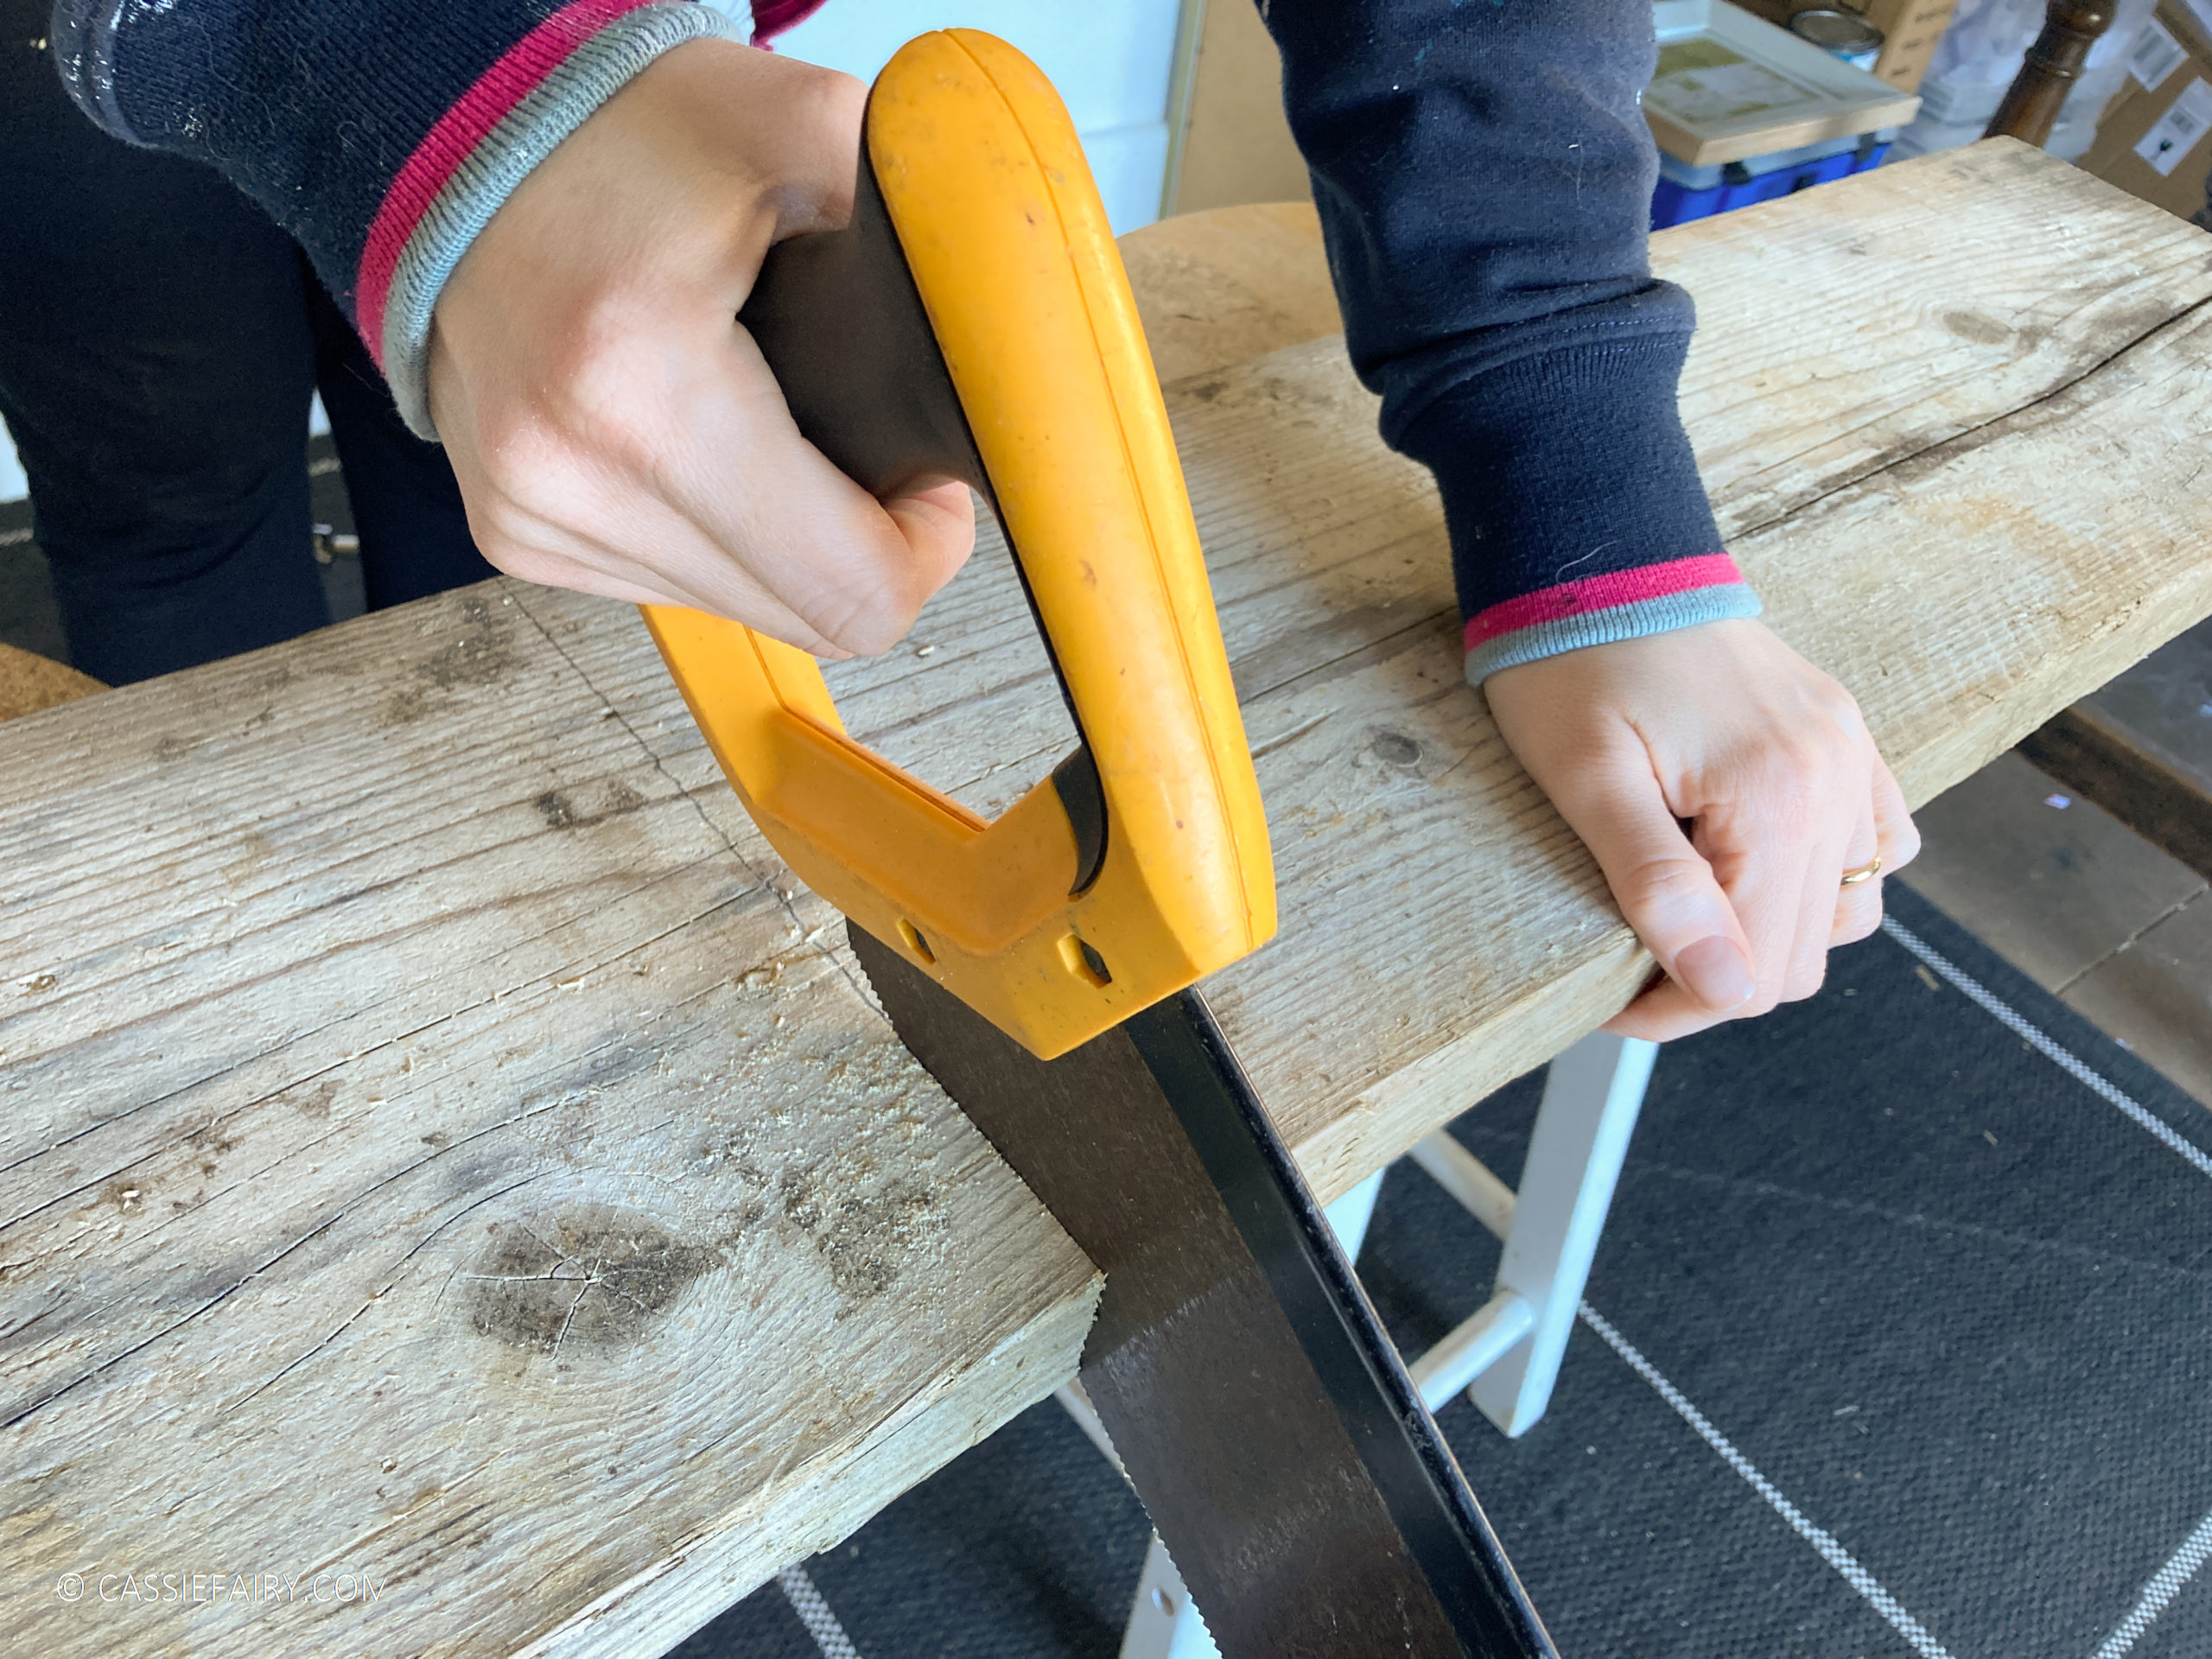
- Pruner – to cut the woody stems
- Snips – to quickly cut smaller stems
- All-purpose shears – to cut medium-sized stems and ribbons
- Floral tape
- Wire
- Ribbons
Now, let’s get on with the step-by-step guide so that you can follow along with these instructions:
- Choose flowers that you can use for the bride’s bouquet as well using in bouquets for bridesmaids and boutonnieres. Of course, choose your flowers according to the overall theme of the event and include your own favourites.
- Allow at least two days before the wedding to make all the necessary preparations and arrangements.
- Use pruners and snips to cut an inch off the bottom of all the flowers. Also make sure to freshen the flowers by changing the water in the bucket a night before you plan to make the bouquets.
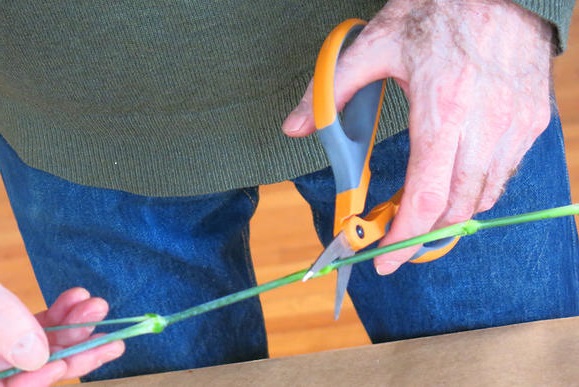
- Once you are ready to make the arrangements, you should start by preparing the stems. It is advisable to remove the foliage from all stems, only keeping a few leaves here and there. Cut stems to 13 inches long.
- Line up all the stems on a table. Get a tall vase and fill it with few inches of water then place the stems in it for the bride’s bouquet.
- Choose the most beautiful flower to be the focal point then insert the long stems down through the flower blossoms.
- Use odd numbers of flowers, such as 3 or 5 pale blush roses, then add complementary flowers next such as frilly dianthus, a spray of smaller sweetheart roses and another flower that you like. You may consider adding a fragrant flower for added charm and scent while you walk down the aisle.
- Decide about the height and depth of the bouquet. It is advisable to have bride’s bouquet the same size as a dinner plate. You should add flowers until the arrangement looks balanced.
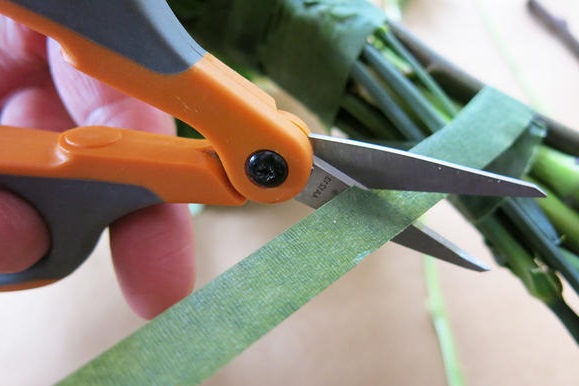
- Once you’re already satisfied with the look and size, you should hold the stems tightly together and wrap them with floral tape. You should make sure to stretch it tight as you wrap it to give a good form.
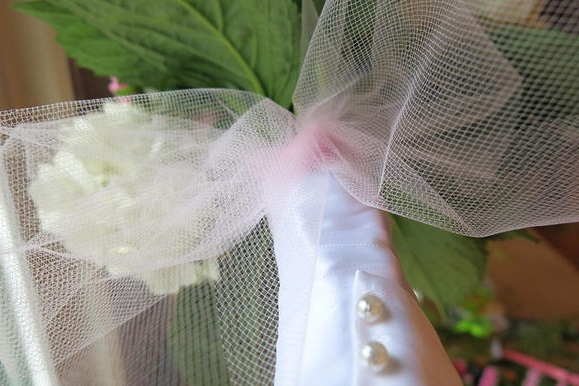
- Finally, you can add some finishing touches to make it more personalized. You can add a piece of antique ribbon or lace from the bridal veil.
I hope that these tips from Fresh Flowers will help you to create a personalised and unique wedding bouquet for yourself or, if you’re a family member or bridesmaid, perhaps you can help out the bride by making the bouquets for her yourself? Let me know what you think of this tutorial and share your own flower arranging tips by leaving me a comment below or tweeting me @Cassiefairy.
This blog post is a guest post advertisement feature. The pink links in this post indicate a sponsored link 🙂


One Response
This is lovely Cassie!