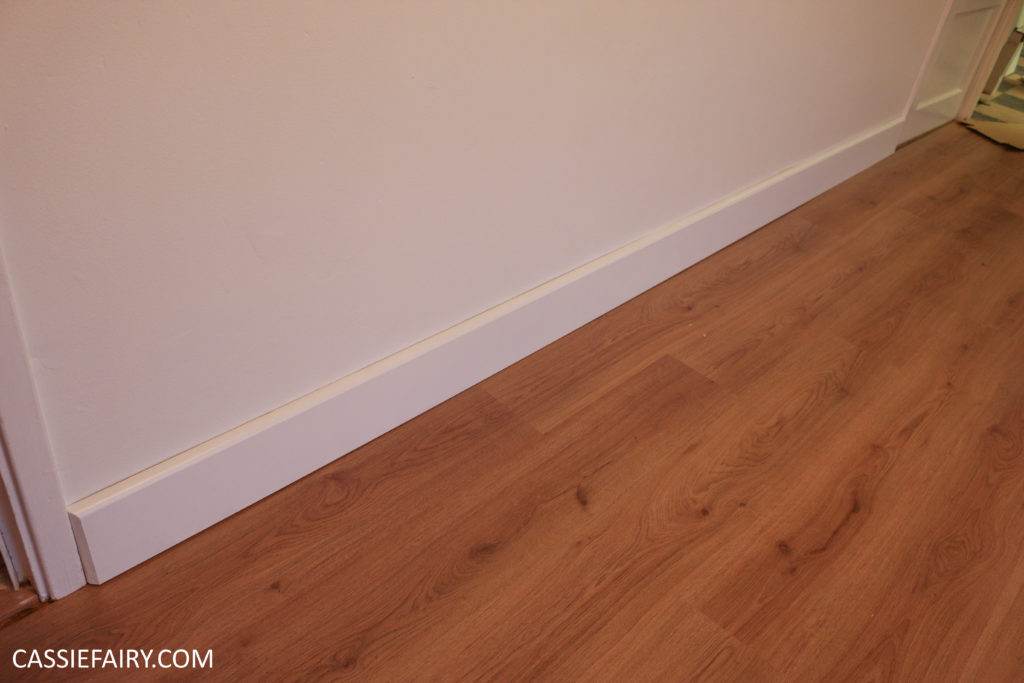
Did you spot my blog post about my new flooring last week? The eagle-eyed of you might have noticed that the finishing touch to my new bedroom floor was a lovely tall skirting board. While it may only be a small element of the room, the whole space would have looked completely unfinished without it. Just look at these before and after photos:
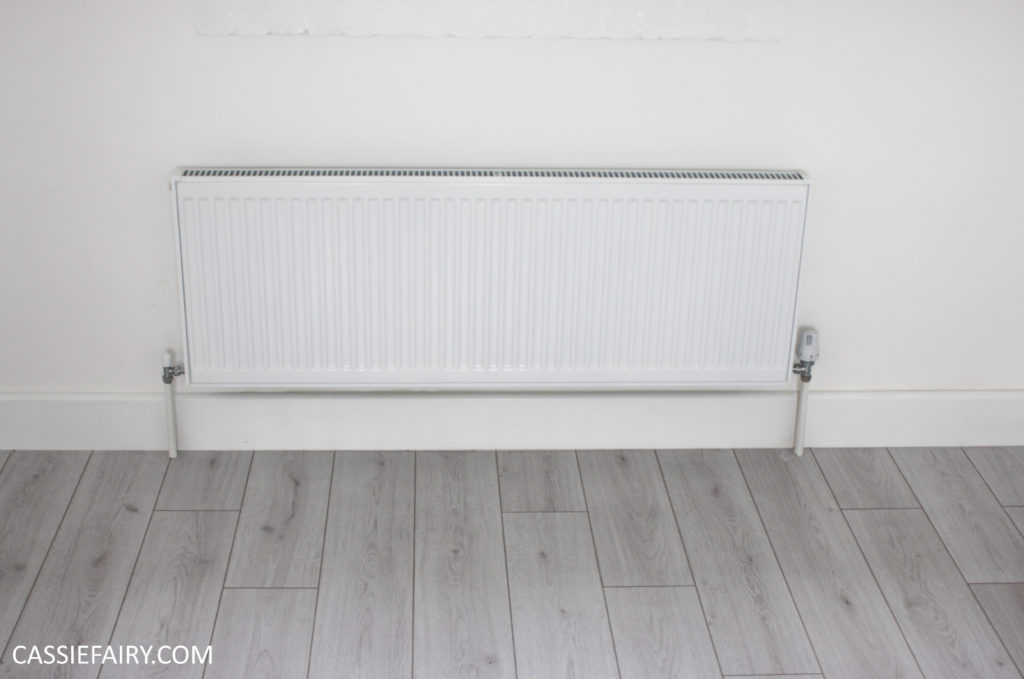
What a difference a piece of new skirting board makes, eh? It covered the tatty plaster at the base of the wall where the old skirting board had been ripped out, and it sealed the edges of the laminate flooring. It’s an easy ‘finishing touch’ to install but a difficult DIY task at the same time. Here’s why…


I want to start by saying that my brand new skirting was SO much easier to install than trying to salvage the old skirting. It was in a right state, with 60+ years worth of layers of gloss paint, and big rusty nails attaching them to the walls. They were rotting (and even crumbling in places) and seeing as we were replacing the flooring anyway it made sense to order some brand new skirting board.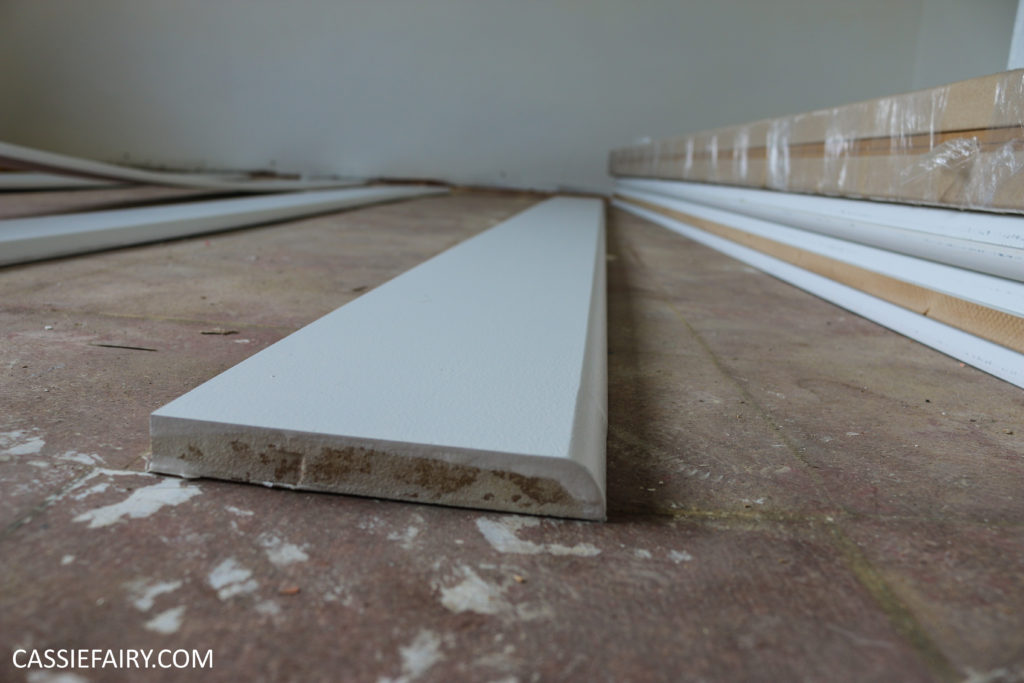 Step 1 – Measuring
The only difficult part of the process is getting your head around the angles for the corners. Is it an inside corner or an outside corner? Either way, you’ll need to cut it at a 45 degree angle to fit into the corner. The DIYer’s motto of ‘measure twice, cut once’ couldn’t be more true than with skirting board. You’ll need to measure corner to corner in the room, and this measurement translates to the very point of the 45 degree angle. 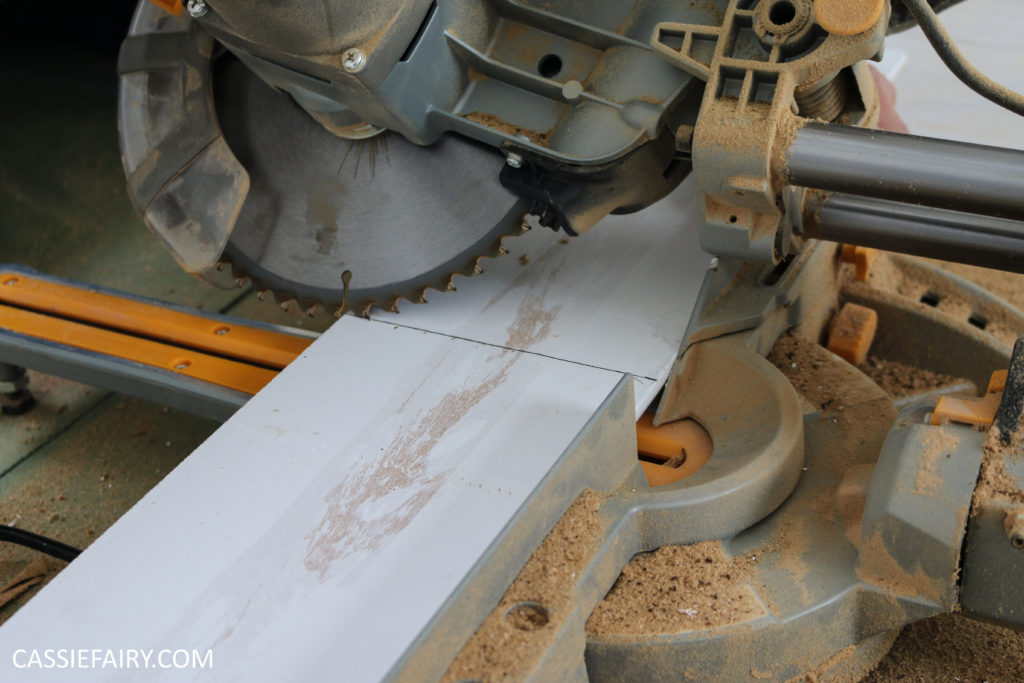 Step 2 – Cutting
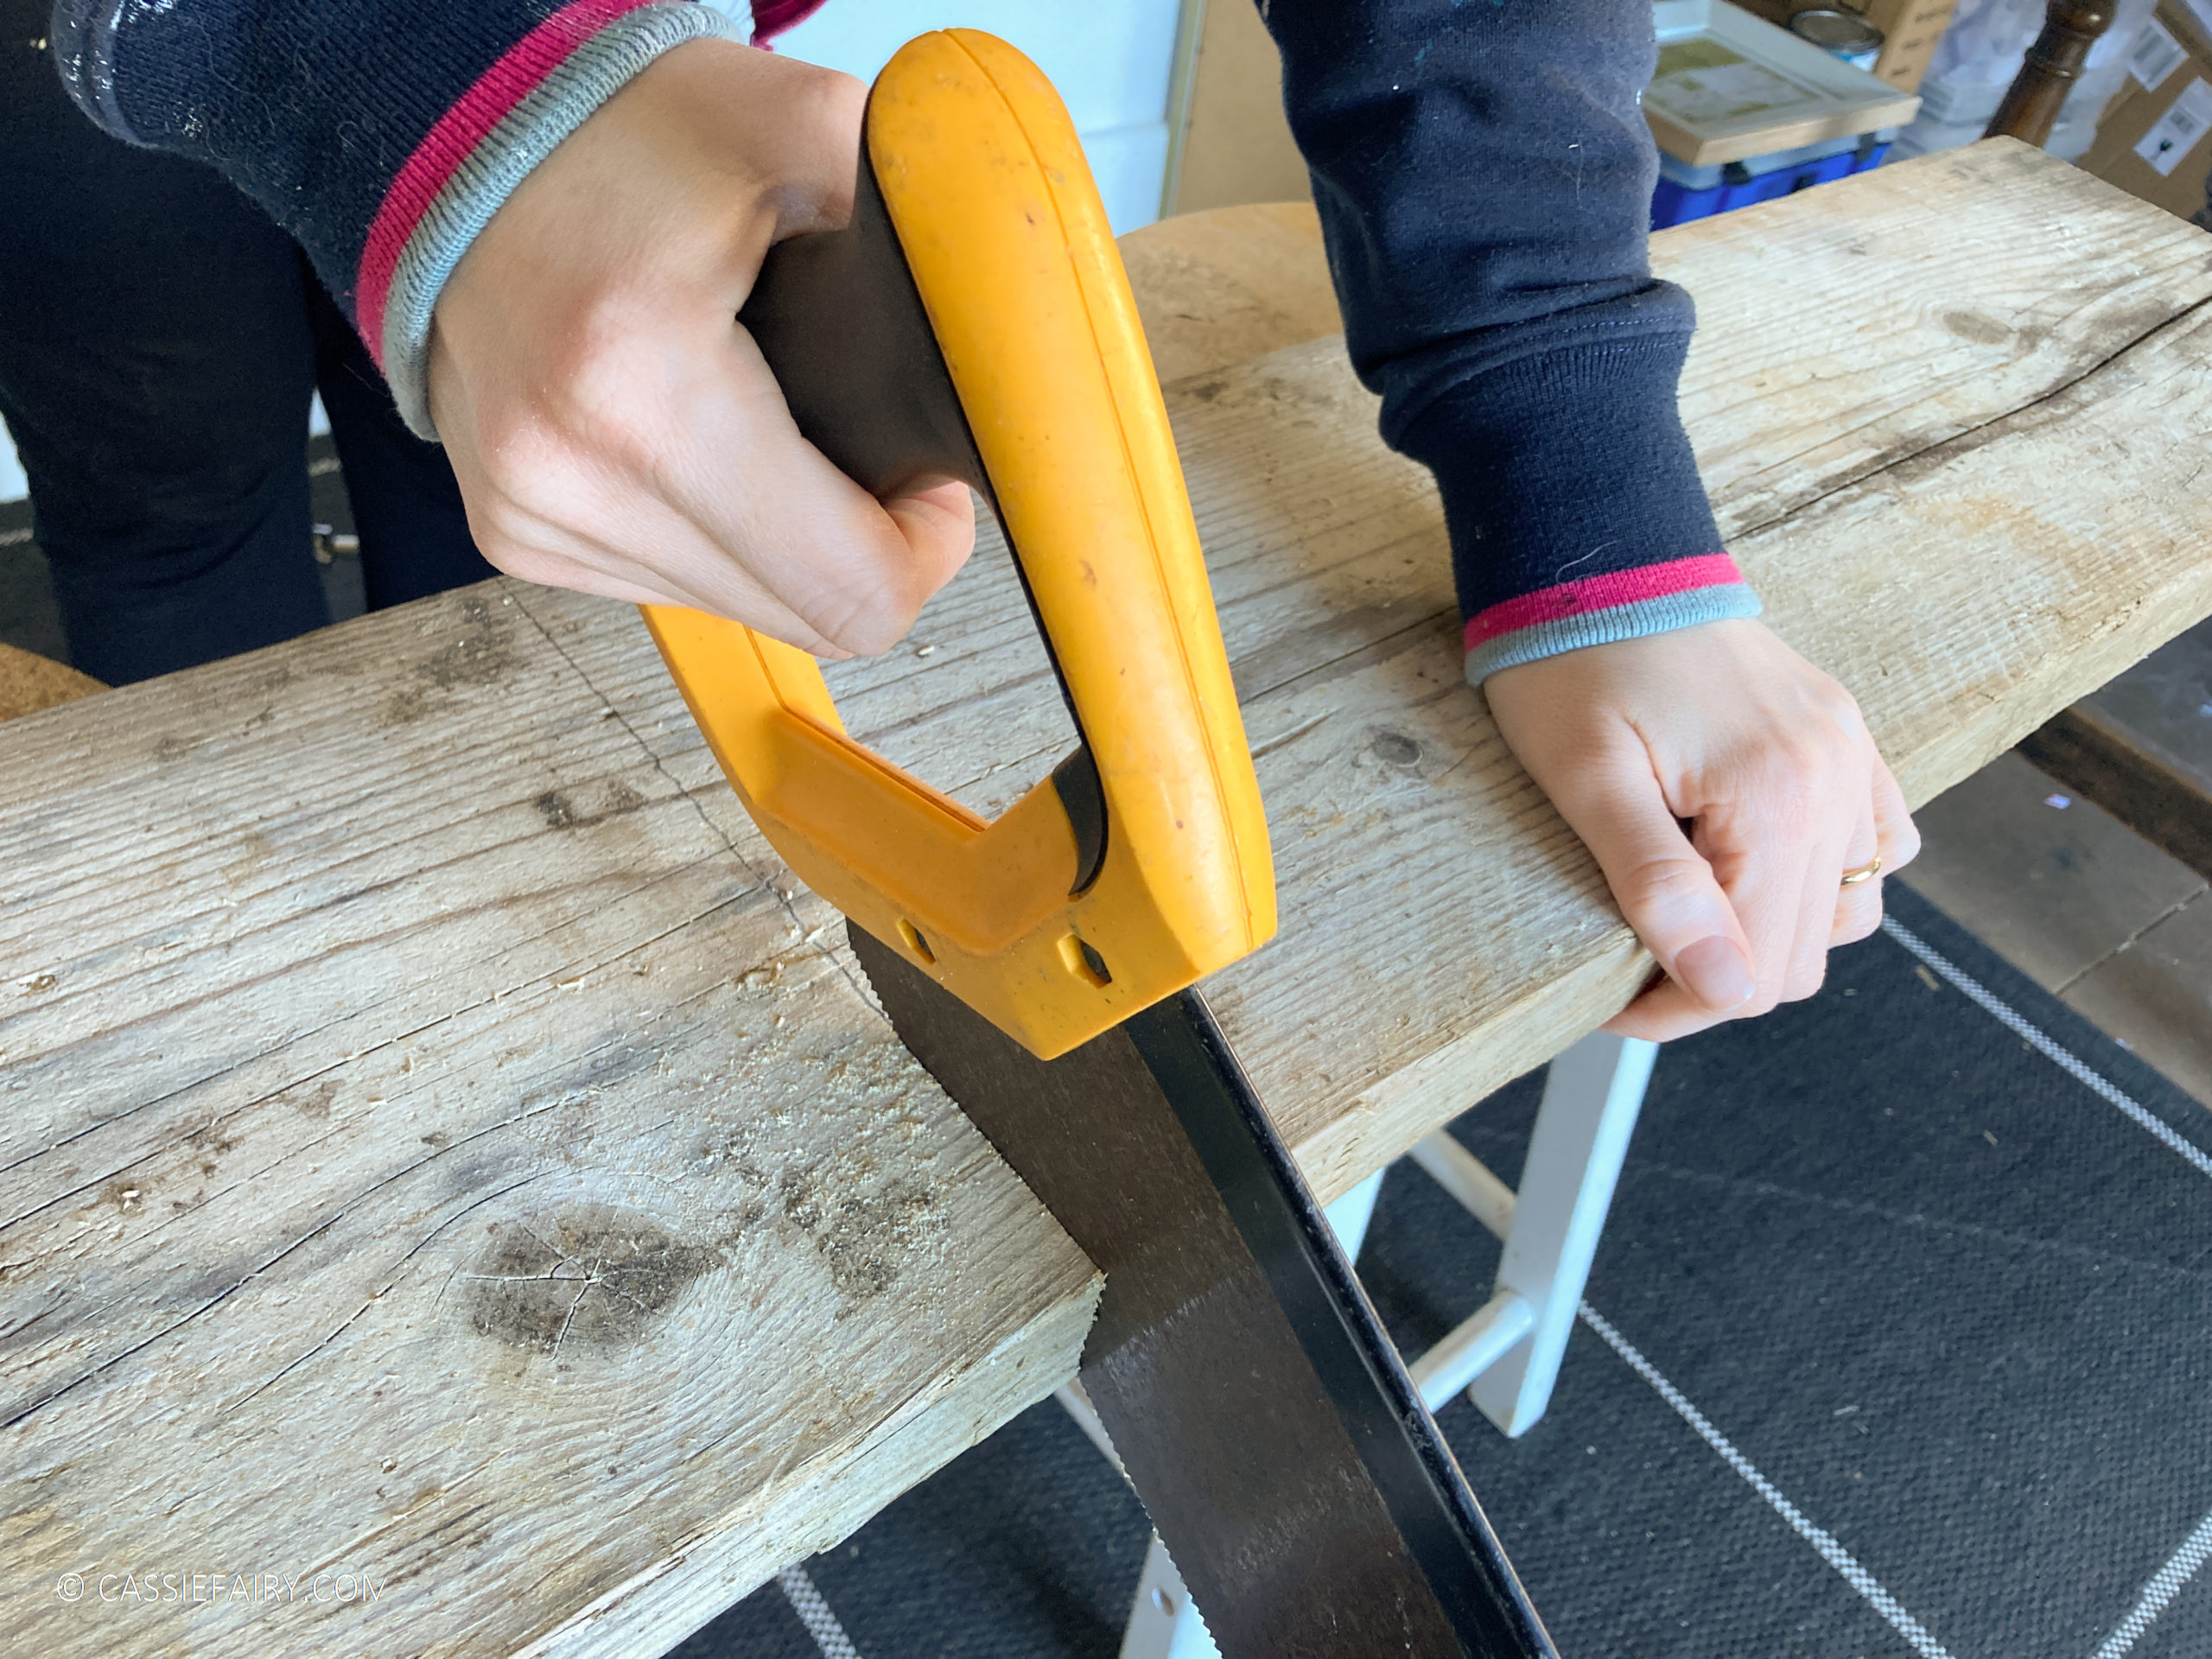
You can use a mitre block and a hand saw to cut the angles at the ends of the skirting board, but we decided to buy a draw-saw from Screw-Fix to make the cutting process easier. Well, we were installing 45 square metres of laminate flooring and 60 metres of skirting board, so I thought it might be a good investment! 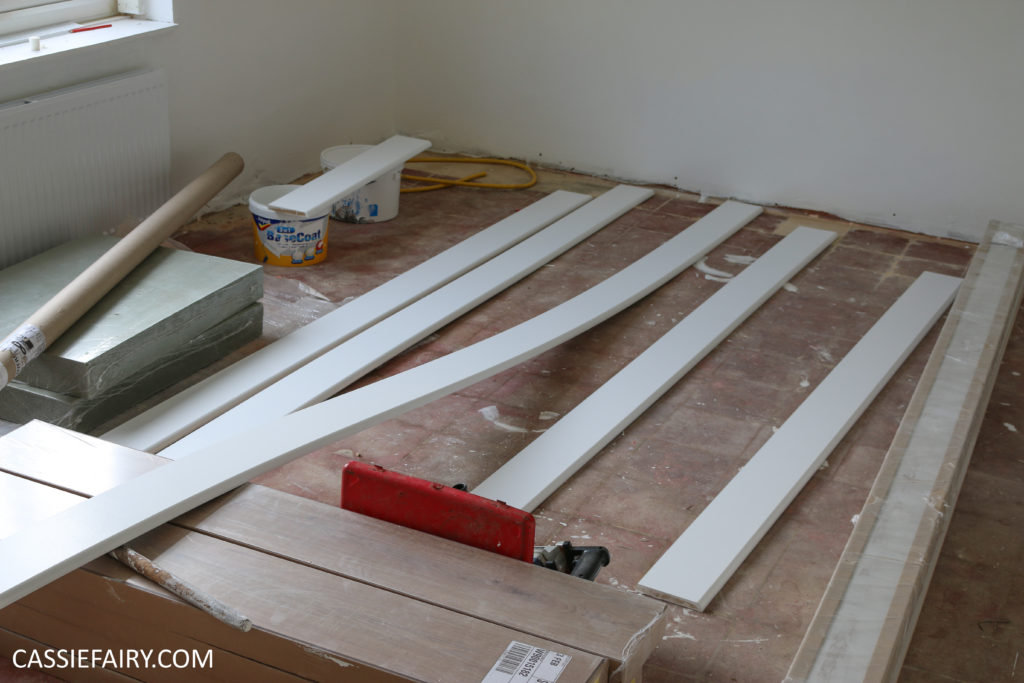 Step 3 – Painting
When the skirting arrives, it comes primed and ready for painting. I think it makes sense to paint the skirting before attaching it to the wall. That way you get a clean finish with no gloss accidentally splashing onto the walls. I used a roller to cover the primed skirting board with two coats of paint, allowing time to dry thoroughly between layers. I used a satin finish wood paint, and touched up any scuffs after installation using an angled edging brush by Bentley.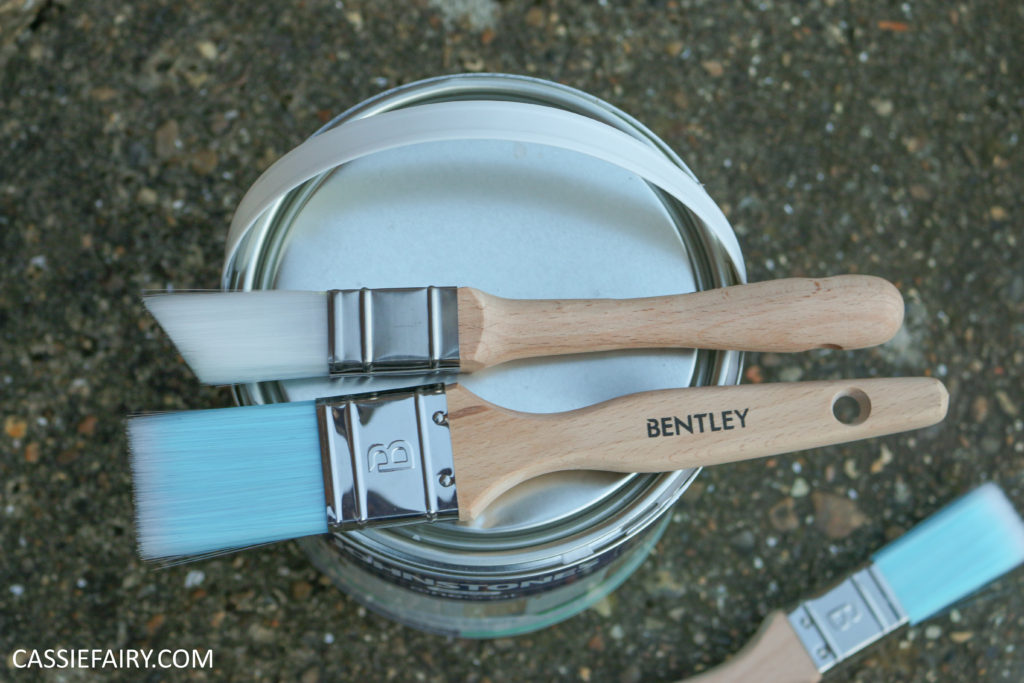 Step 4 – Gluing
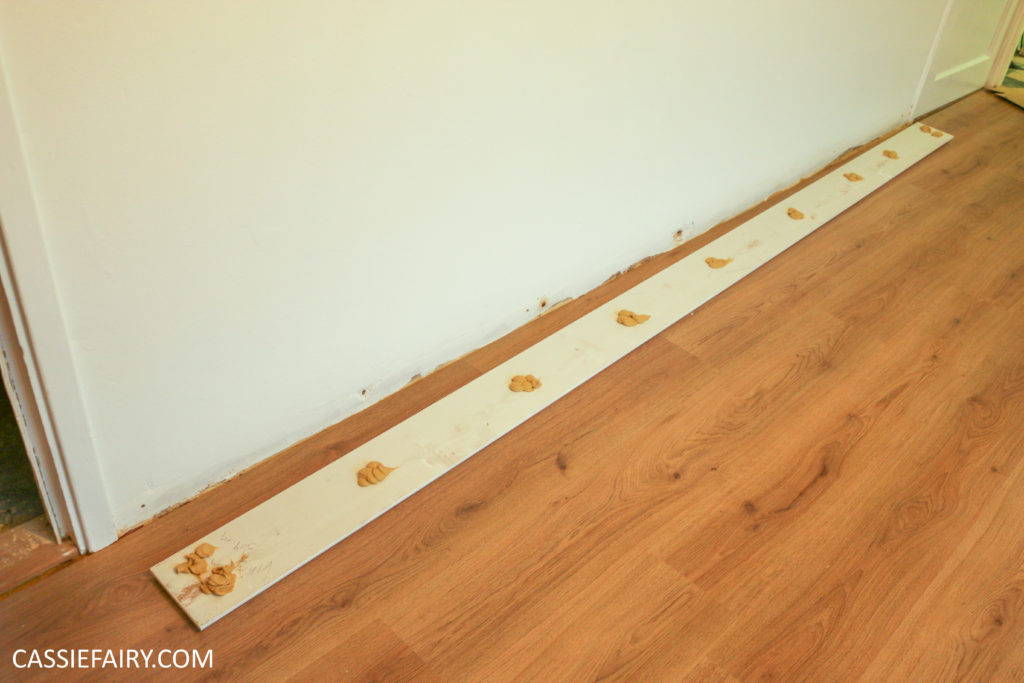
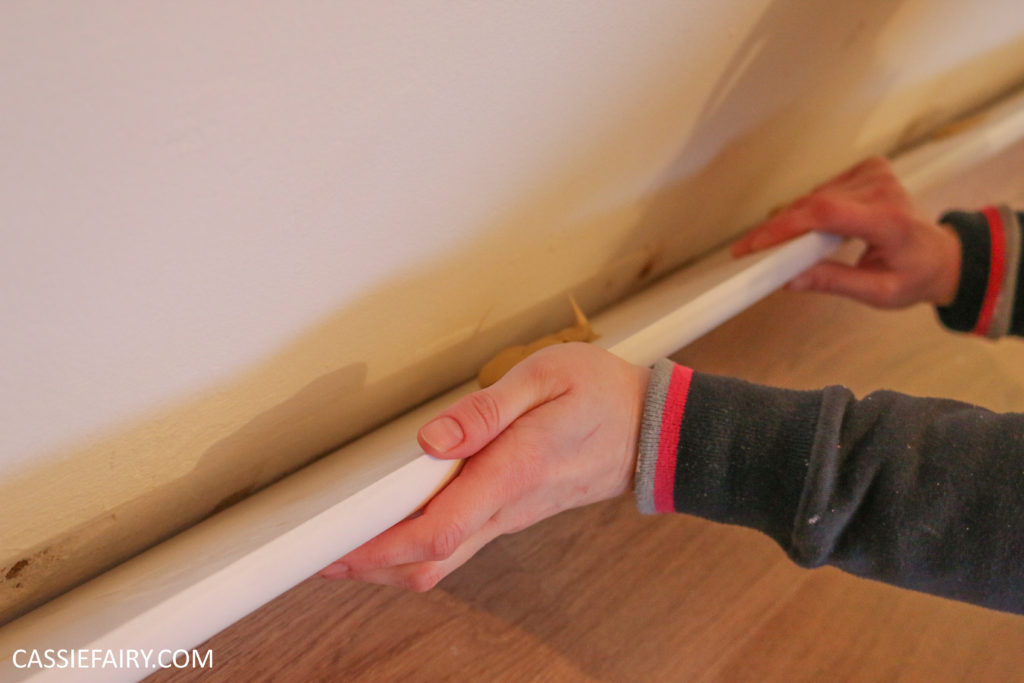
You can nail the skirting to the walls but, after seeing the mess those rusty nails had left in the old skirting board, I decided to go for the gluing option. Using Gripfill or a similar adhesive, squeeze a big dollop onto the back of the skirting board. Repeat at regular intervals along the full length of the skirting and then press onto the wall. Squeeze it into position and leave to dry.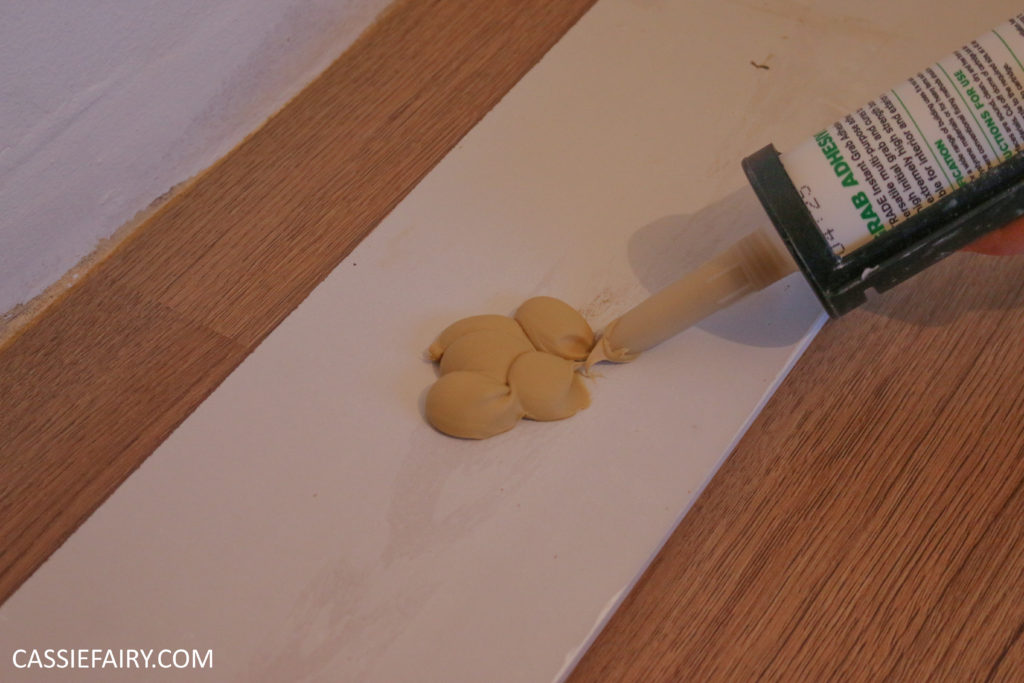
 Step 5 – Caulking
When the glue has hardened you’ll be able to see where there are any gaps along the base or the top of the skirting. We filled and neatened these edges by squeezing a line of decorators caulk along the edges to seal, and wiped off the excess with a damp lint-free cloth.


The skirting board we chose for our home was the HDF 15mm radius skirting board from SkirtingWorld.co.uk. We’re using the same rounded-top profile throughout the house and chose a taller height of 145mm. I think this looks so smart and finishes off the rooms neatly. HDF is stronger and harder than MDF, and is moisture resistant so won’t swell like natural wood. This makes it suitable for bathrooms and kitchens as well as living areas. If I need to mop the floors, I won’t have to worry about splashing the skirting board!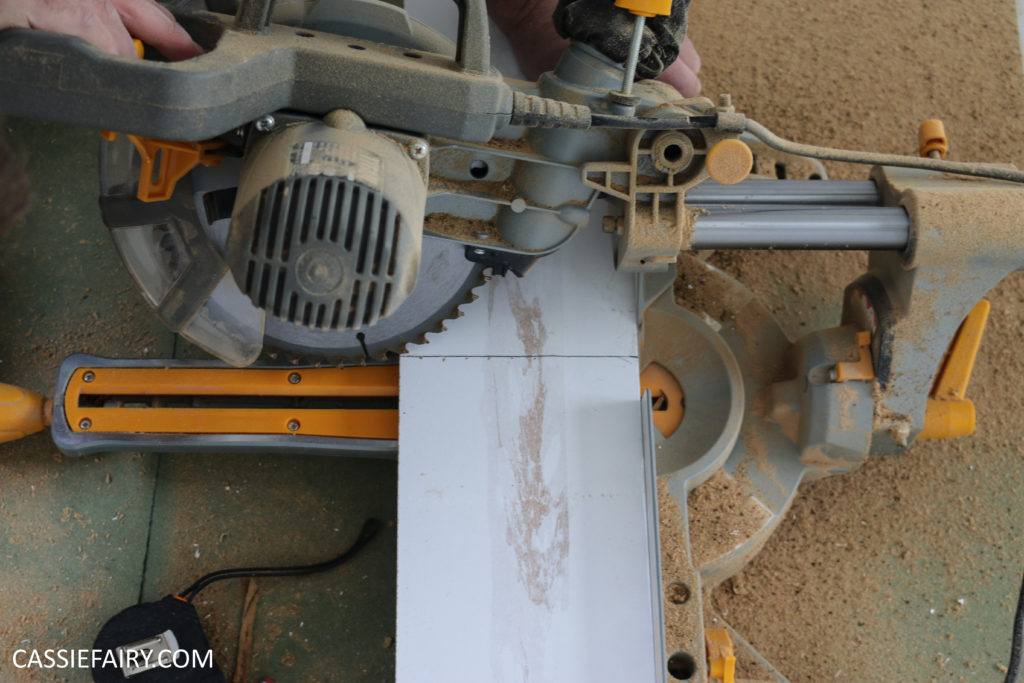 What do you think of my first attempt at installing skirting? I’ve got another DIY ‘how to’ coming soon – I want to share with you everything I’ve learnt about laying laminate flooring too, so watch this space!
Some items in this blog post have been gifted to me and the pink links indicate a gifted product, affiliate link or information source. All thoughts and opinions in this post are based on my own experience and I am not responsible for your experience 🙂