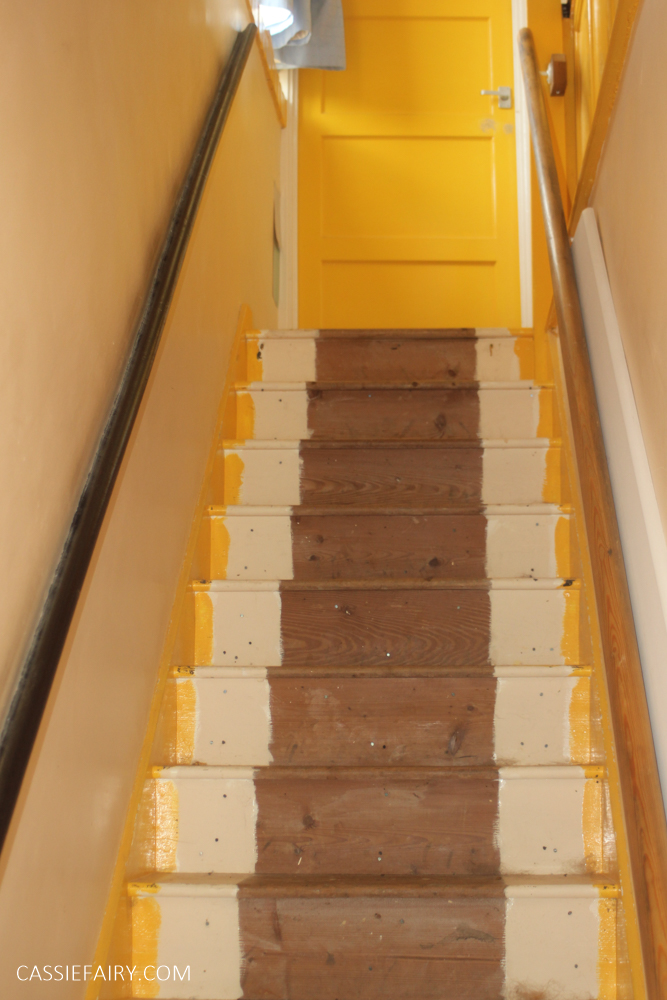
Staircases can easily be overlooked when you’re decorating your home, even though they are often one of the first things that you see when you come in through the front door. A lot of people think it’s too much hassle to change their stairs, but it can easily be done as a DIY project if you use a reliable stair parts manufacturer and know your terminology (don’t worry, I’ll tell you more about this in a mo!). I’m planning updating my hallway with some fresh new paint over the summer and have decided to sand down the staircase and start again from scratch with wooden steps. I’m hoping this will lend a scandi style to my hallway and work well the paint colours I’ve chosen. Watch this space for more updates of my decorating but, in the meantime, here’s my ‘before’ photos and some things I’ve already learnt about renovating staircases.
Assess what’s wrong
Most of the time, the structure of your stairs is fine, it’s just their appearance that isn’t. If there does appear to be an issue with the steps themselves, you should consult a professional to find out if they can be repaired. One of the buildings that I viewed when I was house hunting last year actually had a ‘condemned’ sign on the staircase and we could only view the upstairs ‘at our own risk’! Can you guess why we decided not to buy that house?? If the structure of your staircase isn’t damaged, then your job is actually much easier, and you can totally transform the look of the stairs without undertaking too much work.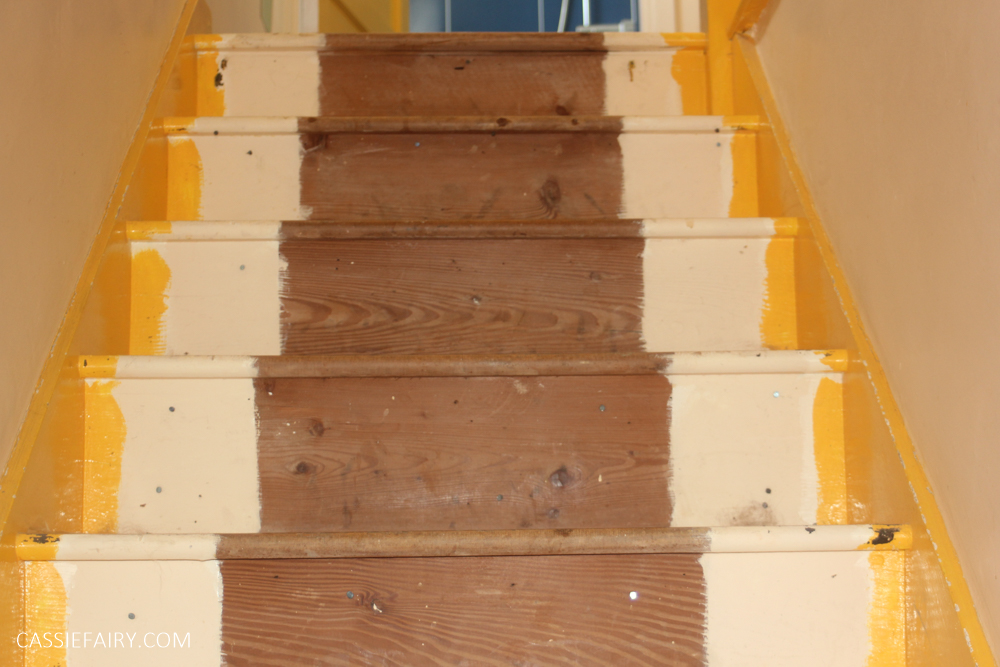
Know your terminology
Before you plan to renovate your staircase, you’ll need to get to grips with the terminology. There are different words for the different parts of the staircase:
- Half newel post – fits against the wall on the landing.
- Spindle – the vertical post between the baserail and the handrail.
- Handrail – runs diagonally with the stairs at the top of the spindles.
- Baserail – runs along the base of the spindles.
- Newel posts – posts at the top and bottom of the stairs to support the handrail.
- Tread – the top horizontal surface of the step.
- Riser – the vertical part of the step.
Planning
The most important aspect of your staircase renovation, before you jump in head-first, is to plan. You’ll need to know whether you can do the project yourself using stair parts, or whether you will need to hire a joiner if you are repairing the structure. You’ll need to know which parts of the staircase you want to replace, or whether you’re just going to give them a new lease of life with paint or by re-finishing the wood. For my own staircase makeover, there’s nothing structural to be done, apart from maybe moving the handrail on the wall. I’m planning to sand down the treads and keep the natural wood, with just a touch of stain. The risers will be painted to match the newel posts and handrails, probably in white or a putty grey.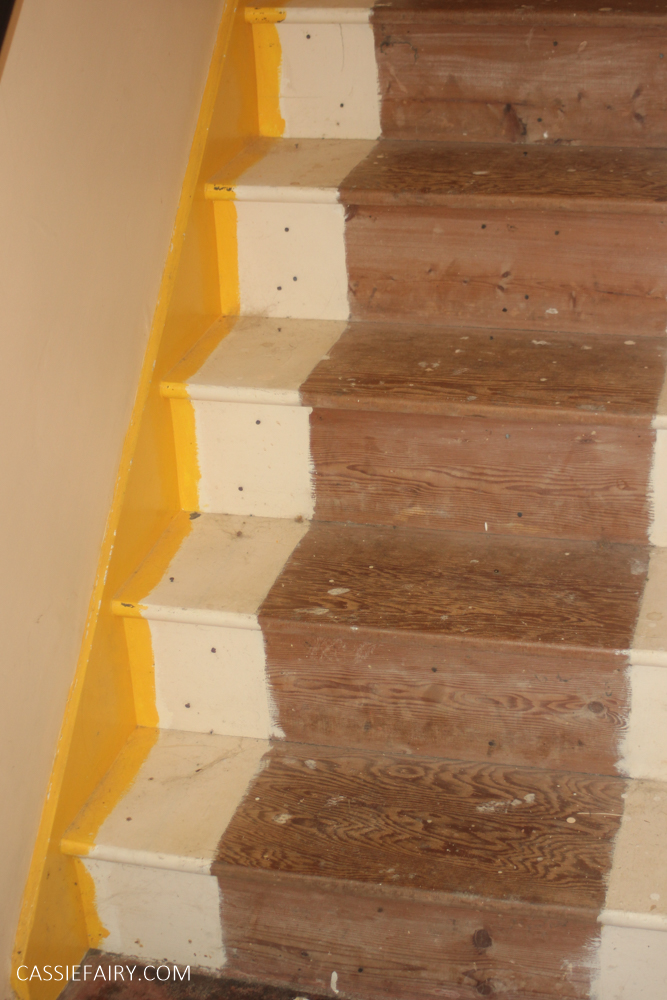
The process of renovating your stairs
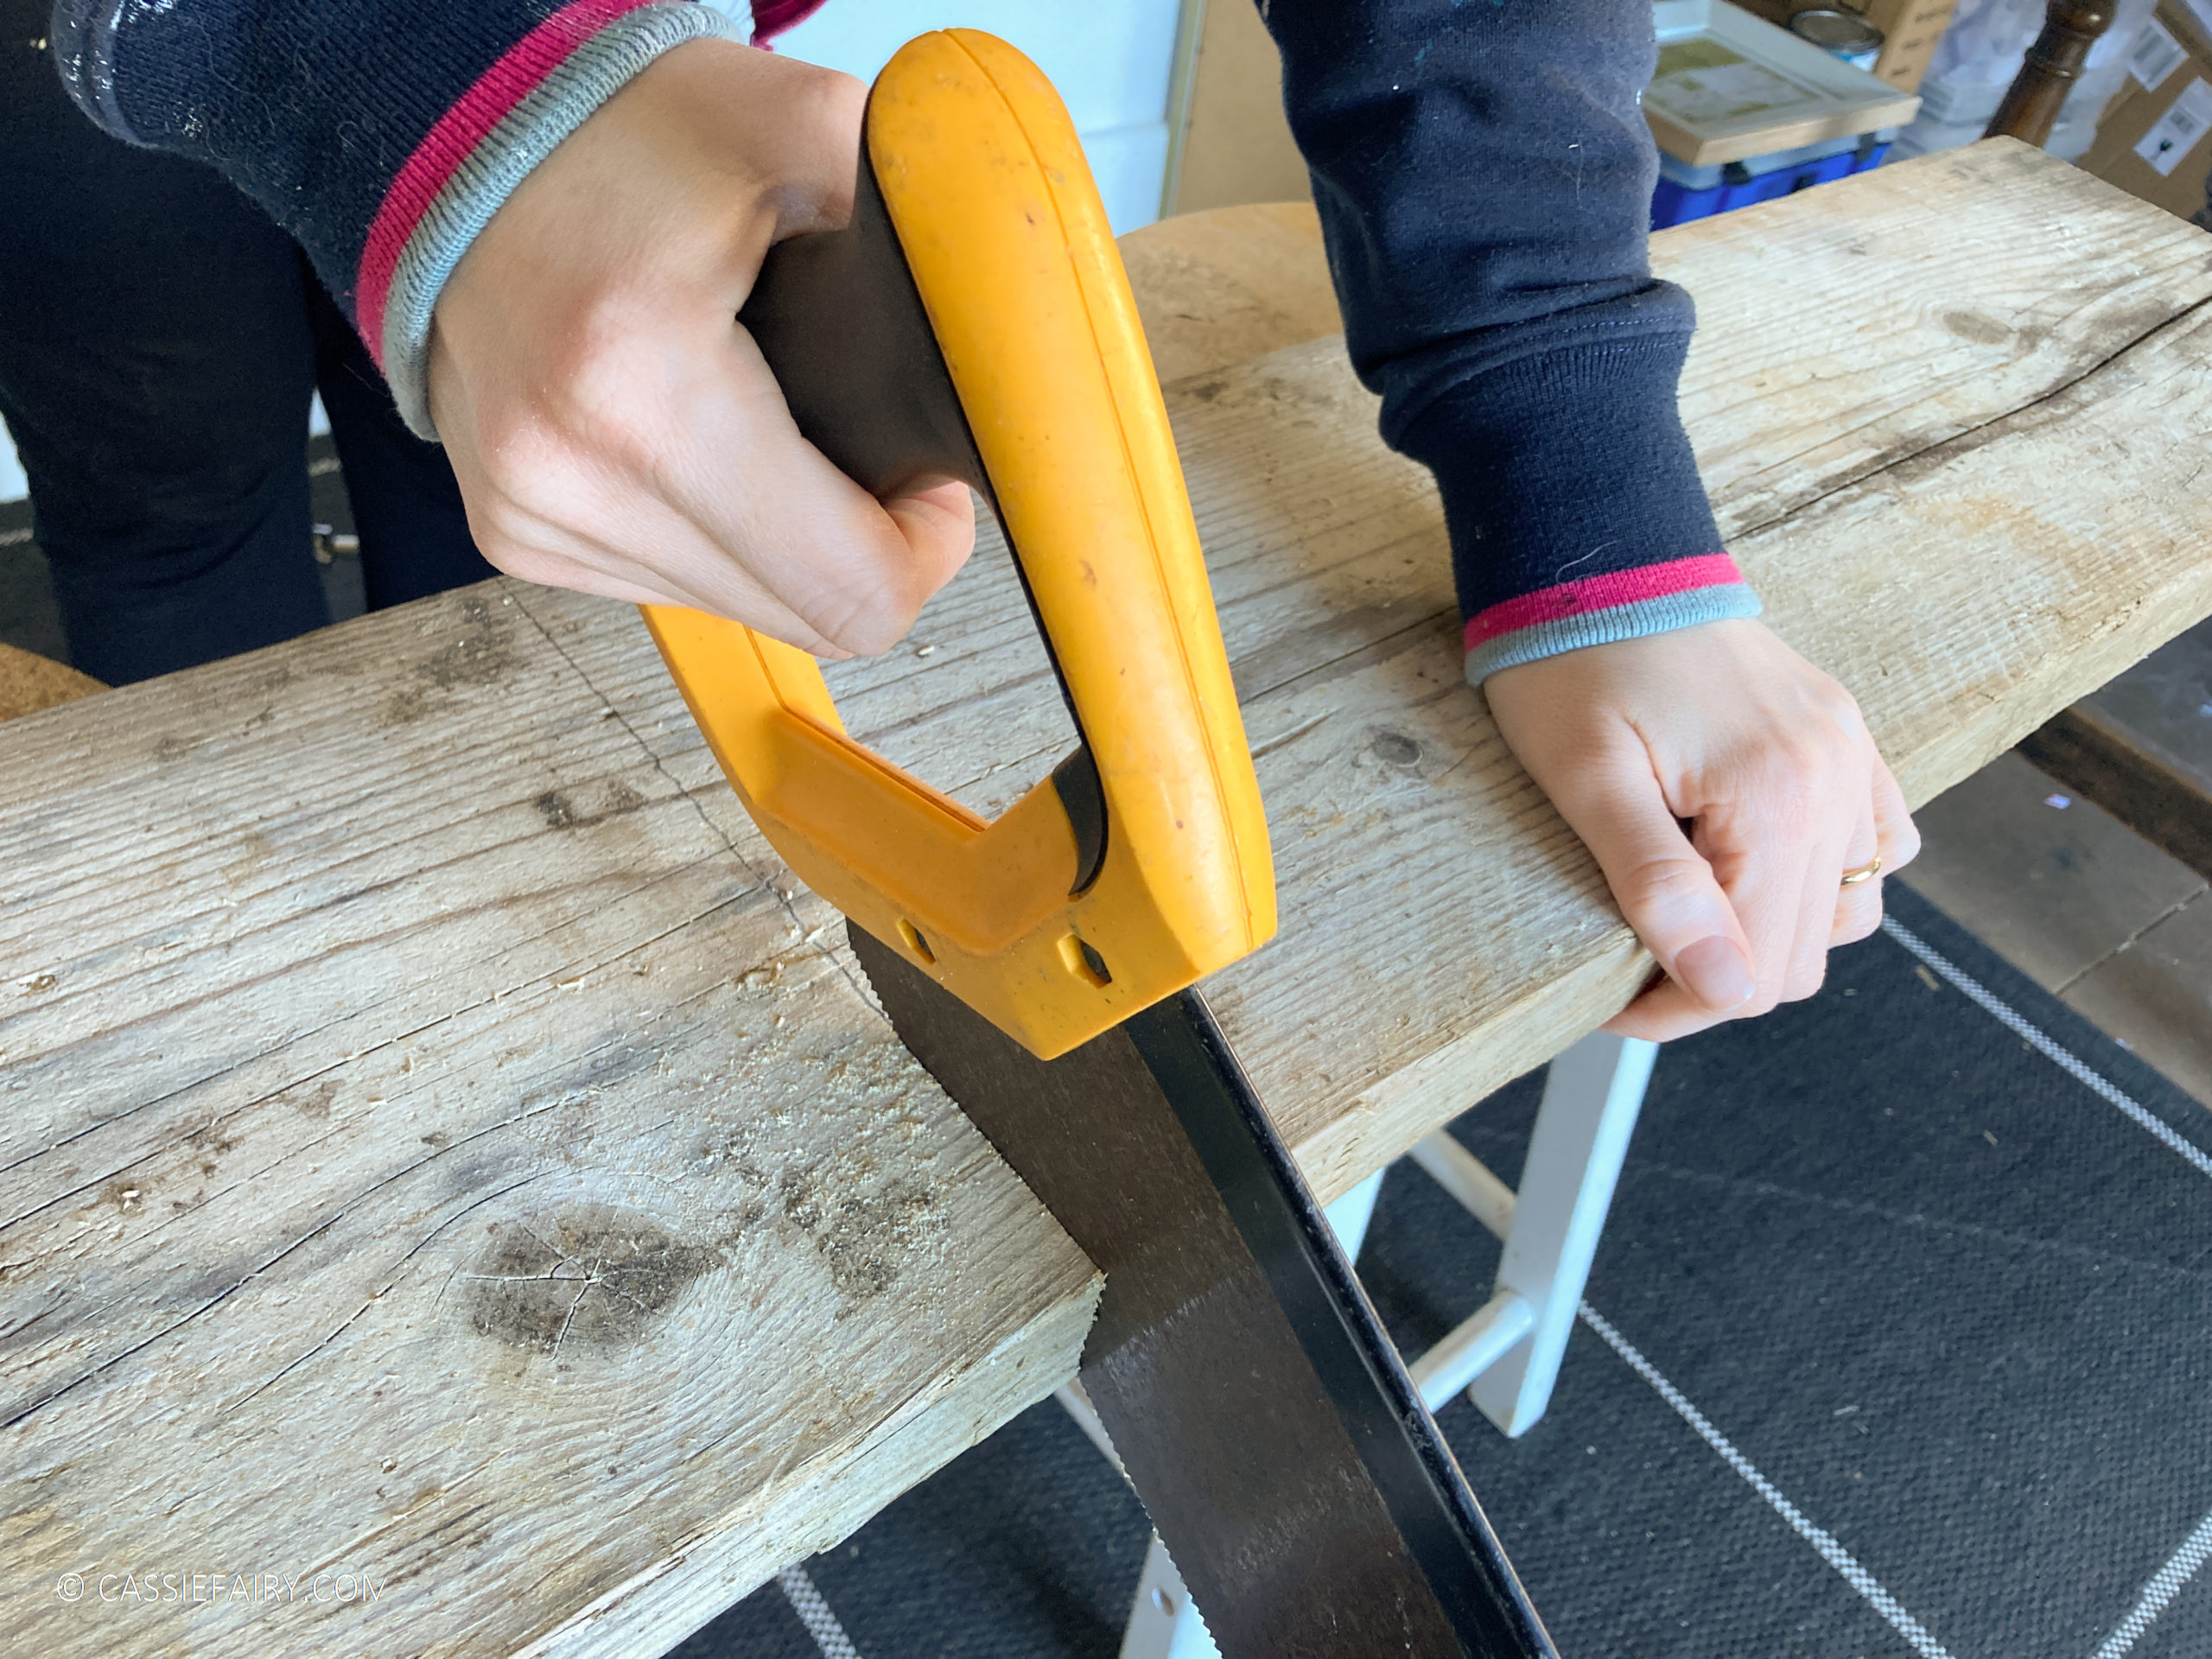
If you’re changing the steps, make sure to do this first. Next up, the landing! You can use winder steps to make it bigger, or just re-invent it with new flooring. If you’re cutting the newel posts yourself, remember that there is a legal guideline of 900mm from the pitch line to the top of the post. Lastly, depending on whether you chose a traditional staircase, or a panelled staircase, you can install the handrails and base rails. The spindles/panels should be installed last of all.
Renovating your existing staircase
If you can’t afford a full staircase renovation, here are some ideas:
- If you have wooden spindles, re-finish or re-stain the wood.
- If you have carpeted stairs, install a new carpet.
- Paint the stairs white with a statement runner up the centre.
- Use your walls as a gallery – put photos and artwork on the wall along the stairs.
- Fit your treads and the spindles with lights to make your stairs light up at night.
Would you consider renovating your stairs? Have you already tackled a project like this? Let me know your experiences and share your tips by leaving me a comment below. And be sure to come back soon to see how I get on with my renovation project 🙂
This article is a sponsored collaboration. The pink links in the content indicate a sponsored link or information source. The blog post reflects my own experience and the sponsor hasn’t had any control over my content 🙂