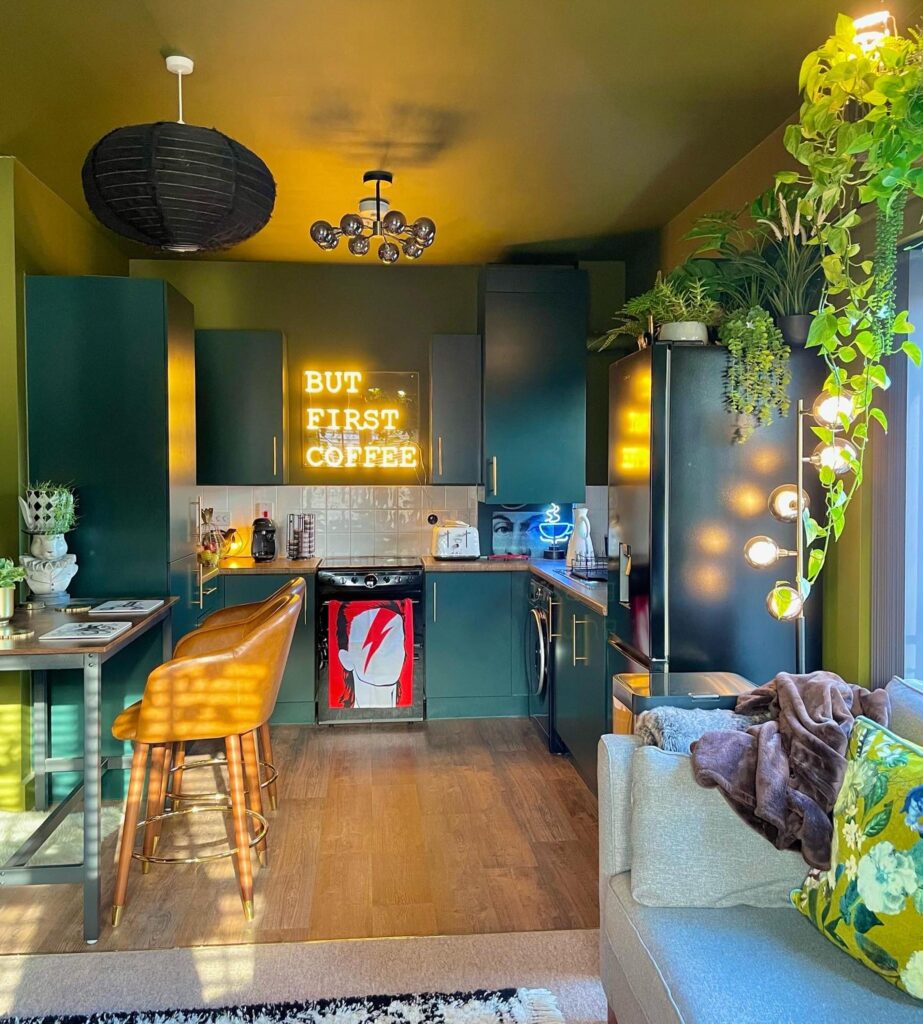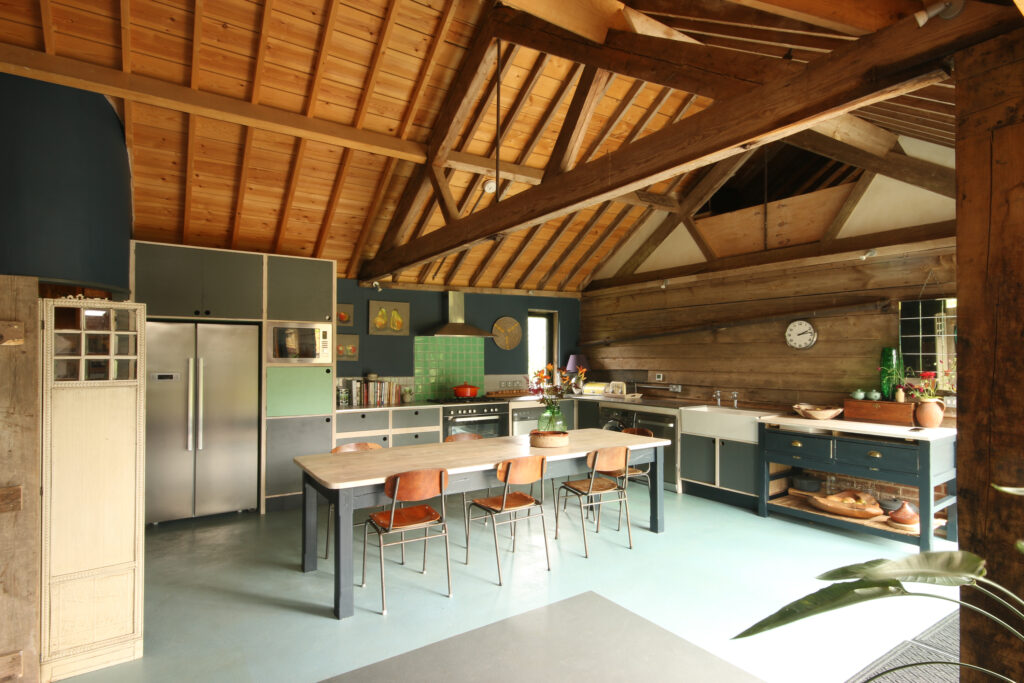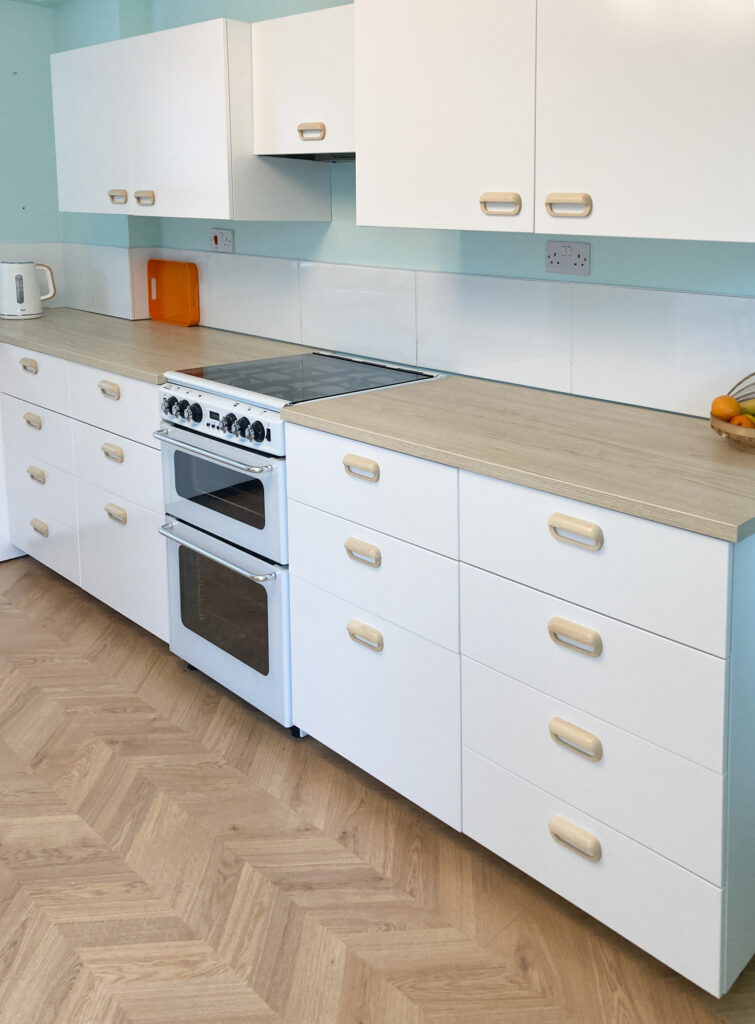
Kitsch Kitchen
Handy hacks for a frugal kitchen makeover when you’re on a tight budget
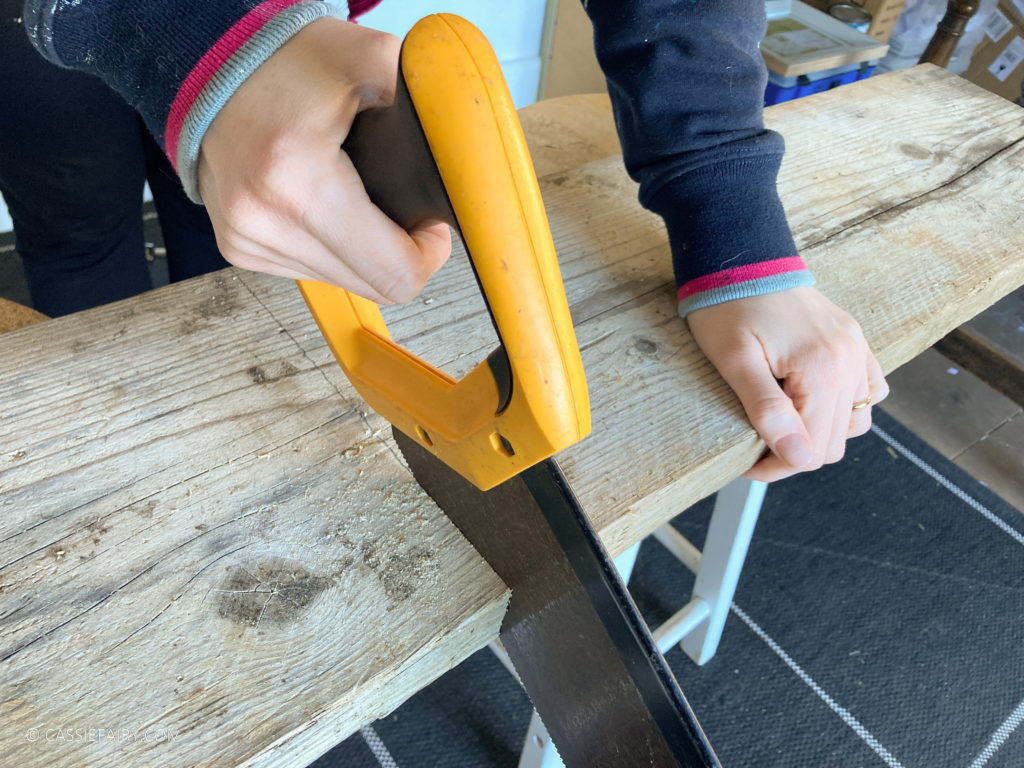
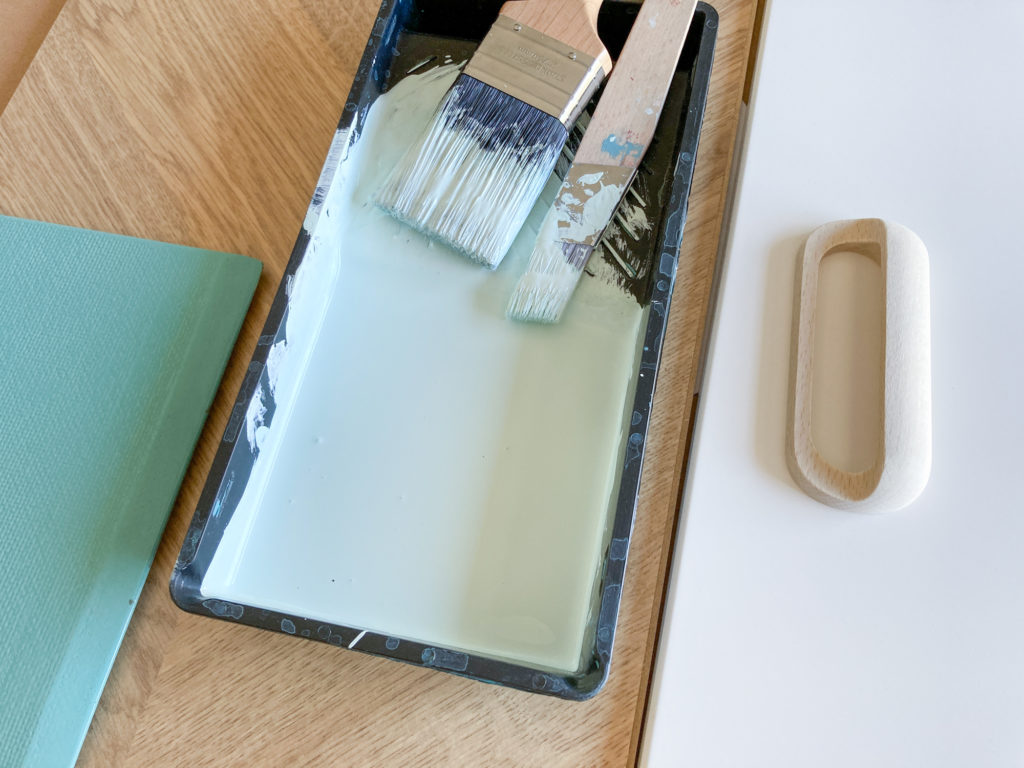
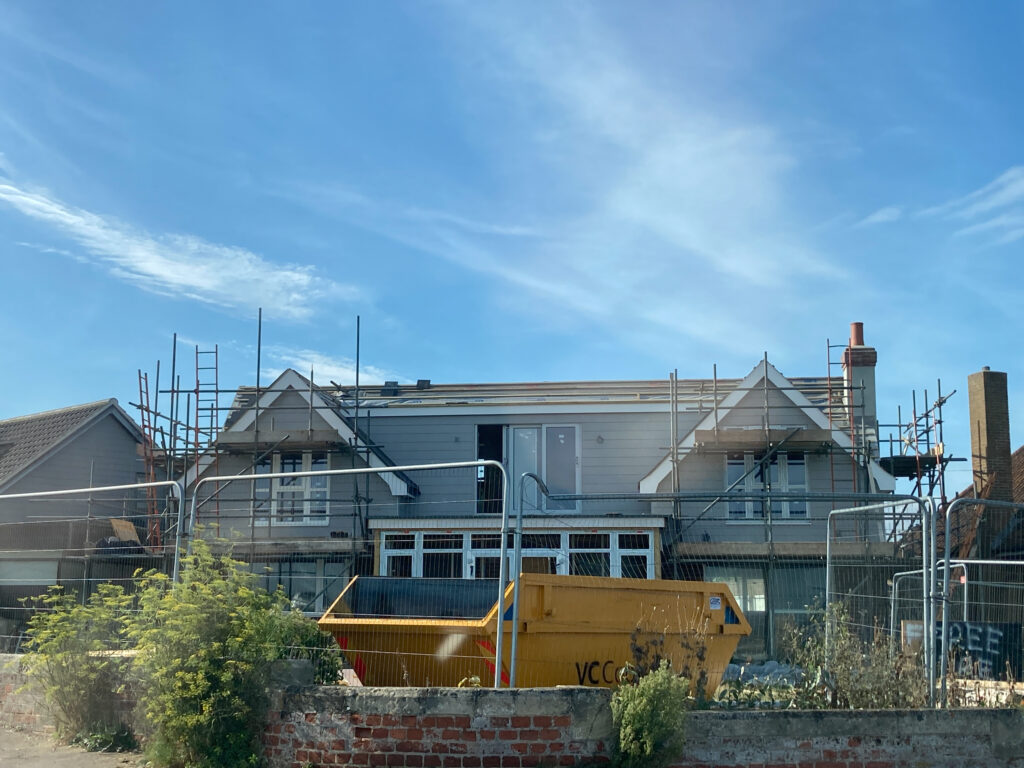
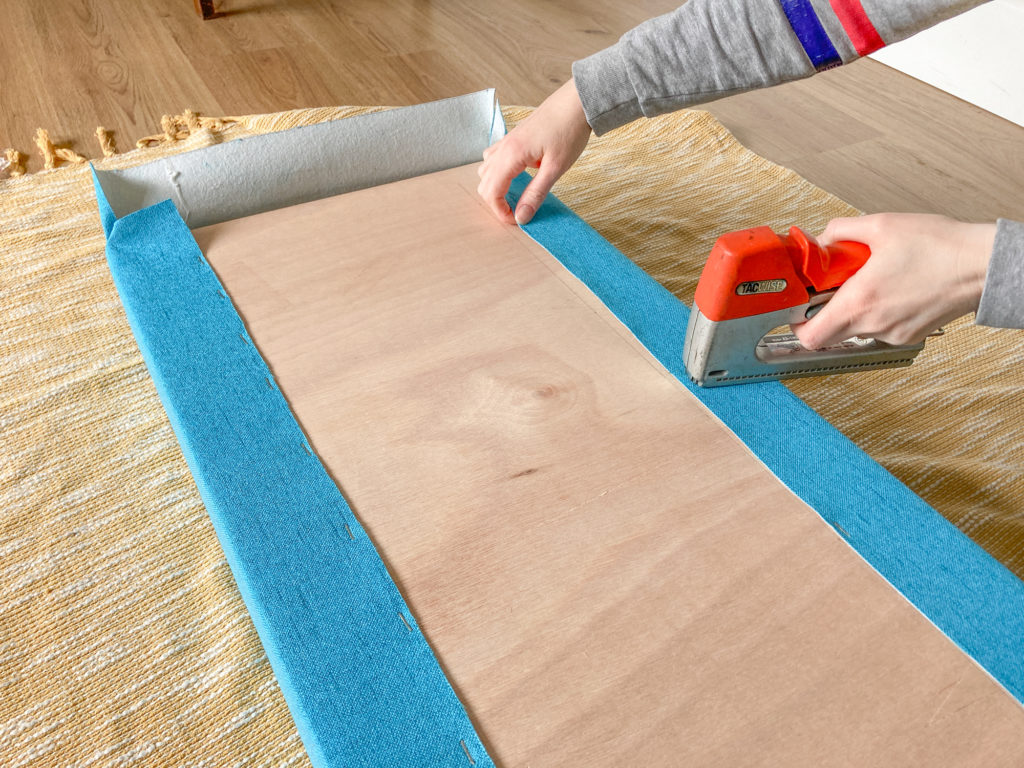
If you’re thinking of giving your kitchen a revamp but without the huge expense, you can do it yourself with just a bit of flatpack DIY and lots of samples of paint! Here are some things to consider when renovating your kitchen…