Today I’m sharing some snaps of my bathroom renovation project with you. It’s been a couple of weeks of hard work but we’ve made good progress and things are looking up. So I thought I’d post some photos of how the bathroom looked before we started and what we did to improve the room. I’ll be sharing a few blog posts about the bathroom makeover over the coming weeks so that you can see our progress as novice (read: never done it before in my life!) plumbers.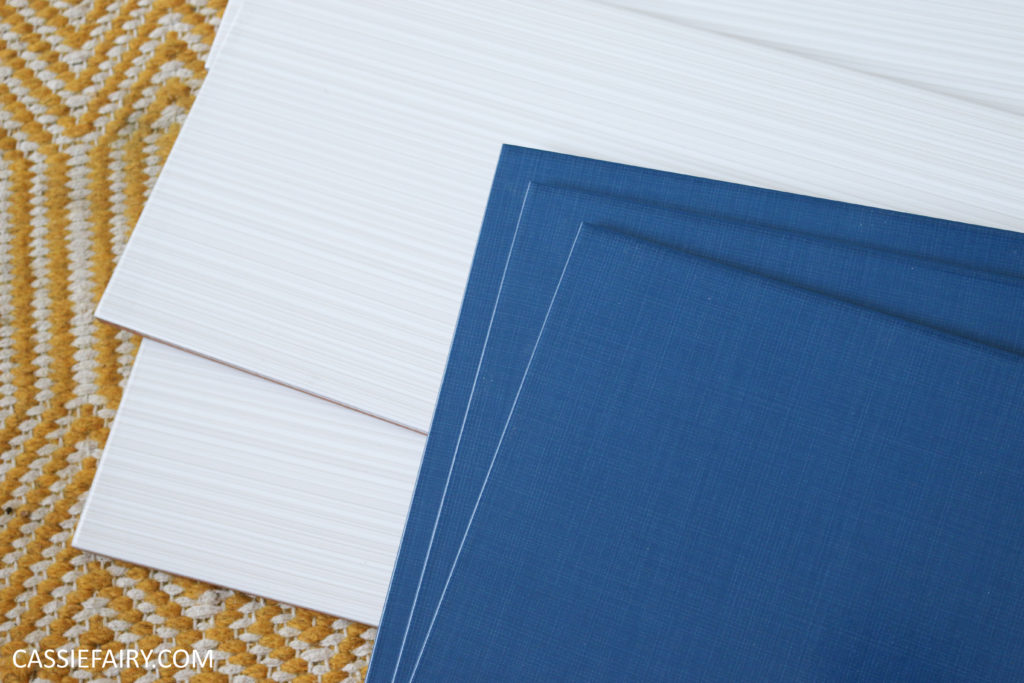
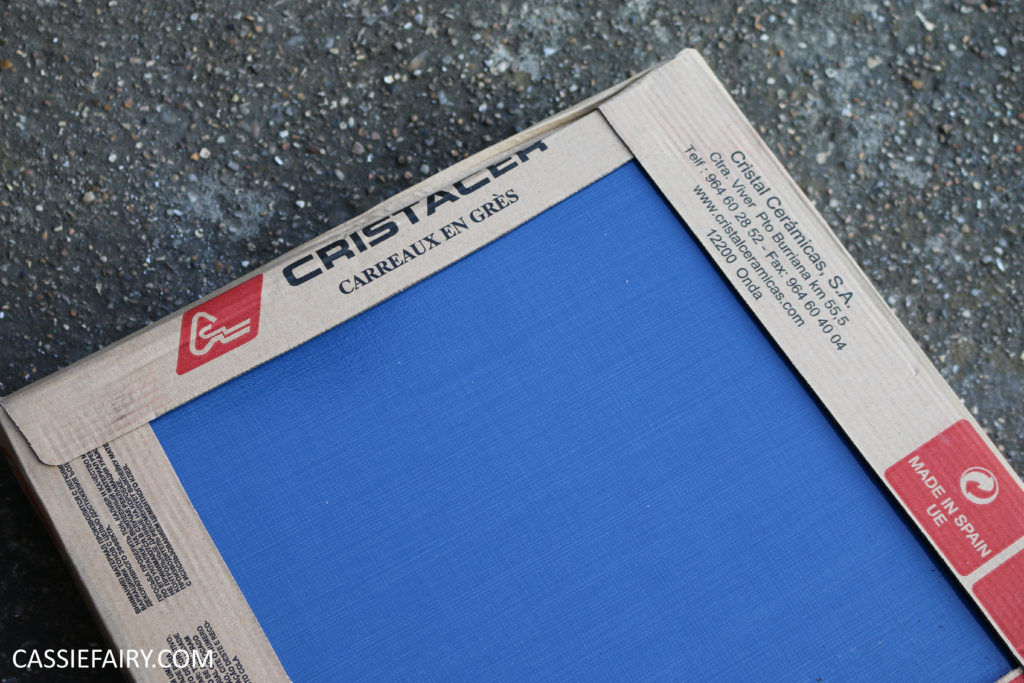
A sneaky peek at my choice of tiles and shower before we get into horrid bathroom photos…
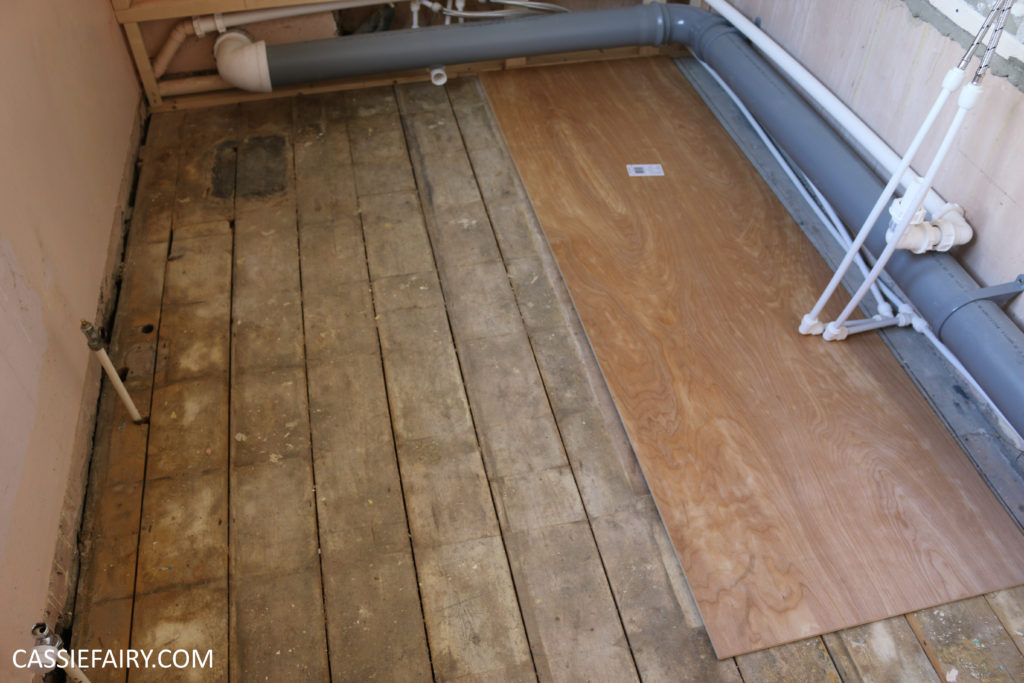
So, here’s what we were starting with. The bathroom is very small and has a weird layout. The bath is where you’d expect it to be, but the sink is hung over the top of the bath. This seemed odd as there is space at the foot of the bath for a sink, but I guess the previous owners didn’t fancy tackling the plumbing involved with moving the sink into a new position. The pipework was partially boxed in, but mostly just exposed as you can see from these photos.


The toilet was a new level of sadness; the plastic cistern was badly stained and the toilet bowl leaked so all the surrounding vinyl tiles were lifting and the wooden board beneath the tiles was blown apart. We later found out that the lead pipe that takes the waste from the toilet into the drains actually had a hole in it. I know it’s gross to talk about it, but it meant that all kinds of toilet waste was seeping into the floor. Just look at those stains – no wonder there was a horrid smell in the room.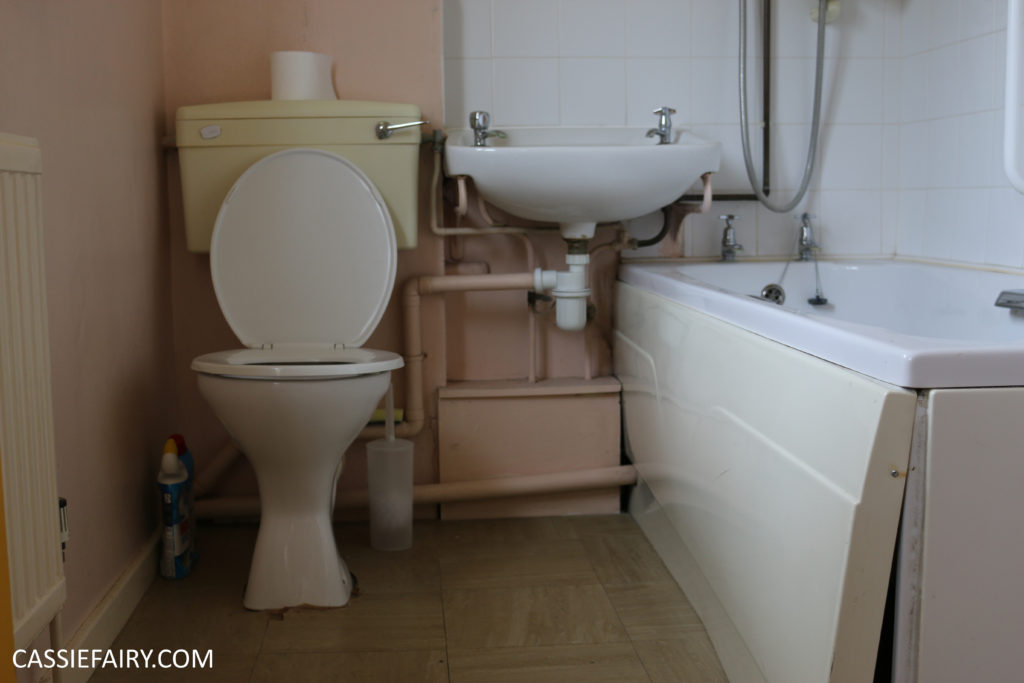
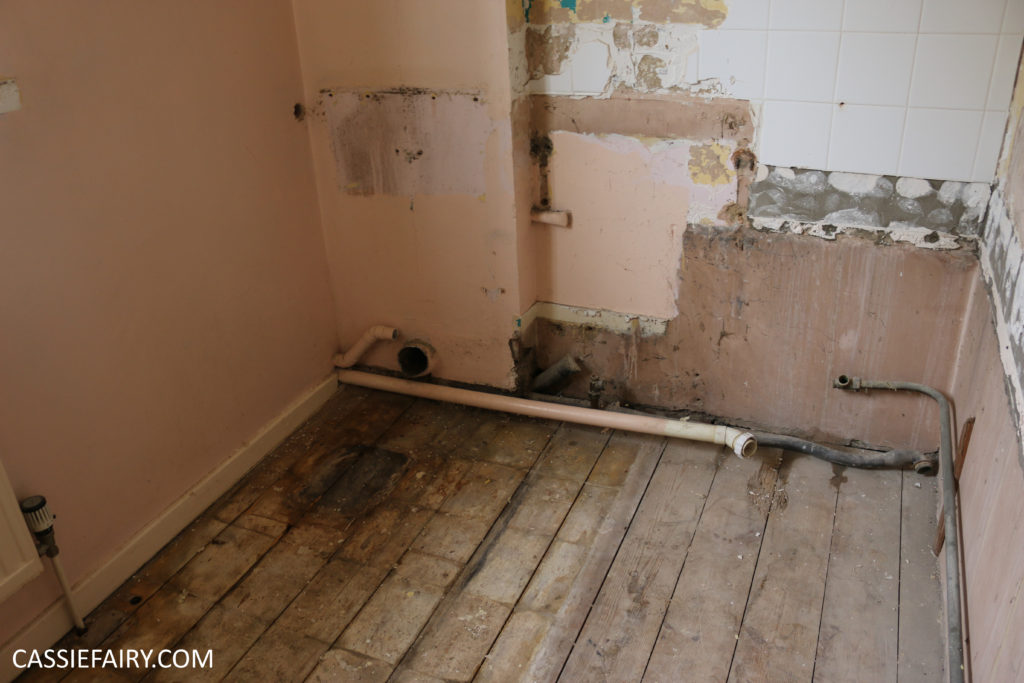 Sadly, the cracked sink, rusty fittings and stained bath couldn’t be saved and we had to take the whole lot out of the room. I only say sadly because I hate to waste something that I could reuse (and save money on buying a new one) but really, I’m pleased that the gross bathroom is going. I thought that this would take a while but it turns out that removing the old bathroom was the easy part. Well, after turning off the water supply it was just a case of undoing pipes and dragging the bath down the stairs. The wall tiles, however, were a whole other challenge.
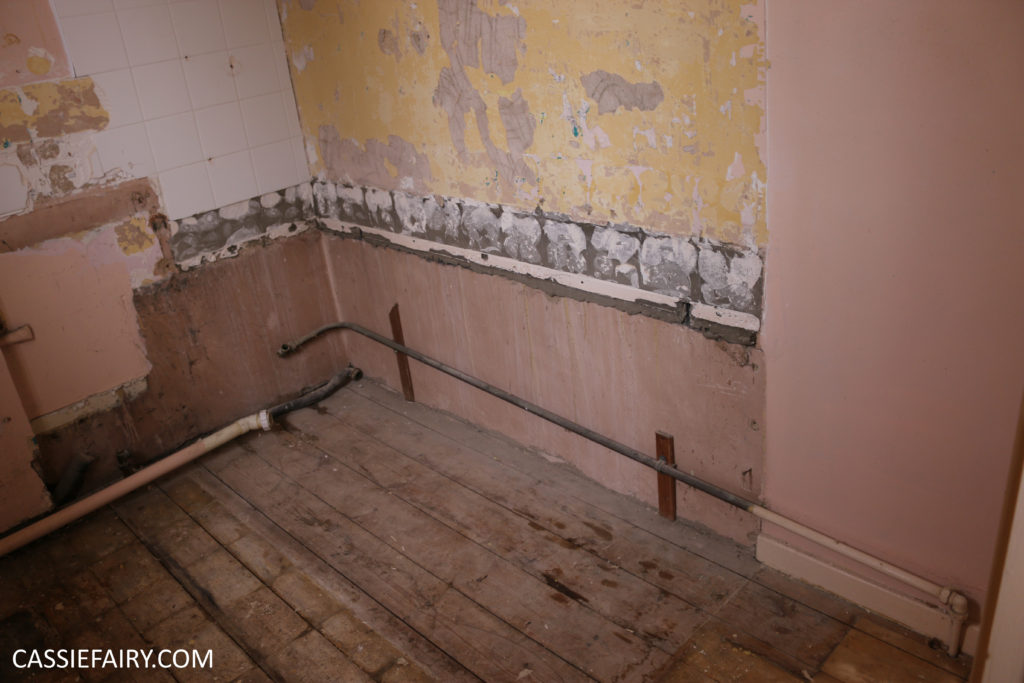
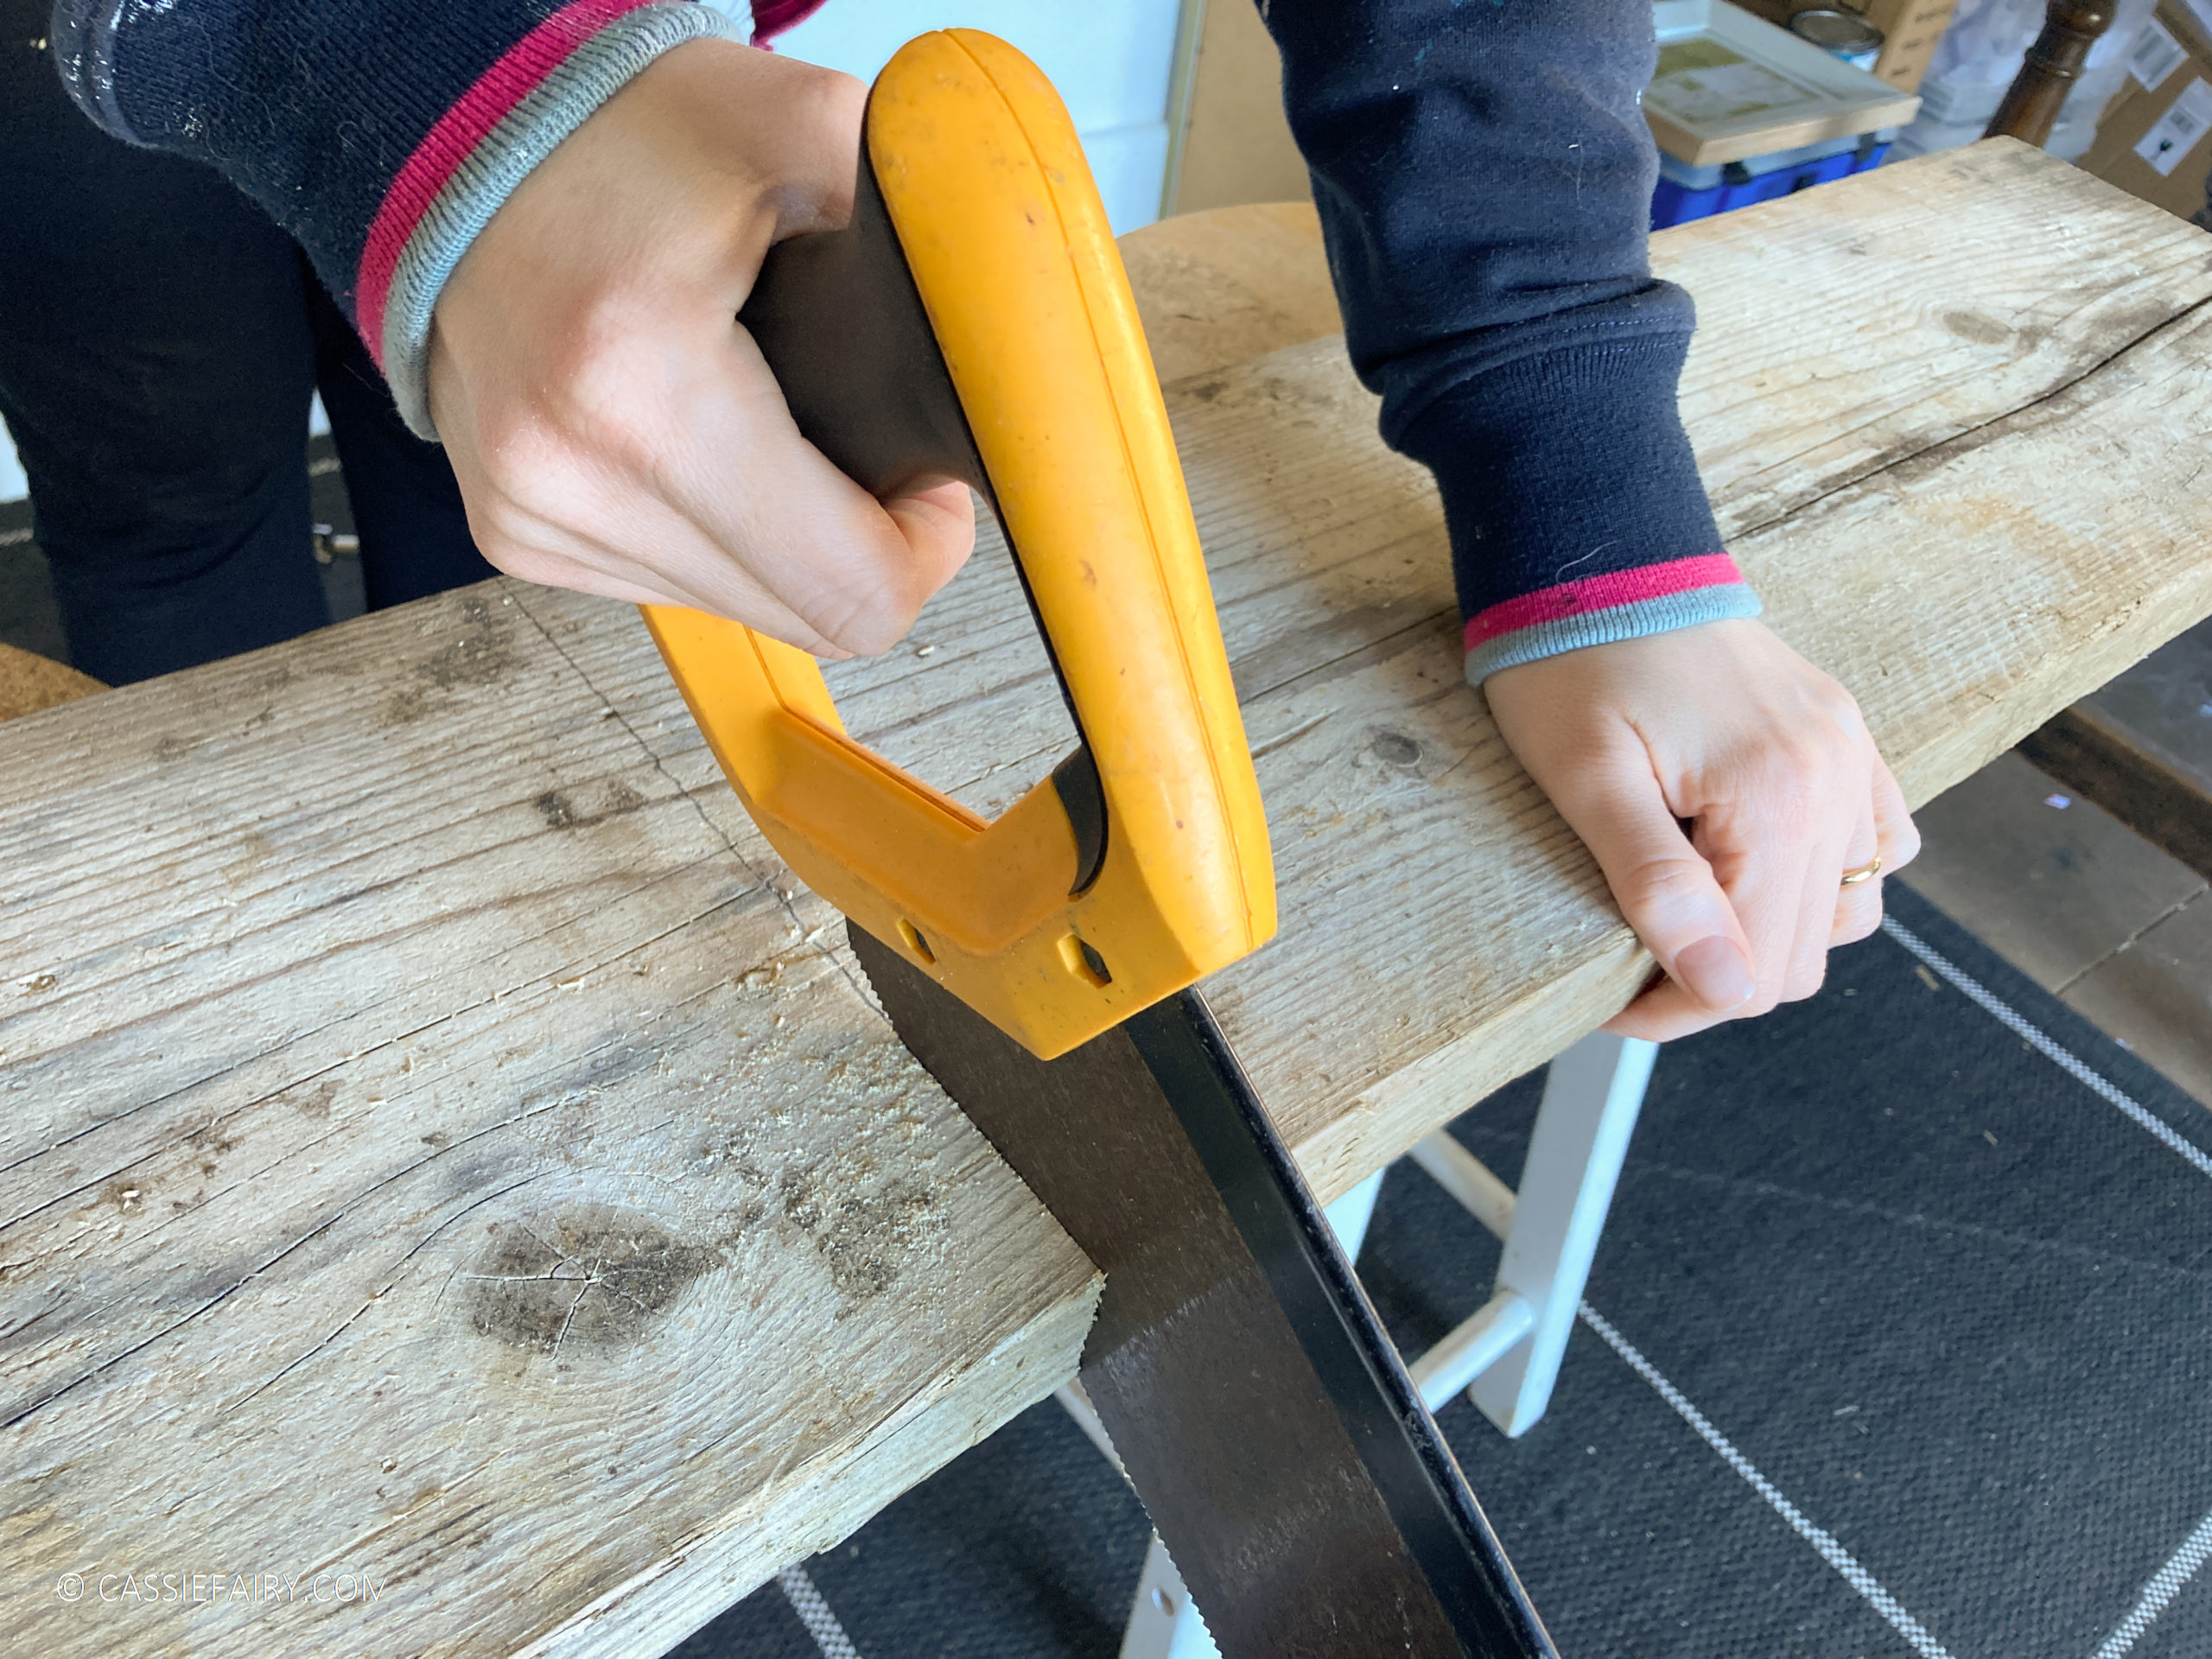
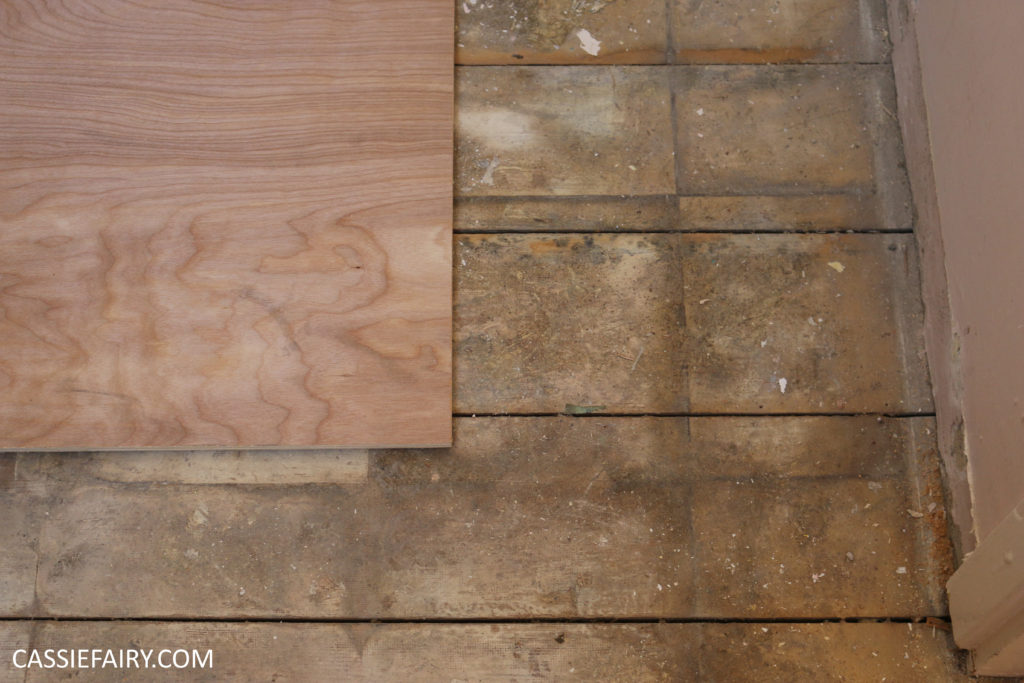
I’m convinced that they had been attached to the walls with concrete rather than tile adhesive. They were a right pain to prise off the wall. After I spent a couple of hours pinging them off with a hand tool, hubby dug out his powerful hammer drill with chisel attachment and I cowered in the hallway while broken tiles flew off the wall. All the while I kept my vision of a spa-like blue tiled bathroom in my mind as we laid down new marine plywood for the floor.
 I’d forgotten about the ceiling until this point, but the empty room just served to magnify how horrid the wallpapered ceiling was. Obviously, it had to go. So I powered up my steamer and climbed the ladder to remove very last scrap of textured paper from the ceiling. And what was I left with? The same pattern, replicated in a layer of flaky paint. A few more hours of scraping was all it took to get a smooth, flake-free ceiling and I could slap on a couple of coats of paint to make it look like new.


While I was giving all my attention to the ceiling, my husband was fiddling around with the pipework and had installed a shiny new waste pipe for the toilet. Because we were changing all the fittings anyway, we had decided to move the look over to the other side of the room. This allowed us to have the bath across the room and free up more floor space in the centre.


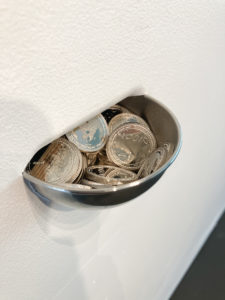
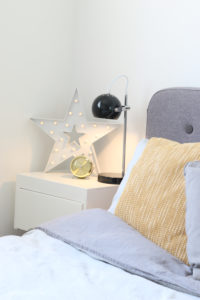
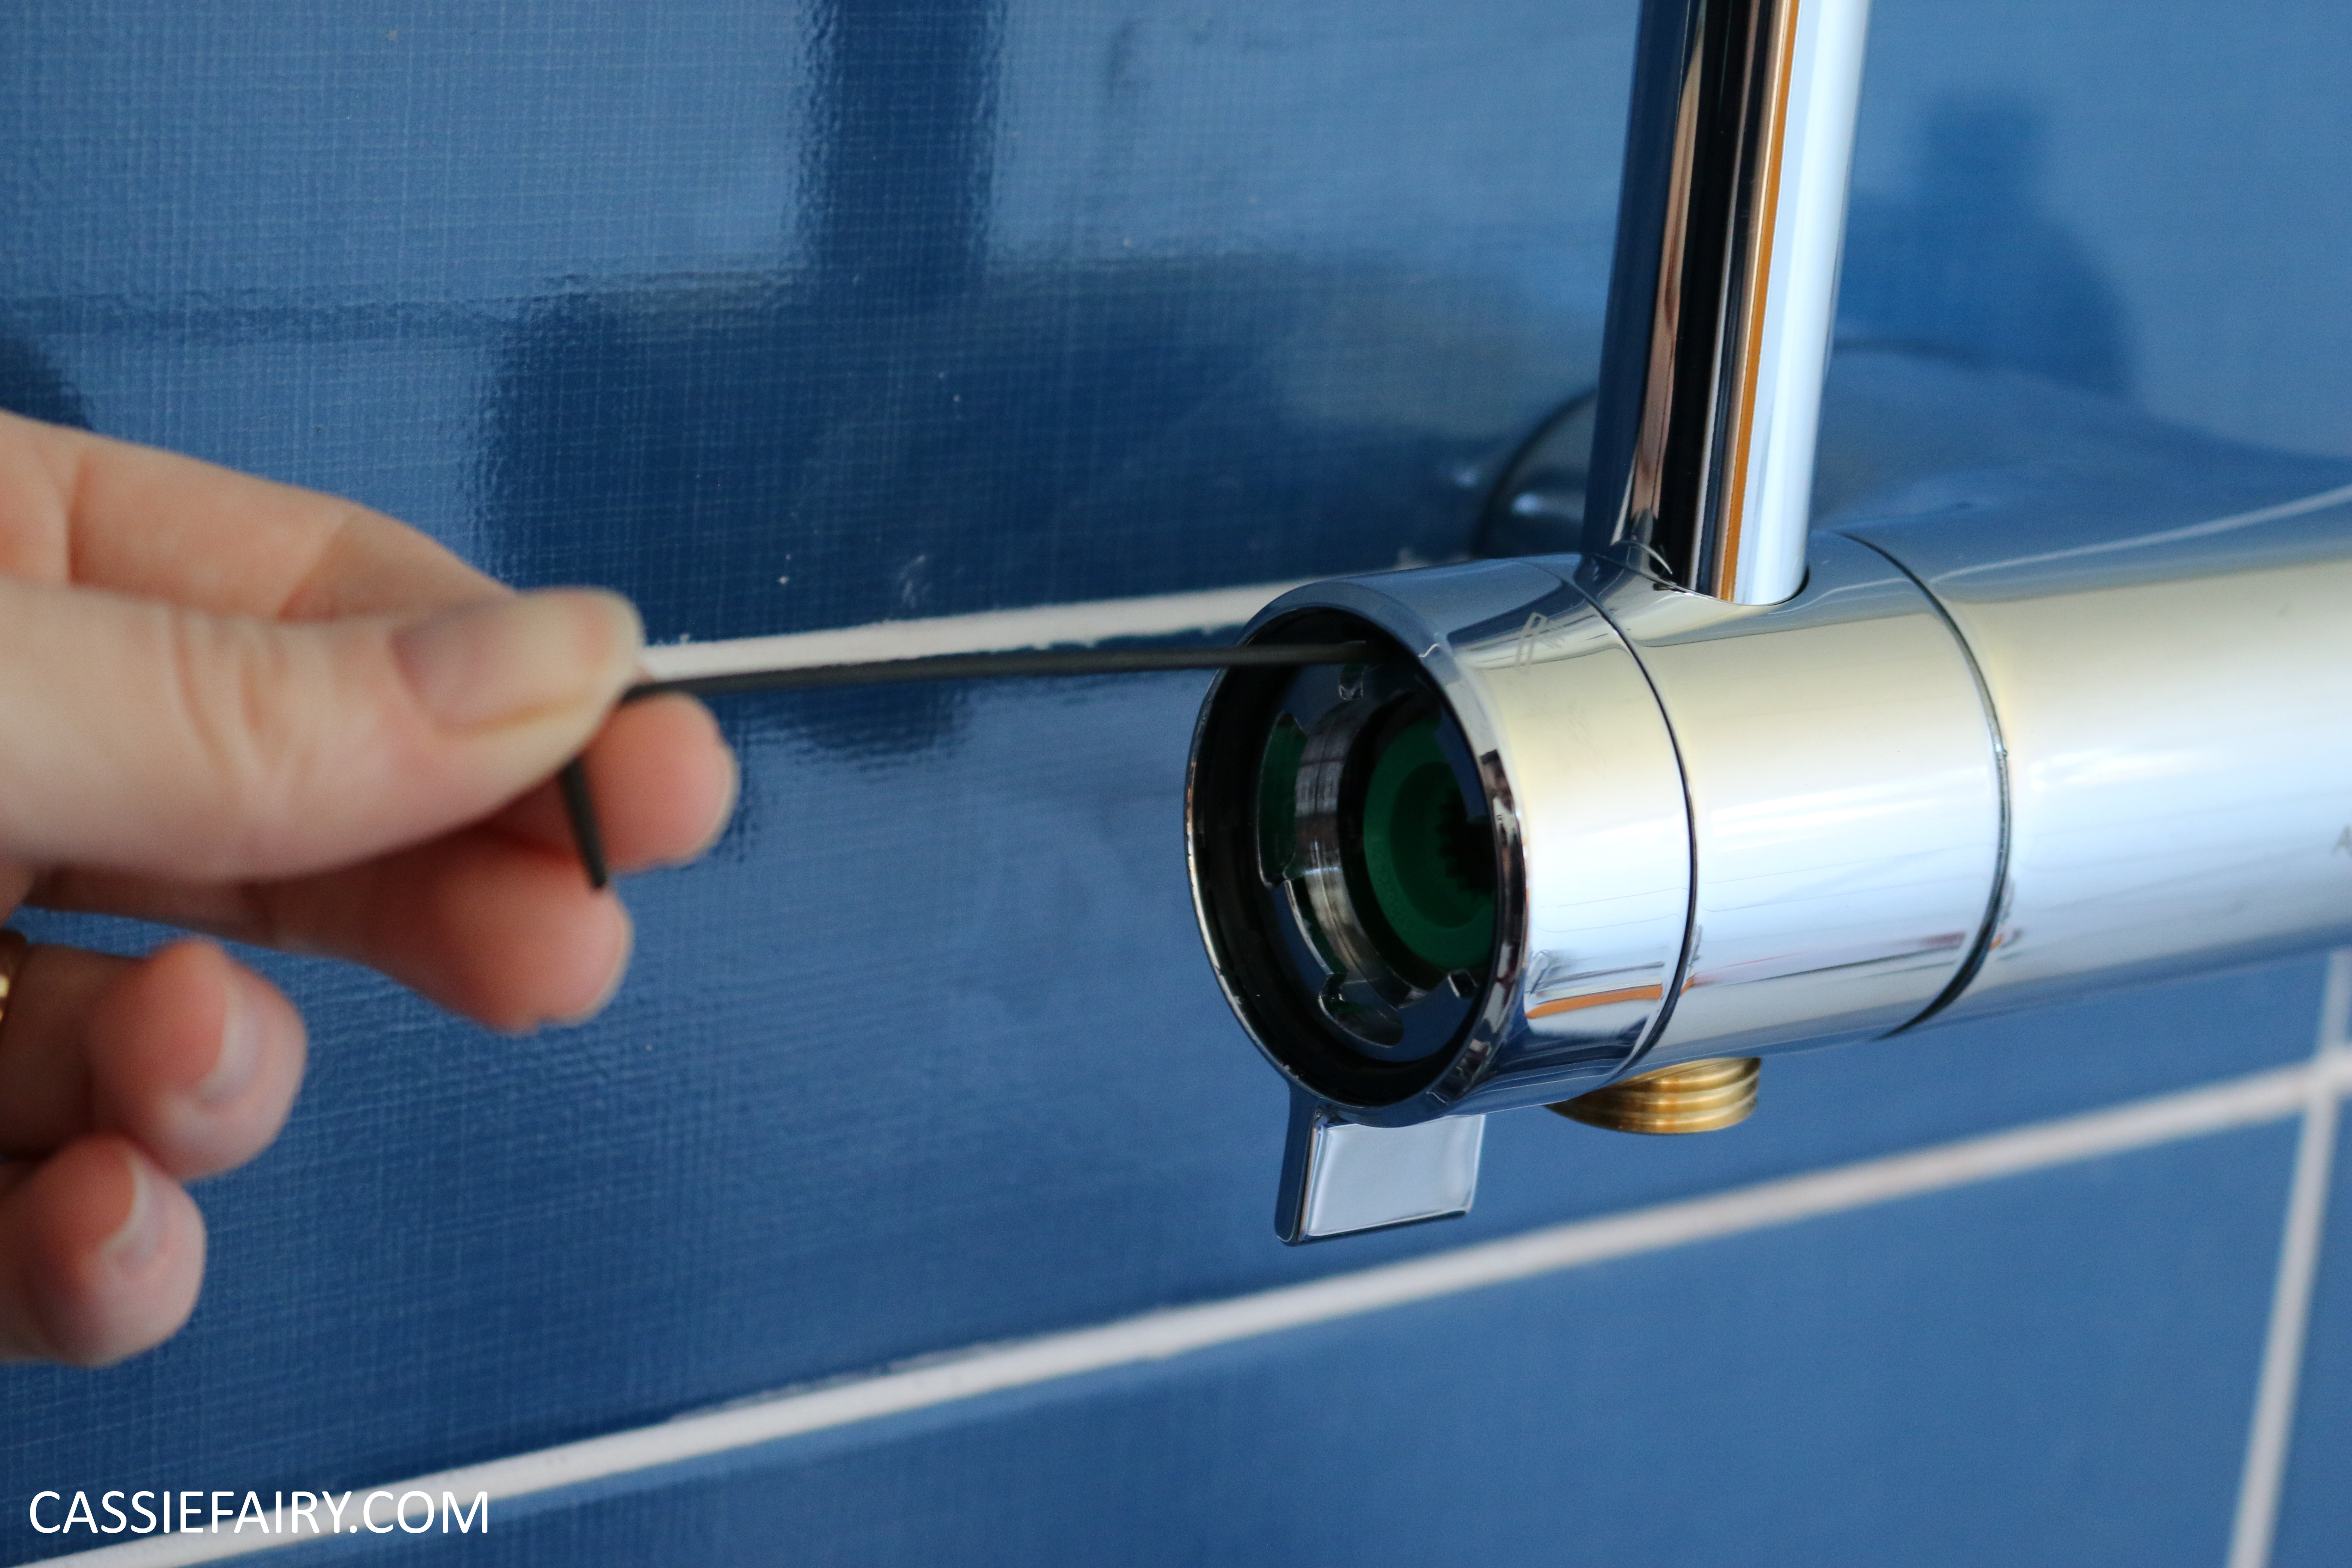
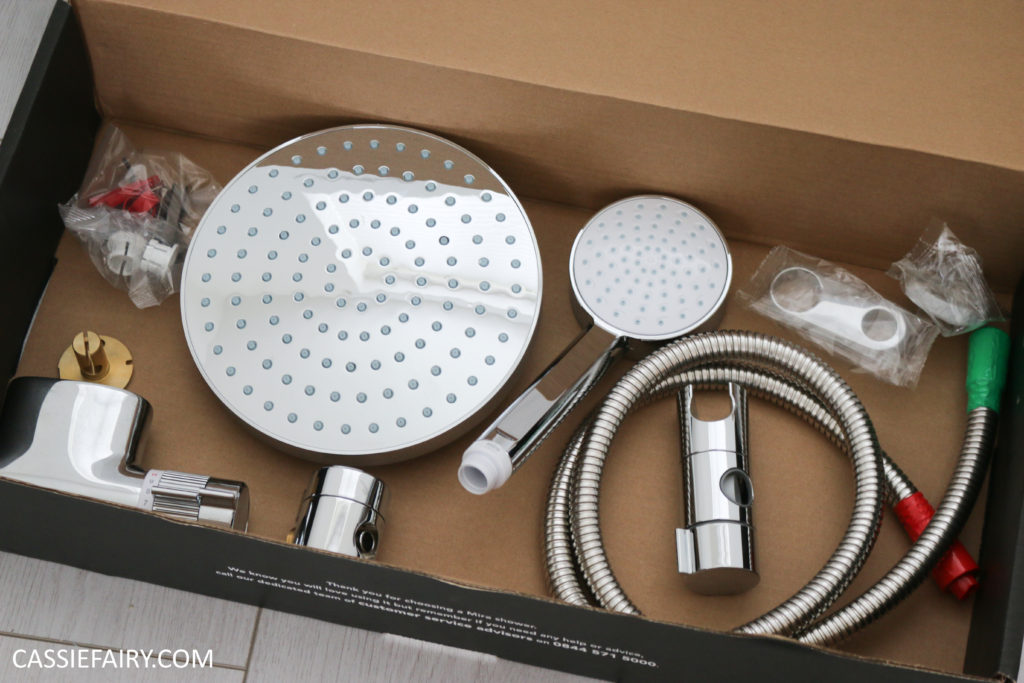
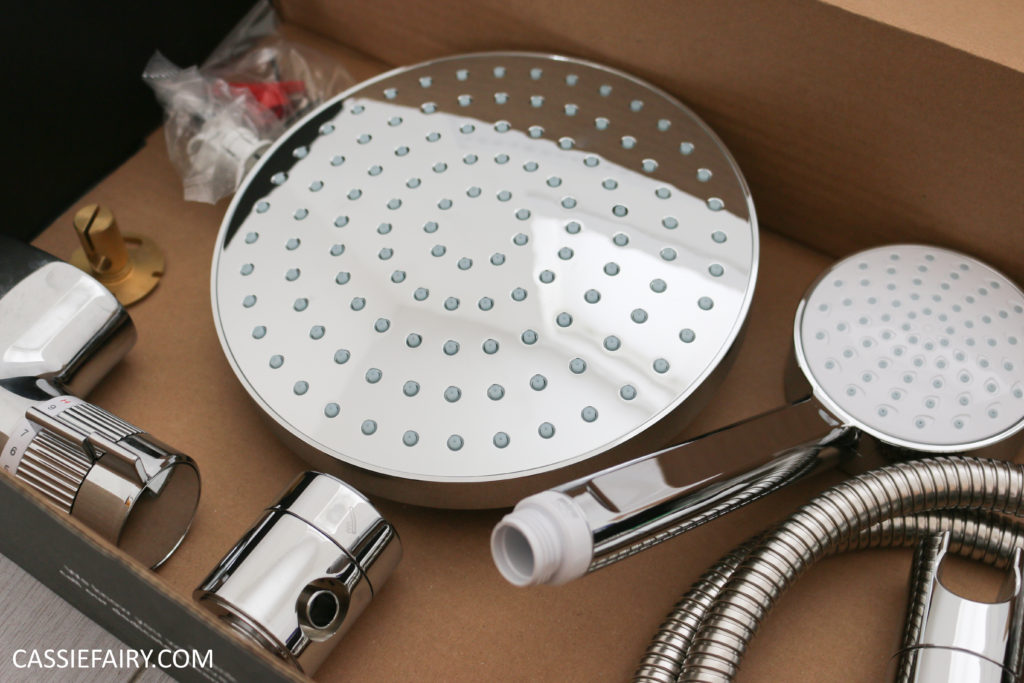
Next, we built a false wall over the weird alcove on the back wall. This gave us space to add some more pipes behind it to deliver hot and cold water to a shower. I wanted all the shower gubbins to be hidden to get that ‘spa’ shower effect so I chose the Mira Agile shower unit. As you can see from this photo of inside the box, this unit includes a massive deluge shower head, just like the type of rain showers you find spas – I’m SO excited about this. Of course, I wanted my bathroom to be practical too, so I chose the Mira unit that included a hand shower attachment as well. 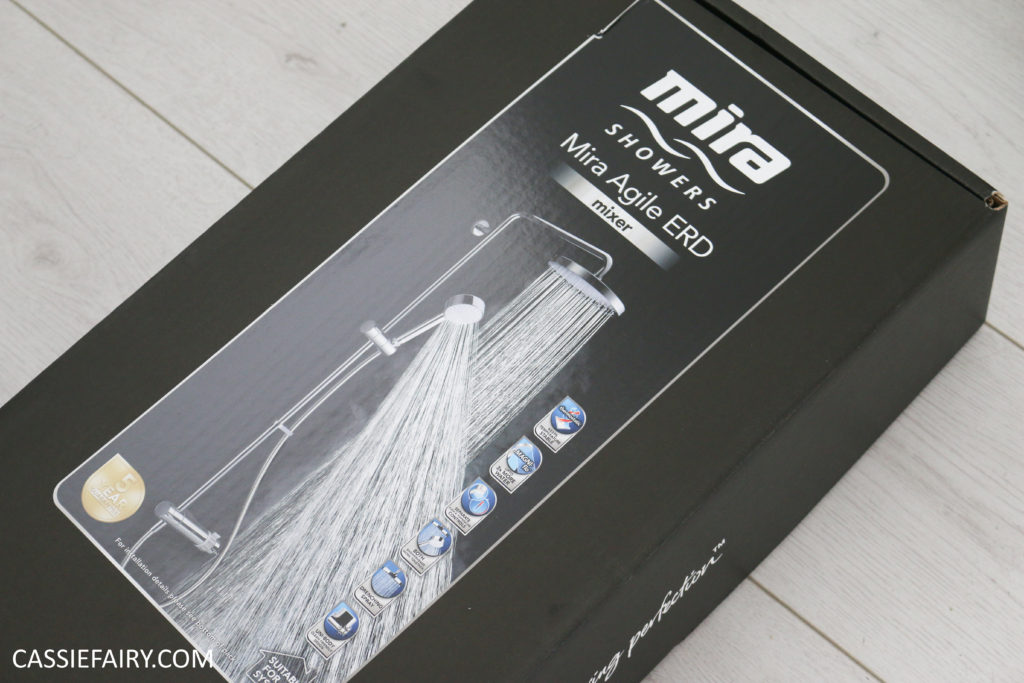
 The shower needs to be fitted at precisely the right height, with a cross-beam of wood directly behind the control unit, so we built the false wall accordingly. There’ll be another blog post about fitting the shower soon, as this was a big (but fun!) part of the bathroom fit out. We finished fitting the wall with plasterboard, which is when we spotted that the toilet waste pipe would probably be visible underneath the bath.


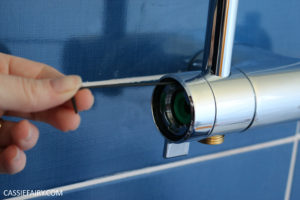
What did we do? Why, spray painted the waste pipe, of course! I already had the blue tiles to hand and could match them to a dark blue Rust-Oleum spray paint that I had in the shed. This made sure that the original grey colour didn’t stand out against the blue tiles and camouflaged it entirely when the bath was fitted over it. We also boxed in the waste pipe along the wall and fitted all the water pipes for the toilet and sink inside this.
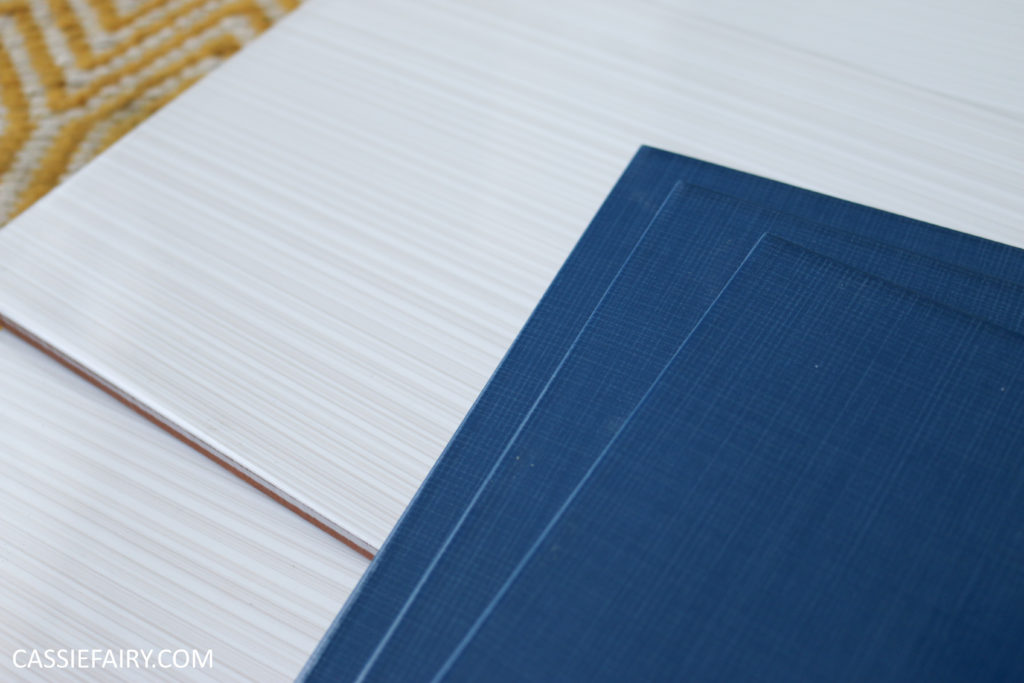 Next up is the tiling process, and fitting the shower, so I’ll leave those photos for another day. Here’s a sneak peek at the tiles I chose from Tile Trader. I blogged about my choices last week so have a look at my previous bathroom blog post to get an idea of how I’m hoping the bathroom will turn out. I love the fabric-like print of the tiles, it makes them look like denim jeans. I was really nervous at this stage because, having taken out the bathroom, we now had a house that was unmortgageable and we had devalued the house by thousands of pounds, eek!
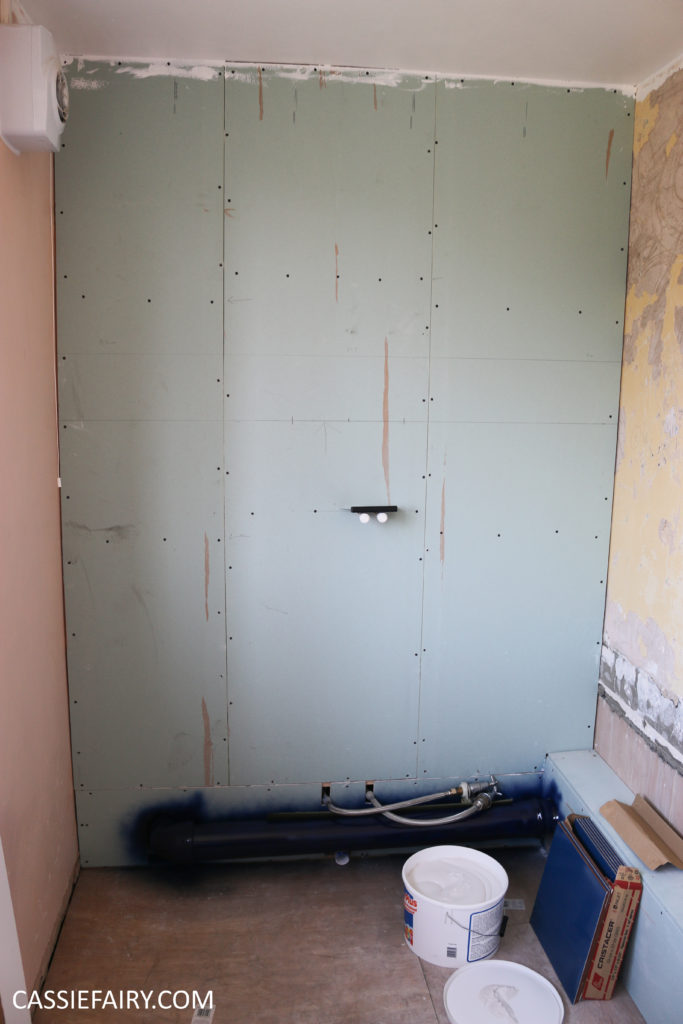 It took more than 4 days to get to this point – it turns out that ripping out a bathroom is the easy part – it’s all the other preparation that takes time. New floor, painted ceiling, new pipework and a false wall – I don’t thinks that’s too bad going! Plus, we spent about 4 hours in Screwfix over the course of that week, getting extra parts and seeking advice. Even so, we got to this stage without too much hassle and only had to check YouTube for plumbing tutorials a couple of times. It turns out that, if you keep plodding on, you’ll get there in the end!
Keep an eye out for my next bathroom blog post soon – the room will start to look nicer soon, honest!
Some items in this blog post have been gifted to me and the pink links indicate a gifted product, affiliate link or information source. All thoughts and opinions in this post are based on my own experience and I am not responsible for your experience 🙂