Over the half term holiday I went on a bit of a DIY spree. First I finished grouting the bathroom (I’ll post some pics of the end result soon), then I wallpapered my office and finally I installed fitted wardrobes in the bedroom. And that’s exactly what I’m going to tell you about today, because I surprised myself with this one – it really wasn’t as difficult as I thought it was going to be.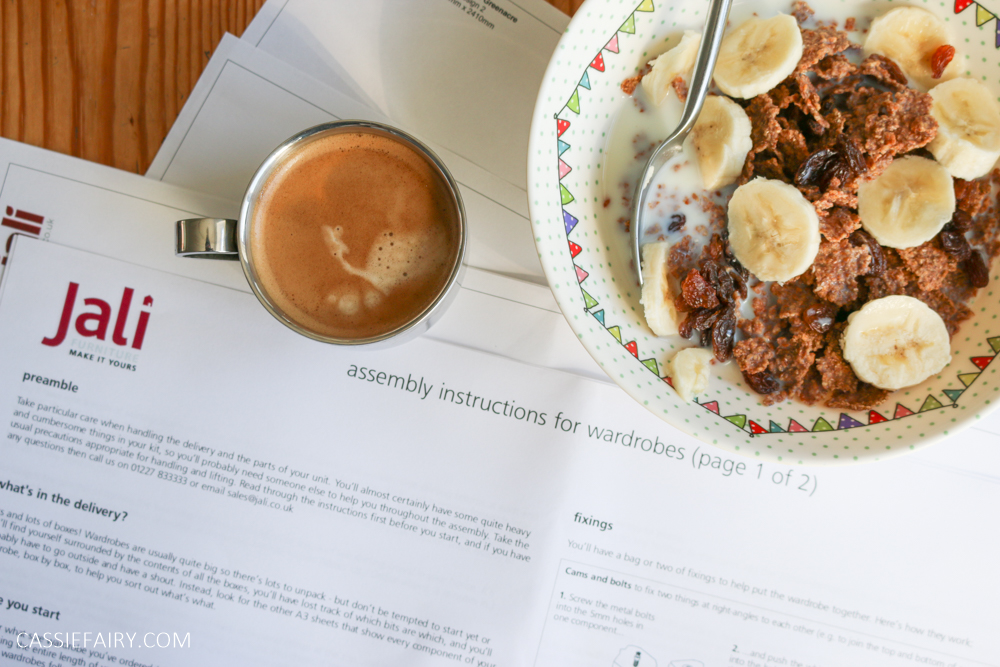
 You see, it turns out that you don’t have to hire a fitter or pay thousands of pounds to a do-it-all company – you simply need a little time, patience and to actually read the instructions to get the same fitted wardrobe effect in your bedroom.
 Sure, you can spend hundreds or even thousands of pounds on flatpack wardrobes from scandinavian furniture warehouses (you know where I mean) but no matter how many add-ons and extra storage solutions you add to your trolley, it’s still not really going to be a fitted wardrobe when you’re finished. The alternative (of spending thousands on a professionally measured and fitted design) doesn’t bear thinking about.
 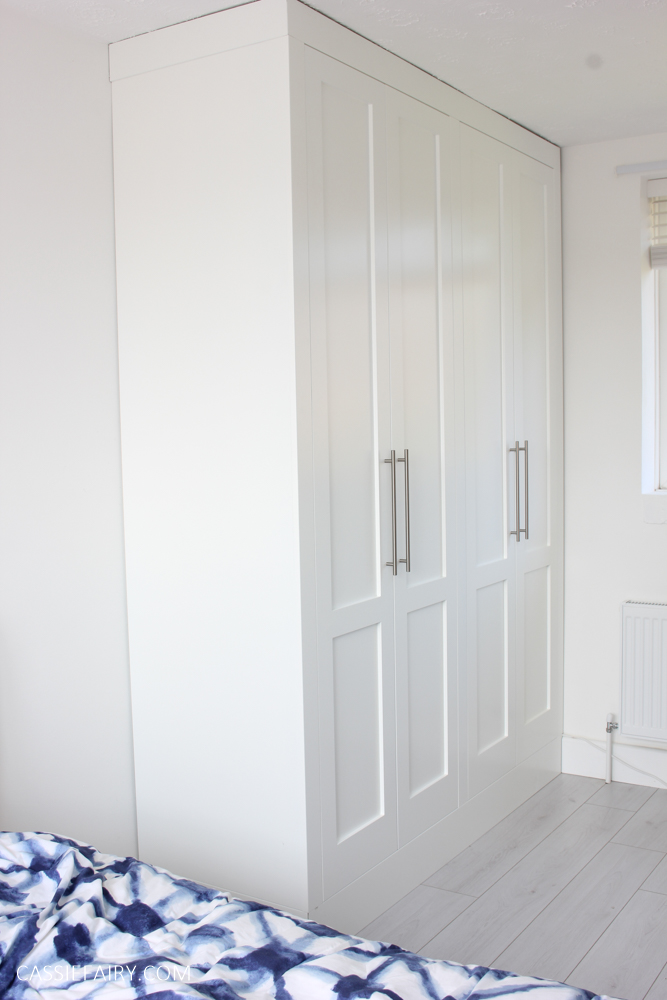 I knew I needed to sort out some kind of storage in my bedroom. After all, the little tallboy and chest of Stag drawers we have been using held less than half of our clothing, and didn’t really make the best use of the space. I wanted to maximise the amount of storage while maintaining a spacious feeling in the room. I can’t bear the idea of being hemmed in by huge wardrobes (and I hate the clutter caused by boxes and baskets dumped on top of the furniture) so it needed to fit the space perfectly.
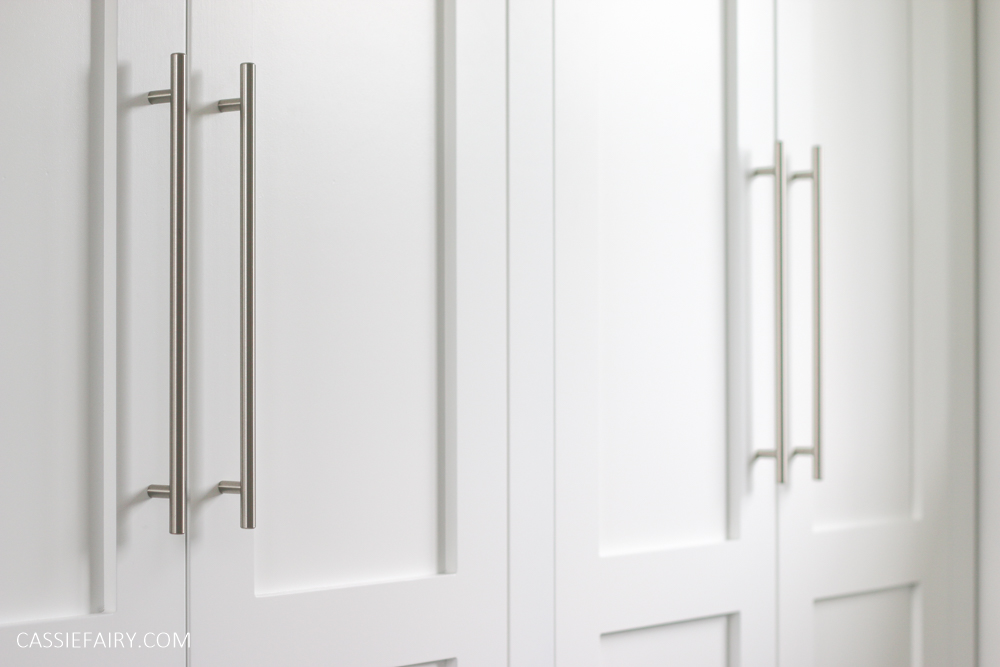
 Last month I mentioned that I’d discovered Jali, a manufacturer who was the best of both worlds; a bespoke fitted wardrobe, that would be delivered flat-packed. And best of all, it was at flatpack prices. For not much more than the cost of a Swedish flat-pack design, my wardrobe would be custom-made for the space, with the fittings and colour of my choice. I chose white to keep the room looking spacious, but it can be made in moss green, navy blue, deep red, mustard yellow and many many more colours to suit your home.
 One of the things that helps to bring the cost down is that you have to measure up the space and design the wardrobe yourself. No sales staff visit your home, and you can choose all the finishes – even down to the handles. You can therefore make the design as simple (and low-cost!) or as complex as you like. Considering that I already knew exactly what I wanted my storage to look like and had been searching for something off-the-peg to fit in, the designing process was a breeze – and I blogged about it here.
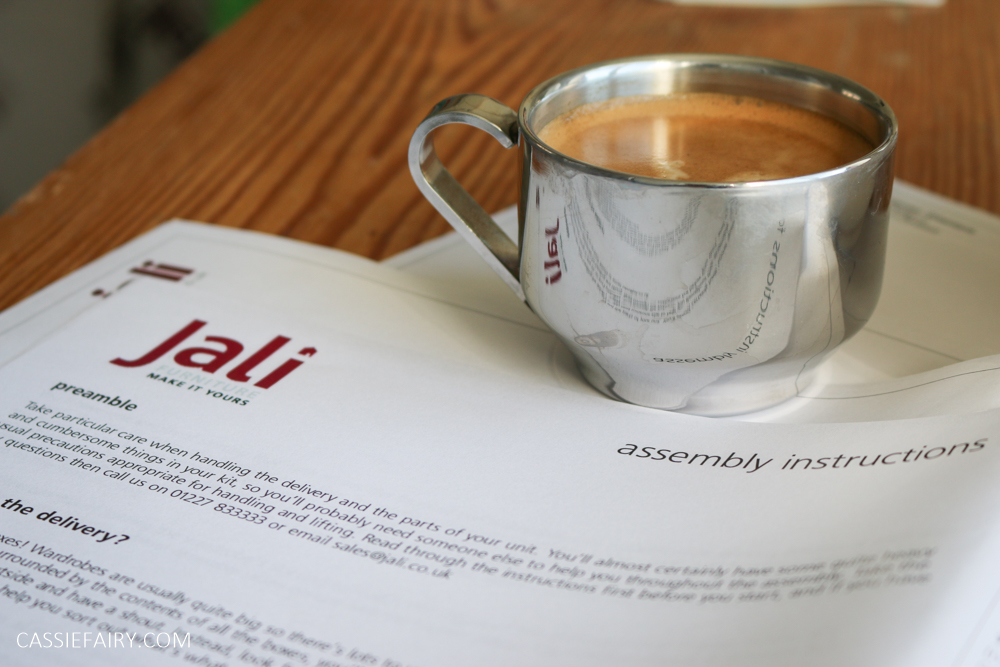
 After the design was submitted, I was emailed by Amy, who was my point of contact throughout the whole process. She sent over technical drawings and specifications of the wardrobe so that I could double-check all the measurements and confirm that I was happy with the configuration. I was given a delivery date and email updates came regularly, letting me know that the wardrobe was being manufactured, tested and prepared for delivery.
 She even sent over the assembly instructions and components drawings in advance so that I could familarise myself with them. I loved that the instructions were written in conversational language and I felt confident that we could tackle this project ourselves, even though it was a rather sizeable piece of furniture we were going to build.
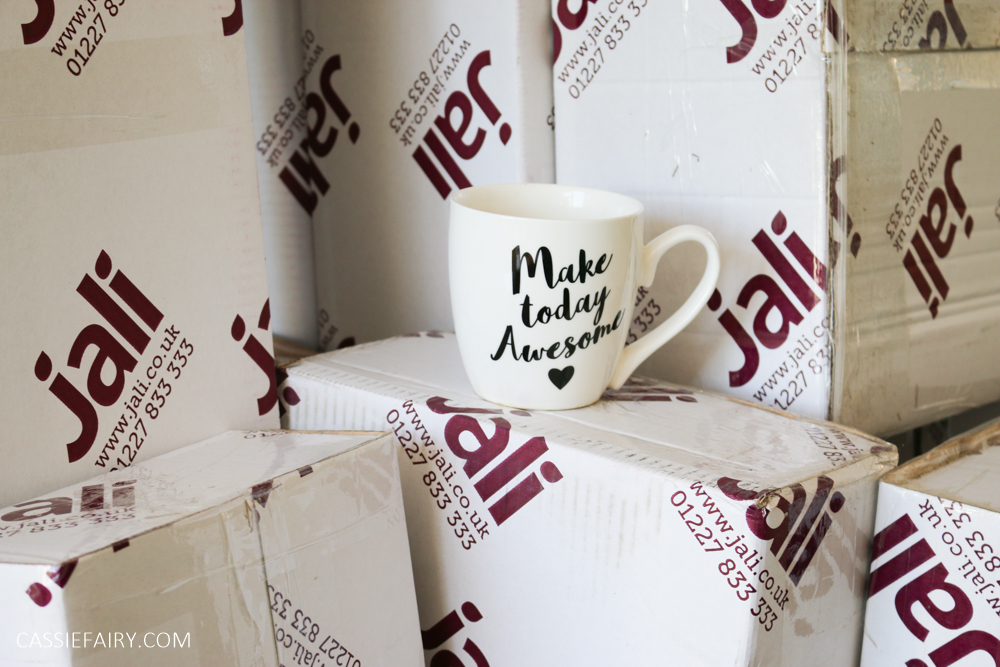
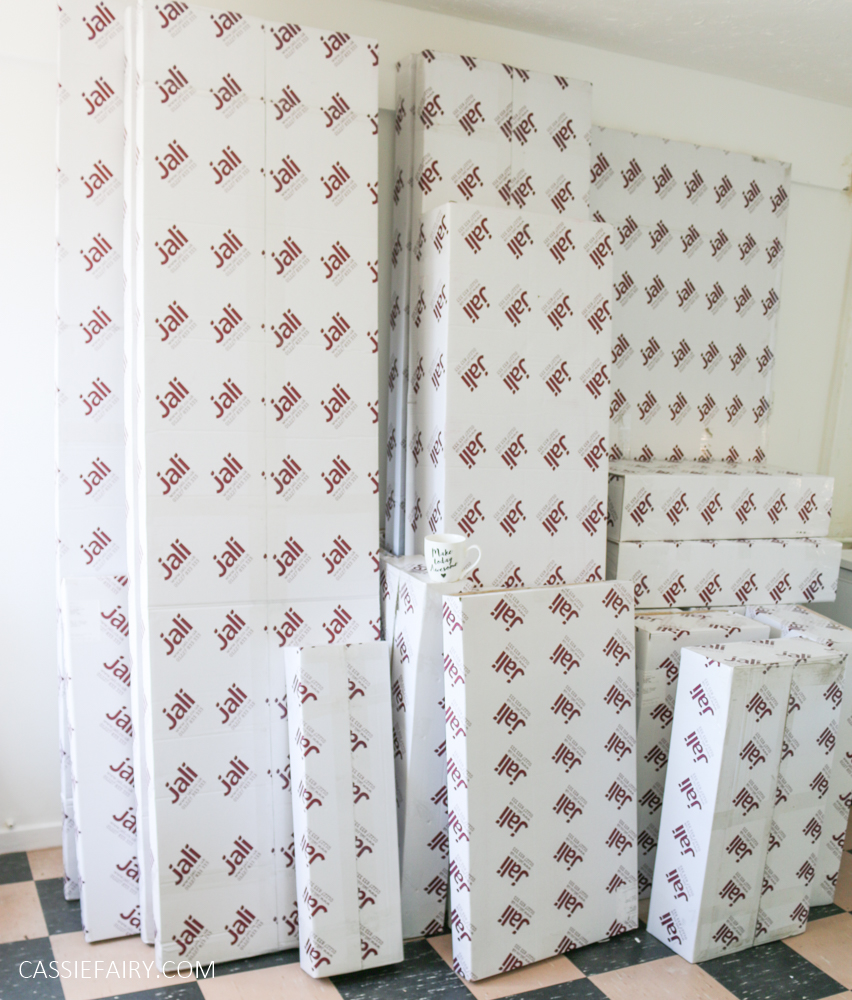 The delivery arrived on the right day and at the time quoted – very rare! And I can honestly say that the Jali driver was one of the best ever, and that’s saying something because we get a lot of deliveries here. He helped to carry the surprisingly large quantity of boxes up our long path and into the house. He knew so much about the company (telling us about the film sets and stage projects that Jali have worked on) and took a lot of care with the boxes, even though they were SO well packaged that even a baby elephant probably wouldn’t have caused much damage to them.
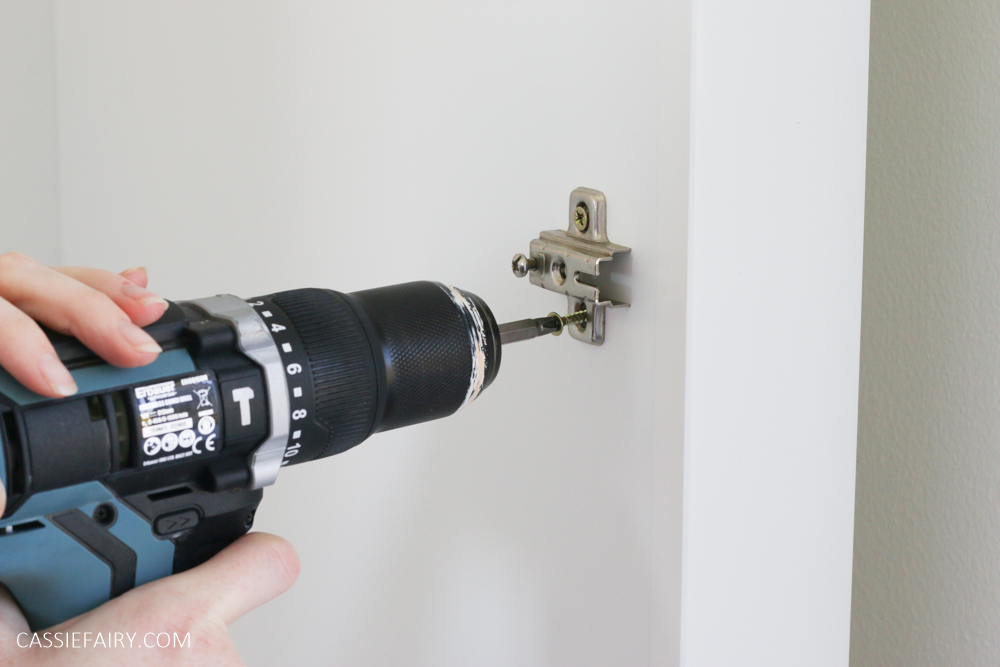
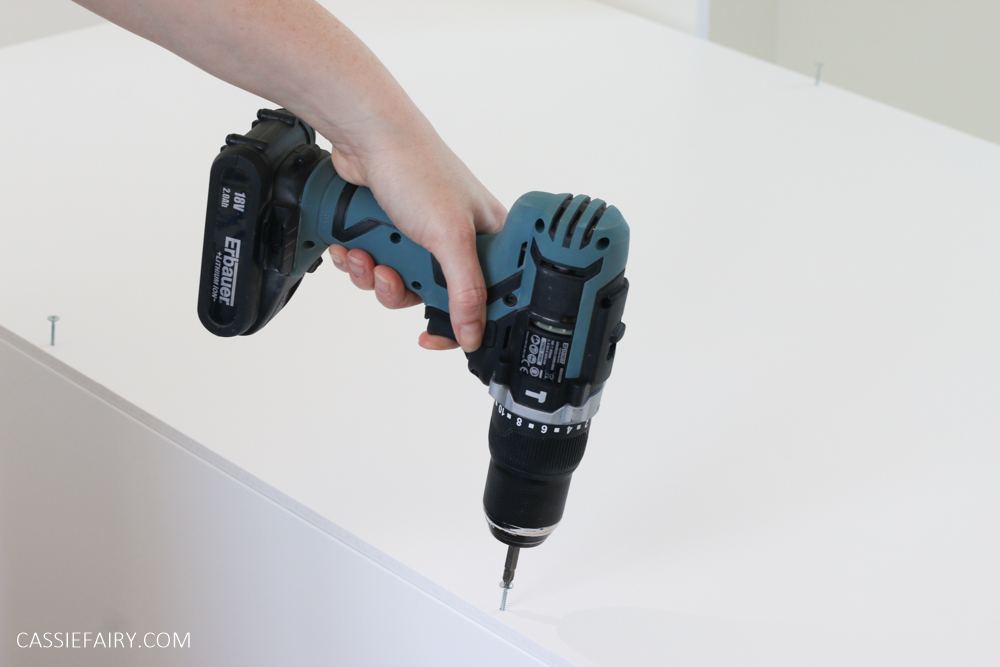 My tips for the day of installation is to have scissors to open the packaging (there’s so much, but thankfully it’s recyclable), a fully-charged drill with screwdriver bits, and plenty of cups of tea! Honestly, the most difficult part of the process is figuring out which piece is in what box, so take your time and double-check that you’ve got the right pieces before screwing into it.
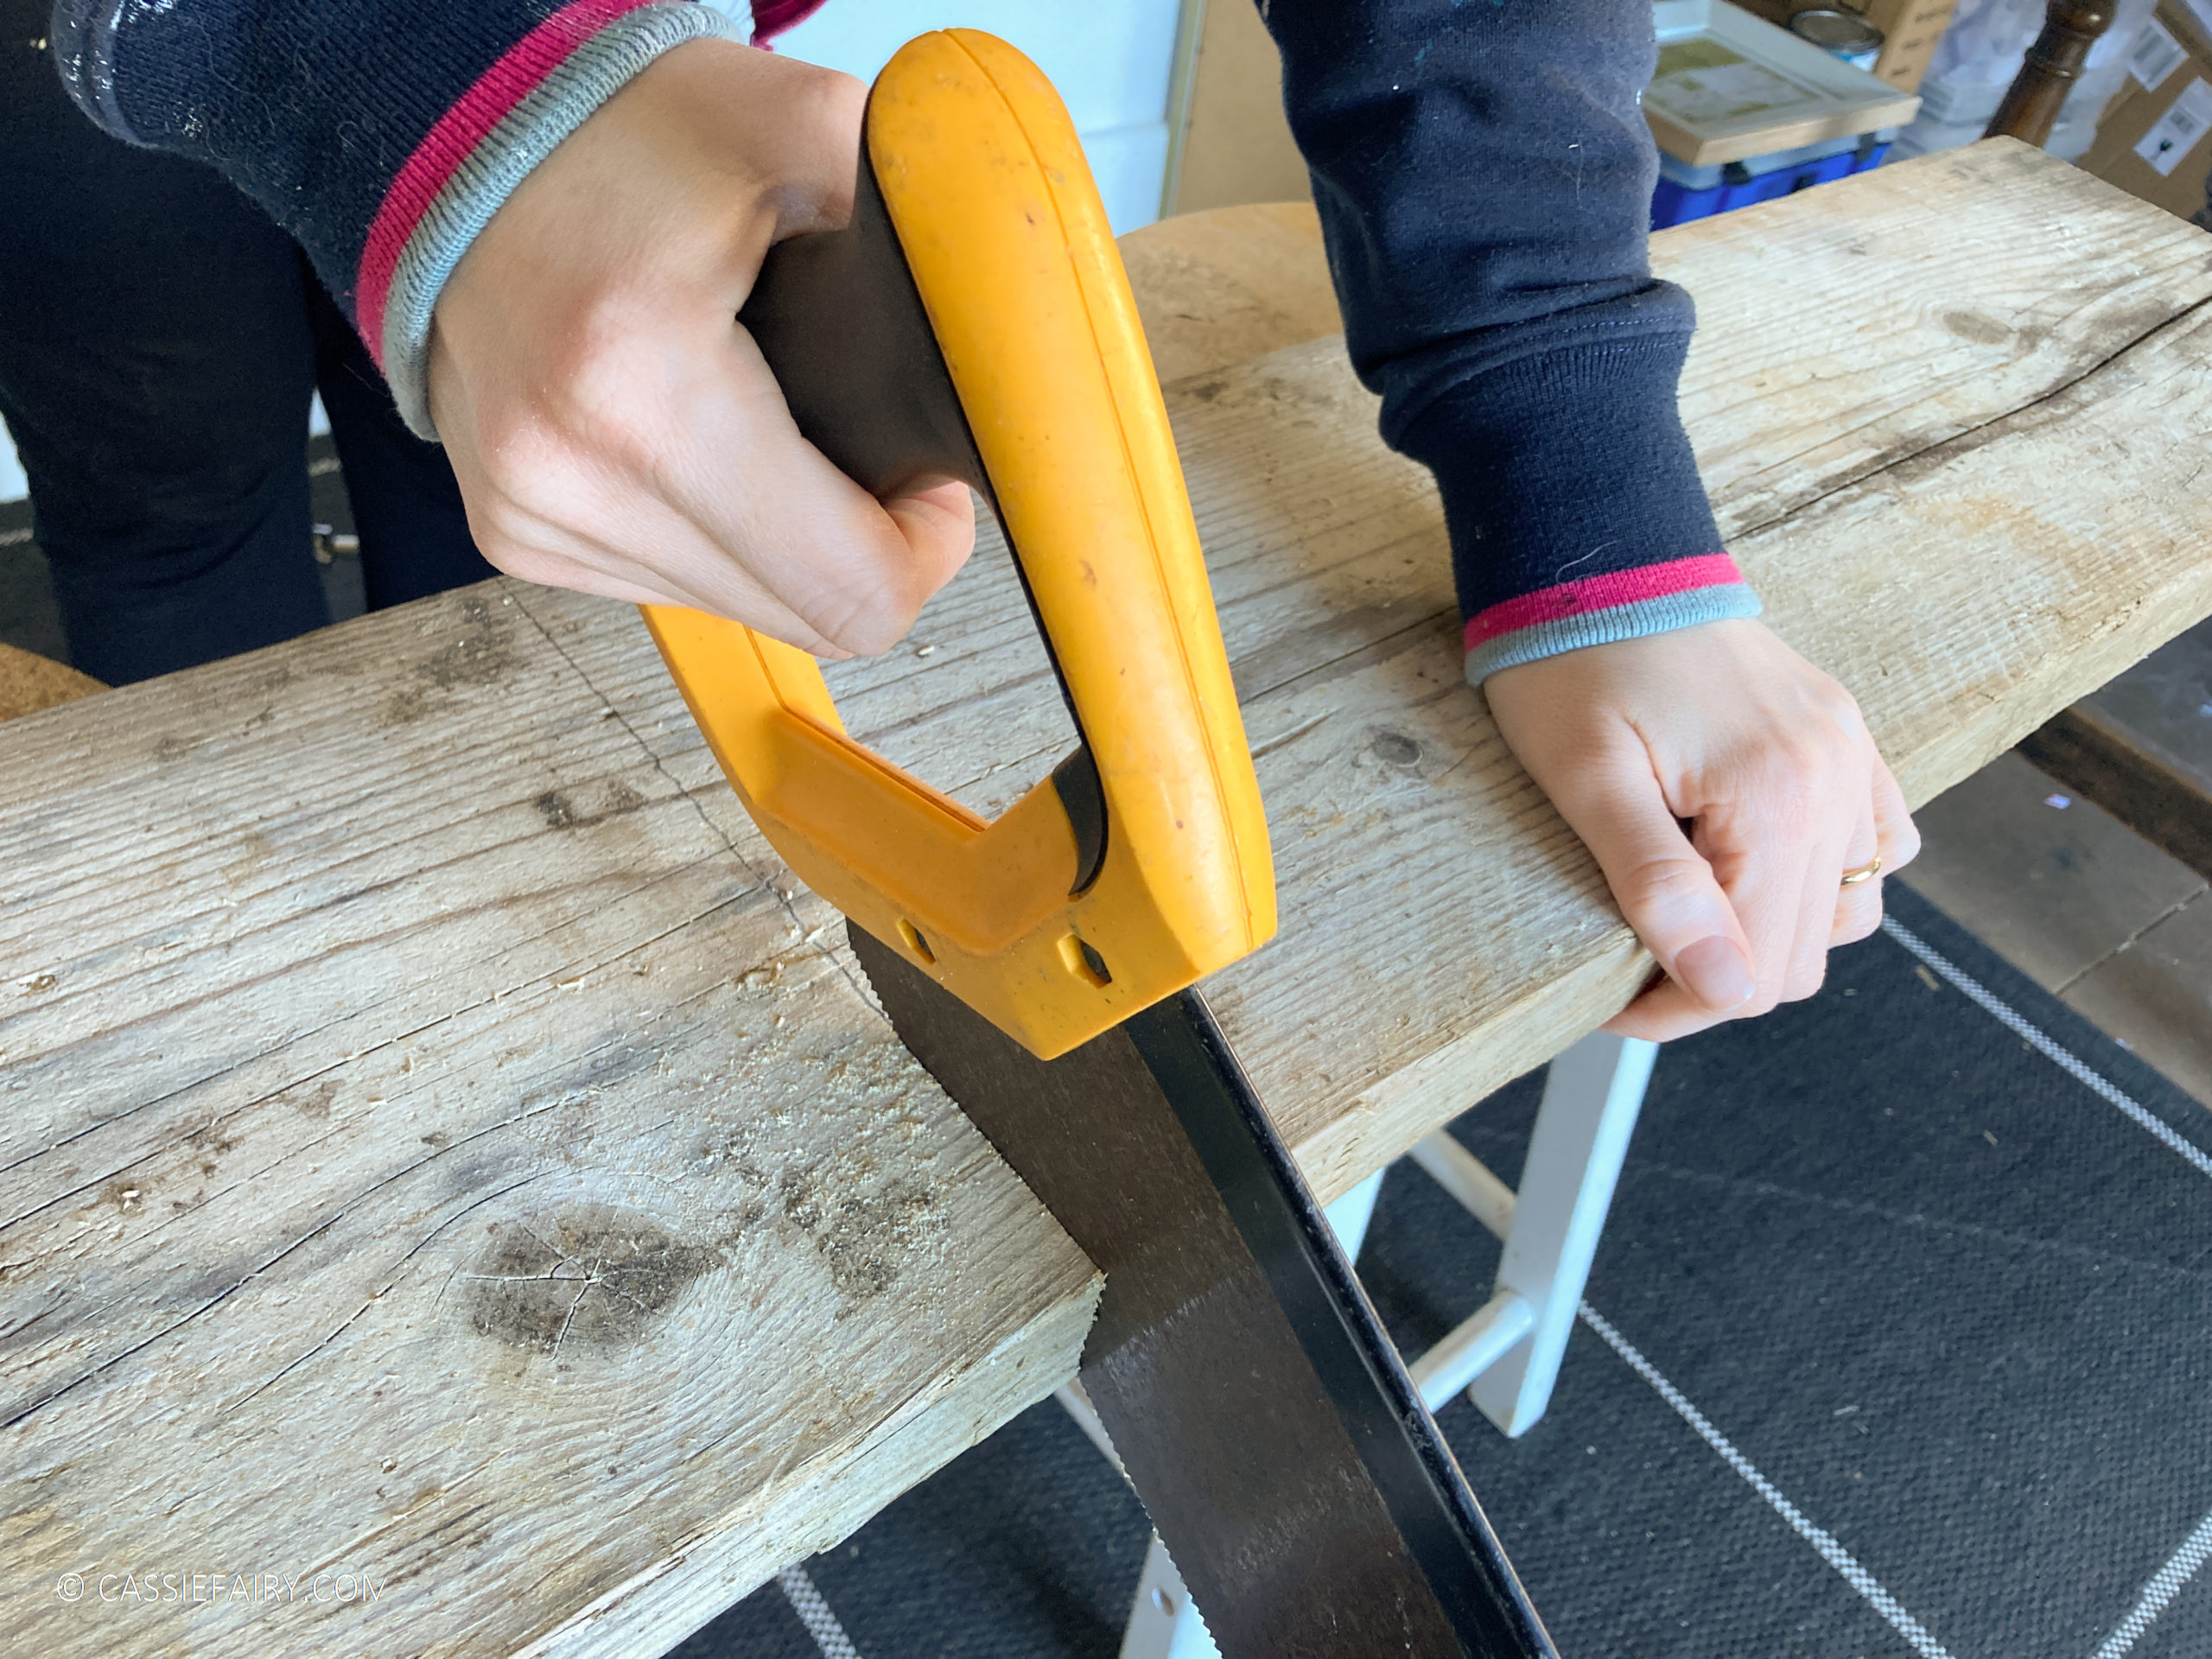
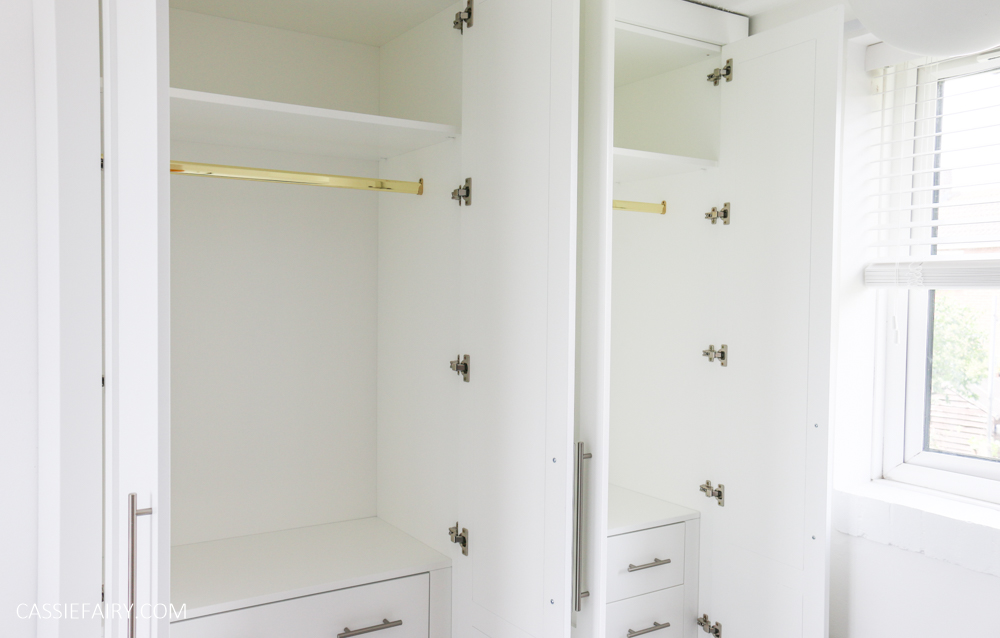
 I couldn’t have put the wardrobe together myself, but between hubby and I, we easily got the structure built in a few hours. I even got to screw some bits together and there wasn’t any tasks more difficult than a standard flat-pack piece of furniture. But the difference is the end result; with the skirting, plinth and end pieces, the finished wardrobe looked like it was made for the space. Which, let’s face it, it was.
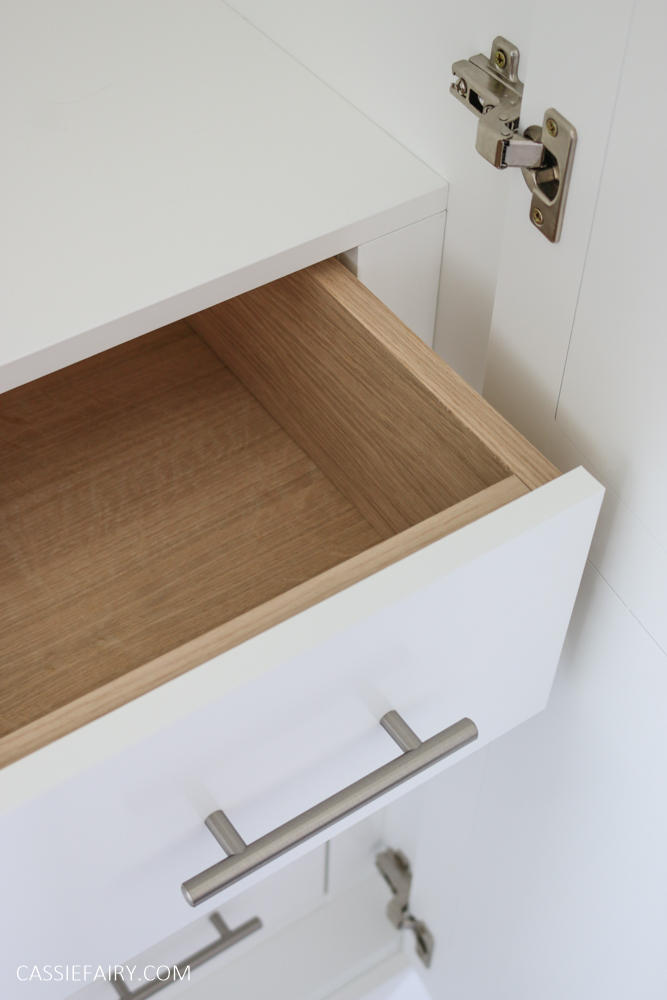
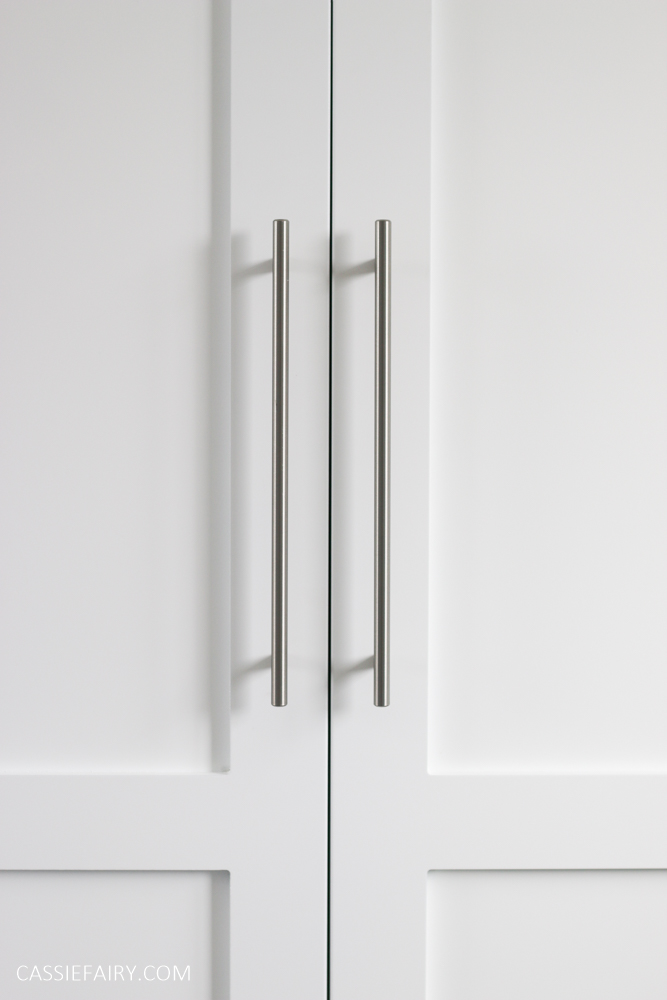 But what I mean is that it filled the entire wall with storage and looked (and feels) like an expensive fitted wardrobe. Nothing like a flat-pack I’ve ever come across before. We added pounds to the design by including chests of drawers inside the wardrobes but I’m so pleased that we did; it made such great use of the space and the soft-close mechanism on each drawer is a delight and it puts a smile on my face every day.
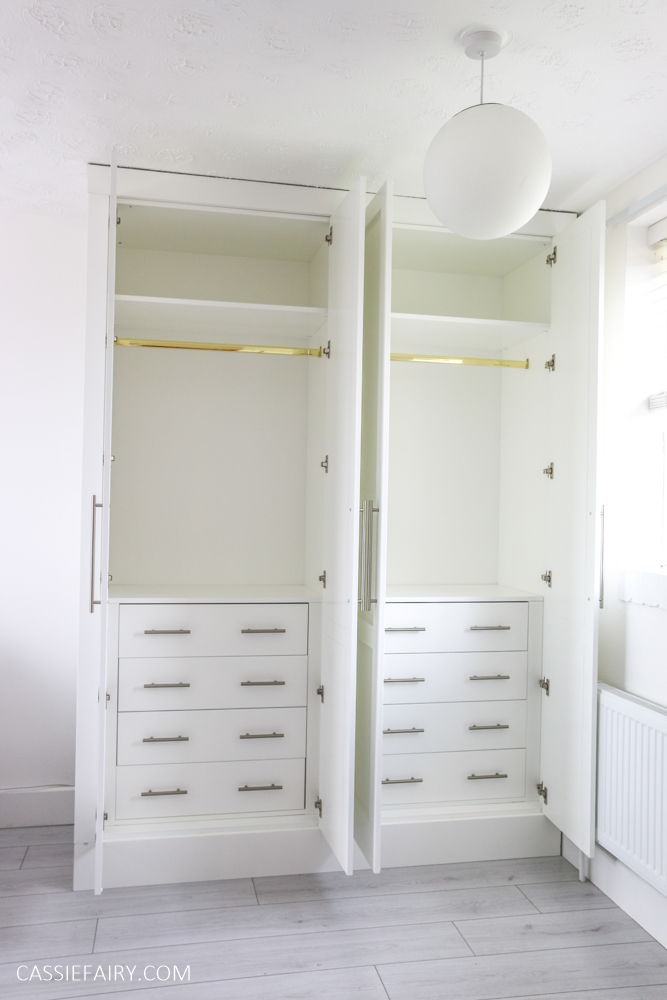
 I’m so pleased that all my clothing, shoes and accessories have a home now and, in fact, I’ve got a bit of space left over in my side of the wardrobe, which sounds like a good excuse to go shopping if you ask me! Plus, I’ve since found out that Jali make dressers, radiator covers, bookcases – and I can even get a made-to-measure cabinet for my bathroom for less than £100 – so I’m definitely going to be shopping with them more in the future.
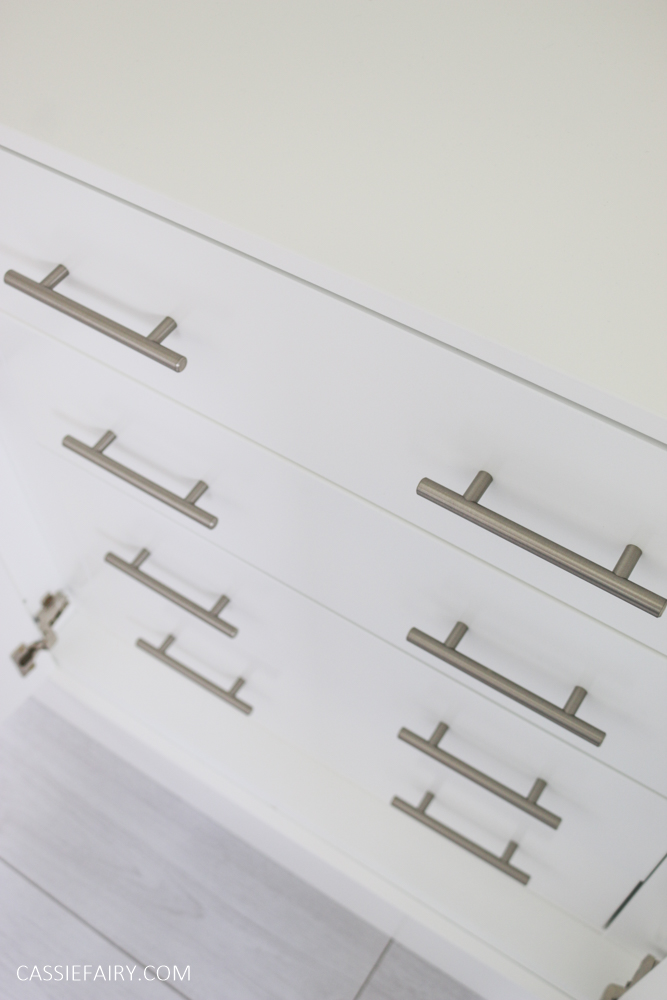 Thanks very much to Jali for their help and support throughout this project, it felt like a true collaboration from start to finish. I’m so pleased I could share my honest experience of working with this company with you and hope that you’ll check out Jali.co.uk for yourself.
Some items in this blog post have been gifted to me and the pink links indicate a gifted product, affiliate link or information source. All thoughts and opinions in this post are based on my own experience and I am not responsible for your experience 🙂