Another day, another DIY and today I’ve been renovating an old pet bed for my cats. What kitty doesn’t want a cosy knitted pillow to sleep on and fluffy pom-poms to play with? Here’s how to give your pet’s basket a quick makeover that matches your decor, too…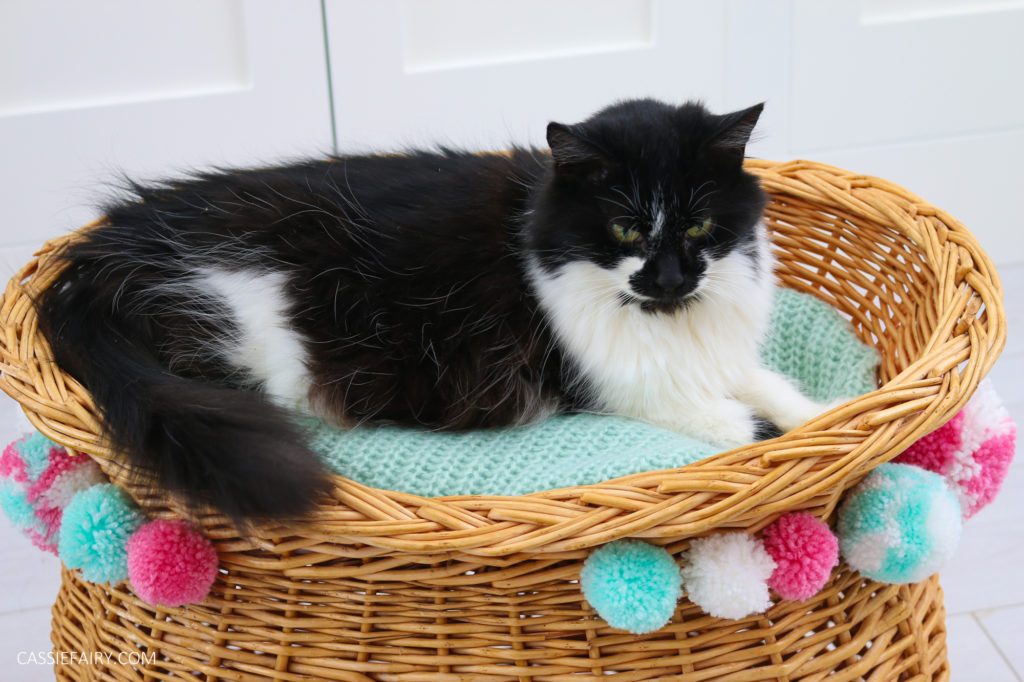
Don’t your pets deserve the best? If you’re anything like the me, you’ll want to give your fur-babies the nicest food, toys and treats. And when it comes to bedtime, it’s likely that they’ll be taking over your bed while you make-do with a tiny sliver of pillow. Okay, I admit it, my cats are spoilt well loved.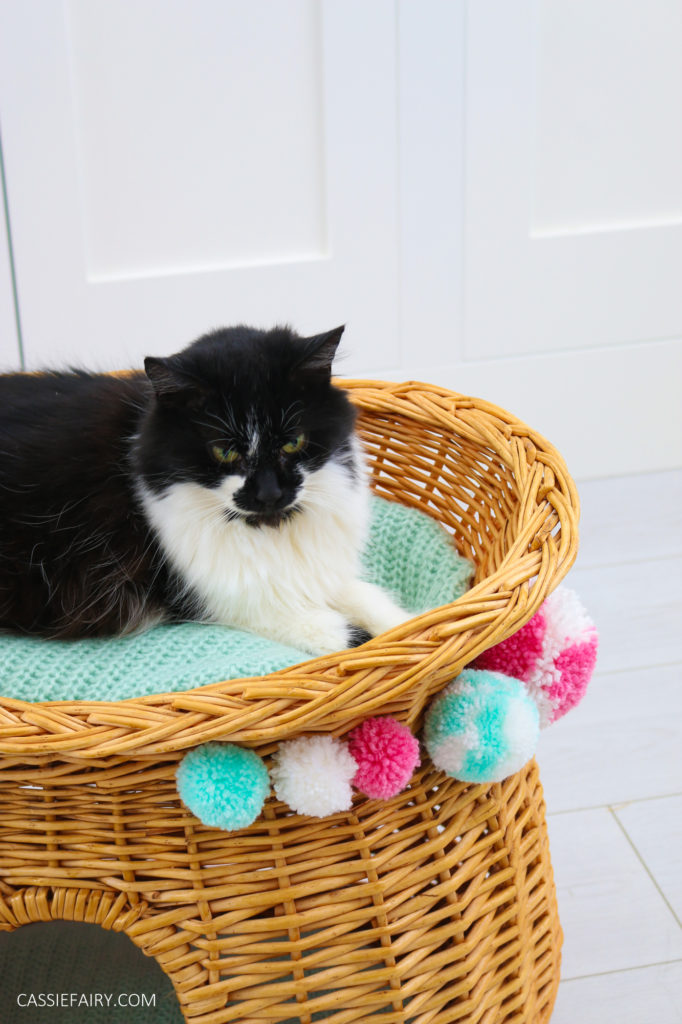
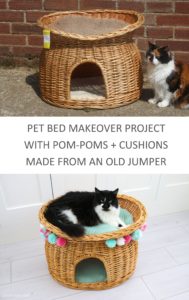
So, when I spotted a double-decker cat bed in my local Barnardo’s charity shop, I snapped it up. As a two cat household, I often find my pets fighting over the best spot to snooze, so this would be the ideal solution. One cat inside and another on the top. Everyone’s happy.
The basket had it’s original fluffy liners that had certainly seen better days and I wasn’t sure about bringing another cat’s scent into the house. Even if it had been washed, I’m sure Cookie would have sniffed it out and would stay well-away from the basket. So I decided to make some new pillows for the basket.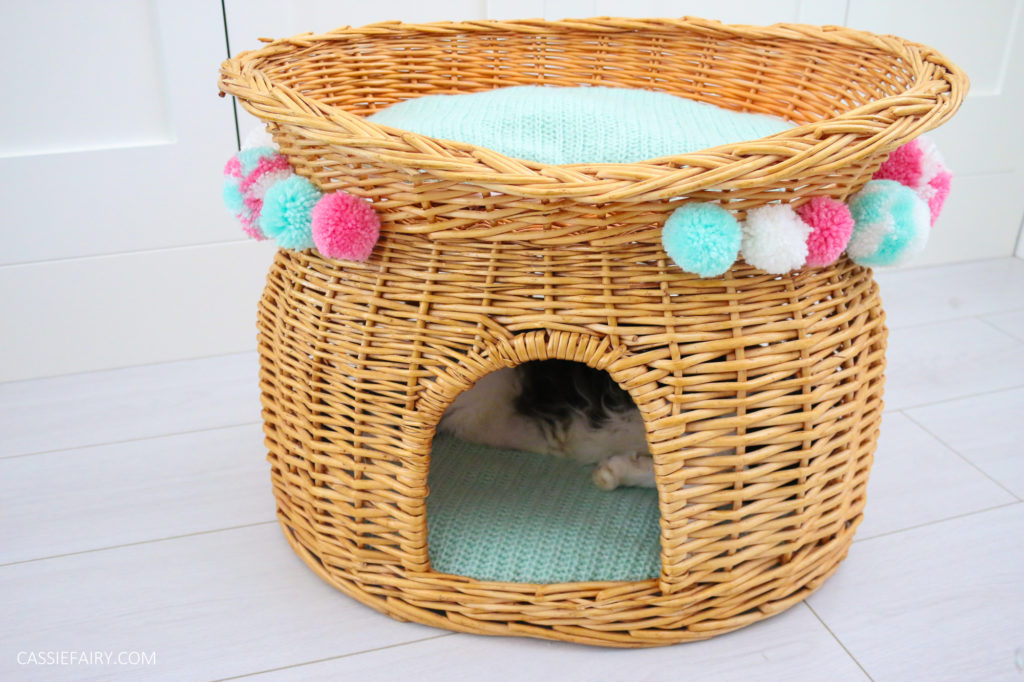
While I was shopping in Barnardo’s, I decided to have a look for some fabric to make the pillows with. Then a thought hit me; surely clothing is just fabric? I checked the sale rail and sure enough I found a lovely large knitted jumper in mint green wool that I knew would be a great colour match for my home office decor.
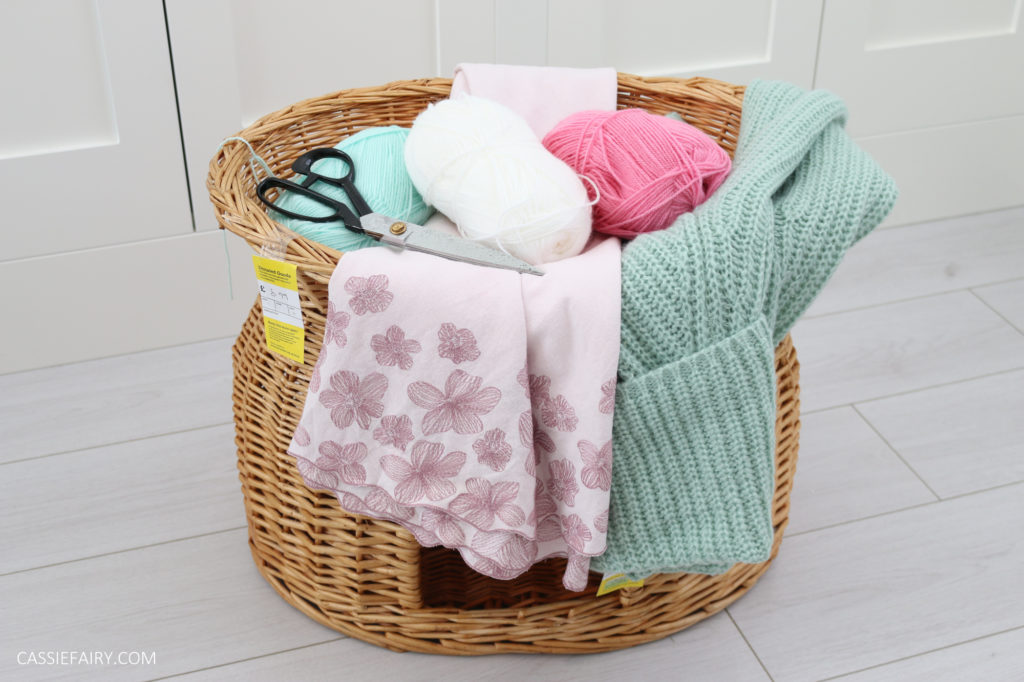
All I needed now was some fabric for the back and it needed to be a structured fabric like cotton or linen so that it wouldn’t stretch out of shape when I stitched the jumper to it. I found a long linen skirt in a pastel pink hue for just 49p and there was more than enough fabric to cover the base of the basket. Hurrah, I had my fabrics and my basket so I headed home to get started.
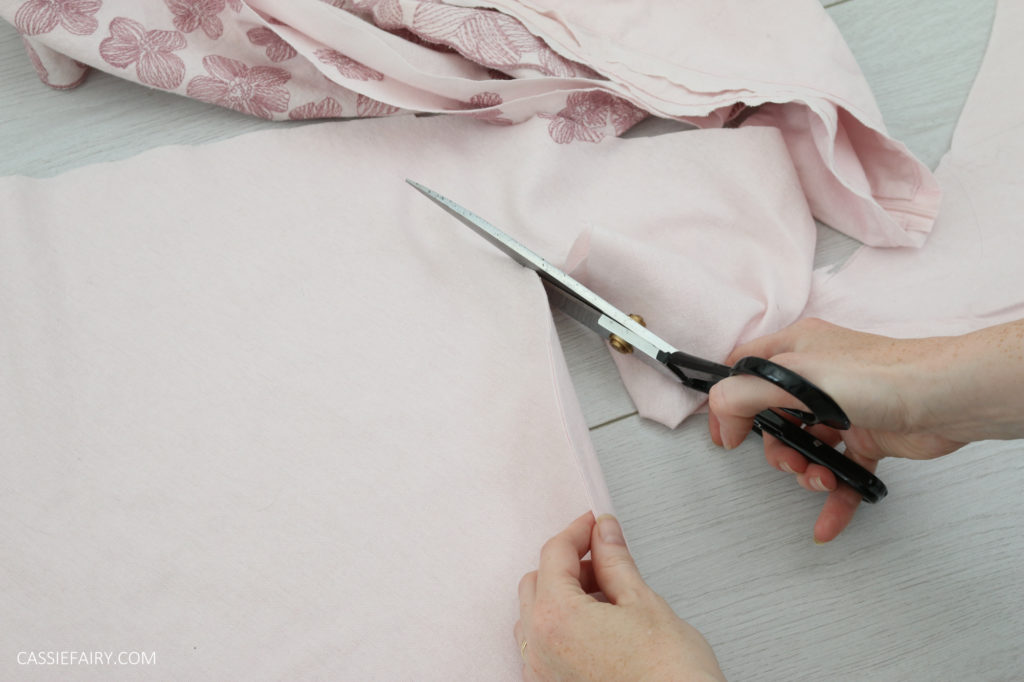
The first step was to create a template for the shape of the basket so I used paper to cut out an oval shape that fitted inside. I cut this out of the linen fabric, adding a seam allowance all around the edge. The top basket is slightly smaller so I adjusted the paper template to fit and then traced the shape onto to the linen and cut it out.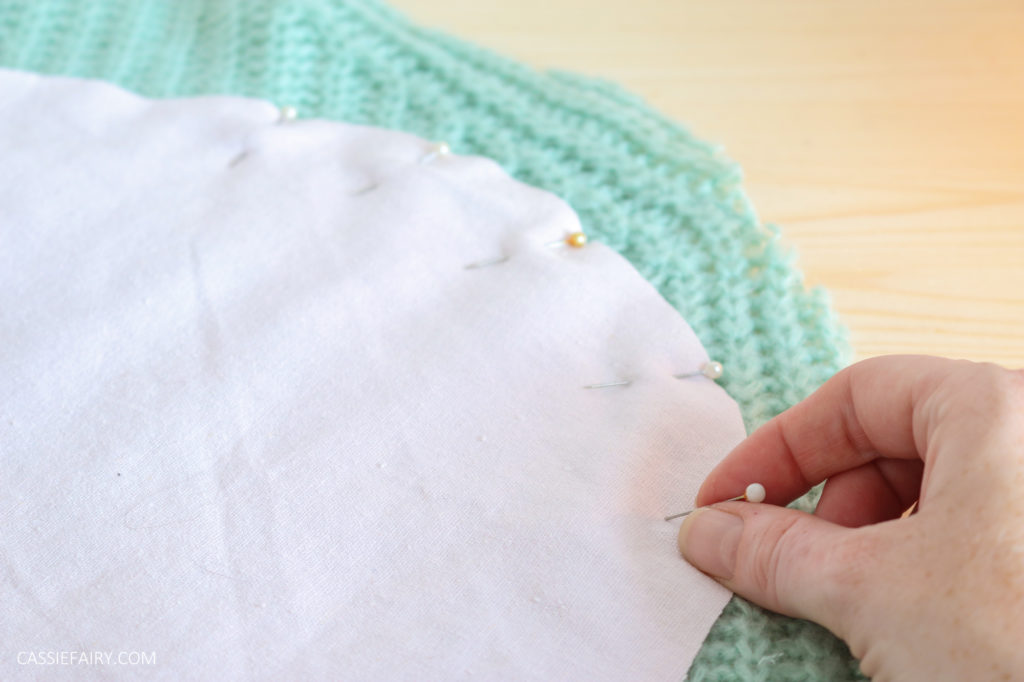

I then cut the arms and turtleneck off the jumper and opened out the front and back into two pieces of knitted fabric. I then pinned the ovals onto the jumper, ensuring that the cable-knit was right-side up and running straight across the oval so that it would look neat when finished. I used the sewing machine with a short straight stitch to sew all the way around the edge of the oval, leaving an opening to get the stuffing in.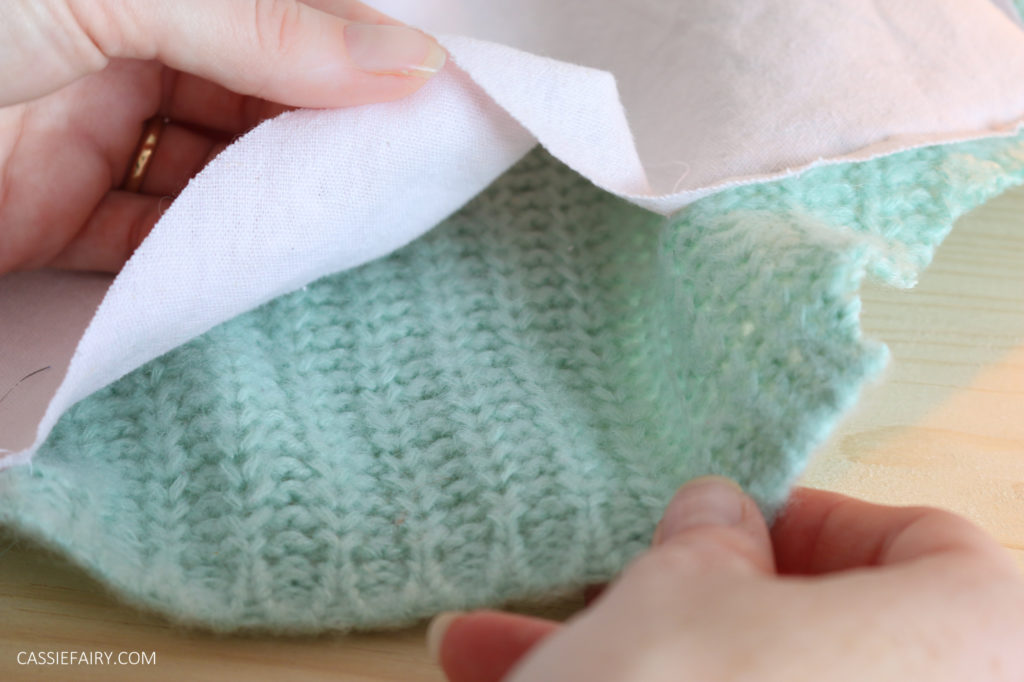
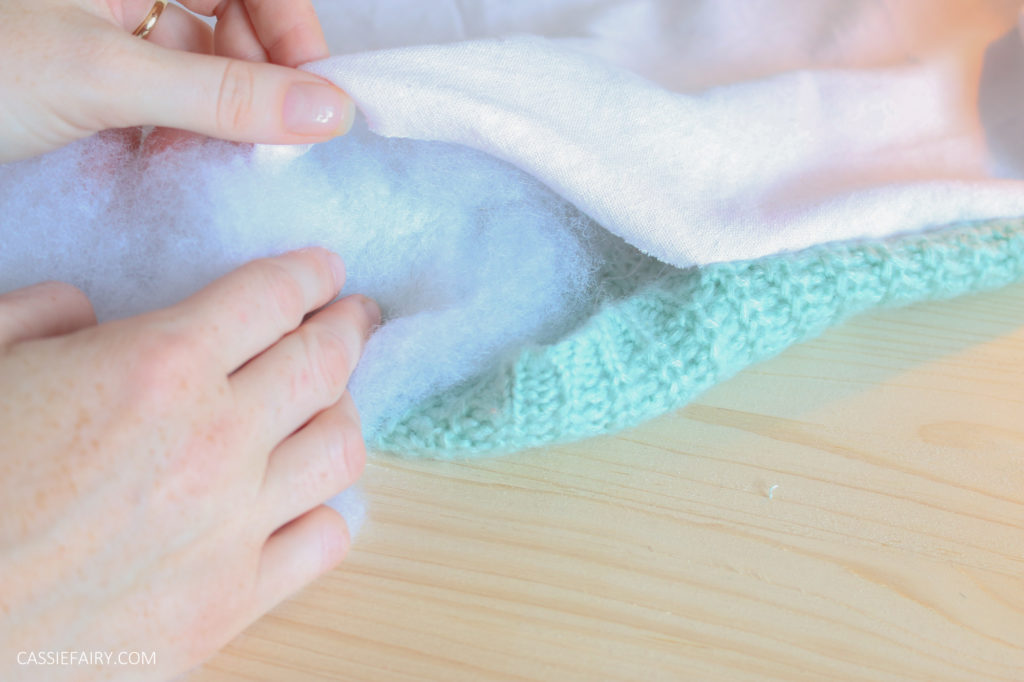
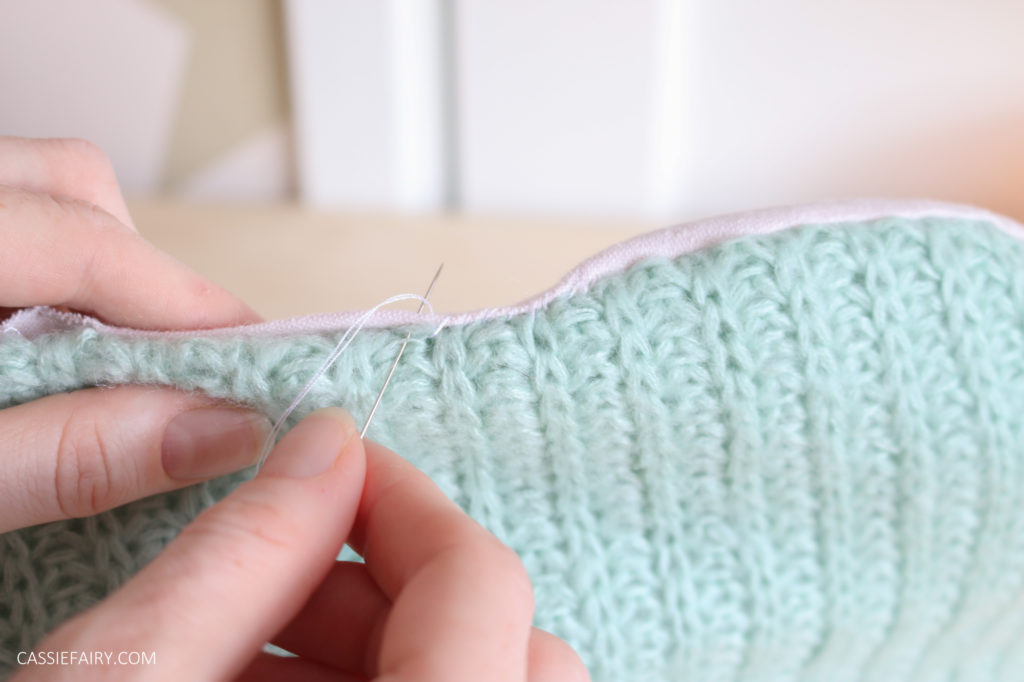
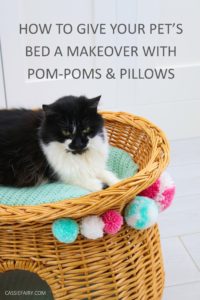
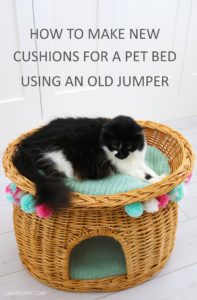
I trimmed away the excess jumper from around the edges of the oval and then turned it right-side out and used an old cushion to slightly stuff the pillow to make a flattish oval cushion. I then hand-stitched the opening closed and popped them into the basket.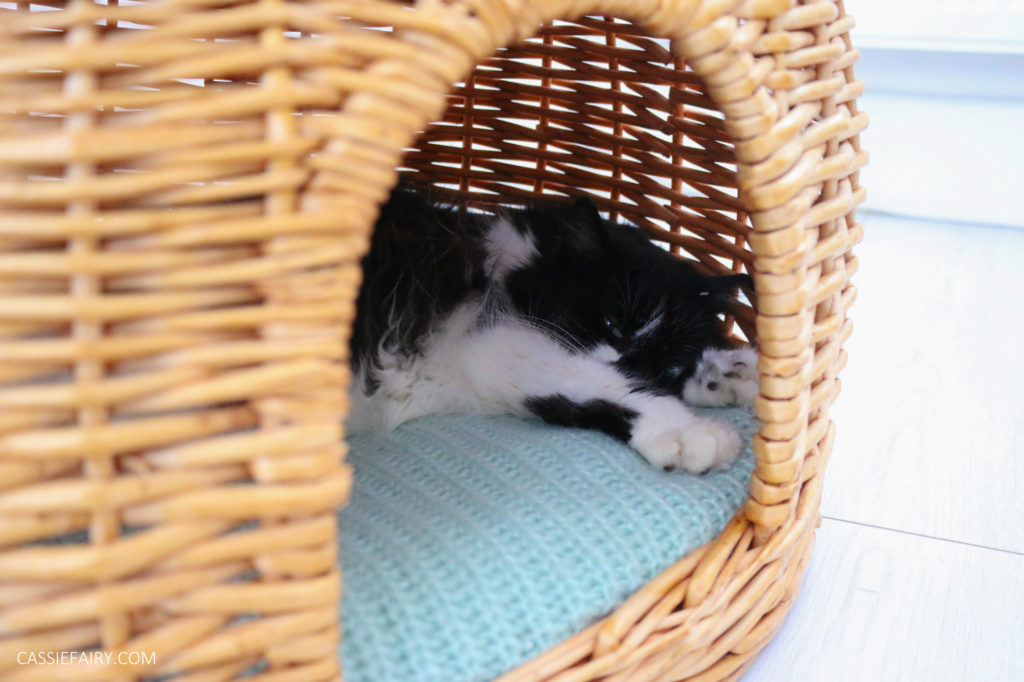
As soon as I pushed the pillow into the basket Cookie crawled inside. In fact, she pretty-much pushed me out of the way to get in! At least I know that she likes her new bed; she wouldn’t leave it alone long enough for me to take photos of the finished basket without her in it.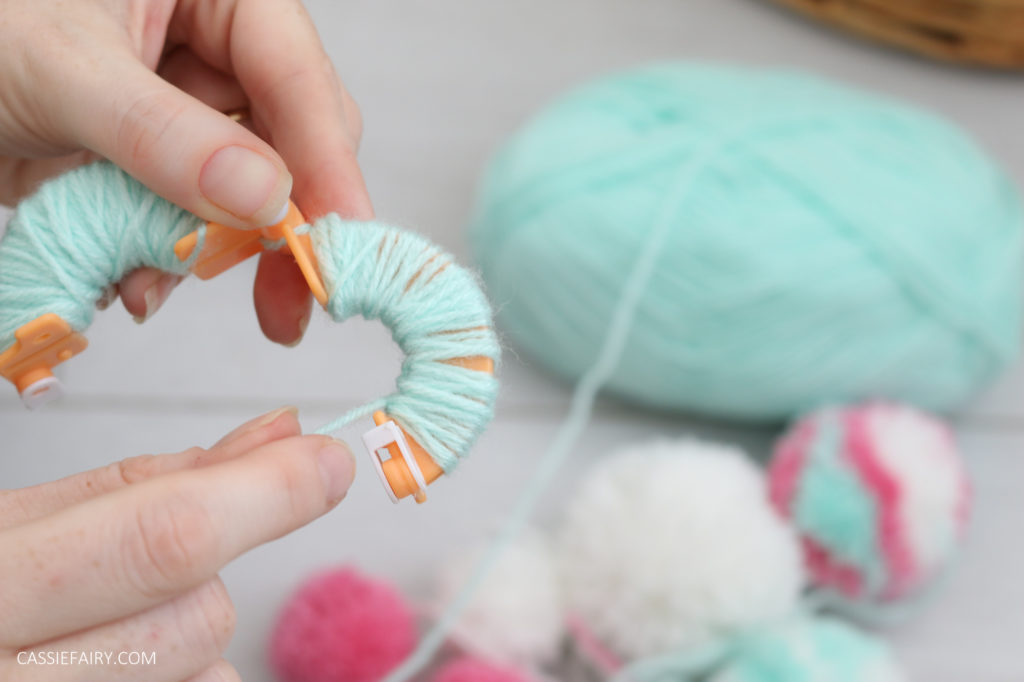
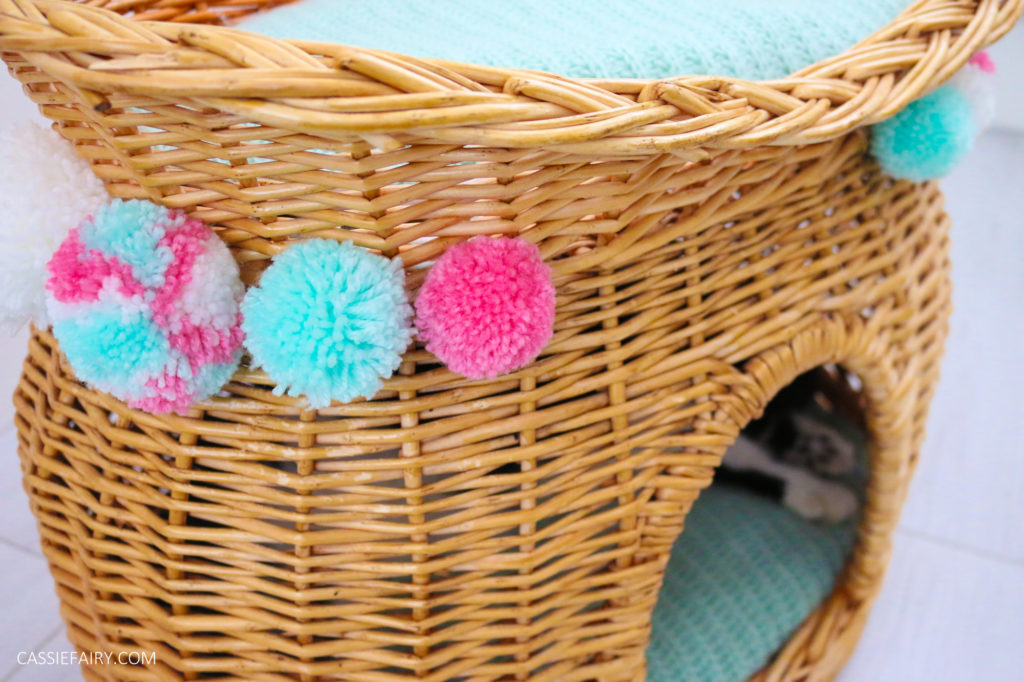
I wanted to decorate the sides of the basket with pom-poms so I used some pom-pom makers to create fluffy balls in a variety of sizes and colours. Hubby got the the pom-pom makers for Christmas a couple of years ago and I’d never used them so it was fun to see just how quickly I could make pom-poms. There’ll be no stopping me now!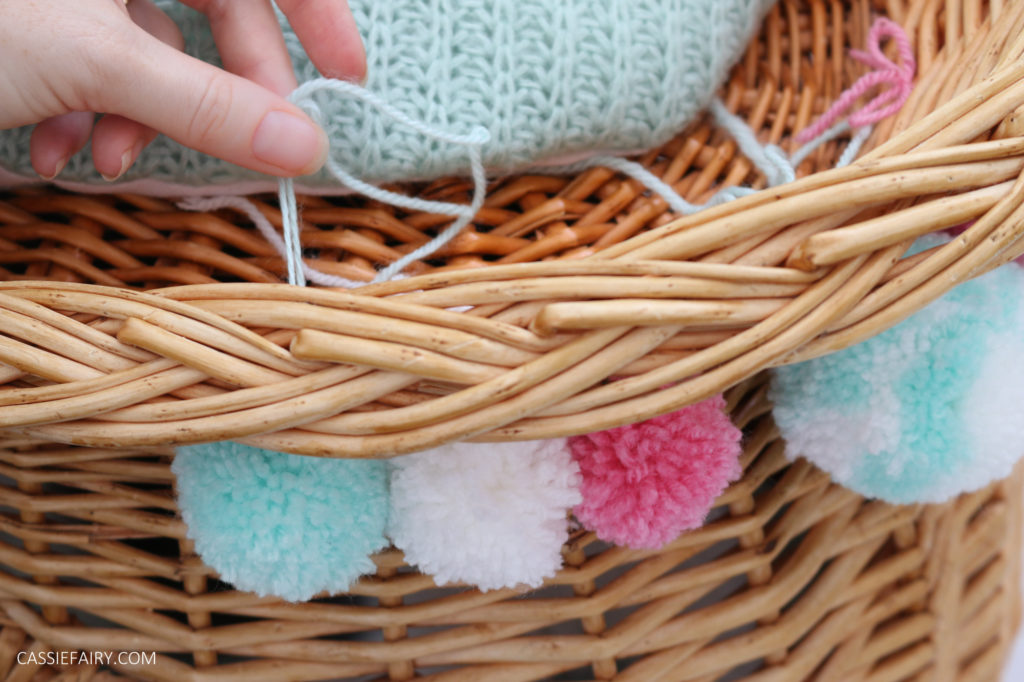
I created the mixed colour pom-poms by wrapping layers of different coloured wool around the pom-pom maker and I really like the rippled effect it. I used the ends of the wool to tie the pom-poms onto the cat bed, poking them through the woven basket and tying them on the inside. Even while I was trying to attach the pom-poms to the basket, Cookie starting batting them – she’s so playful!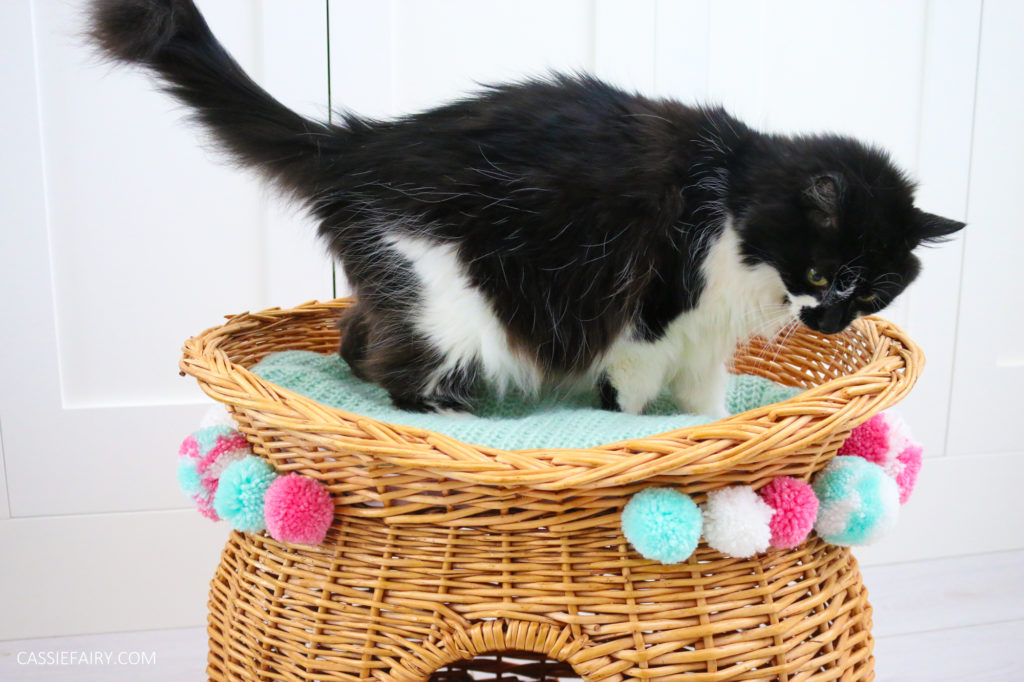
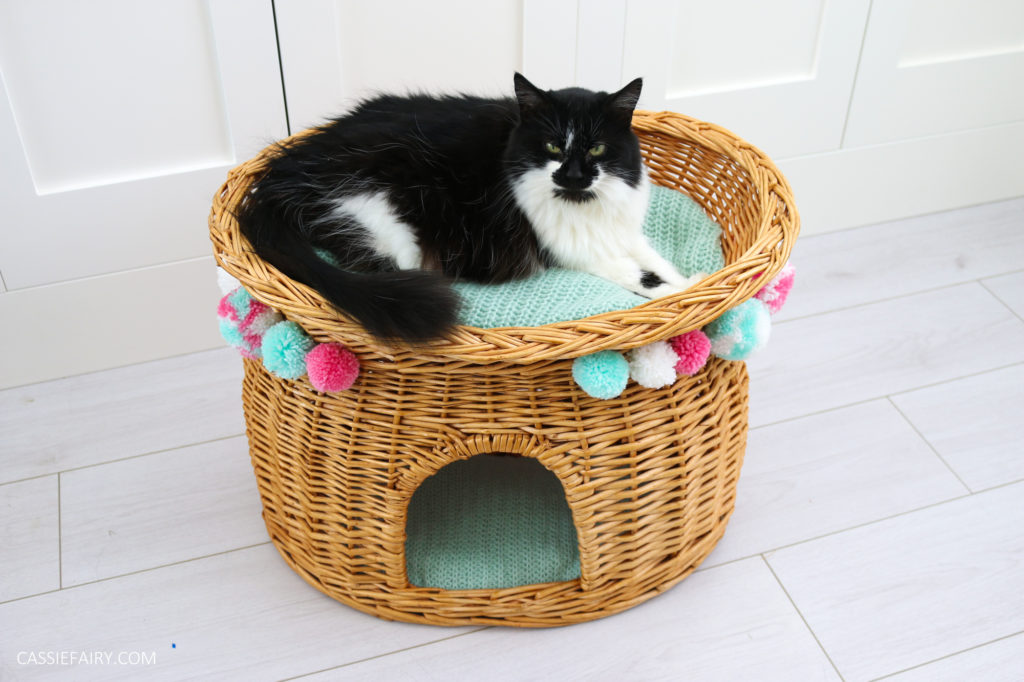
So there you have it; a quick pet bed makeover in pretty ice-cream colours to match my home office. And two very happy cats who slept in the basket all night last night, hurrah! I hope this post has given you ideas for giving your pet’s bed a makeover and that you’ll consider upcycling some clothing next time you need some fabric for a project. And don’t forget to pop into a Barnardo’s store near you soon!
PIN THIS PROJECT FOR LATER…
I’m proud to support Barnardo’s and I hope that you’ve enjoyed this thrifty upcycling project where all the materials were sourced from the charity’s store.