If you are looking for new ways to spruce up your interior without breaking the bank, changing the window treatments is a quick fix. Switching out the curtains for something lighter or putting up blinds can change the atmosphere of your room or home.
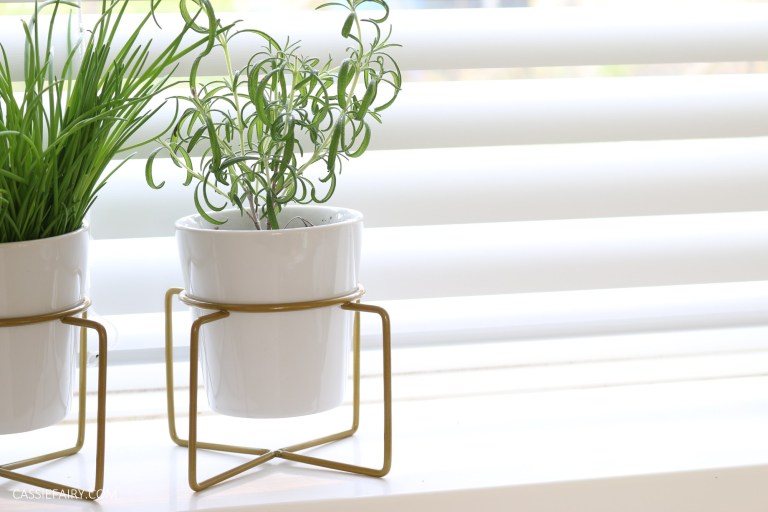
Blinds can make the room feel more spacious and allow much more light into the room, so you just need to decide on the type of blind and the perfect colour to suit your decor. At first glance blinds may seem complicated to fit, but you don’t need the help of a professional. With the right tools, it’s easy to install window blinds yourself. All blinds come with fitting instructions, so be sure to follow all the instructions that the manufacturer suggests for safety. The following steps are just to give you an idea of how easy it can be to fit new blinds, not to replace the manufacturer’s instructions…
1 MEASURE PROPERLY
Don’t just go buying any blinds that catch your eye. It’ll just be a waste of money to get blinds if they don’t fit your windows properly. The first thing you need to do is to measure your window size and that will be determined by whether you want to blinds to hand inside or outside the window recess.
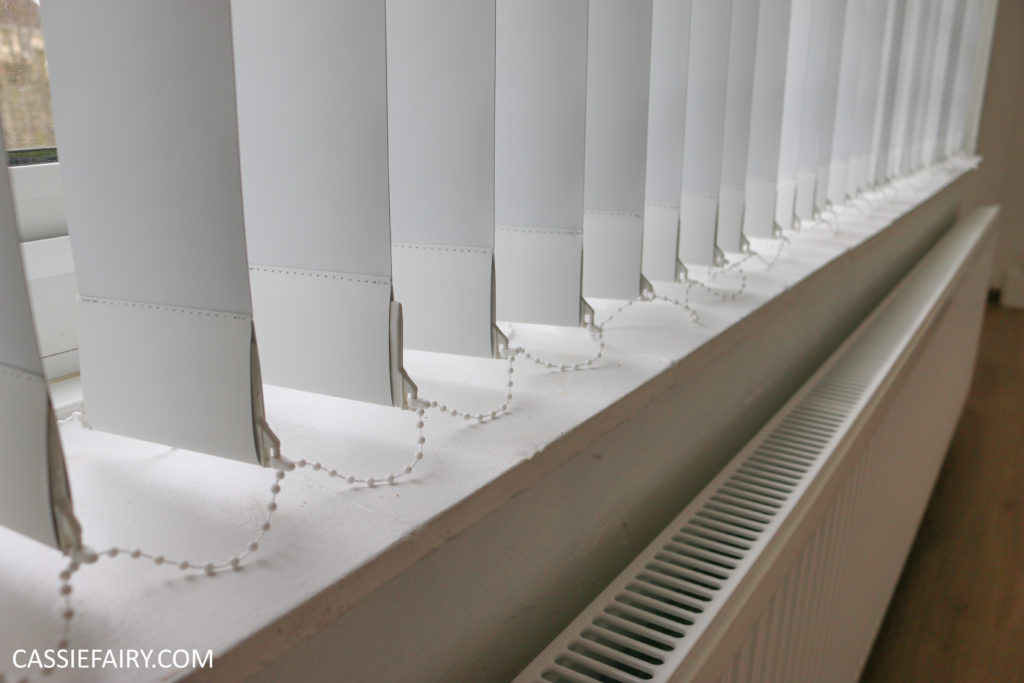
You might opt to put it on the outside of the recess to block out more light when the blinds are closed and it can also help to give the illusion that your windows are larger than they are. I’ve fitted my own blinds within the recess as it keeps all the fixings tucked out of the way (which is handy in a kitchen) and makes the room feel bigger as there’s nothing hanging on the walls. Once you have the measurements, buy the right size of blinds and get started!

2 THE RIGHT TOOLS
Before you go about installing your new blinds, make sure that you have everything you need. If your windows are high, you will need a stepladder. Aside from that, you will, of course, need a measuring tape, a pencil to make your markings, and a drill. The screws and brackets you need should already be part of the package with the blinds. Unpack the box to see that you have all the parts needed before you get started.
3 MARK YOUR BRACKETS
Now, hold the blind up to the window and make a mark on the wall or recess where the brackets will be placed. You’ll probably want to ask a friend for help holding up the blinds, as you may have a hard time keeping the blinds level while making the mark at the same time. Mark where the holes are in the brackets so that you know where to drill.

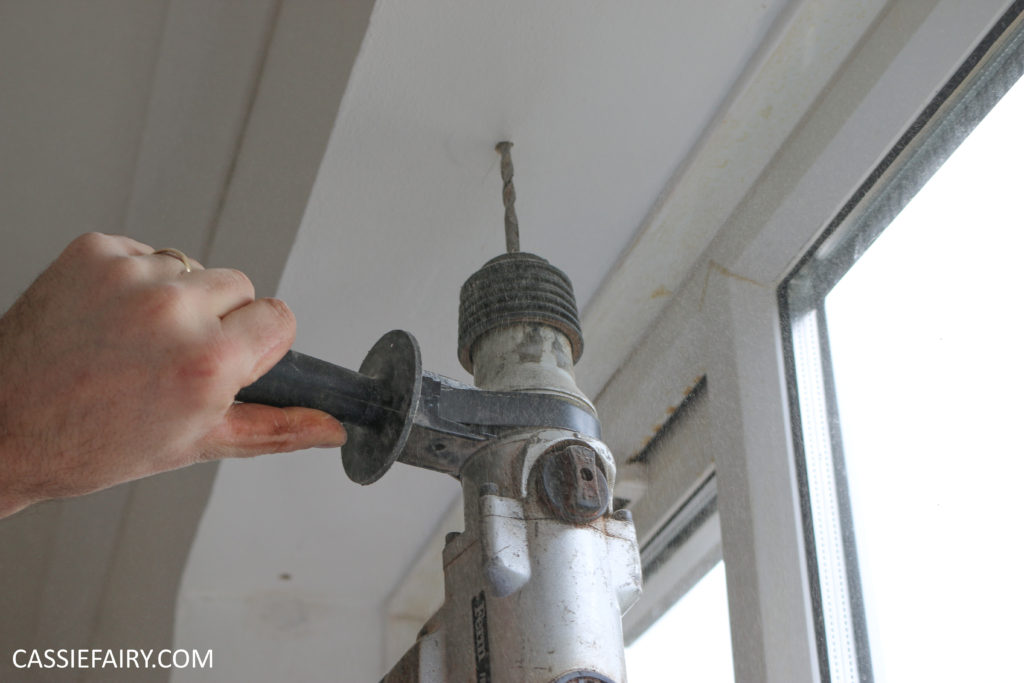
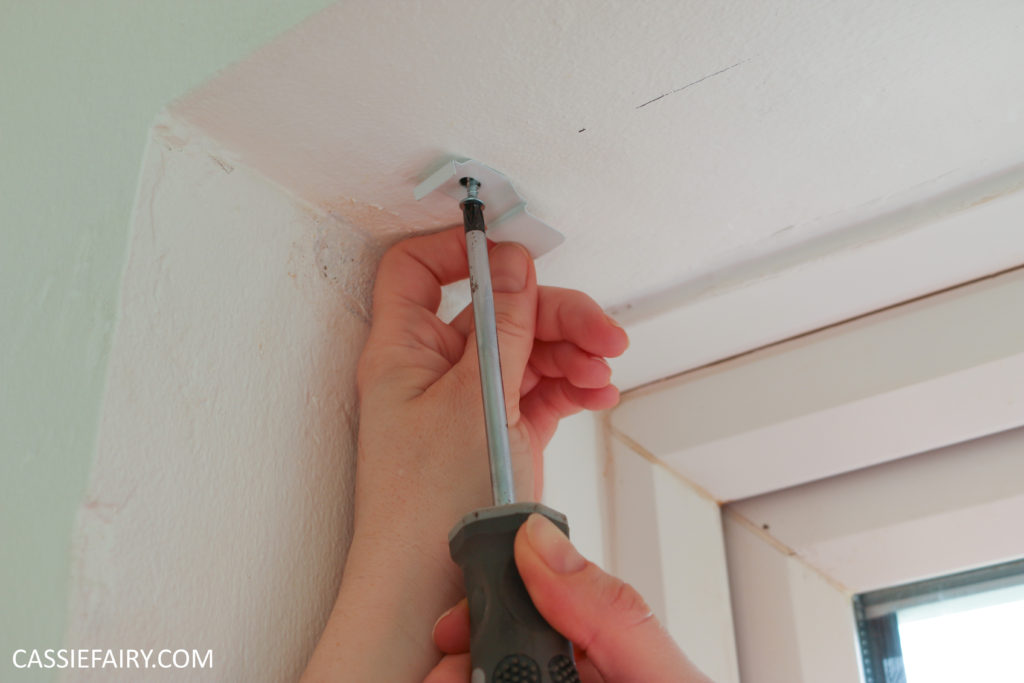
4 MOUNT THE BRACKETS
Now you can drill the holes into the walls or window recess, then screw the brackets for the blinds in place. Also drill holes for the cleat beside the blind and fit it in place so that you can safely tie up the pull cord out of reach of children. All blinds come with fitting instructions so be sure to follow all the steps that the manufacturer suggests for safety.
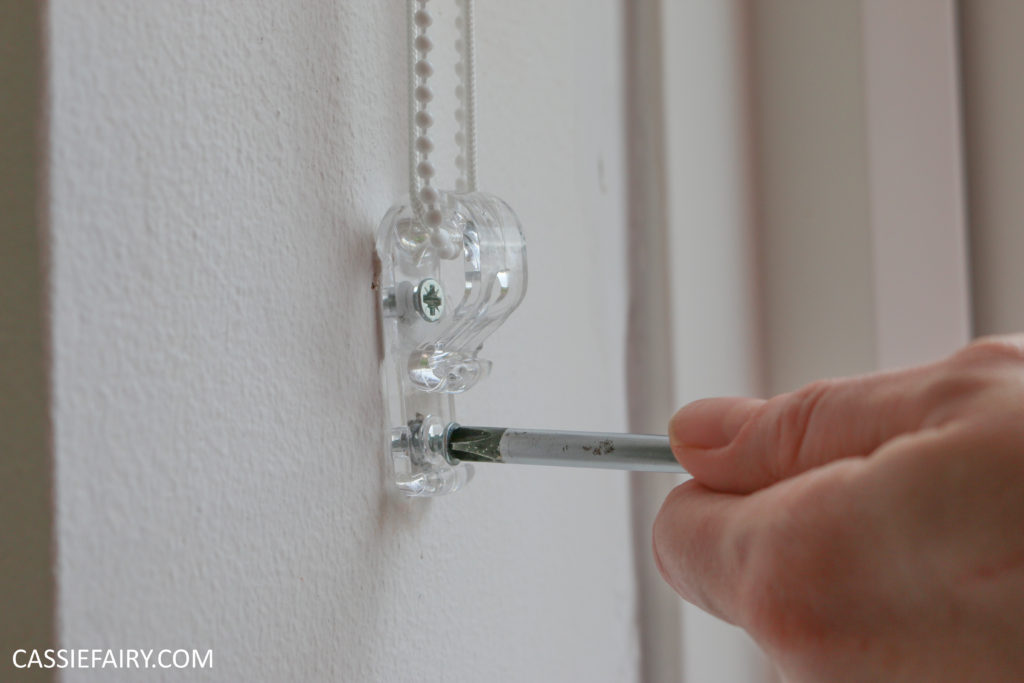
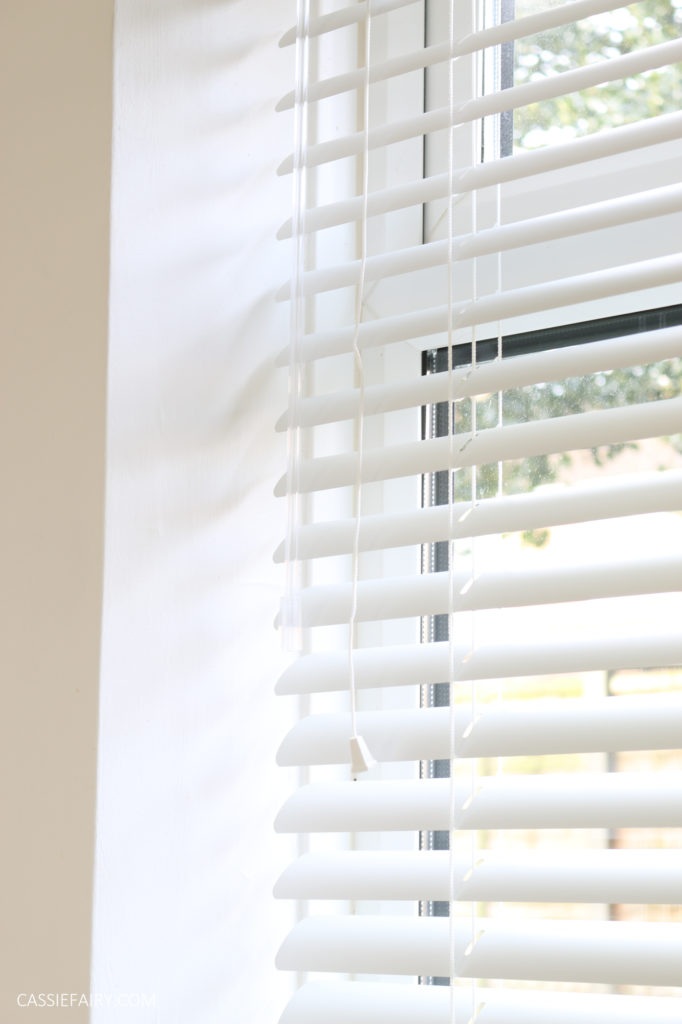
5 FIT THE BLINDS
All that is left now to do is place the blinds on the bracket. Clip securely into place and attach the valance if they come with one. Make sure everything is in the proper place and there is no danger of it falling off and hurting someone. Again, it’s important follow every step in the instruction booklet to ensure that your blinds are fitted correctly and can be operated safely.
I hope that this guide had given you an idea of how simple the process of fitting blinds can be. It in no way intends to replace the instructions that come with your blinds – you should always follow this information as it’ll vary for different styles and makes of blinds. And if you’re unsure of anything when you’re fitting the blinds, don’t hesitate to contact the manufacturer for advice.
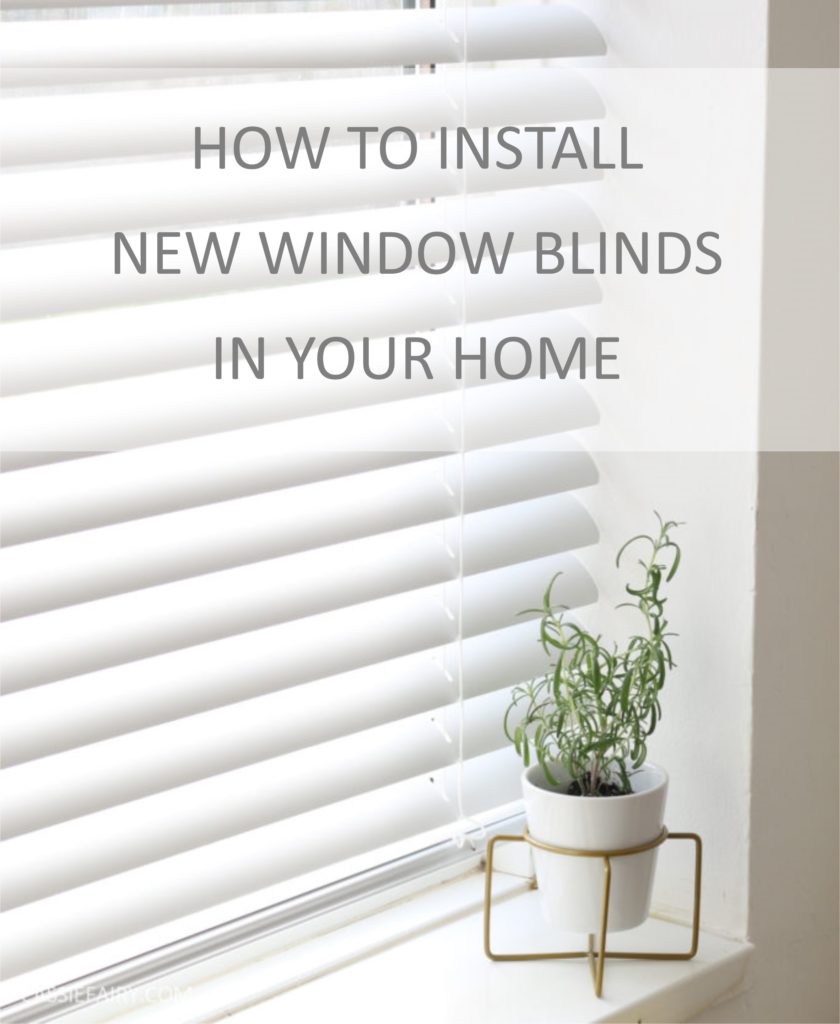
PIN IT FOR LATER
This blog post is an advertisement feature that has been written in collaboration with a sponsor. The pink links in this post indicate a sponsored link 🙂