If you followed my blog a couple of years ago, you’ll know that I revamped my bathroom myself. When we got the keys for our home, it was the first renovation project we did because – let’s face it – there’s never a good time to be without a bathroom when you’re living in a home! So, we tackled the makeover before officially moving into our new house – you can have a look at the horrid ‘before’ pics here and you’ll see why I wanted to decorate this room first. It was a steep learning curve so I thought I’d share my experience with you and hopefully you can get the most out of your own bathroom without making mistakes or spending a small fortune…
THE BATHROOM SUITE
The first mistake I made was ordering the bathroom suite before we even had the keys to our home. The thing is, it was hugely discounted in the January sales and I knew that it was what I wanted for our home. So I went ahead and ordered it despite not knowing that we wouldn’t exchange until the end of the month. Luckily, the waiting time for the delivery took us into February, so it worked out okay, but it could have ended up being delivered into the garden of a home we didn’t yet officially own – oops!
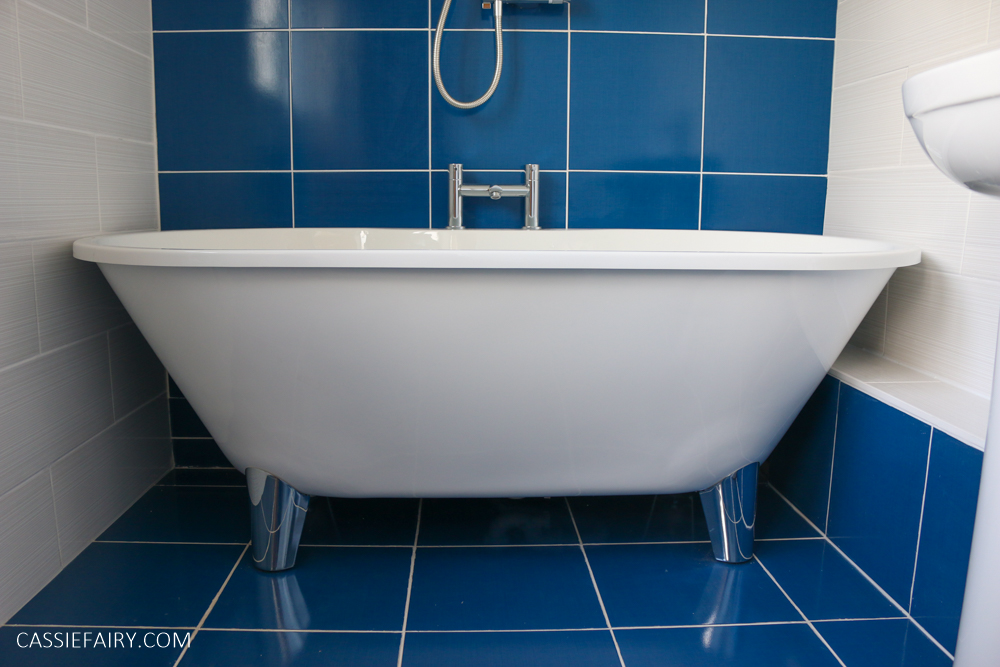
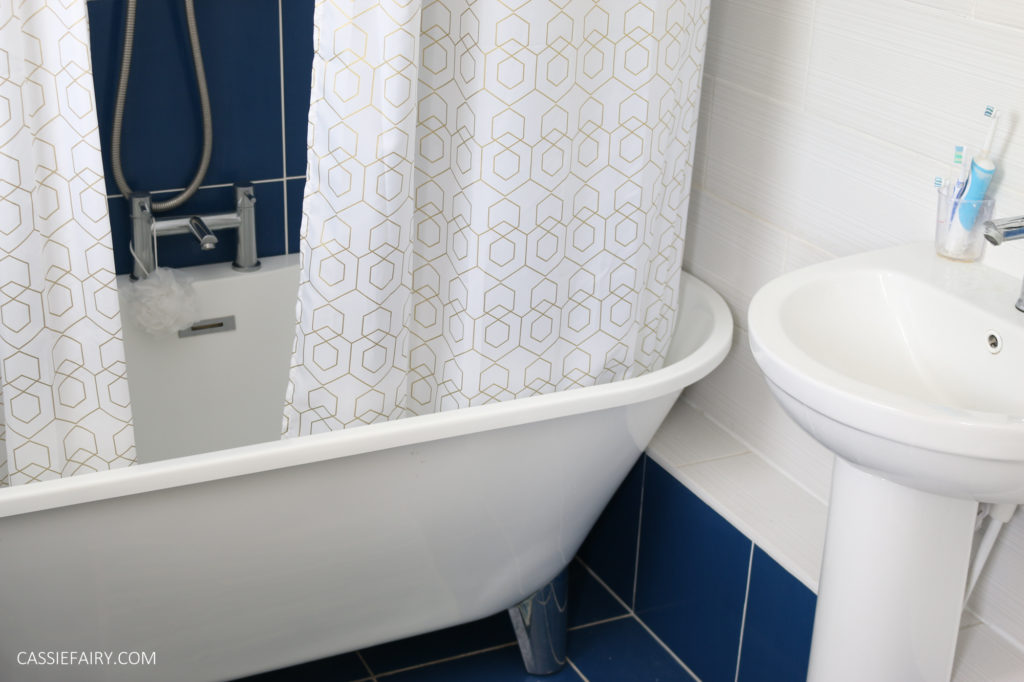
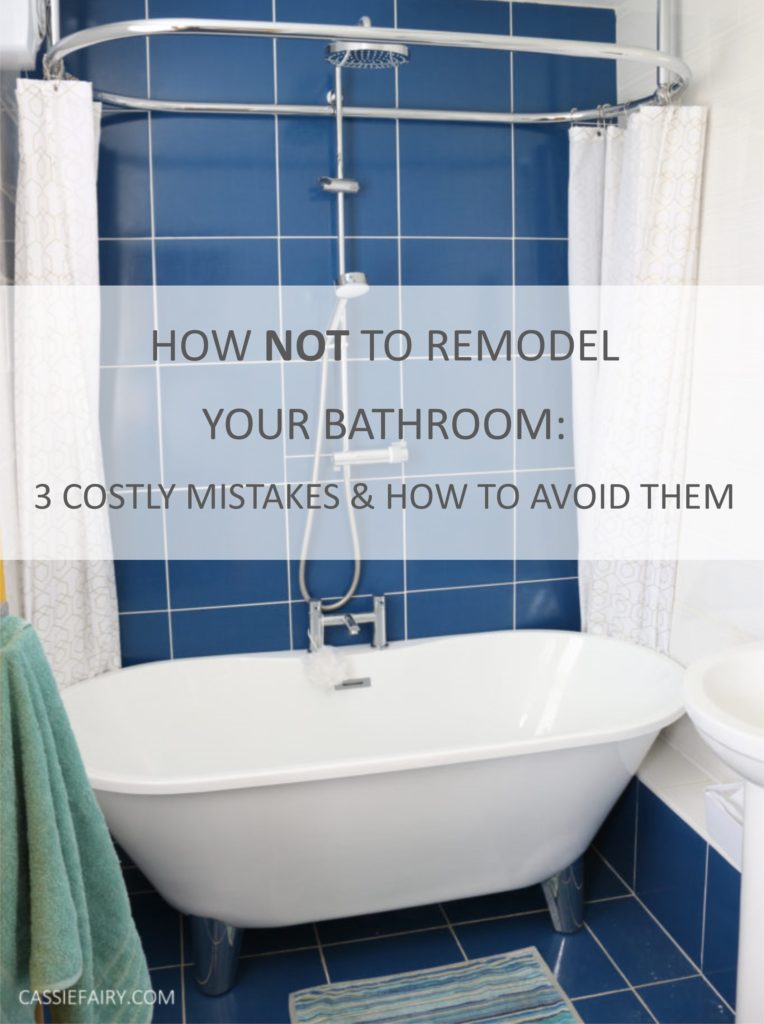
The second money-sapping error was that I ordered a lovely freestanding tub. Although I love it (it’s huge – wide and deep yet fits across our narrow room perfectly) when we came to install a shower over the bath, we hit a snag. To ensure that the shower enclosure would fit around the shape of the bath, we could only use curtains rather than glass screens, otherwise the water would splash out of the back curve of the bath. And in order to fit curtains around the bath, we needed an oval curtain rail. And blimey they are expensive!
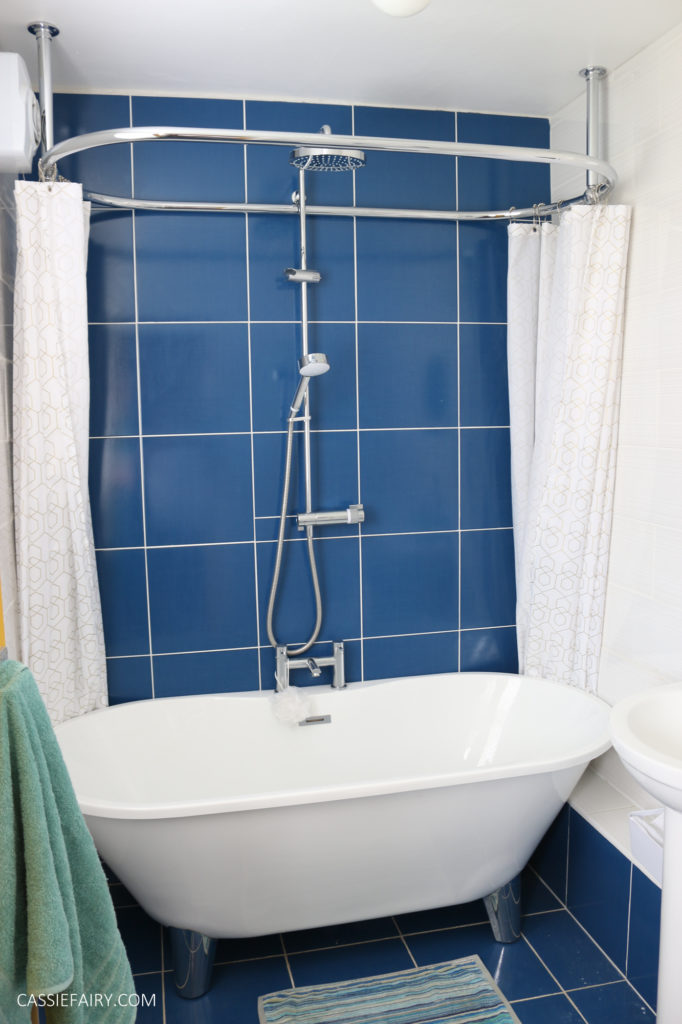
This curtain rail alone cost us more than half the price of the entire bathroom suite (including the sink, loo, taps and plumbing bits, yikes)! Then we had to buy two shower curtains to cover all the sides of the bath. Sure, this didn’t cost us too much because luckily I found a nice curtain design at Asda, but this could have added another £50+ onto the bill.
THE SHOWER
The shower was a bit of difficult one because we had too many options. There was already an electric shower fitted in the old bathroom (although I absolutely wouldn’t have trusted it!) so there was an electricity supply ready to go. But we also had a gas boiler that powered our hot water so we wanted to make the most of this option too. And finally, if we had enough water pressure, we could have gone for the cheapest option of fitting a mixer tap to the bath with a shower head attached.
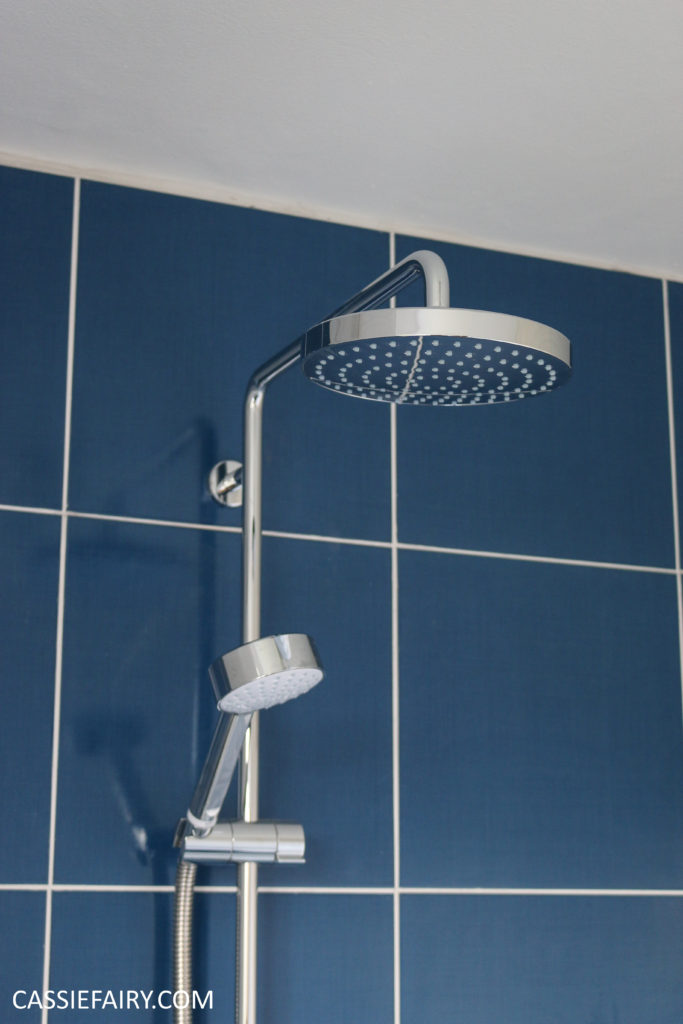
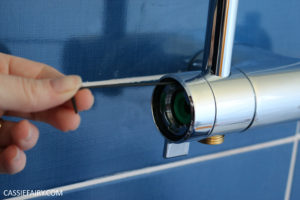
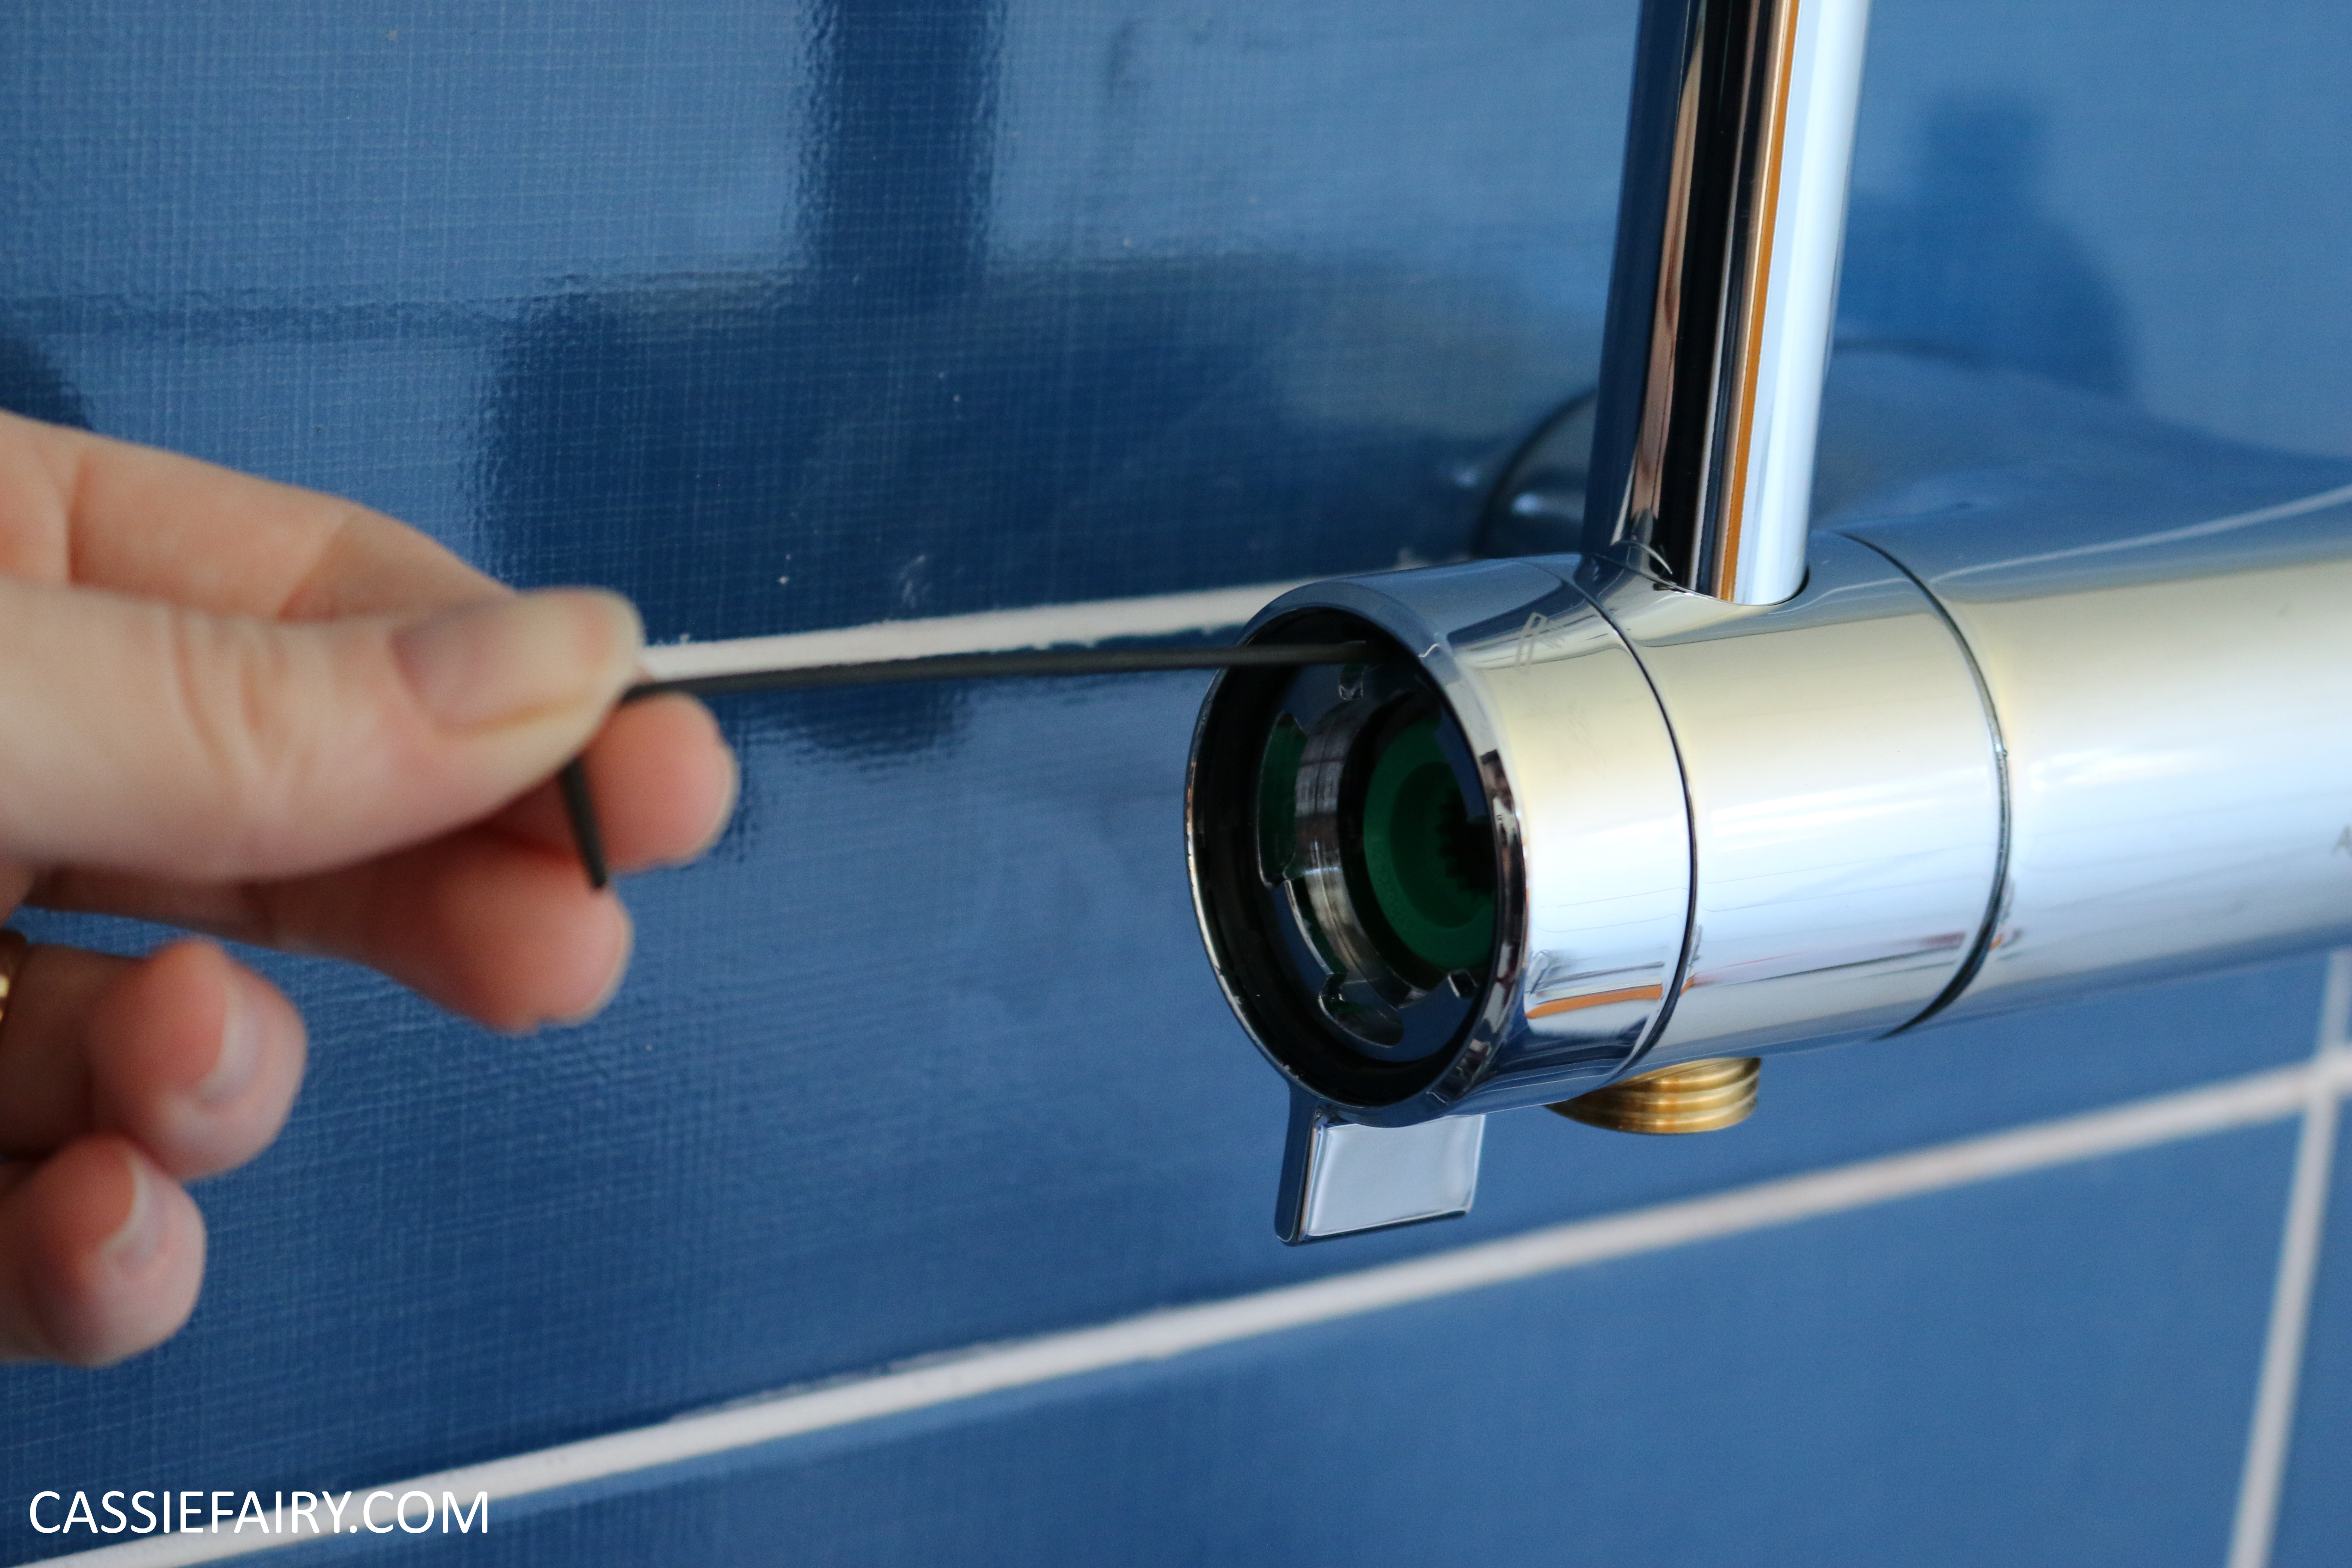
In the end we opted for the shower fitting for the gas-powered hot water supply from Mira and it has worked really well. But it definitely wasn’t the most cost-effective option. Not only was the unit more expensive than most electric or mixer showers to begin with, it also needed extra plumbing and pipes etc to get the water supply in the right location. And then we had to build a false wall to hold it! So you can see that all the elements added up to a lot more money than it could have been to install a simple mixer shower – but I was too busy daydreaming about the lovely deluge rainfall shower head rather than adding up the additional costs.
THE WINDOW
Of course, I wanted to add some privacy to our bathroom window and thought that lovely waterproof shutters would be better than curtains or roman blinds in a bathroom. However, when I started shopping around I realised just how expensive shutters can be! Instead I decided that getting affordable blinds with wider 50mm slats were a low-cost way to get the same look for less. I could buy them in a water resistant white wood finish and I measured up the window frame to hang the blinds inside the aperture. Can you already guess the mistake I made?
By the time the blind arrived and we were ready to fit it, I had already tiled the walls, the windowsill and a small return inside the window frame at the sides. Even though this is exactly how the original tiles had been fitted, at the time of measuring the length and width of the blind, those tiles had already been removed and I measured to the wall. So now, my tiny tiled splashback was completely in the way of my blind! It stops the blind from unfurling all the way to the windowsill because it holds the base of the blind aloft, as you can see in the photo above – oops!
I hope you can learn from my mistakes if you’re remodelling your own bathroom this year. They might not have been the most costly errors but I still could have spent less if I had planned better or thought ahead. Let me know how you have saved money on your bathroom renovation in the comments below – and I’d love to hear any of your own DIY mishaps, if only to know that I’m not alone! 🙂
PIN IT FOR LATER
This article is a sponsored collaboration. The pink links in the content indicate a sponsored link or information source. The blog post reflects my own experience and the sponsor hasn’t had any control over my content 🙂


5 Responses
Hi Bridgette, sure thing – all the info is in my blog post here: https://cassiefairy.com/2017/05/14/my-bathroom-renovation-project-tiling-plumbing/ Thanks! 🙂
Can you please share more about your tiles
Love this showing to my builder tomorrow he said it couldn’t be done thanks David xxx
Hi Chris, yes the top edge of the bath has a lip at the back, with a straight edge that fits alongside the wall. The bath is from the Voss range from Betta Bathrooms and I got a package deal with the sink, loo and bath in the January sales in 2017. Hope this helps 🙂
Hi Cassie, you said you bought a back to wall bath. Is the top edge of the bath deeper at the back?
Do you have a link to the model of Bath?
Thanks
Chris