I’ve assessed my mess. I’ve cleared my clutter. And I’ve organised my essentials. Today has been fun. No – really! After giving my kitchen a makeover aesthetically, I decided that it was finally time to tackle the insides of the cupboards. Here’s how and why I cleared out my kitchen…
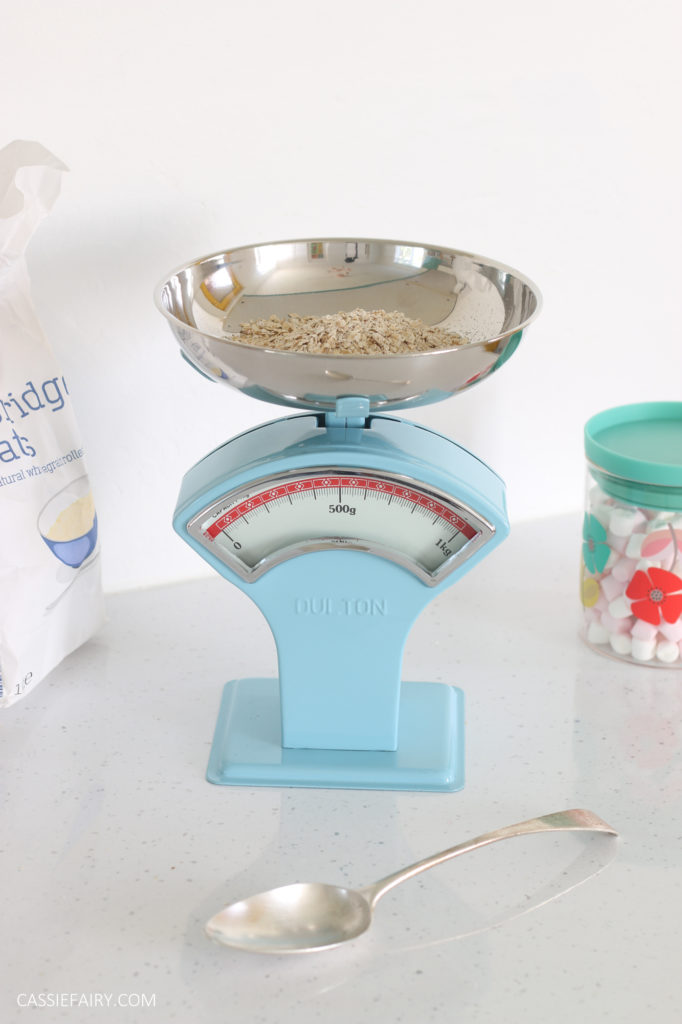
I bet you’ve got a lot of things in your kitchen units too. Pans, casserole dishes, chopping boards, pots, scales, mixing bowls, storage tins, teapots, whisks, colanders, tea towels, utensils, blenders. The list of things in my cupboards is endless. Or should I say the list of things tumbling out of my cupboards is endless.
It’s too much to keep on top of, too much to clean and too much to store. I don’t know how you feel about clutter, but having too much stuff hanging around my house stresses me out. And after minimising other spaces in my home, I’ve found that I prefer spending time in those rooms. While I’m not yet a full-on minimalist, I certainly appreciate having less ‘stuff’ to deal with, so there’s no reason why the kitchen can’t be given the same decluttering treatment.
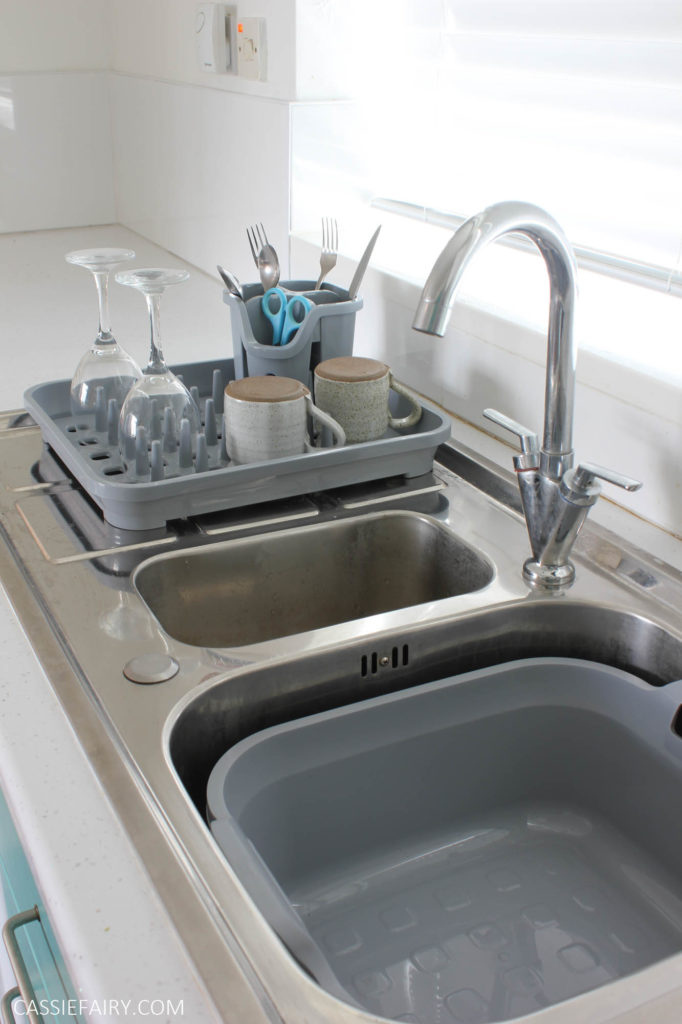
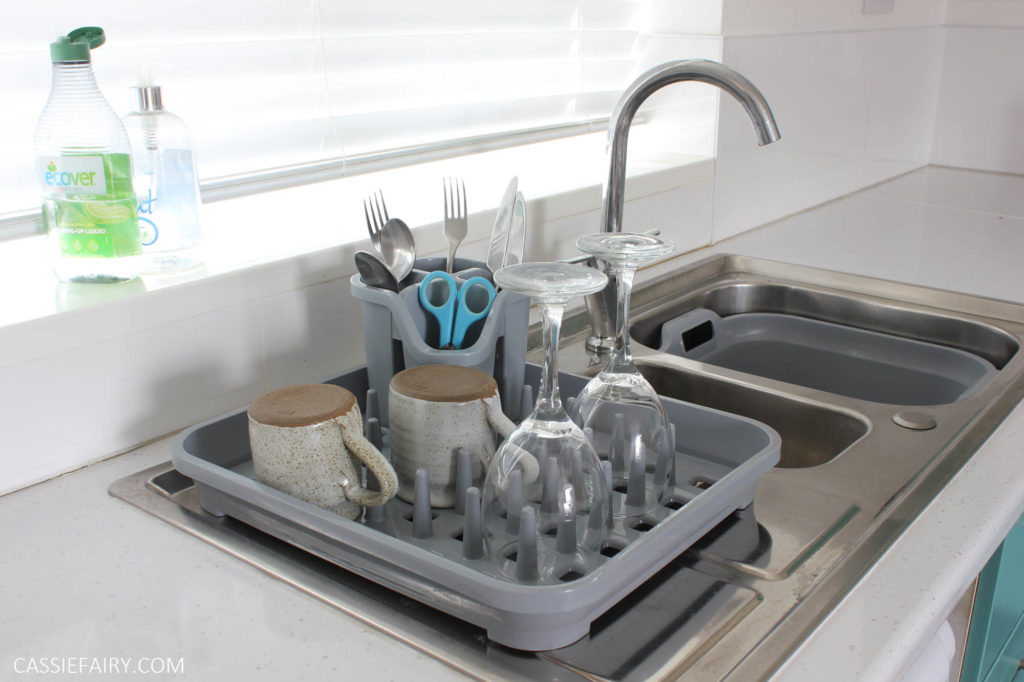
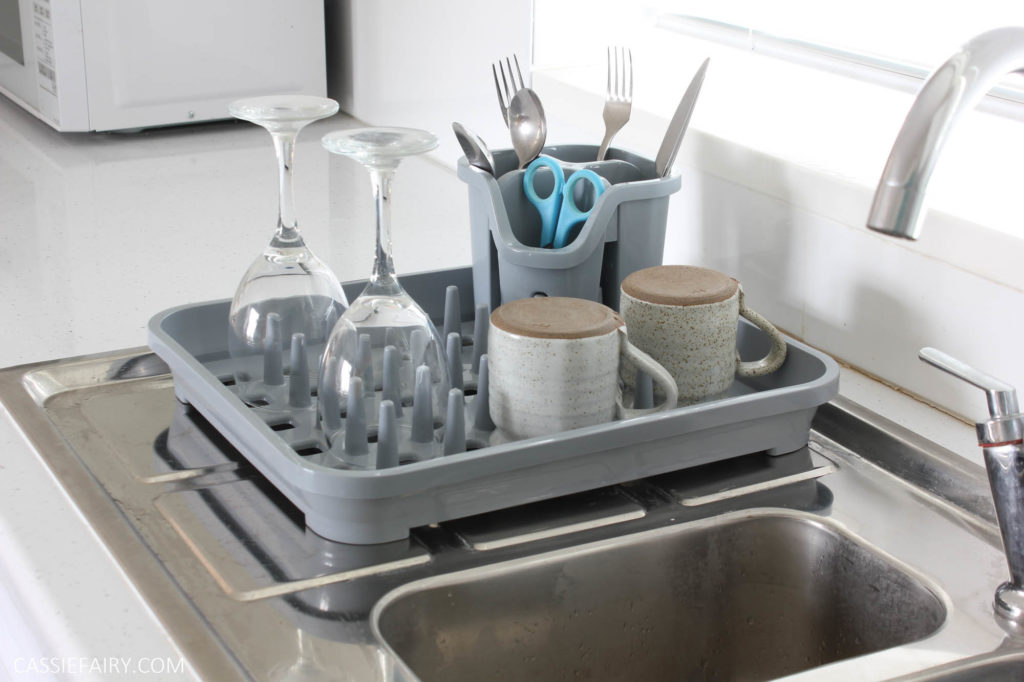
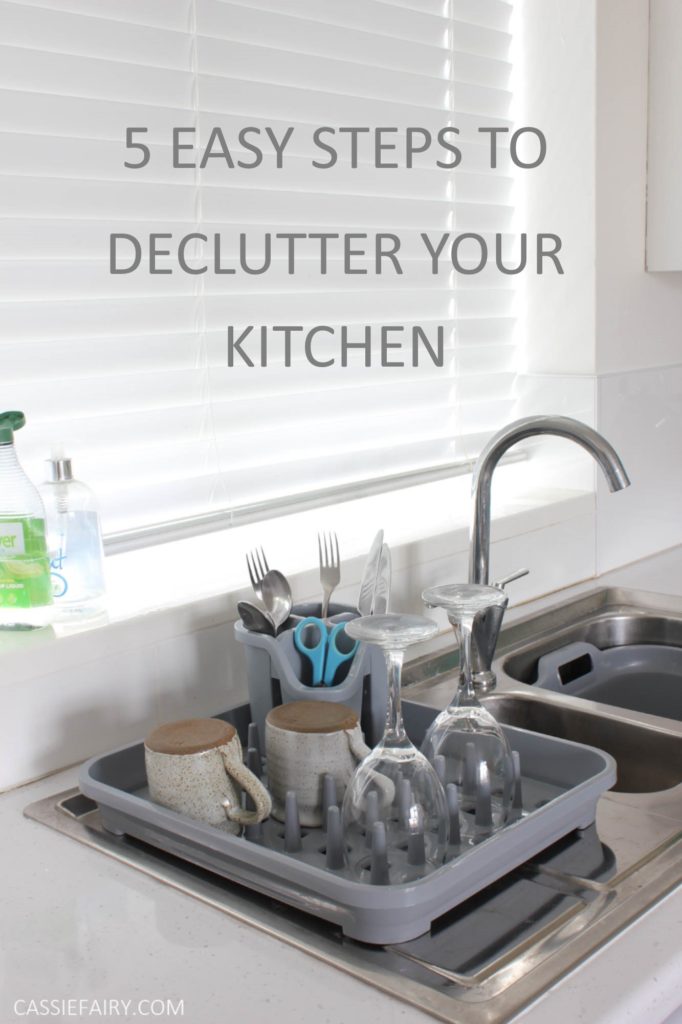
My new Eco-Range draining rack and bowl are made from 100% recycled household plastics
At the very least, I want all of my kitchen items to actually fit into the cupboards that we have available. They shouldn’t have to be piled up and almost fall out every time that I open the door. I can’t tell you how many times I’ve shocked myself by swearing at another chopping board sliding out of the cupboard and onto the floor, argh. Here are the steps I took to minimise and organise my kitchen…
STEP 1 BROKEN AND UNWANTED ITEMS
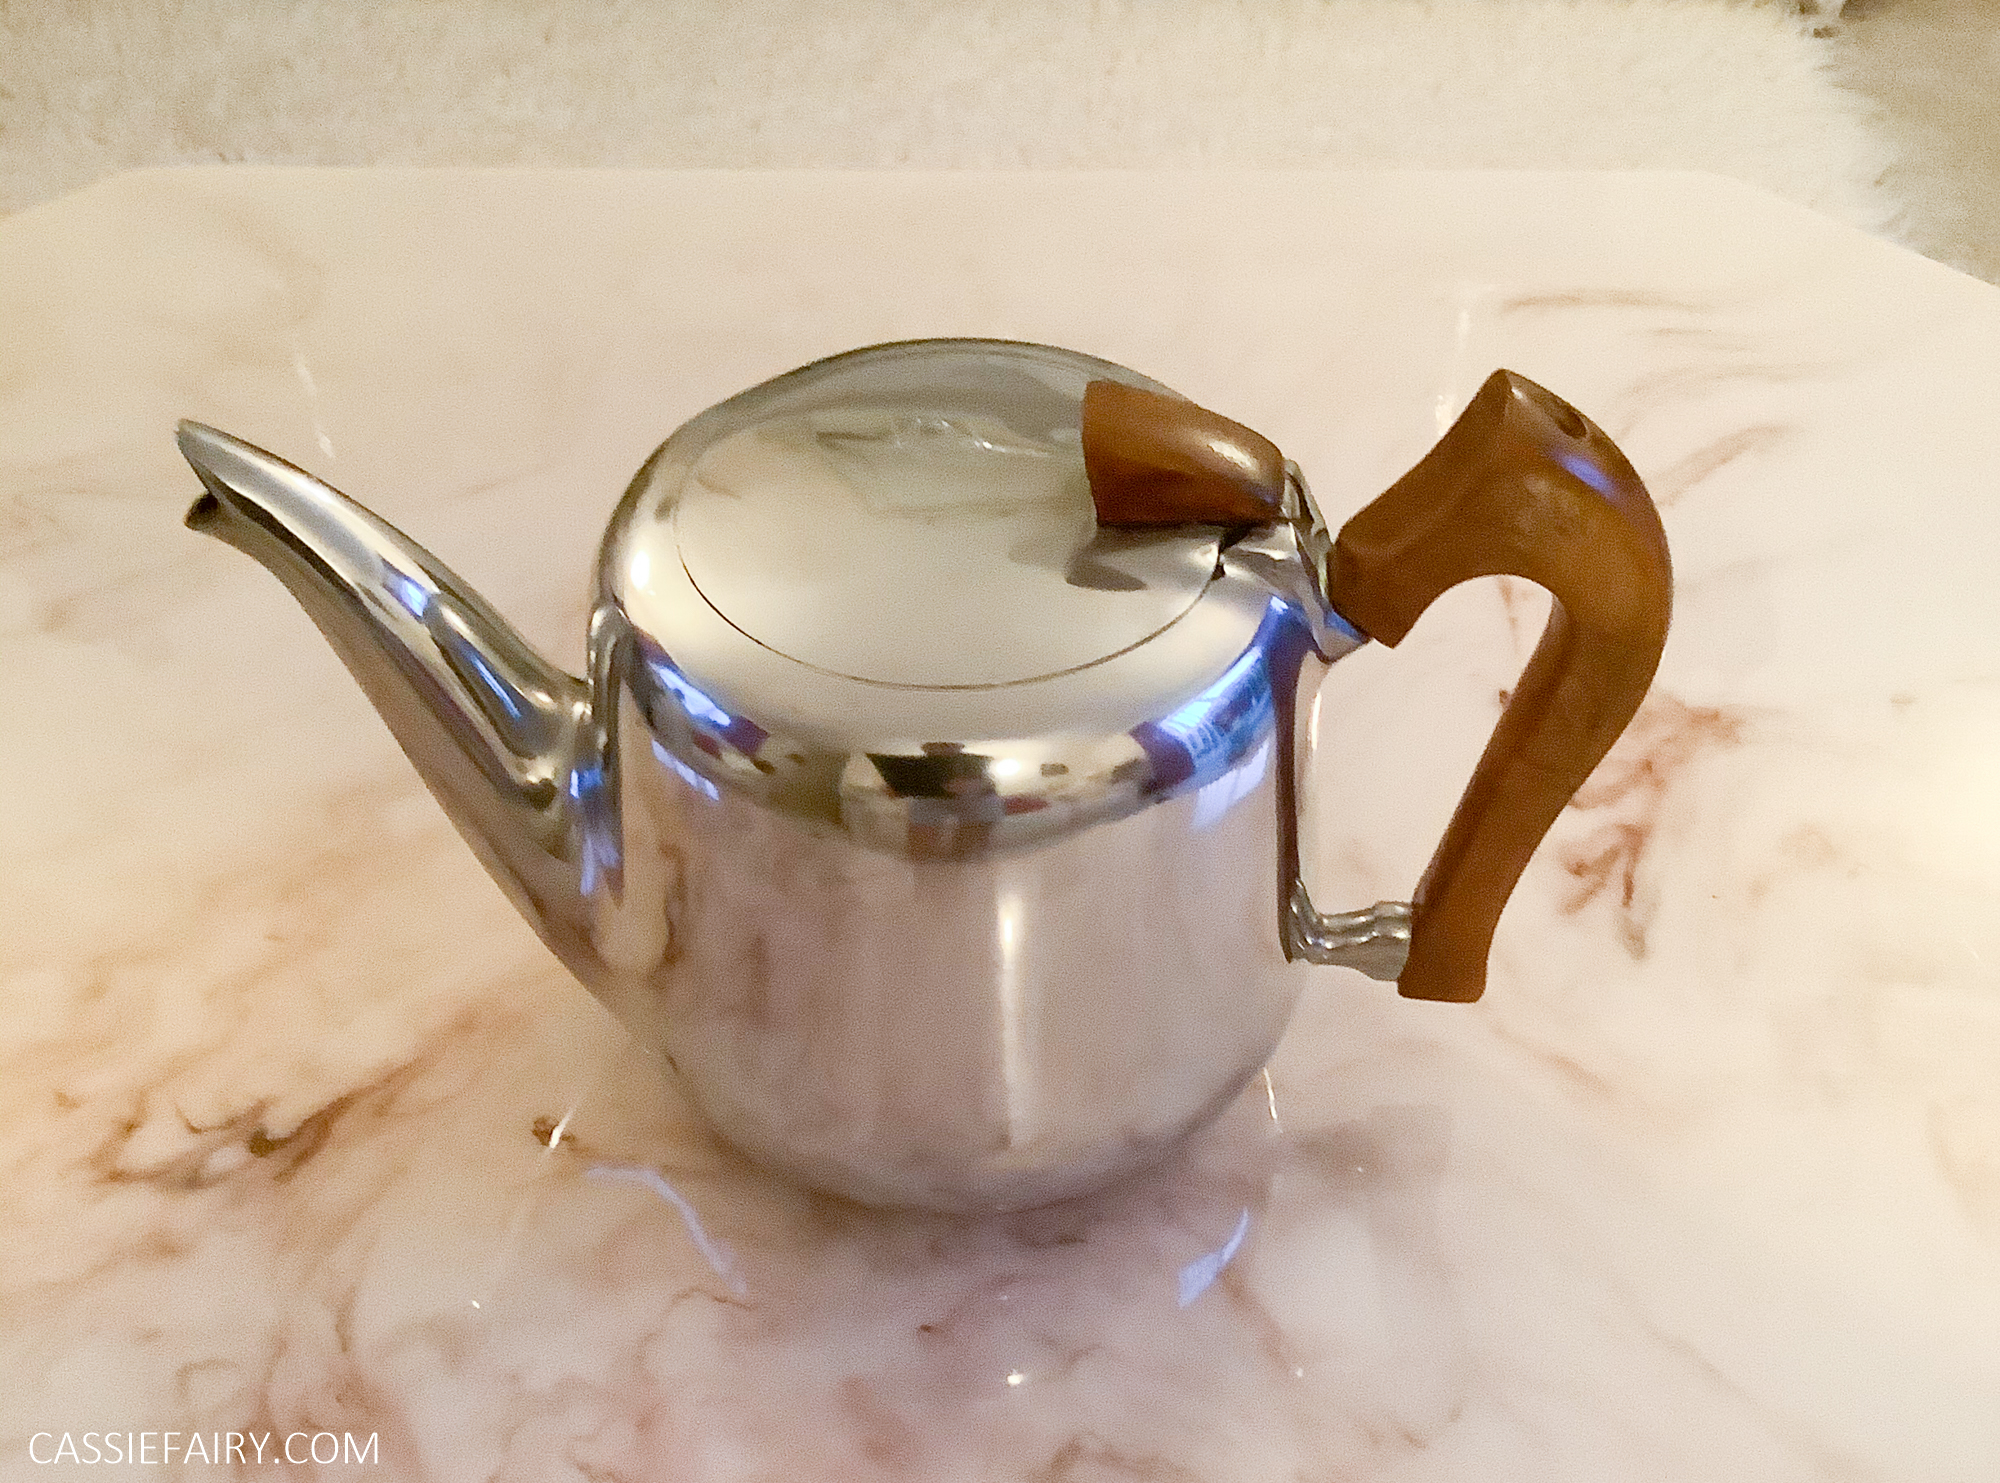
So I began by taking everything out of the cabinets to get an idea of how much stuff we have. Then I removed those unnecessary items that we never use but that take up space. For example, the old waffle maker that hasn’t seen the light of day since 2015. The teapot that I never use because I don’t like the taste of stewed tea. The already-broken hand blender. The percolator that requires a certain coarseness of coffee beans that we never remember to buy. These were easy, no-brainer items to remove.
STEP 2 MULTIPLES
The next step was to look at things we have multiples of. Who really needs three large meat carving forks? One will probably do. I might need a couple of chopping boards for different uses – but not ten! I will need multiple plates, knives and forks etc for when guests come for dinner, but we can only seat six people around our table (at a push!) so we’ll never need more than six of each item.
STEP 3 UNUSED ITEMS
Another step in getting rid of items is being honest about what you actually do in your kitchen and what you will really use. Will you ever bake that gingerbread house with chimney and three-dimensional reindeer? If not, it might be time to part with that cookie cutter kit. Are you really going to bake eight tiny souffles in those ramekin dishes when you can’t even get yorkshire puddings to rise? Is that bundt tin that you made a parsnip cake in once ever going to be used again?
STEP 4 ACTUAL RUBBISH
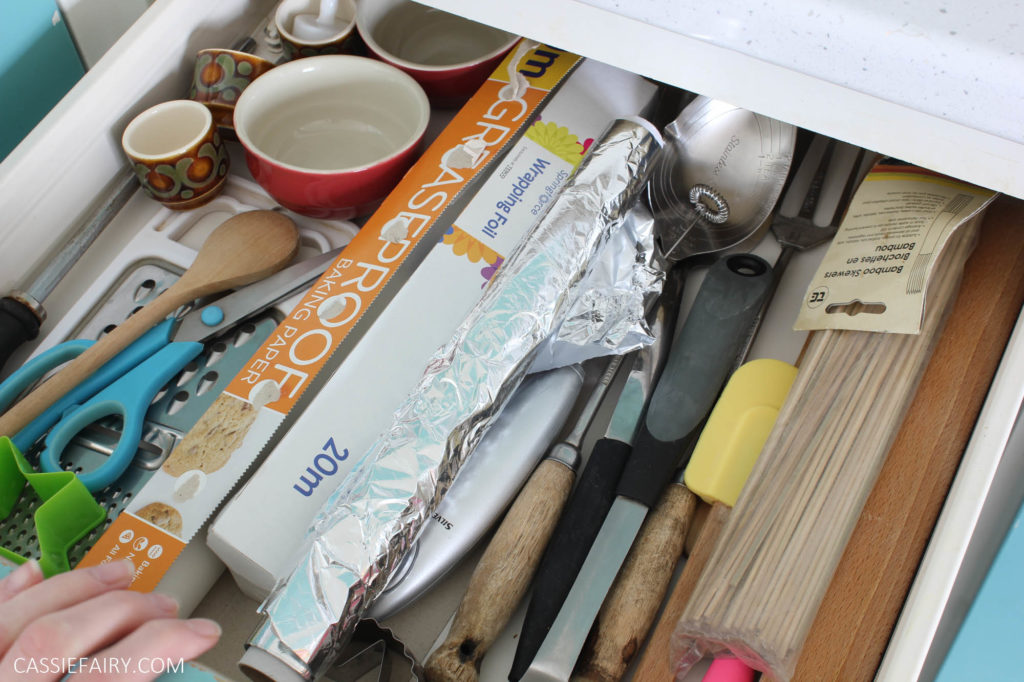
We all have ‘that’ drawer, don’t we? The bits ‘n’ pieces drawer that holds pens, bus timetables, tape measures, appliance instructions, torches and every other small item that we find lying around the house. If I’m tidying up and something doesn’t already have a home, you can be sure it’ll end up in that drawer. And to be honest, when I emptied it out, it was mostly actual rubbish.
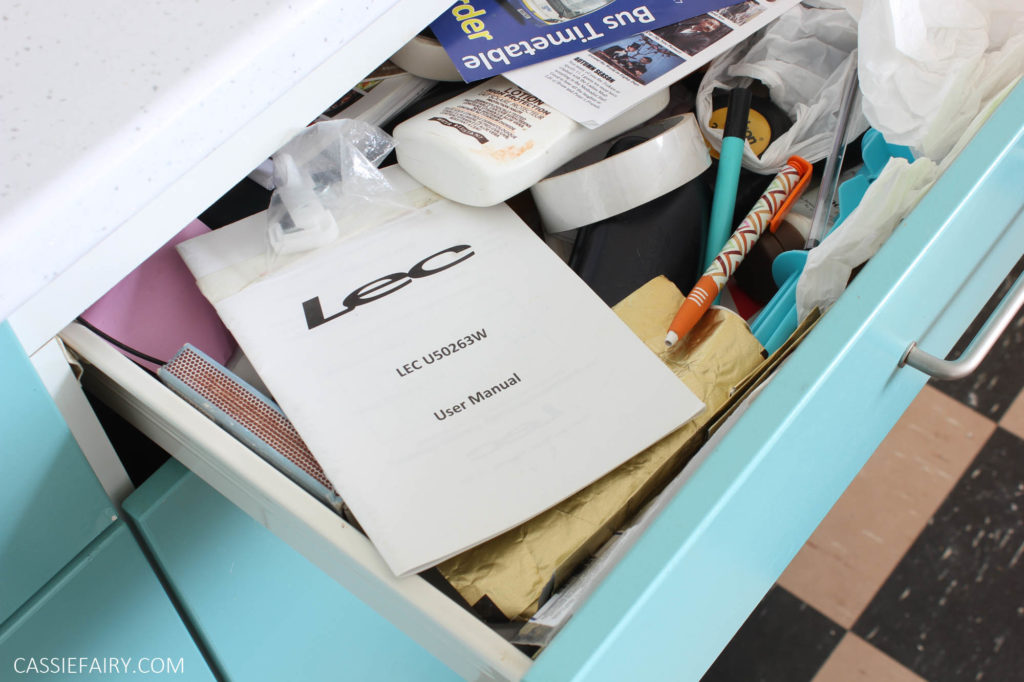
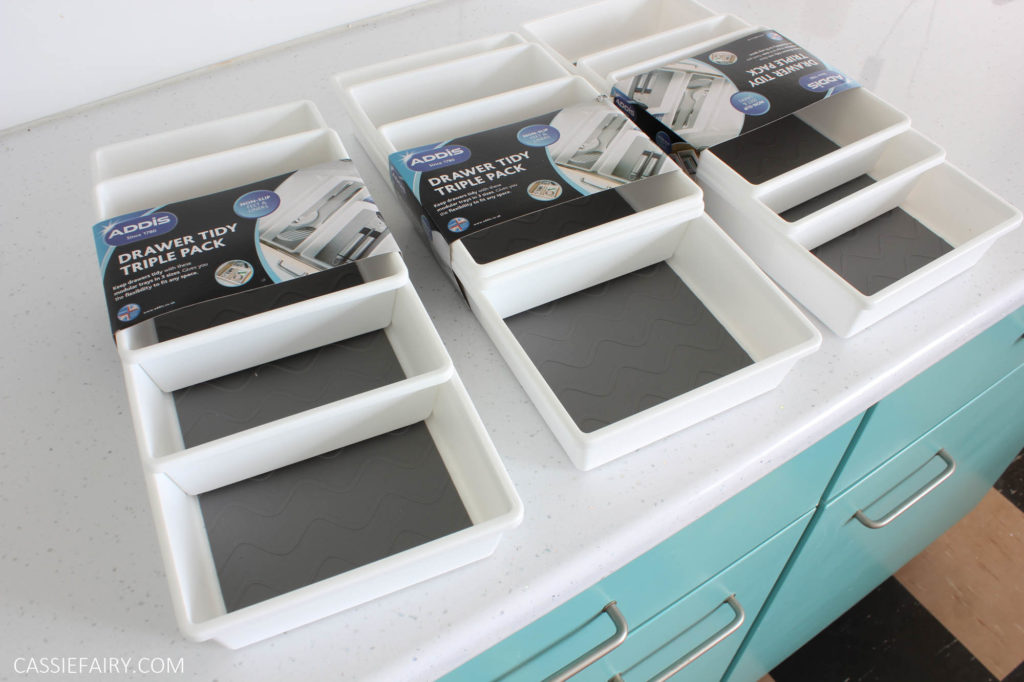
We’d been storing receipts, post-it notes, shopping lists, used batteries, finished tealights, odd screws, curtain hooks (we have no curtain tracks in the house..!), business cards, bits of string – actual rubbish. So it was an easy task to pop all this junk into the bin. Then I worked my way through the items that would actually be useful to keep in the bits ‘n’ pieces drawer and categorised them into divider trays from Addis.
STEP 5 STUFF YOU DON’T WANT TO CLEAN
Another reason for having less stuff in the kitchen is that you don’t have to clean as much stuff. If you only have a couple of pans to use, you’ll only have a couple of pans to clean, right? That’s a kind of flippant way of looking at it but, essentially, the more stuff you have, the more time you have to spend maintaining it. Cleaning, drying, tidying, stacking, organising, sorting – it all takes times.
So I figure that if I don’t want to clean it (waffle maker, I’m looking at you again), I don’t want to keep it either. I’d rather clean the same two mugs every day rather than having multiples pile up on the worktop, waiting to be washed up and becoming an overwhelming task. I bet there are plenty of kitchen items you can do without.
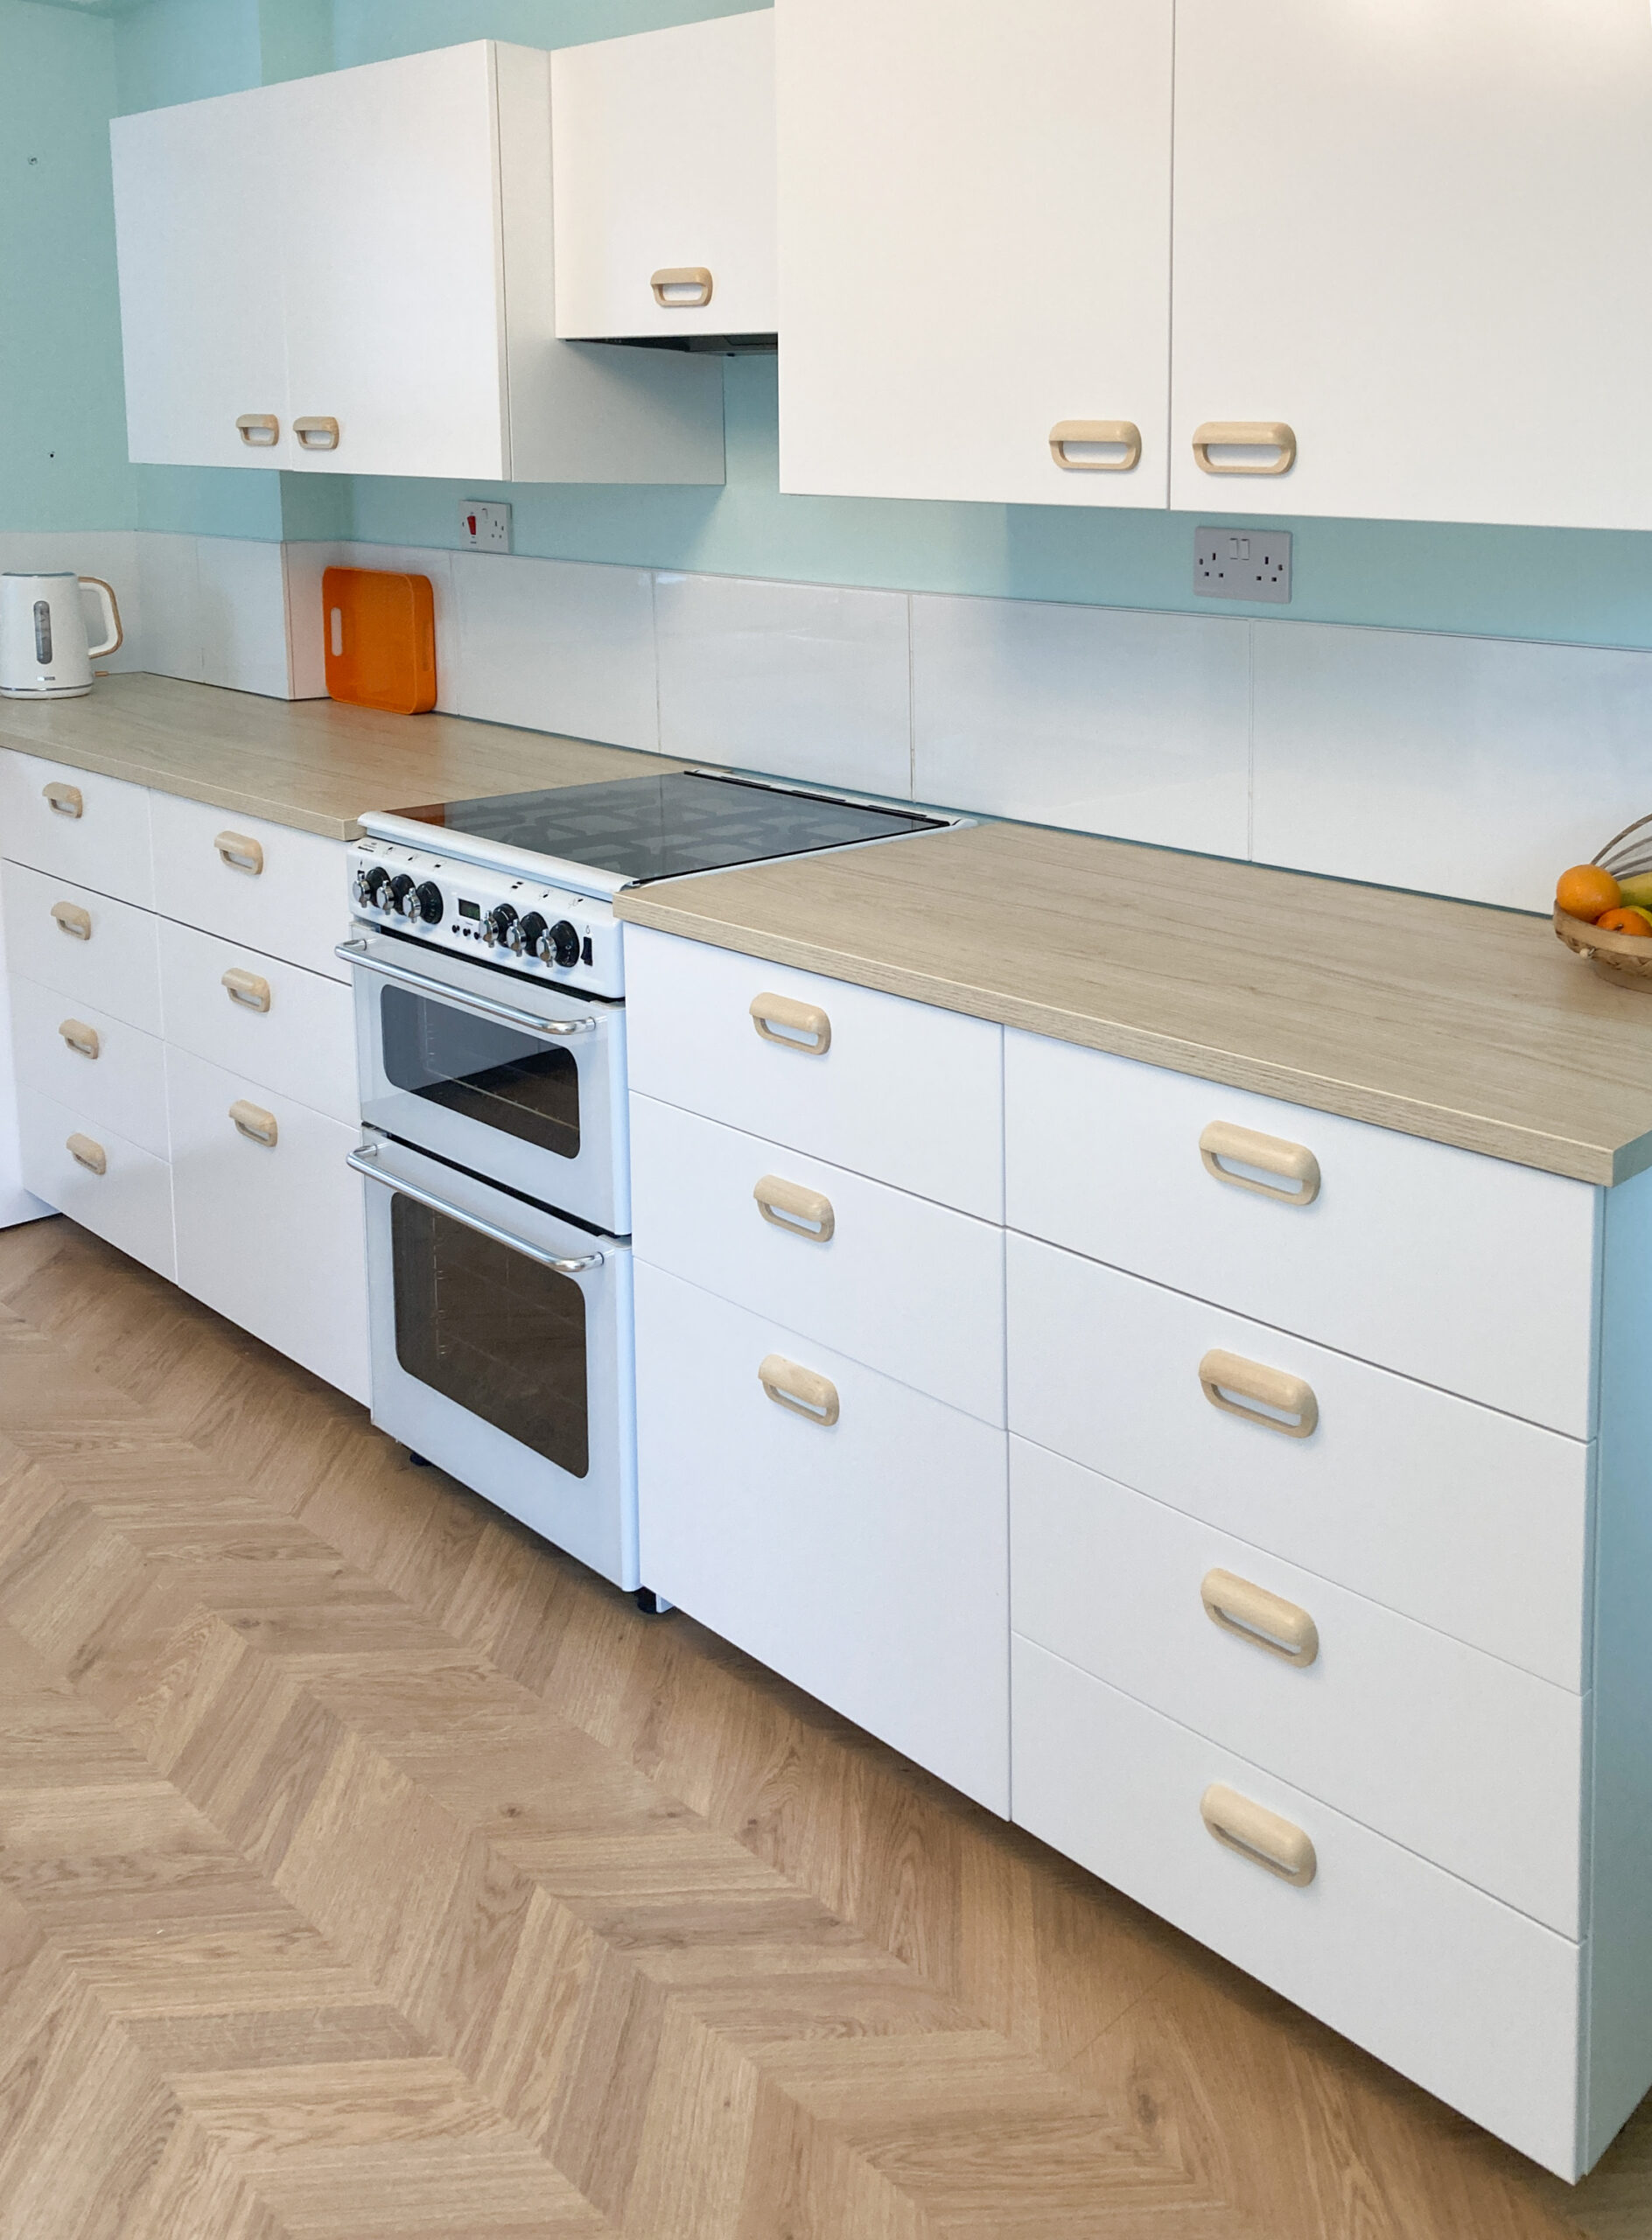
ORGANISING THE CUPBOARDS
Now that I’ve got fewer items to put back into the cupboards, it should be much easier to put them away in an orderly fashion. By the way – just because you’ve always kept your pans in that double cupboard, it doesn’t mean they have to go back in there in you’ve cut down your collection to just a few pots and frying pans. You can move them into a smaller cabinet and use the bigger space to create a neatly stocked pantry of packaging free foods etc. You might automatically go for the wrong cupboard a couple of times, but you will get used to the new location of your pans soon enough.
ORGANISING THE DRAWERS
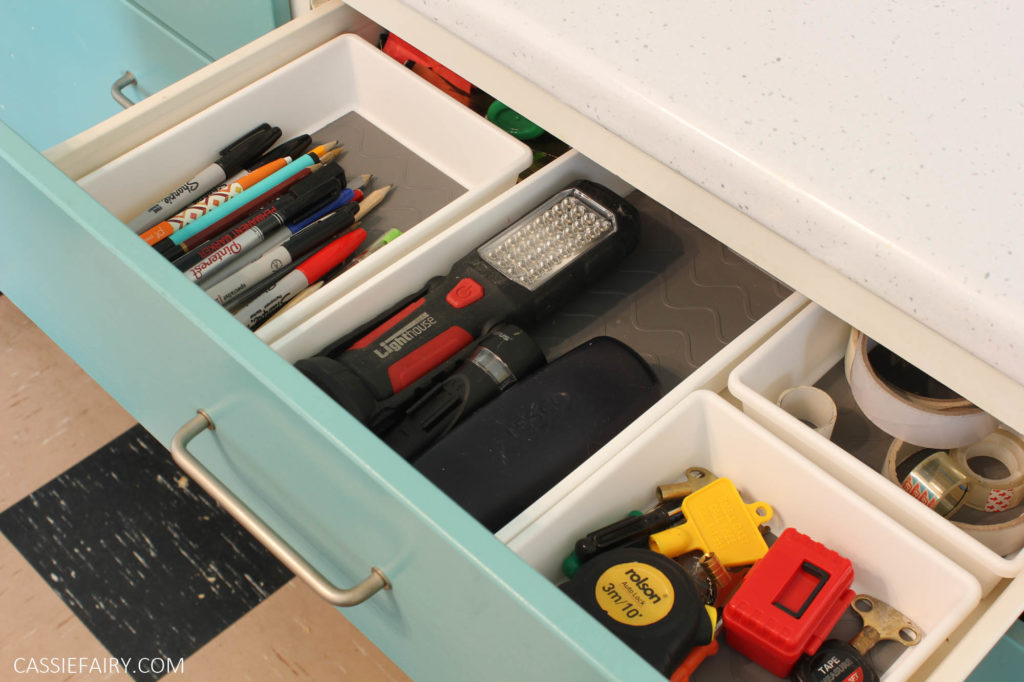
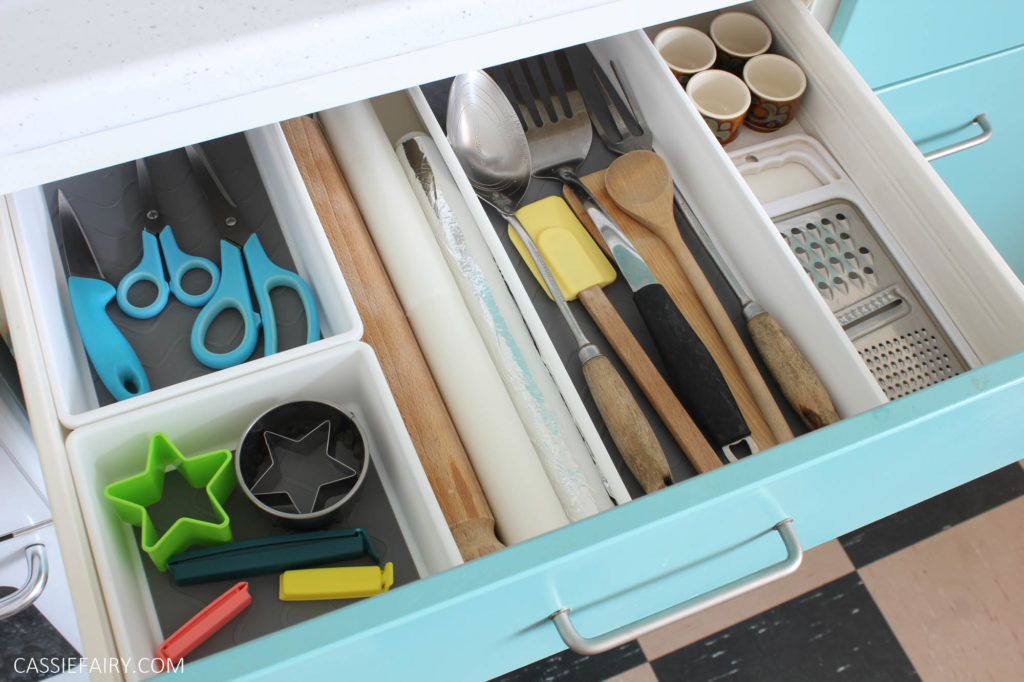
I briefly mentioned how I tidied by my bits ‘b’ pieces drawer with some drawer dividers and it’s certainly the best way to keep the contents of a drawer looking tidy going forward. Otherwise, those utensils, scissors, and wooden spoons will end up rolling around in the drawer and look just as messy as before.
To divide up the space you can use a cutlery rack (not just for cutlery – also good for pens, scissors, tape etc), small boxes or the lids of shoe boxes etc. However, they might not last long if the cardboard corners break, so I prefer to stick to the plastic drawer divider trays that I got from Addis. These have non-slip feet so they won’t slide around inside the drawer and the inside base of the trays is non-slip too, so rolling pins will stay put!
Plus, when you add divider trays into the drawer, the space around the trays becomes more useful – like another boxed section. In these spaces I’ve added things that won’t move around anyway, like ramekins and egg cups.
So that’s my kitchen sorted – I’ve now got space for everything I need, and I can finally get to that frying pan without four storage tubs falling out of the cupboard too! Will you have a go at clearing out your cupboards this weekend? Let me know in the comments below and please share your own hacks for making the most of your storage space in the kitchen – I’d love to hear what has worked for you 🙂

PIN IT FOR LATER
Some items in this blog post have been gifted to me and the pink links indicate a gifted product, affiliate link or information source. All thoughts and opinions in this post are based on my own experience and I am not responsible for your experience 🙂