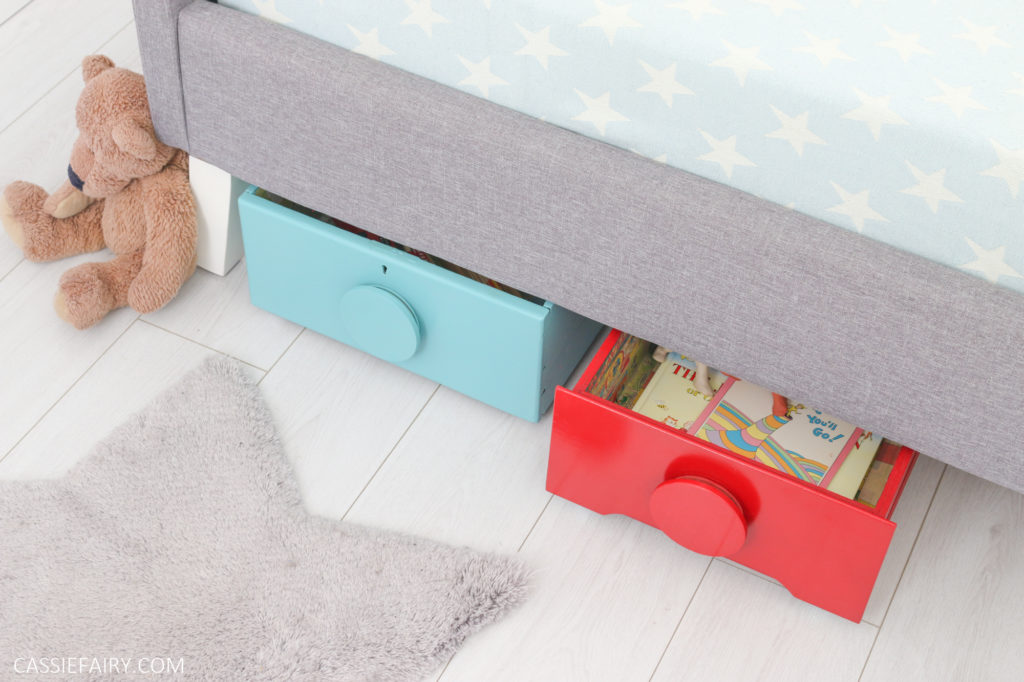
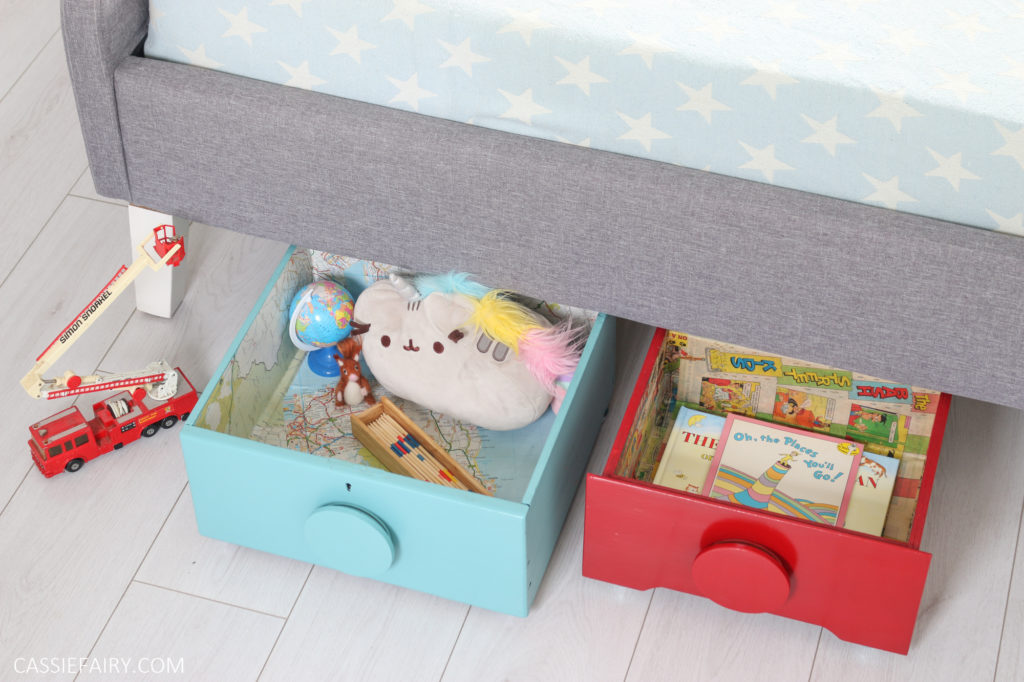
If there’s one thing I always need more of its storage. Boxes, bins, drawers, cupboards – I can never have enough of them. And that’s because I love to tidy things away. It’s a real gripe of mine when there’s stuff on surfaces – I don’t mind owning the stuff, but everything needs to have a home and be tidied away after use. So that’s why I’ve come up with this idea to re-use some old drawers as handy under-bed storage.
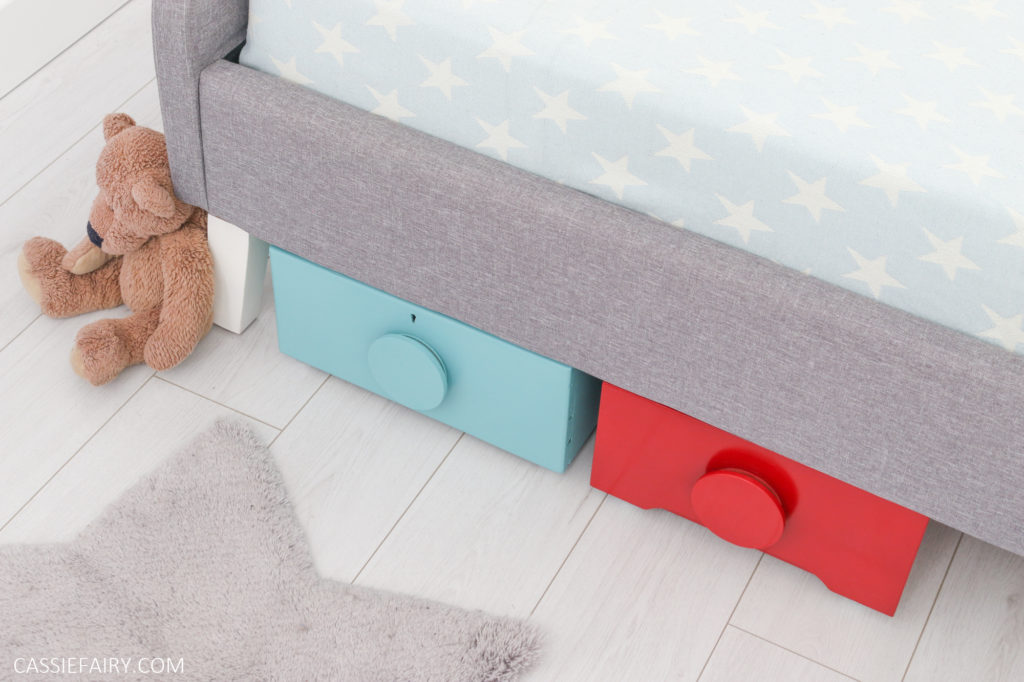
Although it’s a relatively simple upcycling project, the possibilities for decorating your drawers are endless. You can paint them in a range of colours for a kids bedroom, keep them the original wood finish for a more rustic farmhouse look, or go for a barely-there minimalist white.
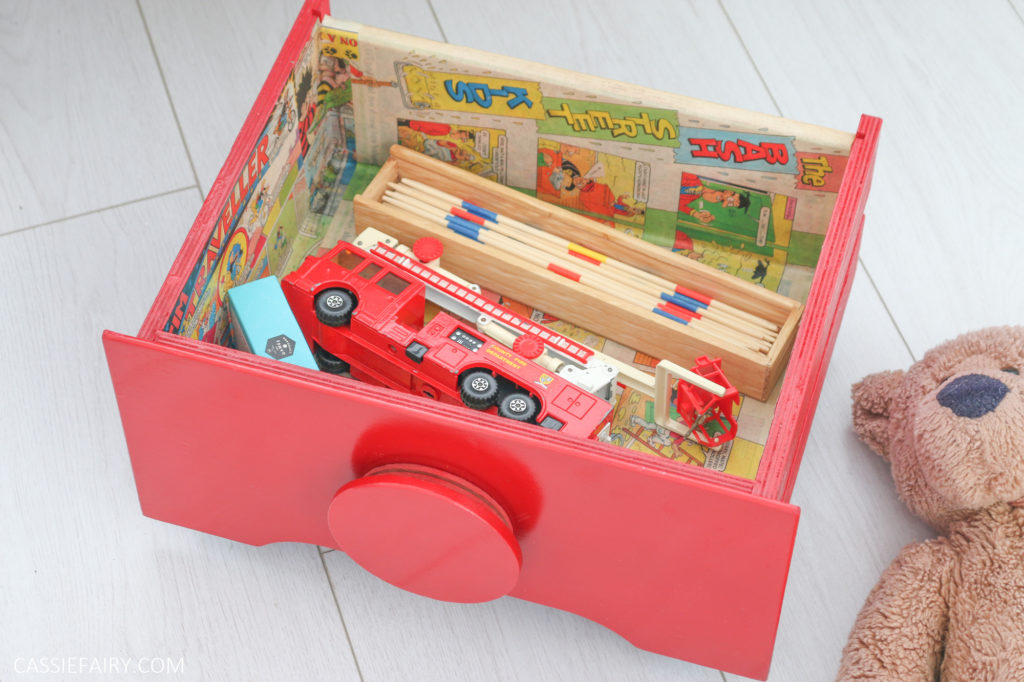
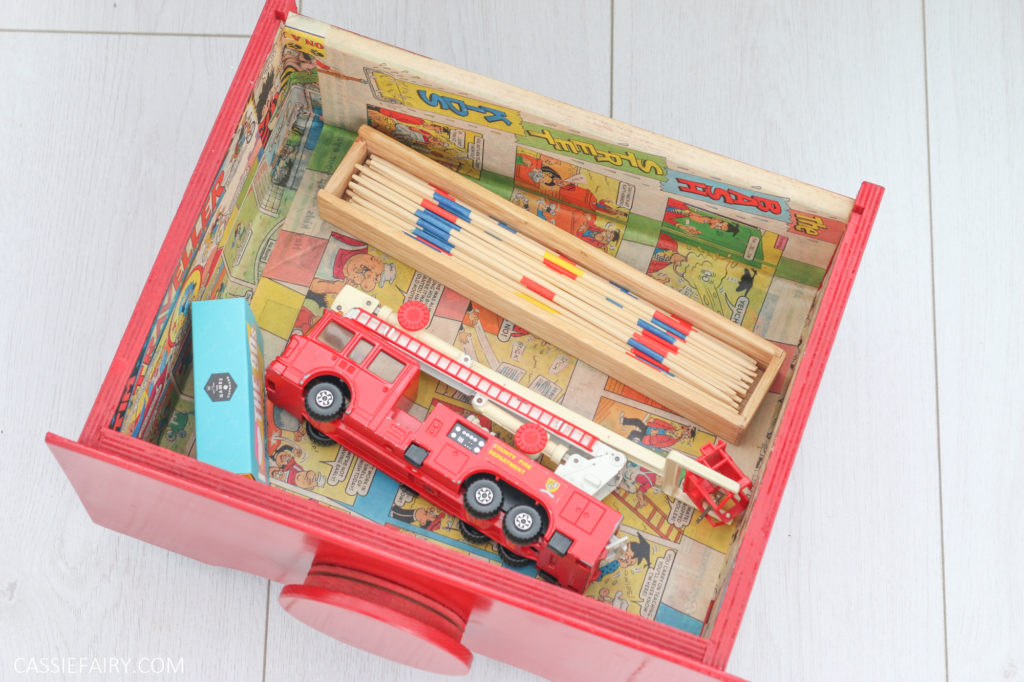
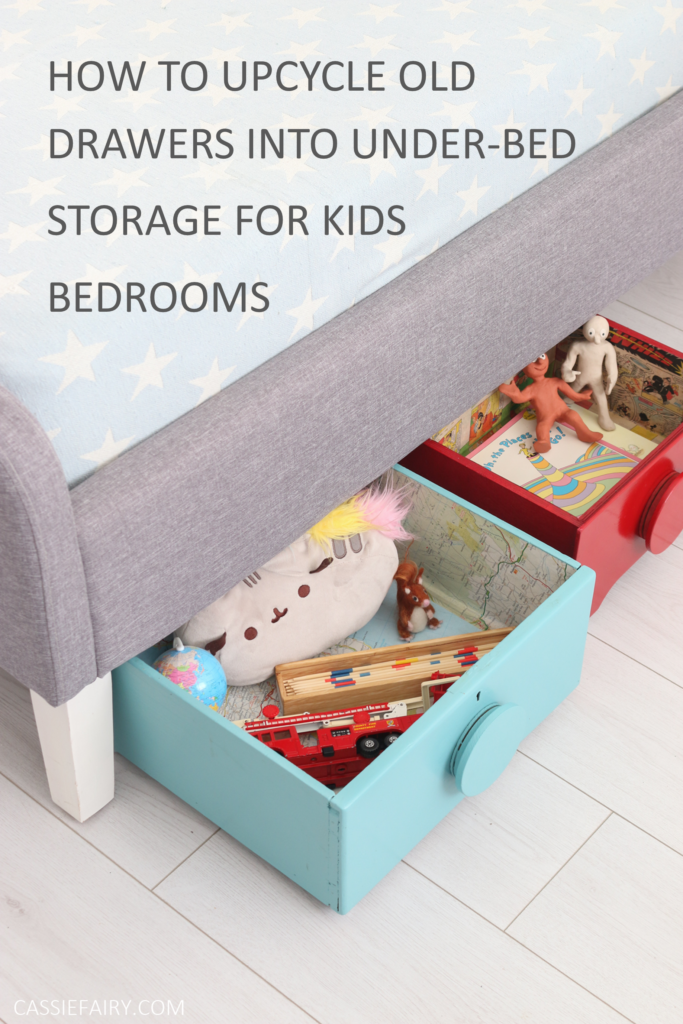
It’s also a fun project to do with older children, as they can get involved with hand-painting their own drawer with their choice of colour and decoupaging the interior with an old comic book or their own artwork. The drawer has then been personalised by them and they might be more interested in tidying away their toys into the drawer at the end of the day.
I’ve teamed up with home improvement experts ManoMano to create this step-by-step guide to help you turn some old drawers into useful under-bed storage boxes. You can see more of my upcycling projects on The Handy Mano blog including how I upcycled another wider drawer into a console table.
I’ve kept hold of a few drawers over the years, thinking that they would come in useful one day. I had a little white drawer leftover from making my upcycled mid-century style bedside tables that I wanted to use for this project, as it’s been sitting in the shed for about four years! I decided to use a few different drawers from units that have long since fallen apart and help them to look more coordinated by changing the handles – but more how I upcycled those later..!
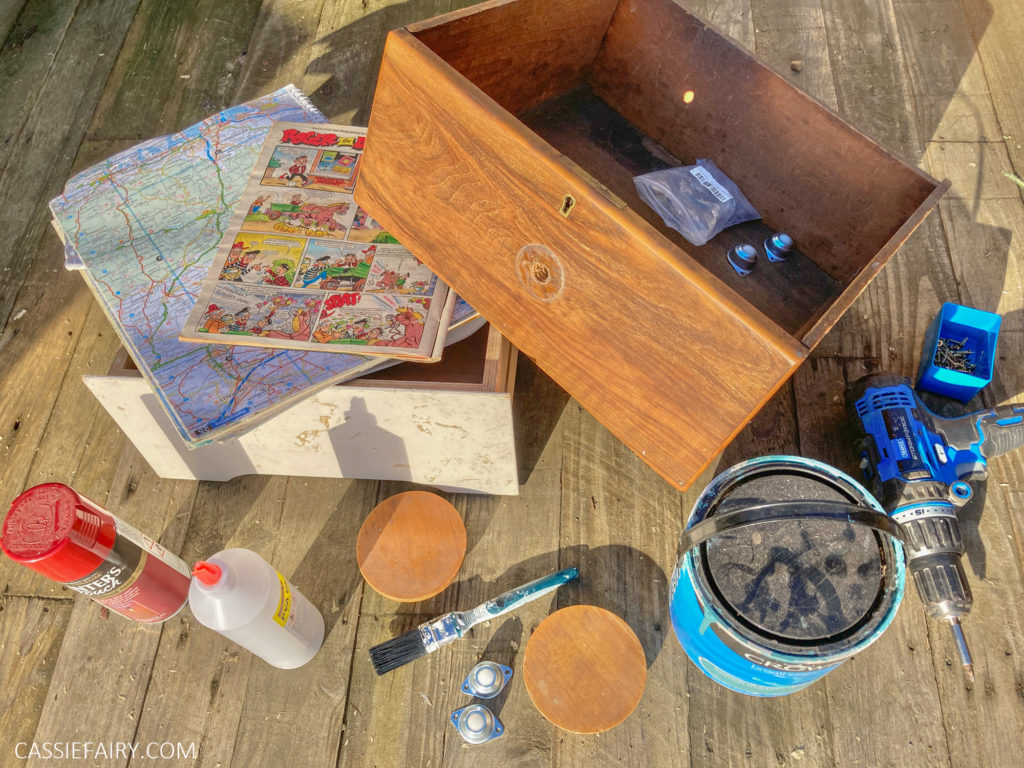
YOU WILL NEED
- Old drawers
- Sandpaper
- Paint and brush
- Comics, wallpaper, maps or wrapping paper
- PVA Glue and brush
- Castors
- Wood screws and screwdriver
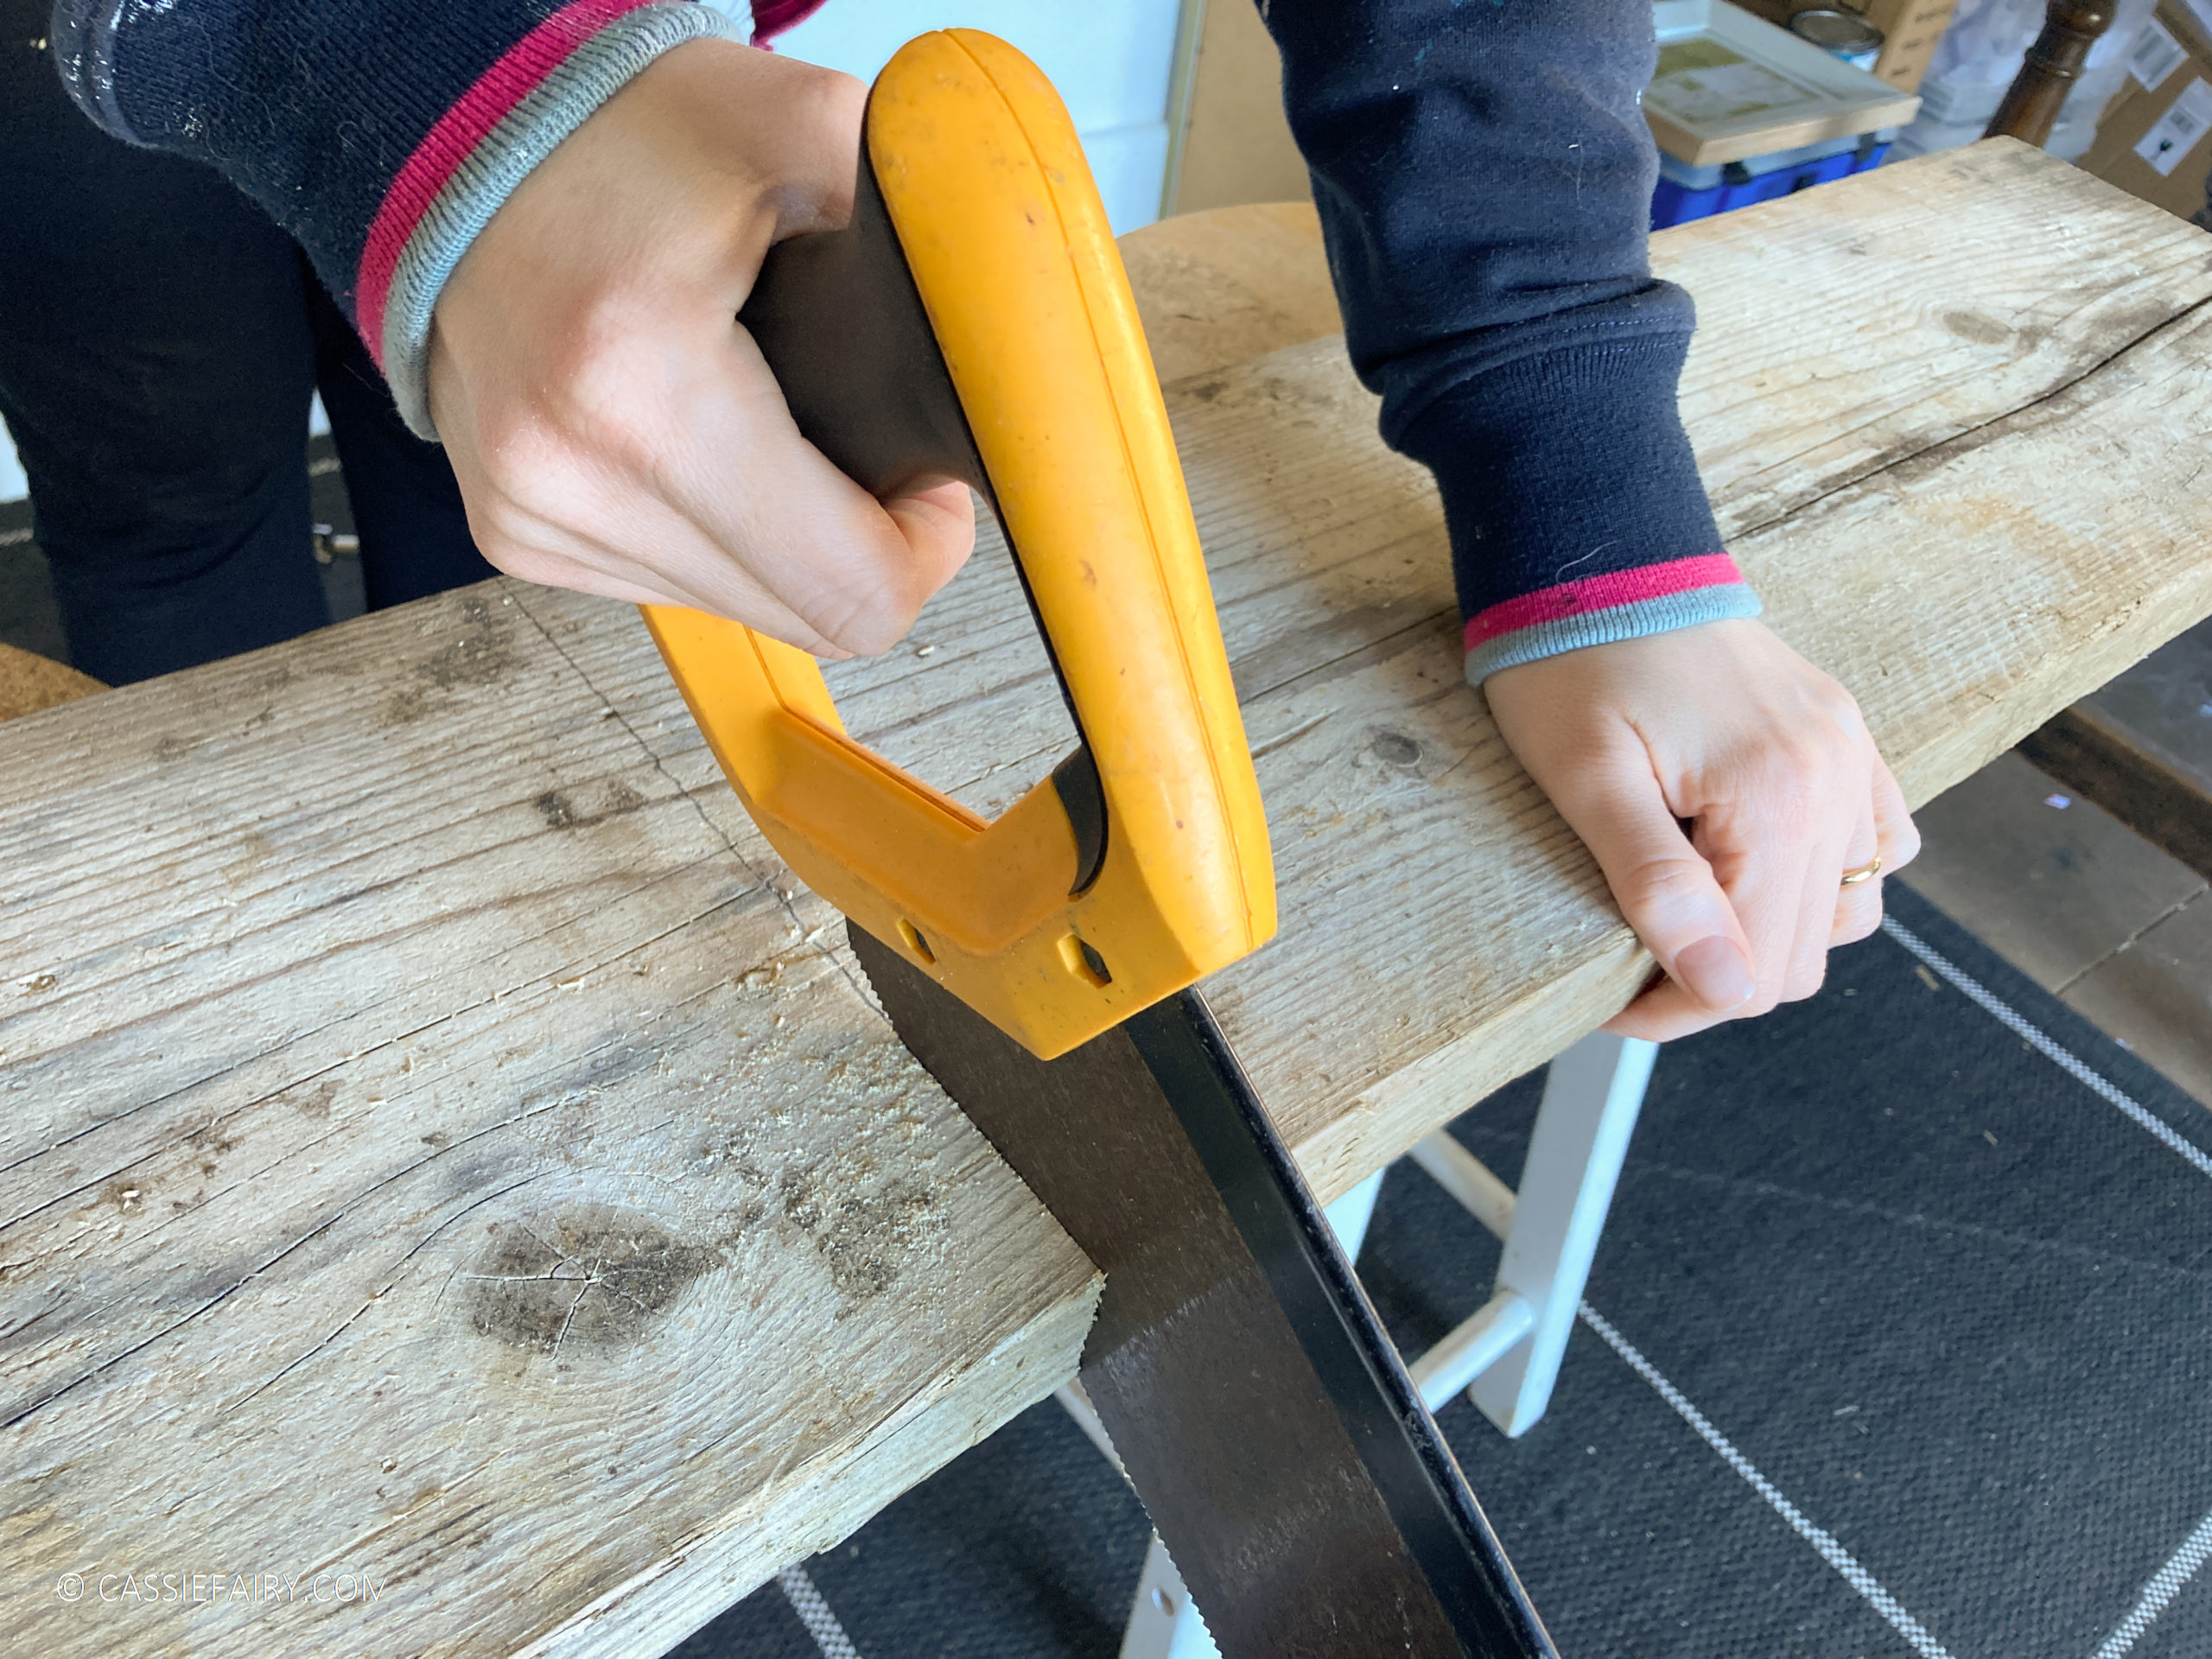
STEP 1
Measure the drawers to make sure that they will find underneath the bed, sofa or coffee table with enough room for the castor wheels. If so, you can remove the handles and sand down the surface to prepare it for painting and to ensure there are no splinters.

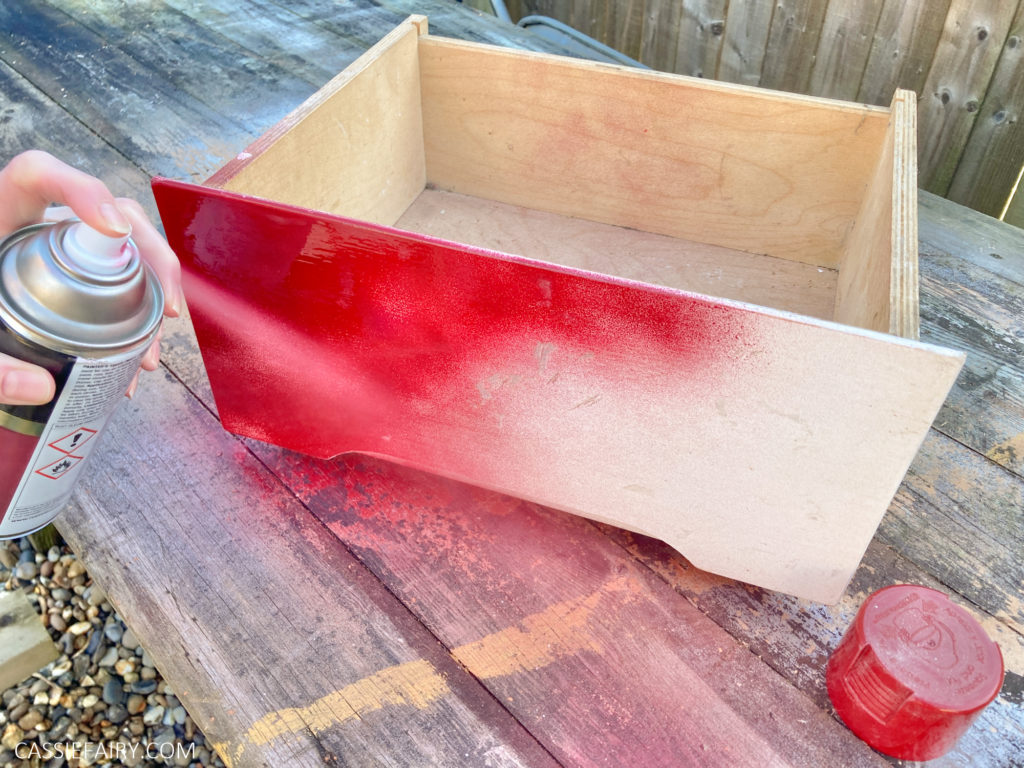
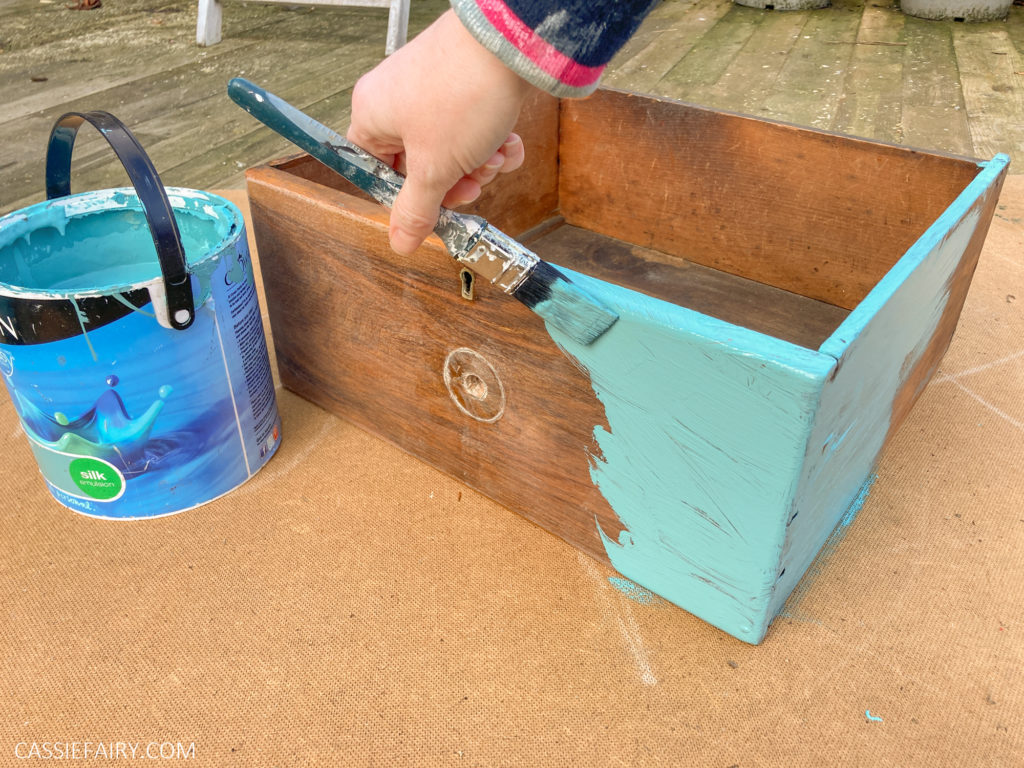
STEP 2
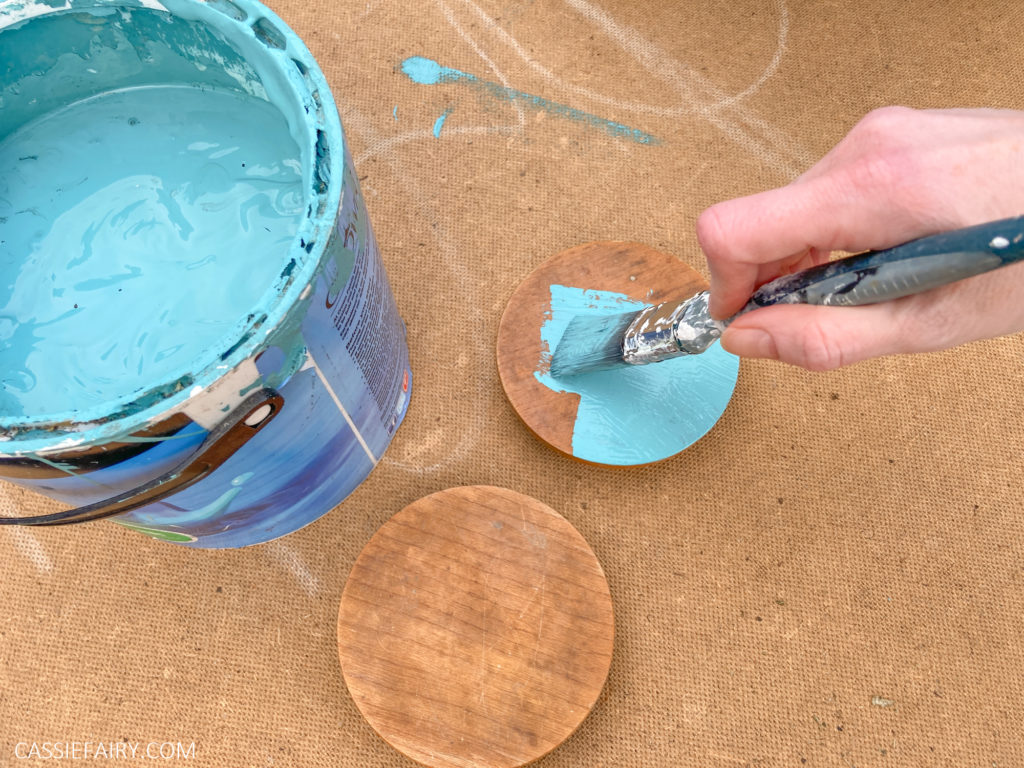
Use a couple of layers of spray paint or chalk paint to completely cover the drawers. Alternatively, you can stain or wax bare timber drawers to make the most of the wood grain.
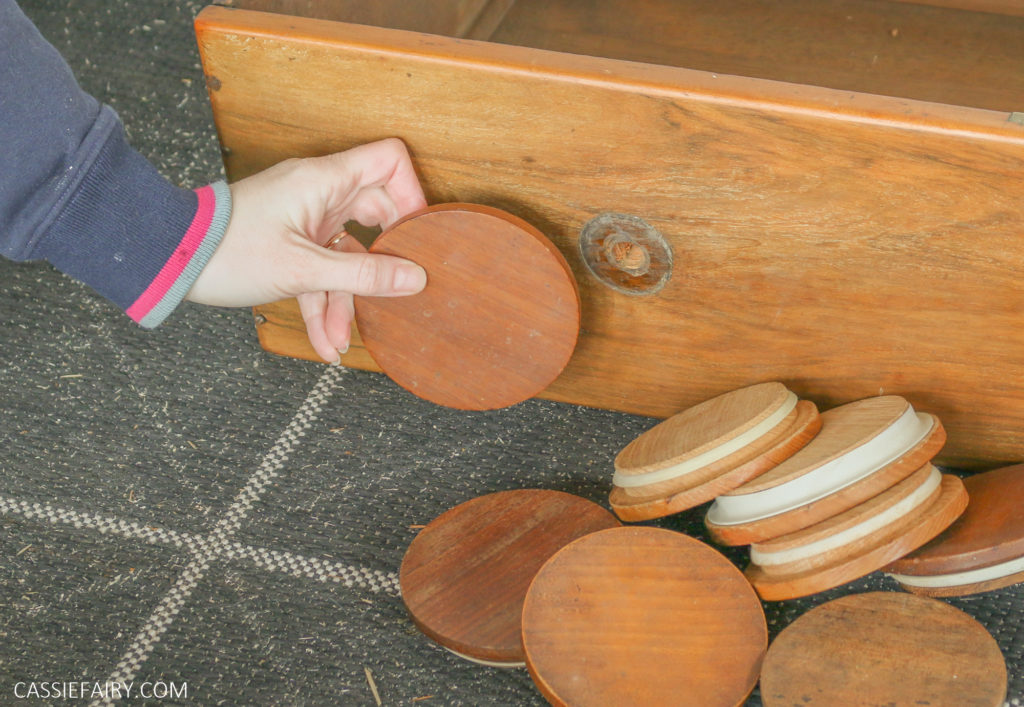
STEP 3
Select some new handles for the drawers or paint the old handles. I decided to upcycle the wooden lids of some tea, sugar and coffee storage pots by removing the rubber seal and painting the wood in the same colour as the drawers.
STEP 4
Once the paint has dried you can attach the handles using wood screws and a screwdriver.
STEP 5
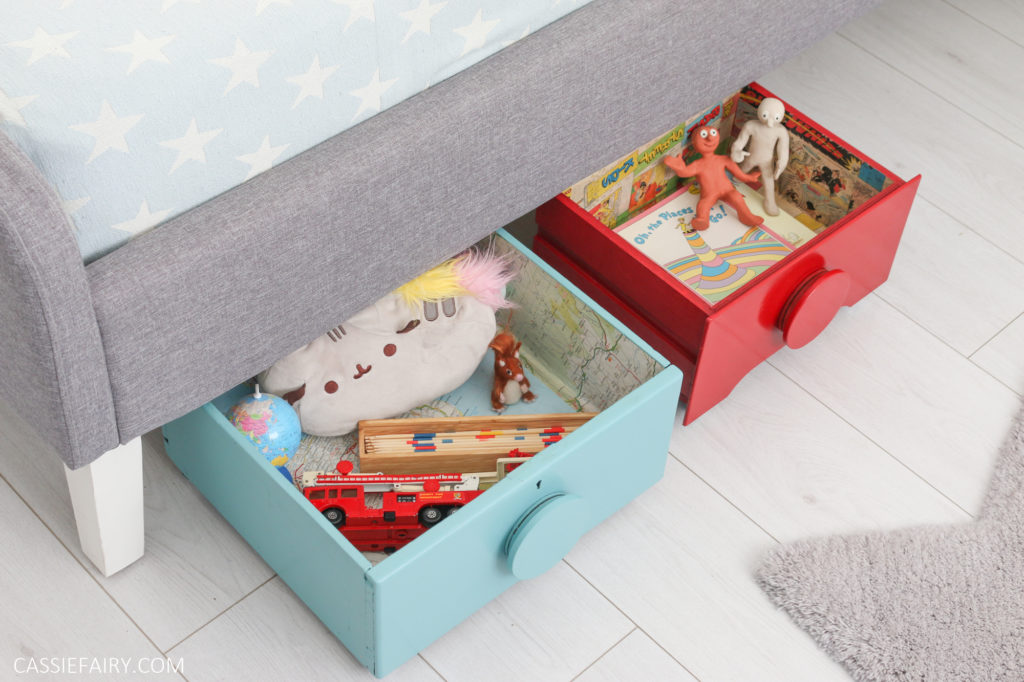
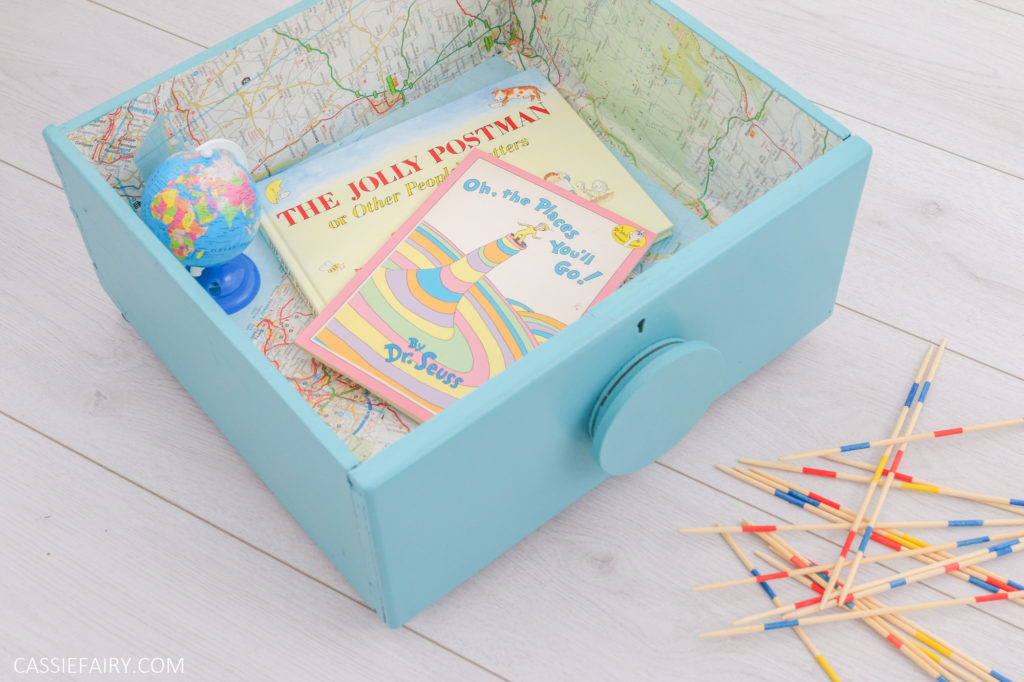
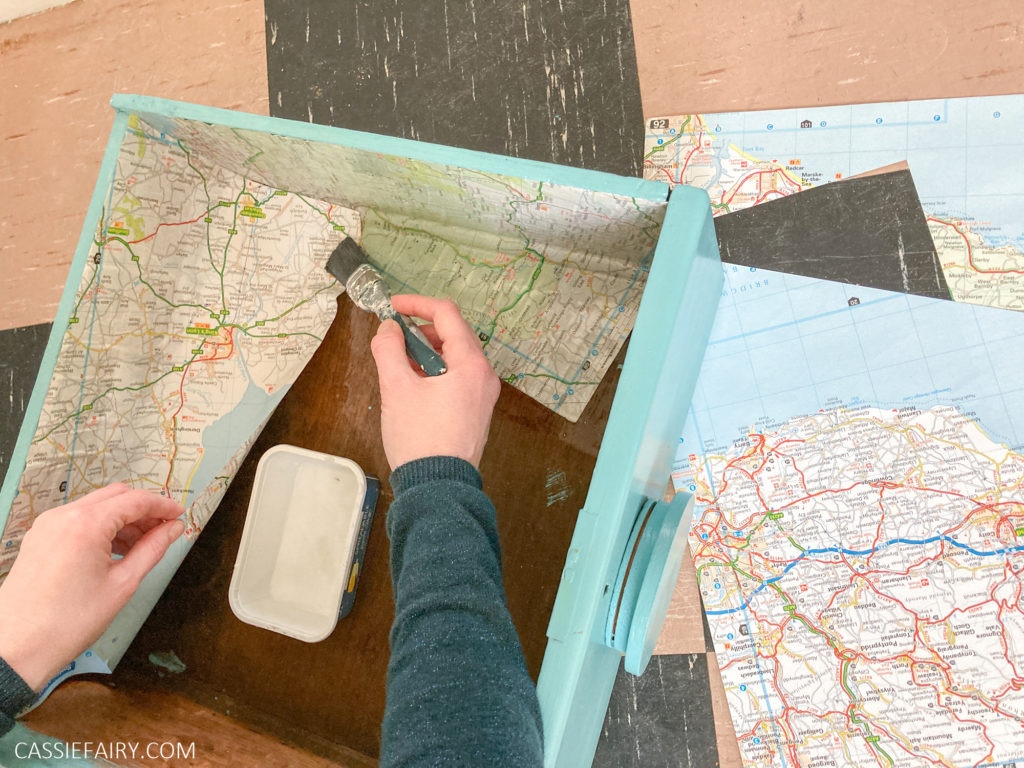
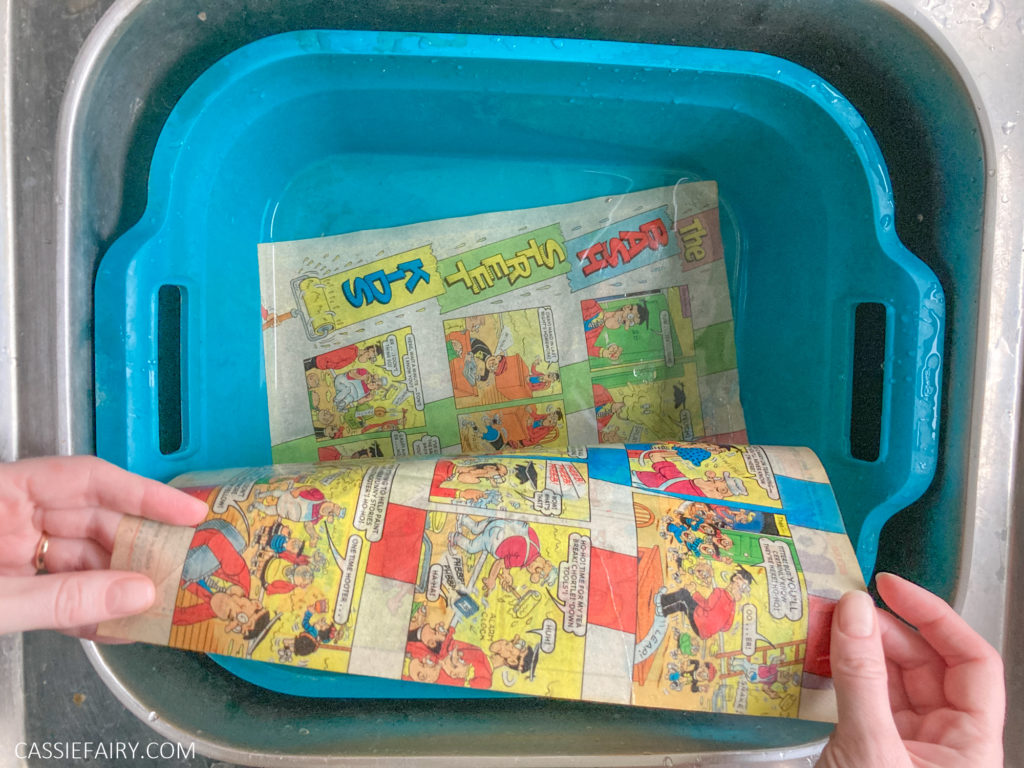
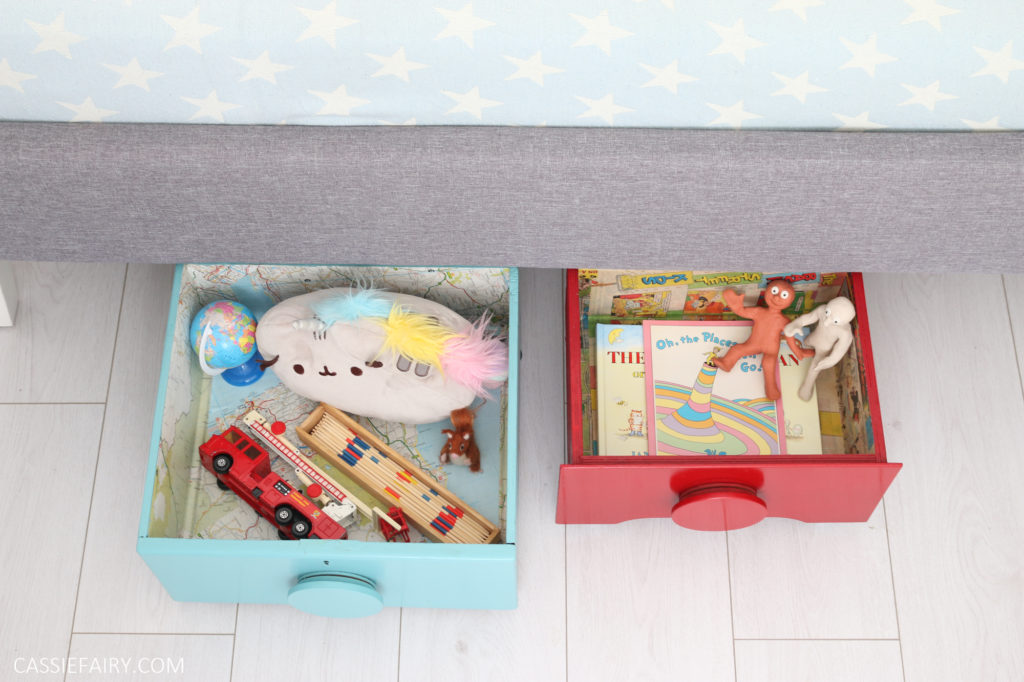
Choose some patterned paper to decoupage the interior of the drawers. We used maps and comic books but you could go for wrapping paper, wallpaper or photos printed onto paper. Cut the paper into suitably-sized pieces to cover the inside and use PVA glue to stick it to the wood.

TOP TIP
Brush the glue onto the surface and then lightly wet the paper before you apply it. Work from one straight edge and use a paint brush to remove any air bubbles as you glue it down. Then apply another layer of glue and add more pieces until the whole interior is covered. You can add more glue on top to seal the surface.
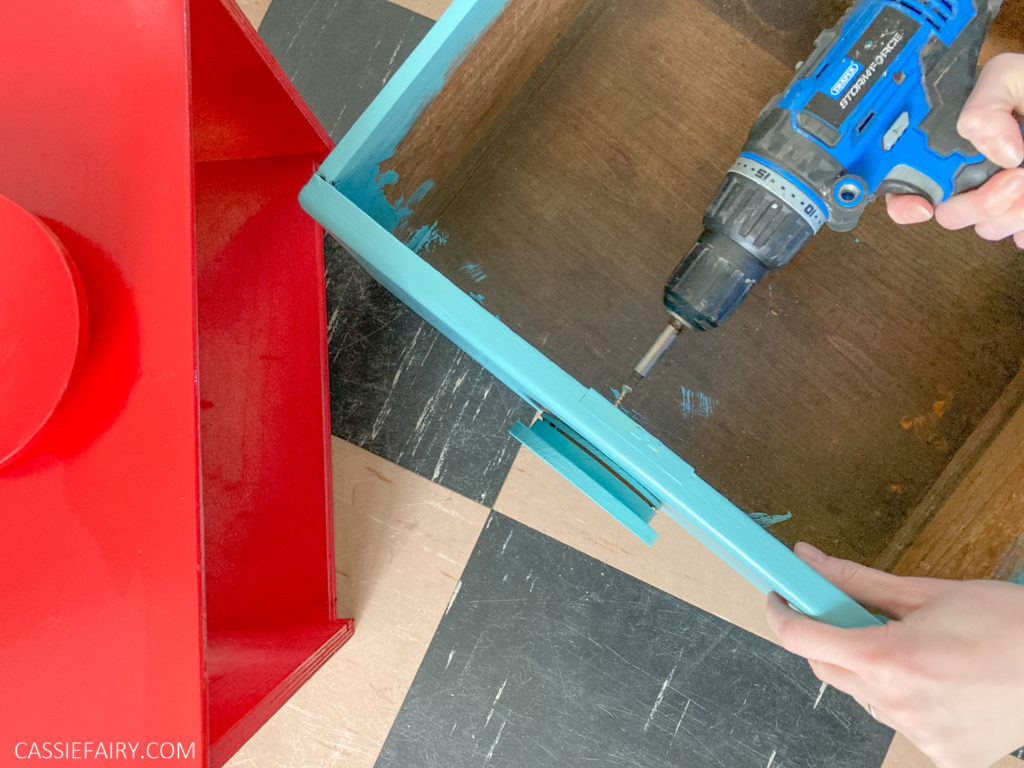
STEP 6
When the glue is dry, use wood screws to attach the castor wheels to the underside of the drawers. Be sure to attach the wheel fixings to the frame of the drawer so that the screws don’t poke through into the inside!
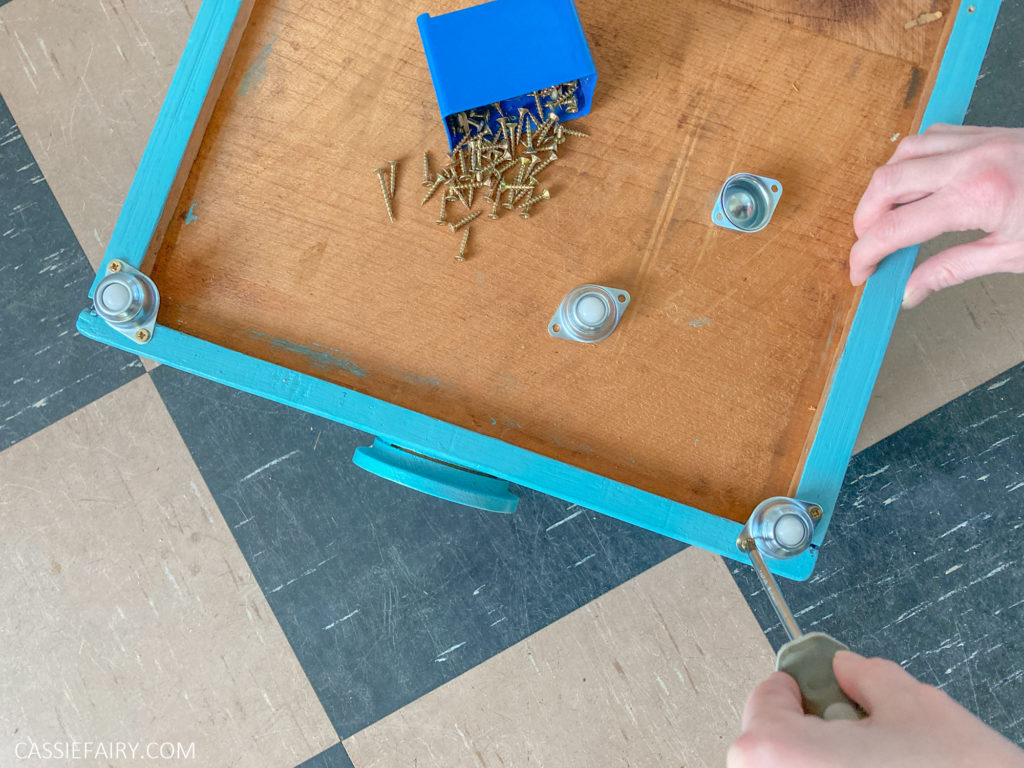
The castor wheels we chose are very low-profile roller-ball wheels but you can use any wheels that still allow the drawers to fit under the bed. You can make as many drawers as you like using this method, in a variety of colours and styles for different rooms and purposes. Why not use pages from an old broken book to decorate a drawer for storing books? Or you could keep the drawers inside the original unit if you have the frame and decoupage the interiors to bring an old chest of drawers back to life.
I’d love to see your own versions of this project so please feel free to tag me @Cassiefairy in your photos on Instagram so I can see how you get on!
PIN IT FOR LATER
This article is a sponsored collaboration. The pink links in the content indicate a sponsored link or information source. The blog post reflects my own experience and the sponsor hasn’t had any control over my content 🙂