Yay for summer and whoop for BBQ season! It’s finally time to drag out the barbecue, scrub down the grill and fire up the coals. Or so I thought… It turns out that my barbecue required a makeover, and quick!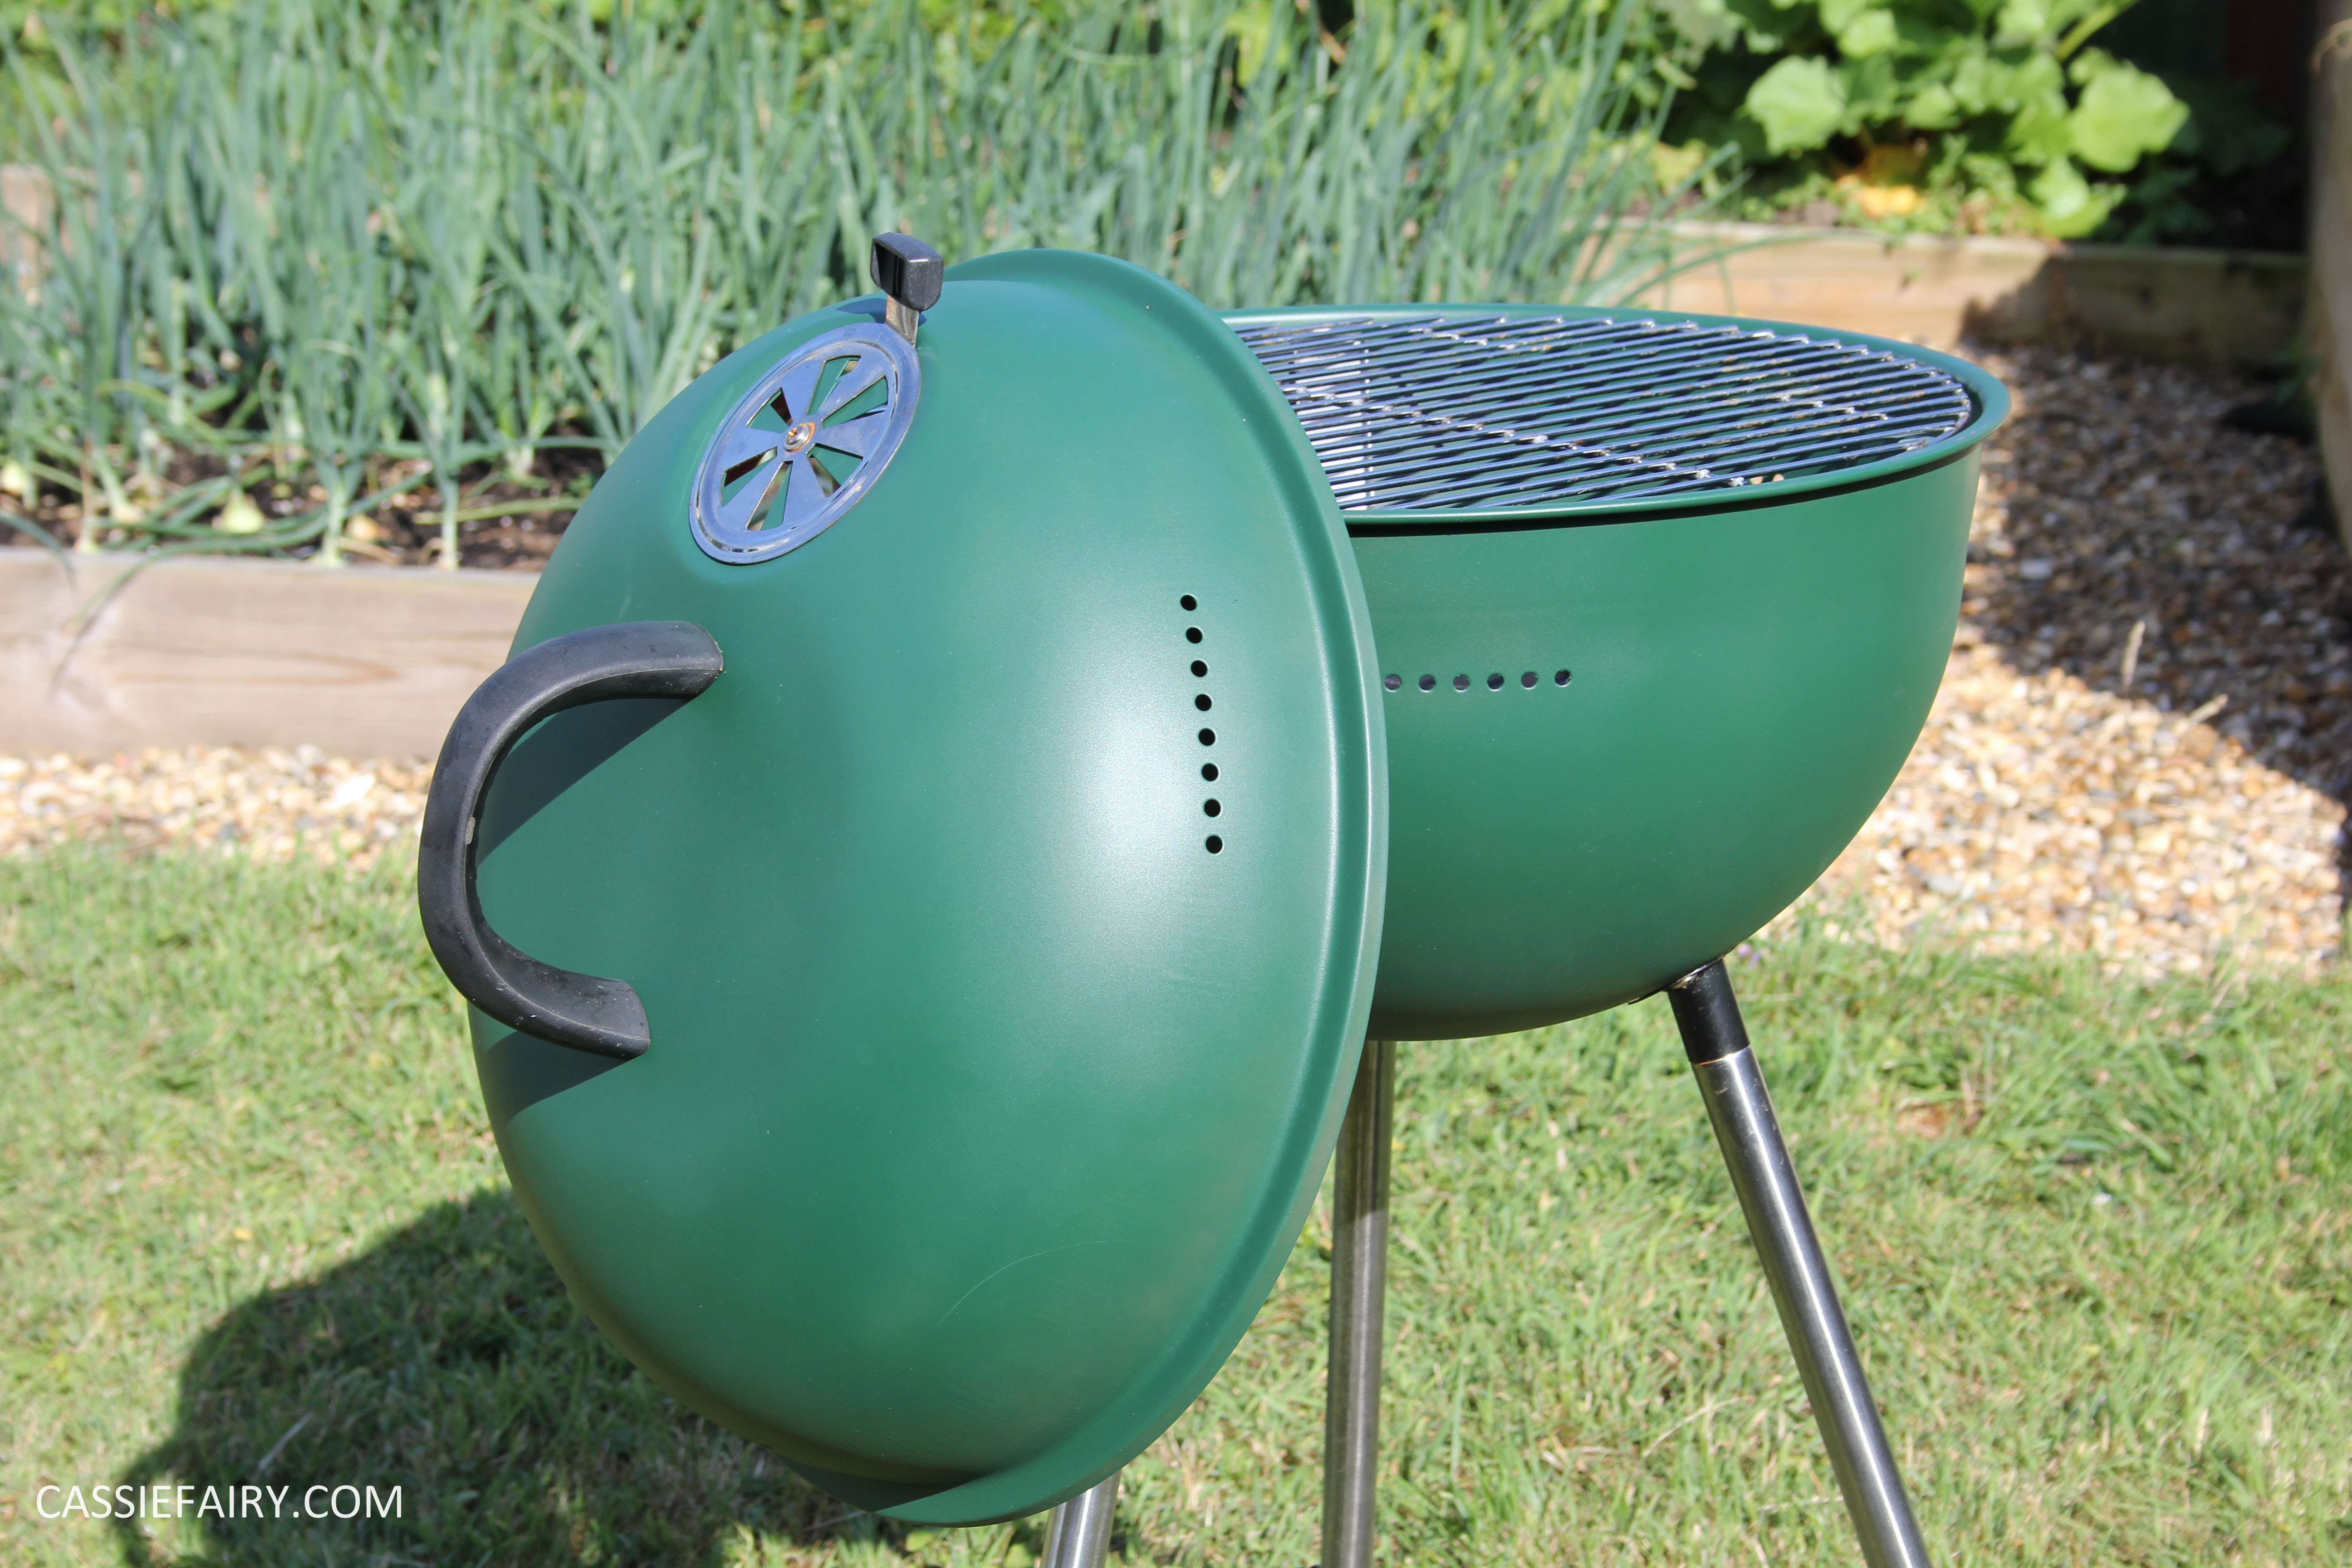 Last year we invested in a kettle barbecue. Ok, it wasn’t pricey because we picked it up in the end-of-summer sales but even so I was rather disappointed when, after only a couple of weeks outside, the red paint faded to a dusty pink shade. It took us longer to get it out of the box and assemble it than it did for the colour to fade. I was rather miffed to say the least but put it away at the end of last summer and forgot about it.


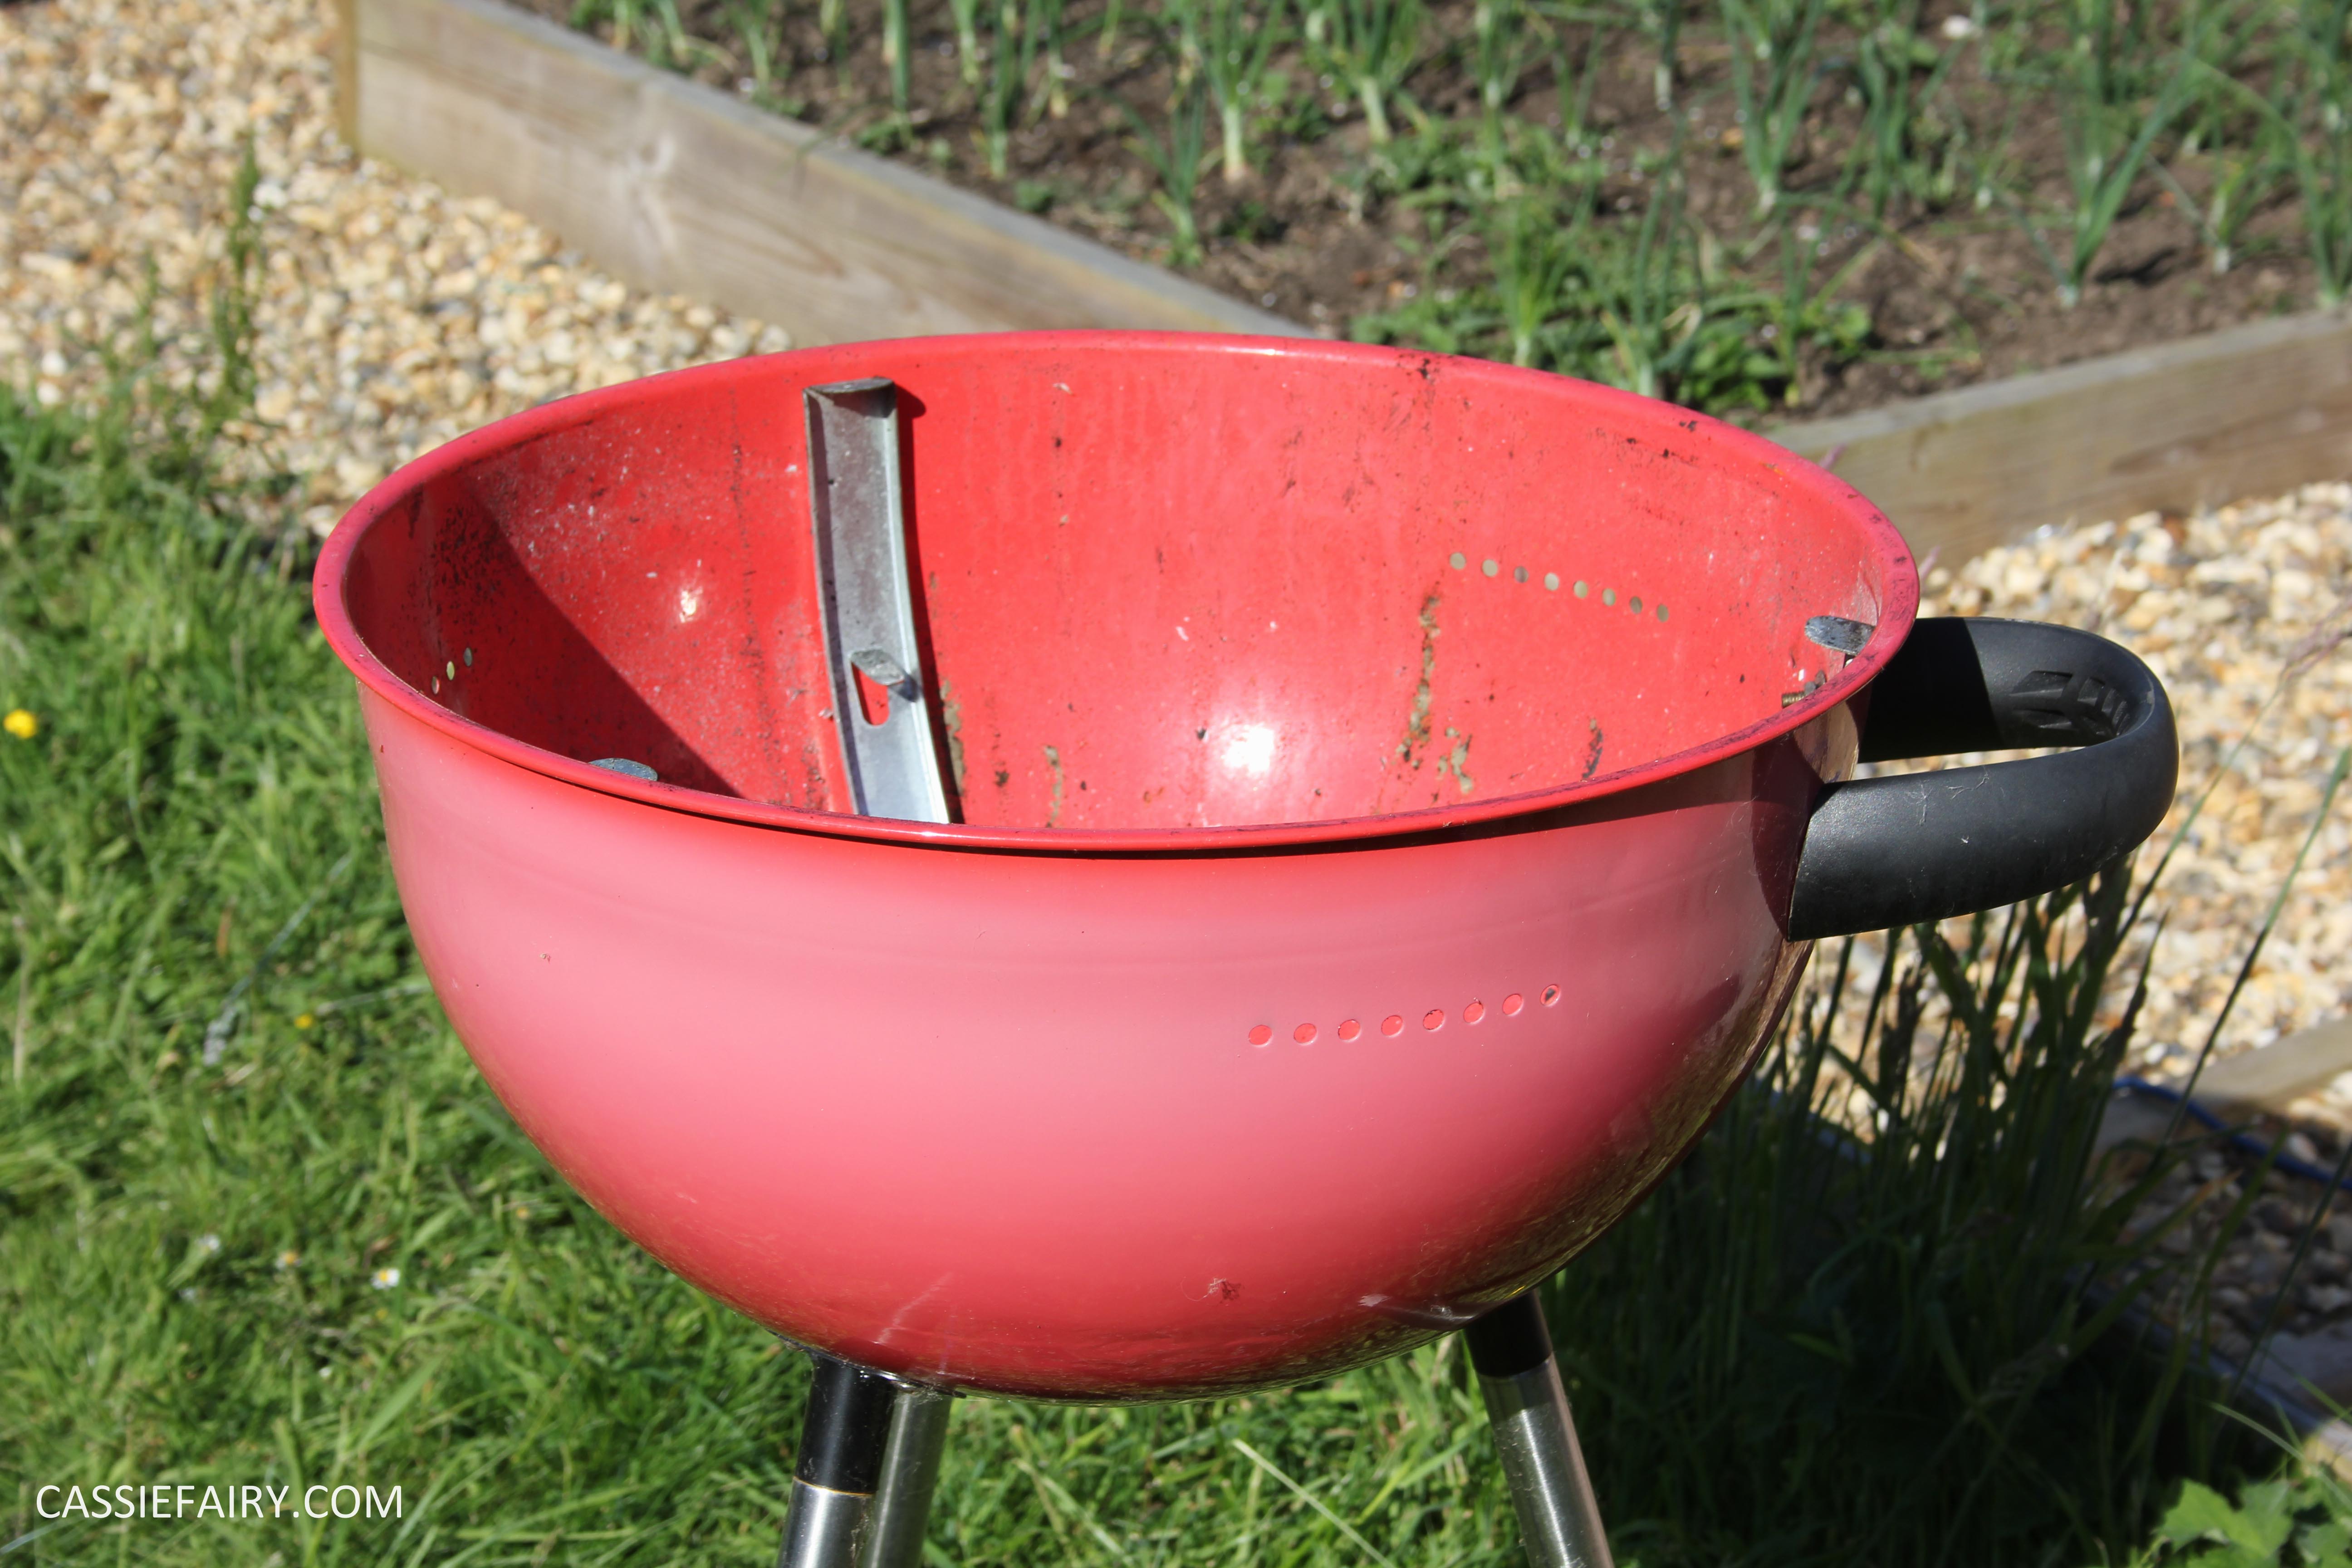
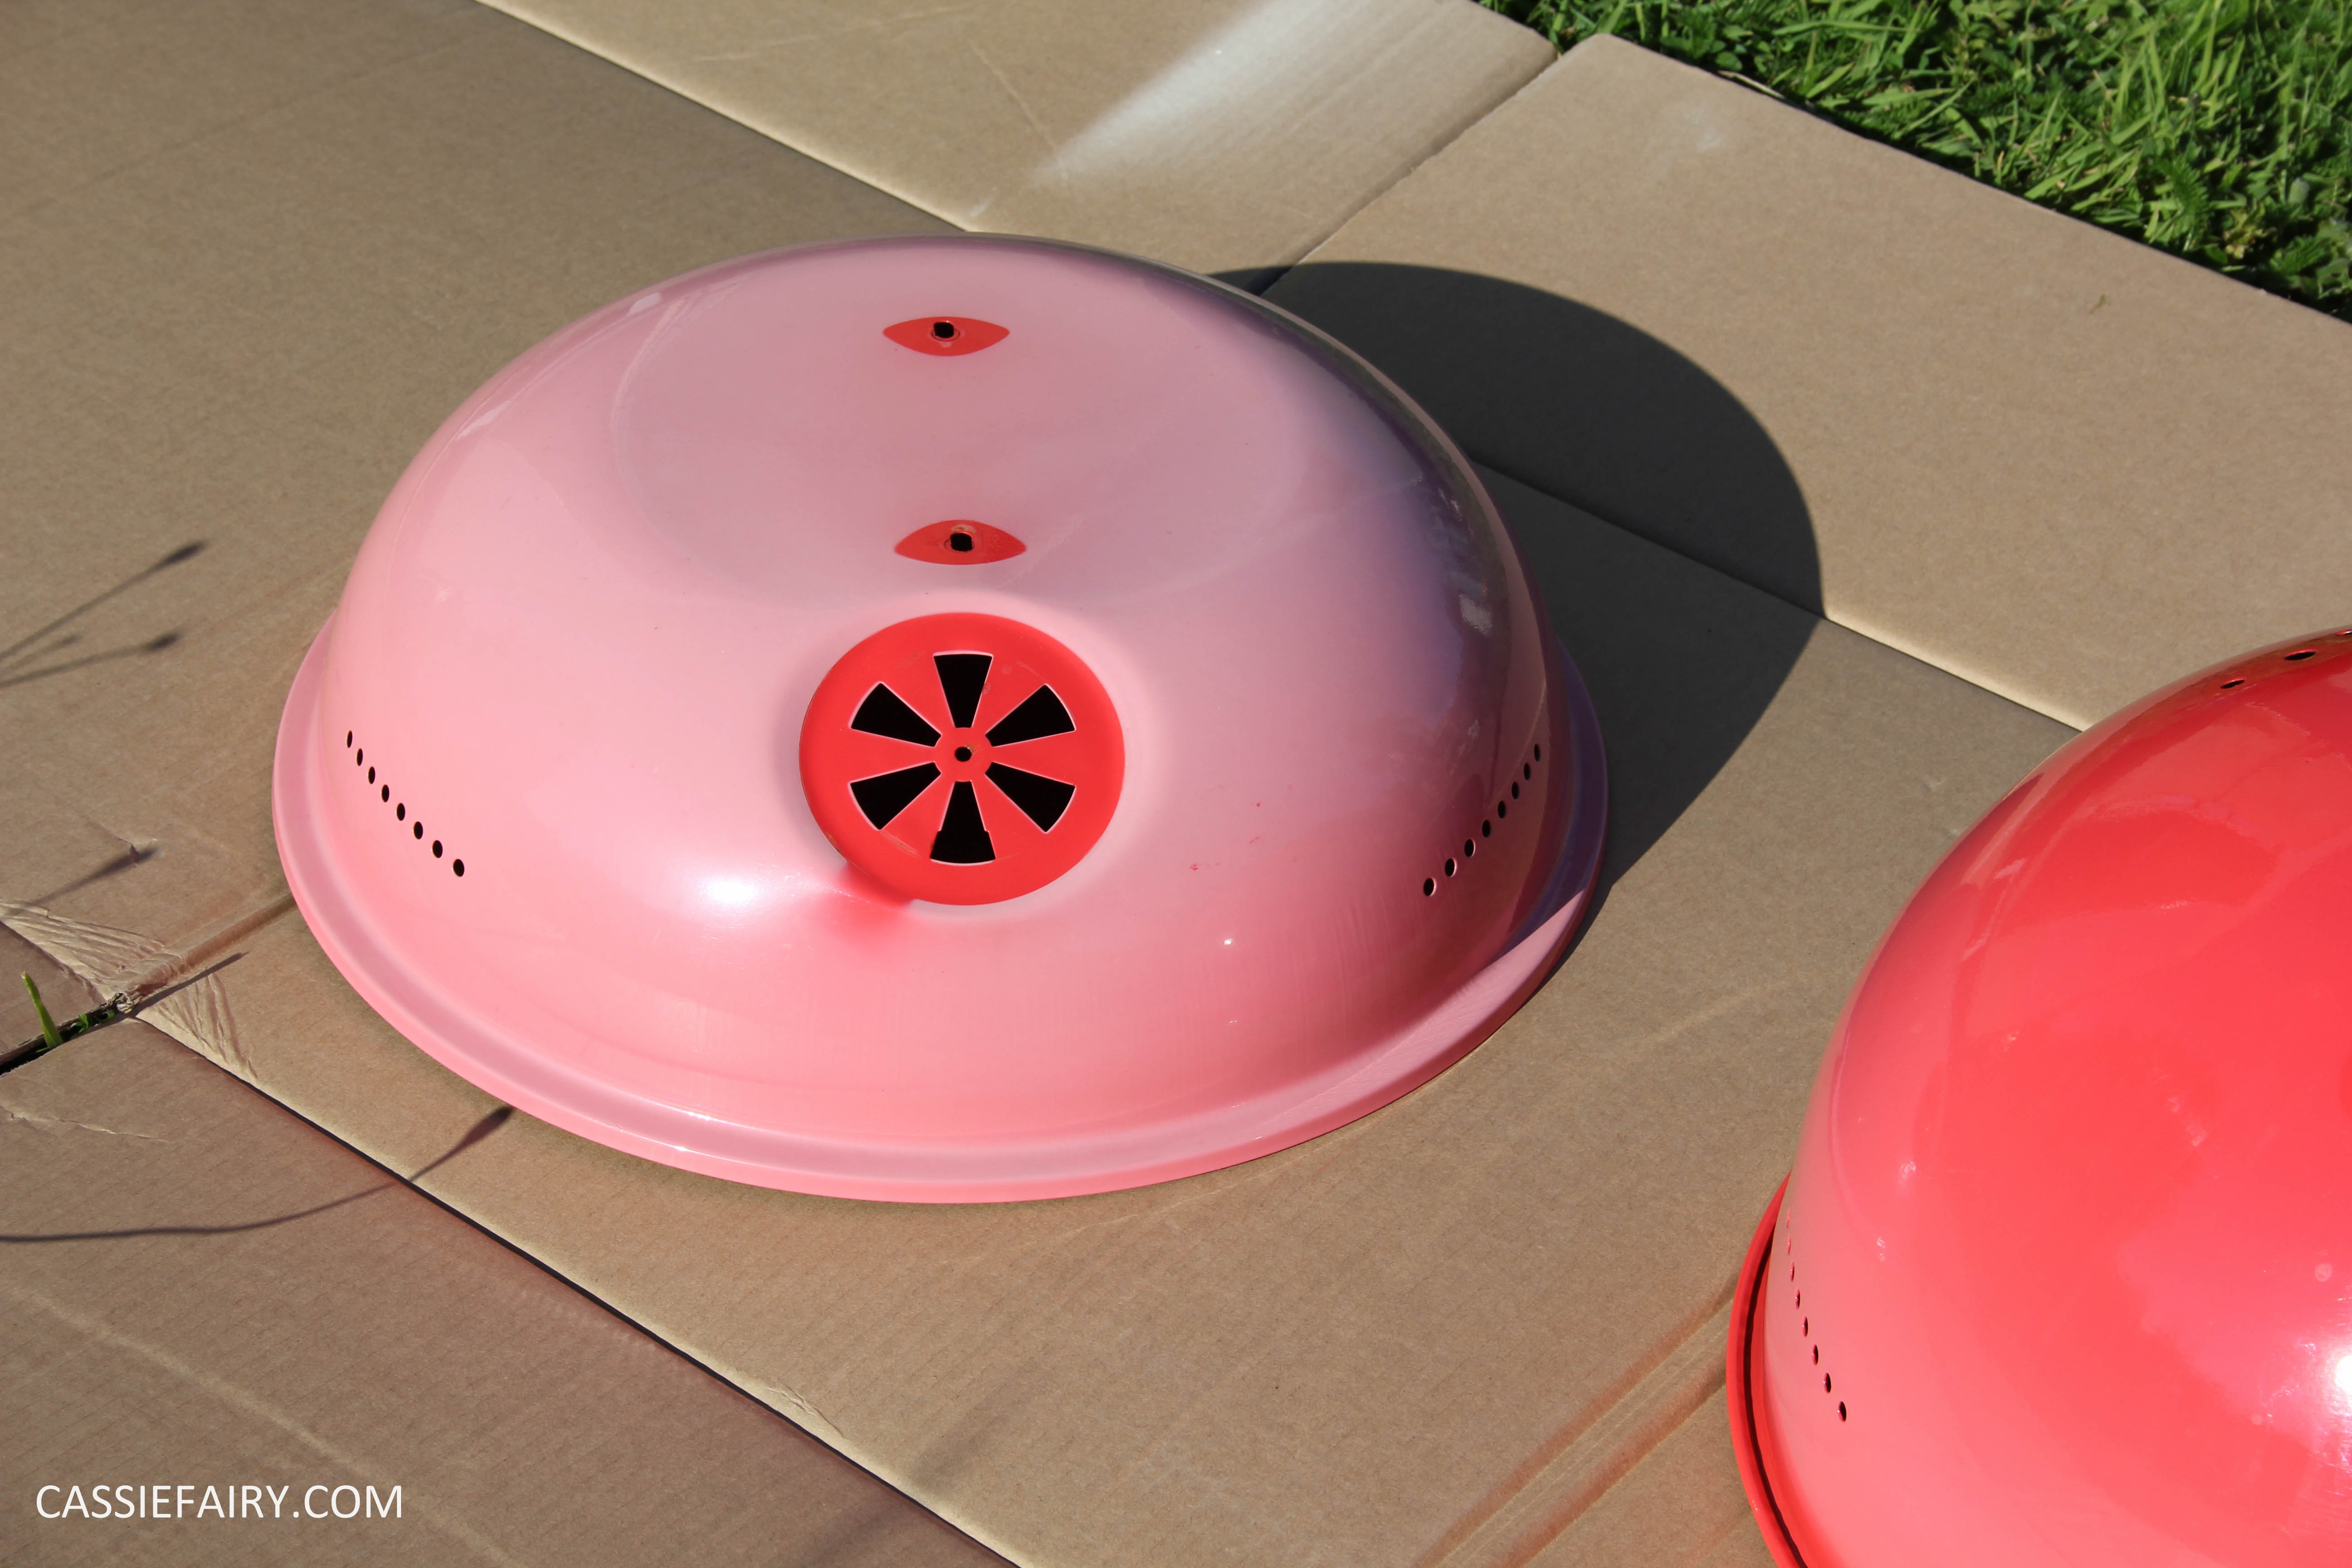
When we pulled it out from the back of the shed during the balmy weather, I realised that it really was as bad as I remembered and after we removed all the fixings you can see from the photos just how red it once was and how faded the rest of the barbecue had become. There was only one solution – spray paint!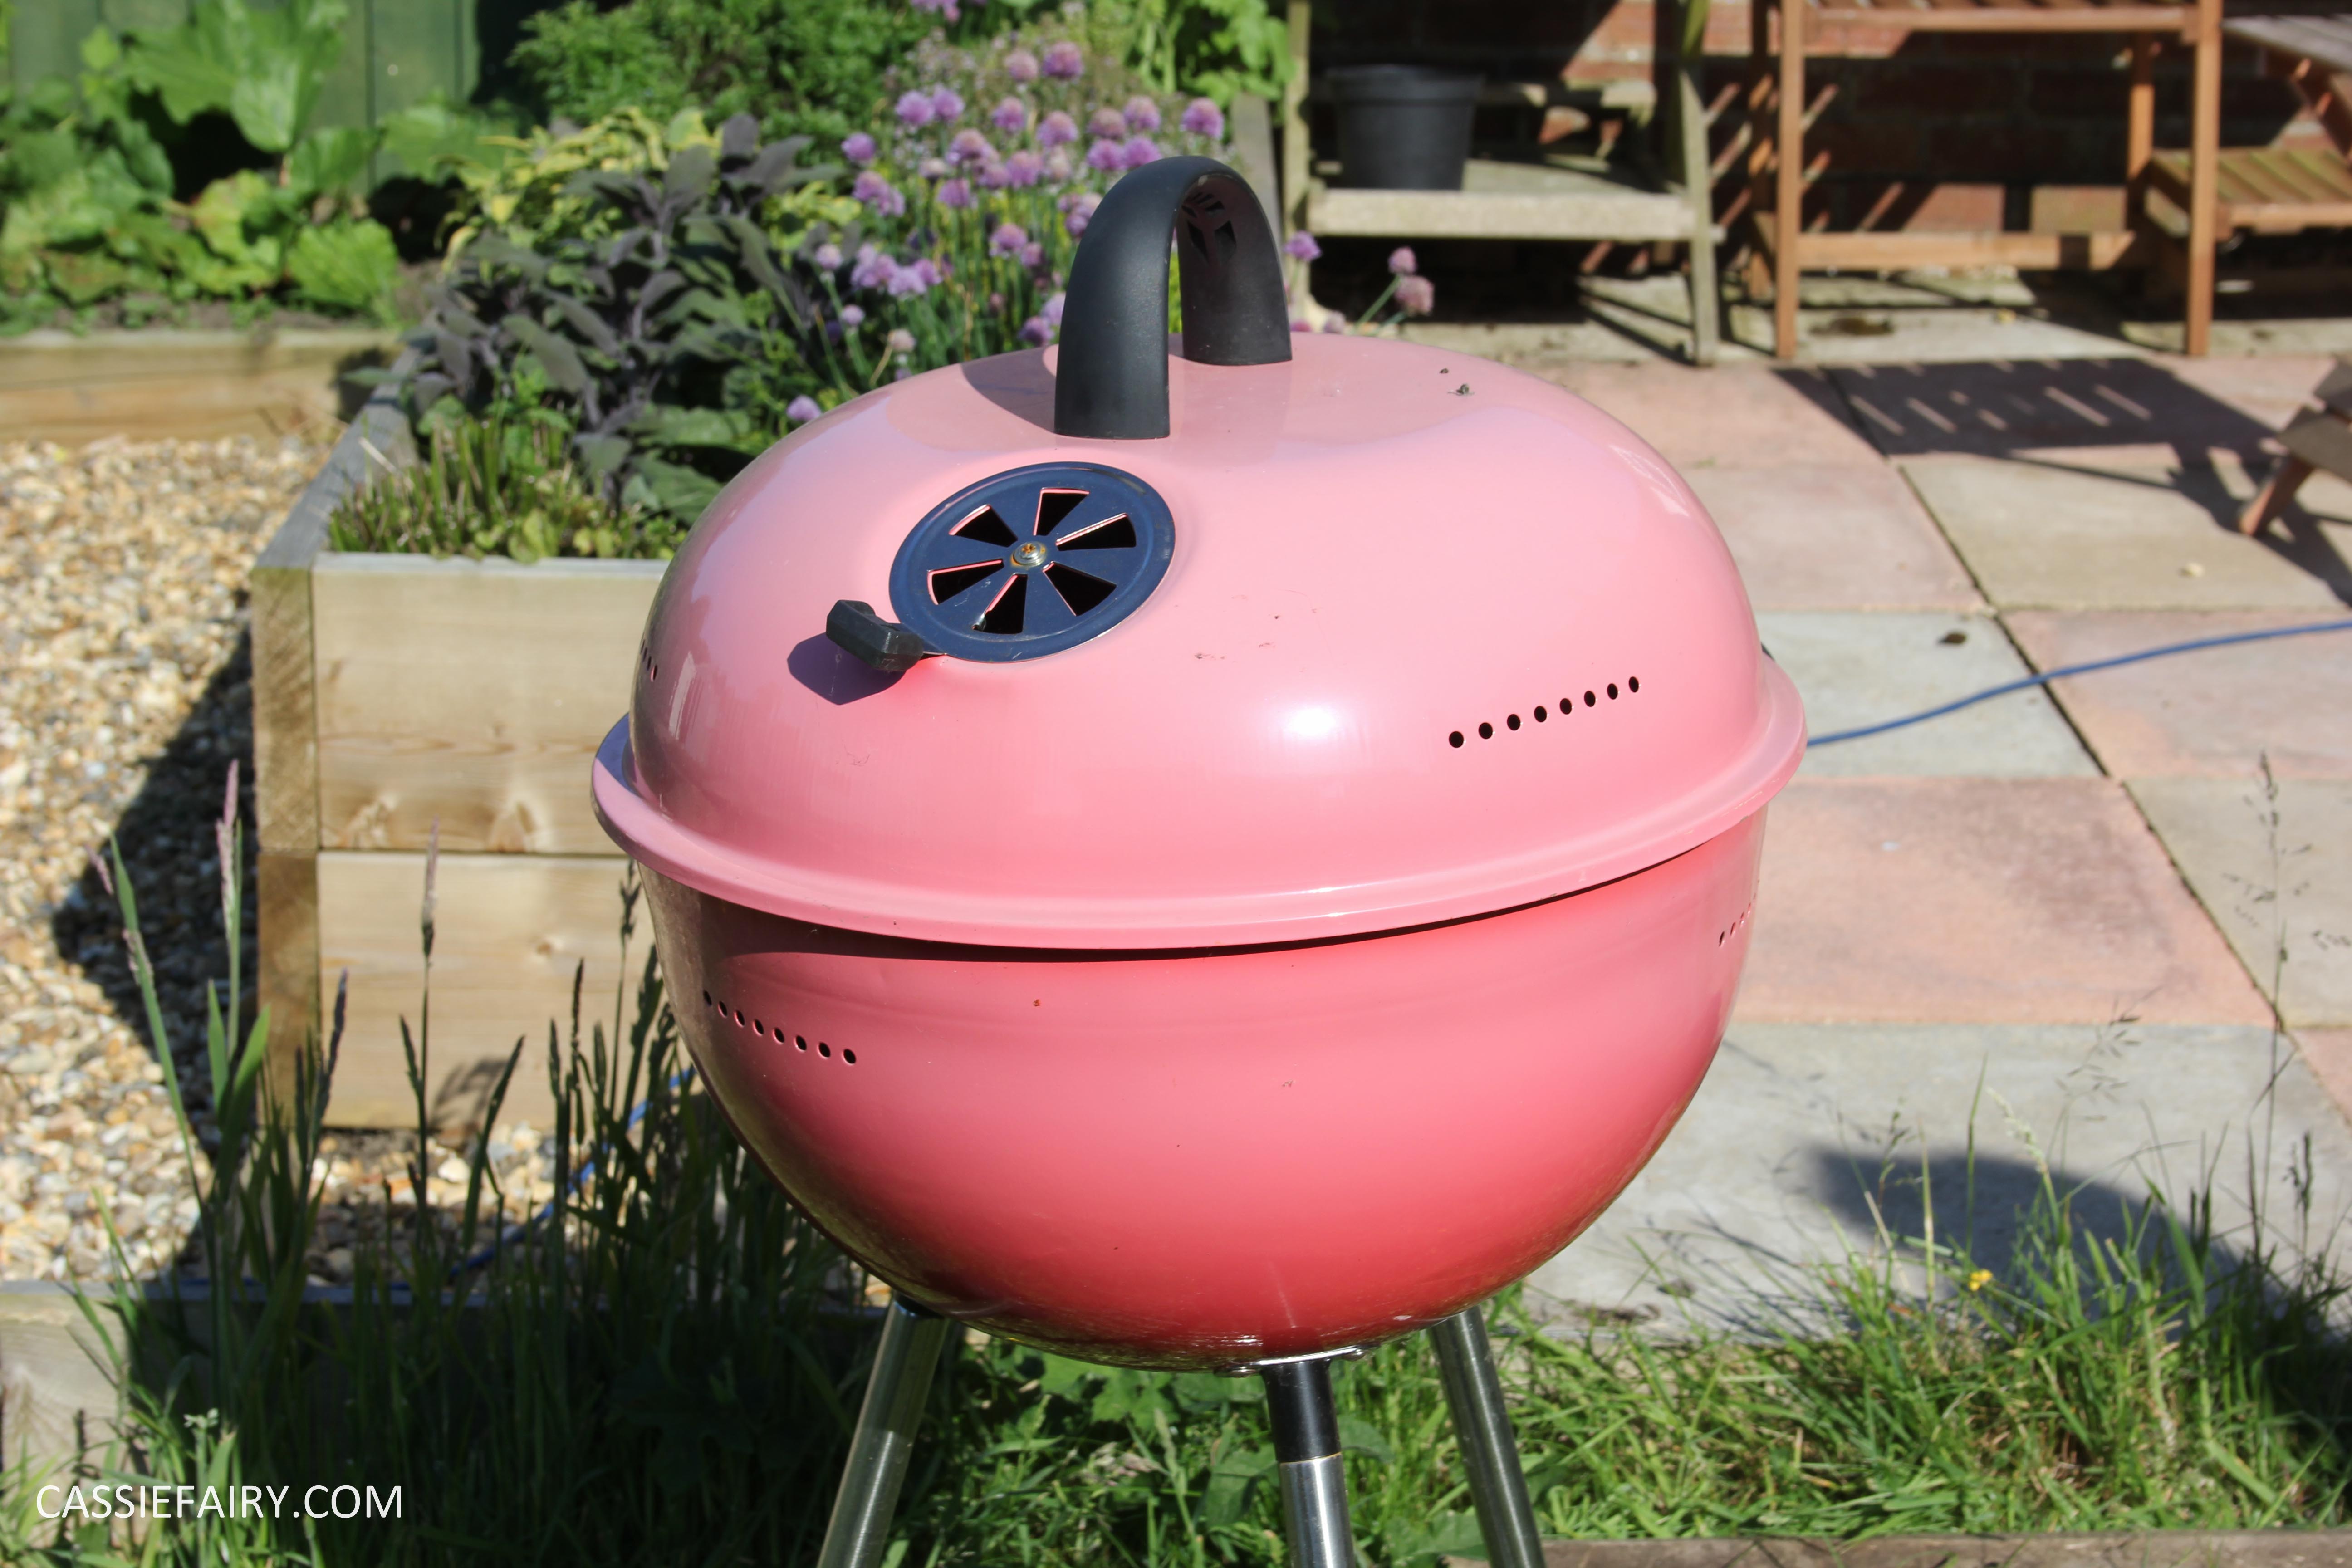
 Okay, you may have already gathered that I use spray paint to fix up almost anything in my home, but this was a slightly different project. Even though a spray paint that was suitable for metal would have adhered to the metal dome, it probably wouldn’t be able to withstand the heat. So this lead me on a hunt for a heat-resistant makeover option and I found it at Rustoleum.
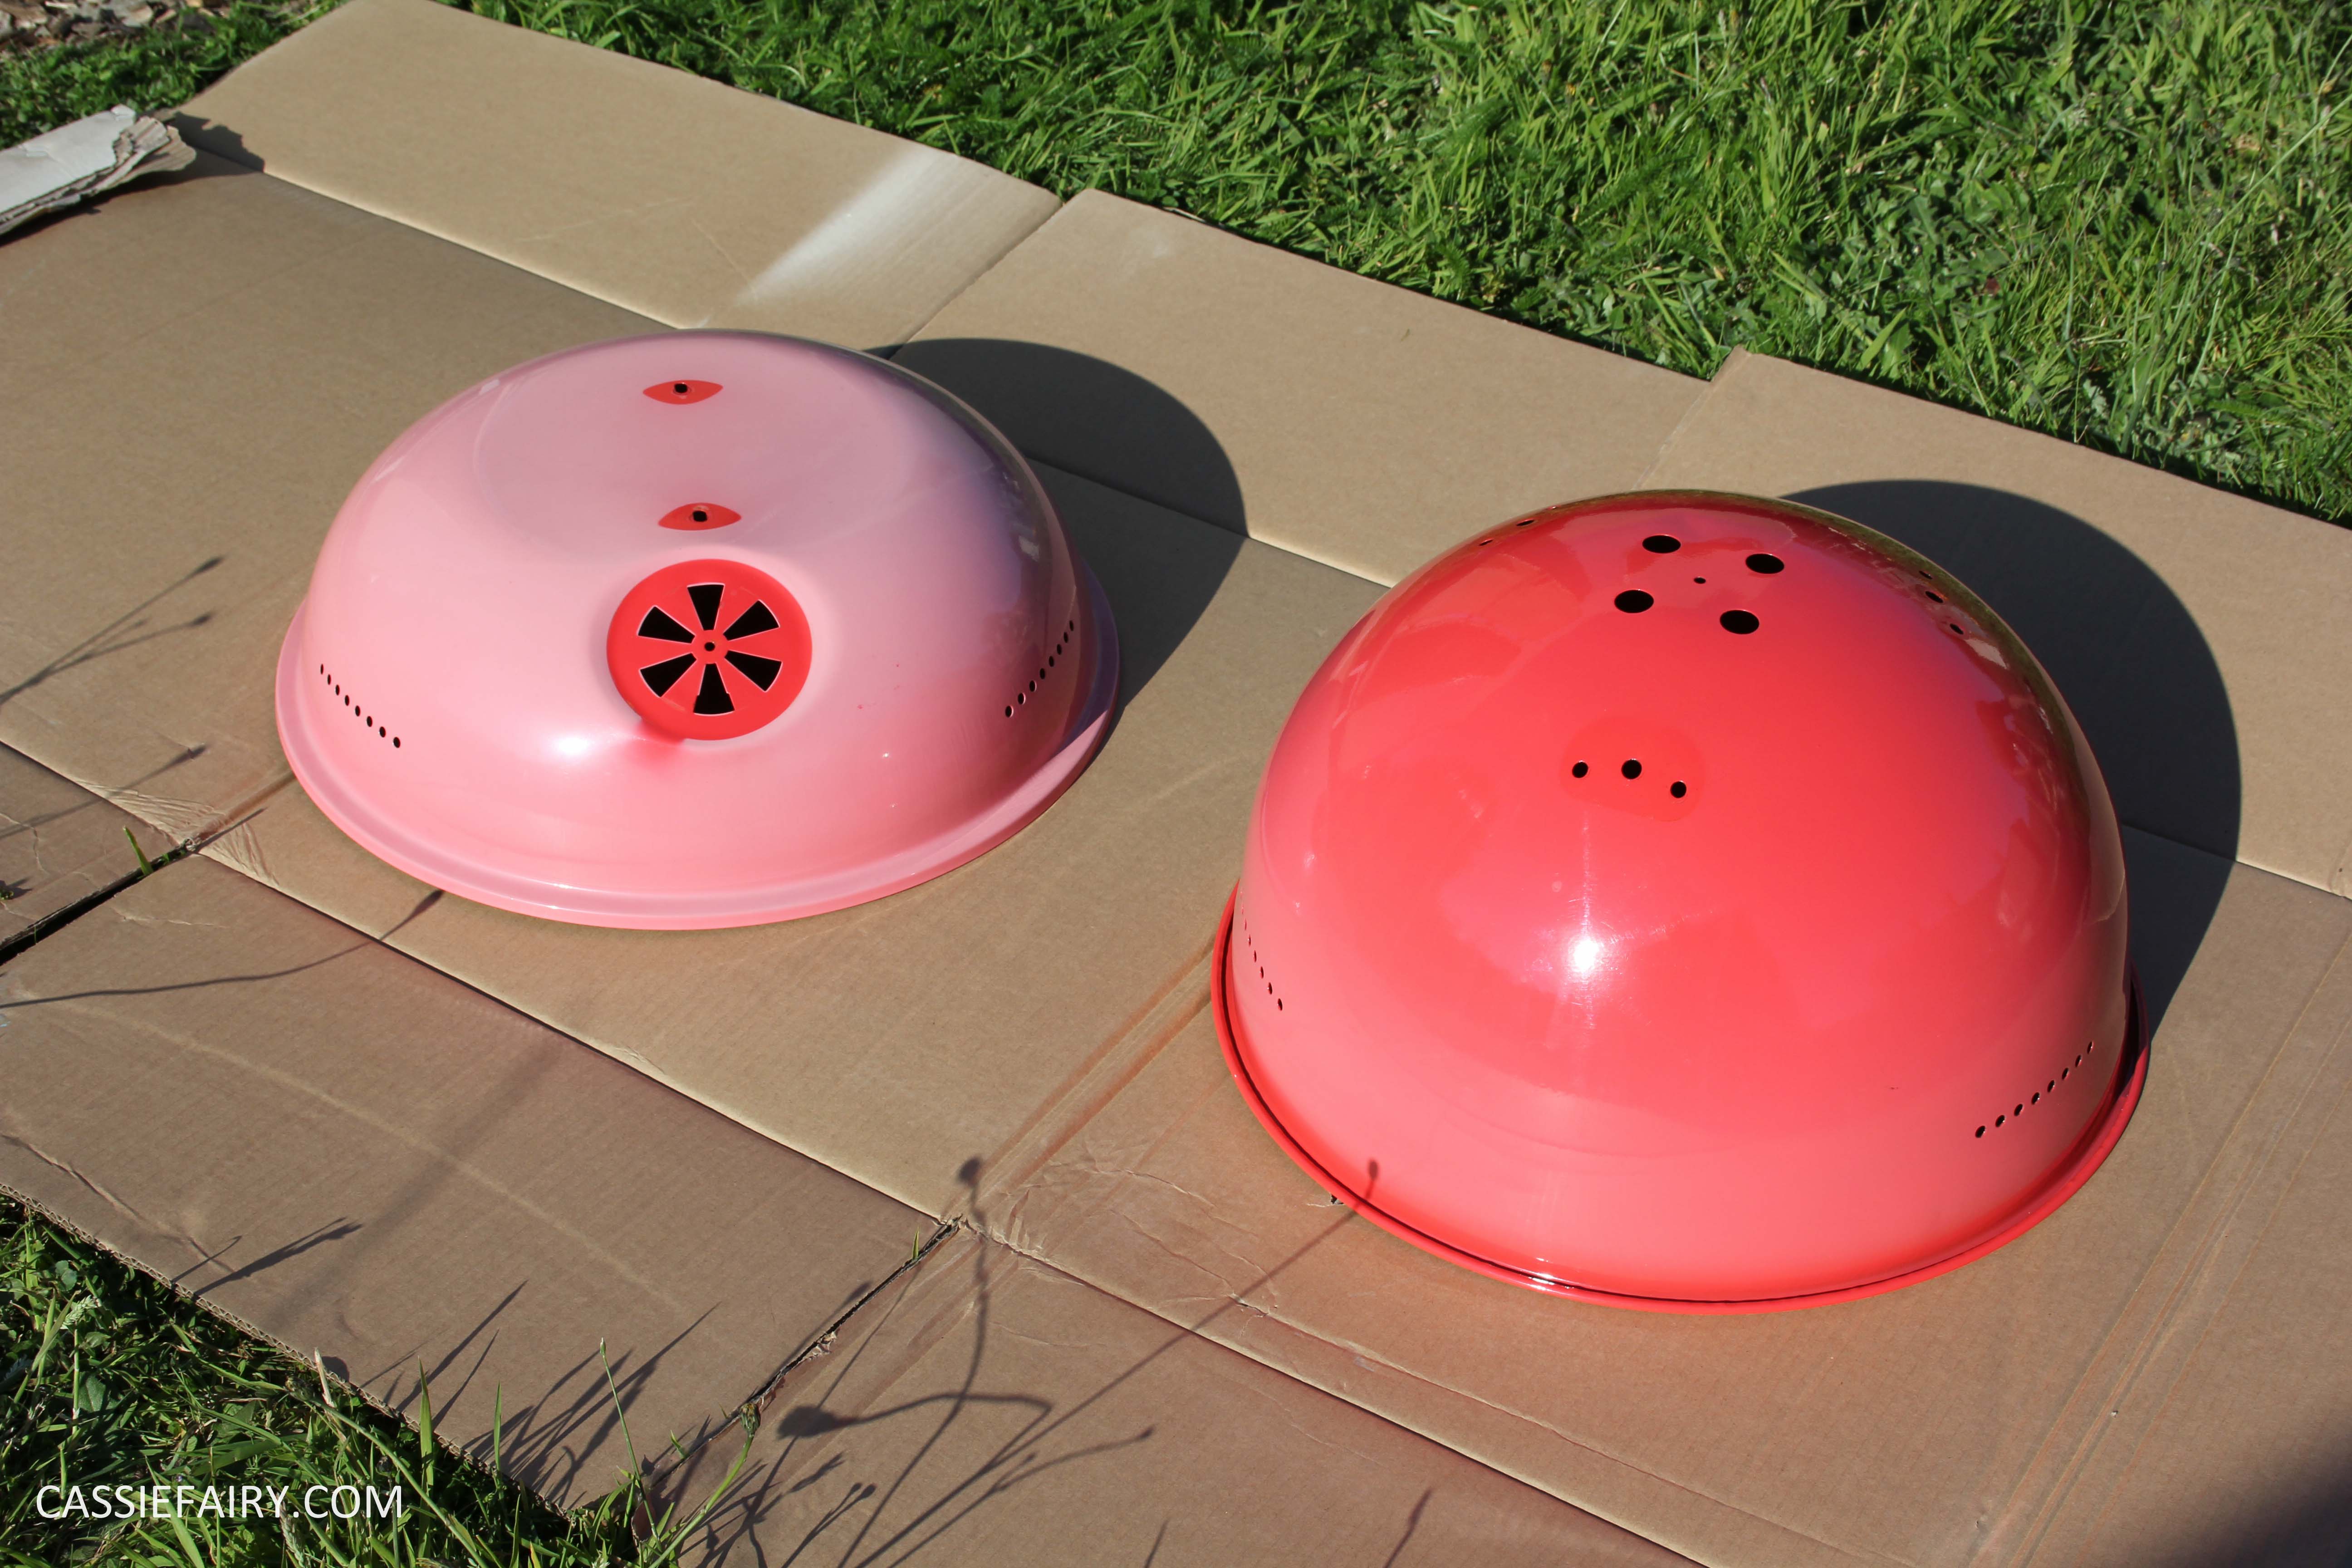
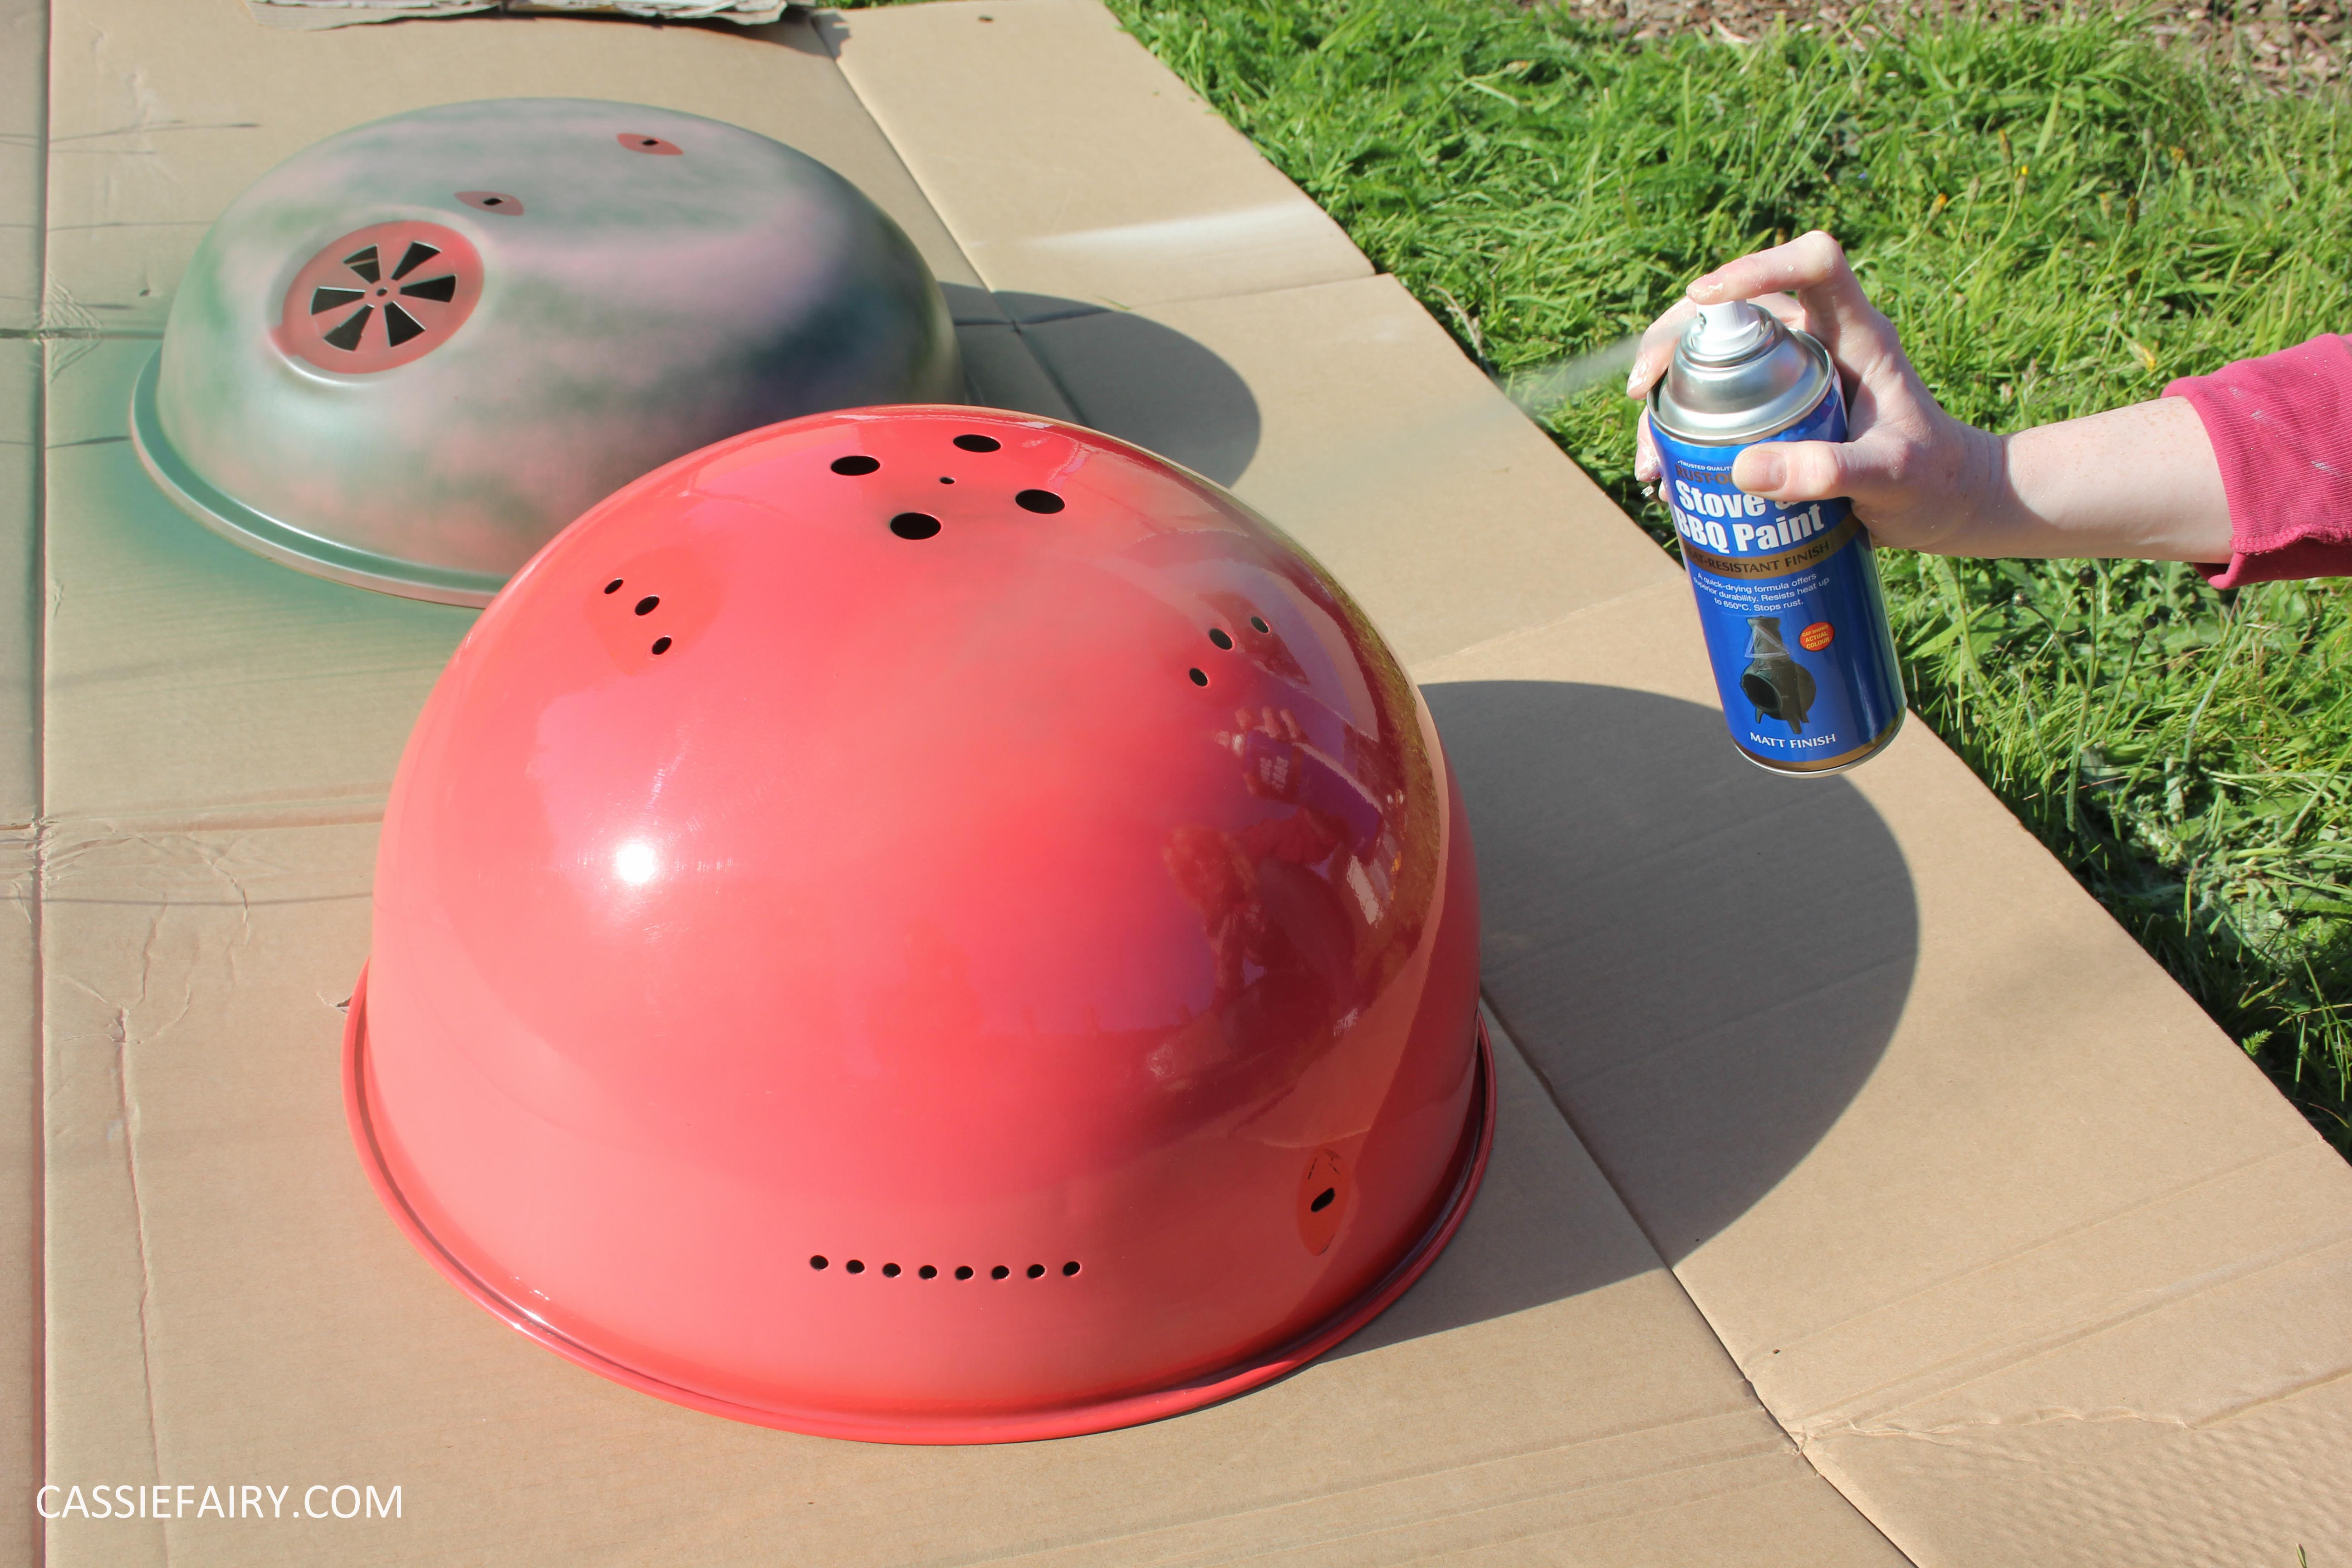
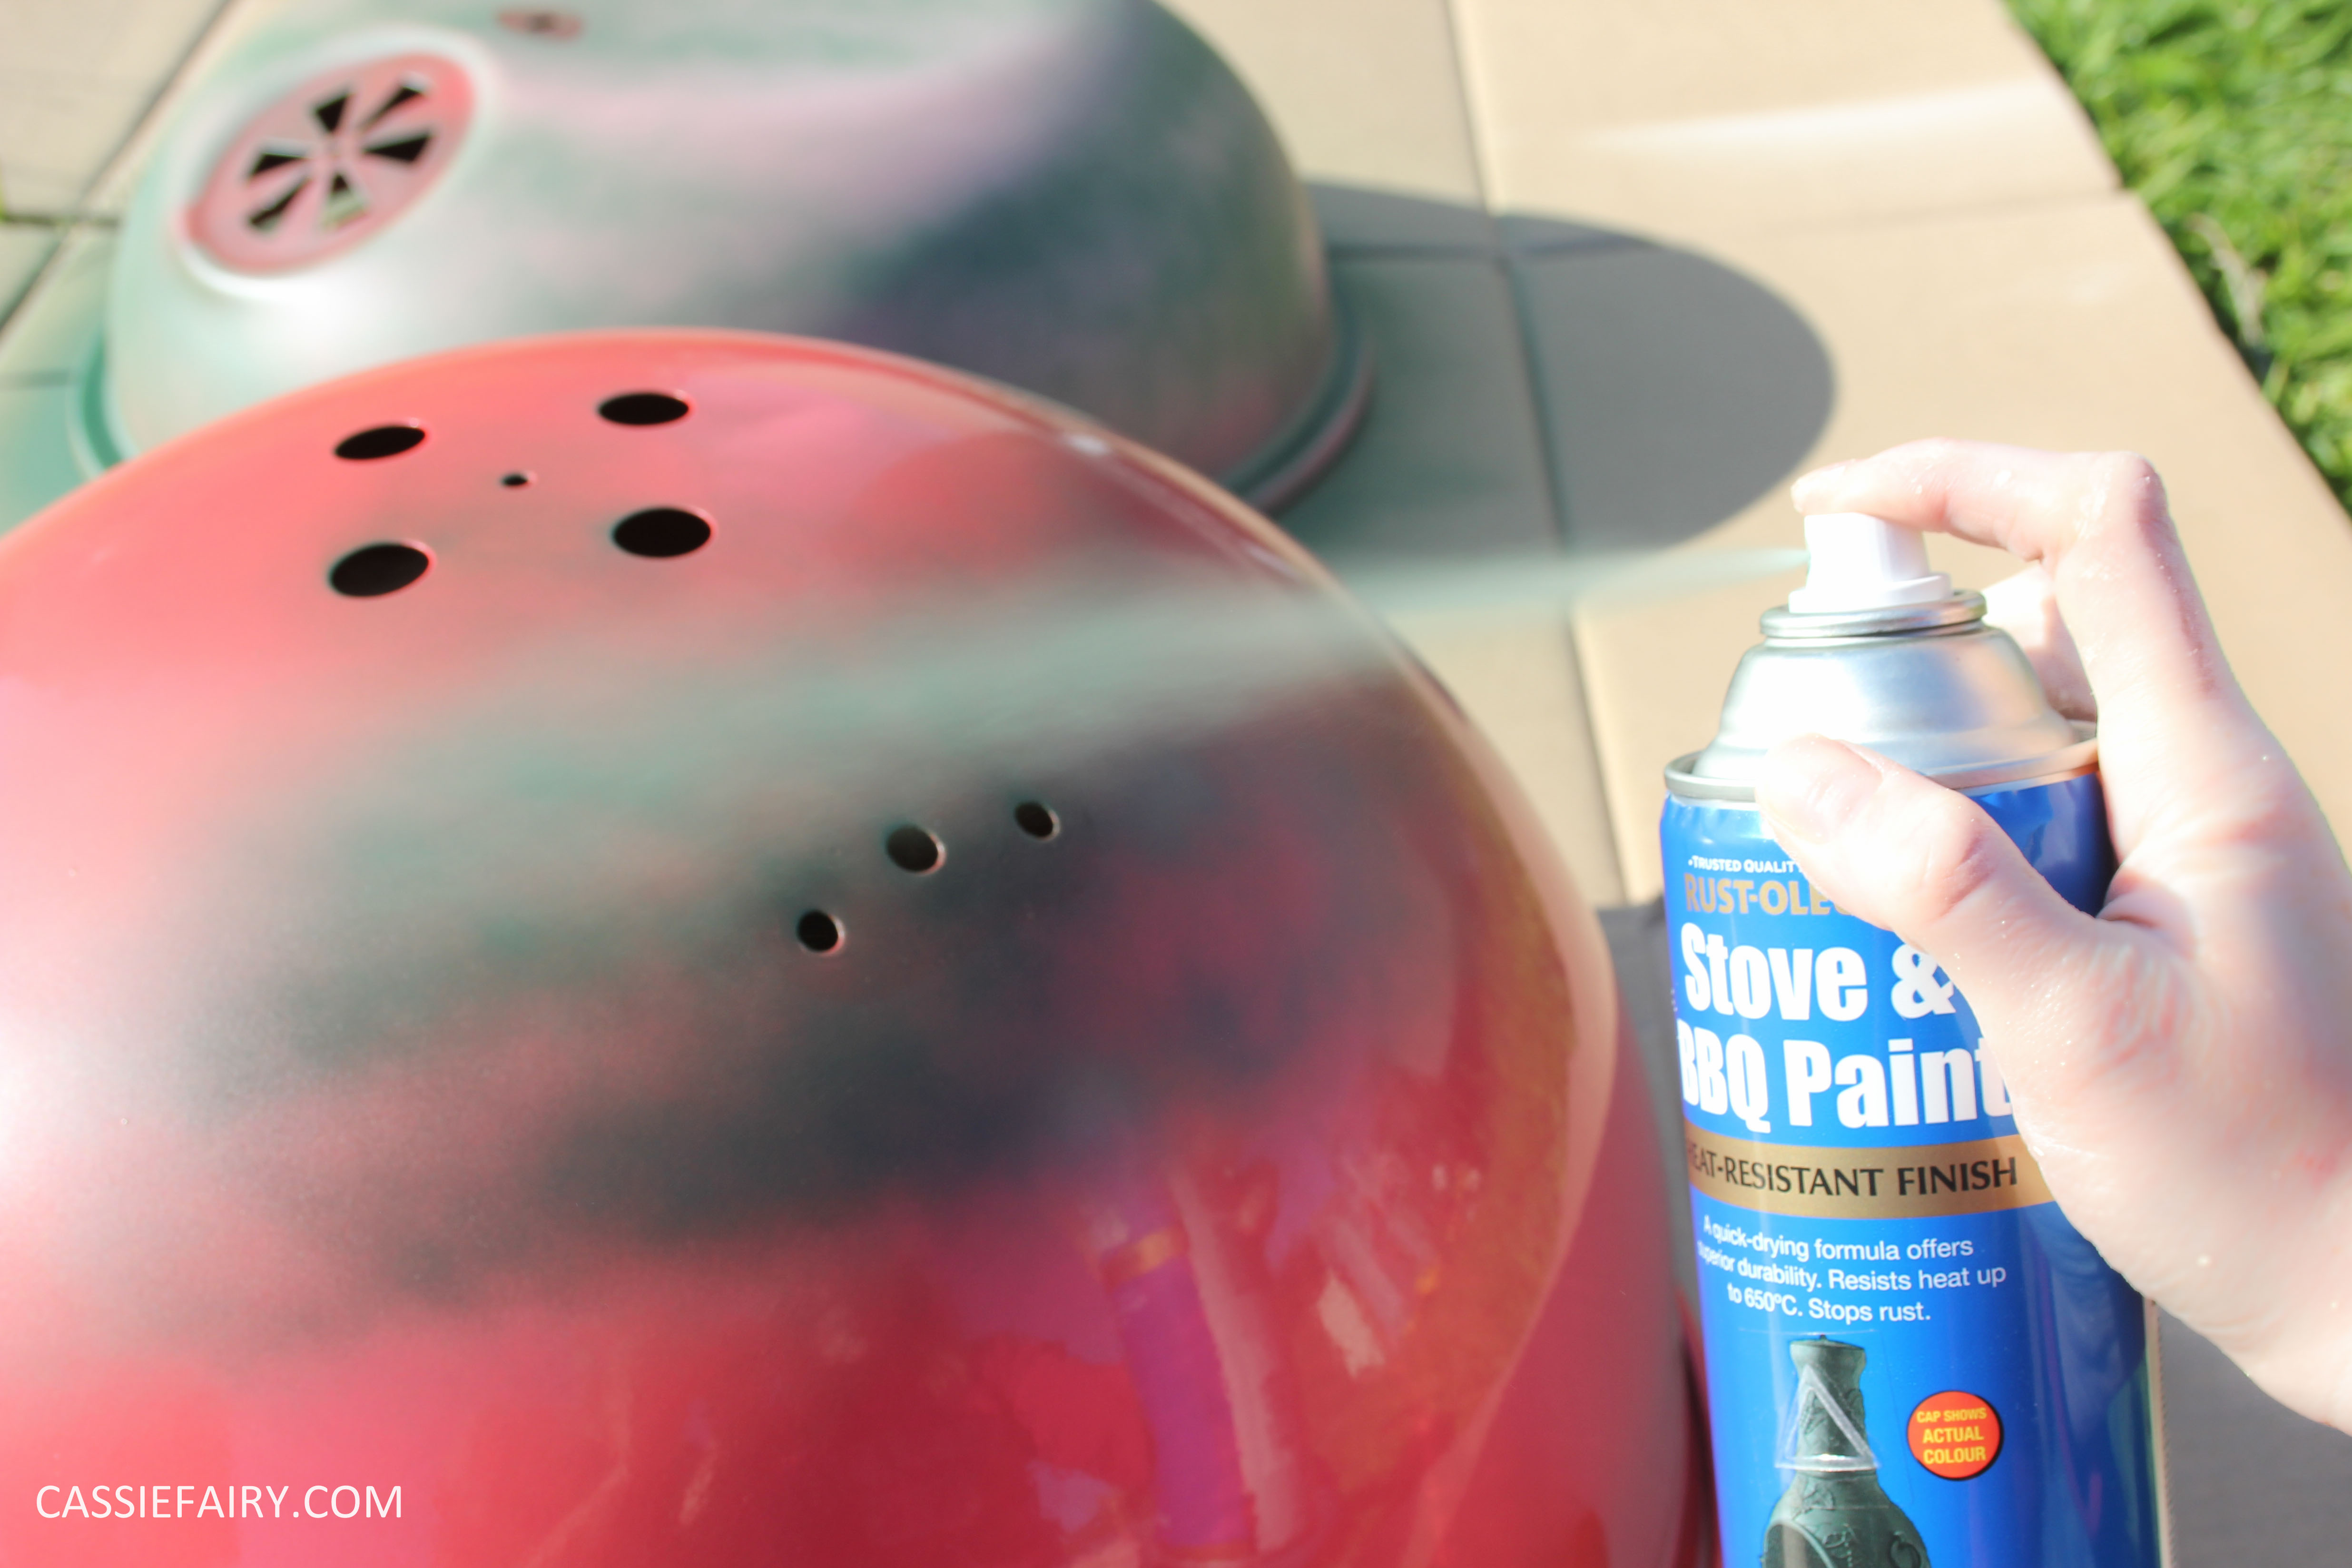
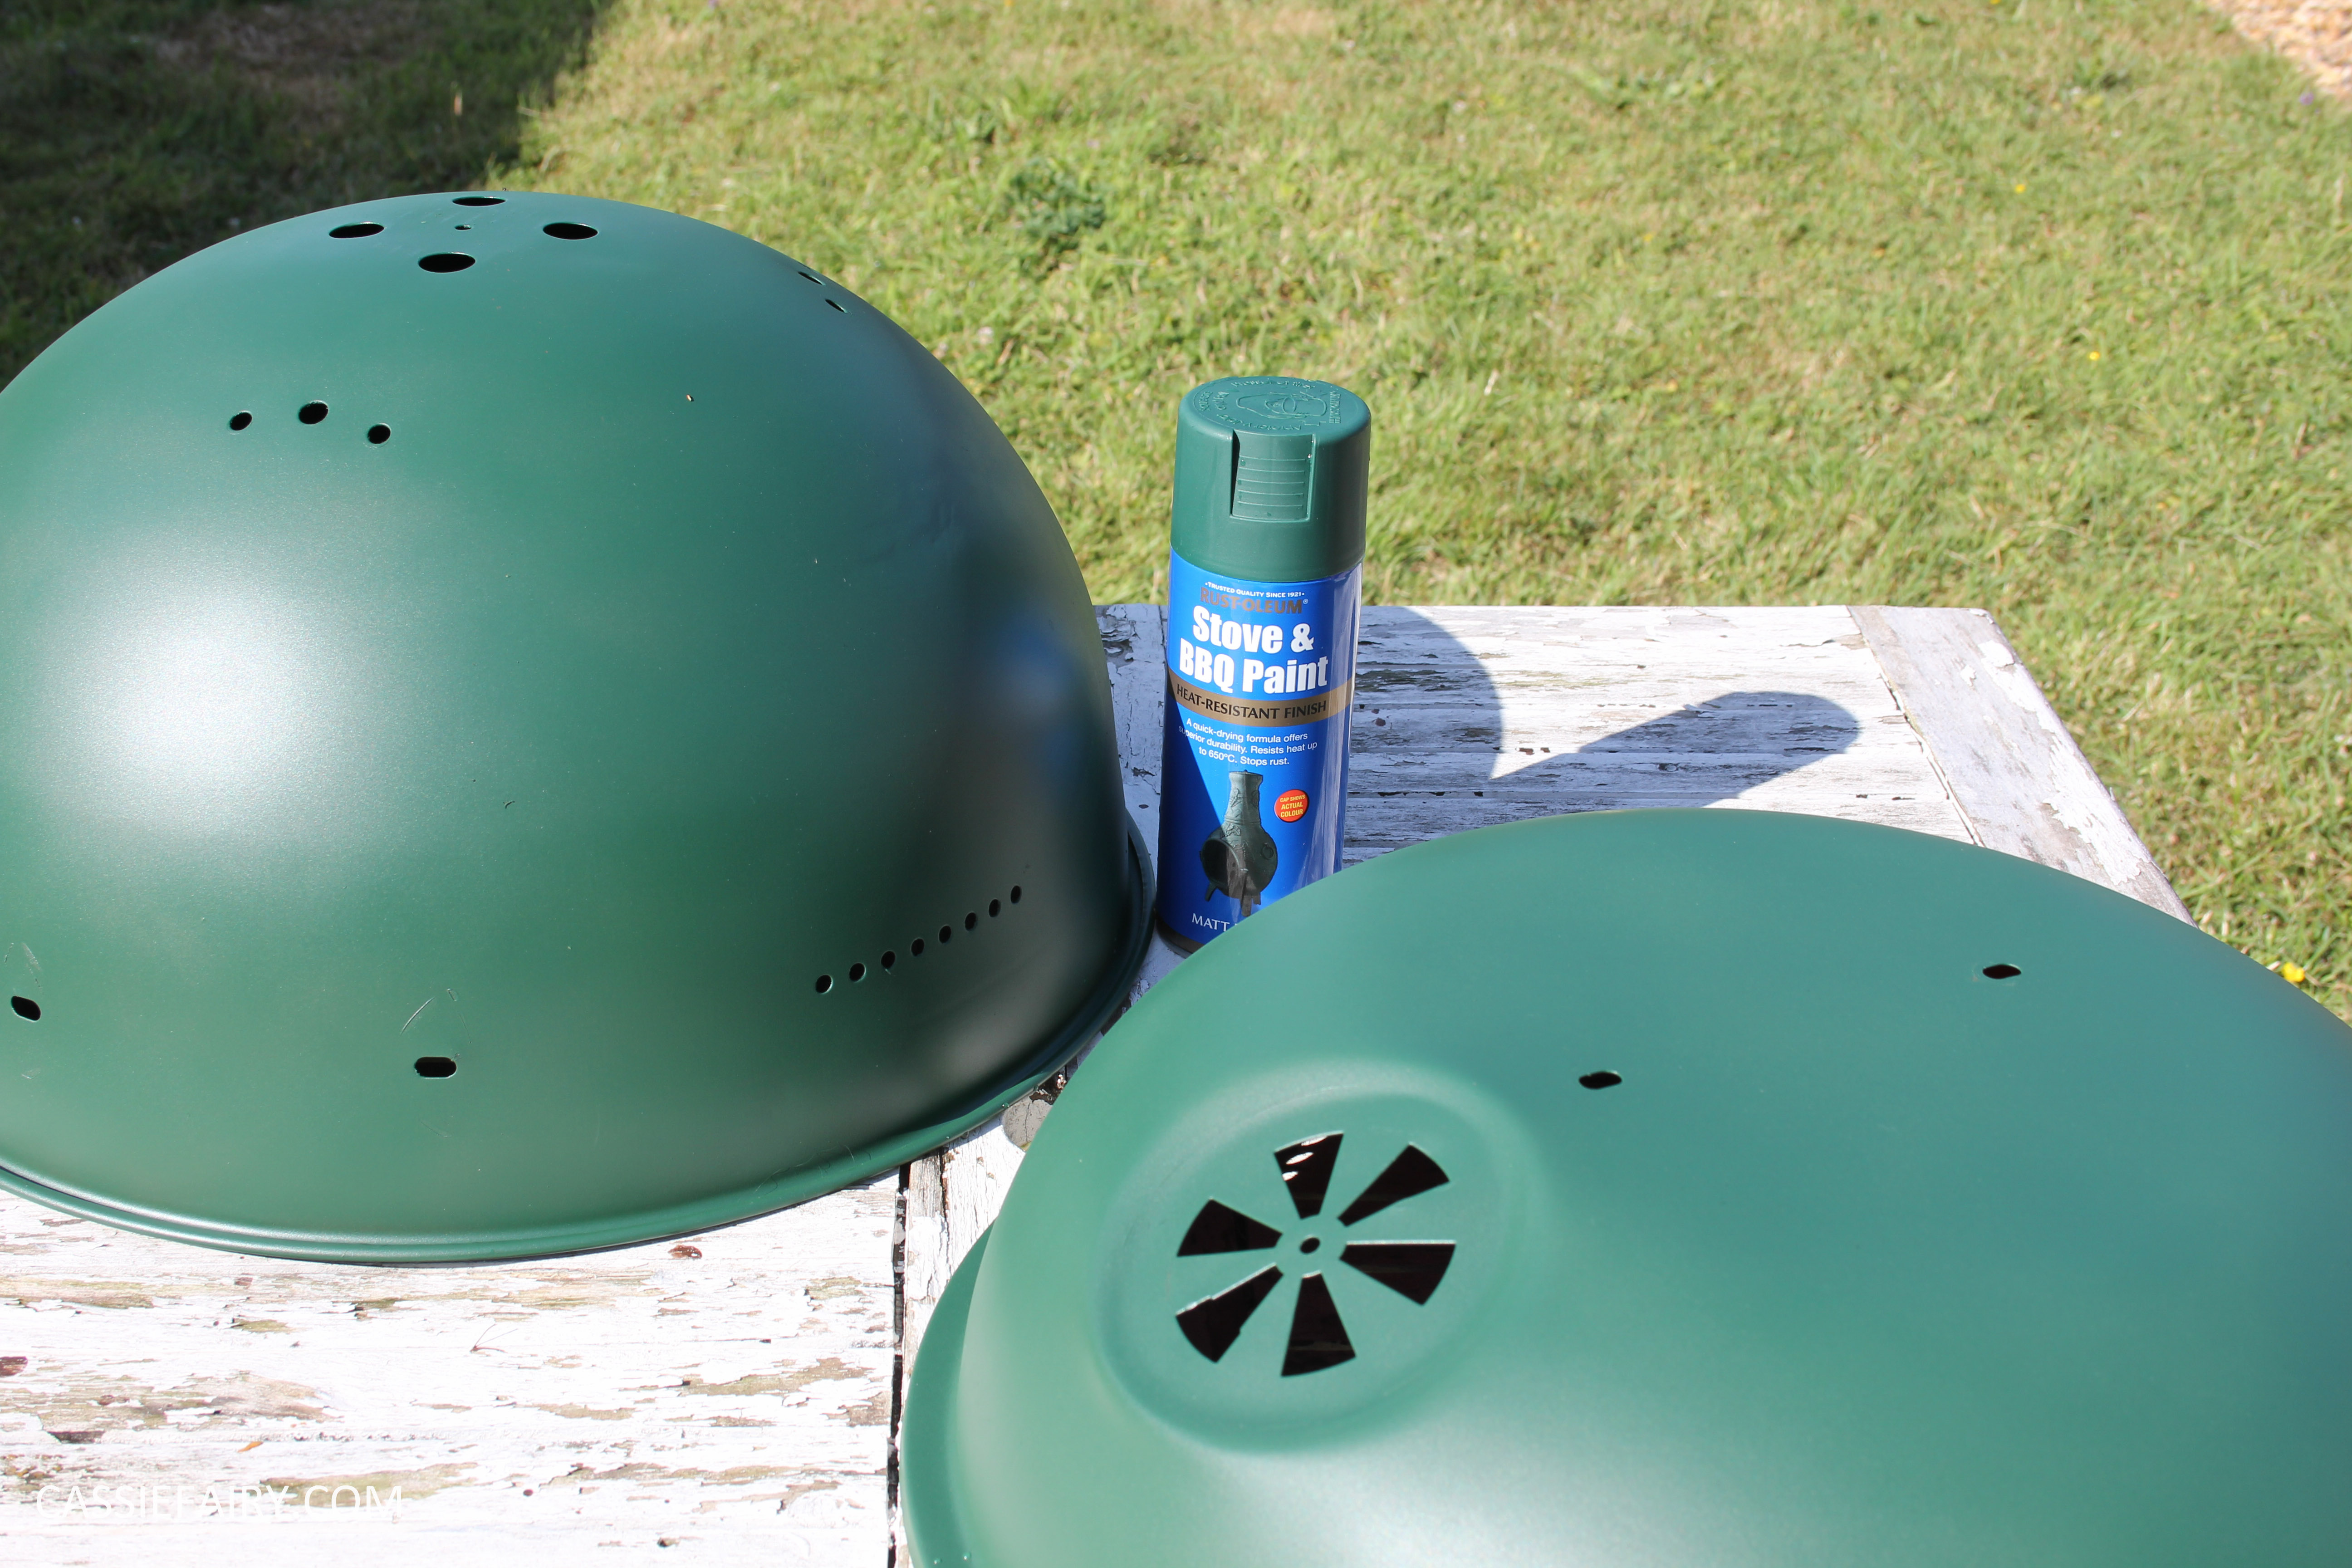
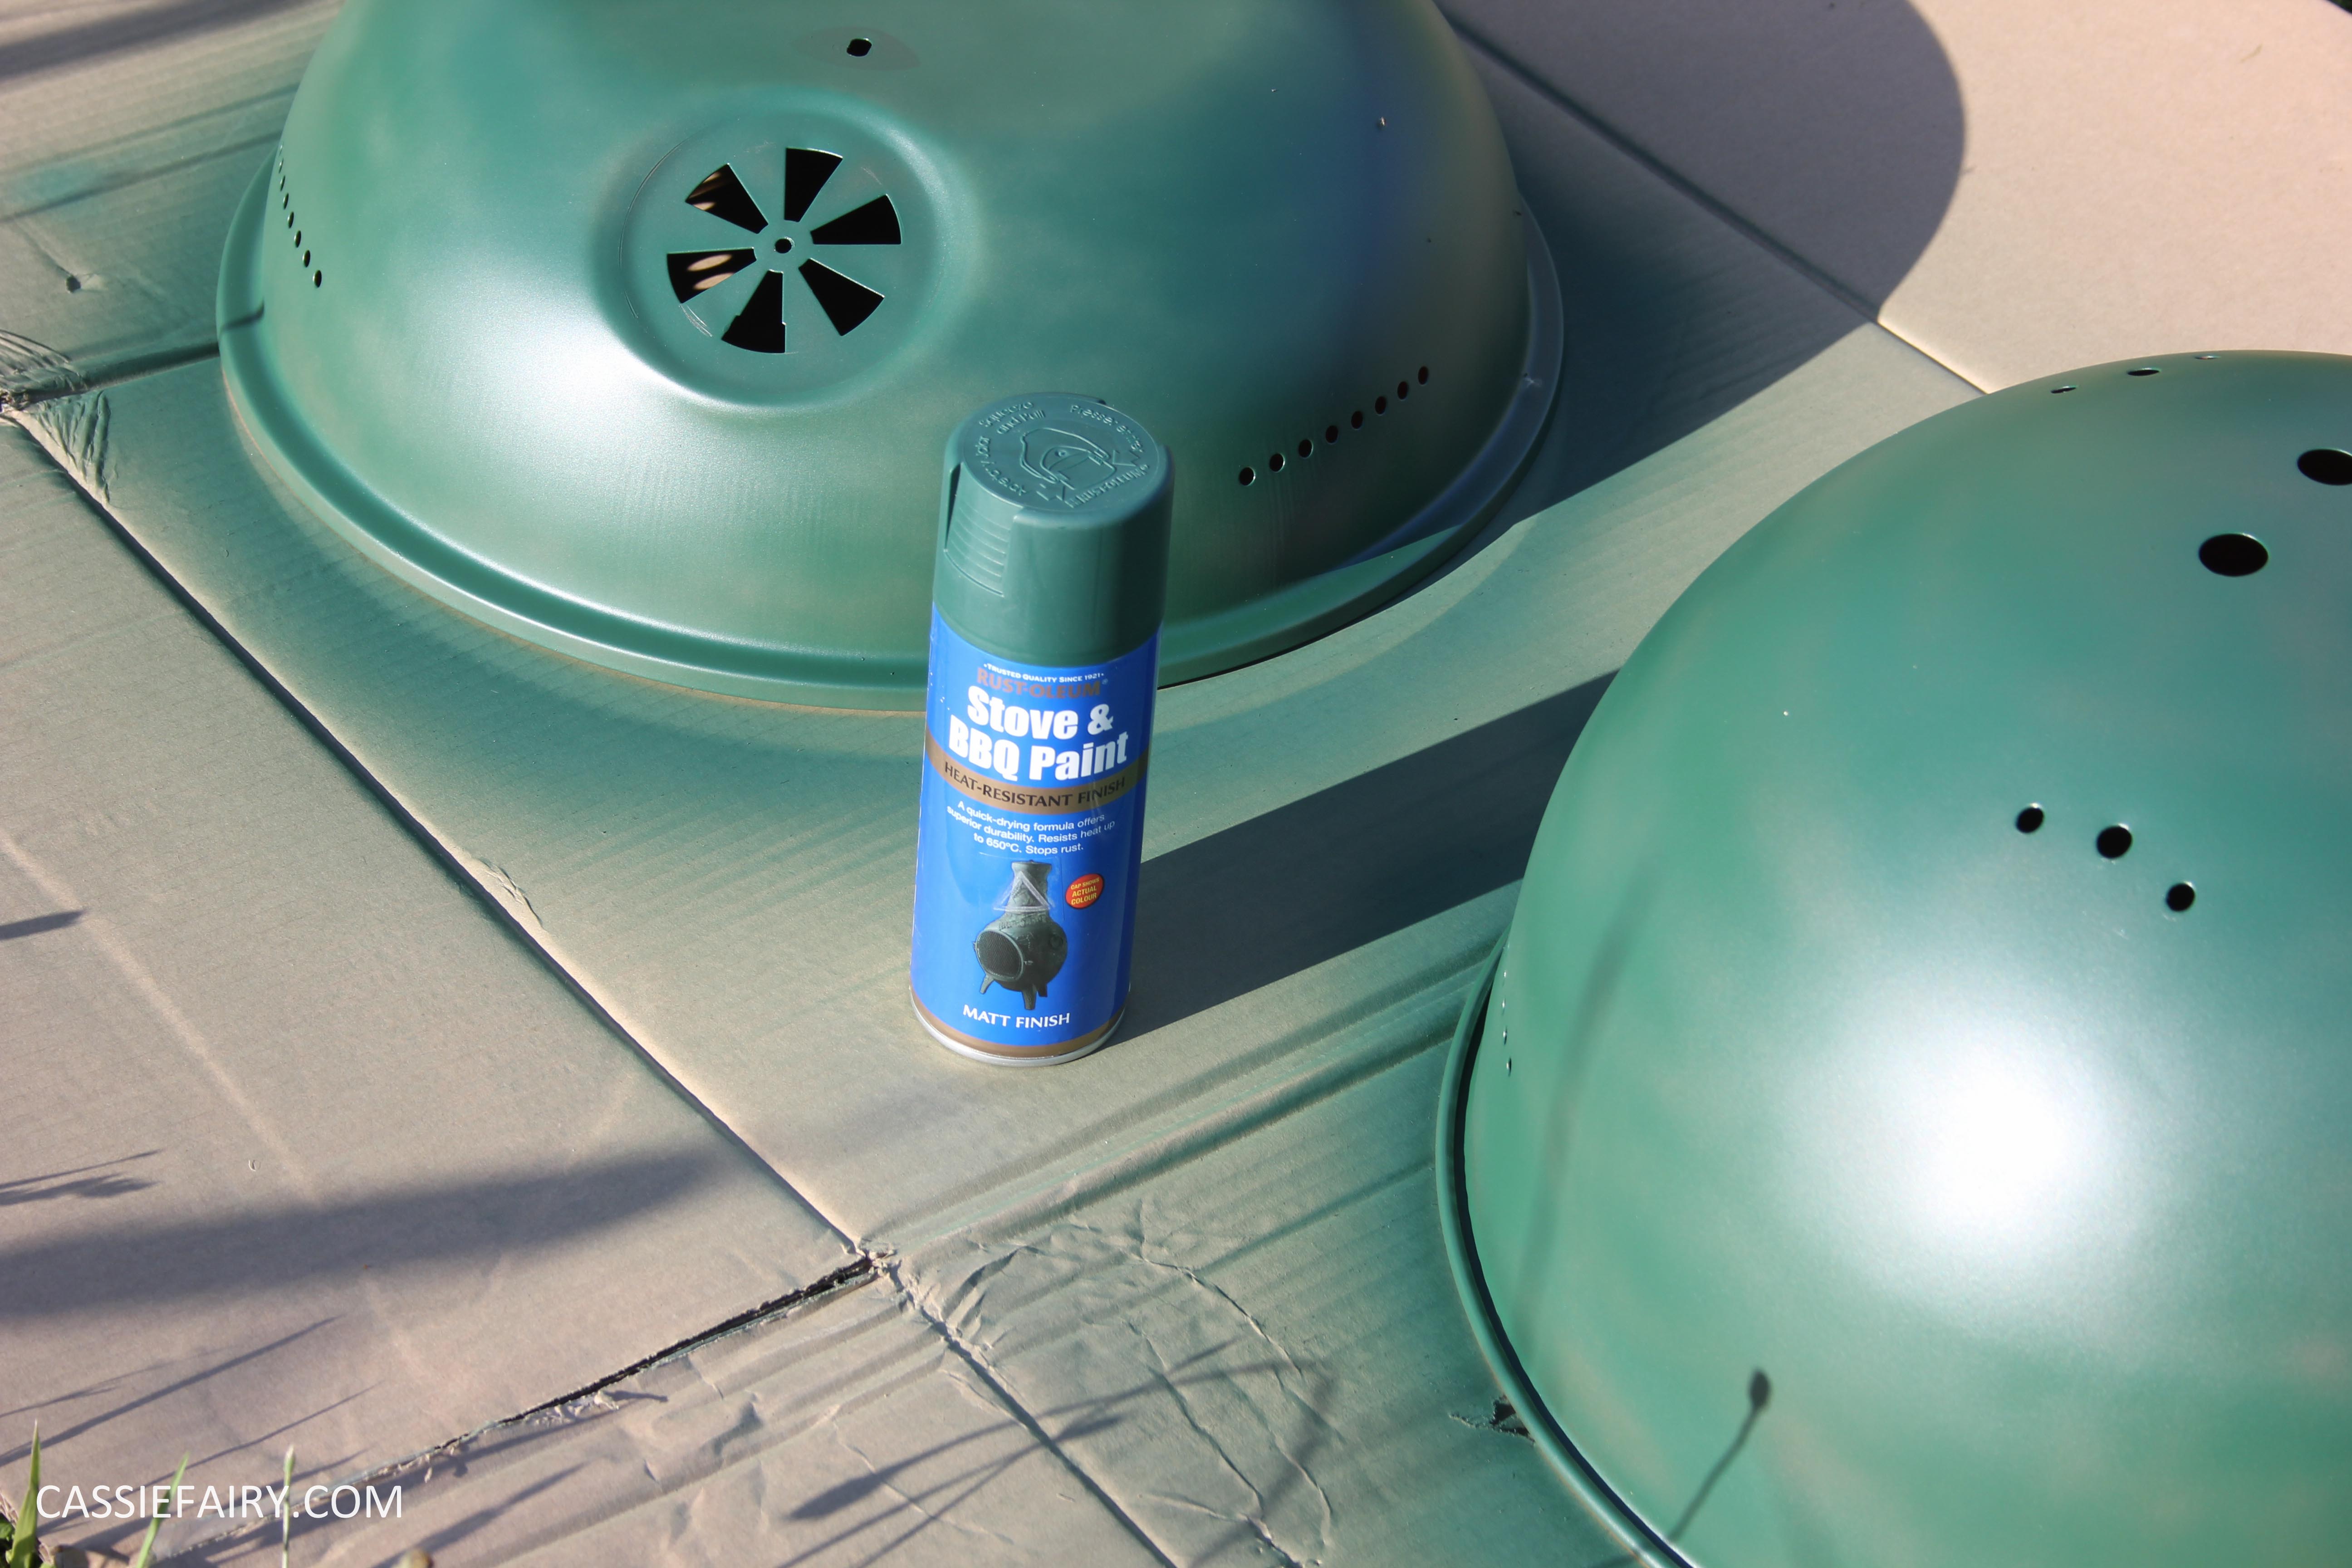 The solution was this Stove & BBQ Paint which can be used to freshen up barbecues as well as woodburners, heaters and stoves. The paint can withstand temperatures up to 650 degrees and prevents rust so I picked out a deep green colour (black and silver are also available) and I set to work.
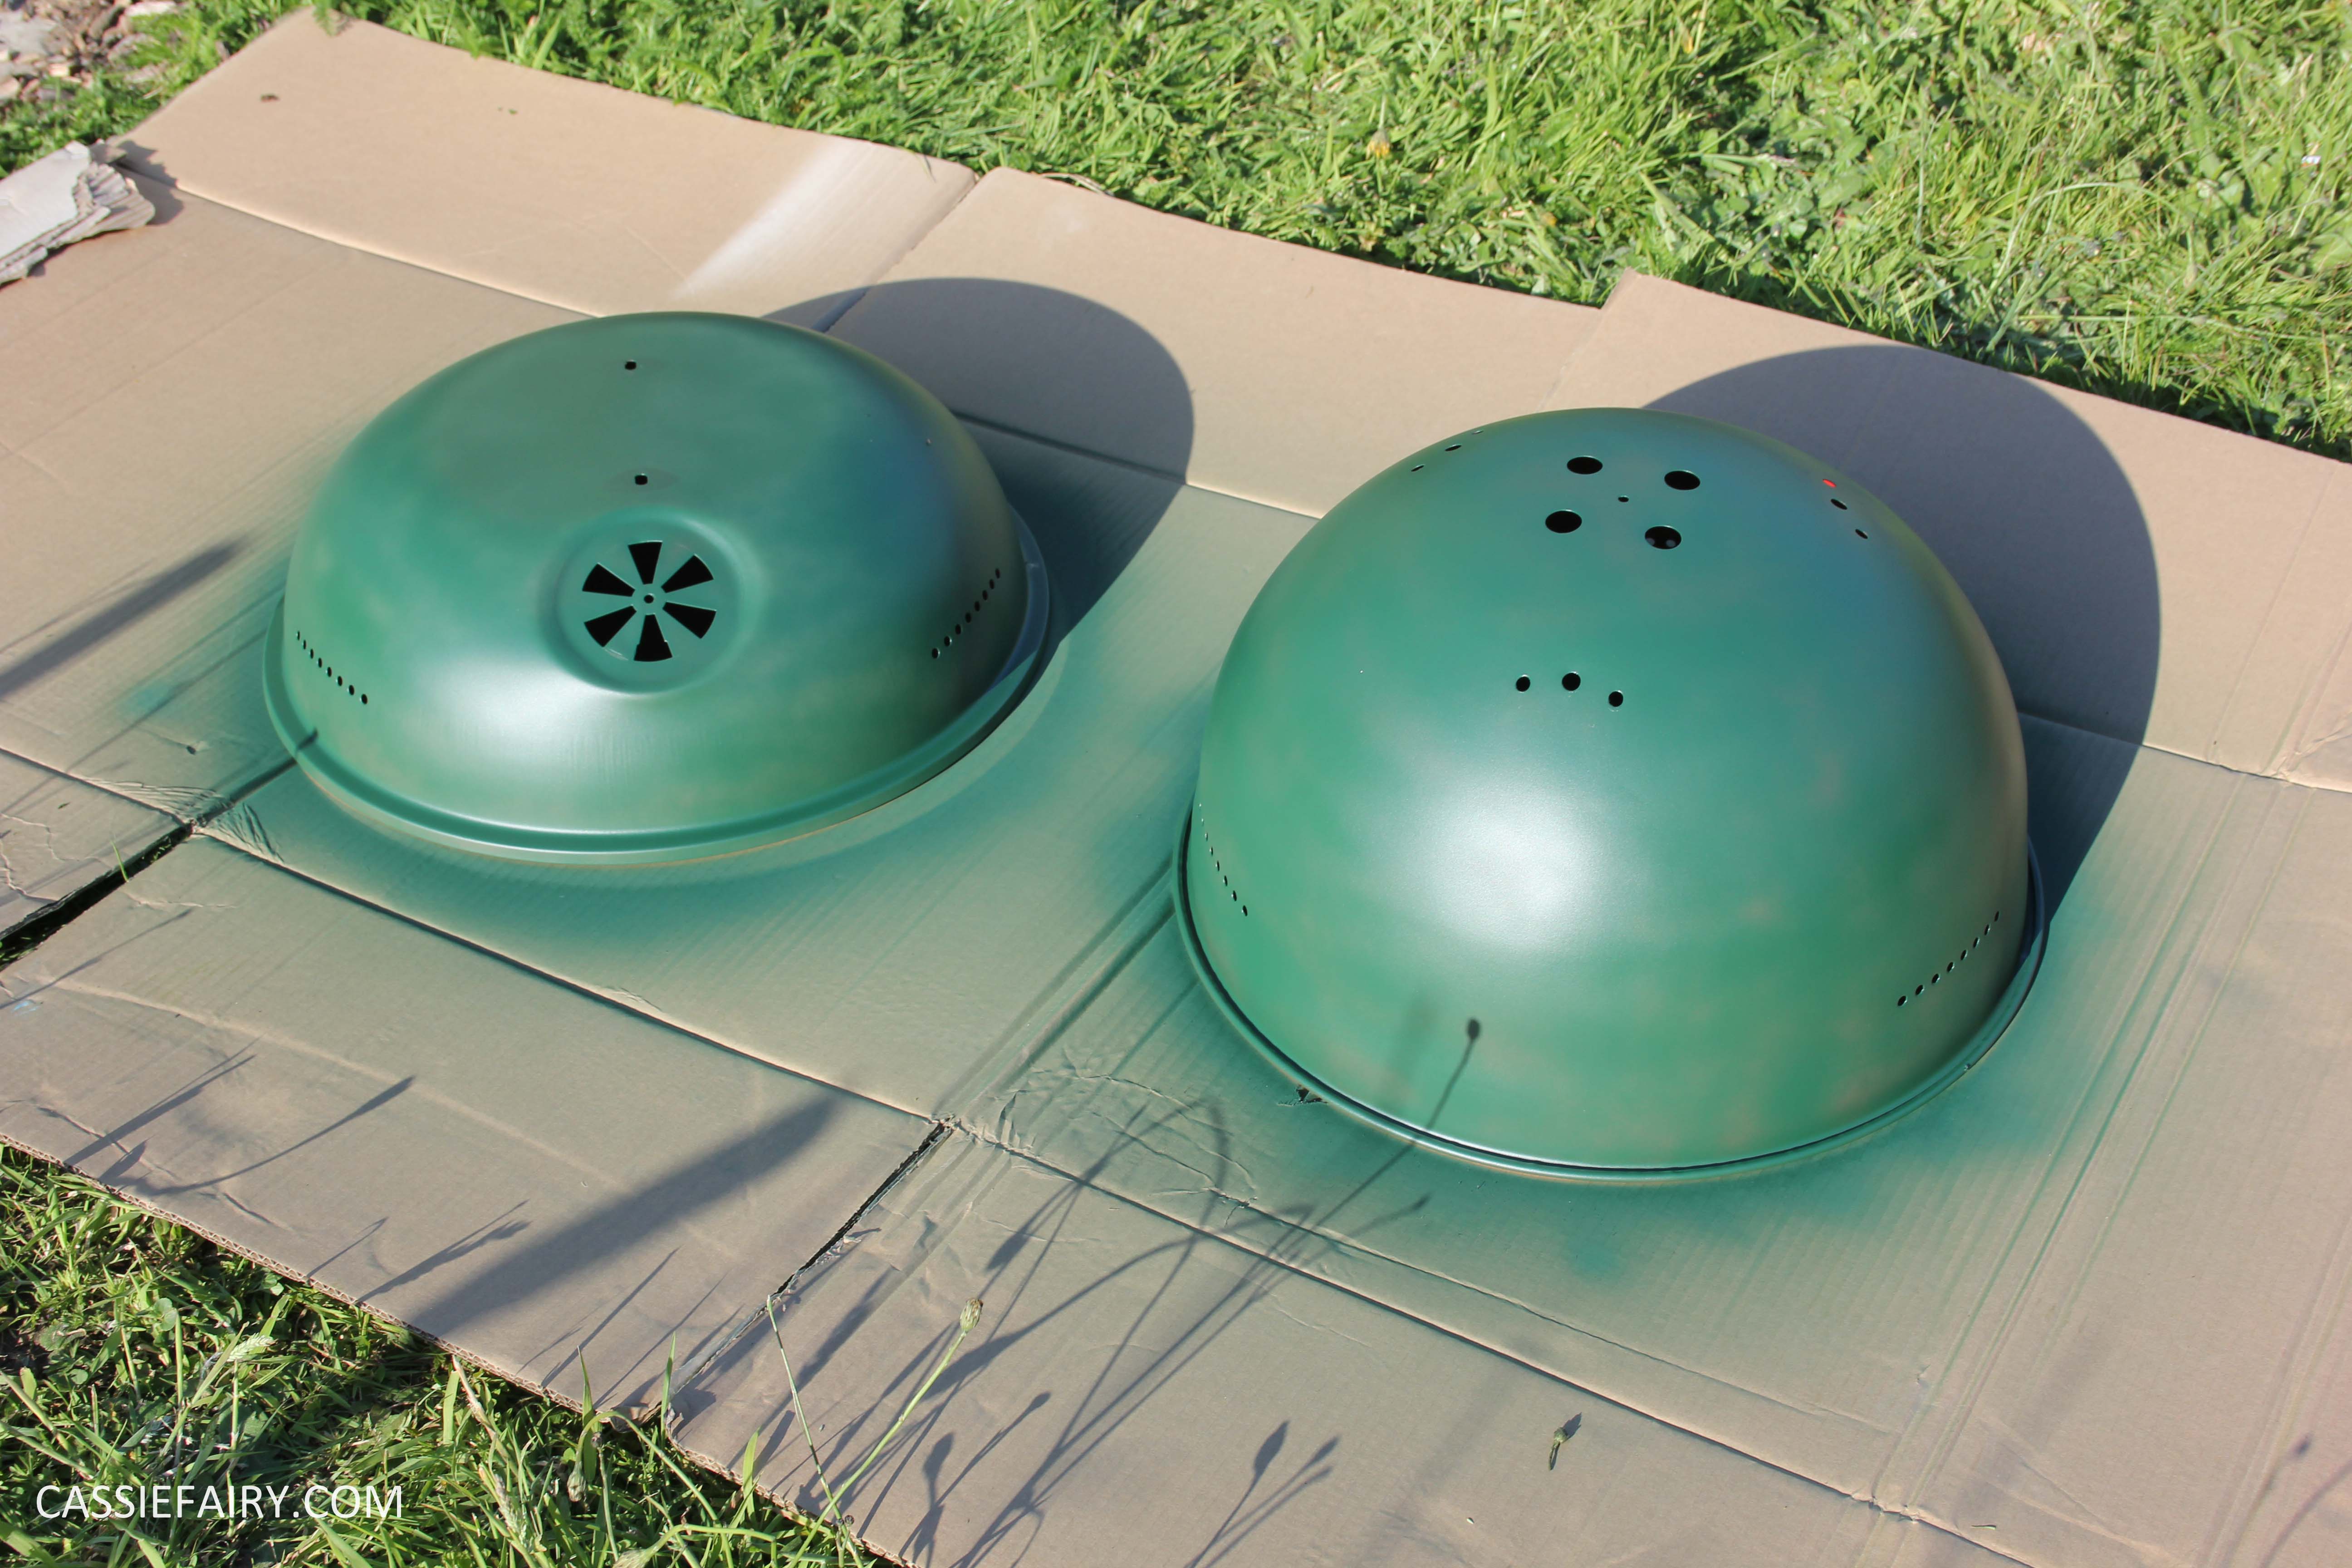
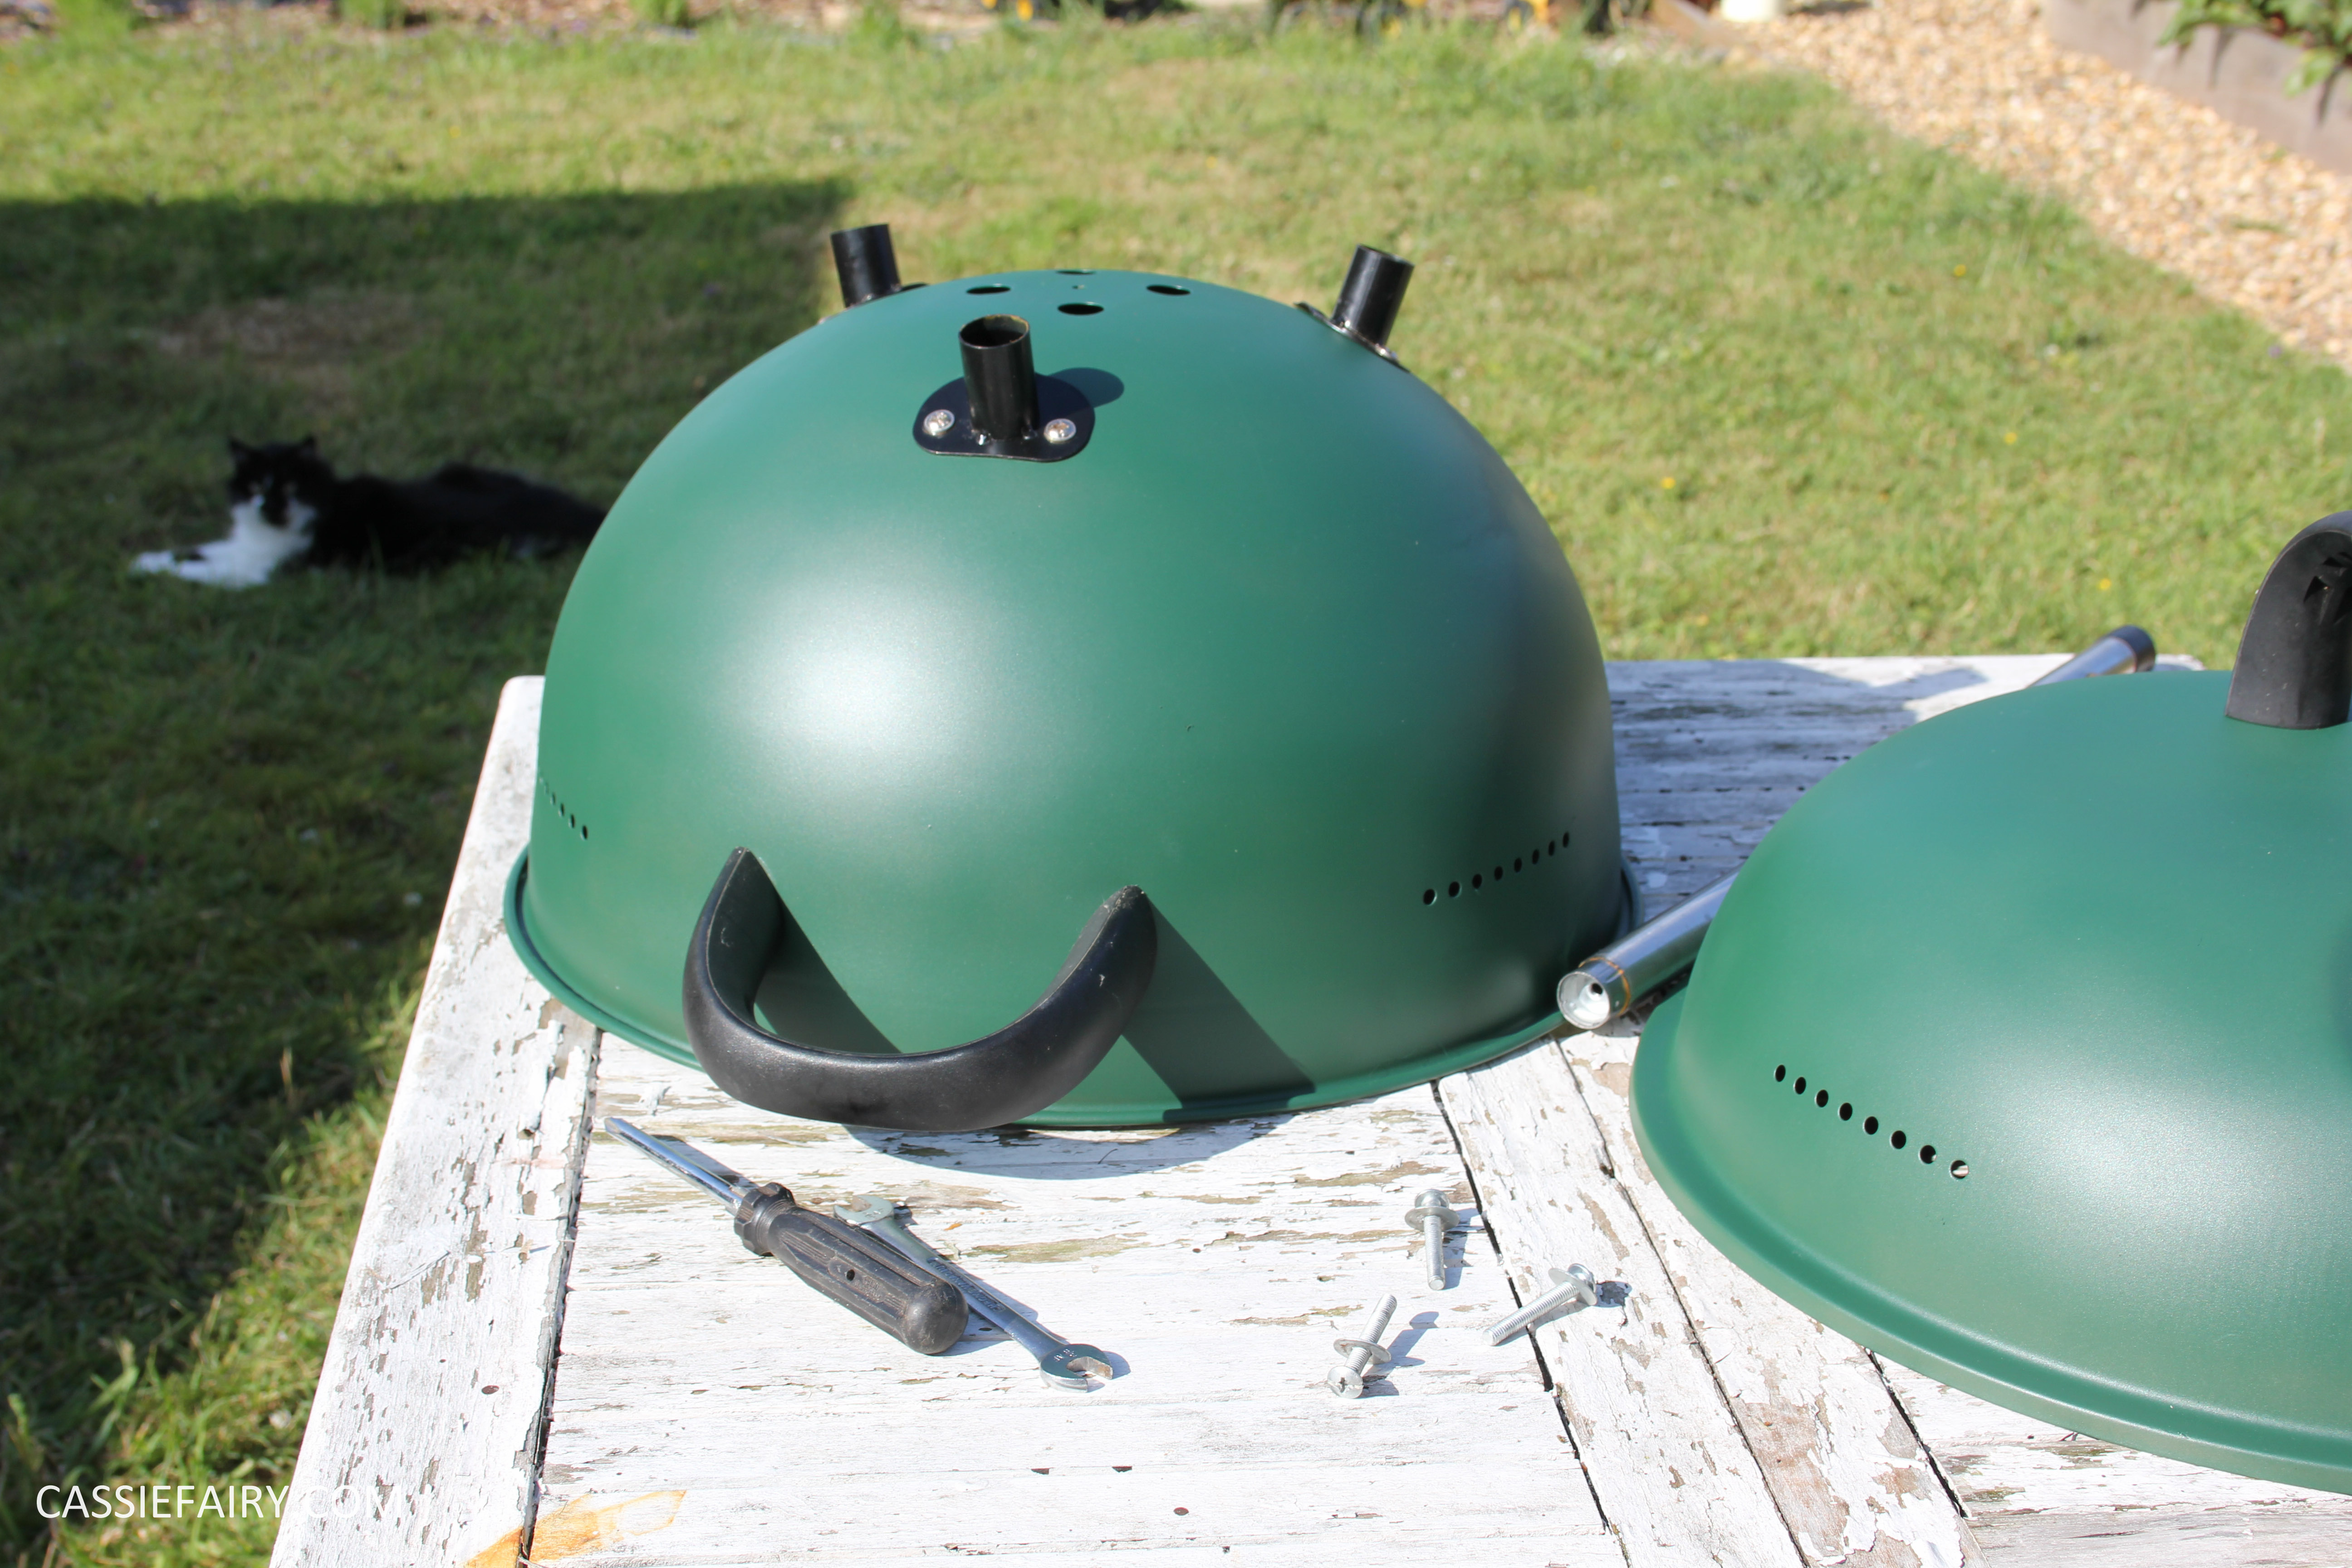
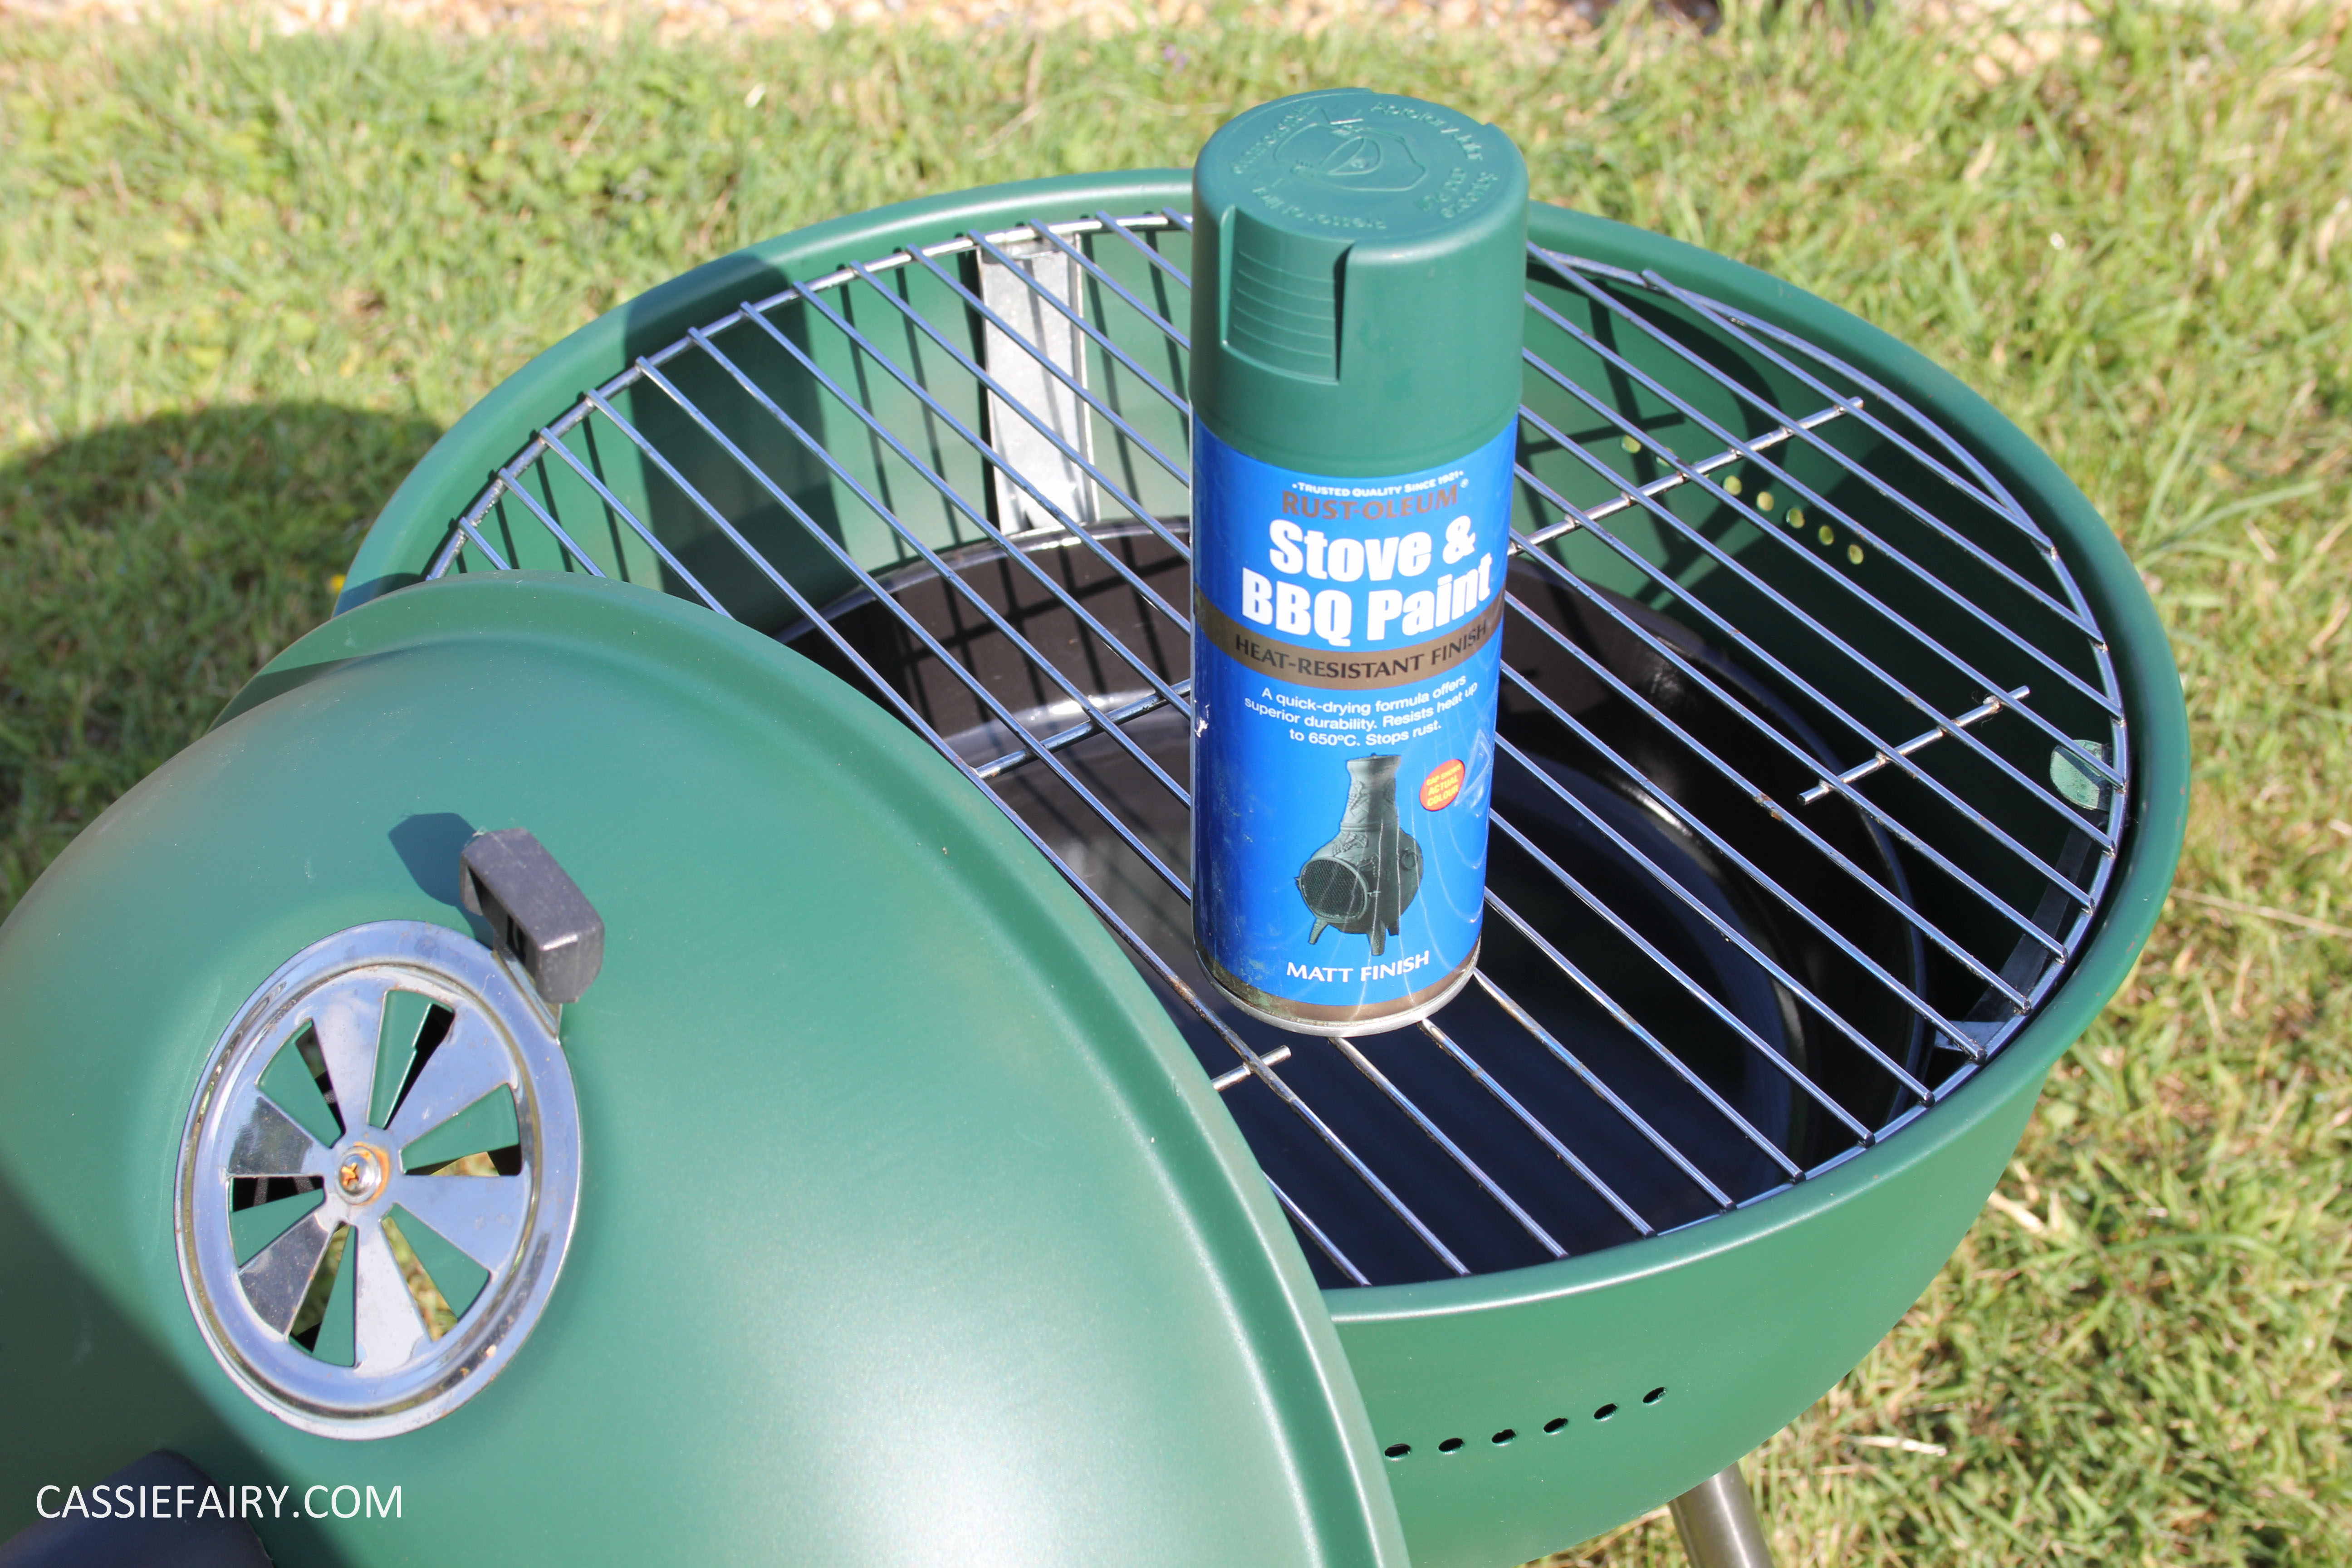 It took only a couple of coats to get a smooth, even finish and the barbecue is now a matt green colour rather than gloss pinky-red. We decided to spray inside the barbecue too, even though this paint hadn’t faded as much, to protect it from future rust or fading. I much prefer the colour of the barbecue now and, after allowing it to dry thoroughly, once we’d reassembled the legs, grill and handles it looked as good as new – better, in fact! We are going to try it out this weekend so I’ll let you know how the paint fares with the heat too.


The next project that I’m working on in the garden is creating some flower beds. We’ve only ever planted up one small boarder at the front of the house and, even though my husband and I love having flowers and shrubs in the garden, we really haven’t had any time to look after the plants we bought. This time will be different, however, because I’ve invested in a few rolls of weed-resistant membrane from Mill Race Garden Centre.

We are planning to dig over the flower beds, lay the membrane on top of the loose soil and cover in bark chippings before planting flowers through the weed-resistant layer. This low-cost solution will ensure that weeds will be kept to a minimum and save us time throughout the year – the weeding seems to be never ending so taking them out of the equation makes gardening so much more enjoyable. We can then concentrate on picking out shrubs and planting gorgeous flowers – the fun part of creating a garden!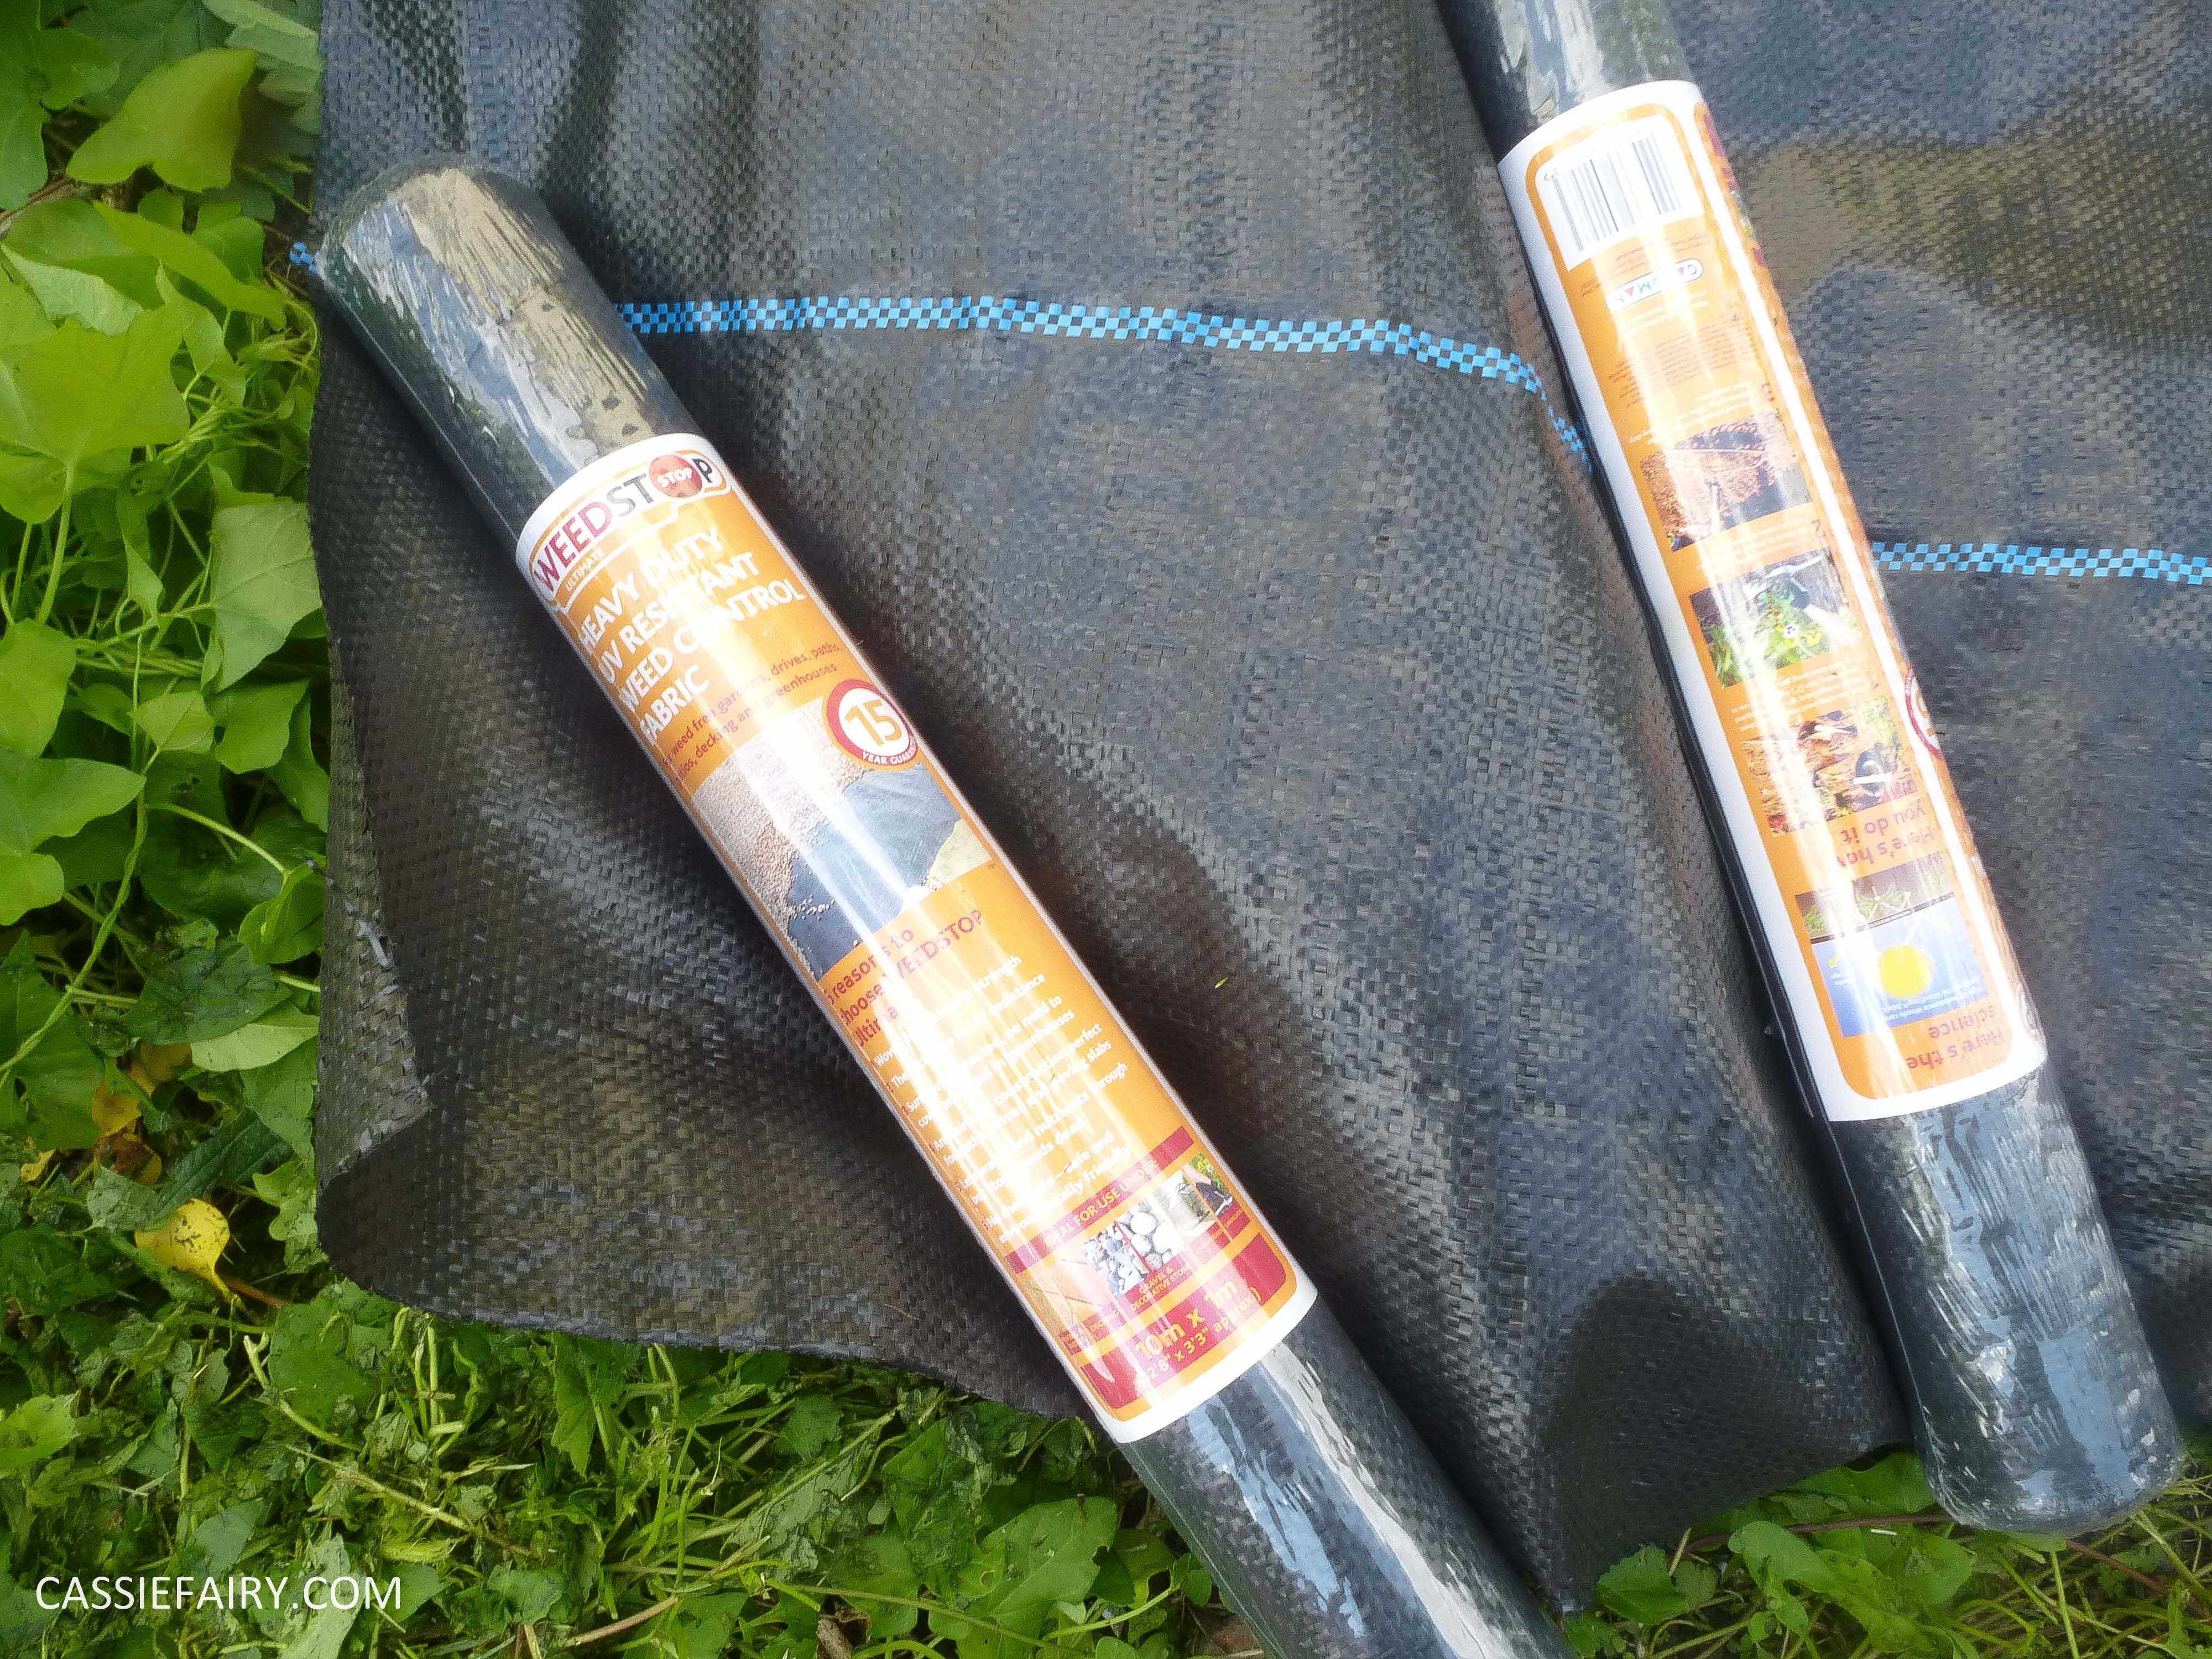
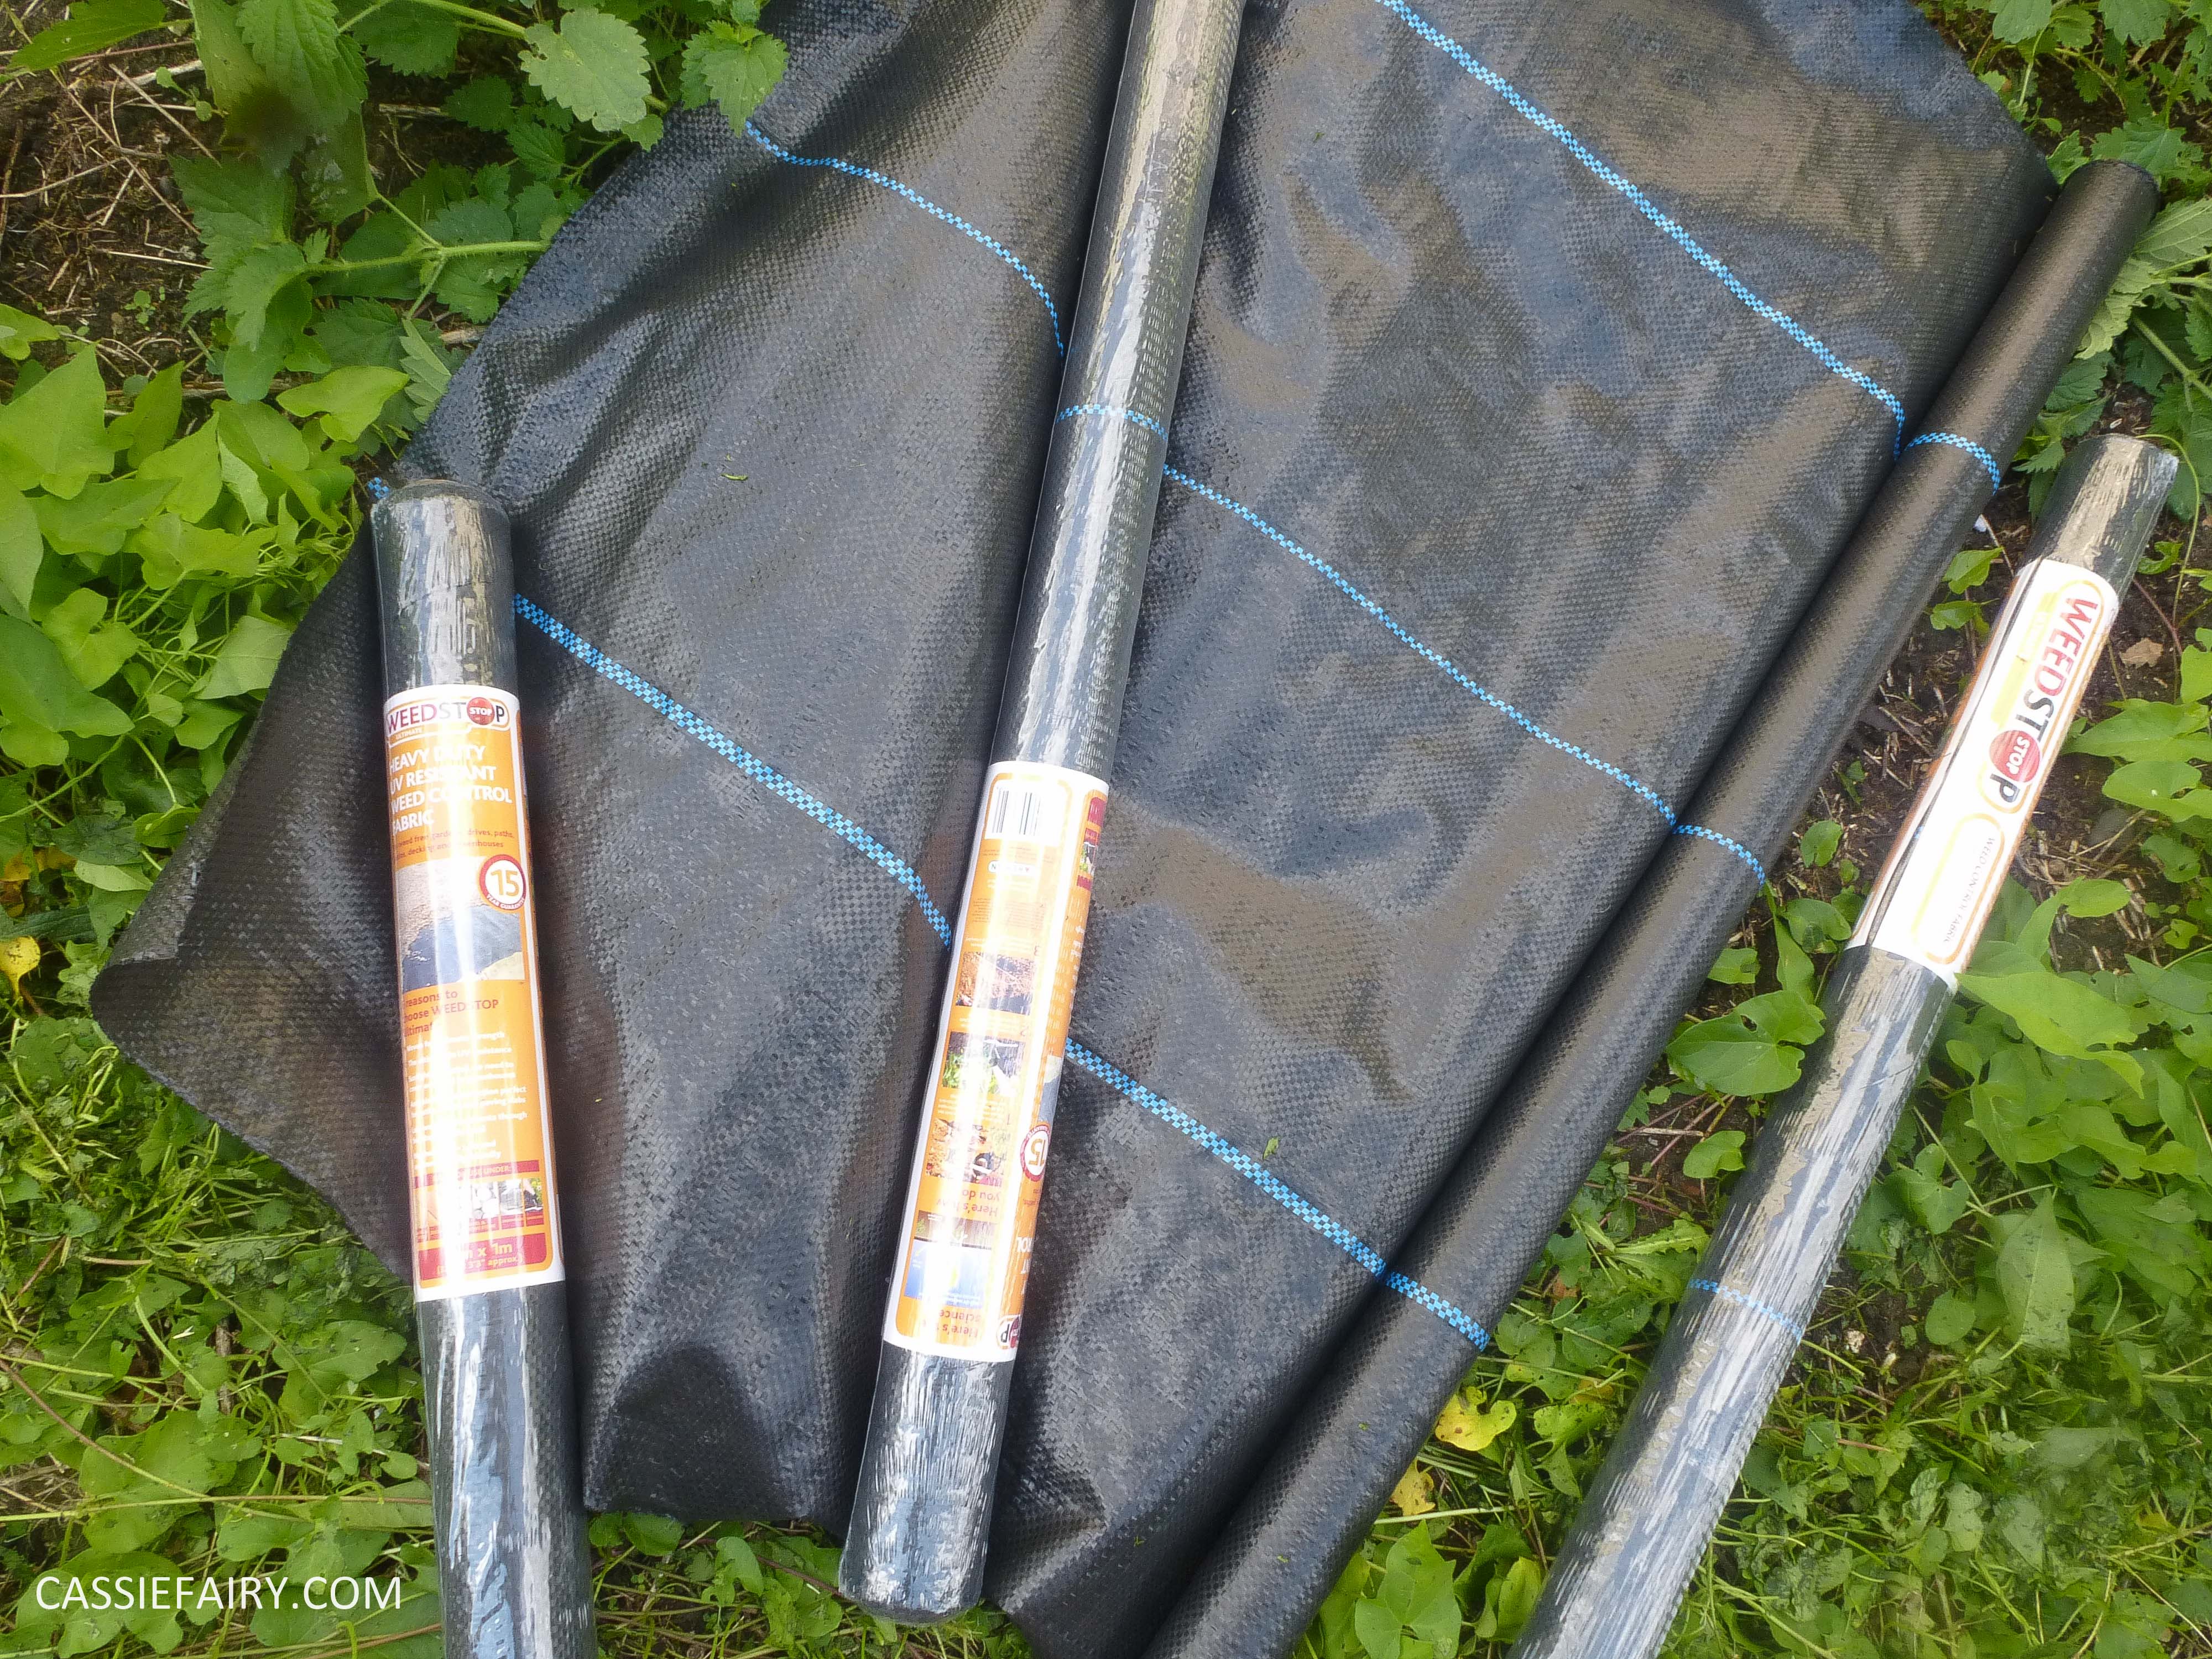
It’s quite a big job as the front garden stretches quite far to the road so we’re working on about 40 metres of flower beds but once it’s done I know it will look fabulous, a really make the house look more lived-in and welcoming from the road. I can’t wait to get started… where’s my spade?!
Some items in this blog post have been gifted to me and the pink links indicate a gifted product, affiliate link or information source. All thoughts and opinions in this post are based on my own experience and I am not responsible for your experience 🙂


2 responses
Ooh thanks, glad you like it 🙂 ah yes do, it’s such a simple solution! X
The BBQ looks so good after the makeover. I have a small red one that amazingly still looks good. I’ll use your idea if the colours will fade.