It’s been a rather productive summer in the Cassiefairy household. All those little DIY tasks that I’ve been putting off for months (okay, years) have finally been tackled and I’m so pleased with the results. It’s really satisfying to spend a day with a paintbrush in your hand and then step back to admire your handiwork at the end of a decorating session.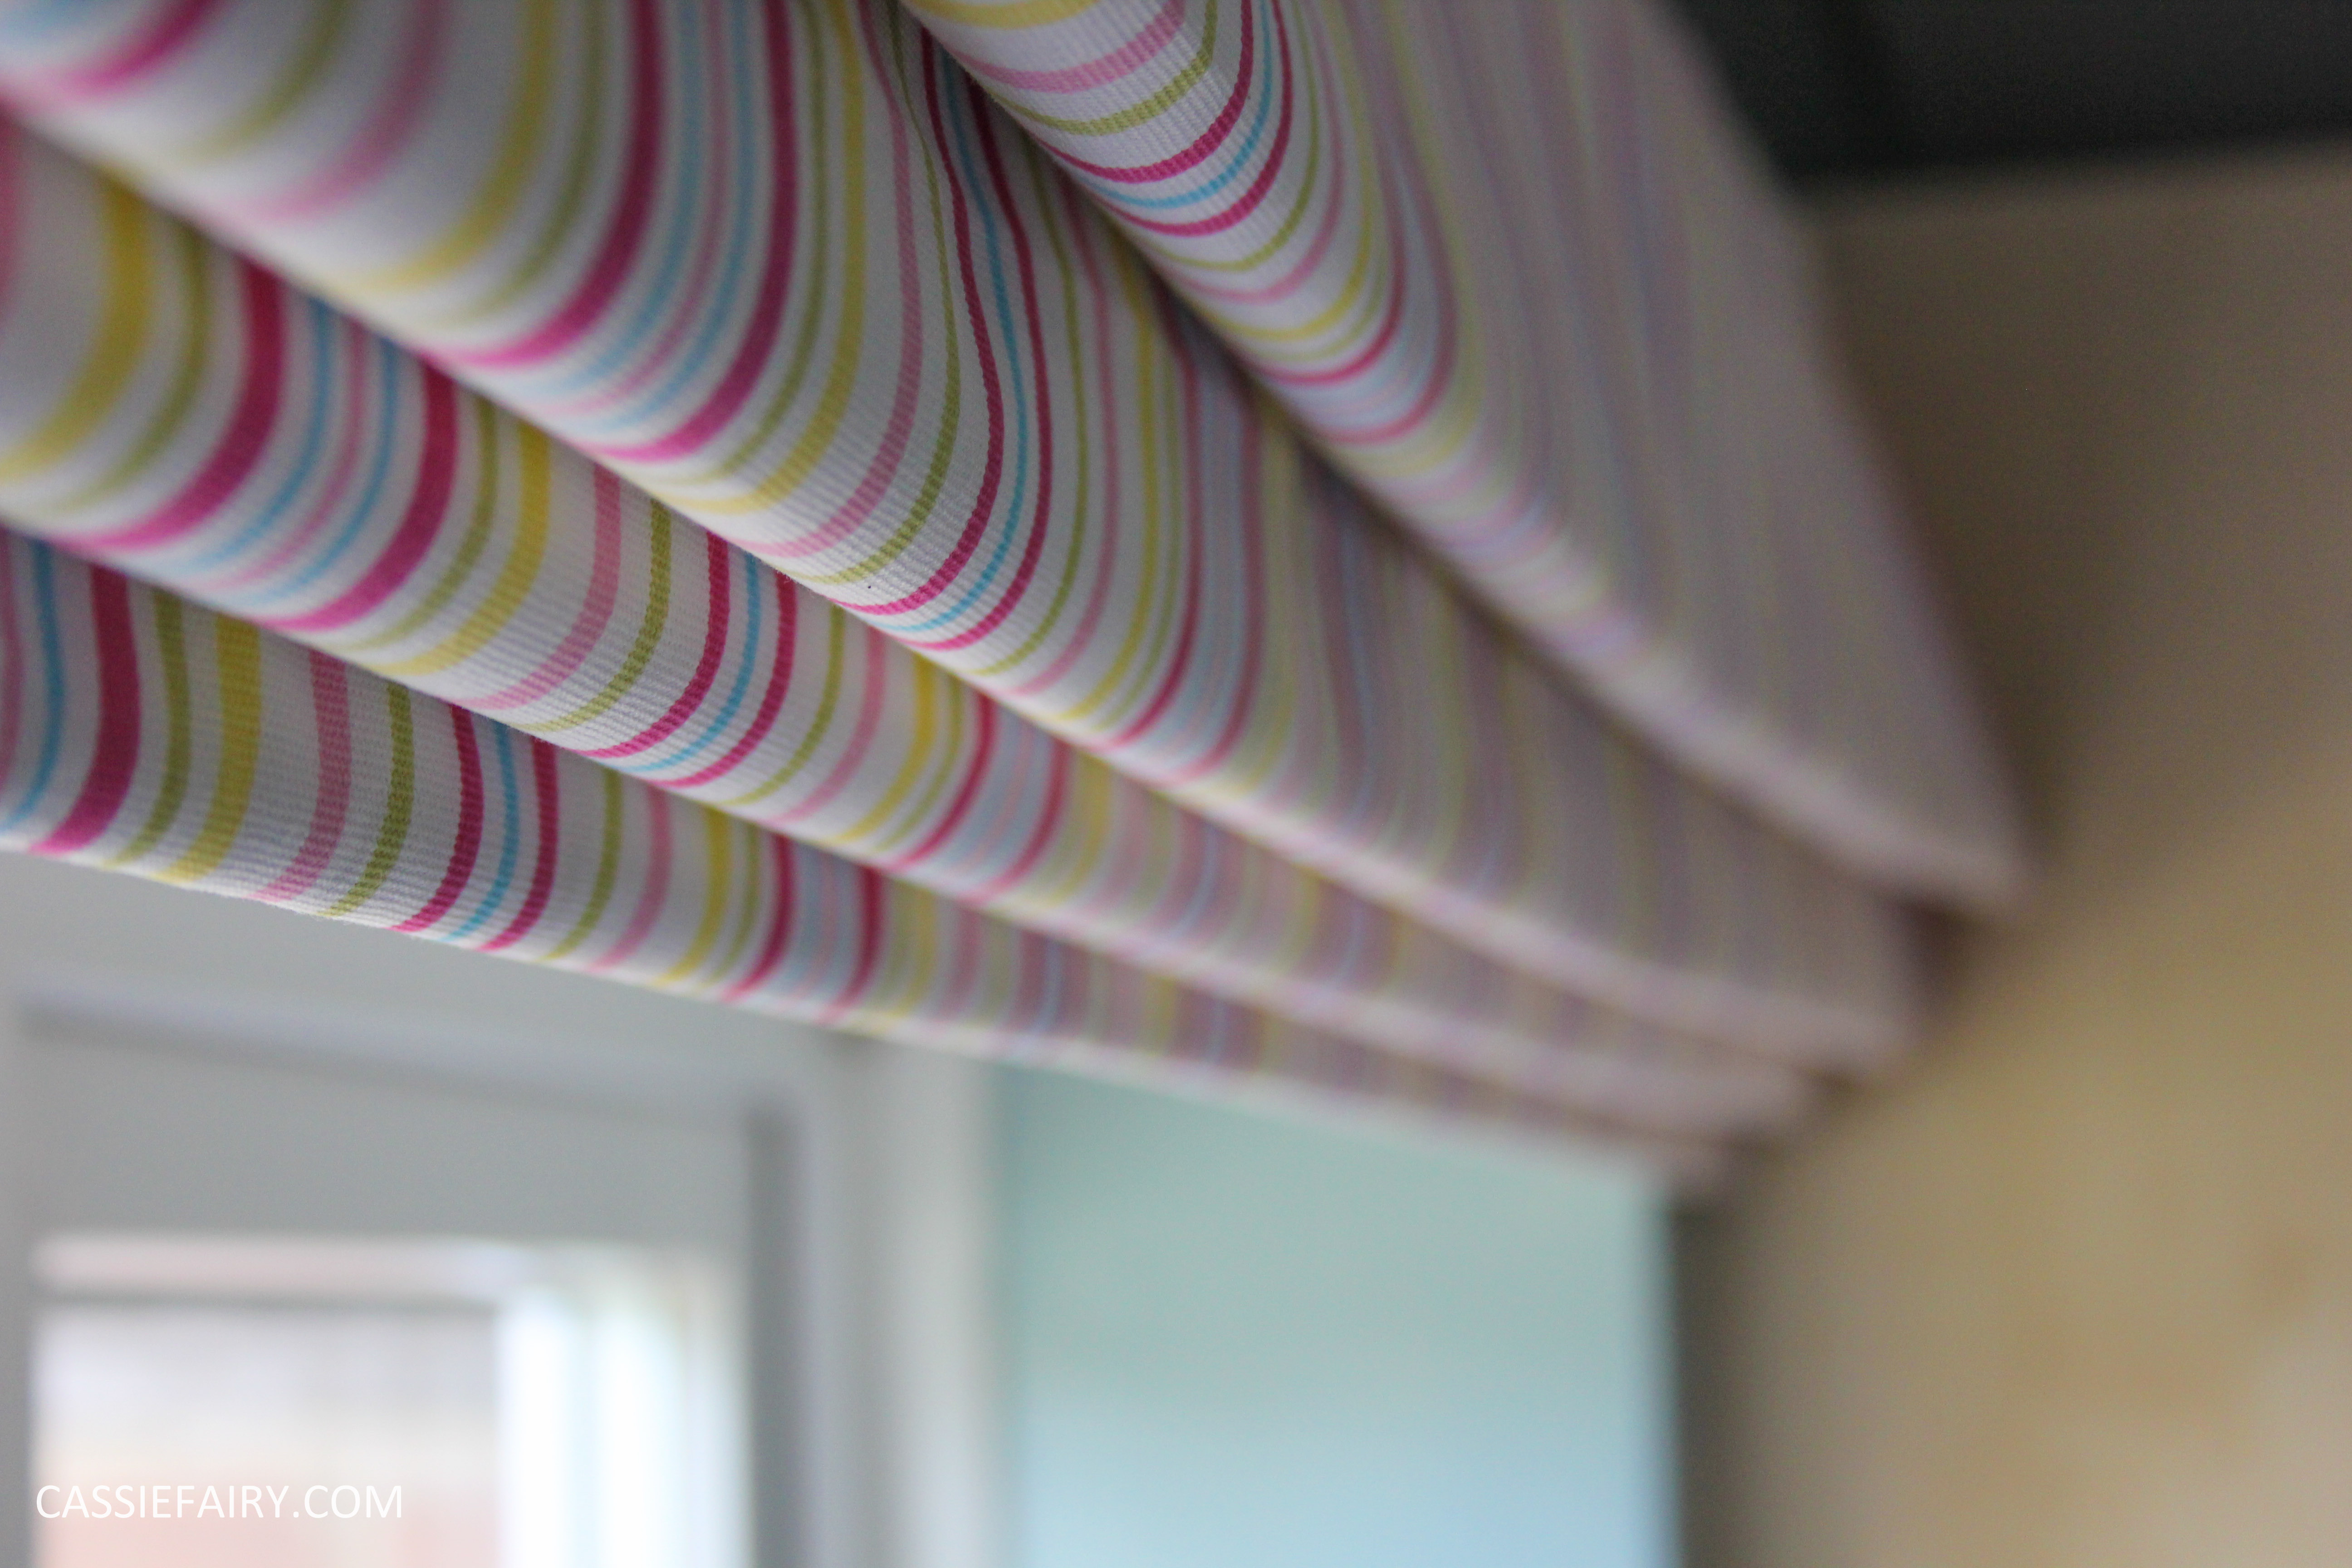
 In fact, my favourite thing about decorating is that moment when you go back into a room later that day, having forgotten that you’ve painted it, and are surprised by the effect. I found myself ‘ooh-ing’ on about 10 different occasions after painting the kitchen and I think I deserve to revel in my success; we’ve had paint swatches dotted around the walls for three years, so it really is about time that the room was finished!


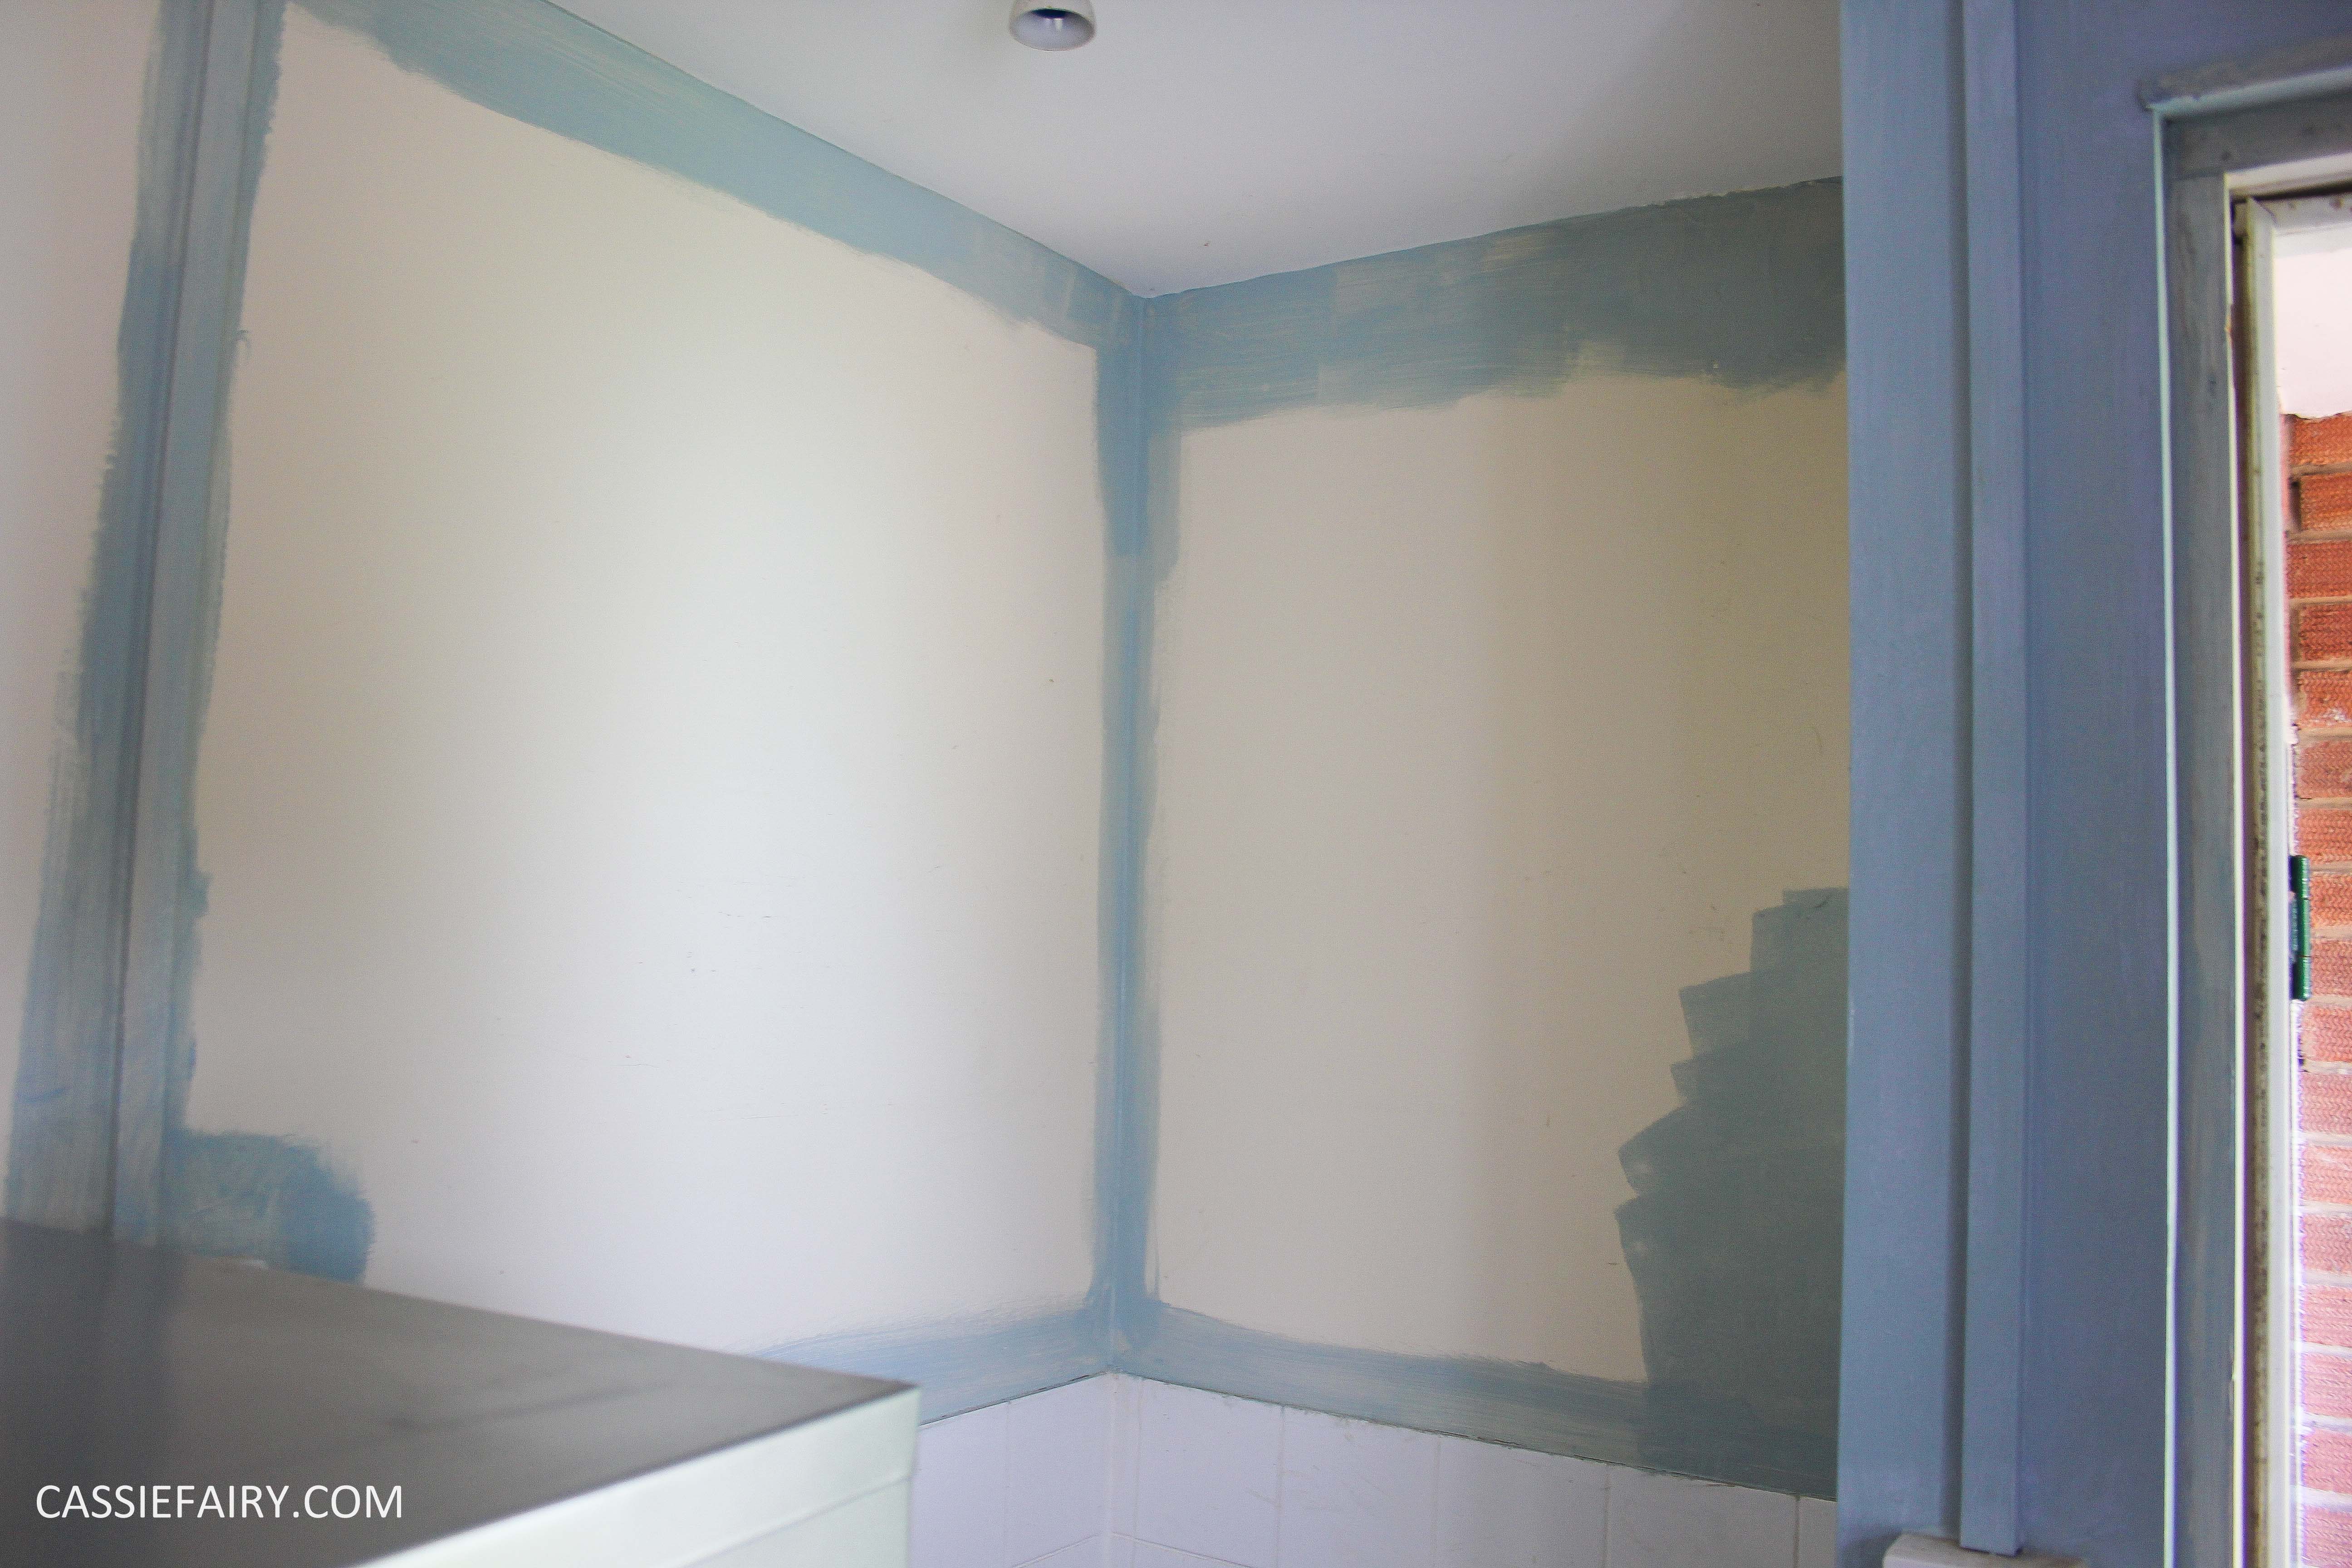
I wrote about my inspiration for a coastal style kitchen on the blog last month and after a lot of deliberation, I decided to go for a duck-egg blue paint from Homebase. The paint actually dried a lot darker than it looked but the darker shade was exactly the colour I wanted (the wet paint looked like off-white rather than an actual colour) and it looks fab with the fabric that I’d chosen for our kitchen blind.


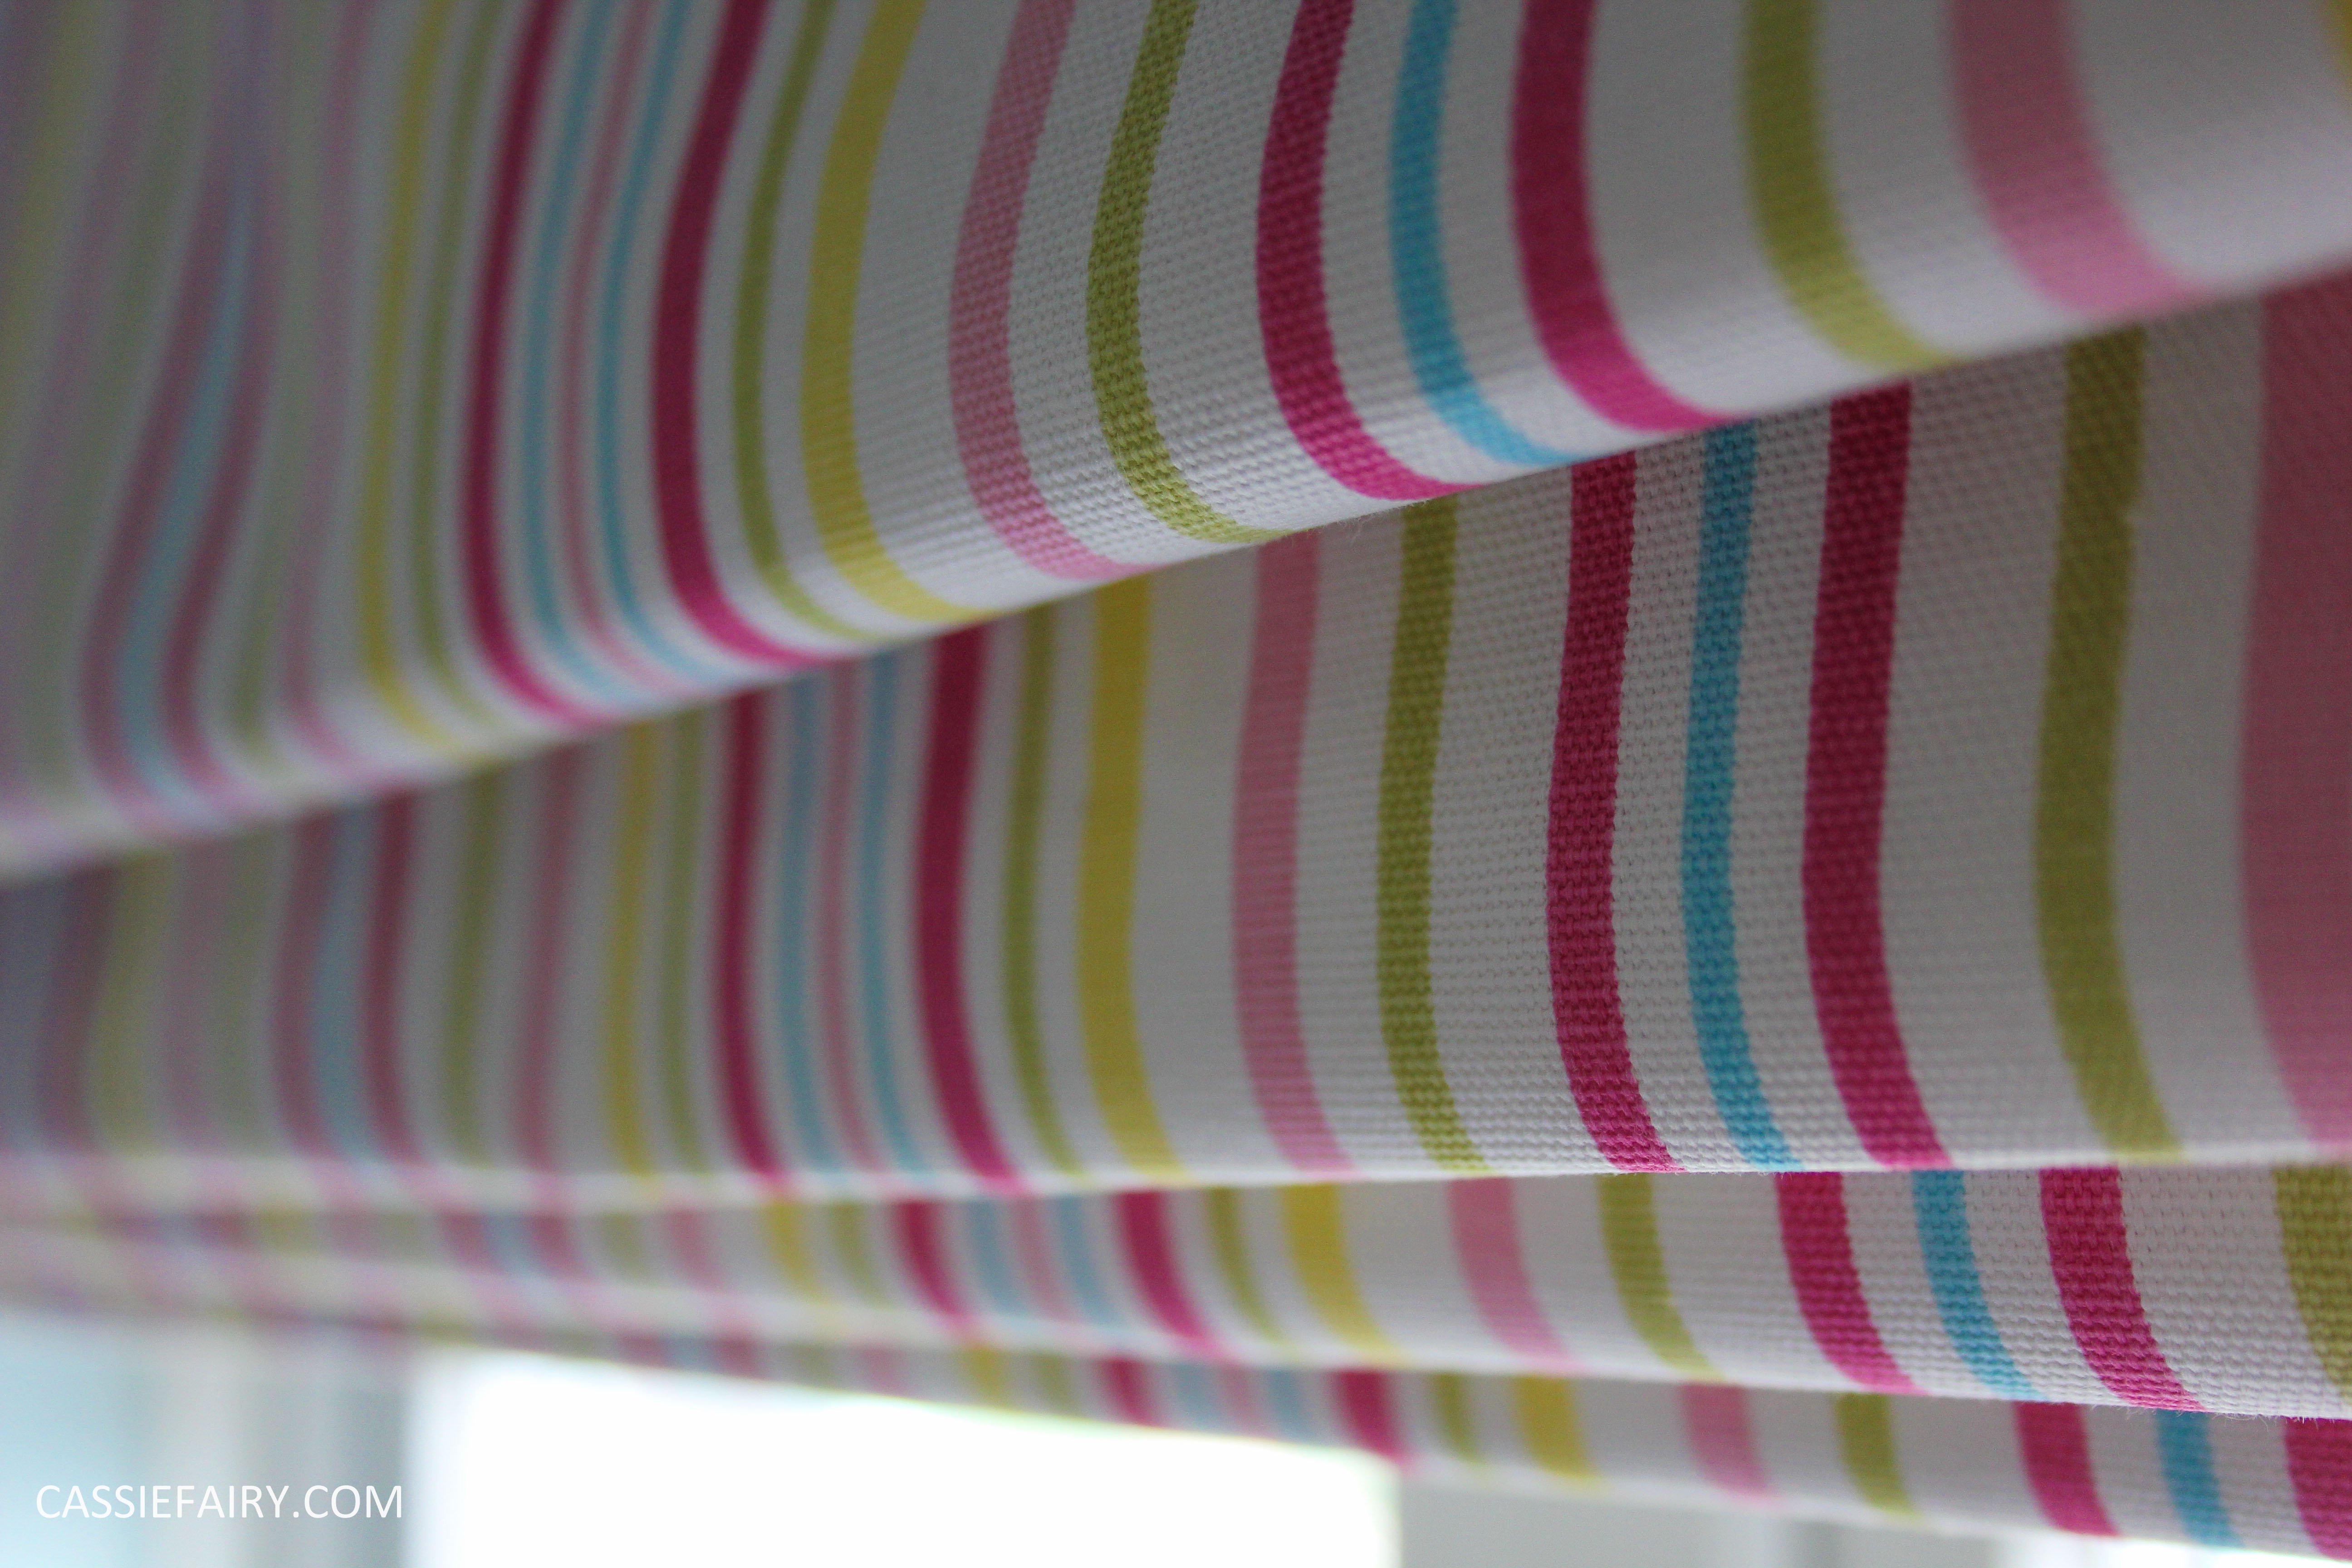
I was gifted a custom-made blind from web-blinds.com and the colours look really seaside when combined with the duck-egg shade. The process of measuring the space was really simple; I just followed the guide on the website and clambered onto my kitchen units to measure the window for an ‘exact’ fitting blind, which hangs outside the window rather than in the recess. I chose the Sugar Stripe Pink Roman Blind which is made from the same Clarke and Clarke fabric that I plan to use for all my kitchen accessories (peg-bag and apron DIY projects to follow!). I picked a blackout lining for extra warmth in the winter as this tiny room has no radiator and went for a chain pulley which is super-easy to use.


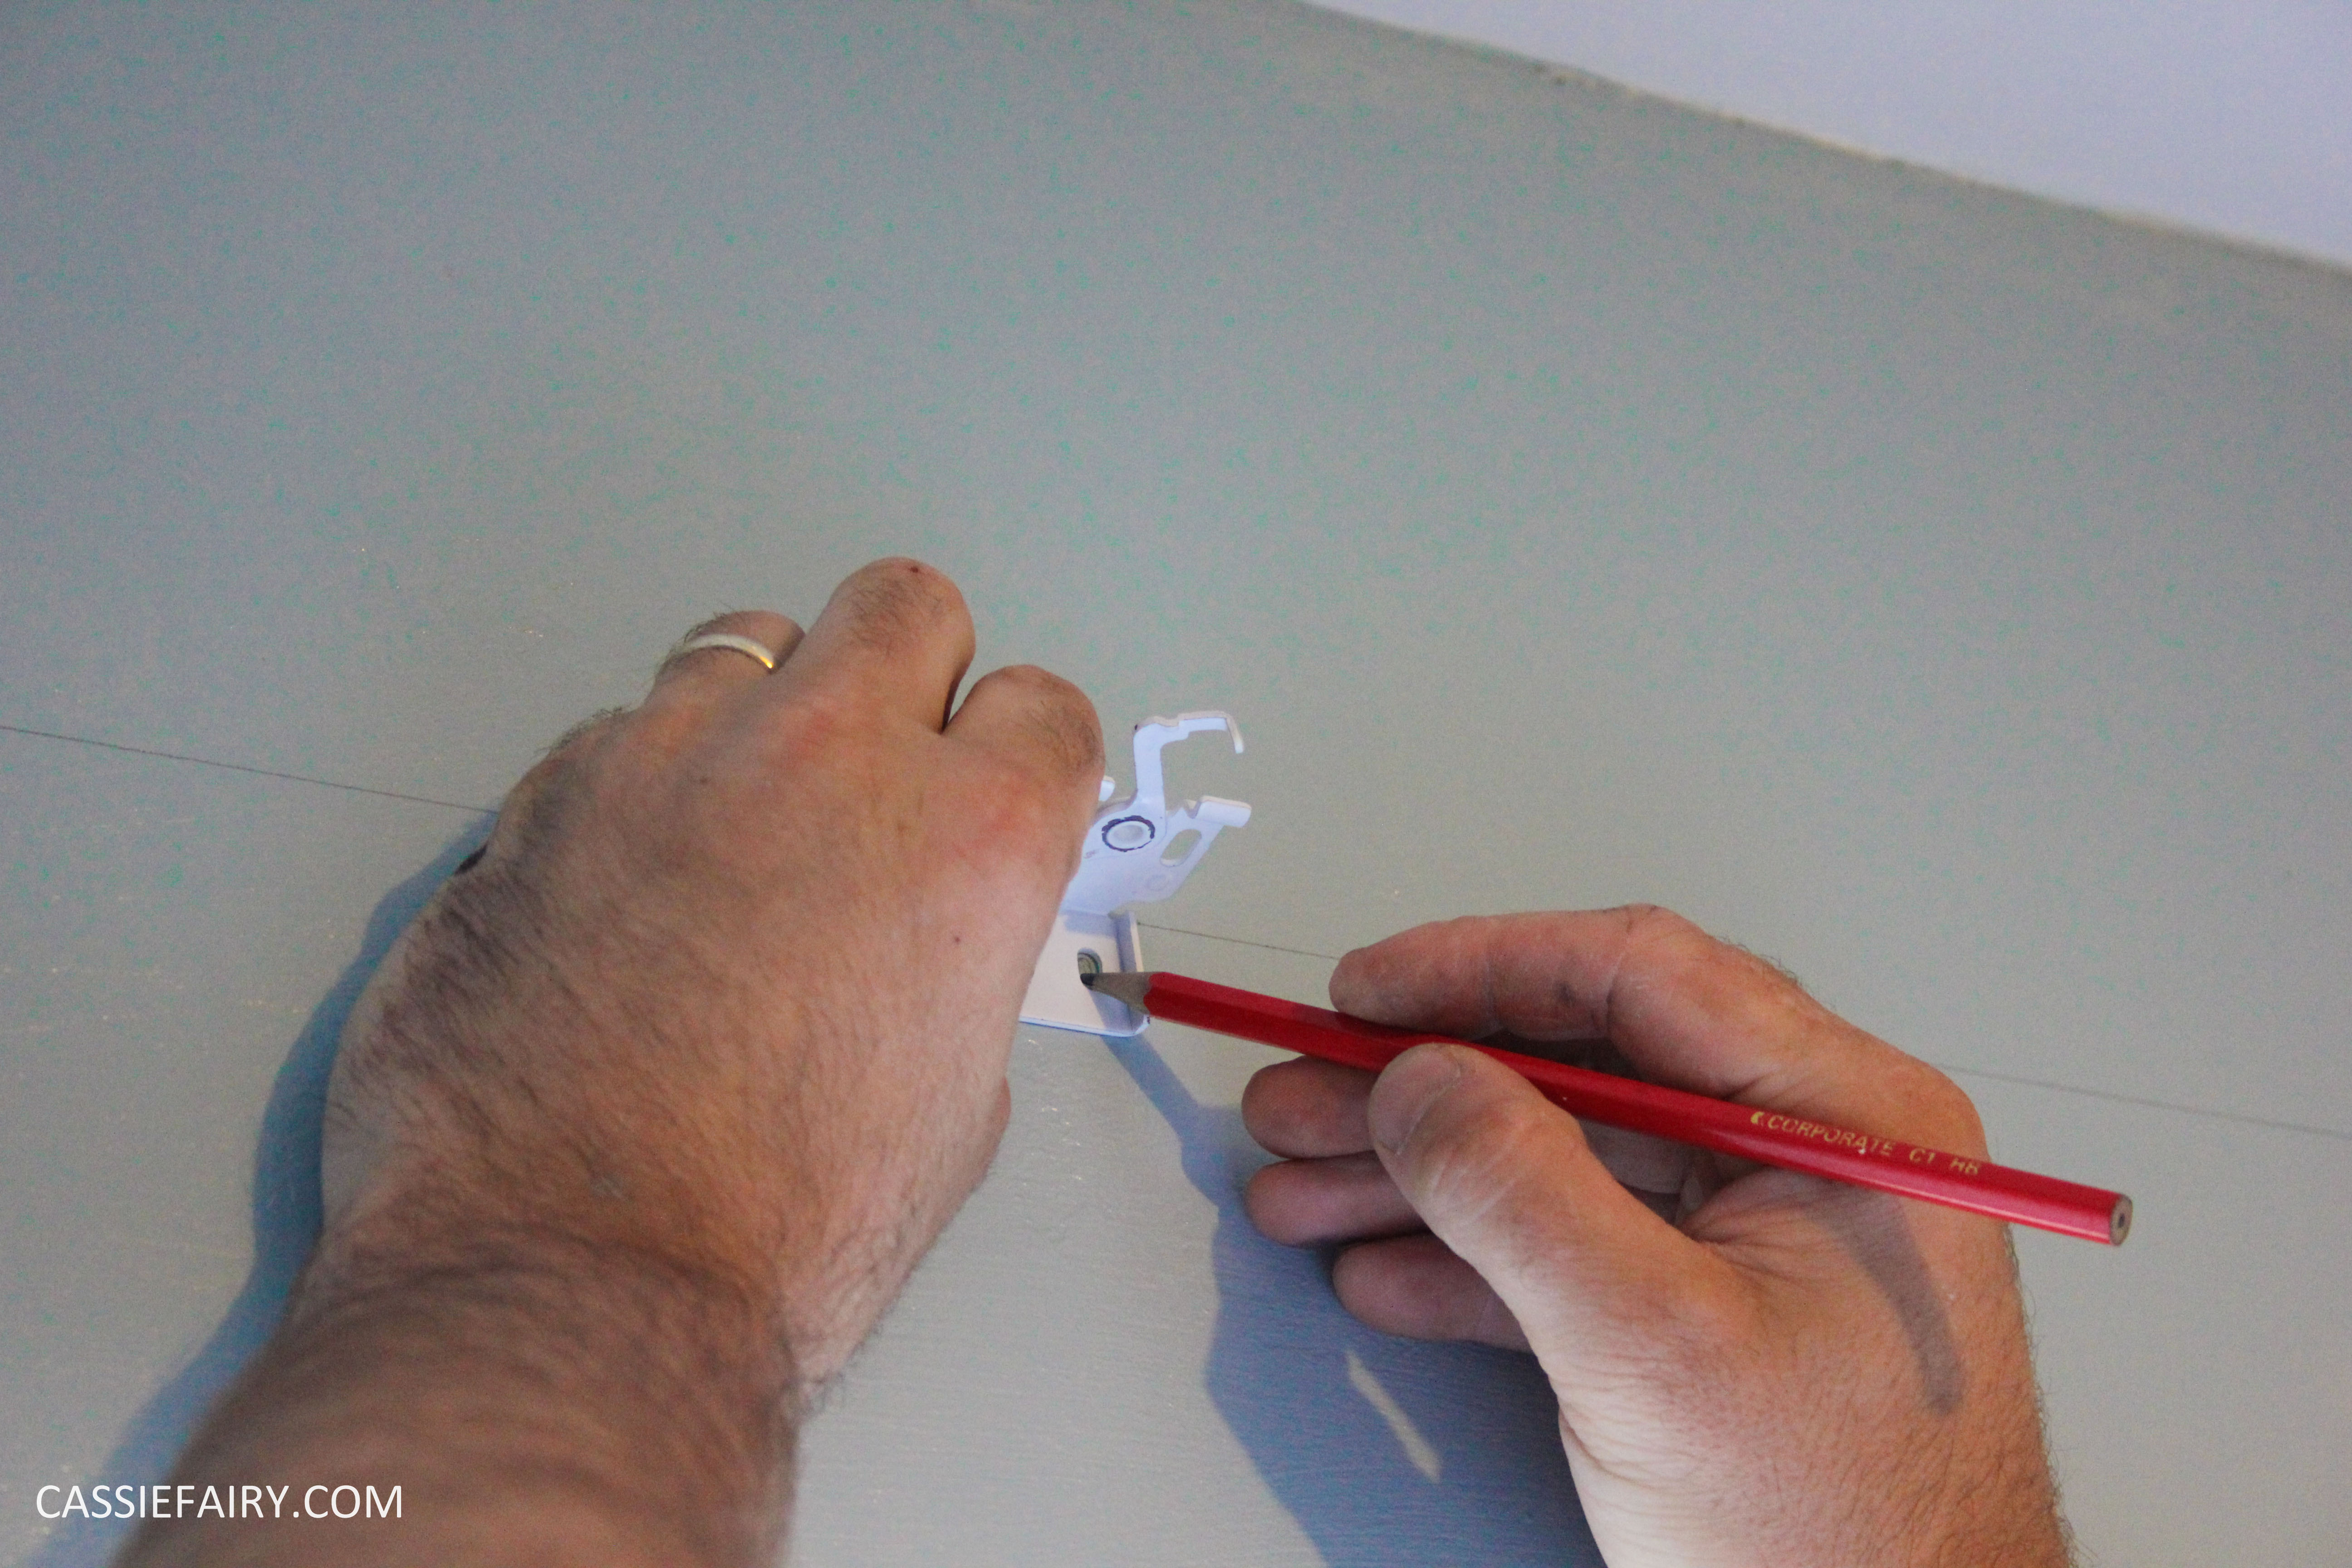
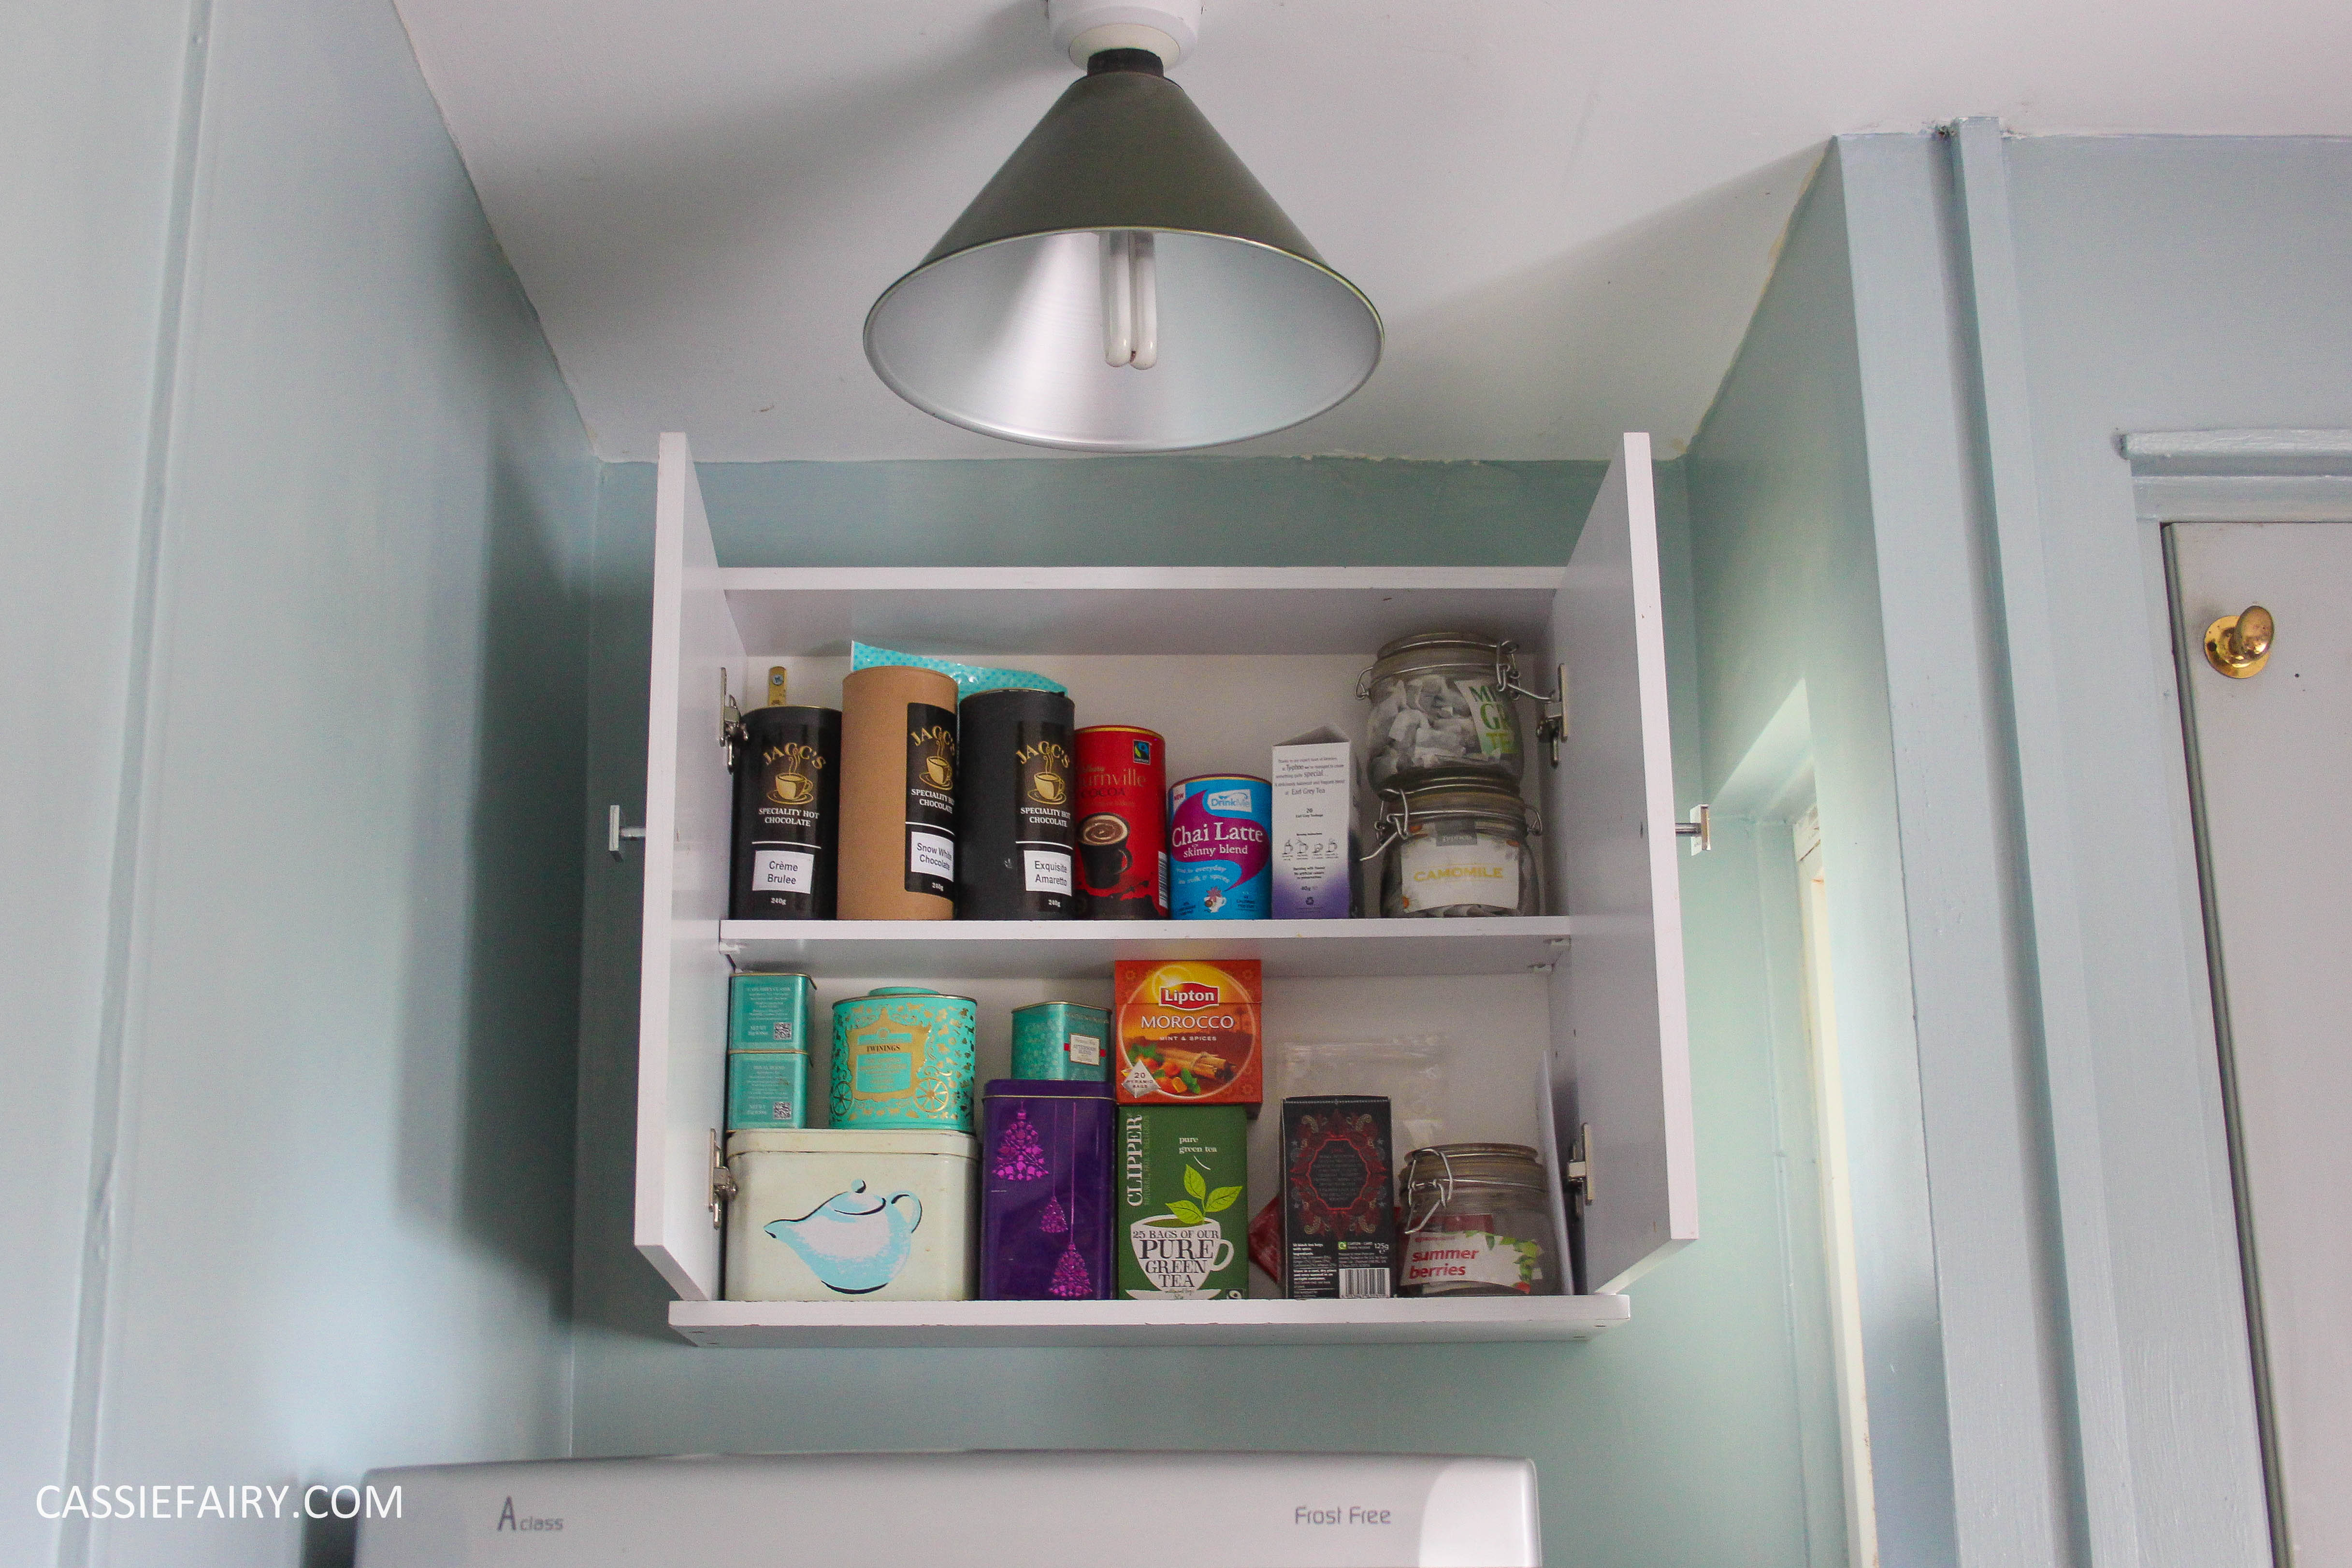
I enlisted the help of my husband with his massive hammer drill to put up the brackets for the blind and he tells me that this was the easiest blind he’s ever put up; apparently the fixings are really simple to attach with a couple of screws and they simply ‘clip’ onto the blind to clamp it to the wall. Seeing as it was so easy, I wanted to make the most of getting the drill out, so I asked my husband to pop a unit onto the wall above the fridge too. 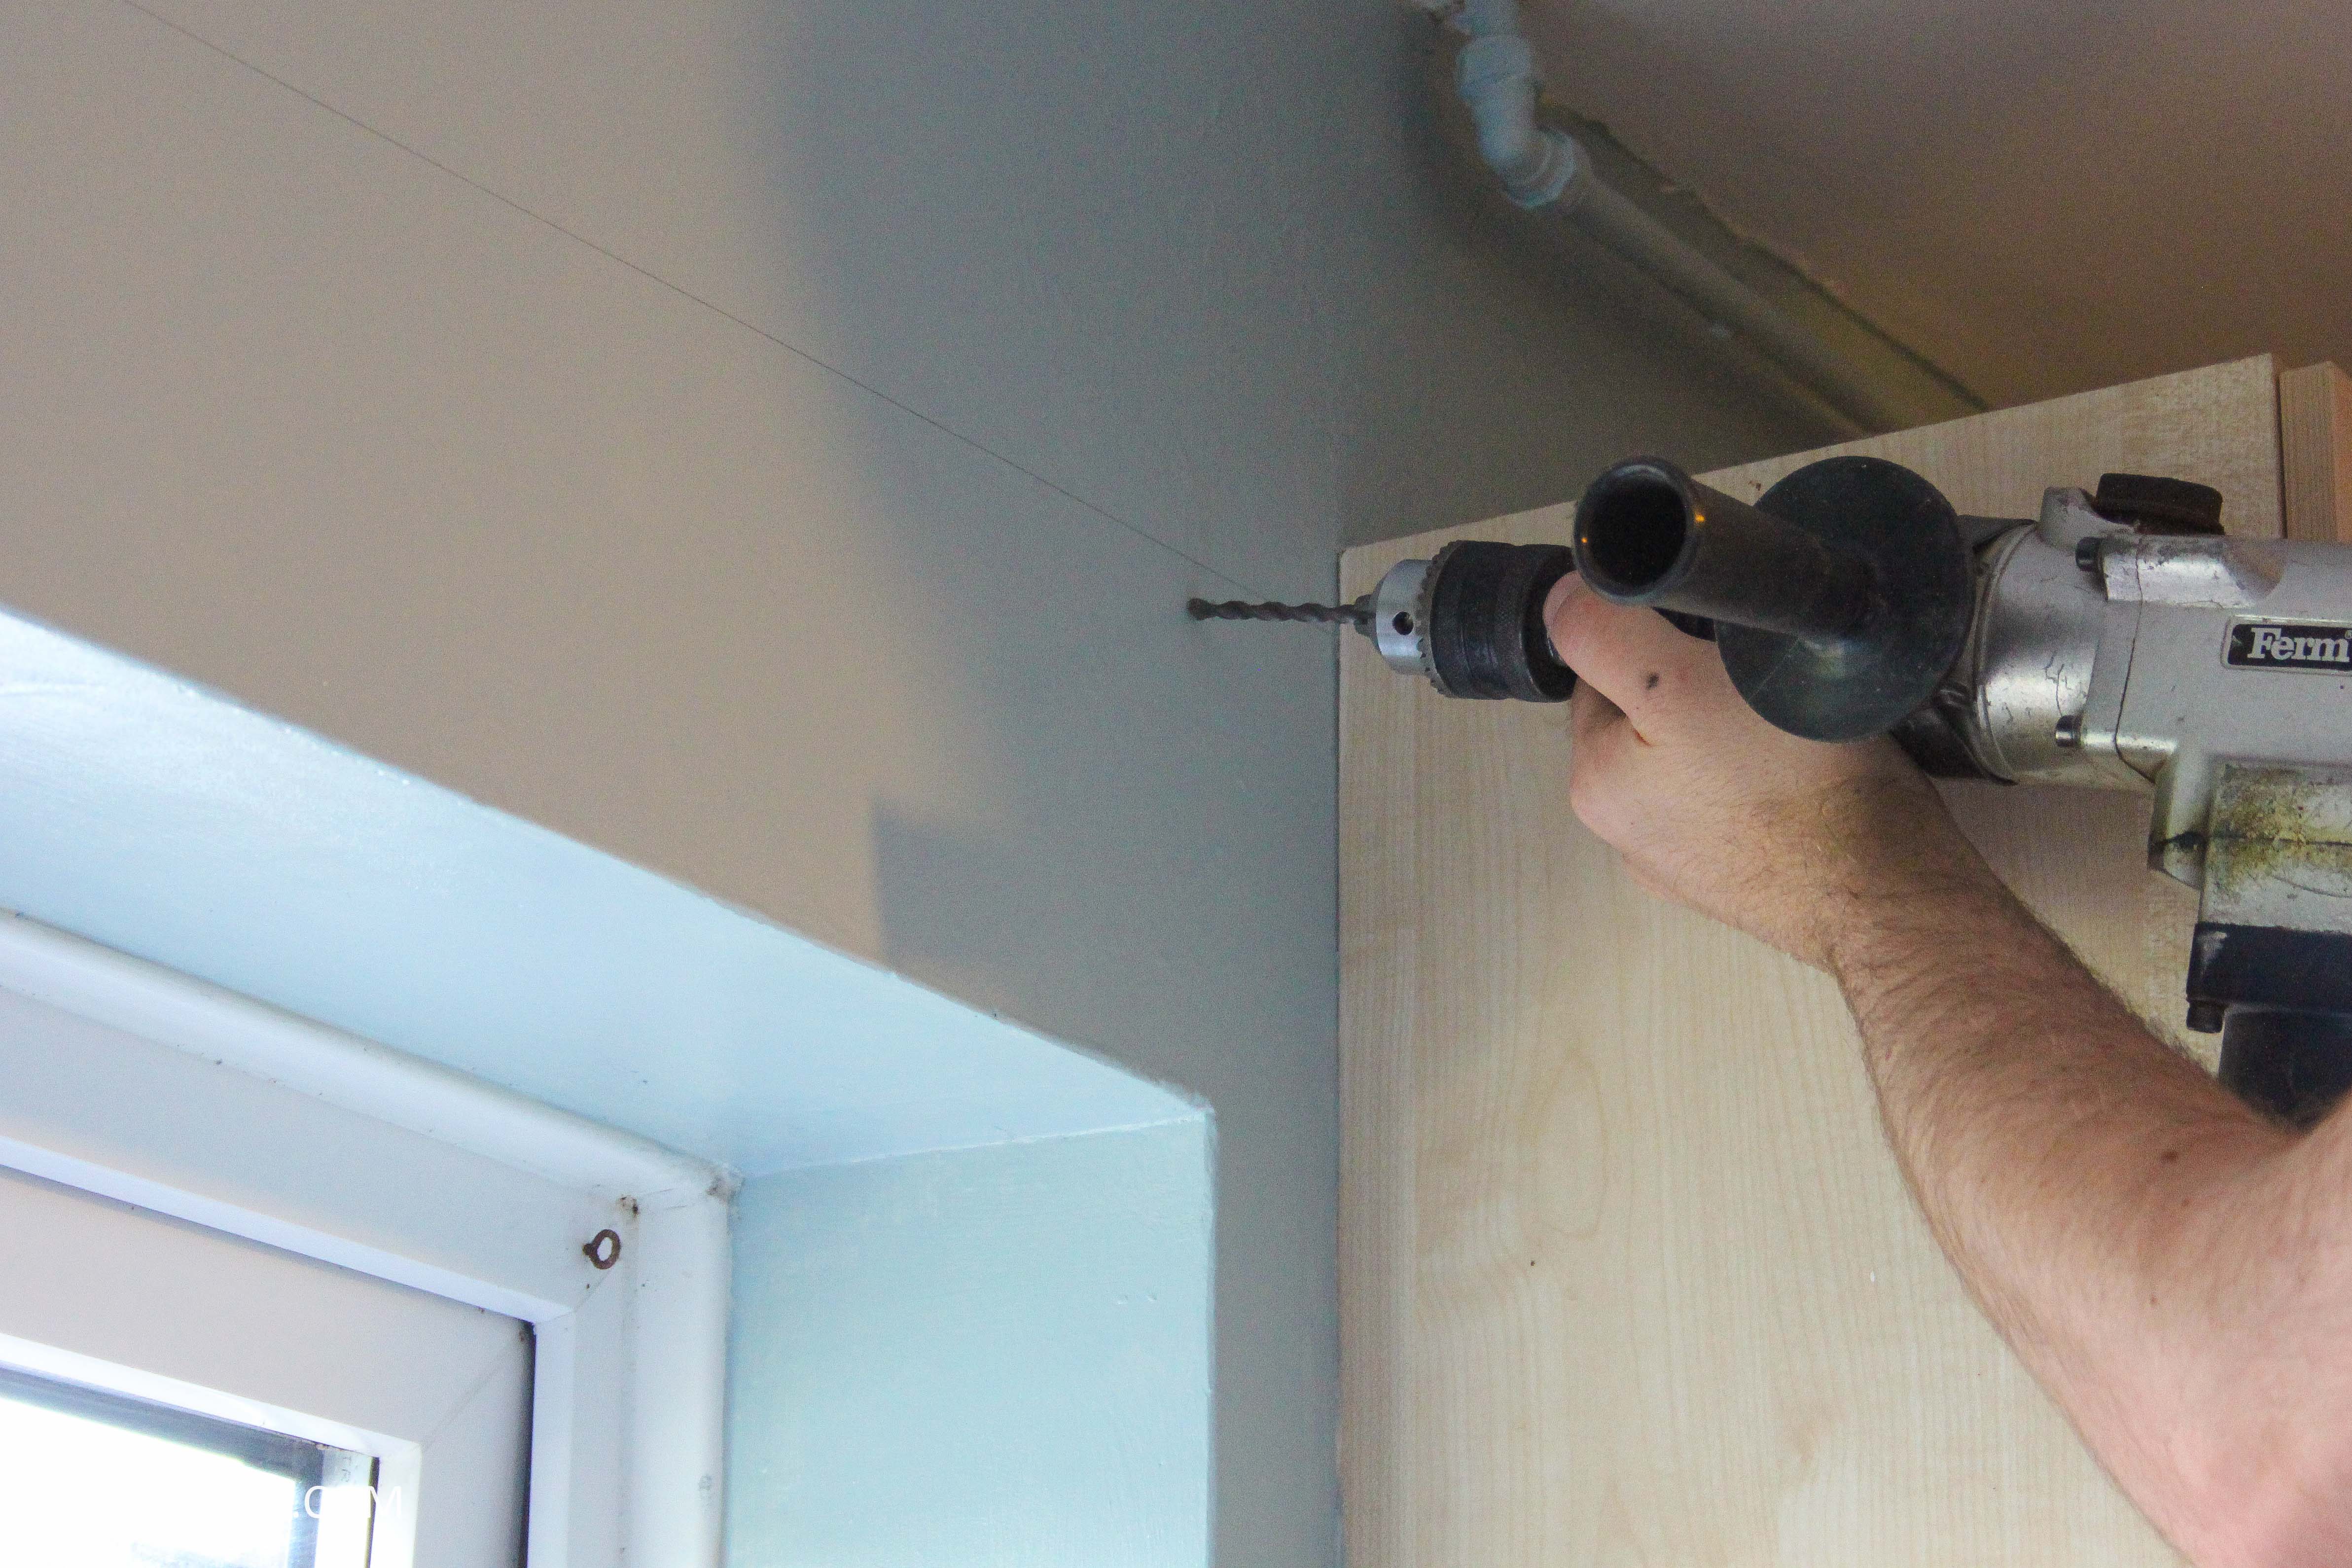
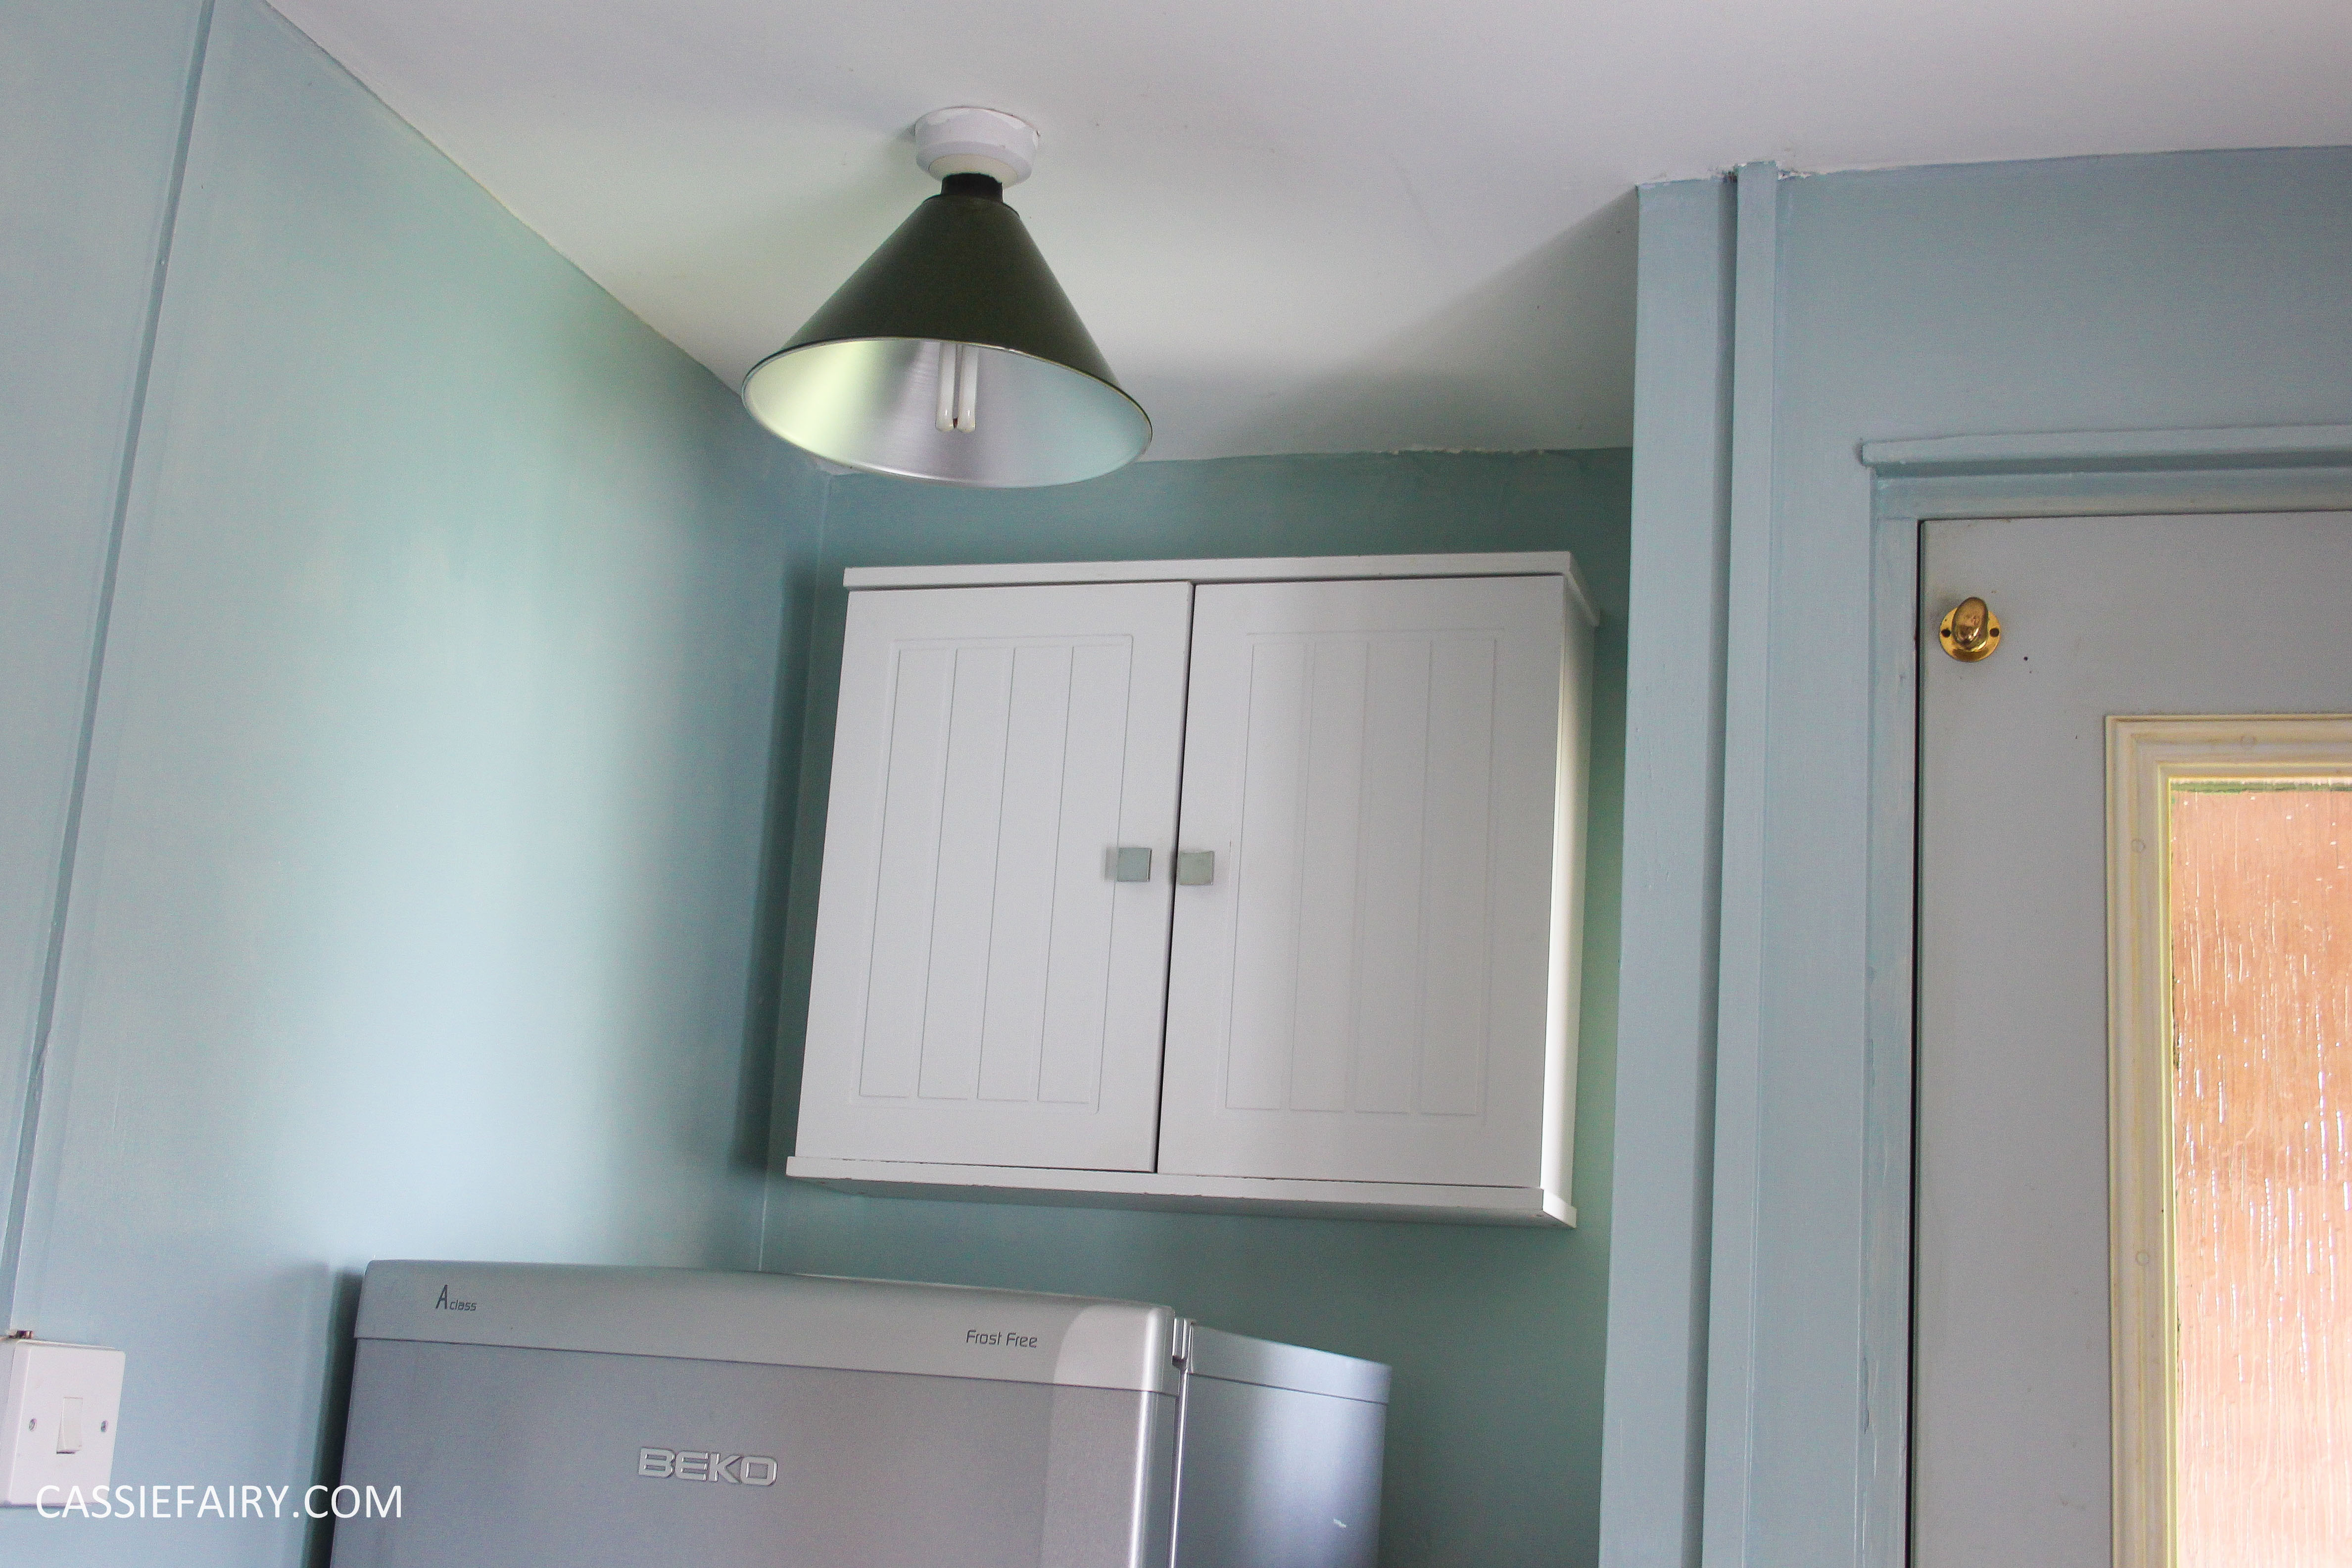
 No, I didn’t invest in any new kitchen cabinets, but I had an old bathroom cupboard that we’d taken out while doing our bathroom makeover. This unit was the ideal size for housing all my speciality teas and flavoured hot chocolates and was really easy to hang with just two screws. I now have a clear worktop around my kettle (where all my tea-time treats were previously stored) and have easy access to all of my favourite products in one place. Plus the whole room looks loads neater without tins and tubs hanging around.
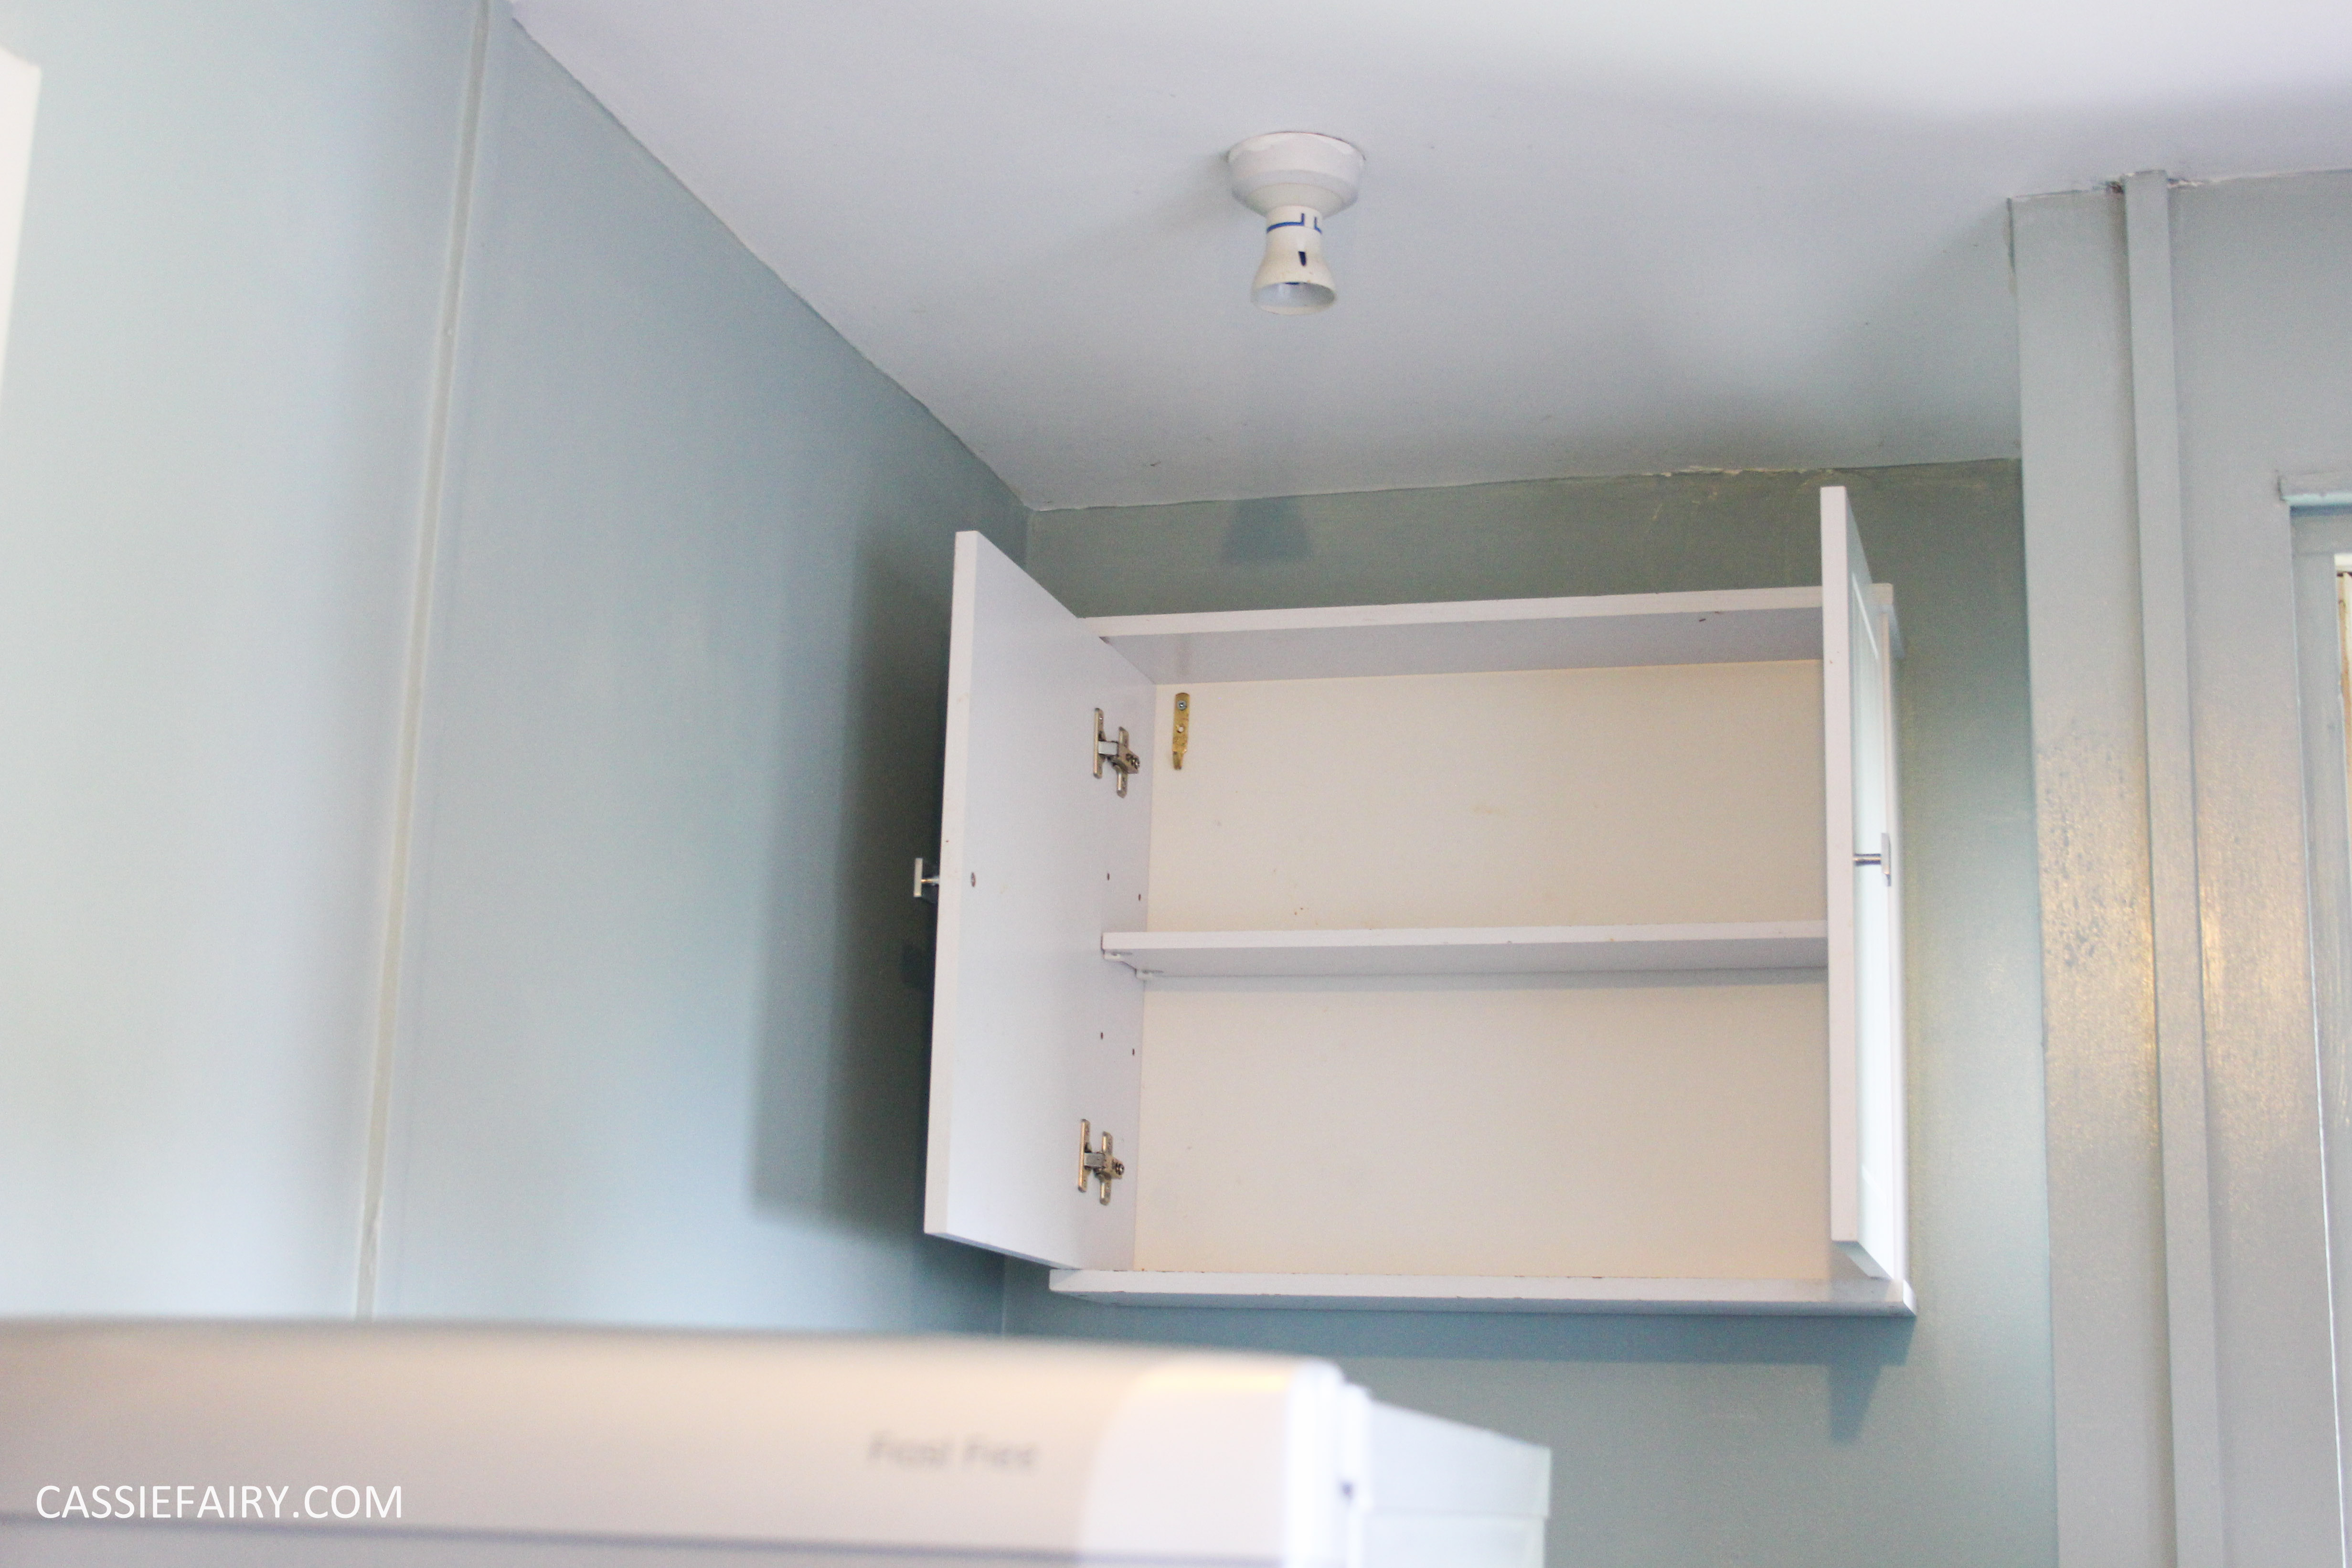
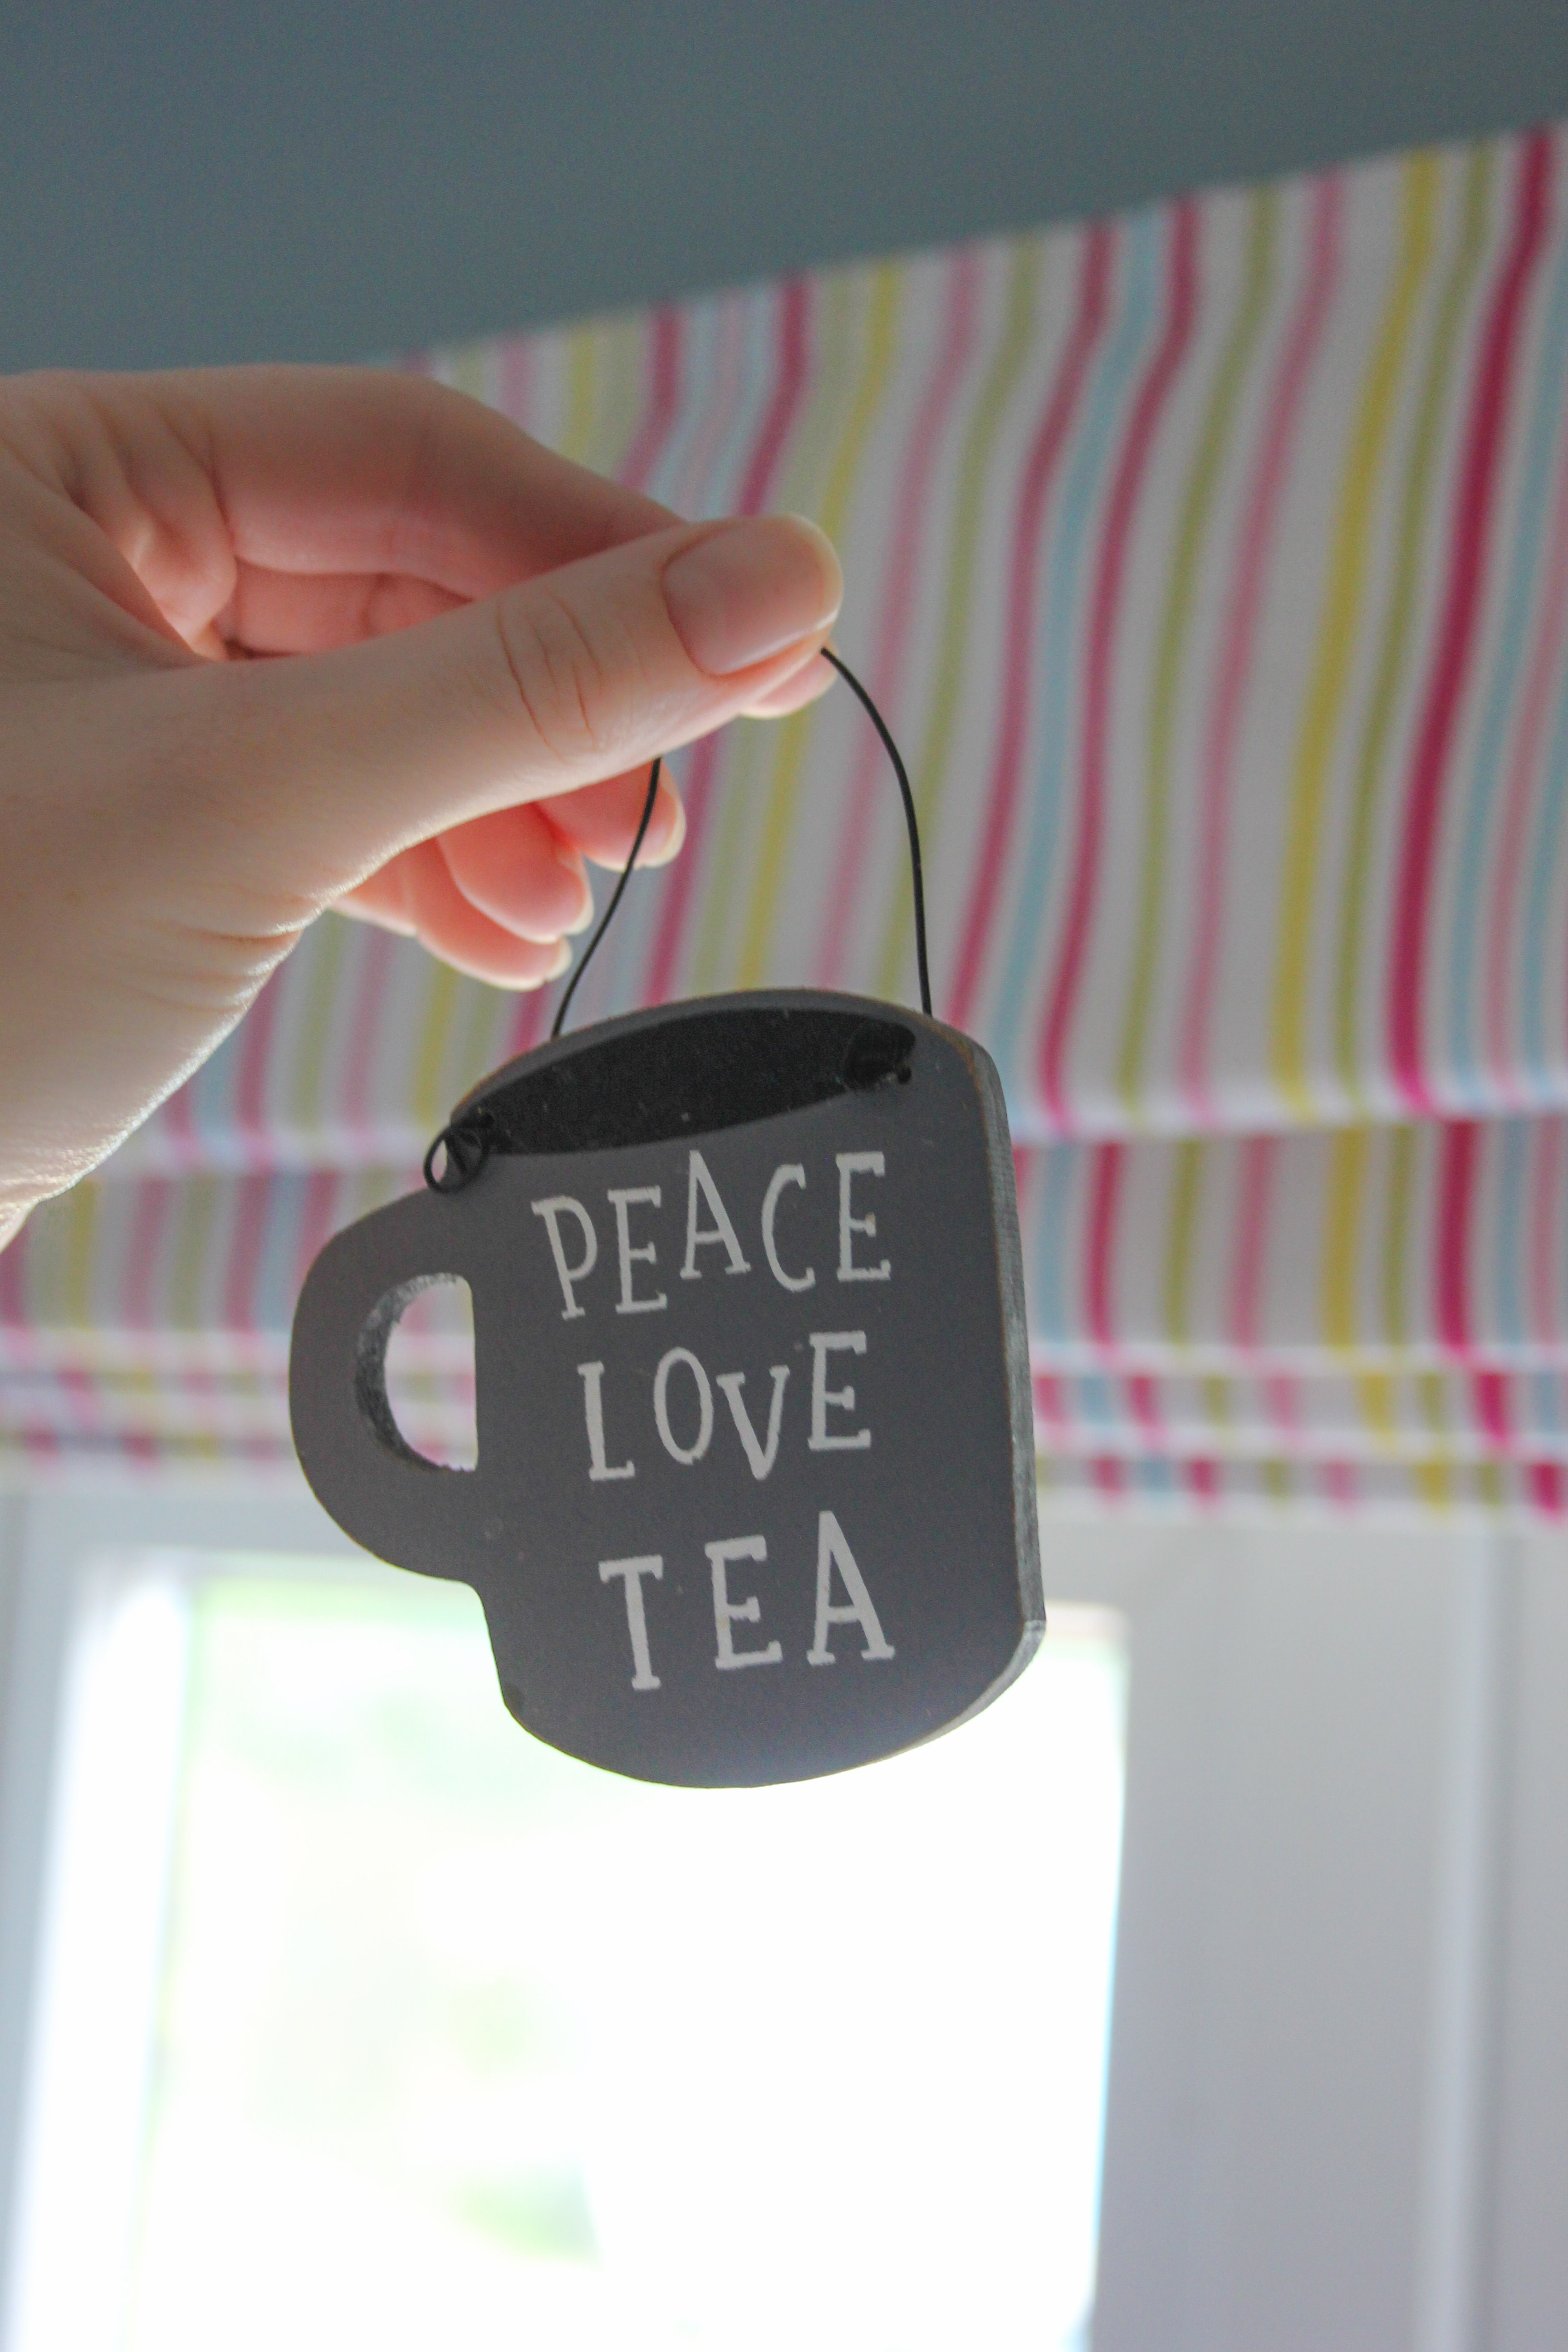
 I’m slowly adding some accessories to my kitchen and found the ideal tray for my seaside theme with a retro ice-cream design. I also have a postcard similar to this so I think I’ll frame up a couple of coastal pictures too. Of course, ‘peace, love, tea’ is basically my life’s motto so I couldn’t resist a tiny tea-cup decoration (top of page) for 85p from Emzo at Finbows Yard.


What do you think of the room so far? I’ve actually got some more painting projects going on as we speak so I’ll be adding more photos of the mini kitchen makeover soon so watch this space!
Some items in this blog post have been gifted to me and the pink links indicate a gifted product, affiliate link or information source. All thoughts and opinions in this post are based on my own experience and I am not responsible for your experience 🙂


4 responses
Thank you Laura, glad you like it! I’m half-way through the makeover so hope you pop back for the next post soon! 🙂
That looks so nice and fresh – I love how you used the cabinet from the bathroom, it looks just right in that space – genius!
Laura | Loved By Laura