If you’ve got an outdated kitchen and fancy a new look, there’s no need to splash out on an entirely new design and installation. If the units still have perfectly usable frames and doors, why not give them a makeover with spray paint? It’s a quick and easy process and, when combined with a low-cost worktop, it lets you achieve the revamped look you want but for a fraction of the cost of a new kitchen. Here’s a step by step video to show you how to makeover your cabinets the easy way…
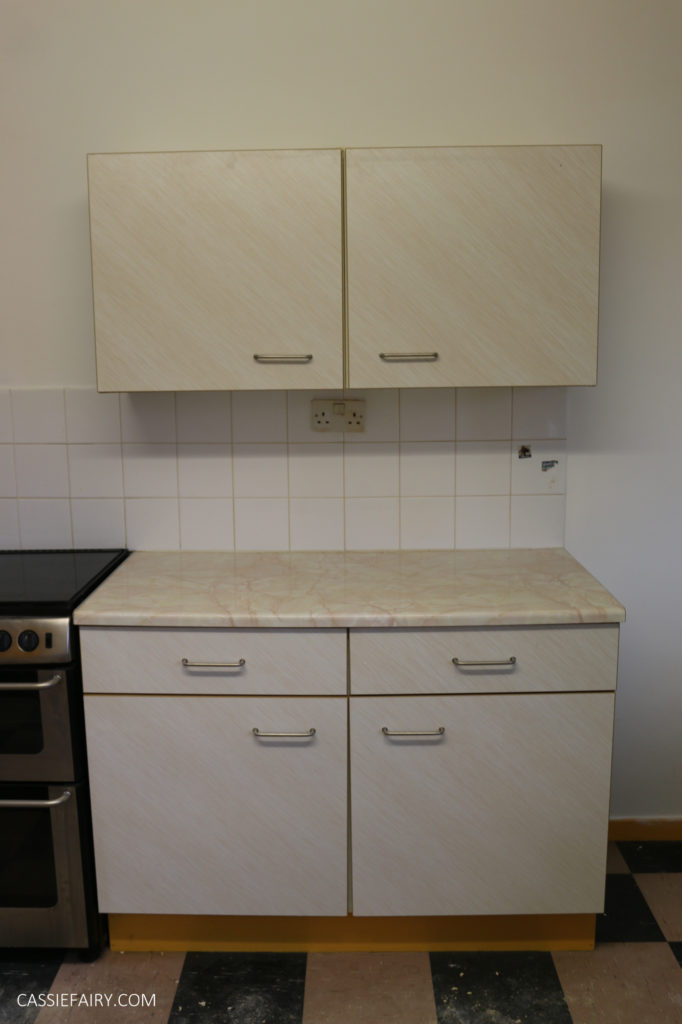
When we moved into our 1950s home, the kitchen was in a terrible state. It had ugly melamine doors and a well-used faux marble laminate worktop. But the cabinets were sturdy and the interior shelves just needed a quick scrub to bring them back to their best. I planned to buy new kitchen doors to give the kitchen a fast and easy makeover but seeing as I had ZERO budget after paying out a huge deposit to by our home, there was only one option at the time…
We decided to ‘give it a go’ and paint the cupboard doors ourselves. At least they couldn’t look any worse, haha! If you’ve seen any of my other DIY projects you’ll know that I’m a big fan of spray paint to get a great finish, so I did my research and made sure to choose the correct spray paint for melamine.
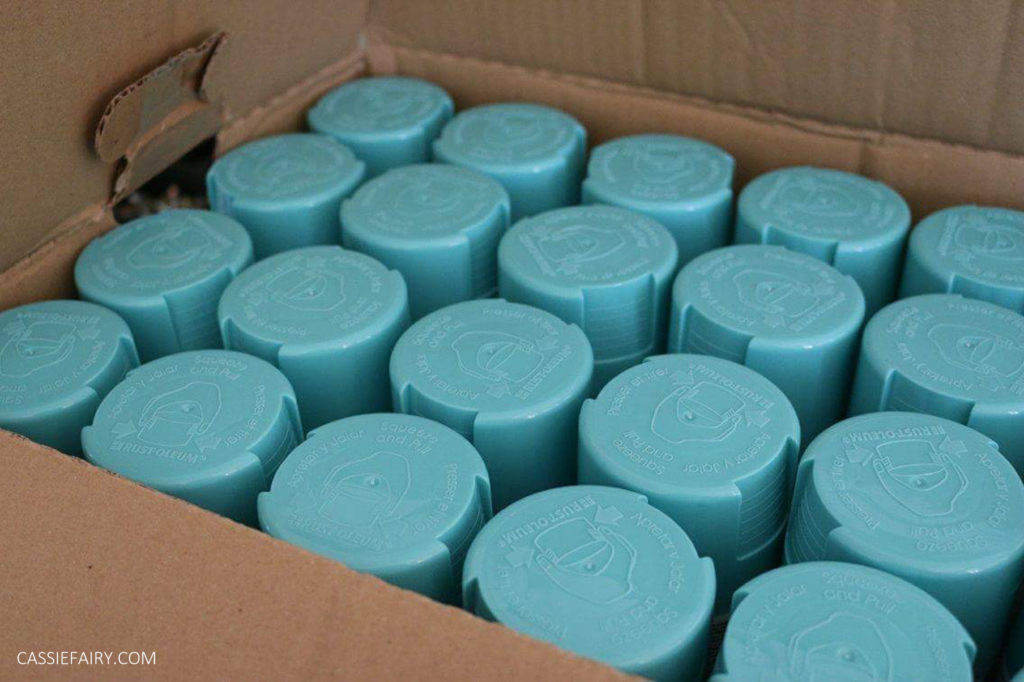
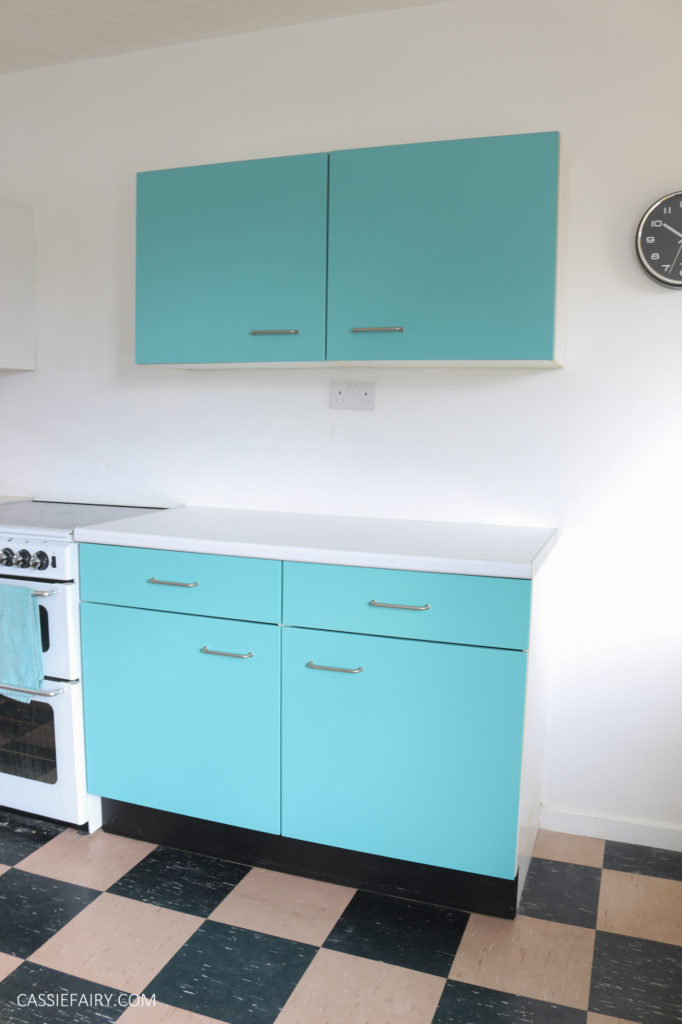
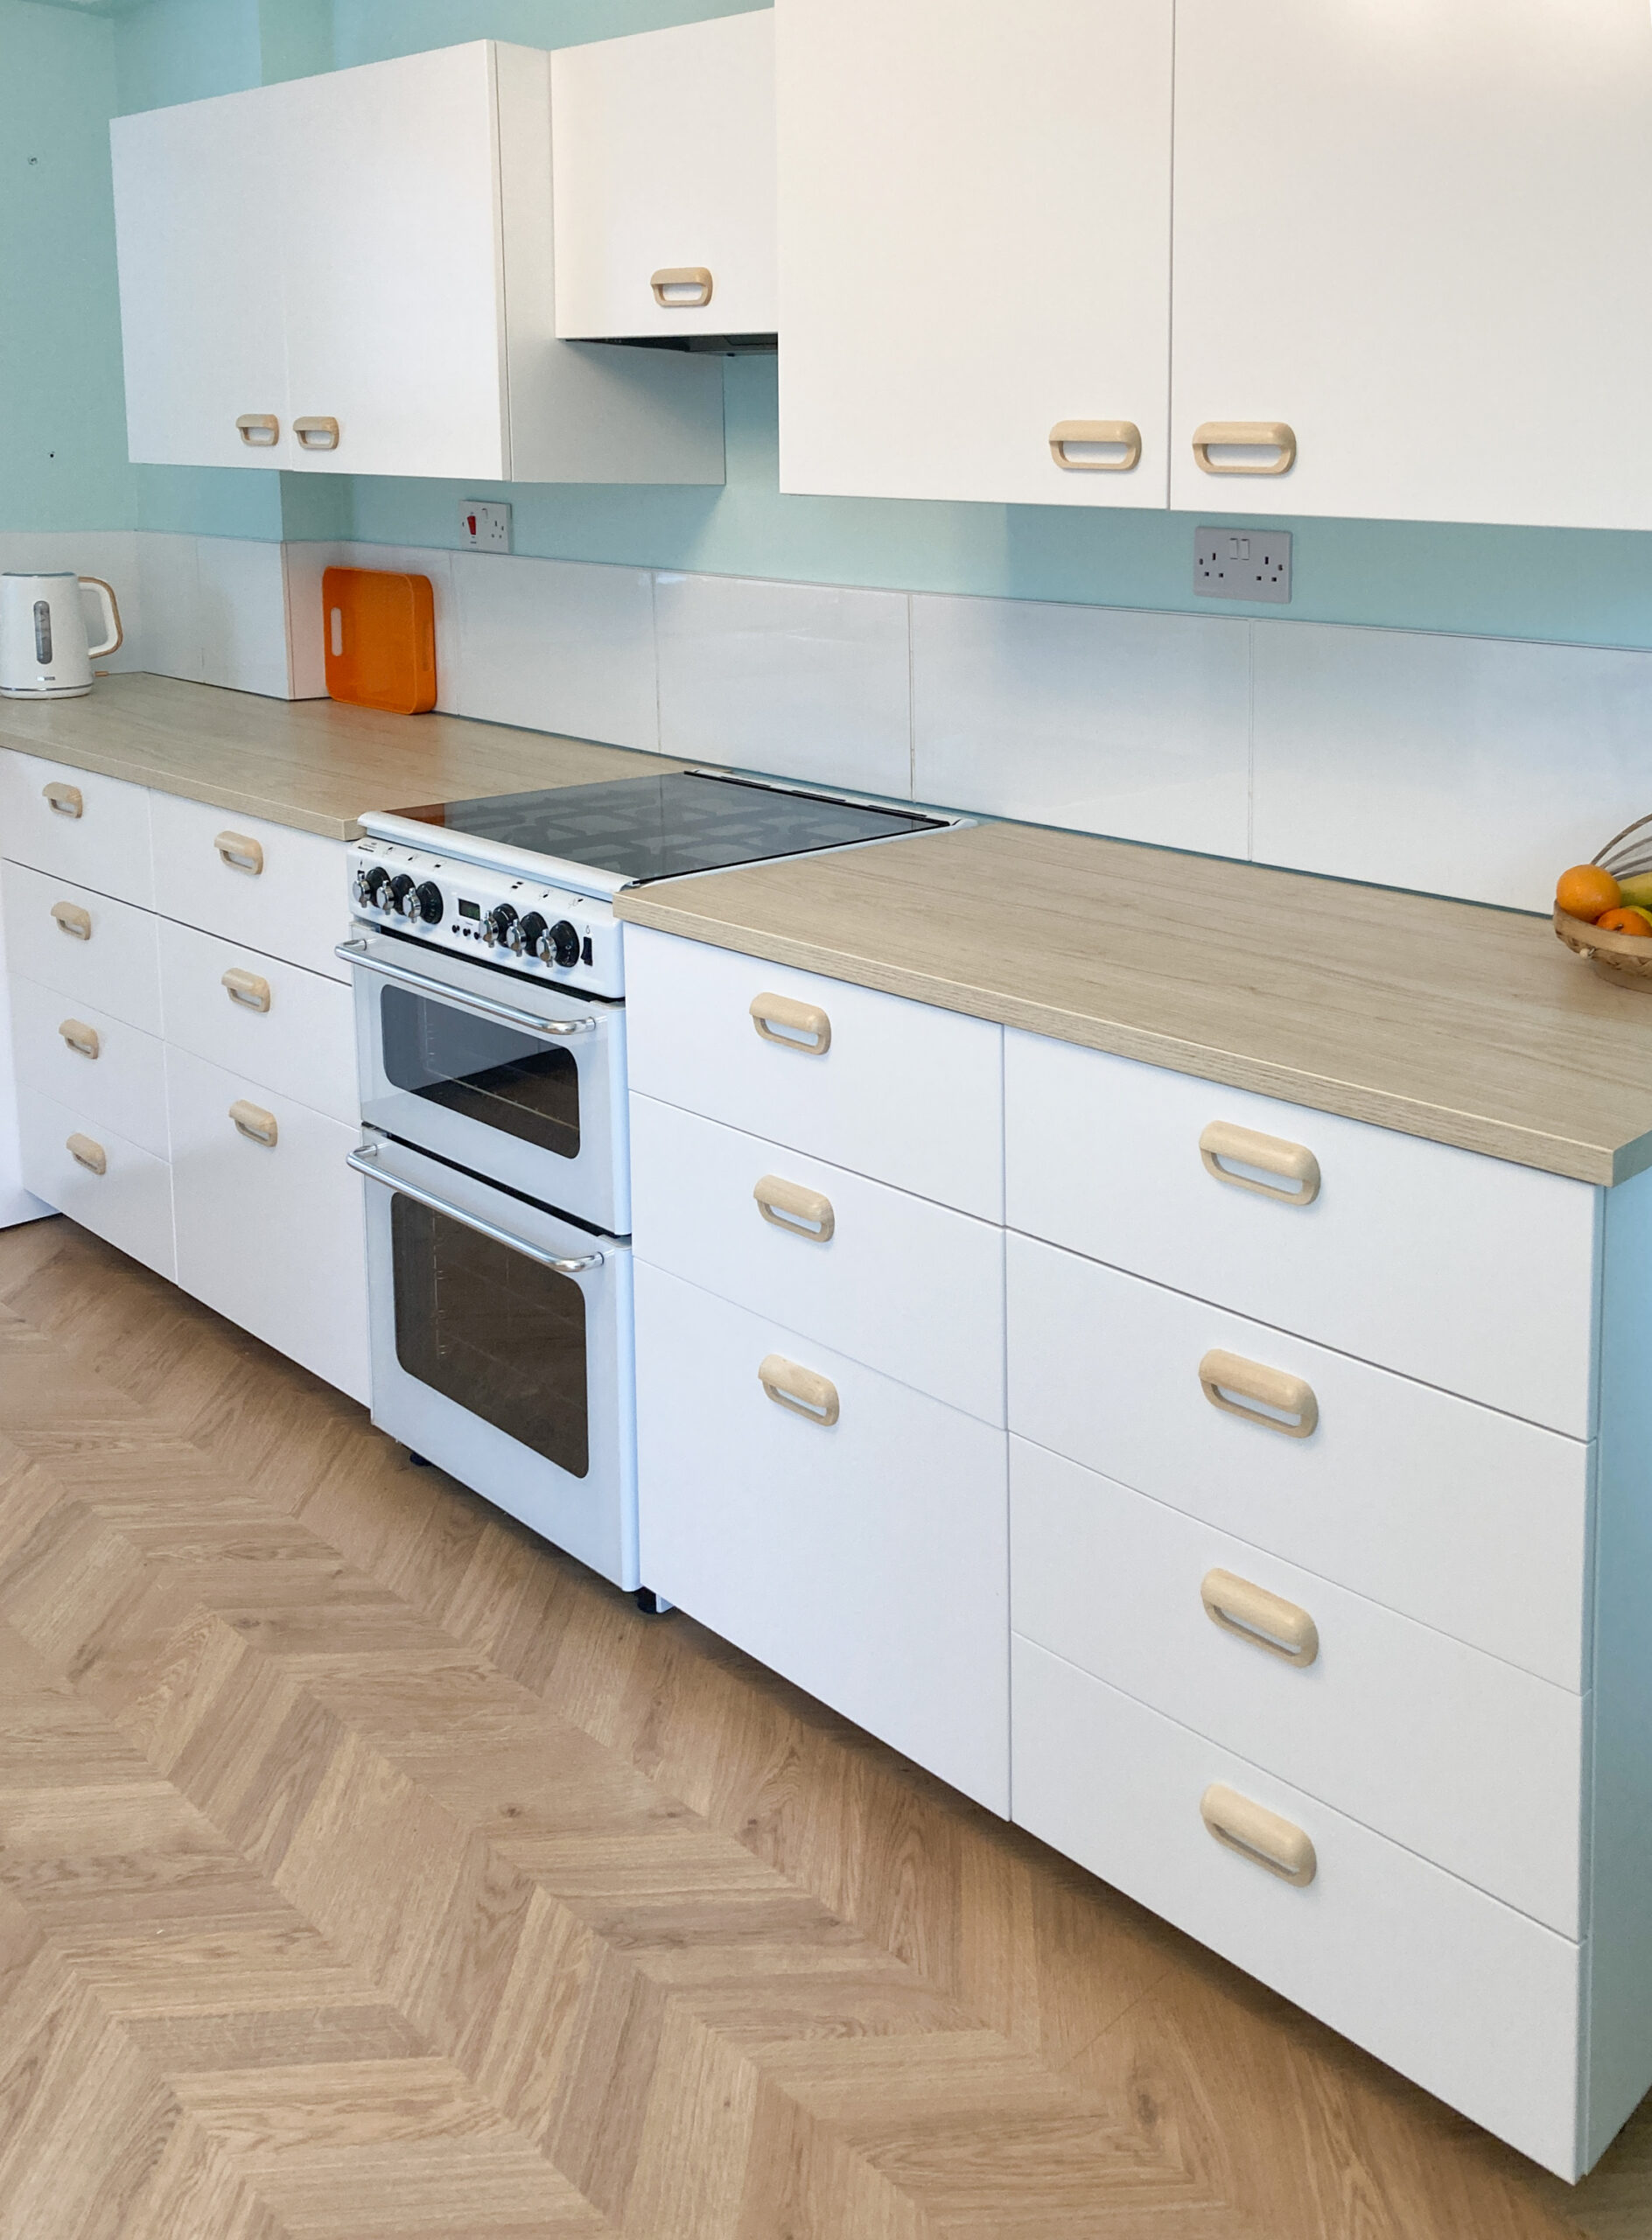
We opted for Rust-Oleum’s Mode spray paint which, along with the Mode primer, enables you to achieve a smooth finish on most surfaces, even melamine. I was kindly gifted some of the cans of spray paint for this project but bought a few more to finish off the makeover. The range is full of bright, vibrant colours and I wanted to achieve a 50s diner style in the kitchen so I opted for my favourite shade of turquoise blue. This colour is called ‘Pure Aqua’ and the can says it is a gloss finish but I would call it more of a mid-gloss – it’s not high-shine but it’s definitely not matt either.
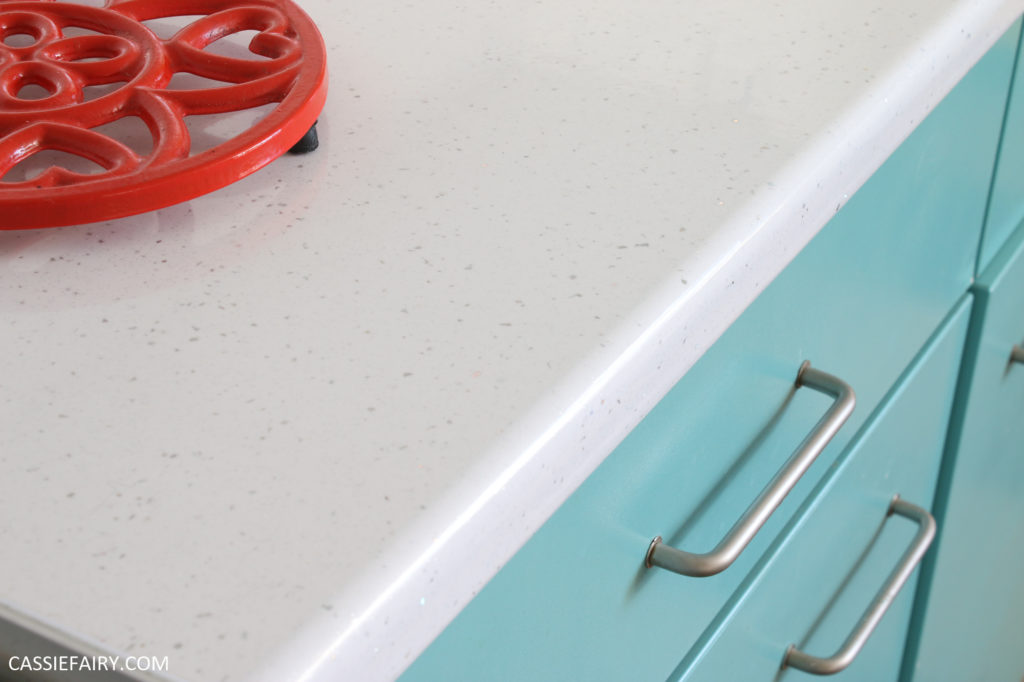
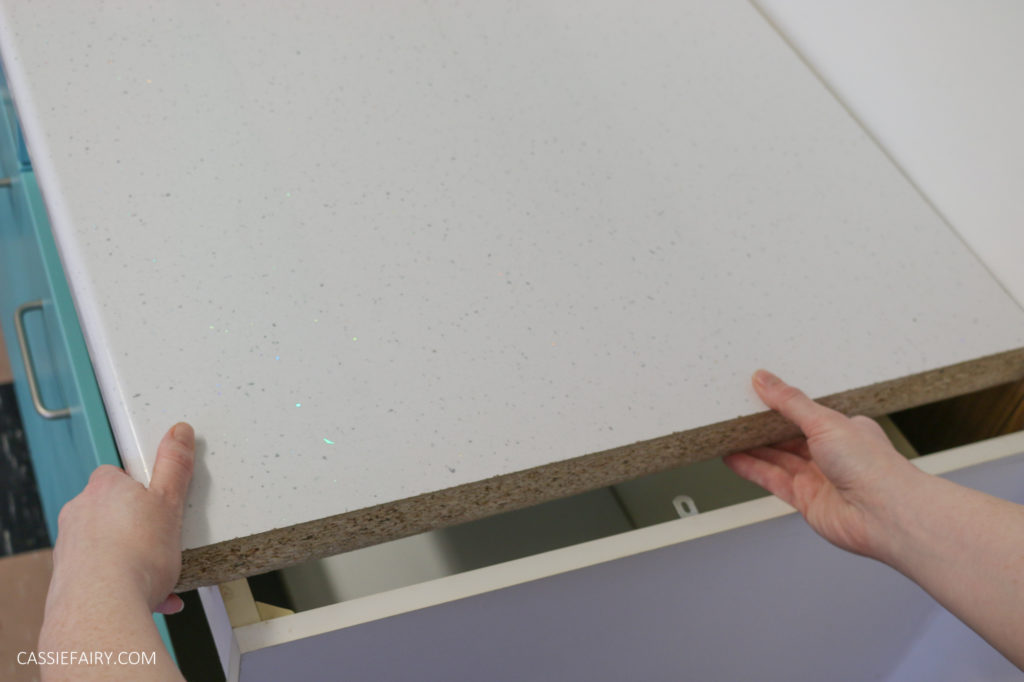
I chose two pieces of low-cost laminate worktop with a sparkly quartz finish to complete the makeover. When the glittery flecks catch the light, some are a turquoise tone, which picks out the colour of the cabinet doors, and some are copper. Seeing as the kitchen accessories and our vintage melamine table are all orange and copper, it’s as if the worktop was made for us!
With all the materials we needed to get on with the makeover, I set about removing the fronts of the drawers and cabinets. And while the cabinets were already out-of-action for a couple of days, I decided to refresh the kick-boards with some black paint too.
If you want to see how we got on with spray painting the fronts of the drawers and doors, here’s a step-by-step video to take you through the process:
So that’s how to spray paint the doors and drawer fronts to achieve a smooth finish. Now all you need to do to finish off the makeover is attach the new worktop to the top and cap off the ends with white, silver or coordinating trims.
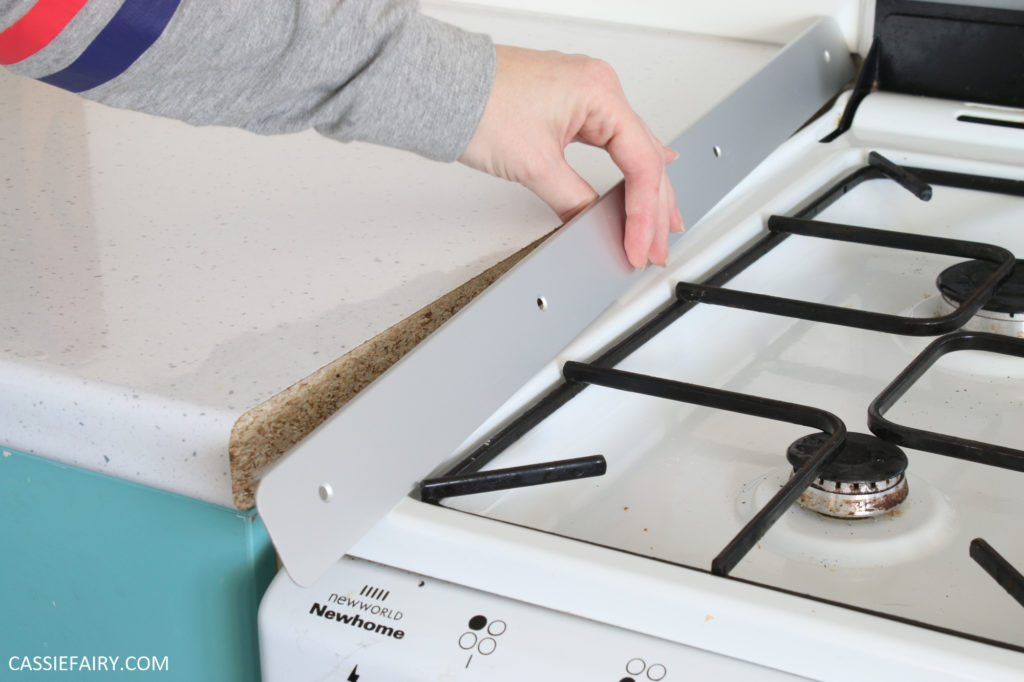
It’s up to you how much you want to spend on the worktop at this stage – you could go with a lovely quartz worktop or, if you’re going to be completely renovating the kitchen in a few years and the spray painting is just a ‘for now’ task, why not opt for a low-cost laminate worktop that gives you the same effect?
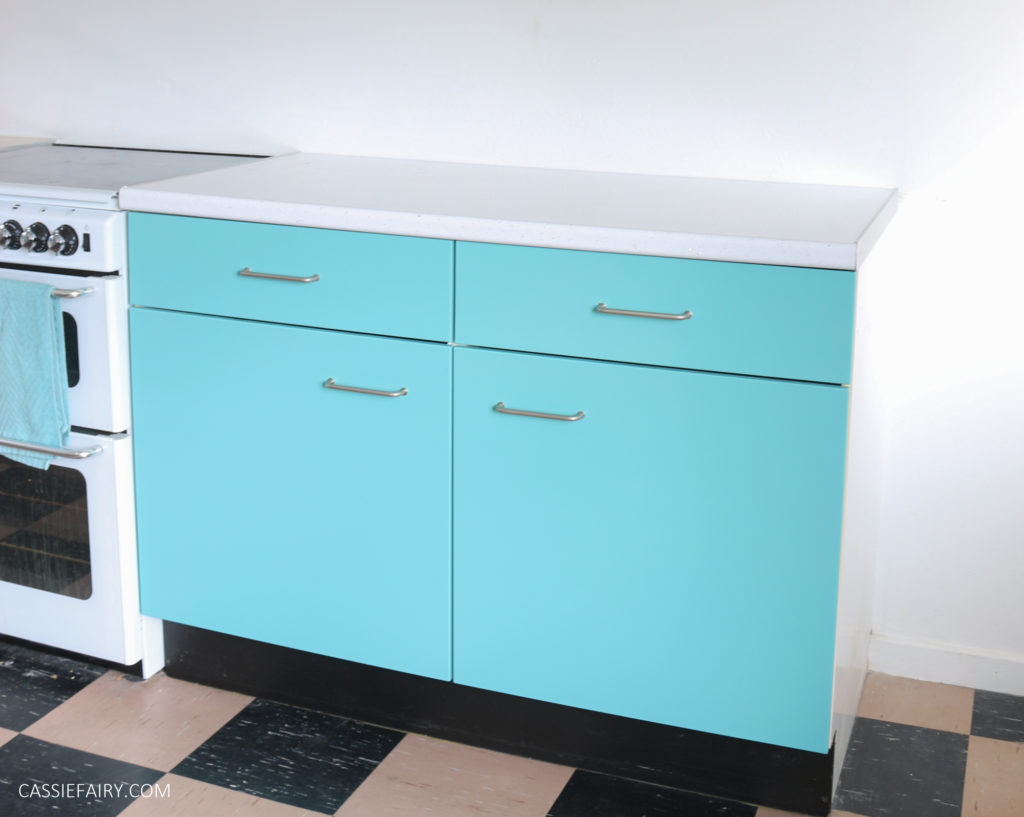
I’m so pleased with how the kitchen looks now, it’s so much better than the horrid old cabinets that were there before. I’m happy to stick with this until I’ve saved up for a new kitchen in the future – and the colour is ideal, so I’ll probably go for something similar even if I do get a new kitchen one day!
Let me know if you’ve spray painted your kitchen cabinets and I’d love to hear how long the finish lasts for!
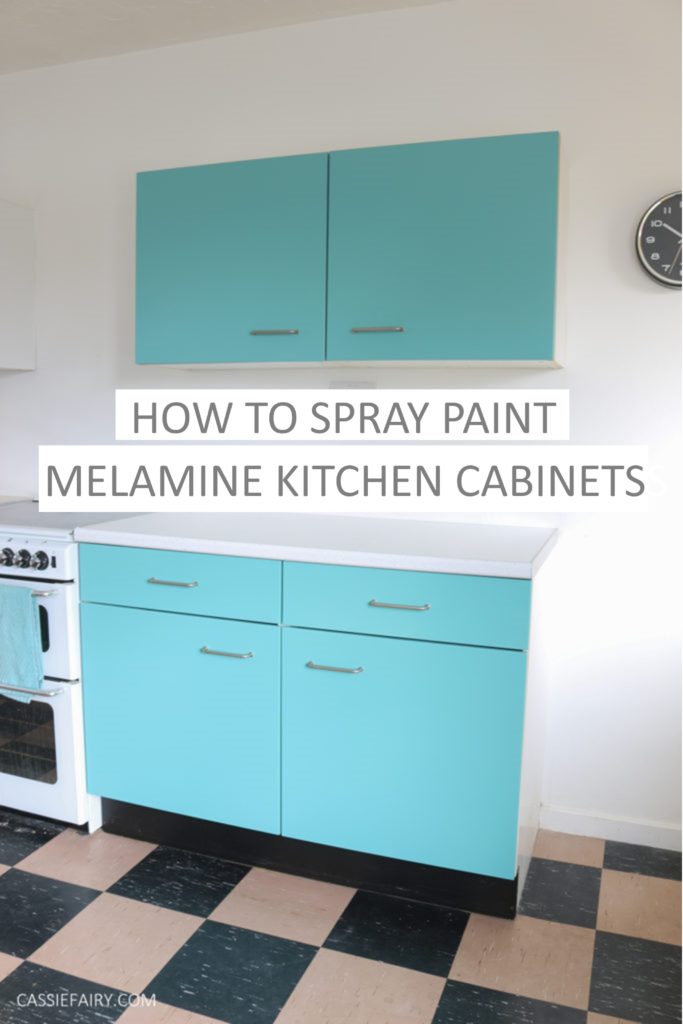
PIN IT FOR LATER
Some items in this blog post have been gifted to me and the pink links indicate a gifted product, affiliate link or information source. All thoughts and opinions in this post are based on my own experience and I am not responsible for your experience 🙂
This article is a sponsored collaboration. The pink links in the content indicate a sponsored link or information source. The blog post reflects my own experience and the sponsor hasn’t had any control over my content 🙂








5 Responses
Thanks very much, I’m glad you like it! With spray paint, you could go for any colour combination on the doors and frame of the unit – I had fun spray painting a storage cabinet with lots of different colours and shapes for my living room: https://cassiefairy.com/2019/09/22/step-by-step-video-how-to-paint-glass-cabinet-doors/
Very nice result! Thanks for the inspiration.
I have this piece of furniture for my tv but I don’t like its color and I discovered your post by searching for ways to improve it. Any idea on the color scheme to use?
Thank you very much! 🙂
This looks great. Love the colours. Congratulations on achieving such a great finish.
Wow they look really professional. I’m not so brave, I’ve requested a quote for complete replacement doors from Dixon Doors. Hope it’s within my budget.