After packing away all the Christmas decorations, this time of year always gets me thinking about having a good old clear out and a bit of a tidy up. I often take a look around my home in January and pick out the things I haven’t used over the past year. With space at a premium in my tiny home, these are often the first things to clear out, and I love to make a bit of extra money in the new year by selling off a few unused bits and pieces. If something has been put aside just because it has become broken or needs a spruce-up, this is the time of year that I get stuck into new makeover projects and try to make the most of the things I have.
 This week I’ve tried to breathe new life into an old chair with some Rust-Oleum paint that I have beed gifted. I have a few of these chairs in the shed, waiting to be fixed and slowing growing a layer of mould. Each chair either had a wobbly leg, a missing seat or a rickety back support so I enlisted my husband to help me put together the best bits of all these higgledy-piggledy chairs to make one usable seat. After a thorough cleaning and leaving the wood to dry out in the warm for a while, the chair was ready to be painted.


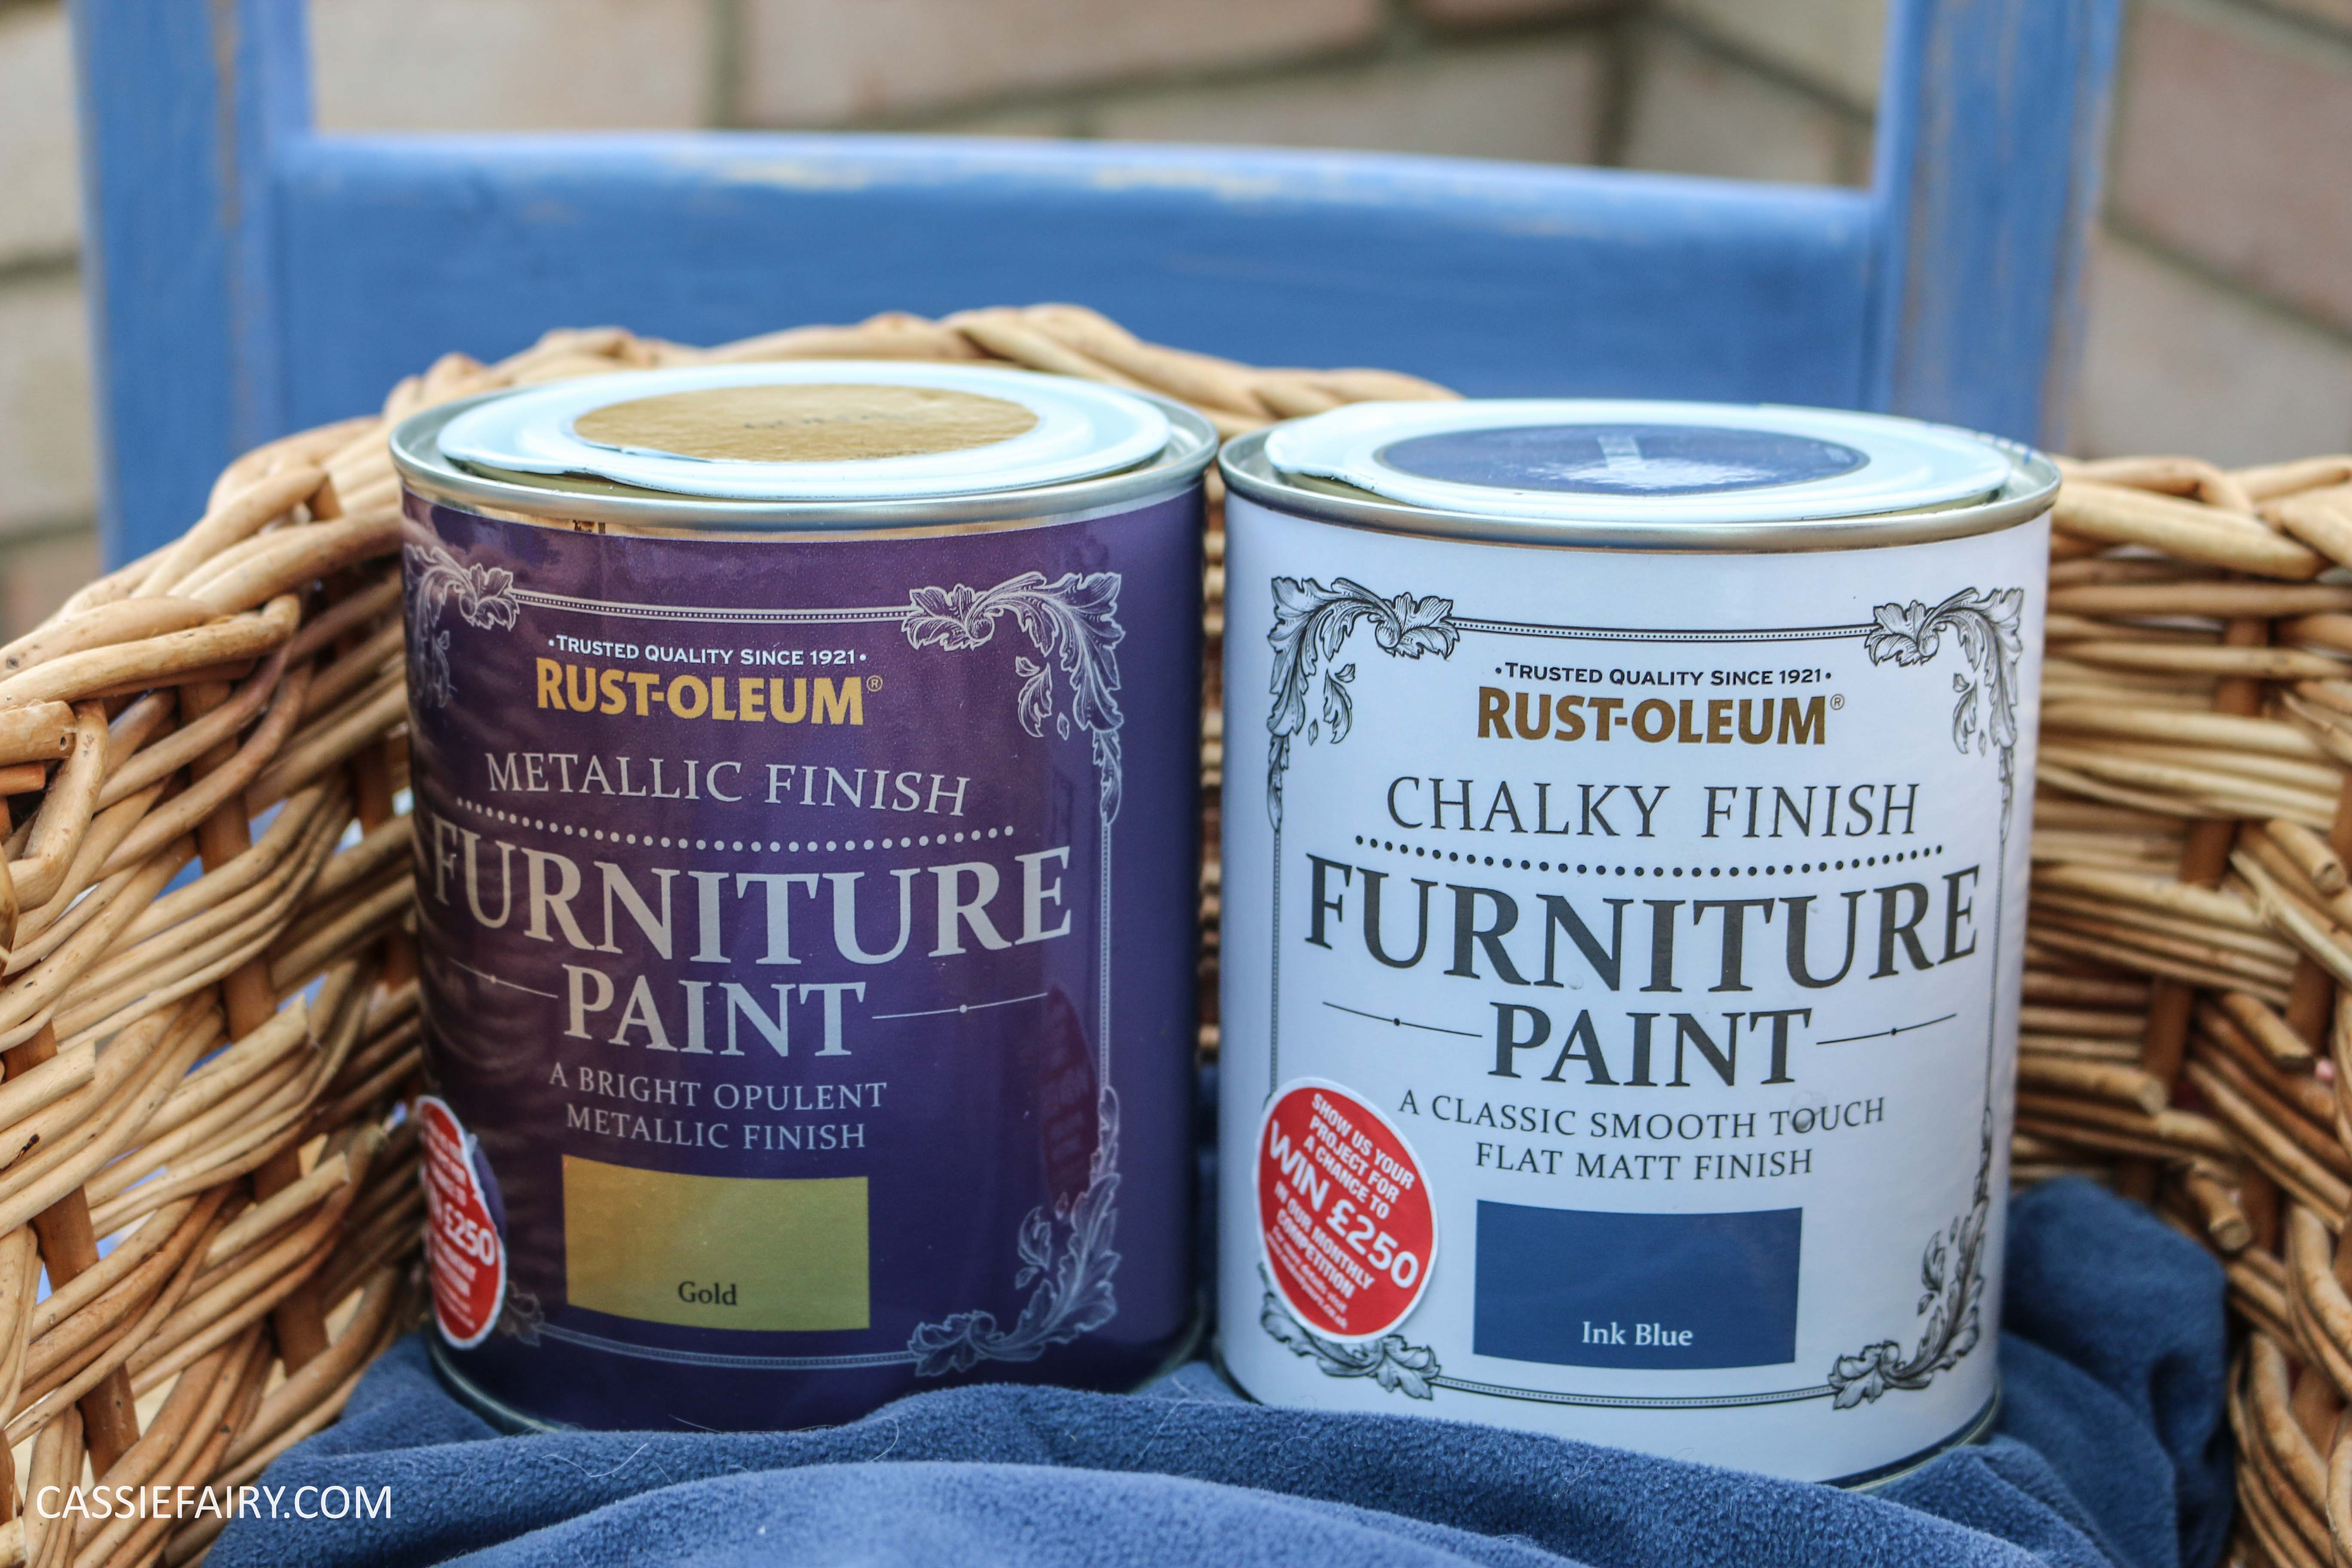
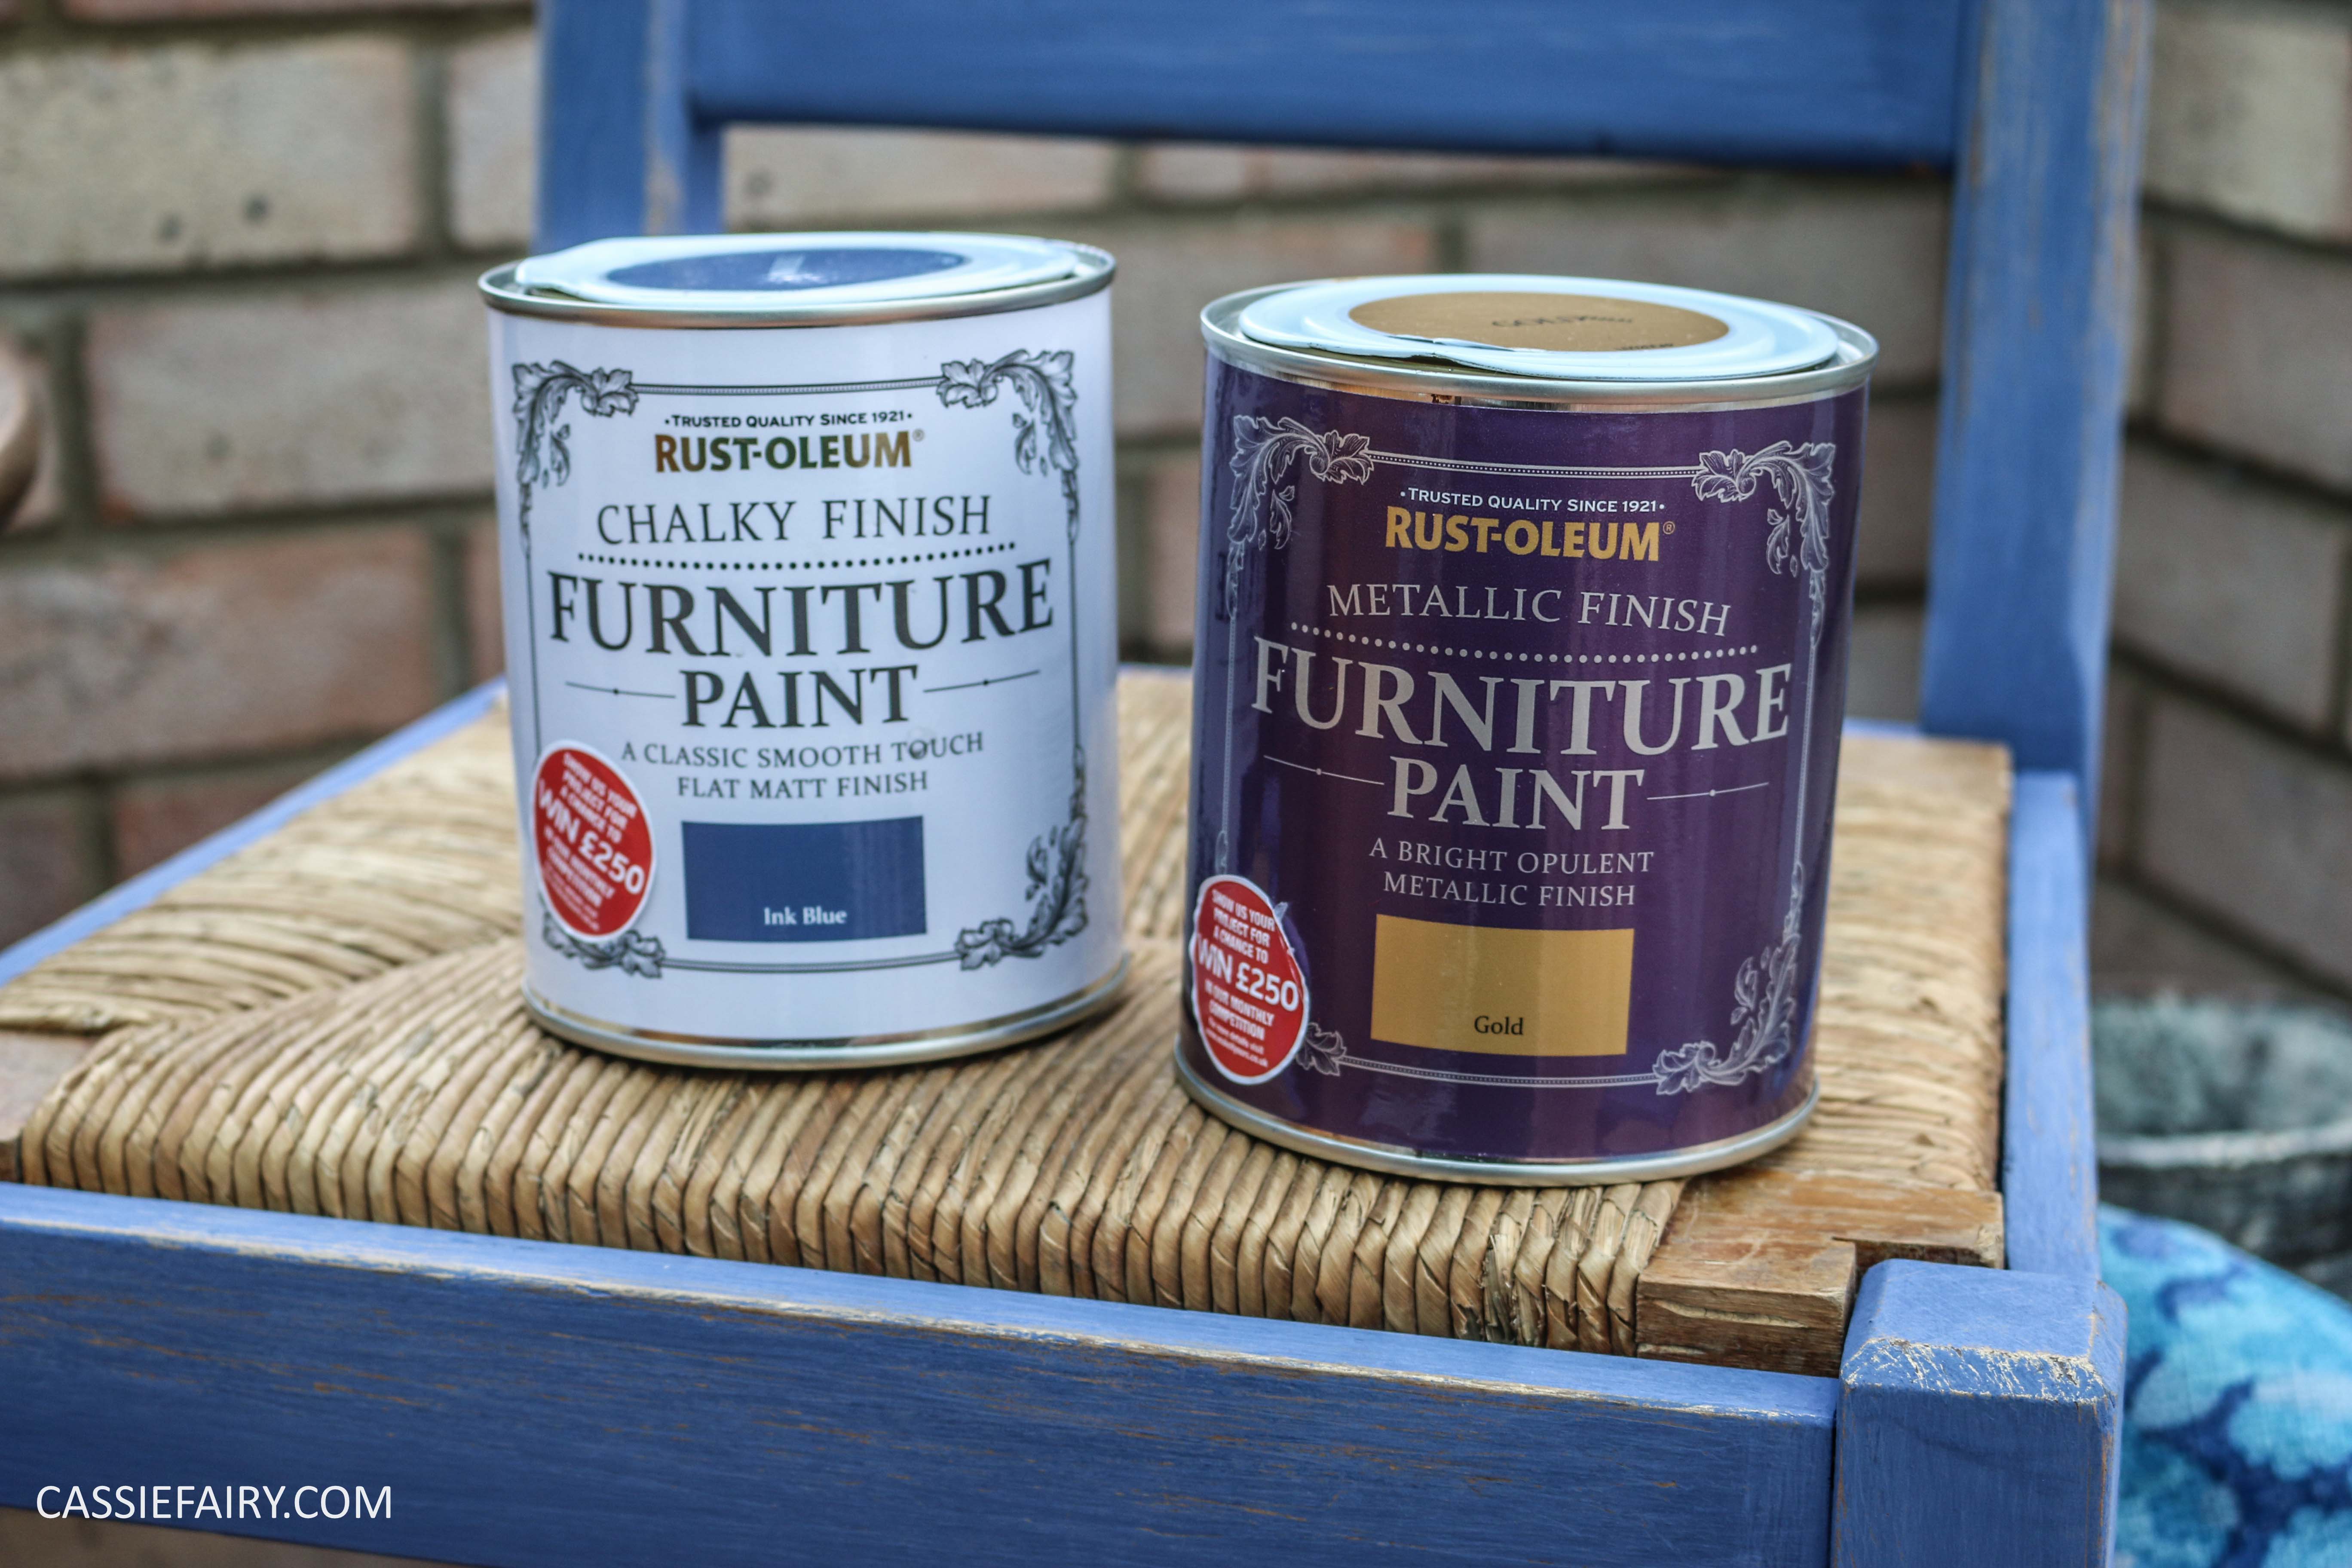
I was hoping to make my quick makeover as easy as possible, yet I wanted to get a good finish rather than a slapdash result. I therefore turned to Rust-Oluem’s new range of brush-on chalky finish furniture paints, which can be painted straight on to wood without any sanding or undercoats. I picked out a rich ink blue shade for my chair to create an eye-catching spare seat for the conservatory. I also wanted to add a little opulence to the design so I also chose a metallic finish furniture paint in gold as an undercoat so that I could distress the blue top coat and see a touch of gold glinting through.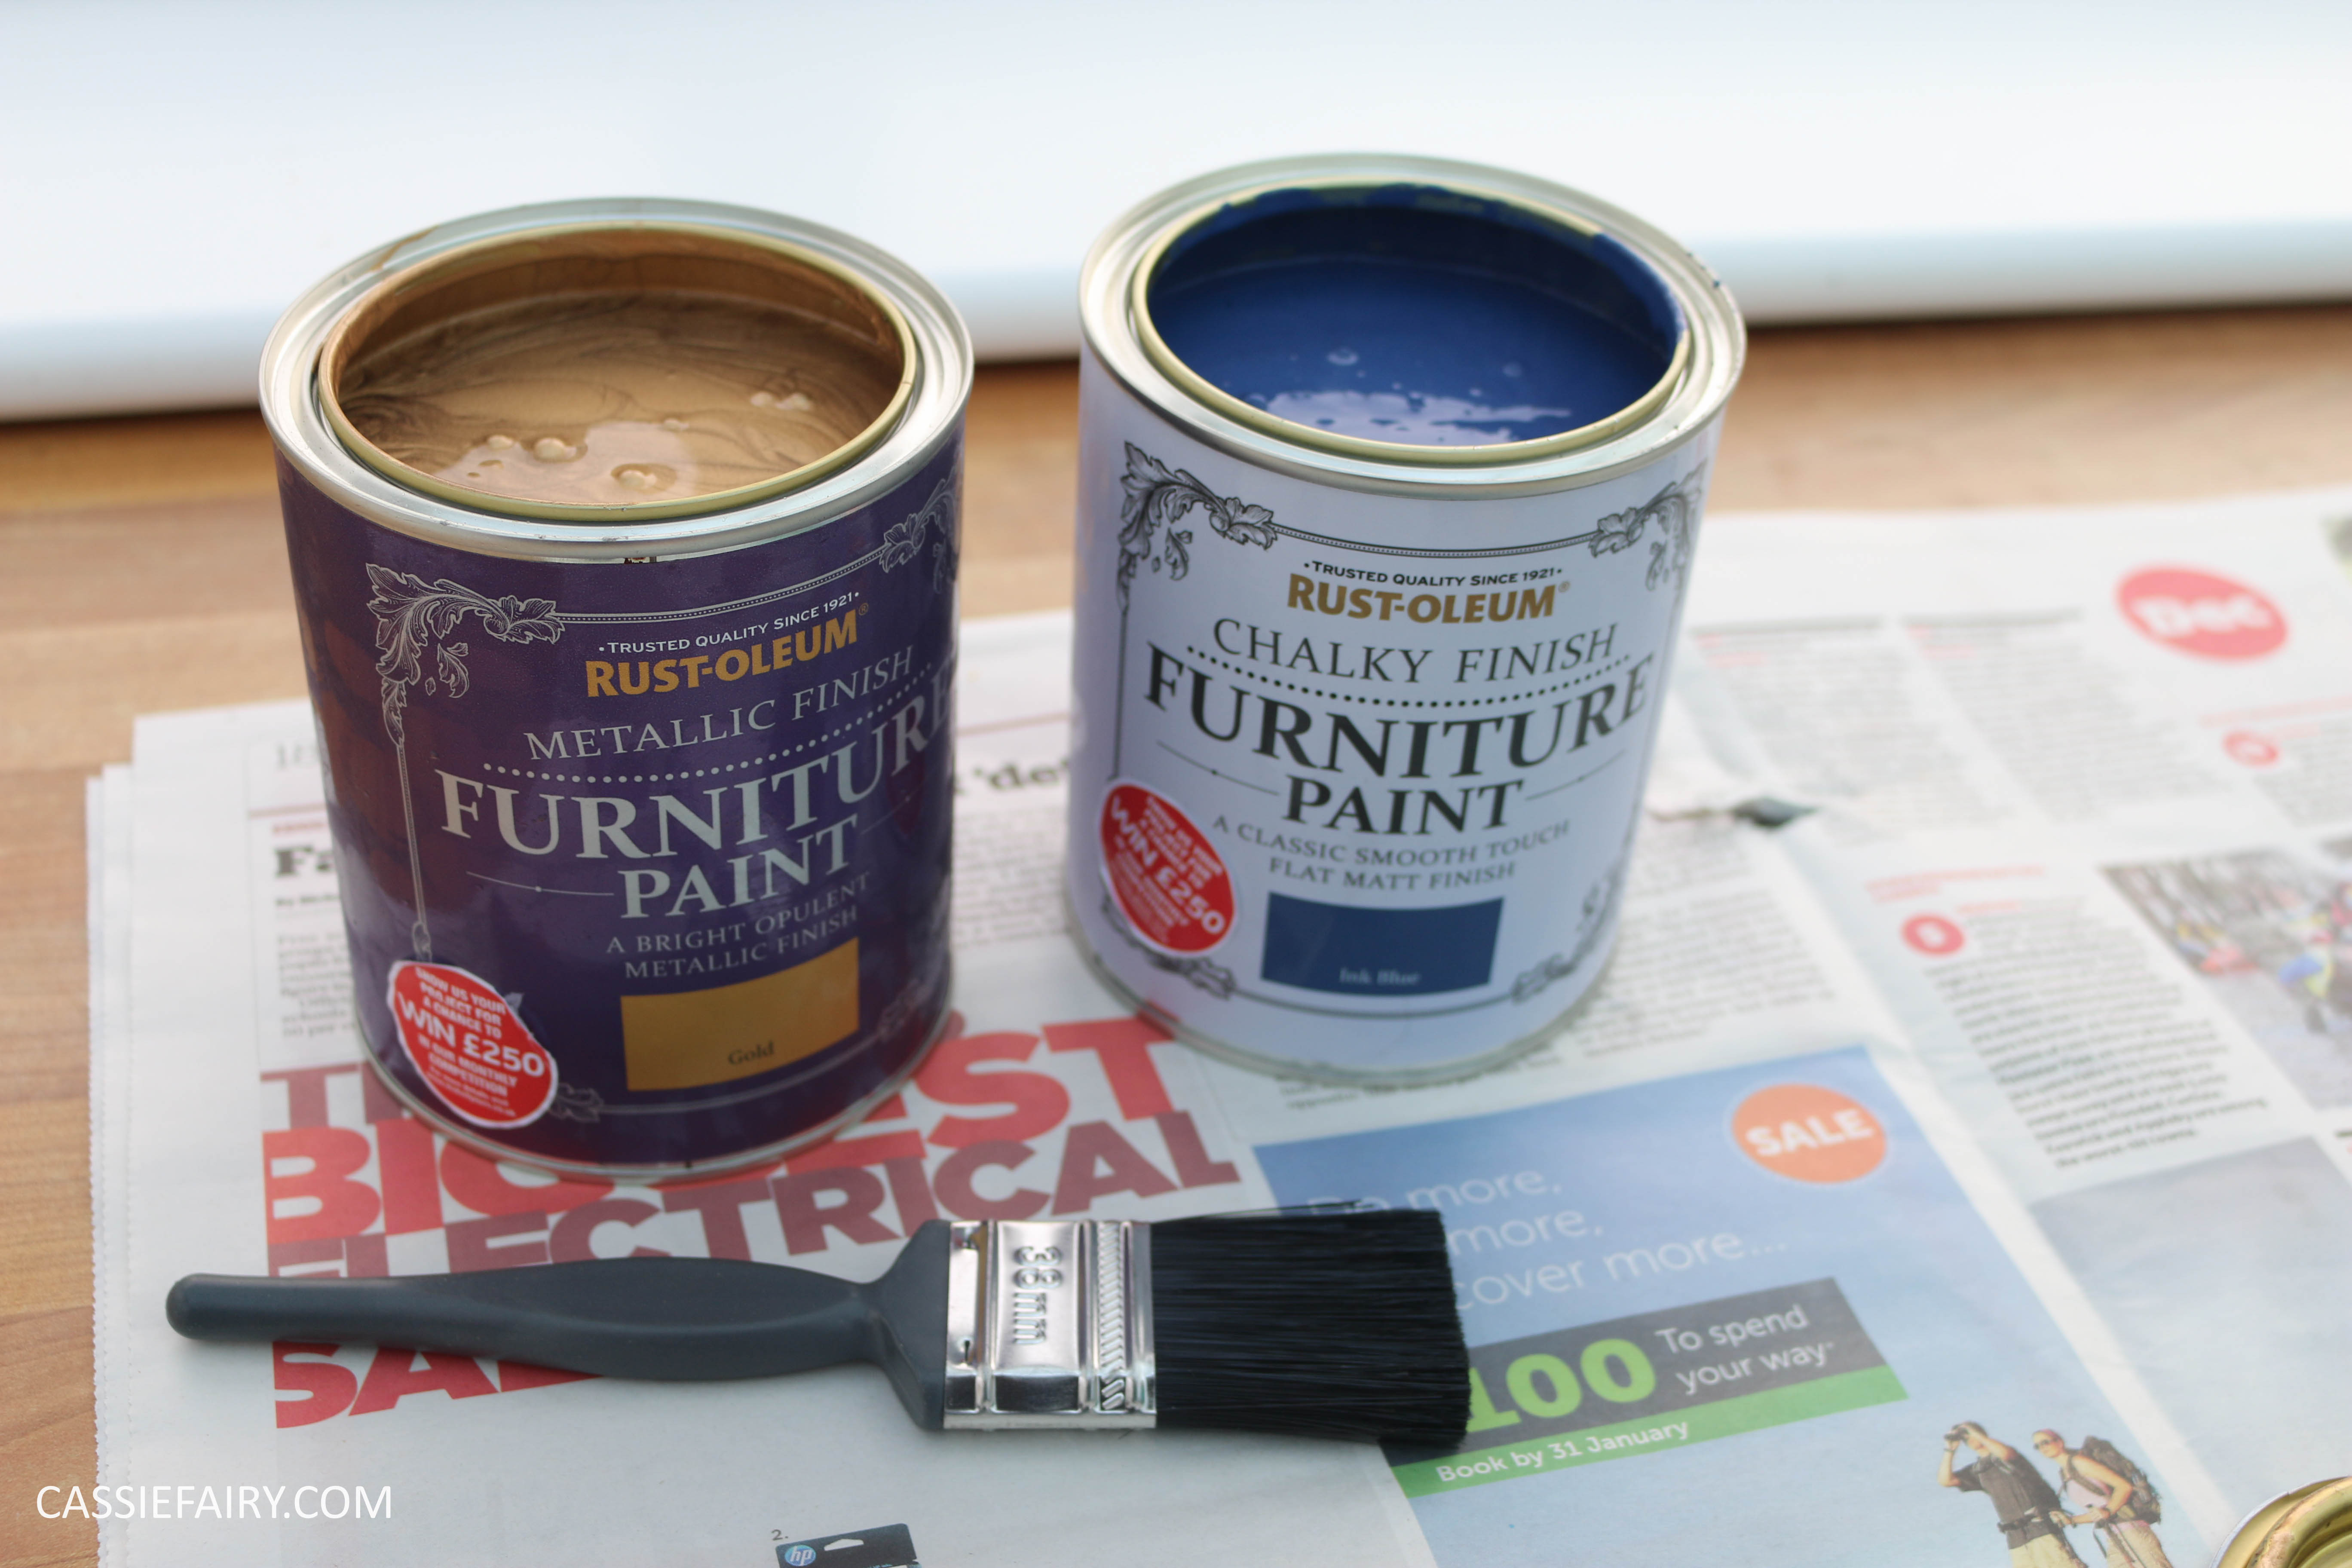
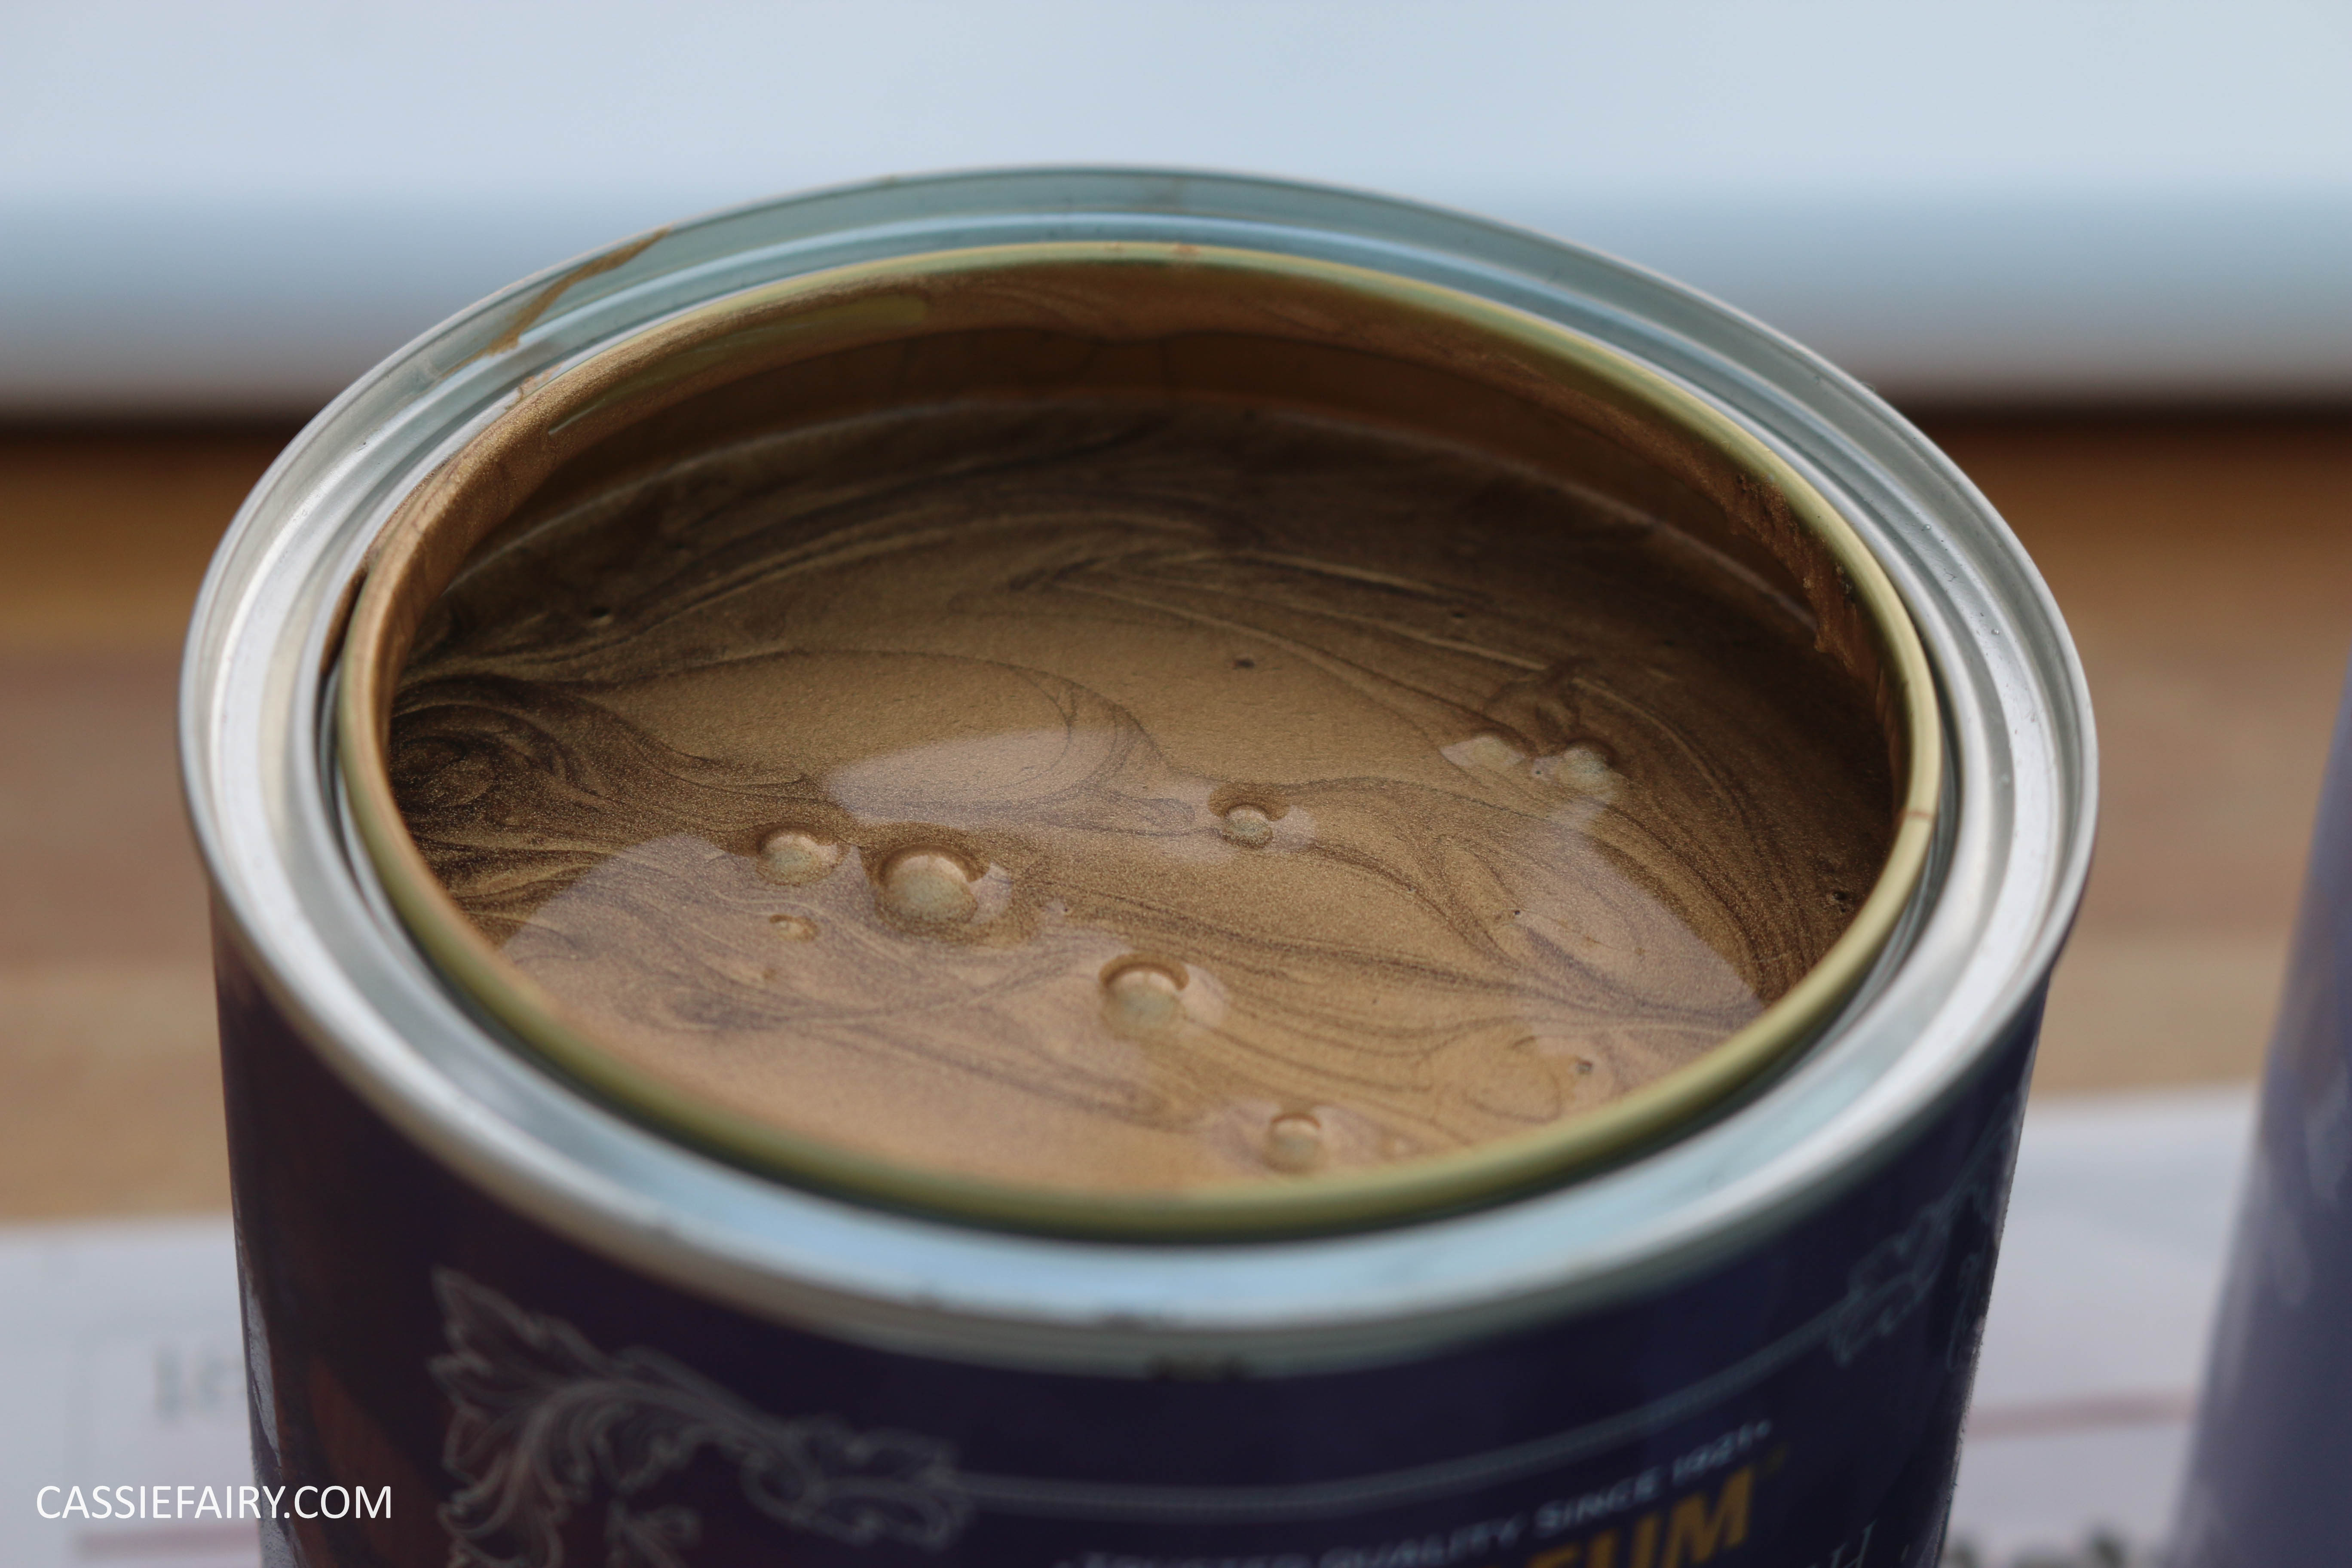
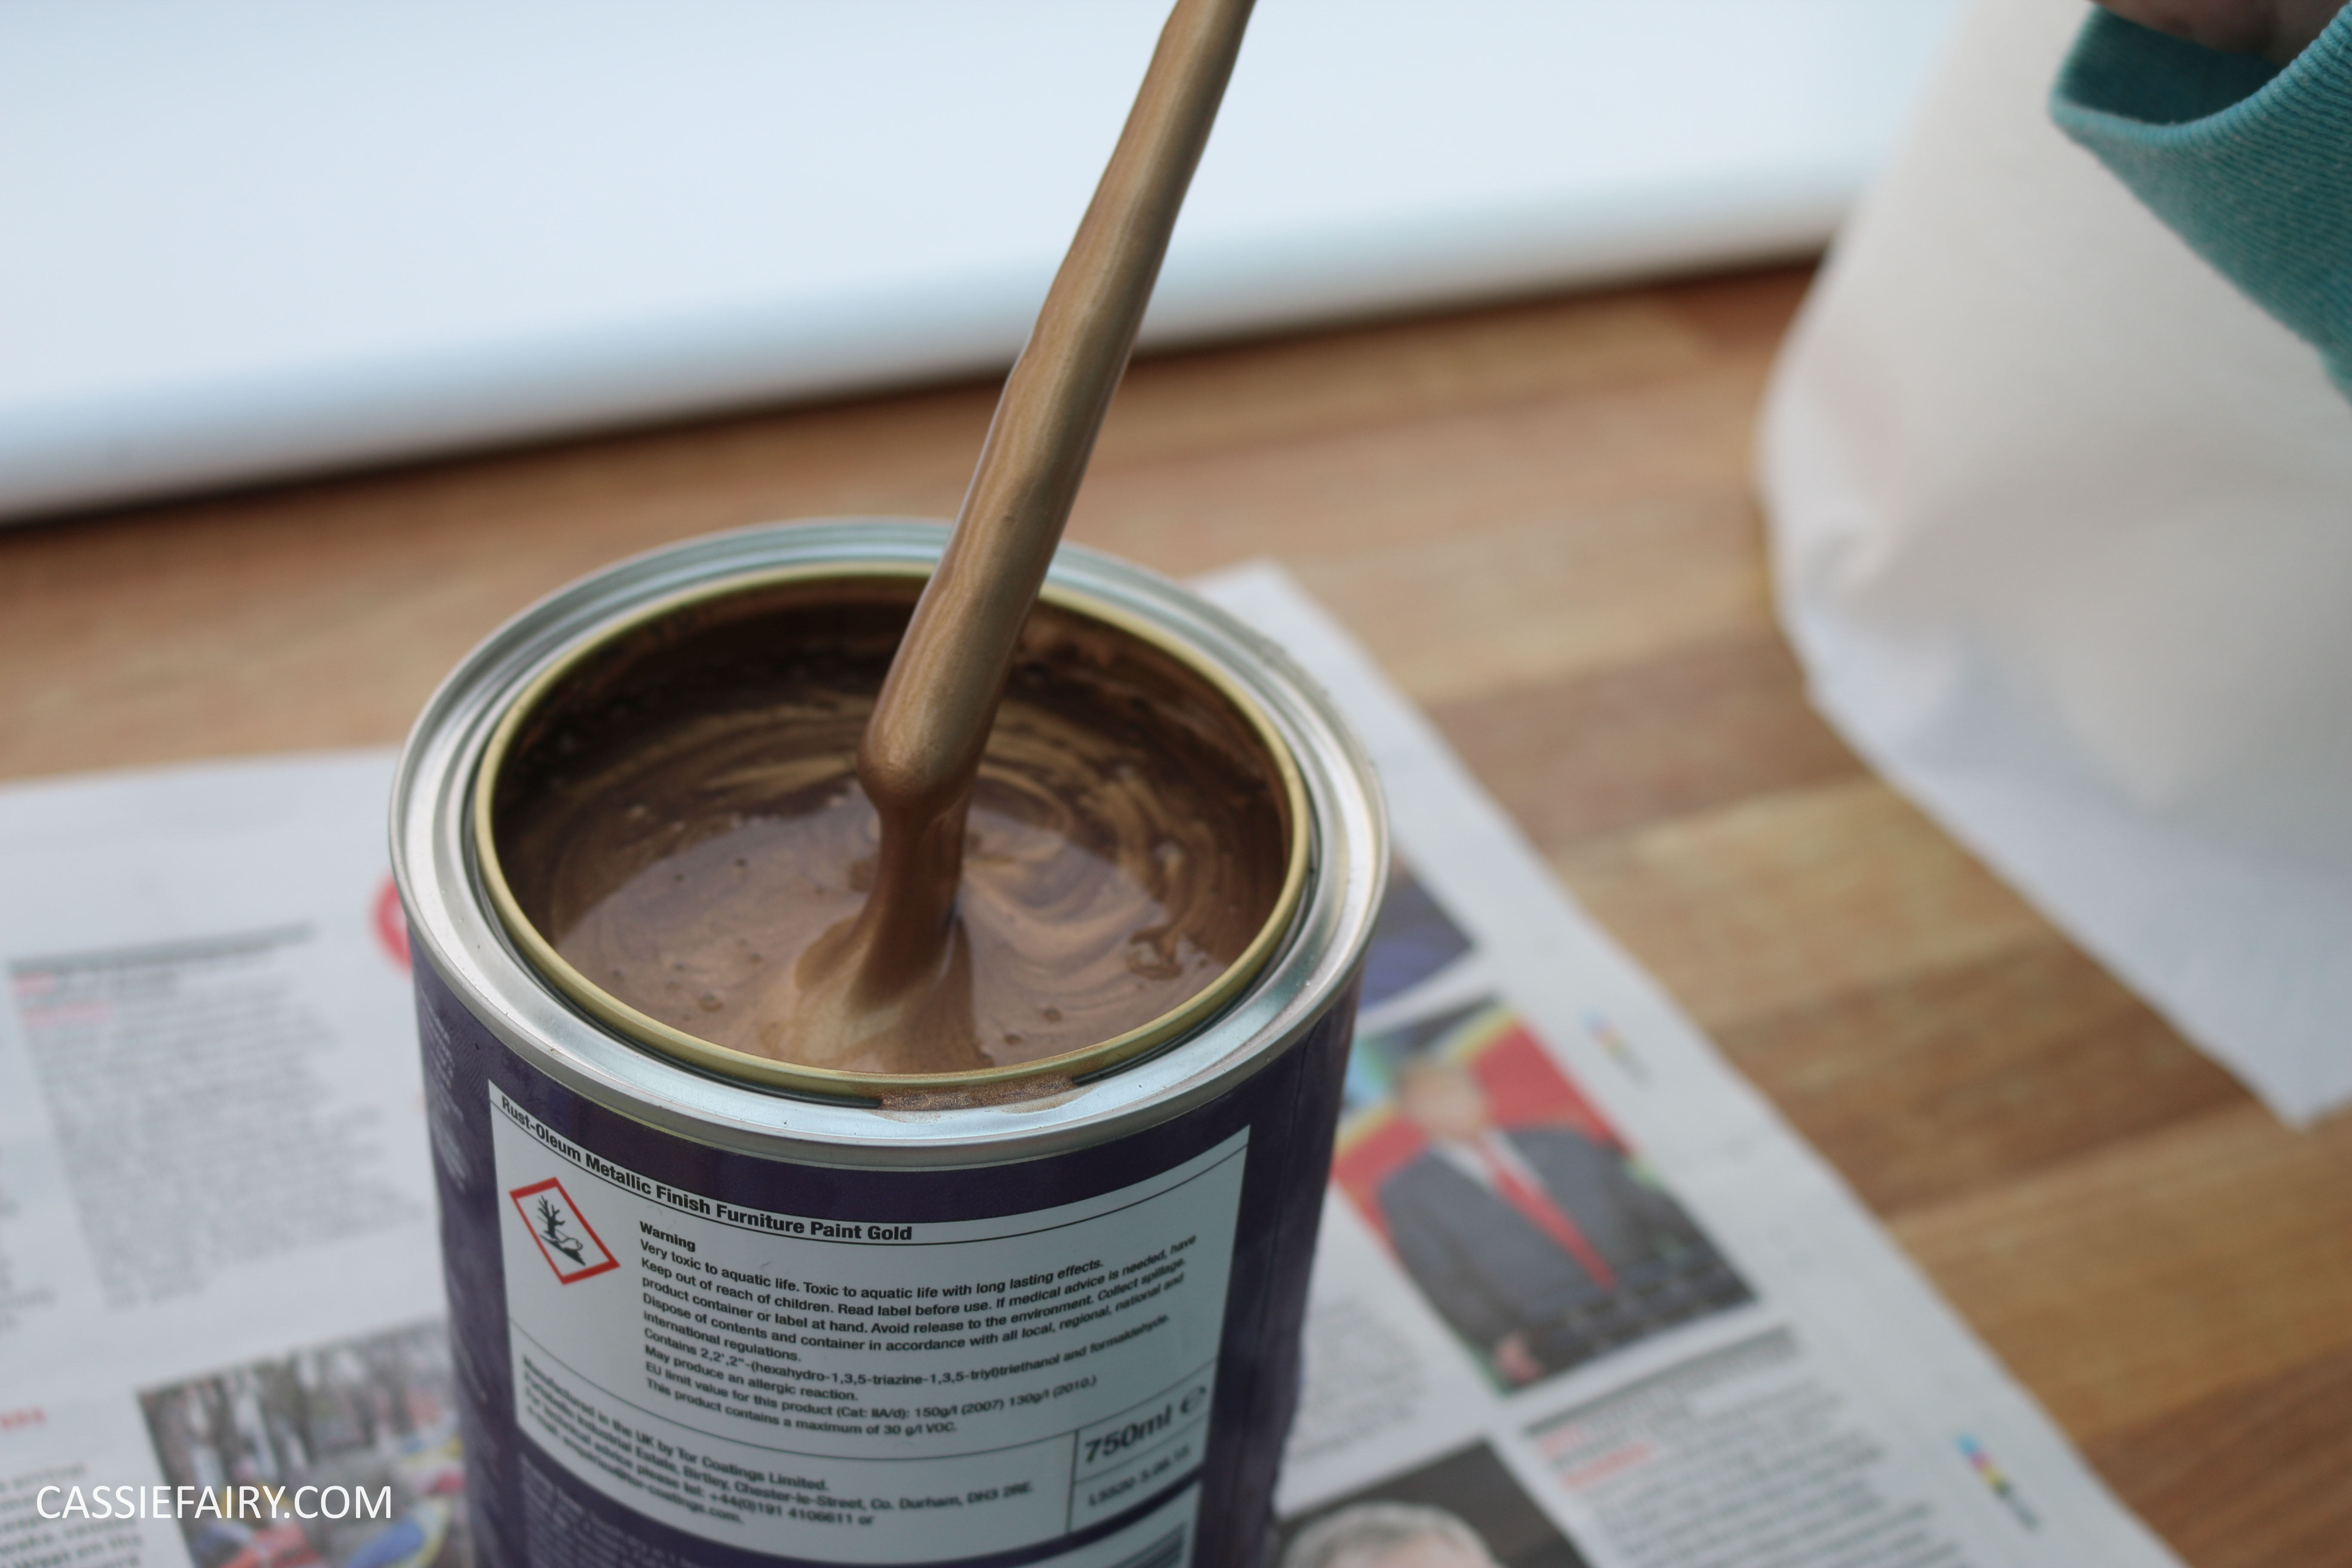
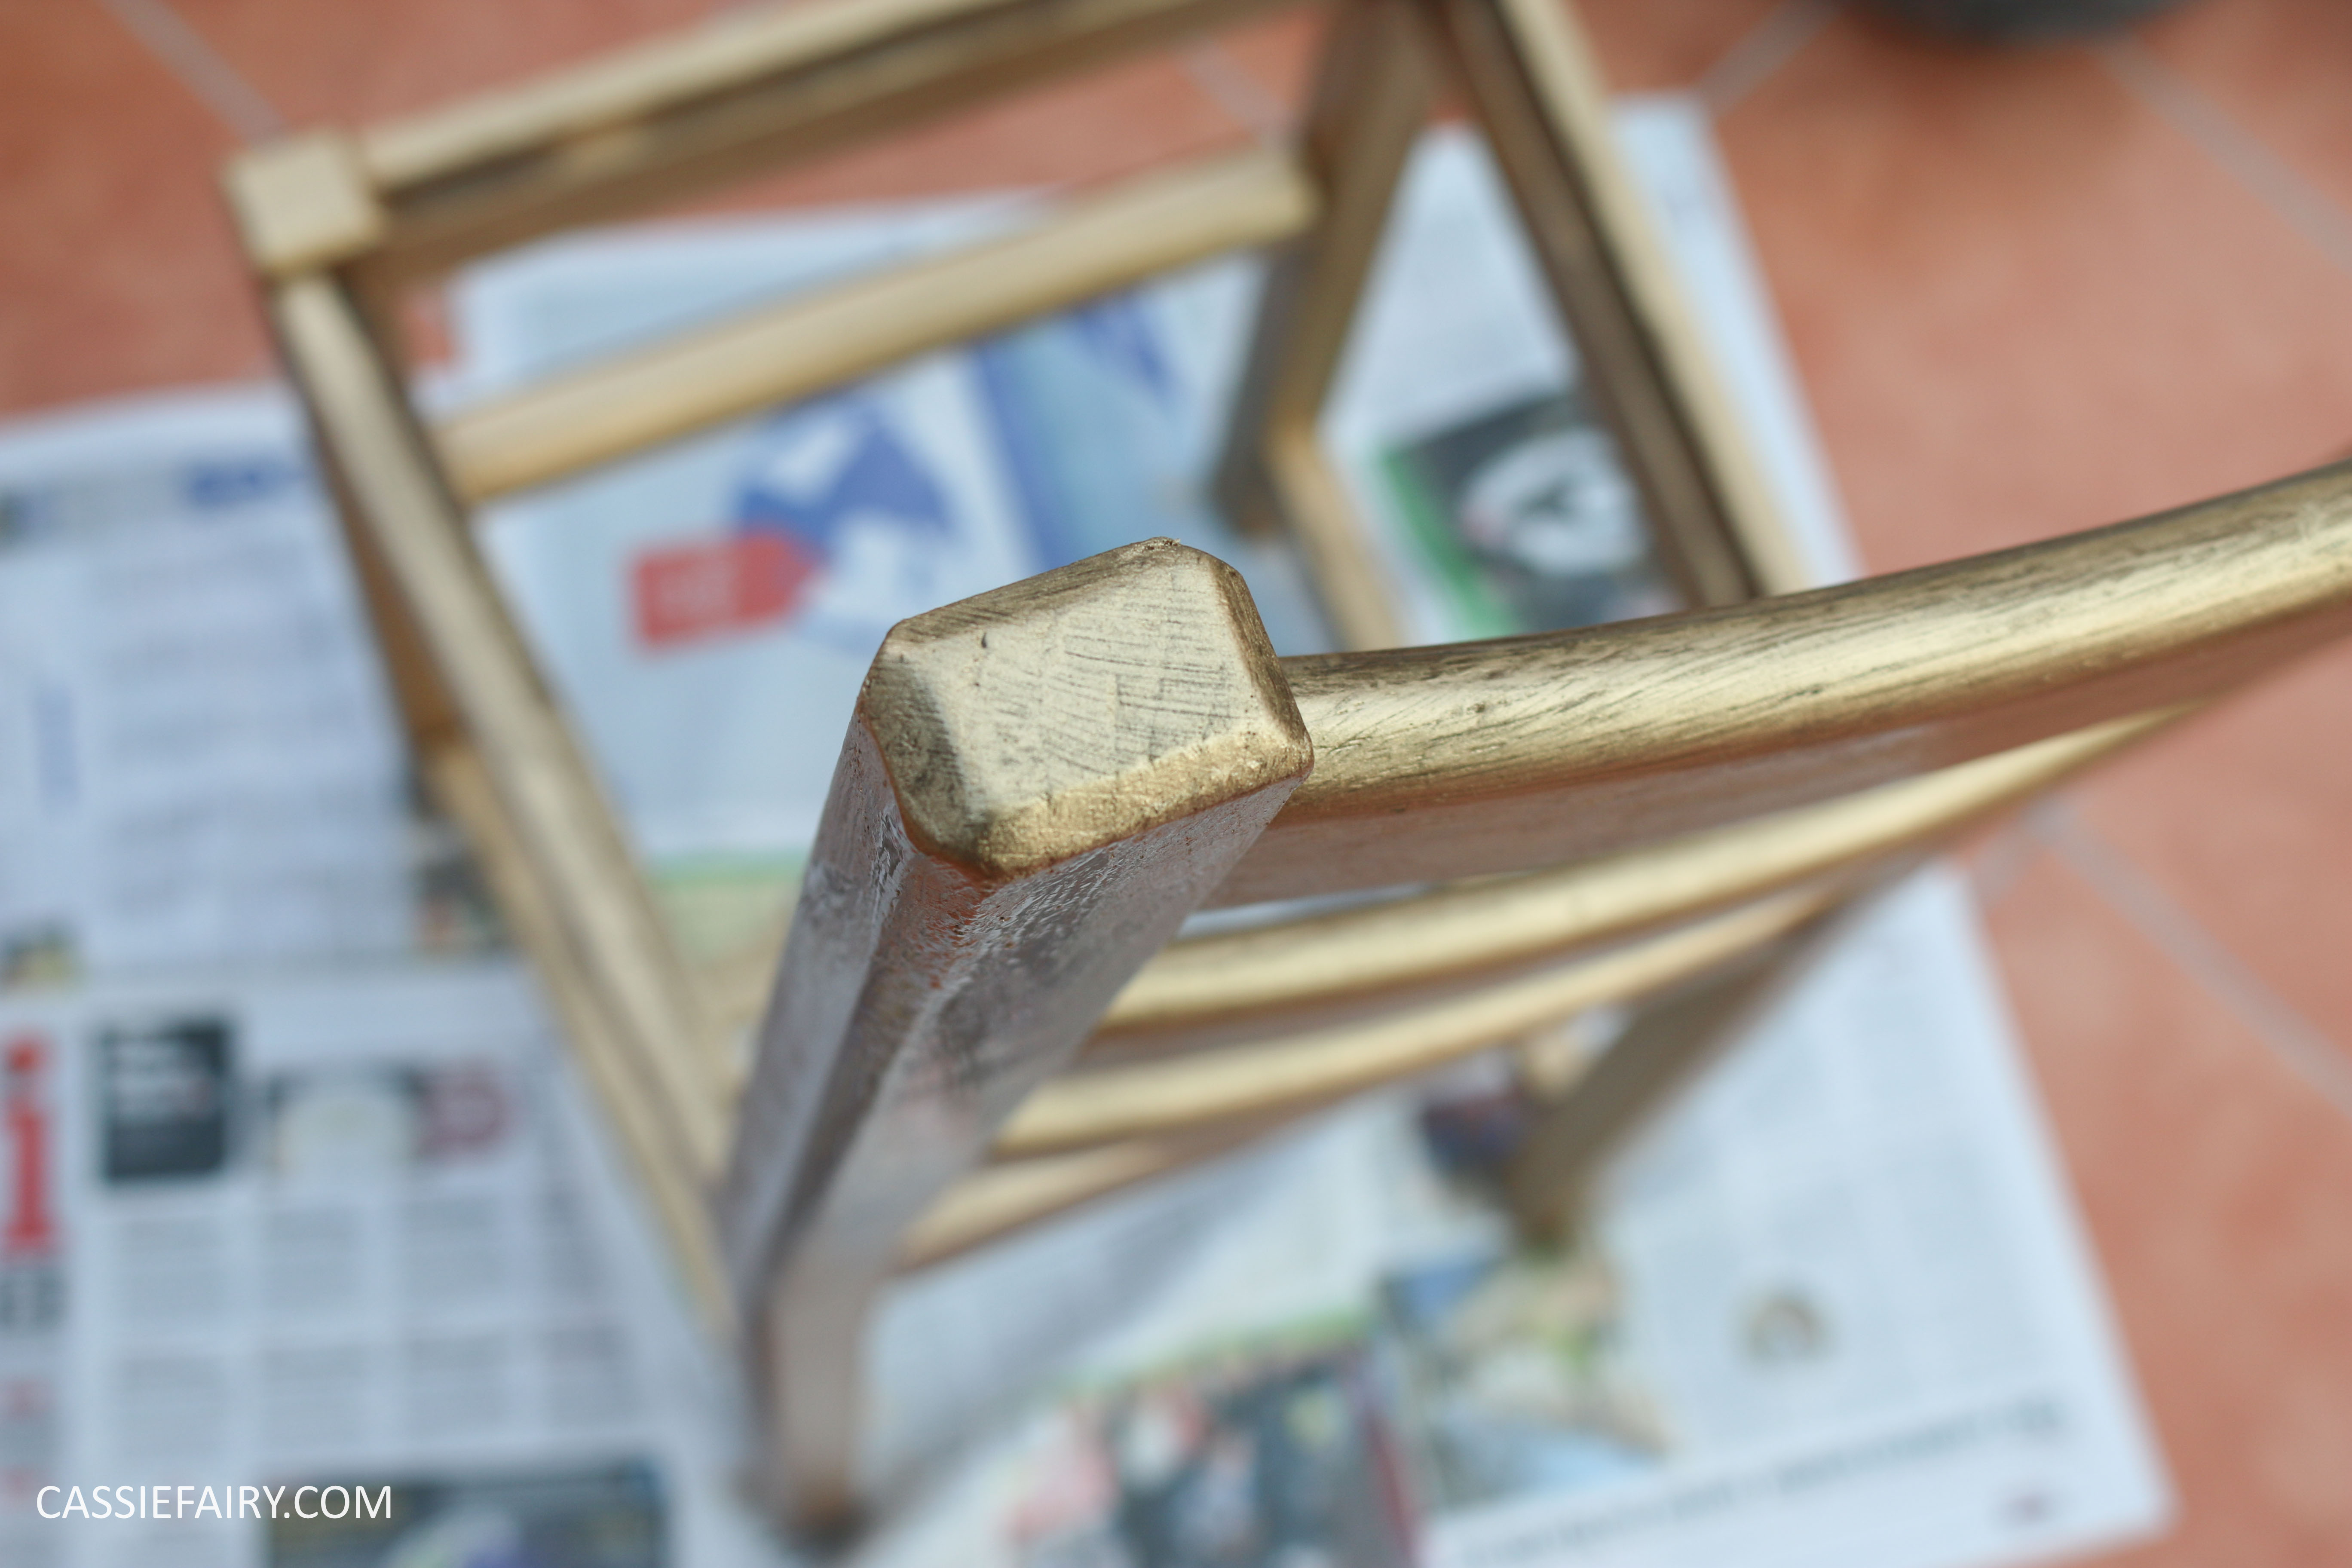 I wanted to be thrifty with my paint, so I planned to brush on the gold paint only in the places where I intended to sand it back after covering with the blue paint. When I saw how far just a small amount of the paint went, I decided that I could spare some more paint and give the whole chair a coat of gold. I still hardly used any of the tin, so there’s plenty left for other projects in the future. Perhaps creating a gilded throne would have been a better use for my chair?! You can see from my photos that the gold paint needs a thorough mixing when you open it, but it soon looked gloriously gold after a quick stir. It’ll be great for sprucing up photo frames, making DIY gifts, and I’m already planning to make my own Christmas decorations for next year using this sumptuous gold colour.


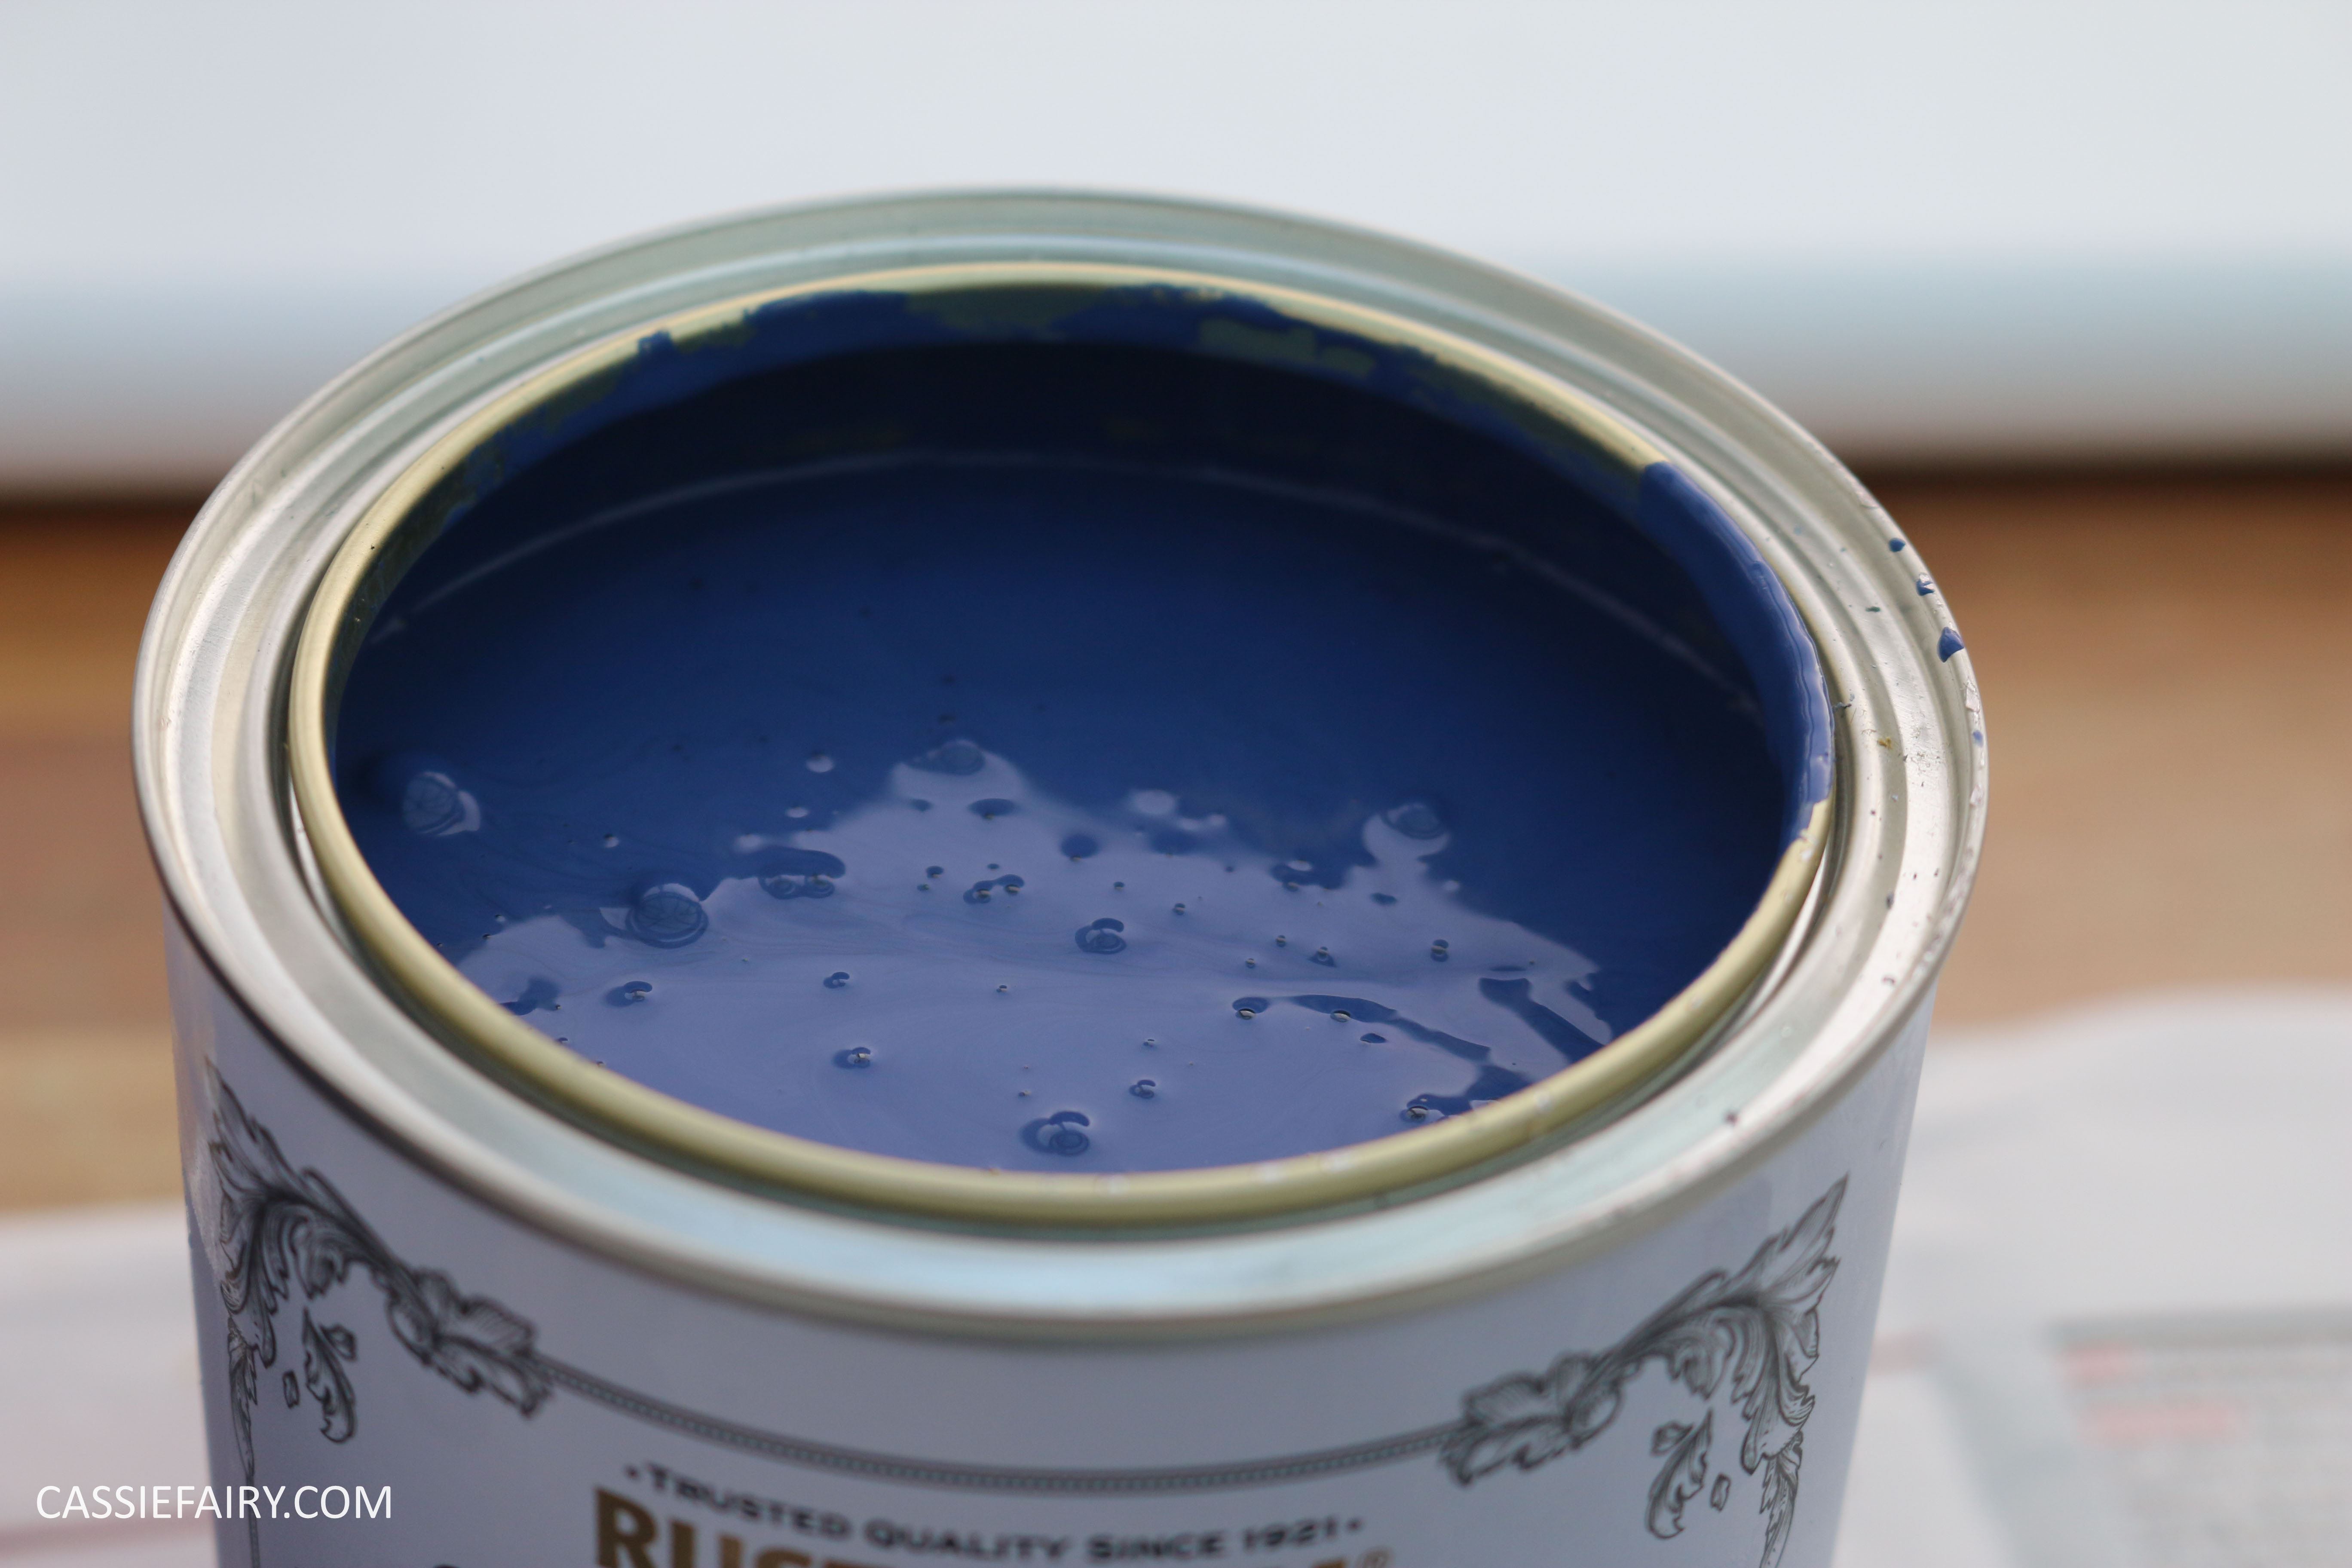
After allowing the paint to dry (I left it 24 hours simply because that was when I had another spare moment to get back to the project, but it was touch-dry within a couple of hours), we gave the chair a coat of the ink blue paint all over. It was completely covered after one coat but you could always add a second coat of the chalky paint if you wish, just to be sure that every inch is covered. Again, this layer dried really quickly: I painted it at about 4pm and came back to it the following morning. By then the paint had dried thoroughly and looked really chalky. Next came the fun part: uncovering the buried gold! 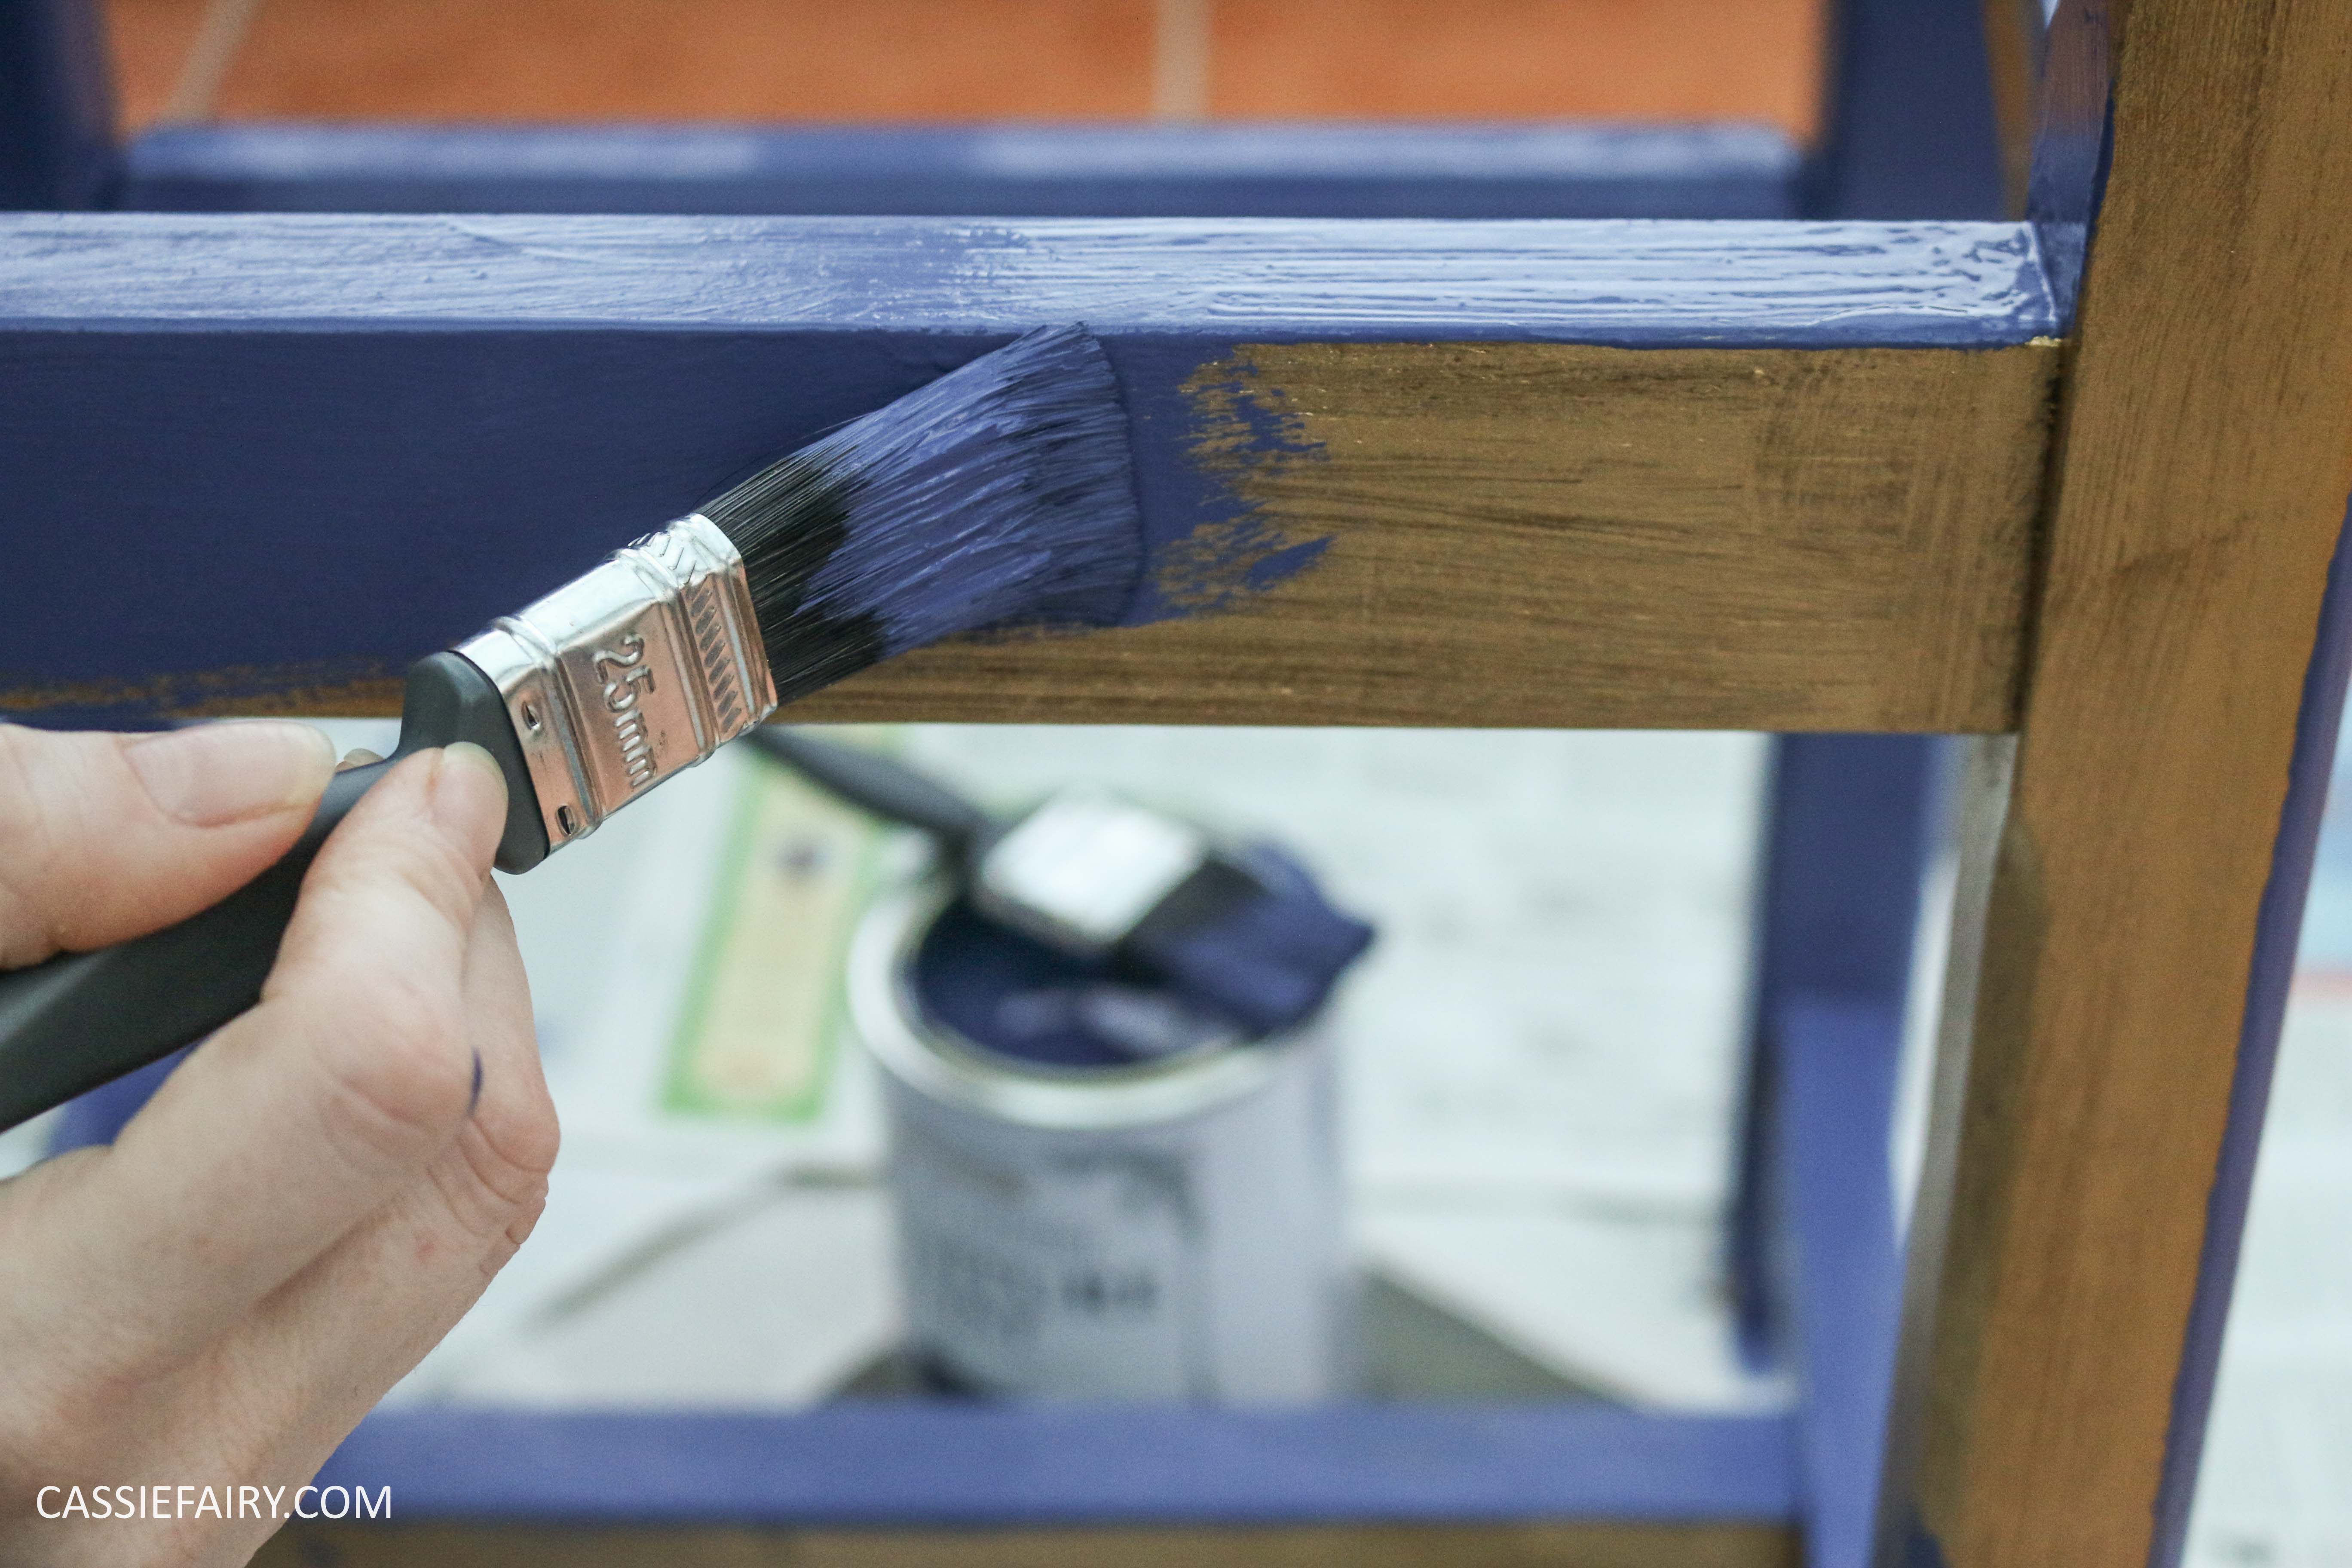

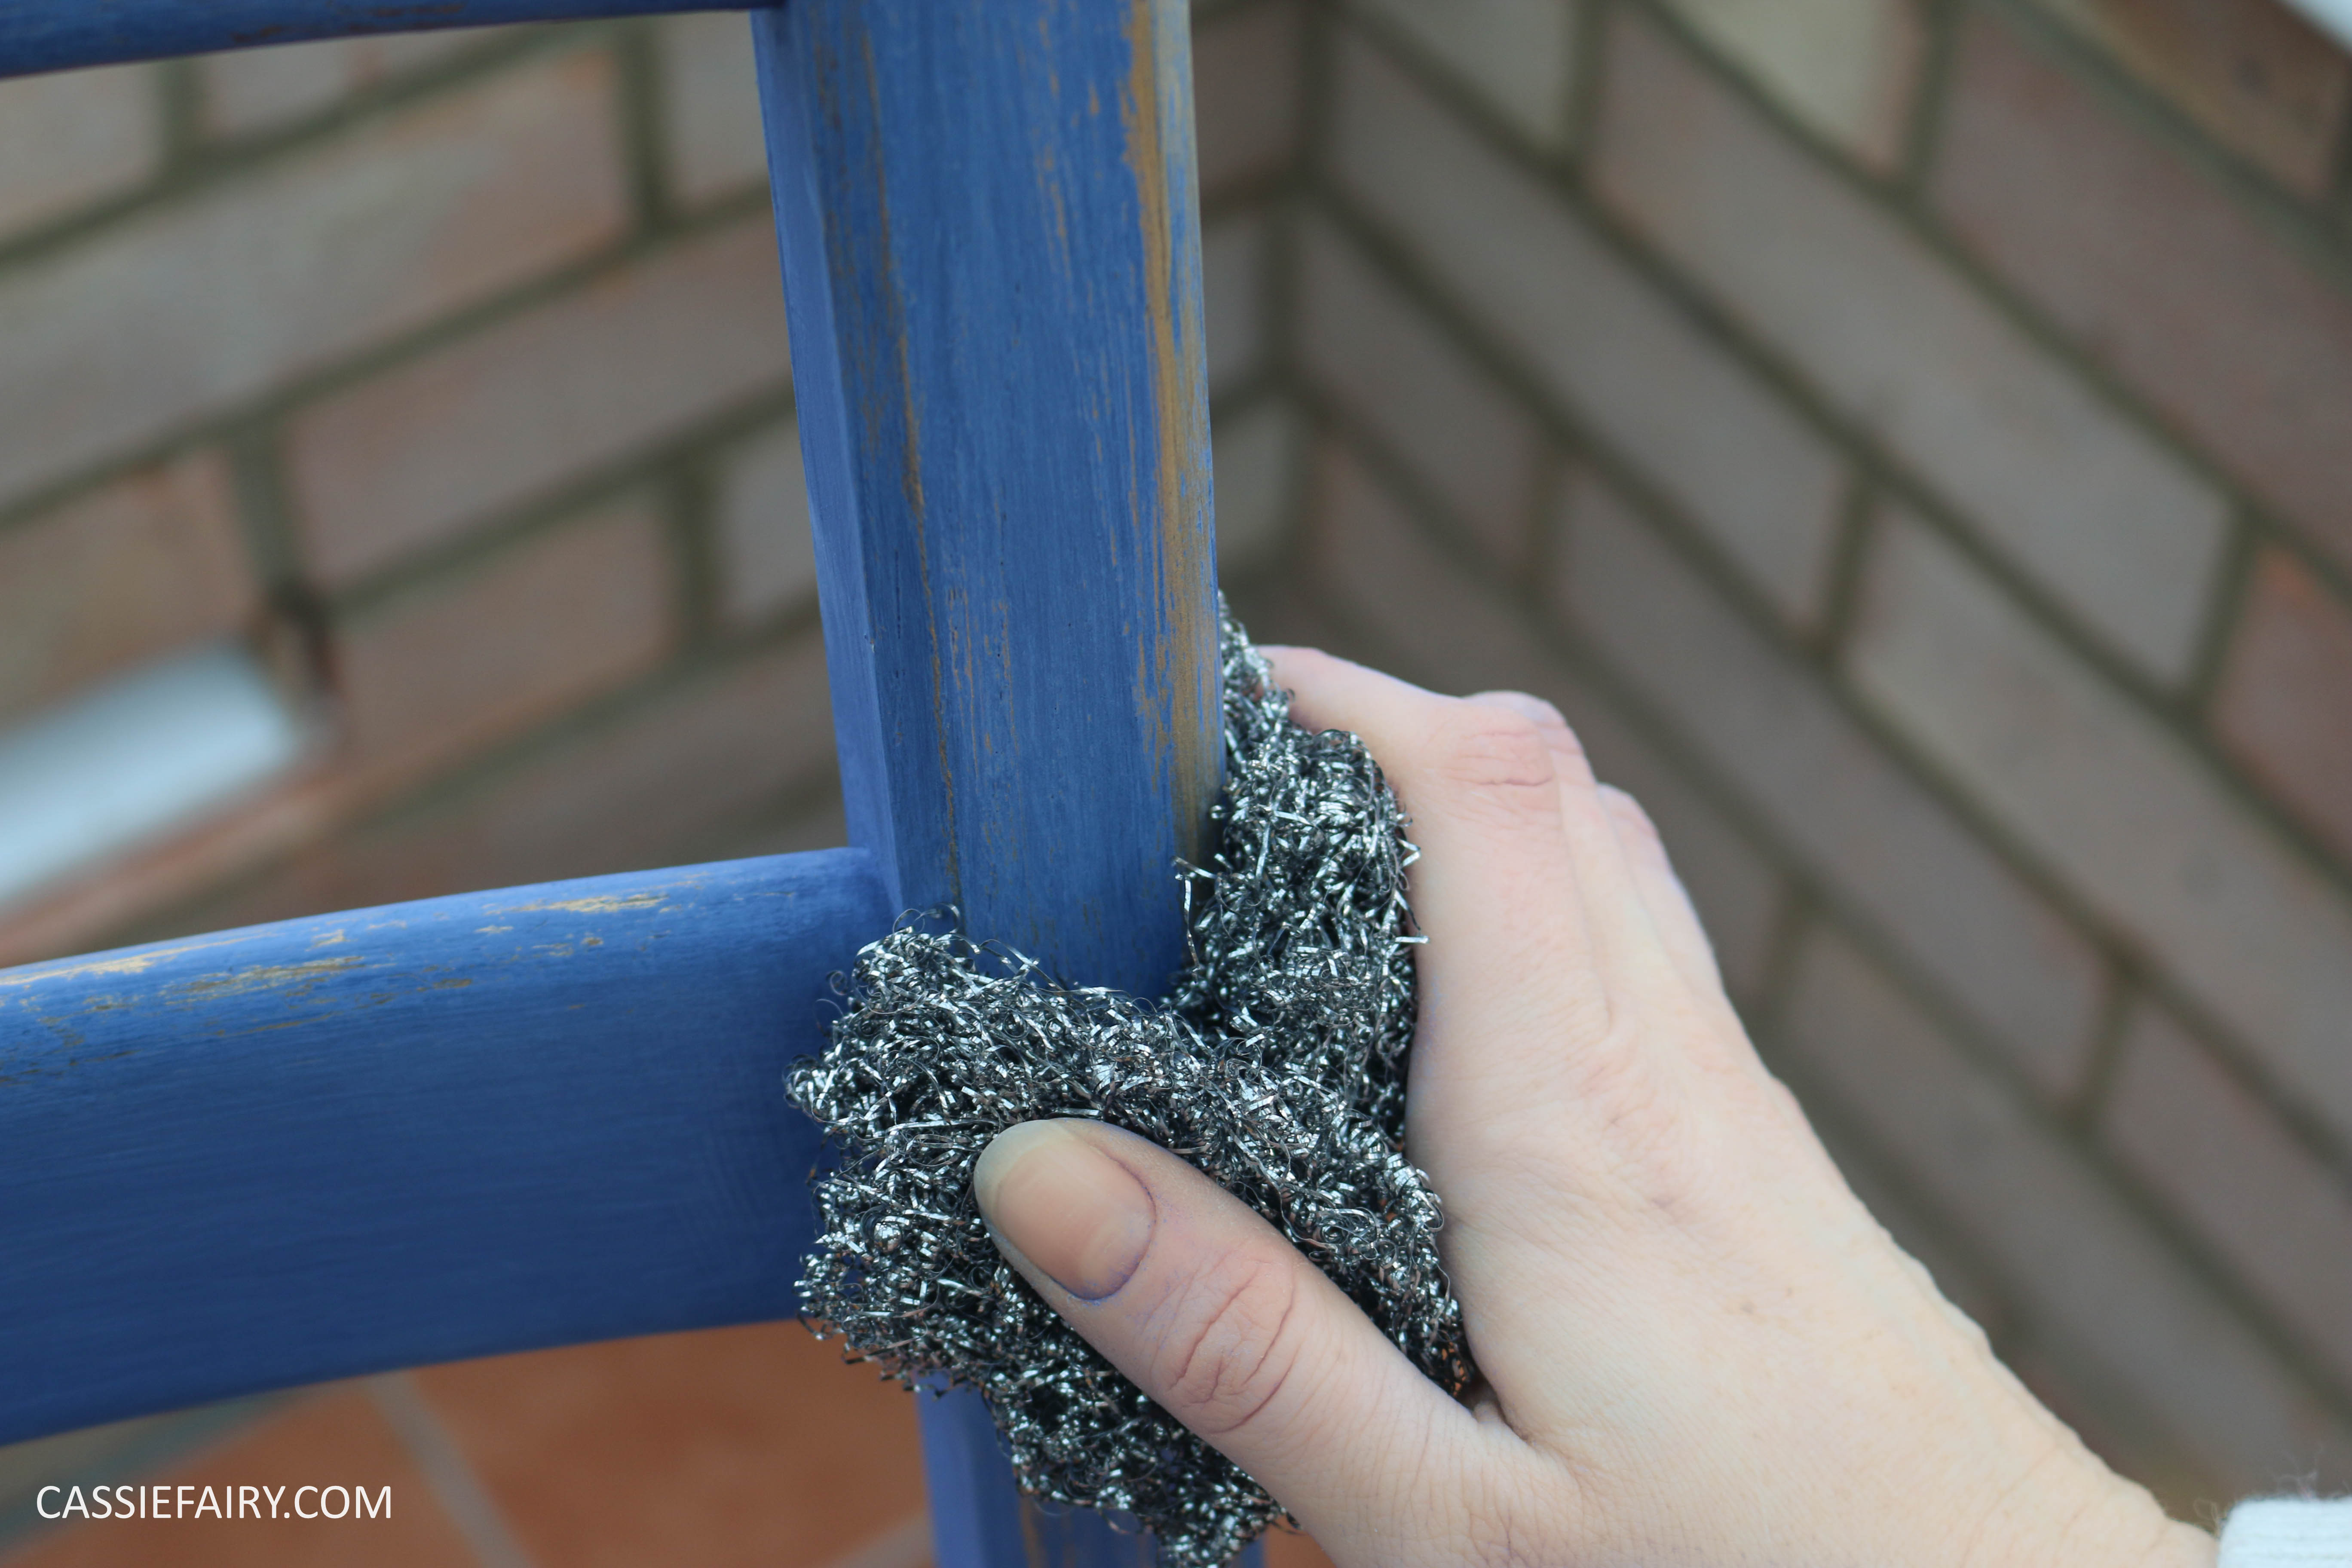
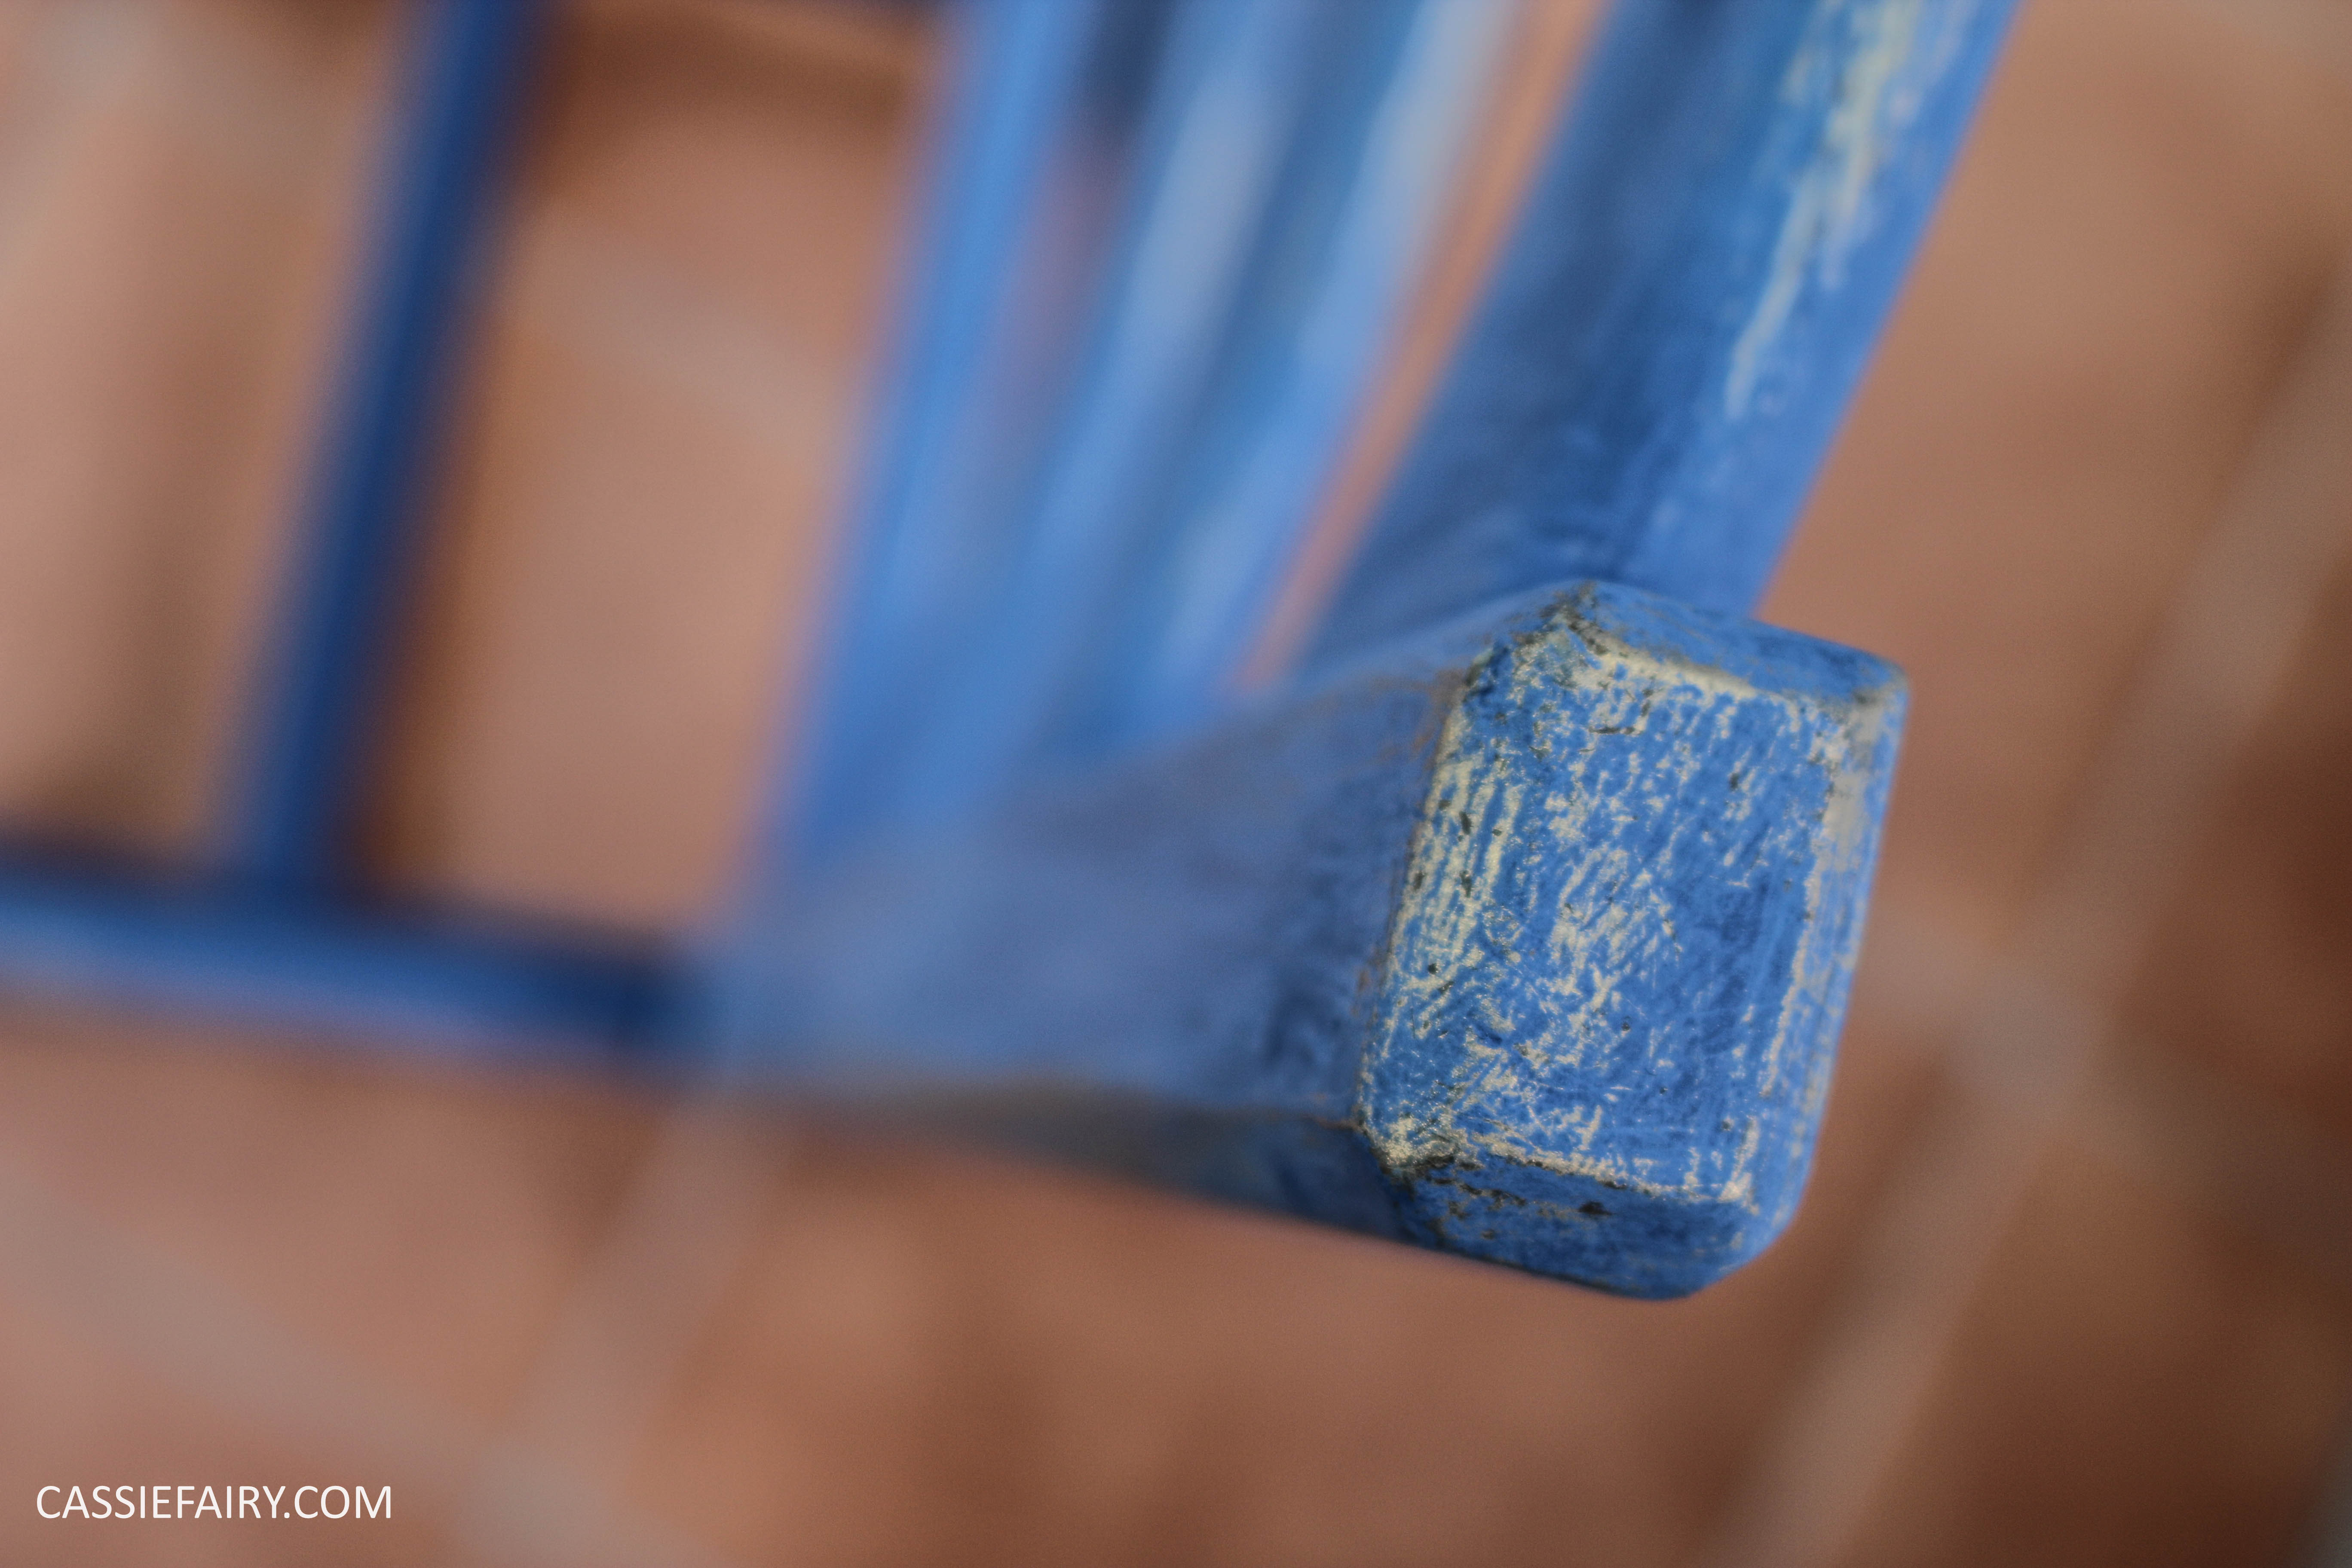
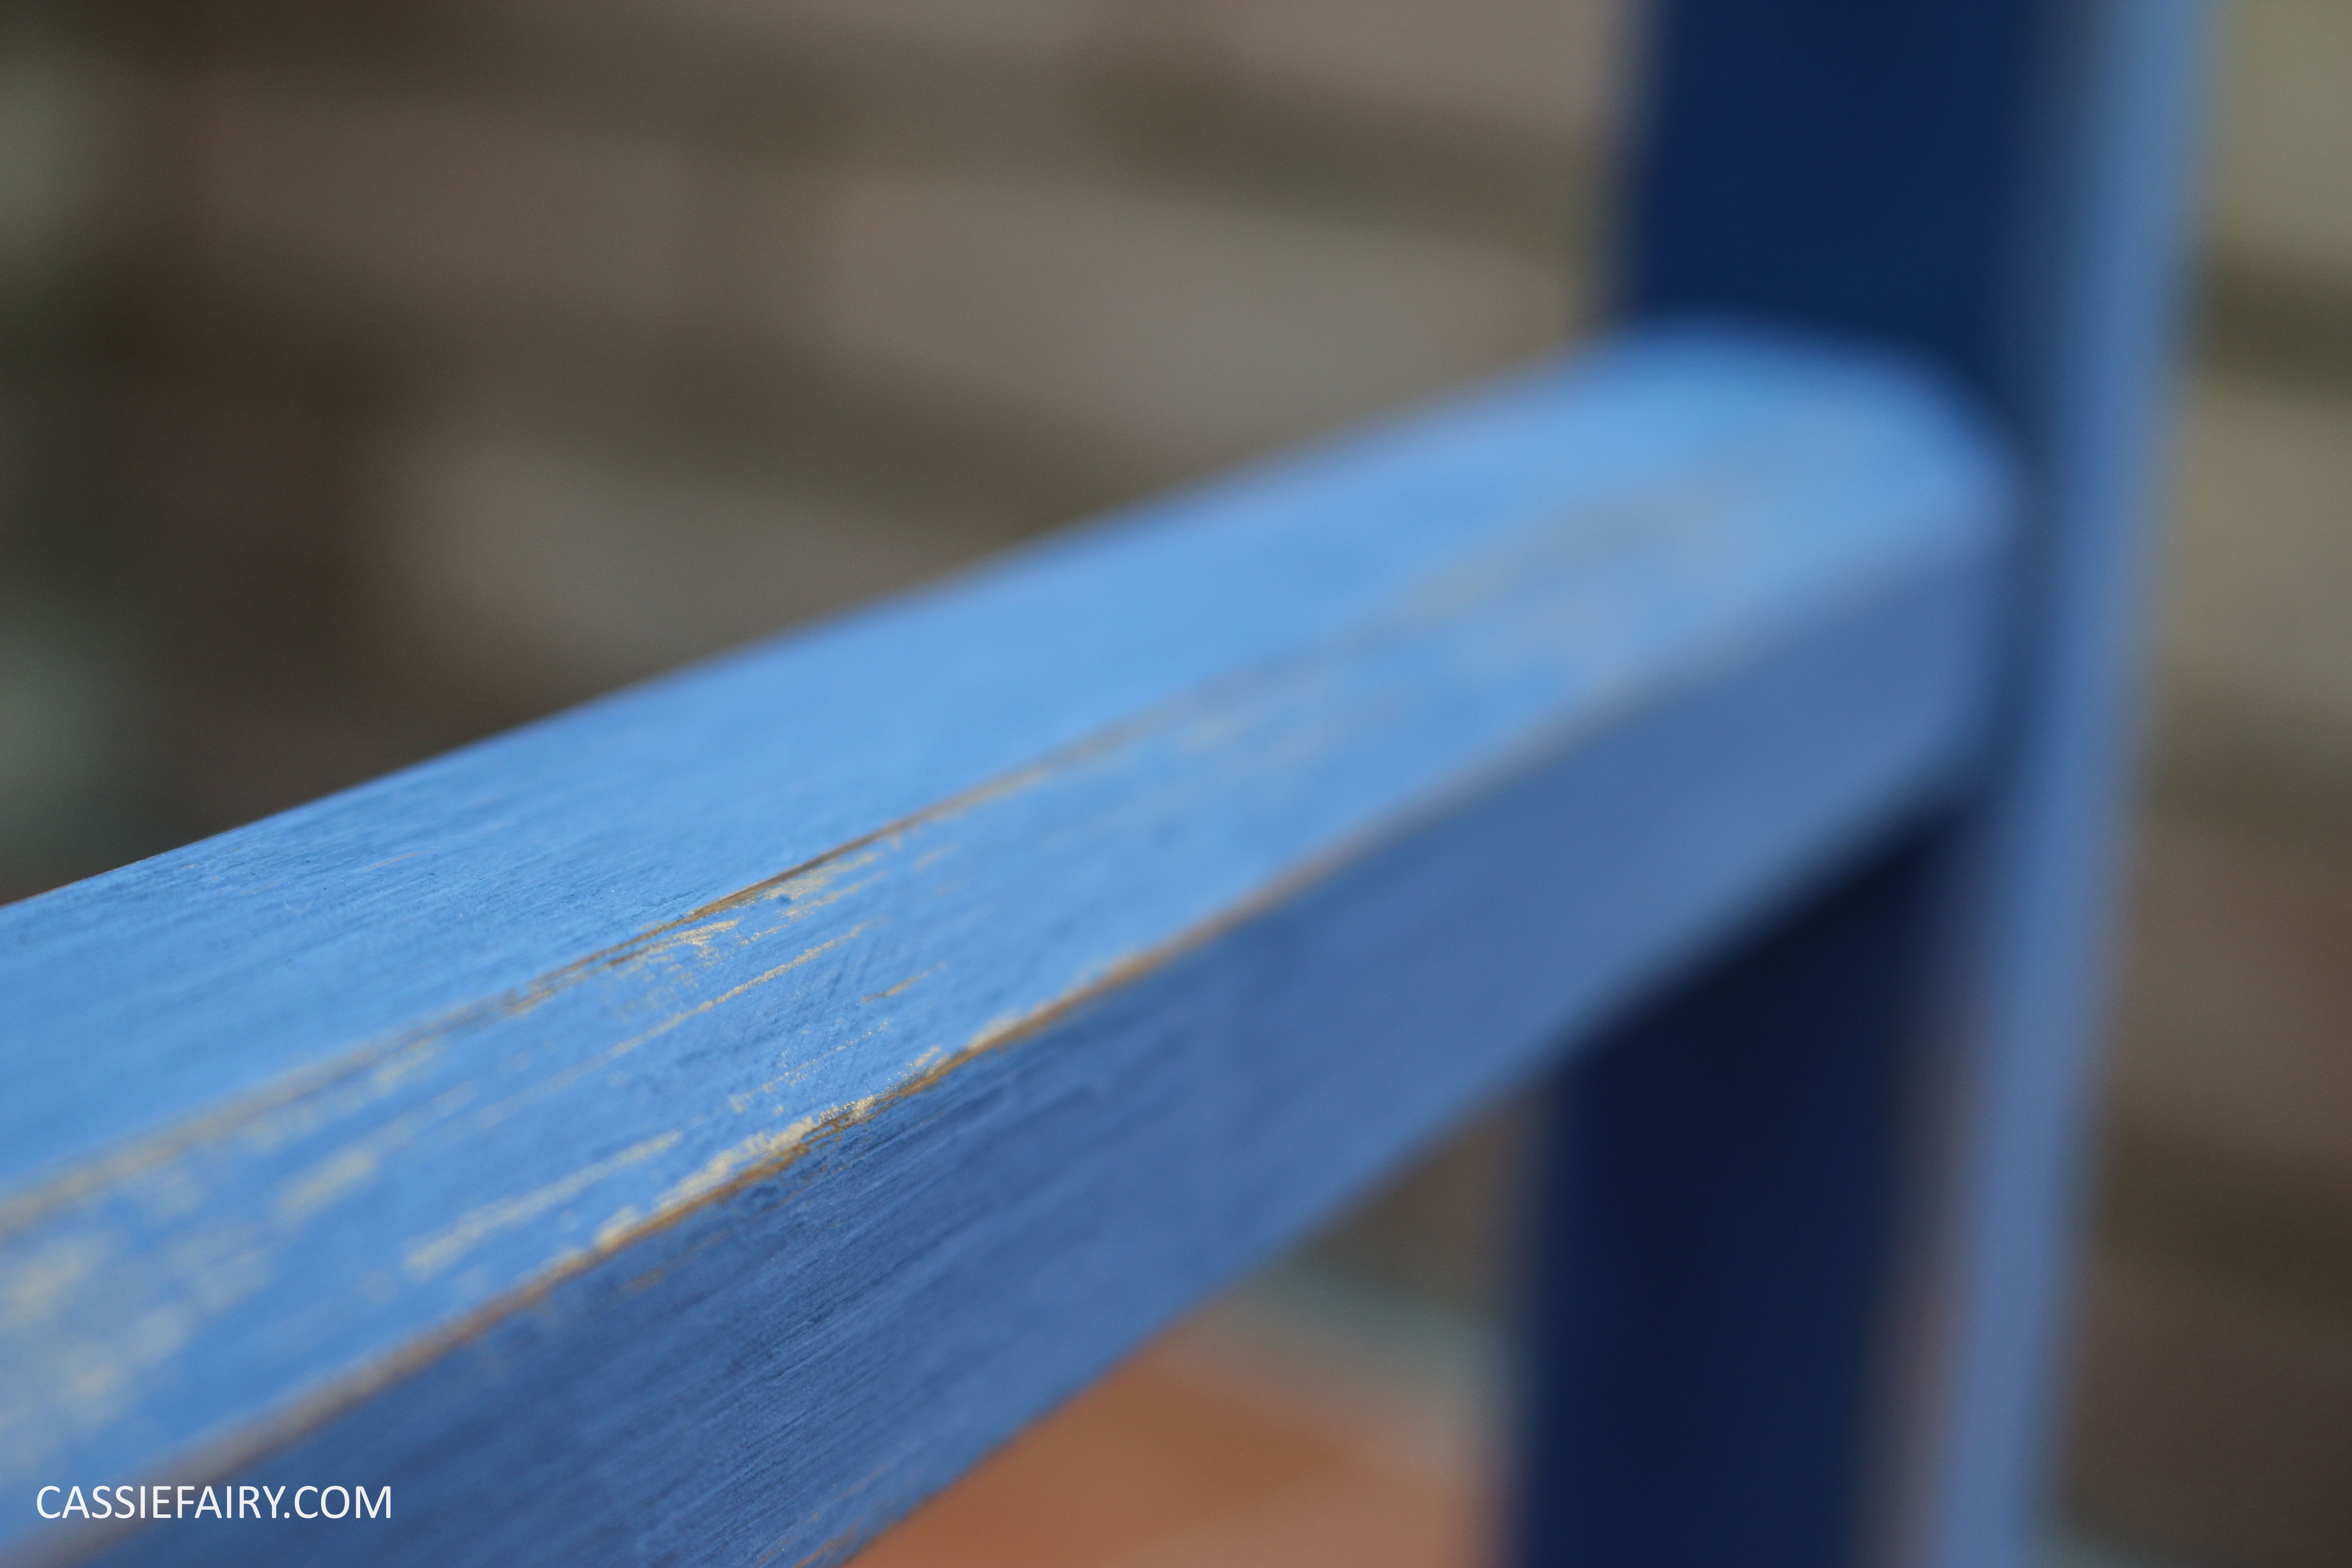
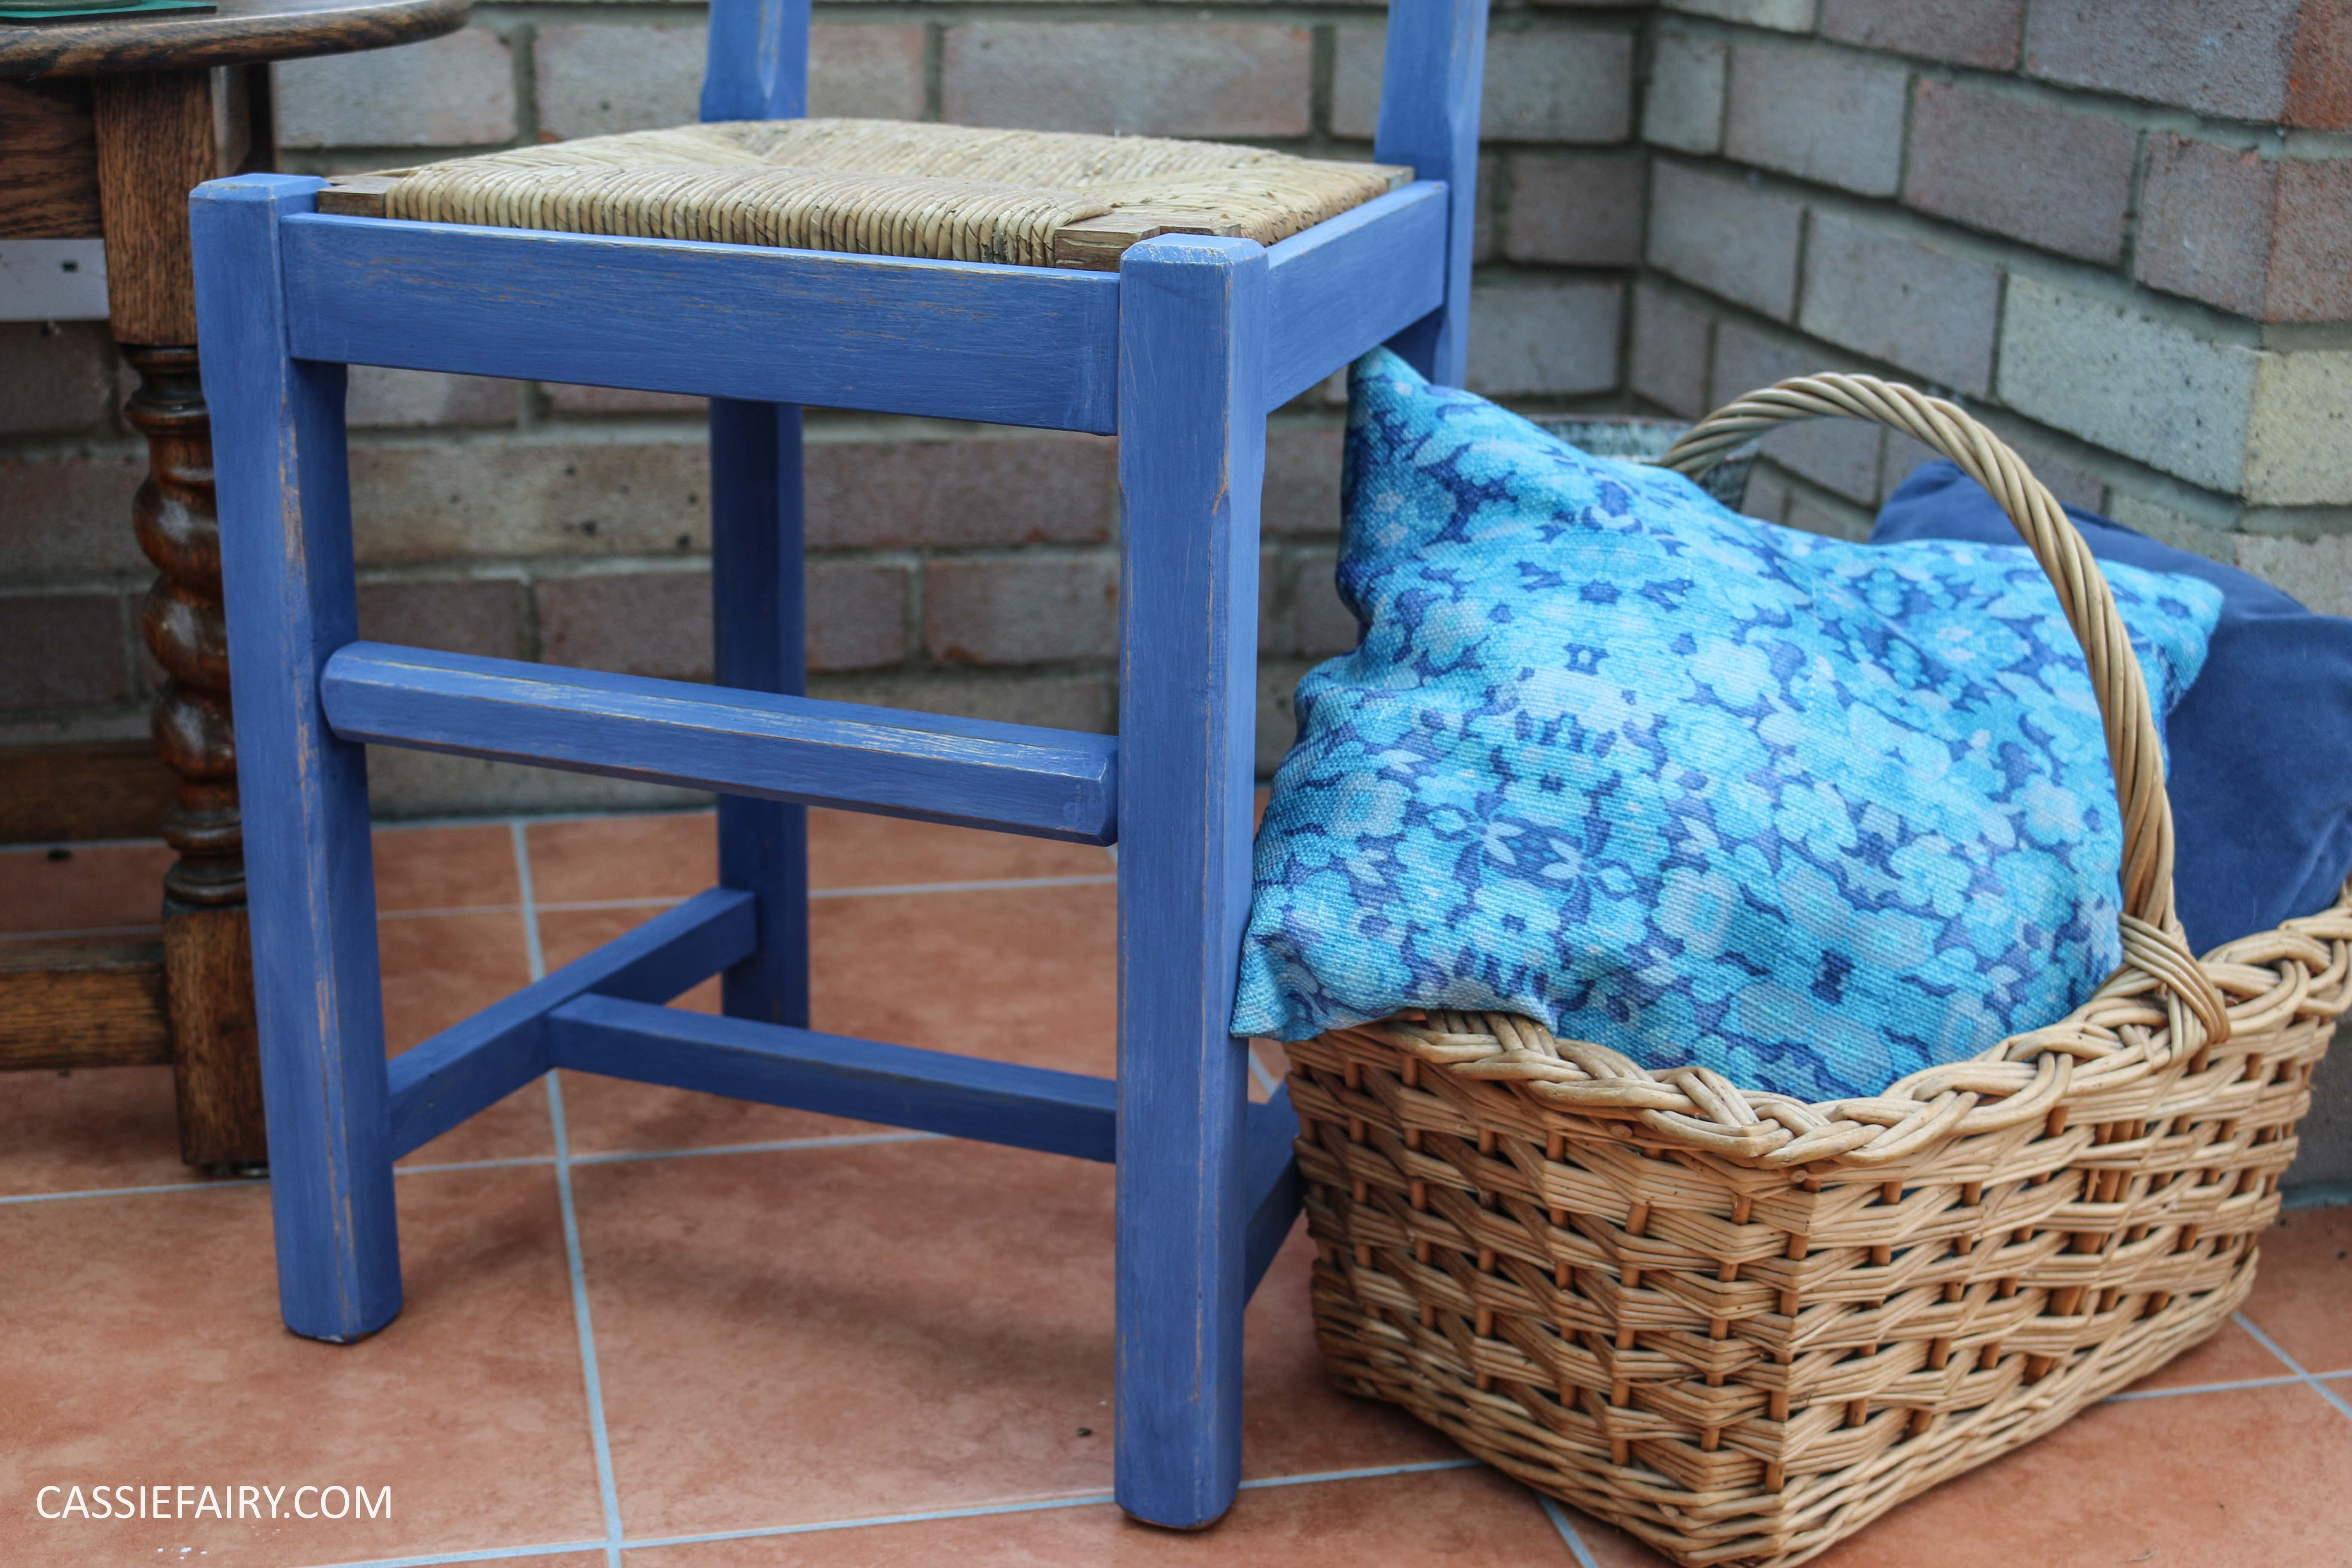
 I used a course sandpaper to rub away at the edges of the chair and it was really exciting to spot the gold shining through the dark blue paint. I also scoured the tops and legs with a metal scouring pad, or you could use wire wool if you prefer, to take it back to the gold layer. I was really chuffed when I started to see the gold glinting through. This ratty old chair was starting to look rather pretty with this subtle sparkling effect and I was really pleased how easy it was to distress the chalky paint: a few minutes of rubbing and I was done. One tip: distress your furniture outdoors if you don’t want a big clean-up operation afterwards! The blue paint comes away easily with the scouring pad and the chalky residue puffs into the air so I ended up with dusty blue hands but this washed off really easily with just soap and water.


What do you think of my ‘new’ chair? I’m so pleased that I didn’t have to scrap this chair and could update it so easily with just a lick of paint. Would you have put these two colours and finishes together? I love the glamorous gold distressed effect and the blue looks rather tropical in my conservatory; In fact, I’m starting to feel an ‘island’ vibe with the faded ‘sun-bleached’ colours, rattan seat and cactus plants!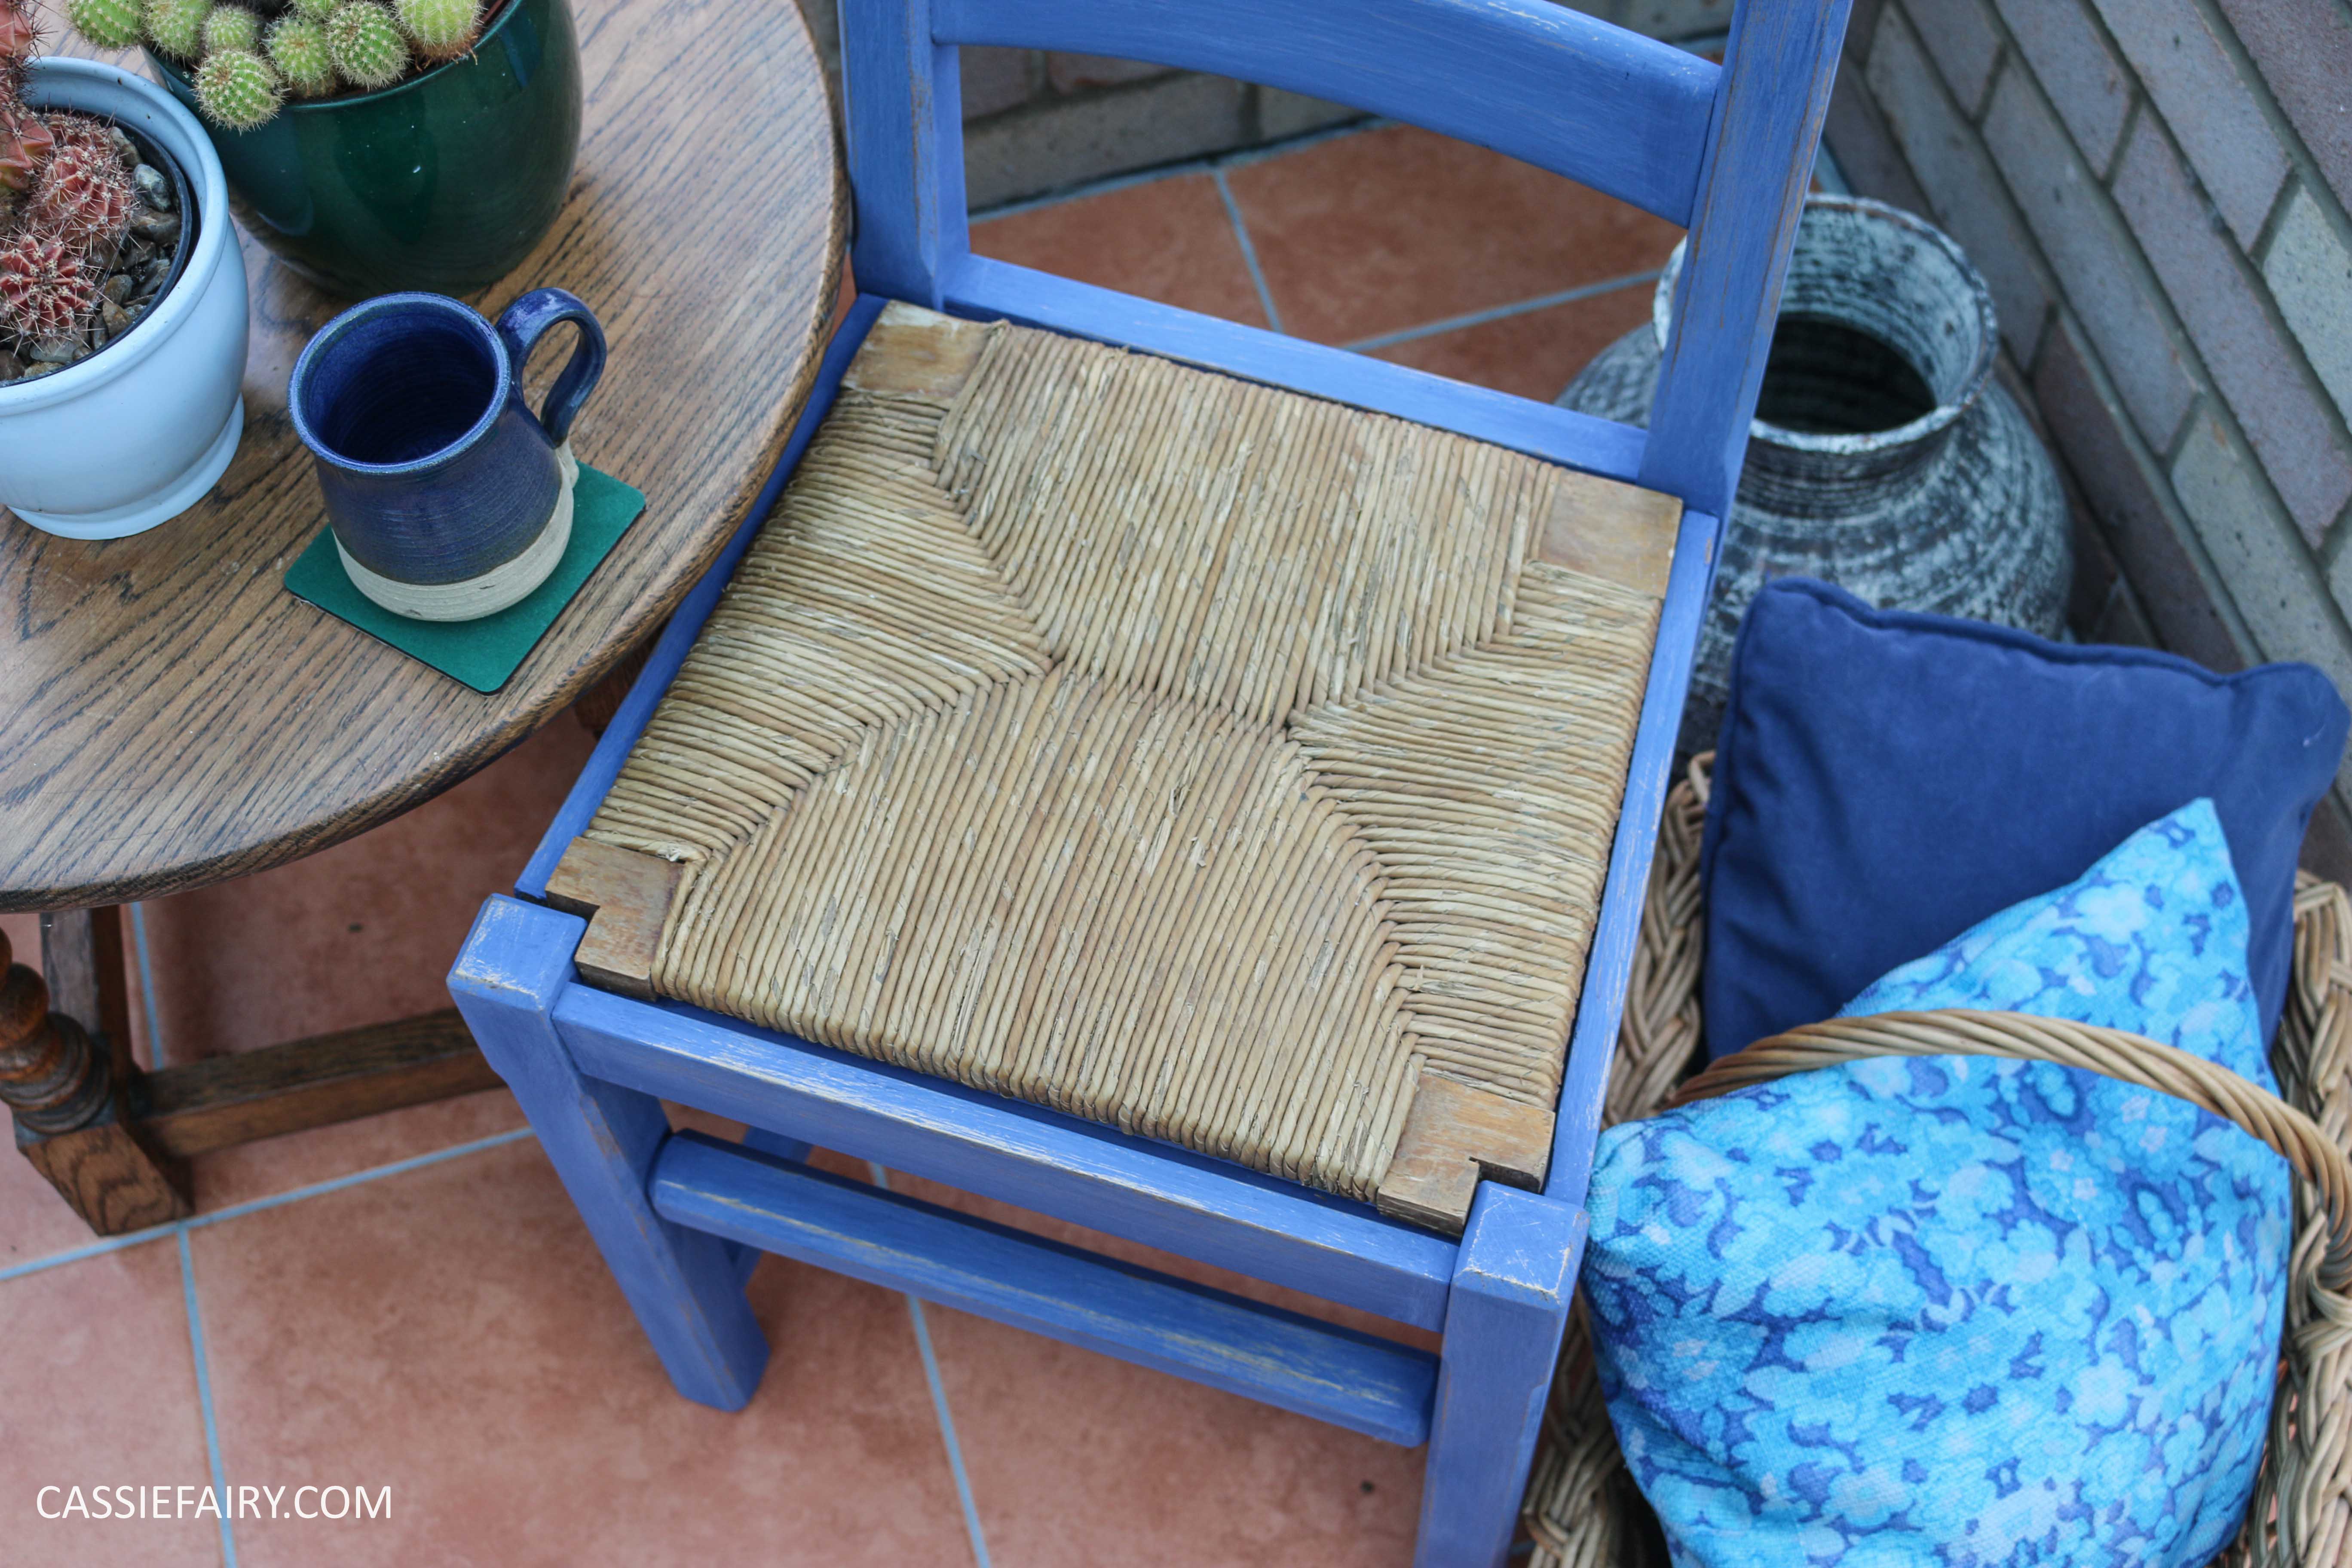
 I’m sure that the chair would look equally fab with a solid chalky colour underneath in a lighter shade. Or even painting a pastel shade straight onto the chair and rubbing it back to bare wood would look fresh for spring/summer (check out my candy trend blog post for more colour inspirations). What would your preferred combination for a distressed finish be? Let me know what you think by leaving me a comment below or tweeting me @Cassiefairy.
Some items in this blog post have been gifted to me and the pink links indicate a gifted product, affiliate link or information source. All thoughts and opinions in this post are based on my own experience and I am not responsible for your experience 🙂


4 responses
Hi Cassiefairy! You may also suggest to use Painter’s Touch Spray Paint which is available in several unique colors.