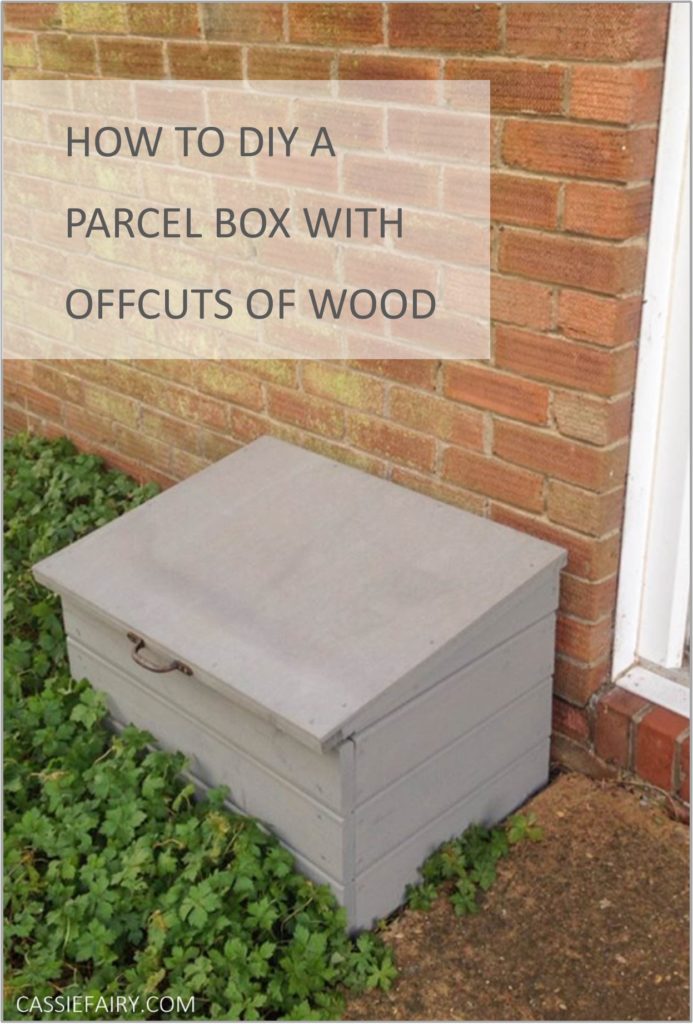
We’ve been relying on online orders more over the past month so I thought it would be a good idea to build a parcel box and share the step-by-step tutorial. This gives the postman somewhere to safely leave deliveries, while protecting the package from the weather. But how do you build a delivery box without going shopping for DIY materials..??
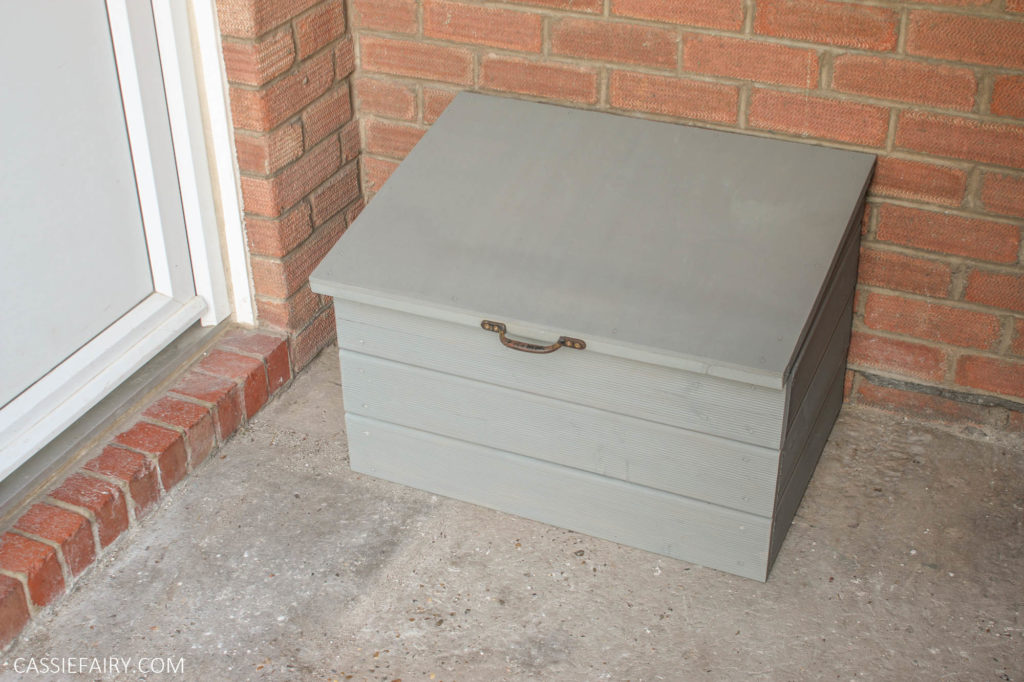
Well, you’d be surprised what you can make from offcuts of wood and, if you’re anything like me, you’ve got a stash of odds-and-ends in the garden ‘just in case’. I rummaged behind the shed, in the garage and down the side alley to cobble together enough materials for this project.
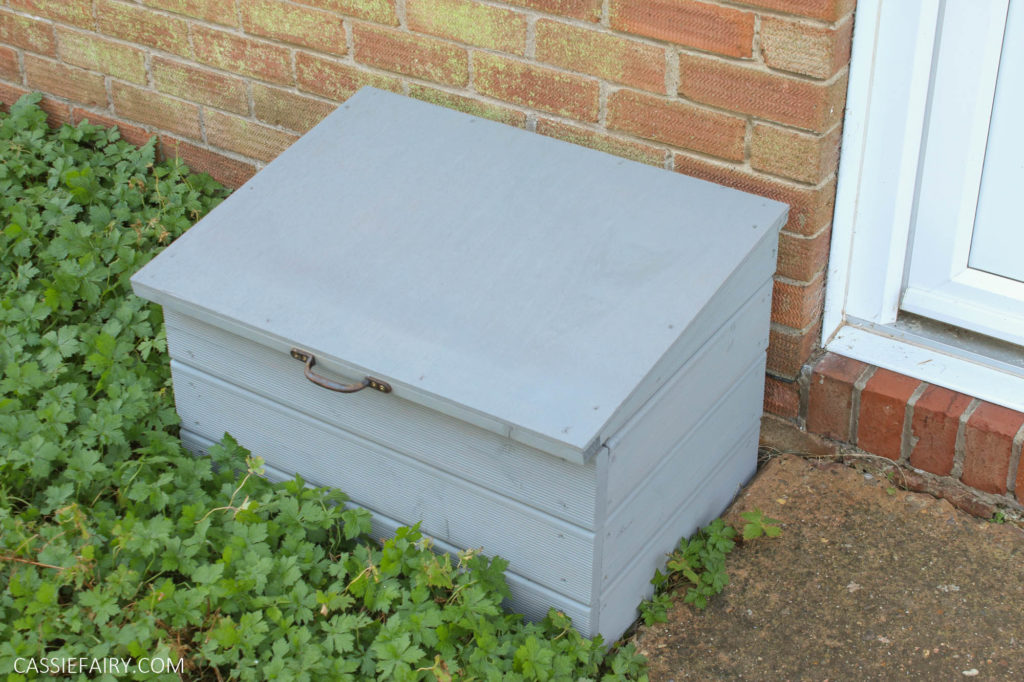
Have a look around your own home, garden and storage areas – you’ll be surprised what you can find! I discovered offcuts of decking from last year’s ‘outdoor kitchen’ project, a small piece of marine ply leftover from a shed we built, a rusty handle and hinge that I’d stowed away in the tool shed and a couple of lengths of trellis wood.
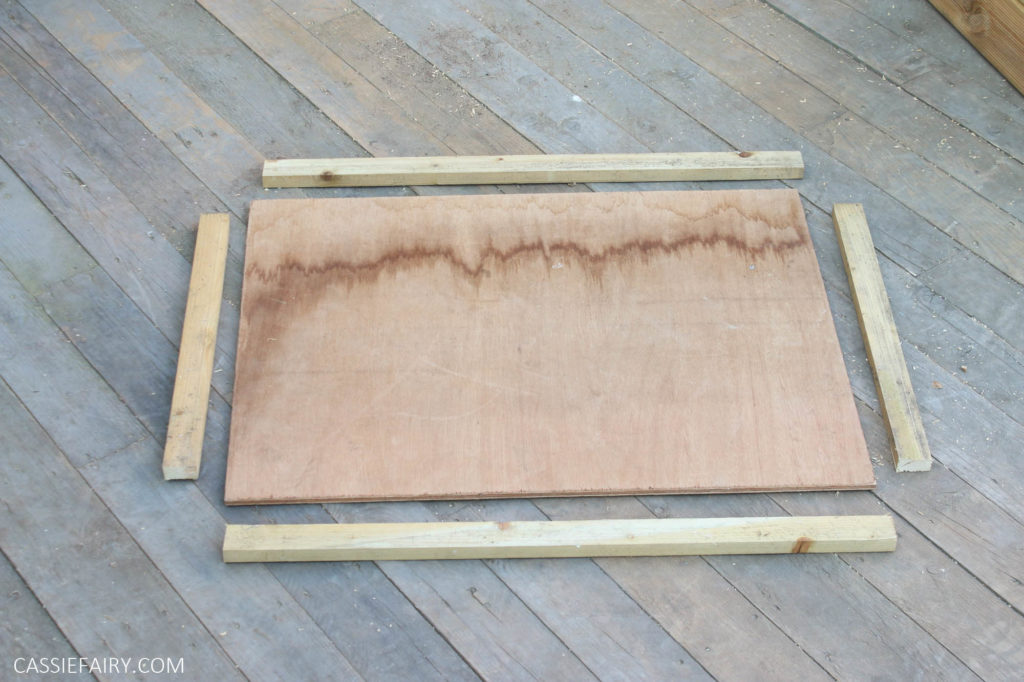
It’s simply a case of working with what you’ve got – all you need to do is adjust the measurements in my DIY tutorial to make the box smaller or larger to make best use of the materials you’ve found. If you haven’t got marine ply, you can make a roof from pallet wood, and if you don’t have offcuts of pressure-treated decking, you could use tongue-and-groove shed planks. Whatever you have lying around..!
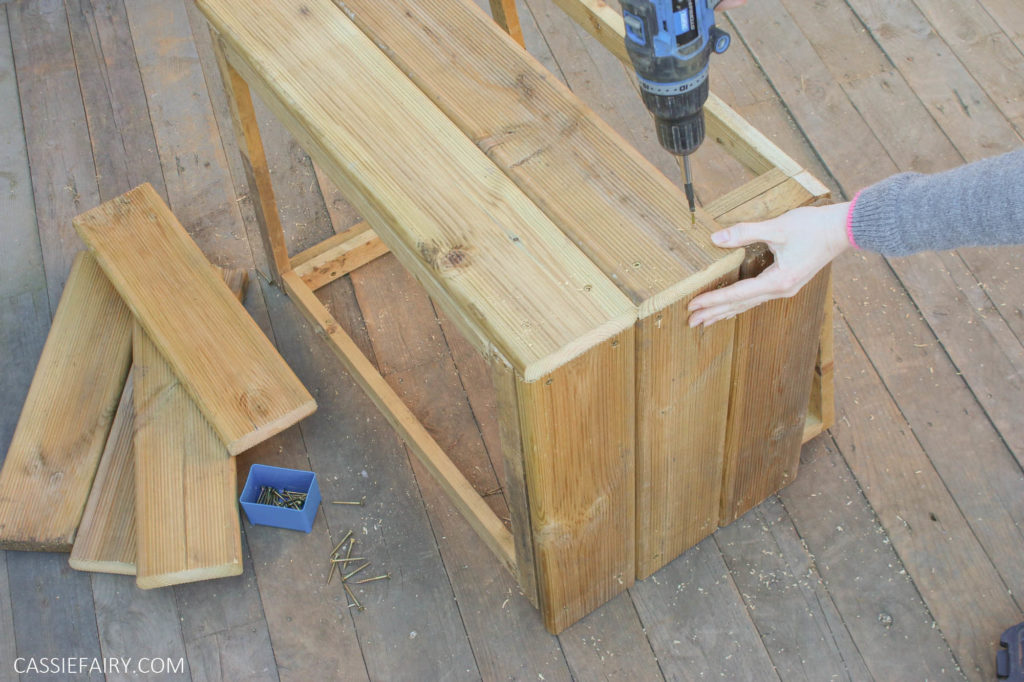
My husband is a print-maker so he is also using the box to send his deliveries with a courier. He can add the parcels to the box, keeping them sheltered from the elements and then the courier can collect the packages quickly and safely.
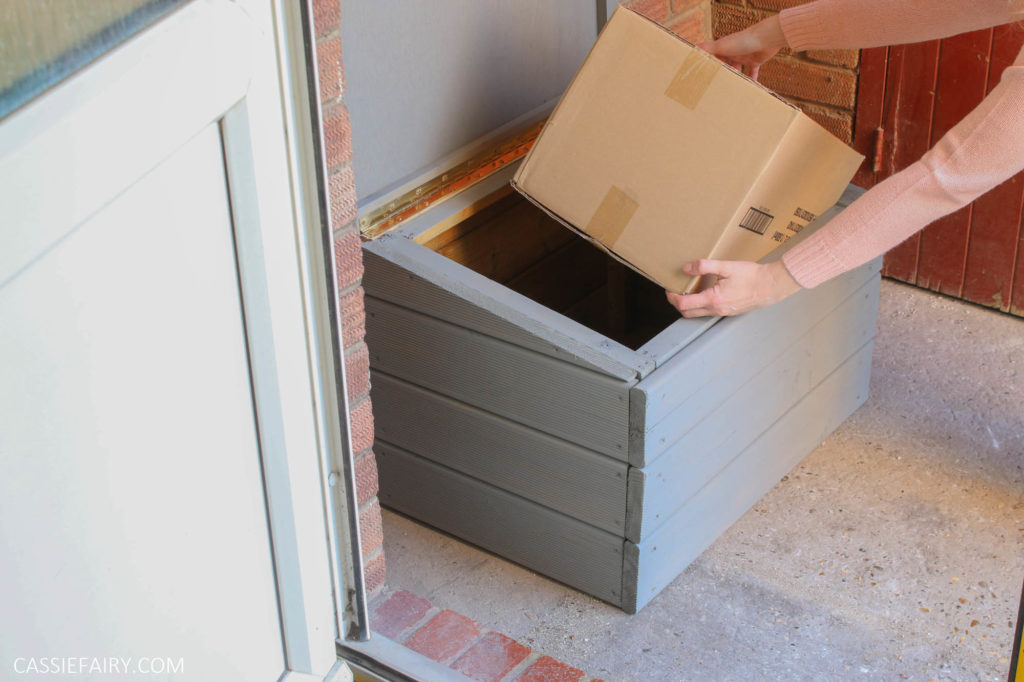
I’ve published the full step-by-step guide and wood measurements for this DIY parcel box project on the Safestore blog this week so head over to have a look at the instructions here.
Let me know if you have a go at making a parcel box for yourself. And if you have any other ideas for DIYing a makeshift delivery box – please share your hacks in the comments below 🙂
PIN IT FOR LATER
