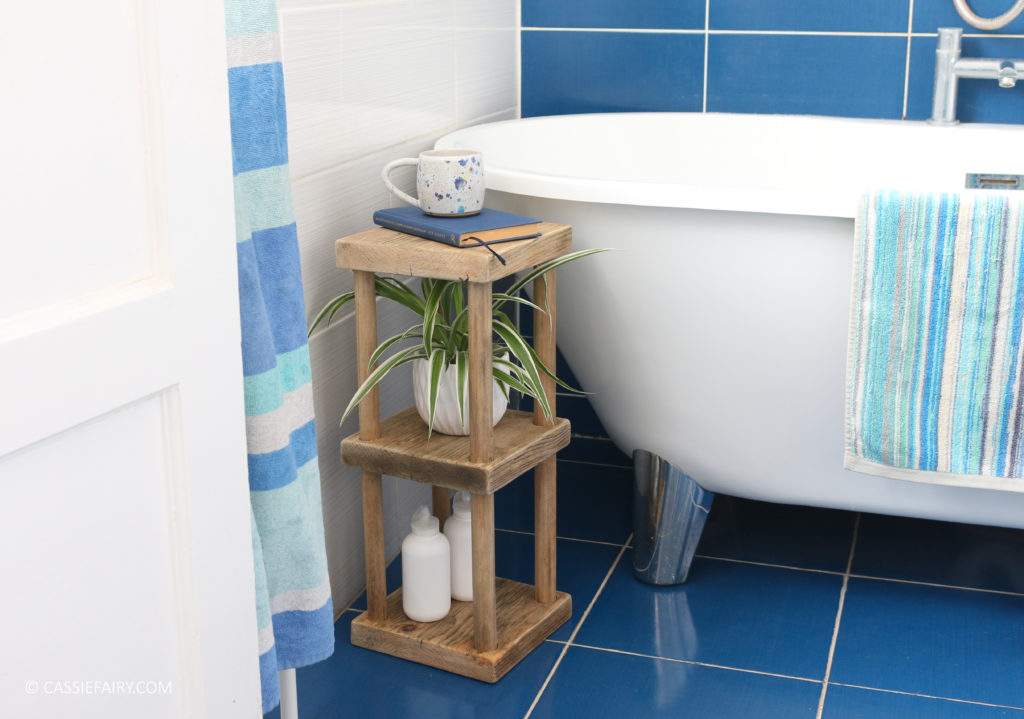
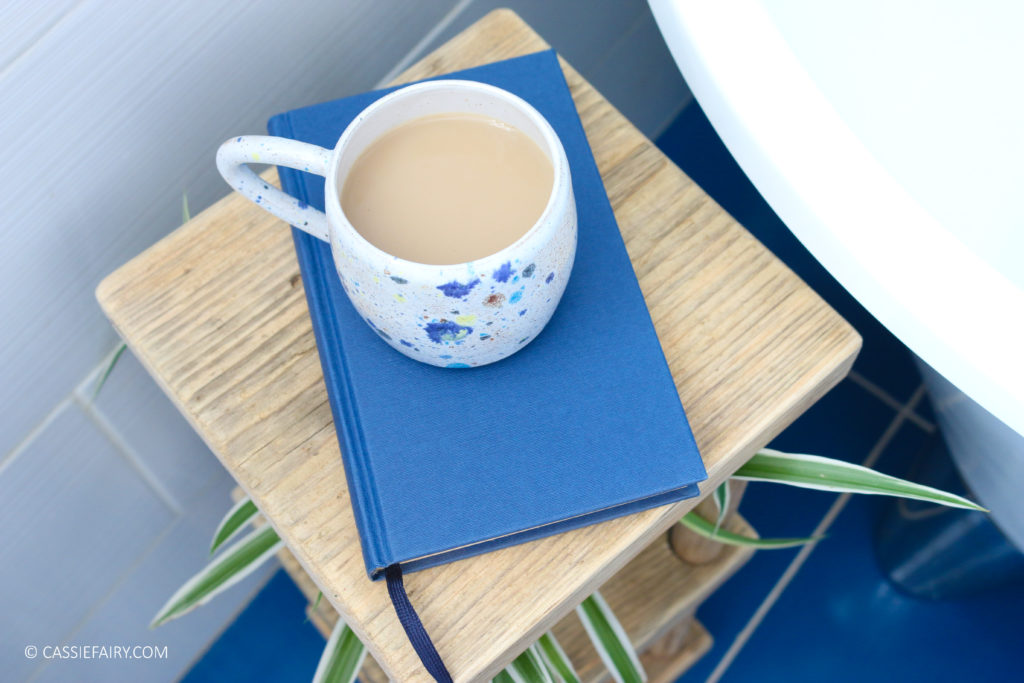
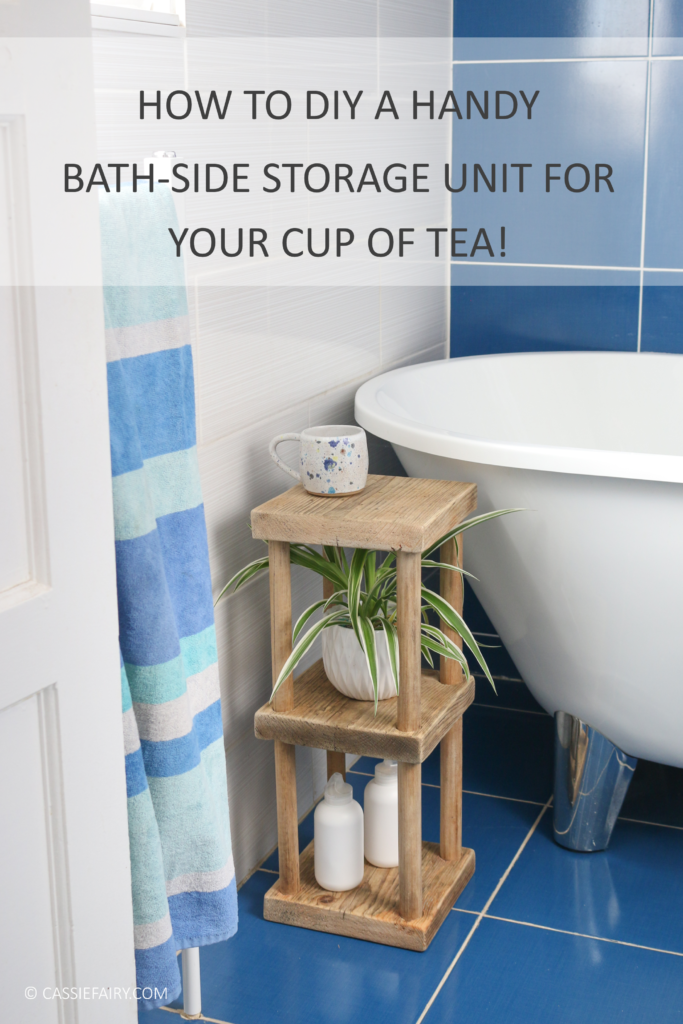
I don’t know about you, but there’s nothing I like more than relaxing in a bubbly bath at the end of the week – especially when it’s as cold outside as it has been this week. But every time I settle down for a long soak, I find myself looking around for somewhere to put my cup of tea or my book. So far, I’ve precariously balanced cups on the edge of the bath (not quite wide enough) and just out of arms-reach on the sink, but I’m not happy with either option. So I decided to come up with a solution once and for all – a bath-side tea stand!
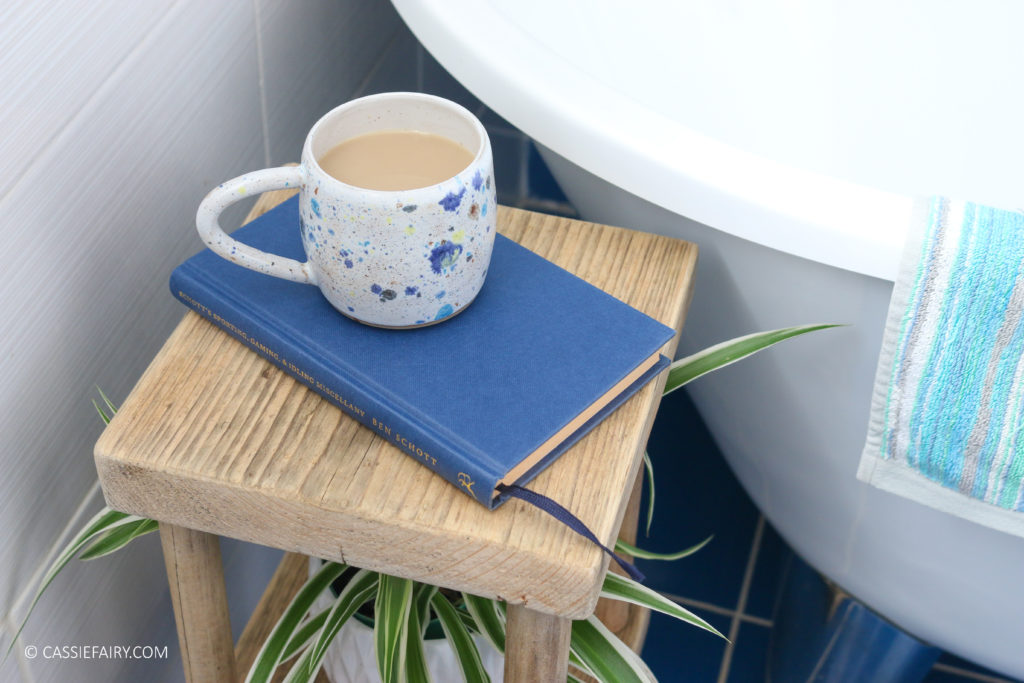
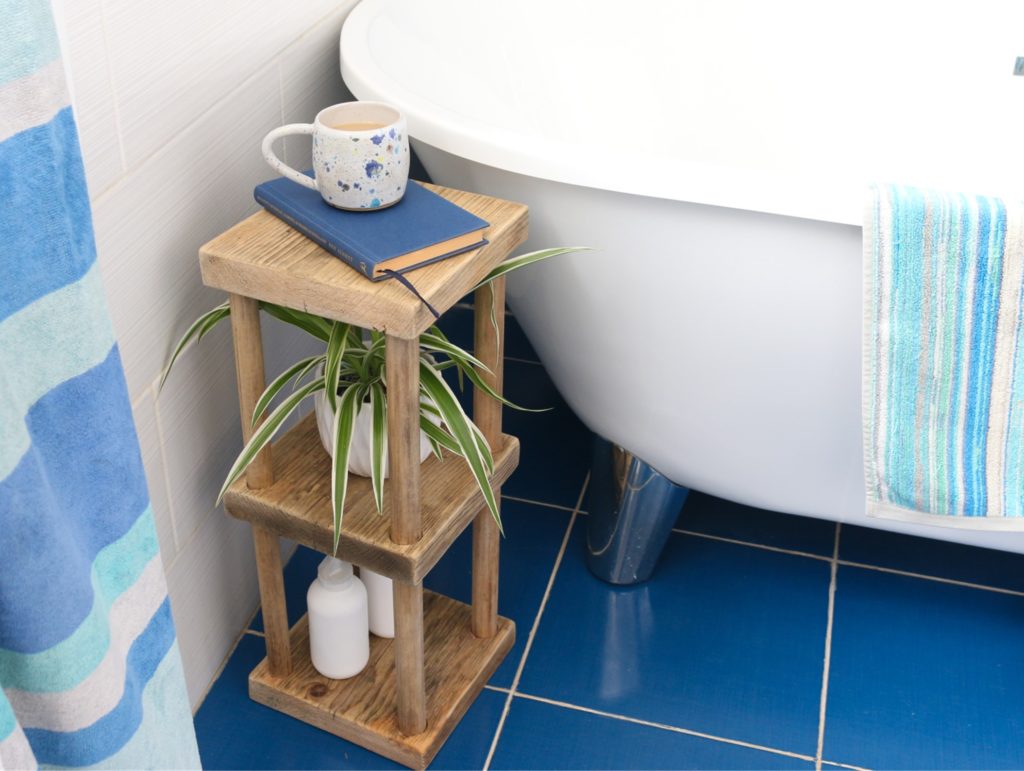
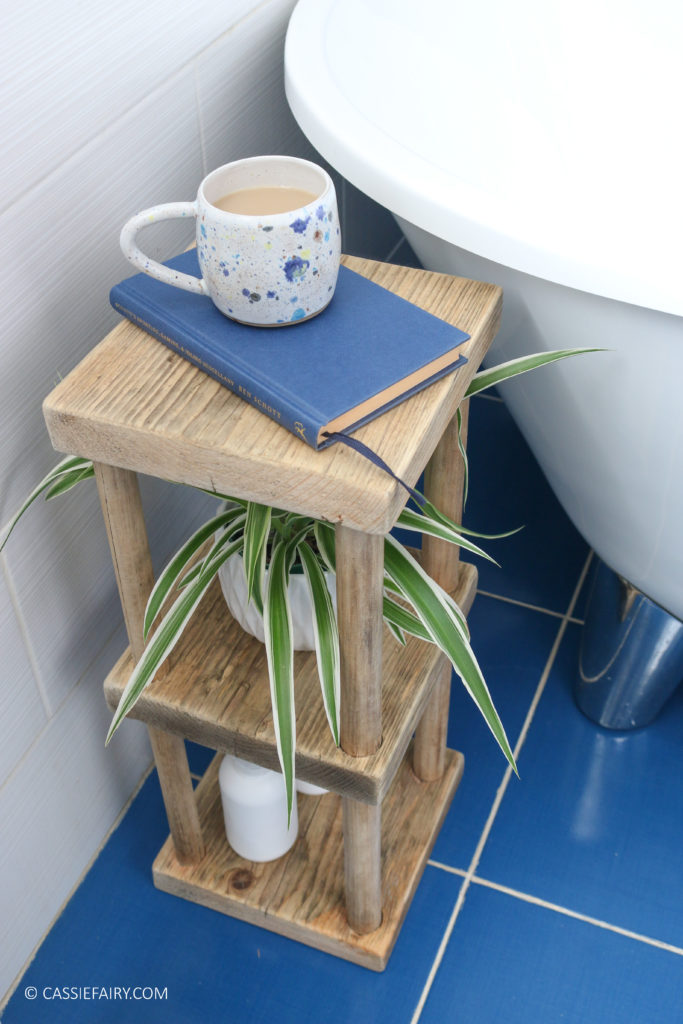
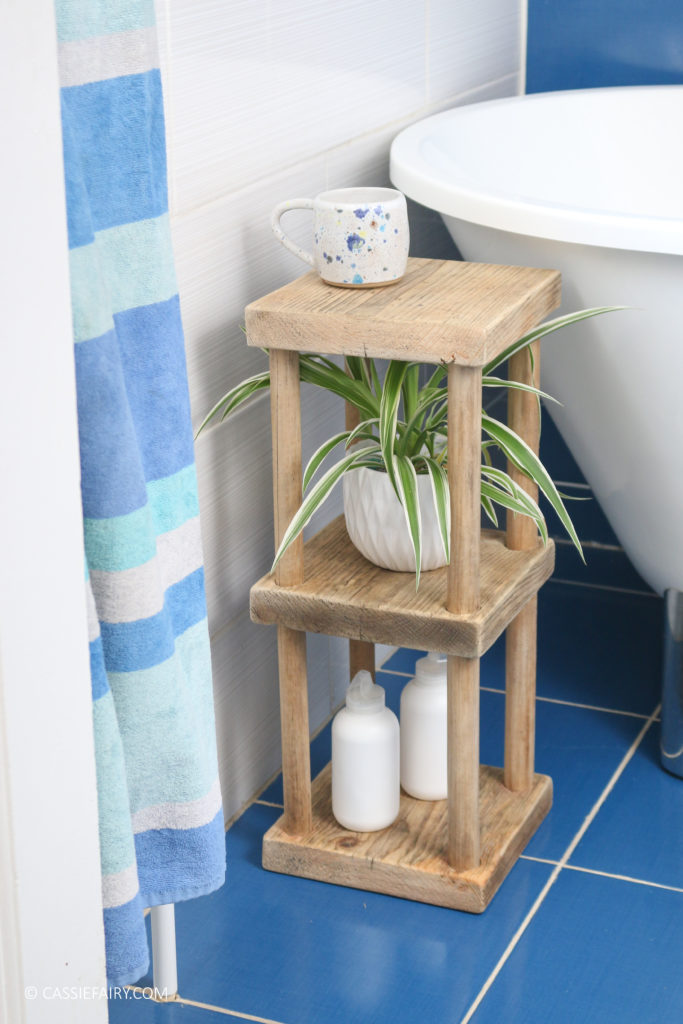
Actually, it’s even more useful than just being a place to park my cuppa (or wine glass!), it’s also got some useful shelving to store bath products and face cloths. Or you could use it as a plant stand to bring a bit of greenery into your bathroom to enjoy the air purification properties of plants. Whatever you decide to use the shelves for, they are a crucial part of the design – keeping this unit sturdy so that your mug of tea doesn’t wobble over, so be sure to get the shelves level & safely attached!
Home improvement experts ManoMano are sharing all kinds of DIY bathroom tips and projects on The Handy Mano blog this month so I thought I would create this step-by-step guide to help you turn some old broom handles and scaffold boards into some handy bathroom storage shelves.
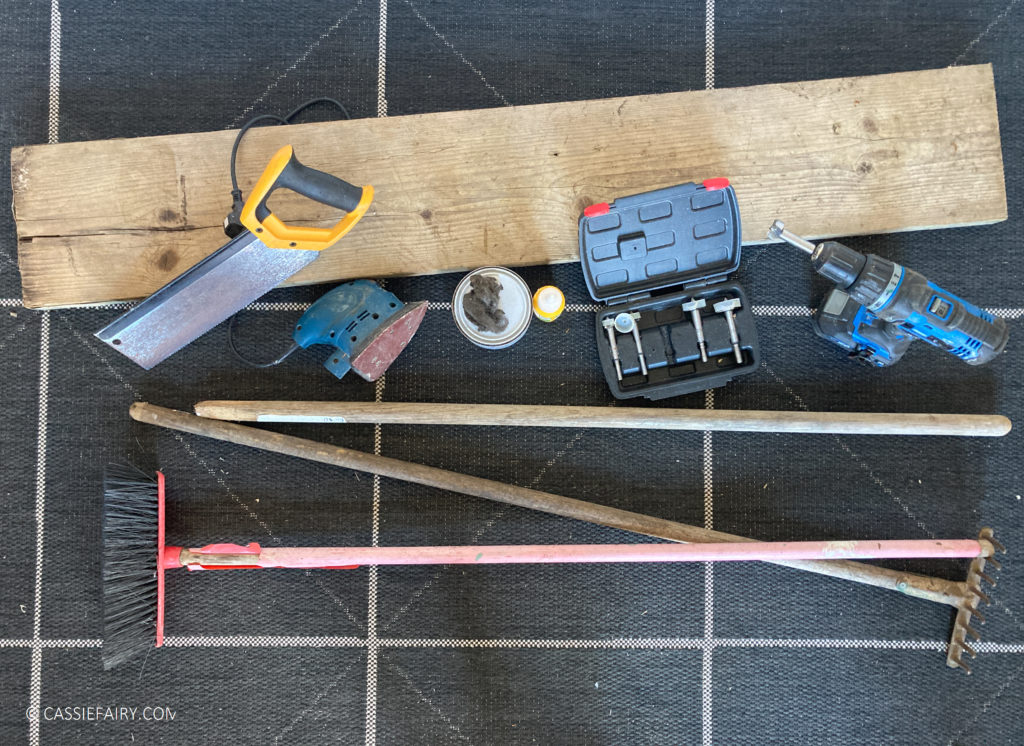
When I was thinking about how to construct the shelves I peeked in the shed and found a rusty old rake with splits in the wood, a headless handle and broken broom with the plastic outer-layer peeling off. These round lengths of wood seemed ideal for feeding through planks, as long as I had the right size Forstner drill bit for the width of the batons. If you’re buying new wood for this project you can choose chunky pine dowels that are the right width for the hole-cutter drill bits you already have.
YOU WILL NEED
- Old wooden broom handles or dowels
- Scaffold board or wide pallet wood
- Hole saw, Forstner or wood drill bit the same size as the broom handles
- Drill
- Sander and sandpaper
- Wood glue
- Wood screws and screwdriver
- Wax and wire wool, or paint and a paint brush
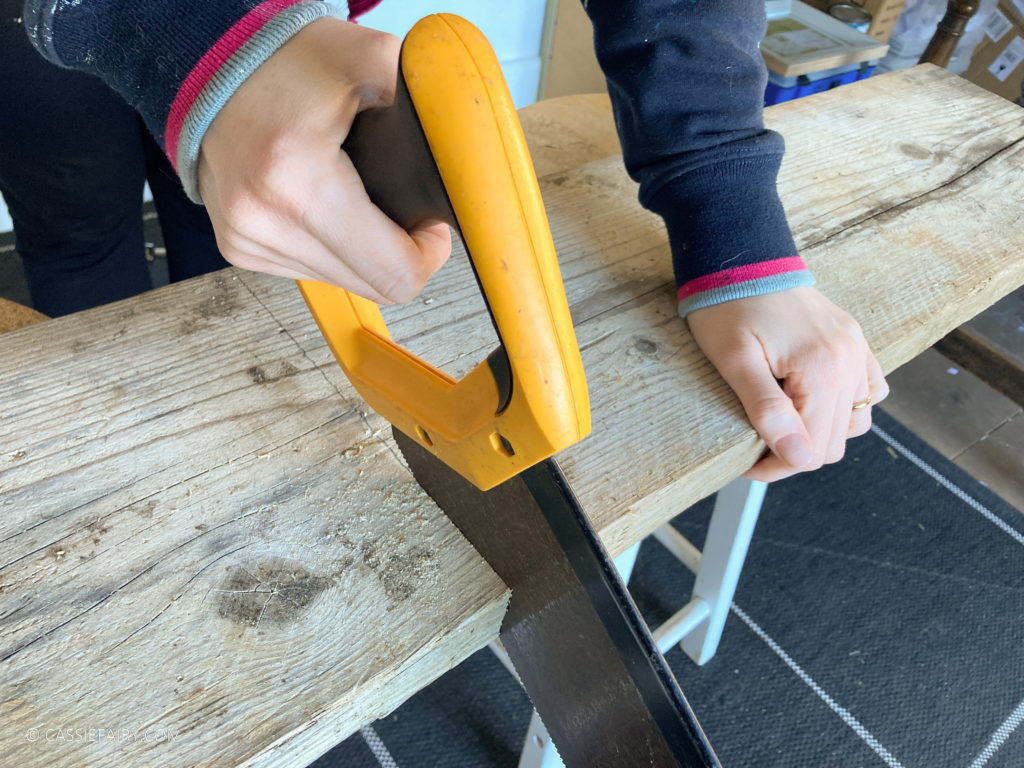
STEP 1
Cut the scaffold board or wide pallet planks to the size that you would like your bath shelf to be. You could go for a rectangle or a square shape. I opted for 20 x 20cm as the old scaffold board I had in the garden was already 20cm wide. Cut three shelves – one for the top, one for the base and a central shelf.
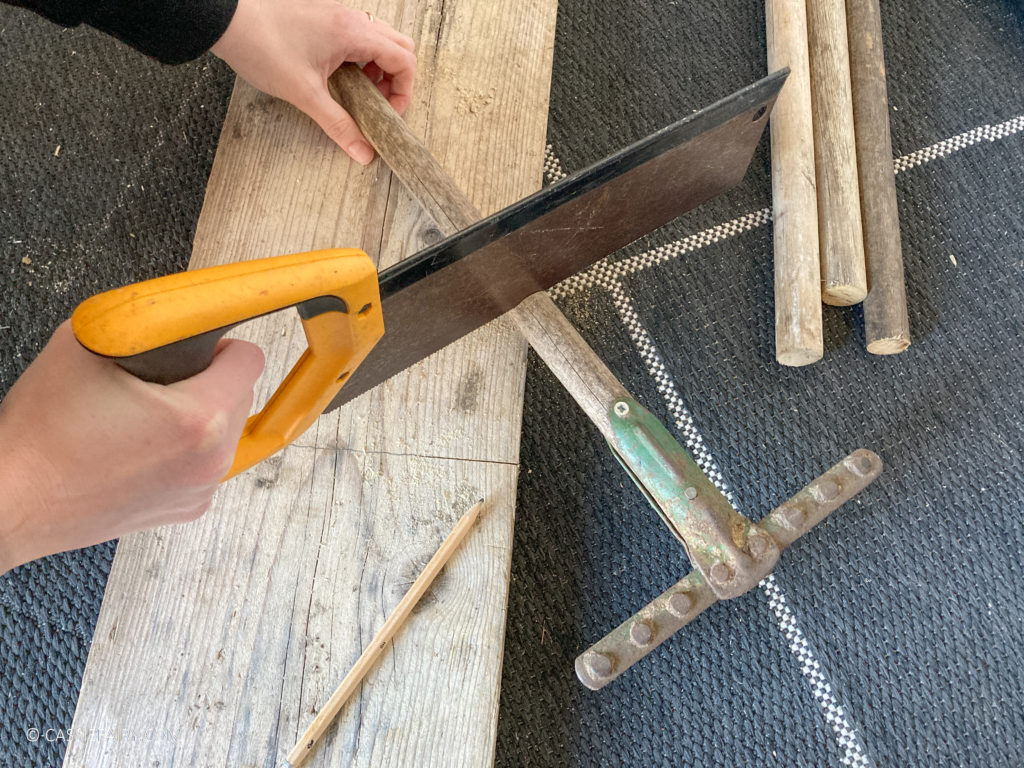
STEP 2
Cut old broom handles down to the height you want the bath stand to be. Don’t go too high or the unit will topple over! I opted for 45cm high so that, once the top and bottom planks have been added, it would be around 50cm high, which is ideal for me to access my tea from the bath!
STEP 3
Sand down all the pieces of timber until the surface is completely smooth. I tried to round out the edges and corners of the scaffold boards to create a driftwood style finish for my bathroom.

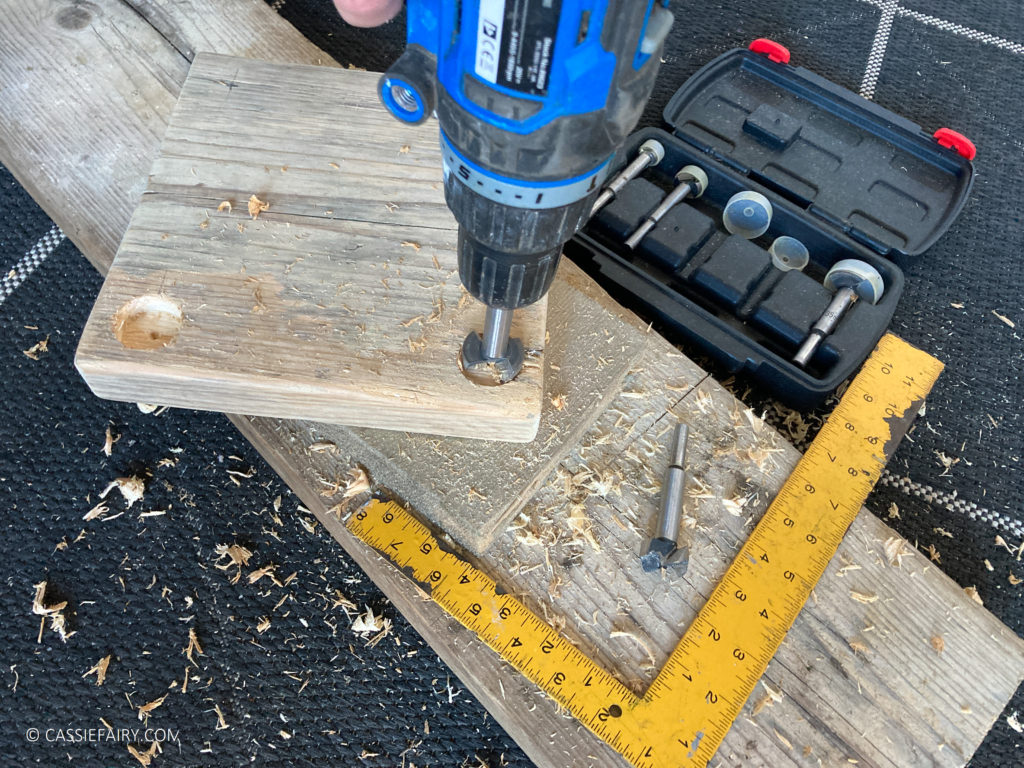
STEP 4
Select a hole-cutter or Forster drill bit that’s the same diameter as the broom handles and use this to make holes in the corners of the scaffold board pieces. Be sure to measure an equal distance in from each corner to ensure the wooden dowel pieces will be straight when fed through the holes. For the top shelf, you only need to drill the holes half-way through the underside to create a ‘pocket’ for the broom handle to sit in. Likewise, the bottom shelf needs the holes to be drilled only half-way down on the upper surface. The central shelf needs the holes to go all the way through the timber.
STEP 5
Sand down any rough edges around the holes and feed the broom handles through the central shelf. The holes should be a very tight fit, so you may need to use a rubber mallet to gently encourage the wood to move down into the centre of the upright supports. At this point, you can add a small screw into the dowel at an angle on the underside of the shelf to give it more support.
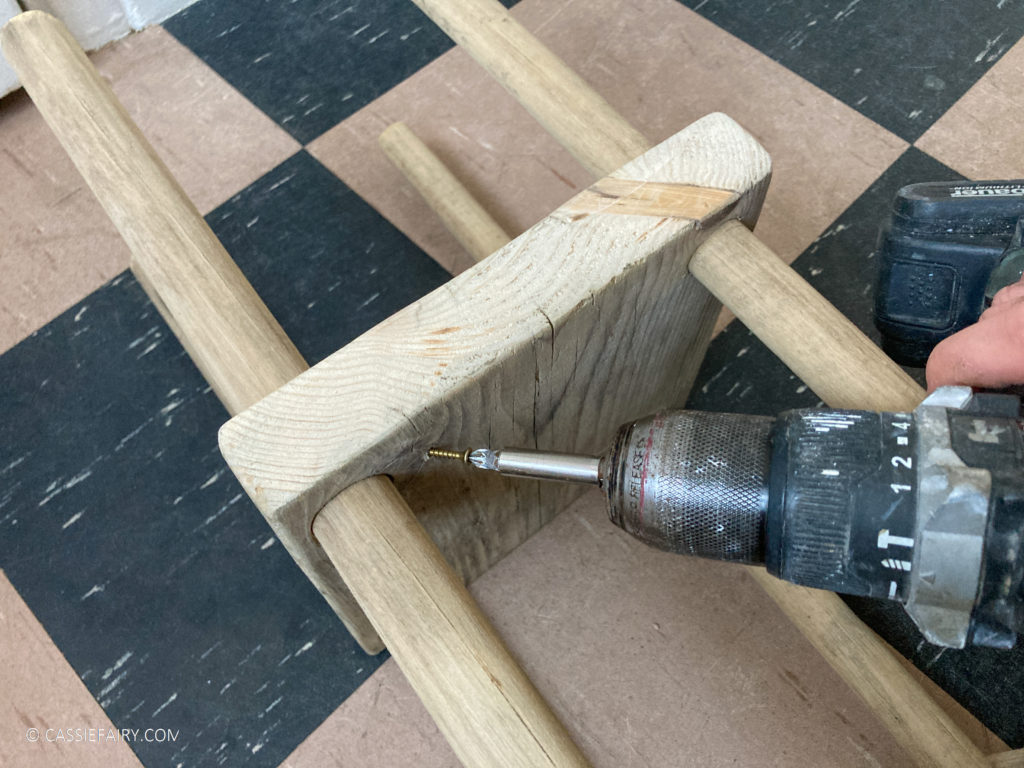
STEP 6
Add wood glue into the holes at the top and bottom and position the dowels into the holes. Wipe away any excess glue and allow to dry thoroughly. Again, you can screw up through the base of the scaffold board into the dowels but make sure that the screw heads are counter-sunk into the wood and aren’t protruding at all, as this will scratch your floor.

STEP 7
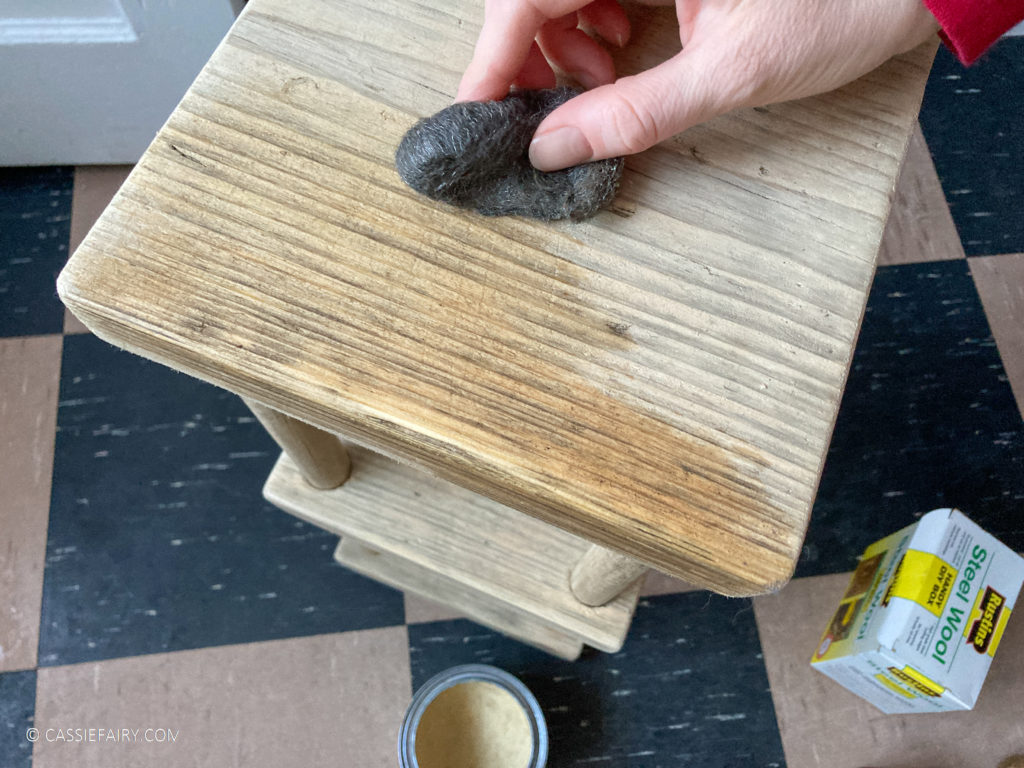
Wax or paint the entire unit, or you could add a contrasting colour to the uprights – just make sure you mask off the shelves if you want to attempt this. I decided to use wax to keep the natural driftwood-style finish of the wood. Adding wax creates a water-resistant surface so you can also add clear wax or varnish over the top of the paint to protect it.
I’m so pleased with how this little bath-side unit has turned out. I really wanted to create something with a coastal vibe and as soon as I spotted those broken and split broom handles in the shed, I knew they would be ideal for upcycling in this project. And now I can finally have a relaxing cup of mint tea in the bath, yay! Let me know if you have a go at making a little bath storage unit for yourself and I’d love to see your photos so please tag me @Cassiefairy on Instagram when you’ve made your own 🙂
PIN IT FOR LATER


2 responses
Hi Jessica, thanks for your comment! Oh gosh, I don’t remember which brand the drill bit is – it was from a multi-piece set that I got many MANY years ago. I sometimes split the wood too though – I think it’s because I’m using old bits of pallet wood and rough scaffold boards haha! 🙂
Thanks for the tutorial! Would you mind sharing which brand of Forster bit you’re using and what setting to use on the drill? I always seem to split the wood with the spade bits/ hole saws I have, and I’ve been meaning to get better bits and learn to do it properly.