I’ve always thought that the space inside cupboard doors is a wasted opportunity. They could be used for storage, to keep important things to hand, or could even just be painted with a bright tone to add a pop of colour to the room. Sure, I’ve used those over-door hooks (that never really fit and take a chunk out of the door frame!) to hold coats and I’ve even tried pocket organisers inside my wardrobe to hold shoes etc, but it all seems a bit ‘flappy’ and not particularly aesthetically pleasing either!
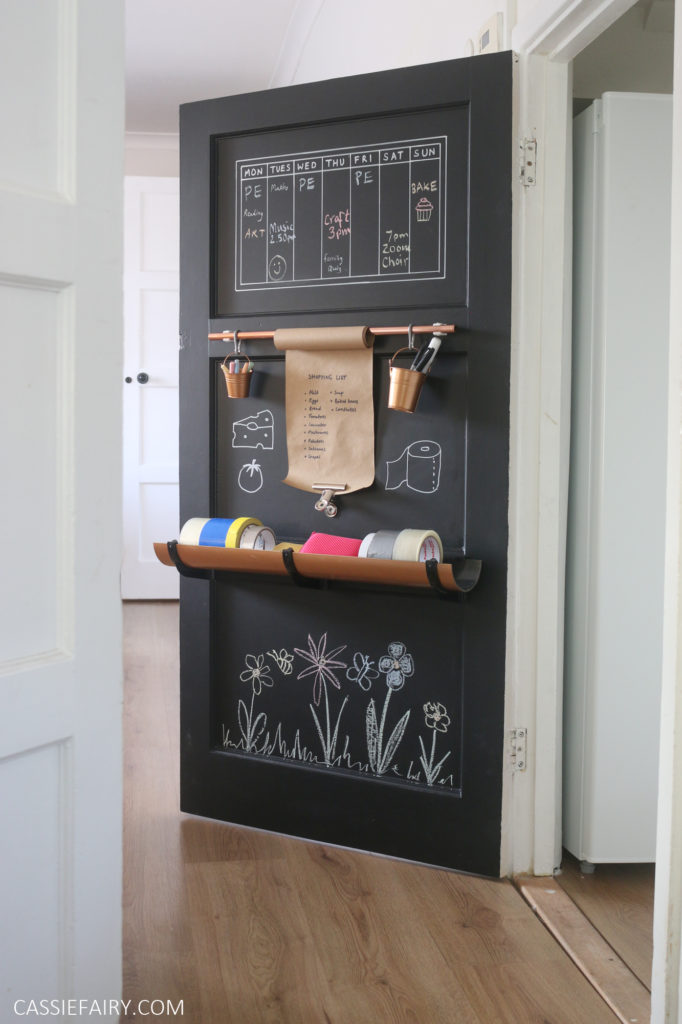
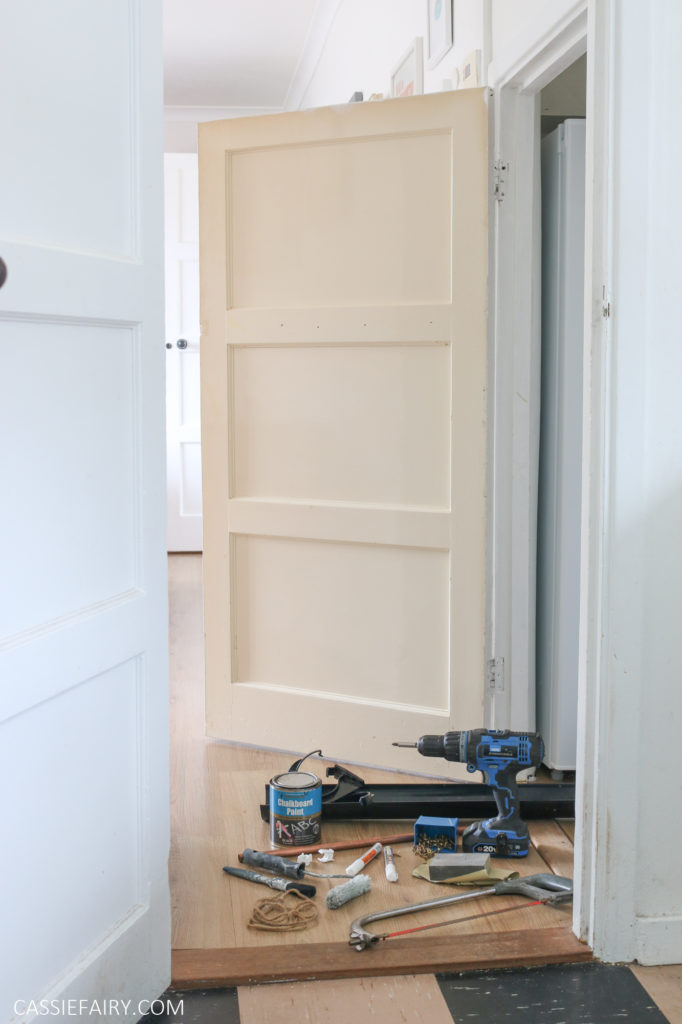
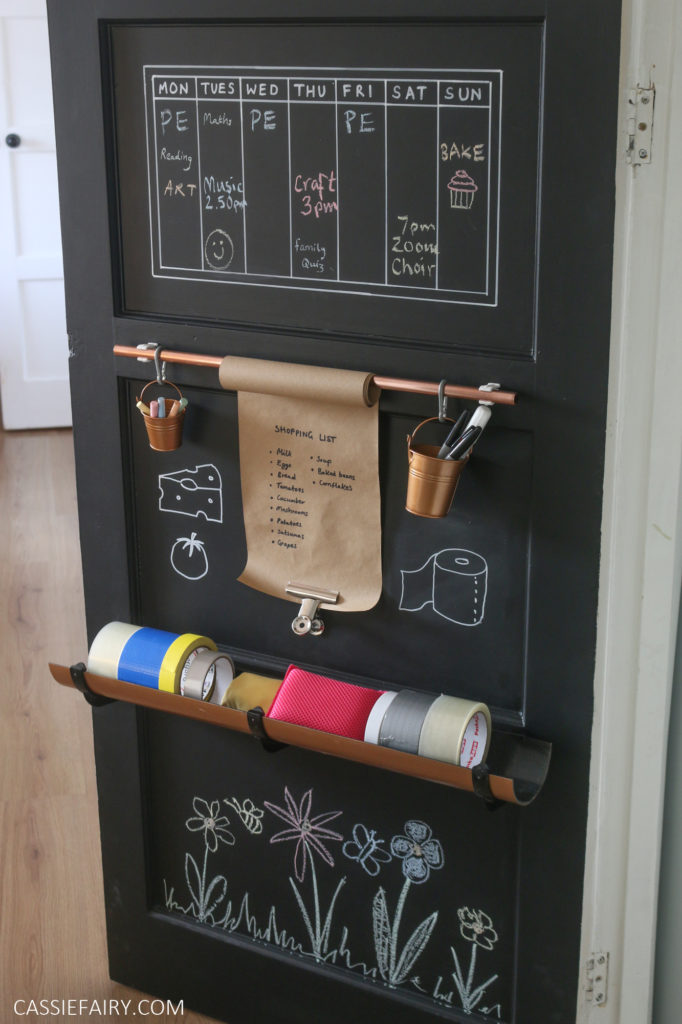
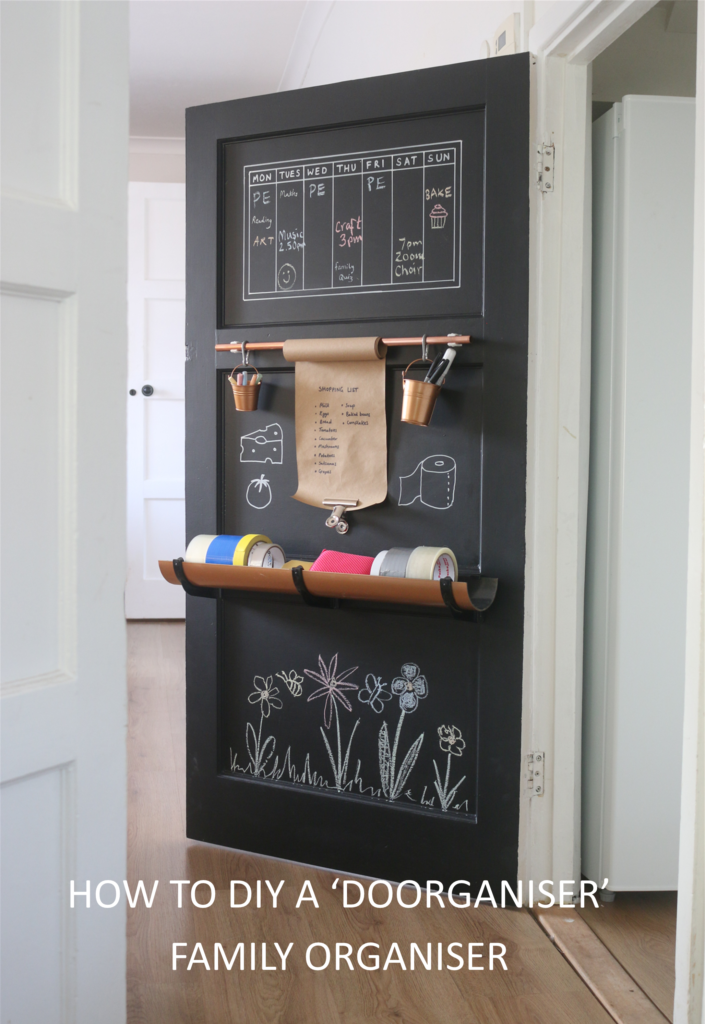
Which is why I decided to make the most of the inside of the understairs cupboard by transforming to the door into a ‘doorganiser’ (thanks to my husband for the pun)! It’s simply a space to hold anything you need to find easily and to keep your essential notes and shopping lists in one place. You can create this storage zone inside the doors of any built-in alcove cupboards, under the stairs or even on the kitchen door. As long as there’s no chance of anyone getting injured or items getting damaged, you can choose to create a door organiser wherever you like.
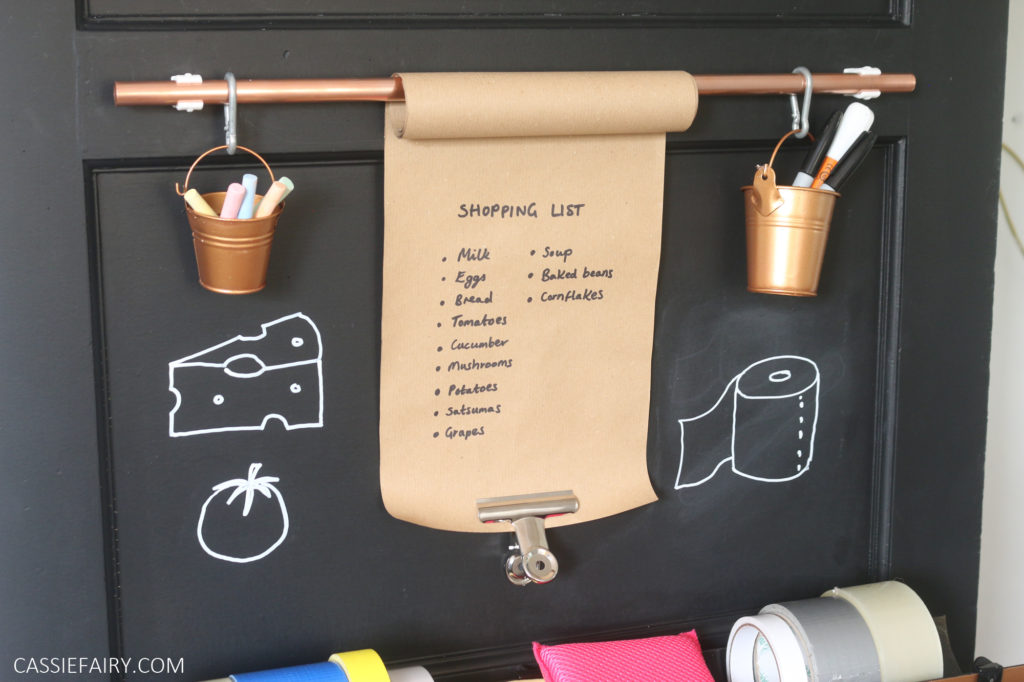
Chalkboard paint is really useful for creating a surface you can draw and write on, or you can simply add a physical calendar and a roll of paper if you’d prefer to use a brighter colour paint. I’ve teamed up with home improvement experts ManoMano to show you how to revamp your cupboard doors and make this useful family organiser yourself.
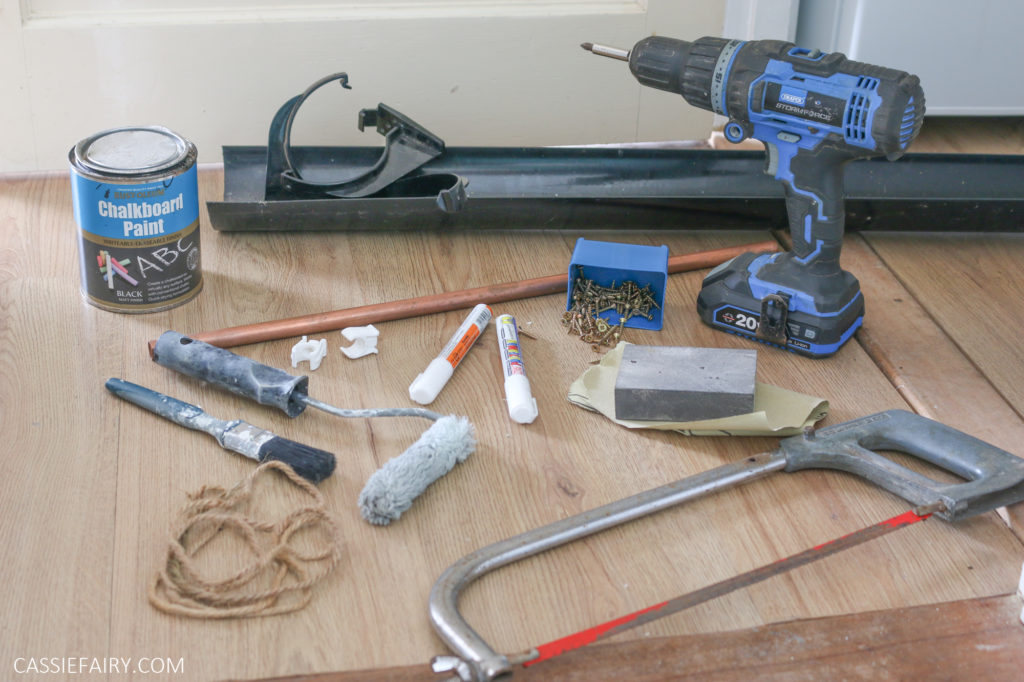
I love to make use of things you’d usually find in a skip, so I never throw anything away. I rummaged in the shed to find some items to repurpose for this project, including an old piece of guttering and some leftover copper pipe from our bathroom renovation. You can use anything you have to hand – a piece of pallet wood to create a narrow shelf, empty tubs to hold chalk and pens, an old broom handle, and so on.
Here’s how I transformed my door into a handy space for keeping my family’s activities and items organised:
YOU WILL NEED
- Chalkboard paint
- Paintbrush or roller
- Sandpaper
- Old guttering and leftover guttering clips
- Old copper pipe and pipe clips or wooden doweling
- Hand saw
- Coloured or metallic spray paint
- Screws and screwdriver
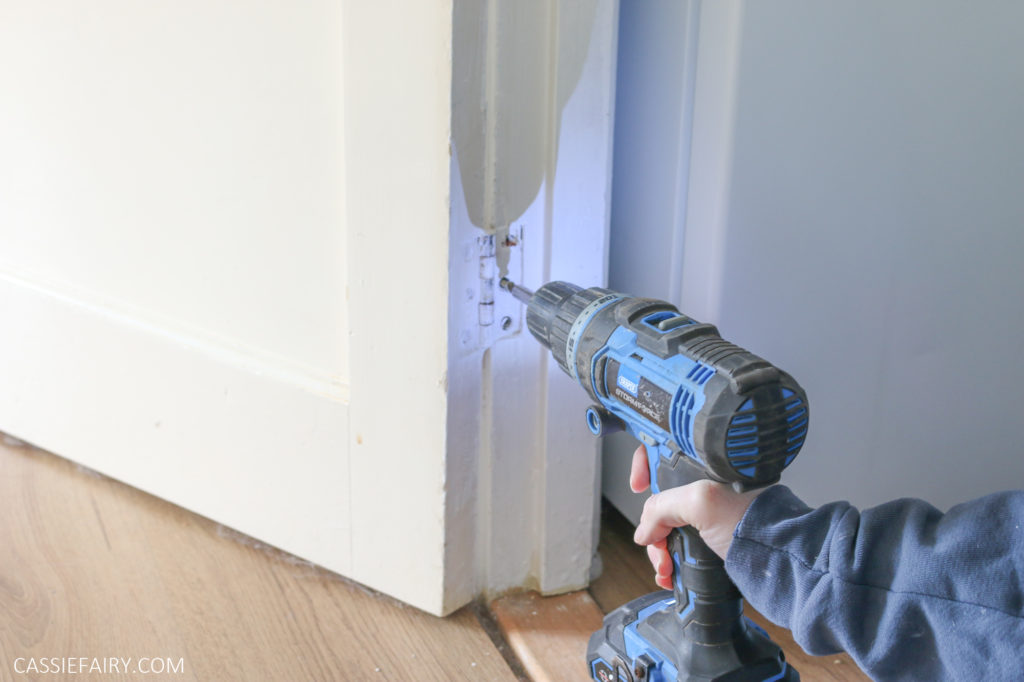
STEP 1
If your door is quite lightweight, you can use a screwdriver to remove the door from the frame so that it’s easier to work on it. Alternatively, you could simply paint the door in position if you wish. Just make sure to cover the floor and surrounding areas to avoid drips and mess.
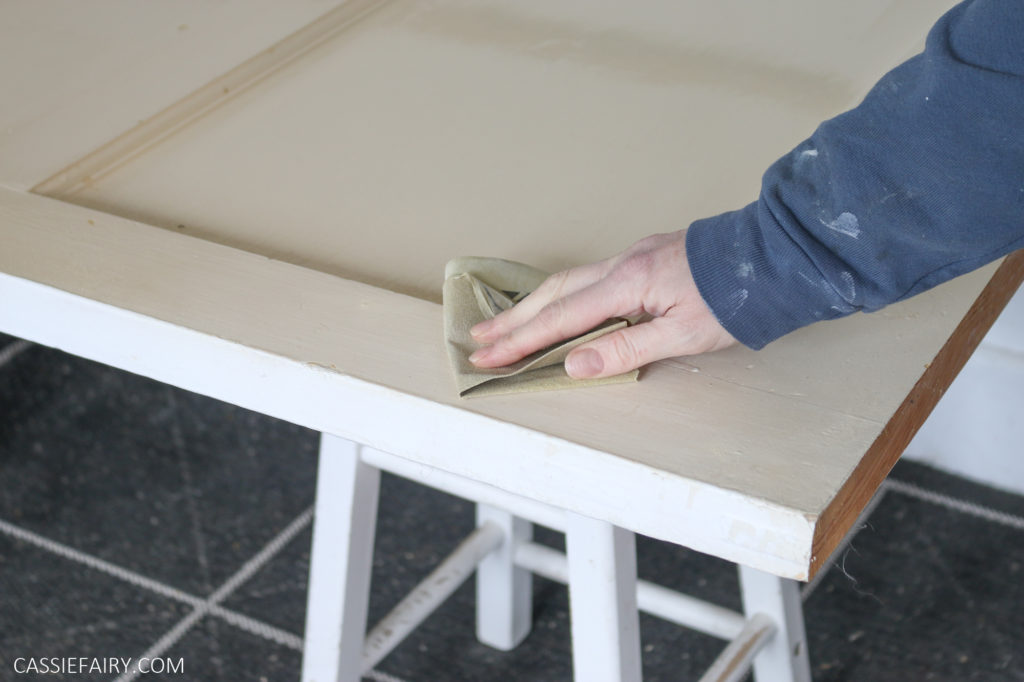
STEP 2
Sand down the surface of the door to provide a ‘key’ before painting with chalkboard paint. Make sure you wipe away the dusty residue from sanding before you start to paint.
STEP 3
Add two or three thin coats of chalkboard paint, allowing each layer to dry completely between coats. Follow the instructions on the chalkboard paint you’re using, as some paints require sanding between coats.

STEP 4
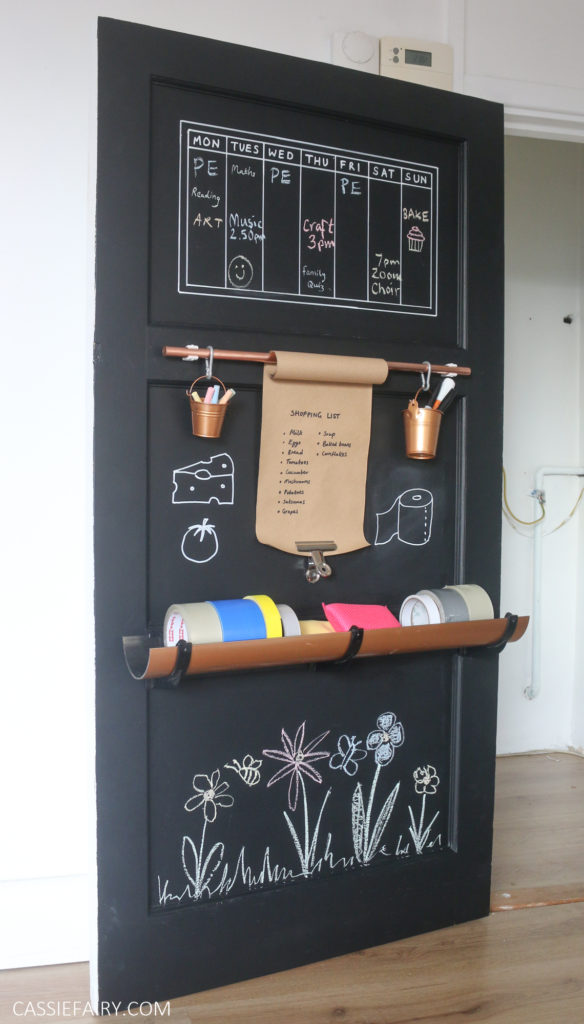
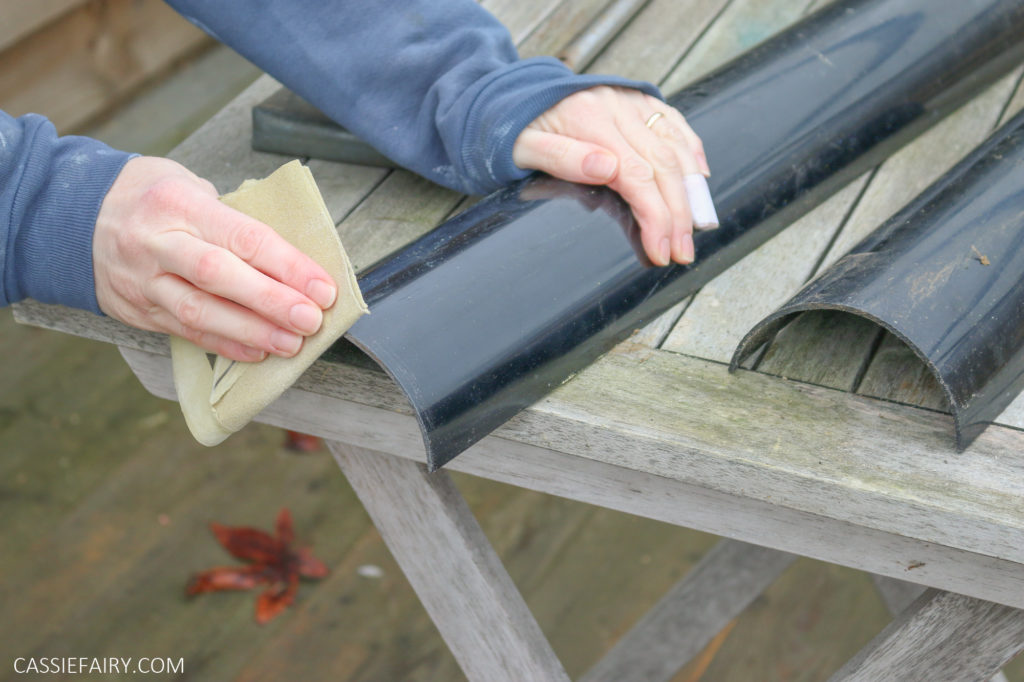
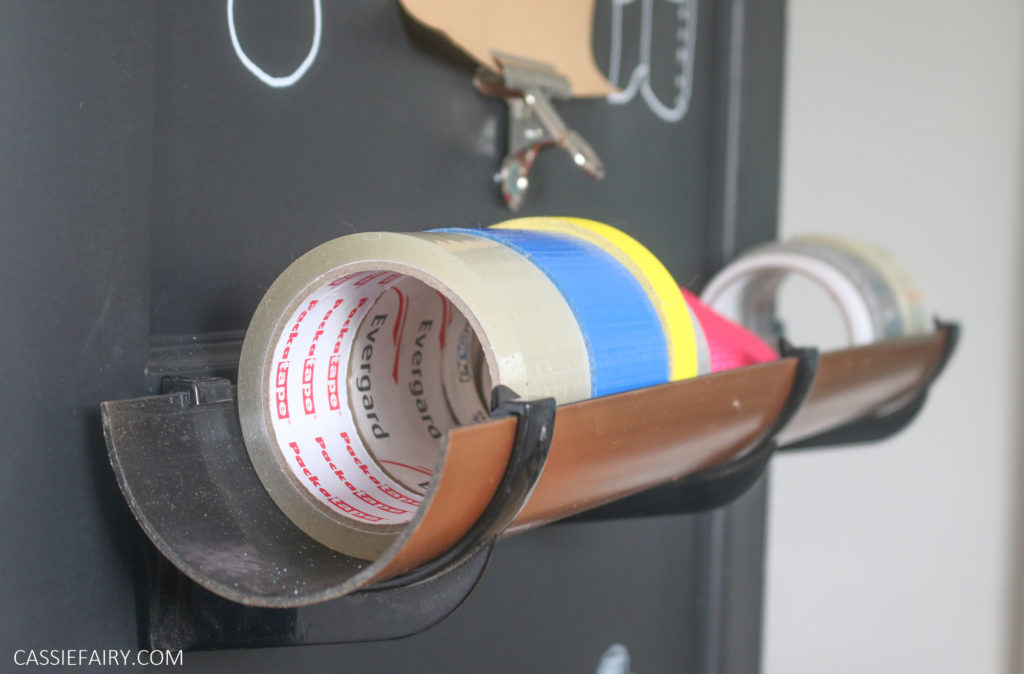
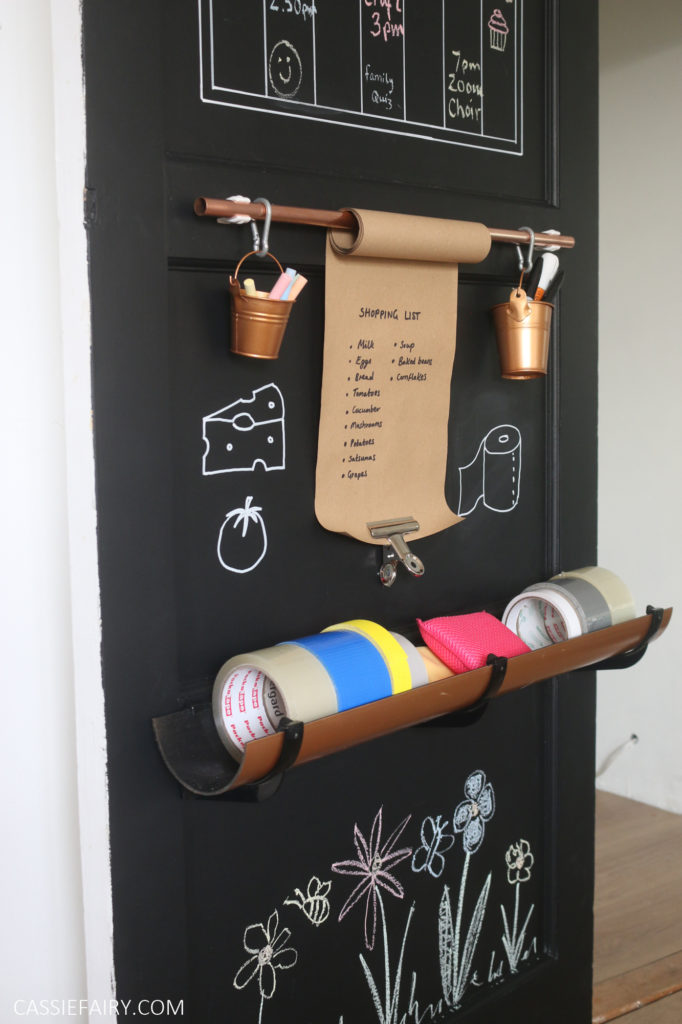
To create a shelf or ‘pocket’ for holding tape and chalkboard sponges etc you can use an old piece of guttering. Measure the width of your door and subtract a few centimetres from each side to ensure that the door can still close once fitted. Cut the guttering to length and then sand down any rough edges on the guttering so that it is completely smooth.

STEP 5
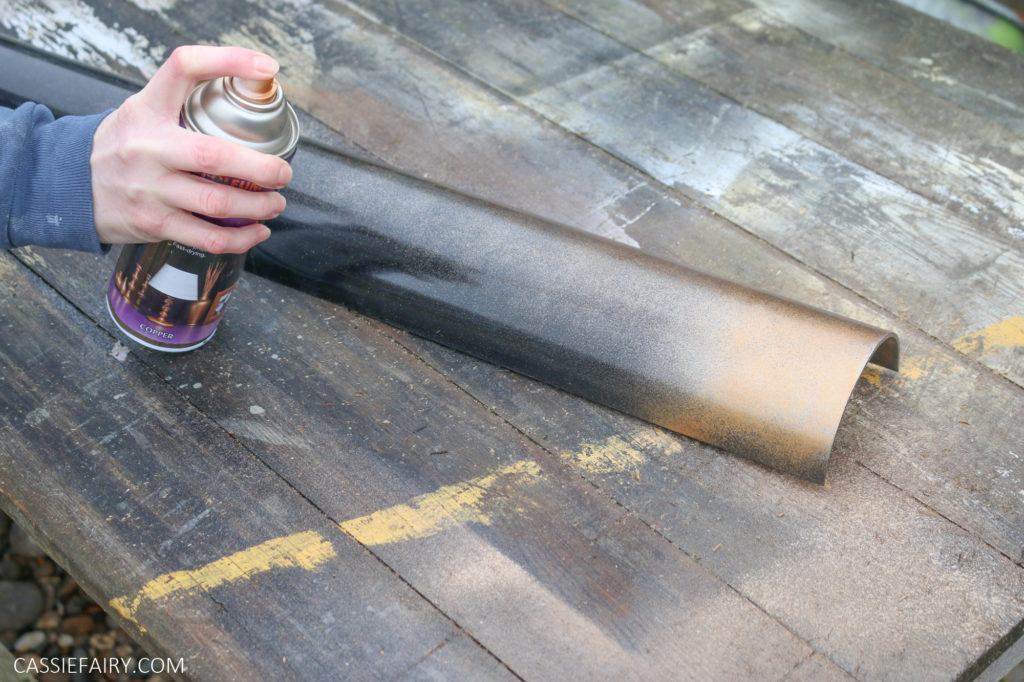
Spray paint the gutter in your choice of colour. I chose metallic copper to match the copper pipe I’m going to use to add a roll of paper. Again, it’s better to do multiple fine coats of spray paint (allowing each layer to dry) rather than one thick coat, which may create drips. Spray paint any other handy holding items like little buckets or pots with the same paint.

STEP 6
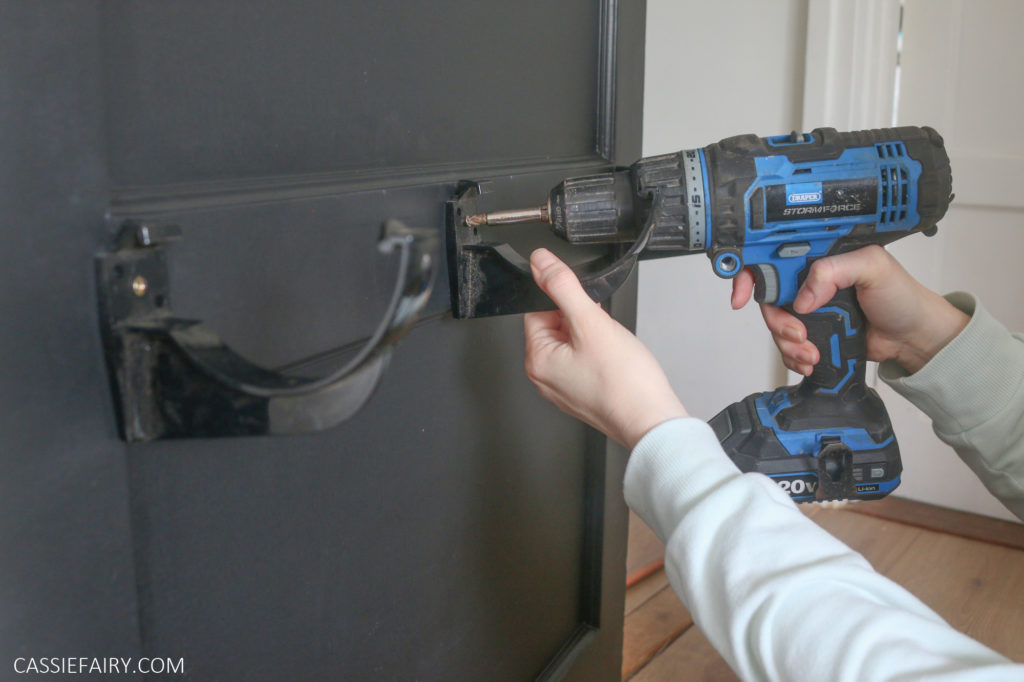
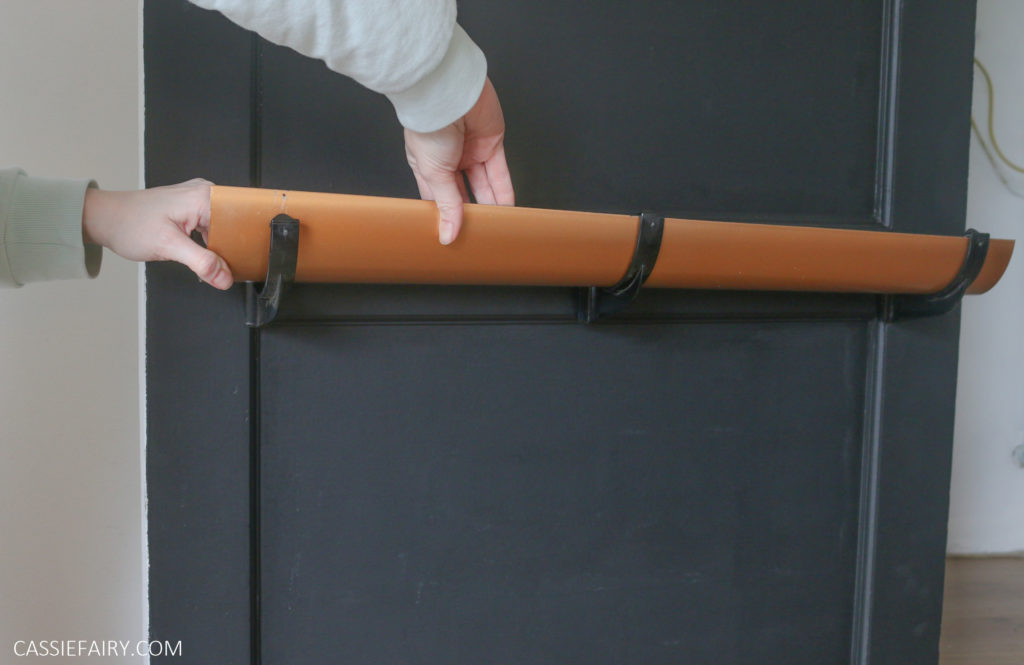
Screw the gutter clips into the door where the panel is thickest and then pop the guttering into place inside the supporting clips.
STEP 7
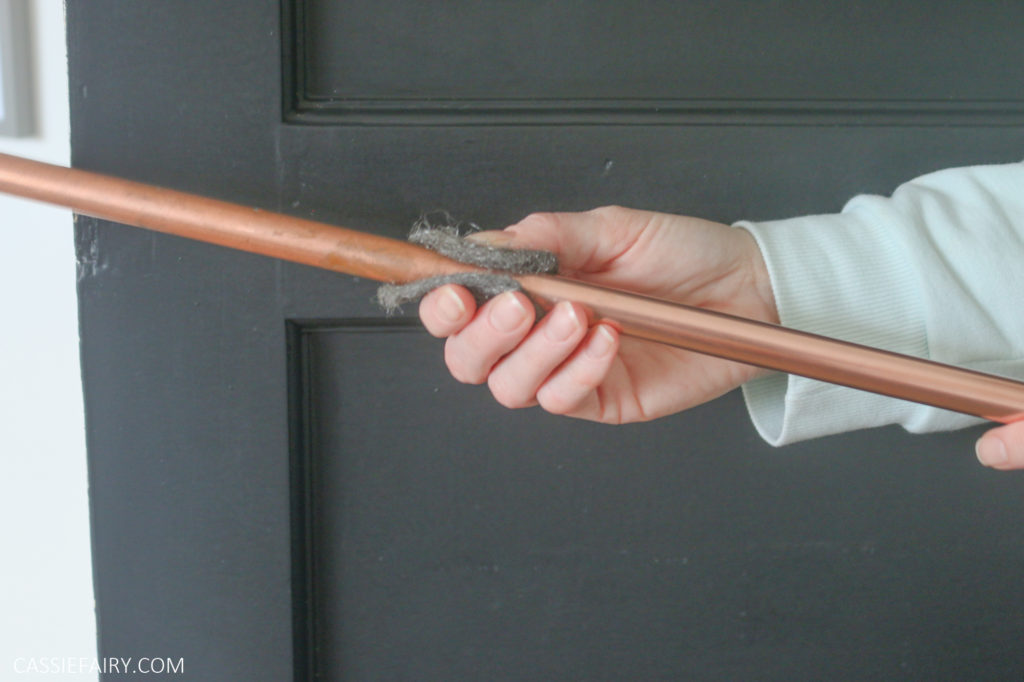
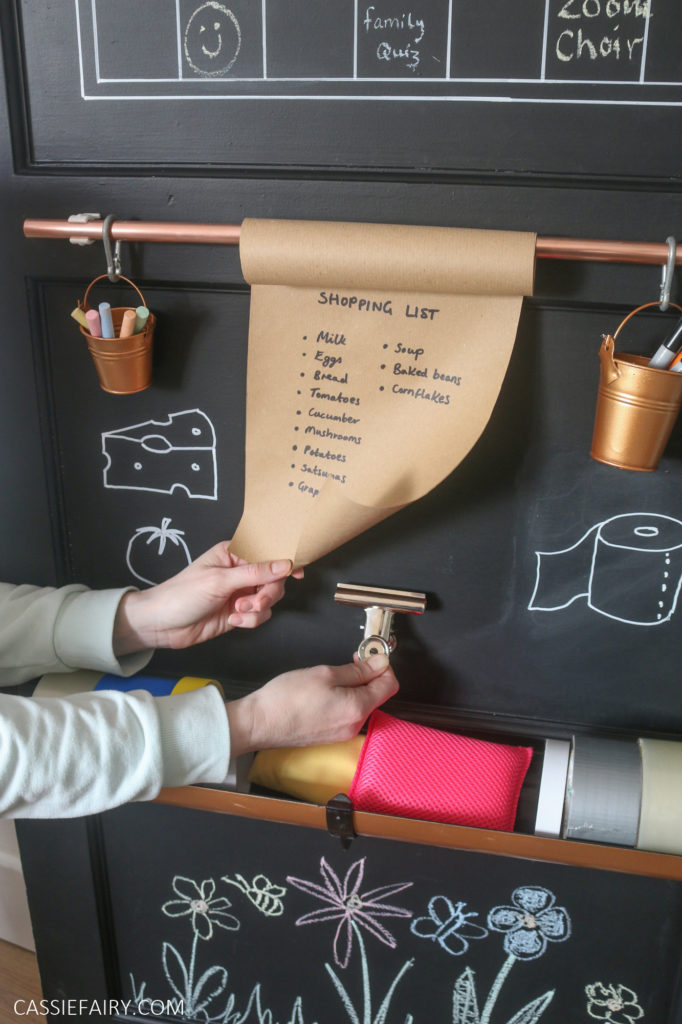
Cut a piece of copper pipe or wooden dowel to the right width for the door. Sand down the surface (which makes copper really shiny!) and then seal with paint or, if you’re using copper, clear spray varnish. Screw pipe fixings into place on the thick part of the door panelling. Add a roll of paper and little buckets or hanging pots to hold chalk and pens.
STEP 8
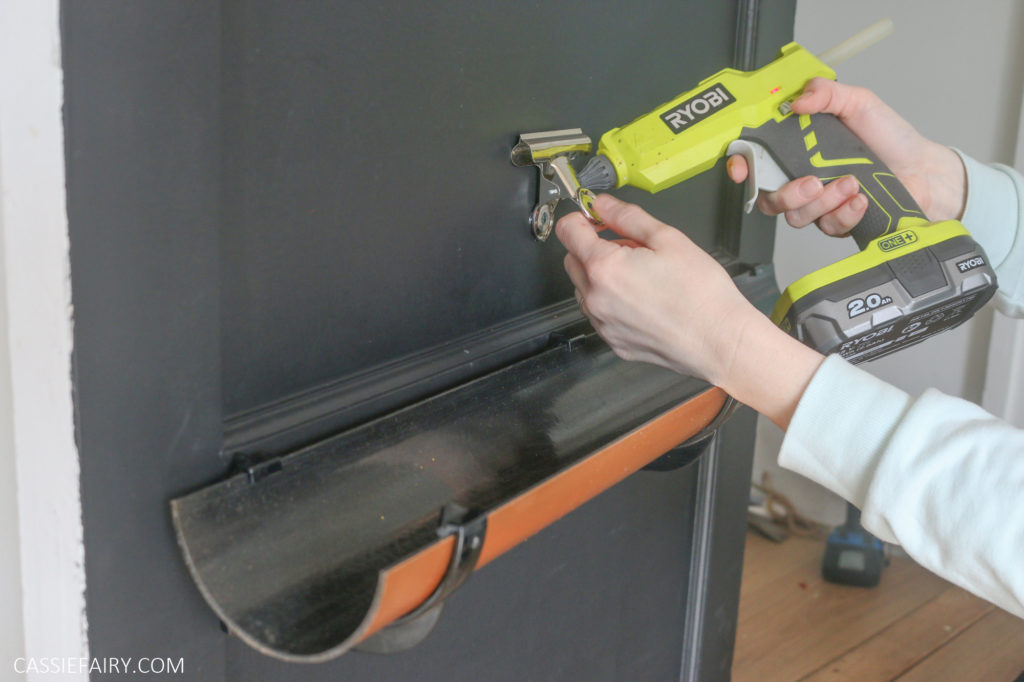
Use a glue gun to attach a bulldog clip to the door using hot glue. This will hold the end of the paper roll in place, ready for you to write out to-do lists and make a note of your food shopping.
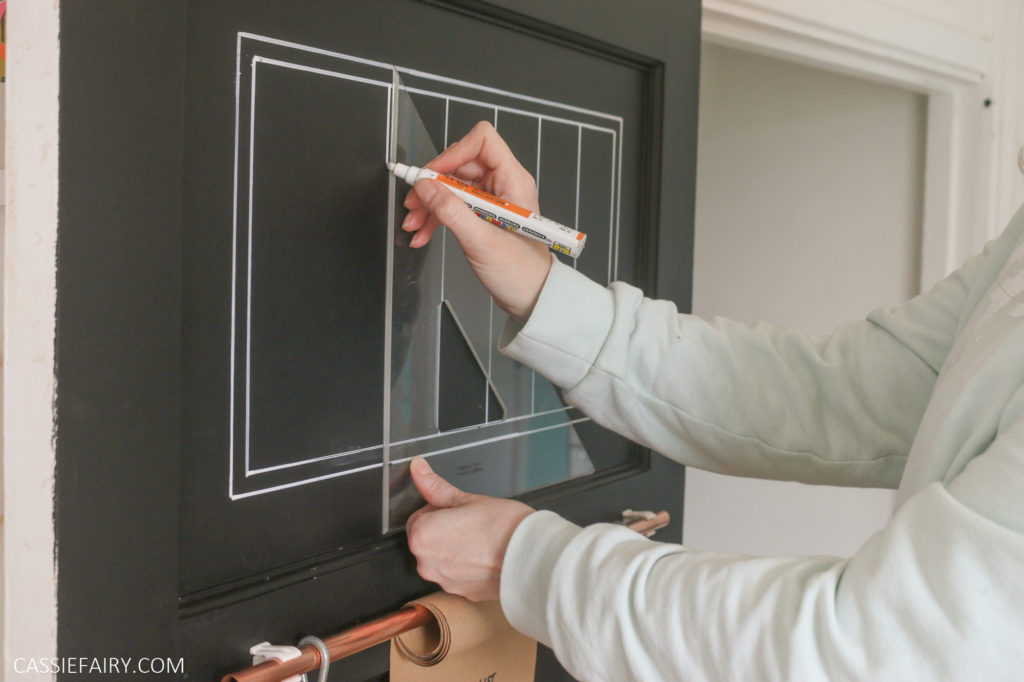
STEP 9
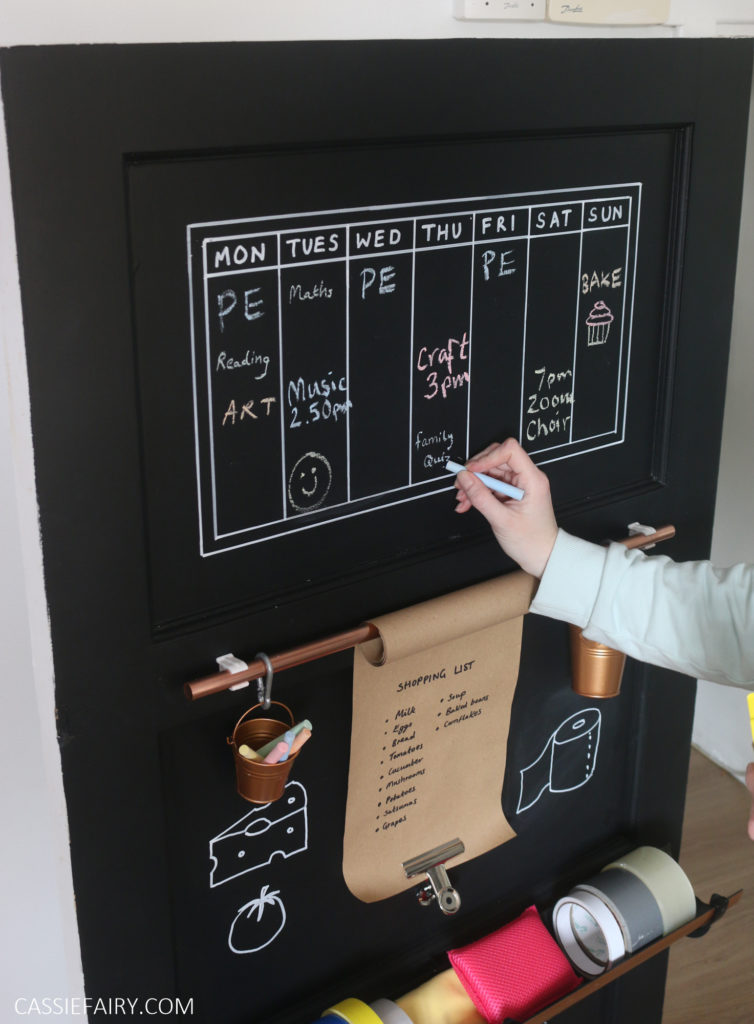
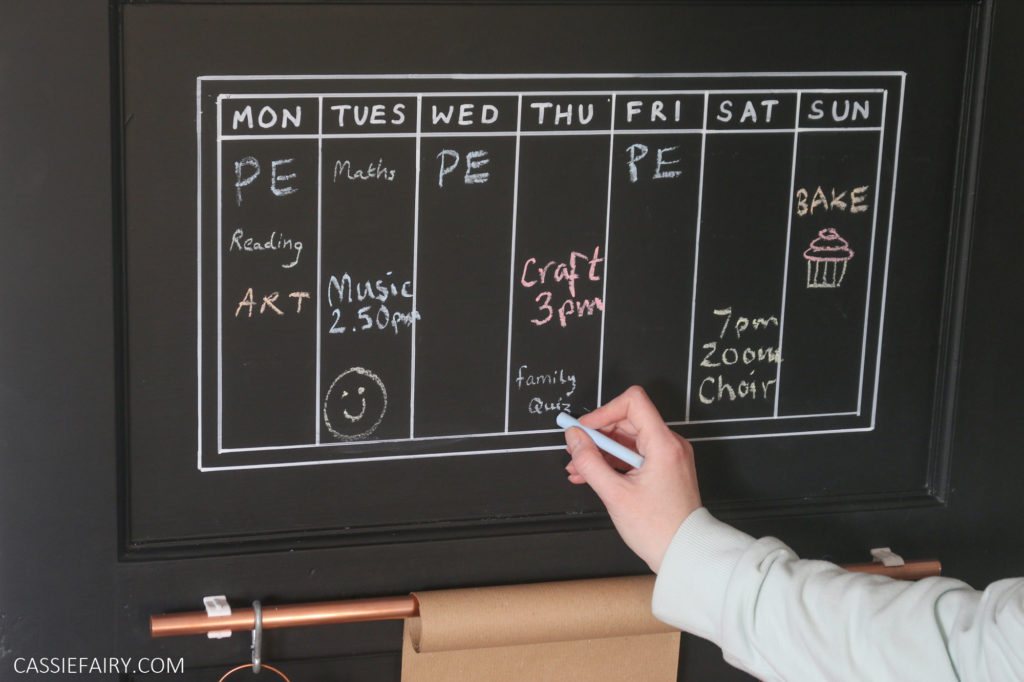
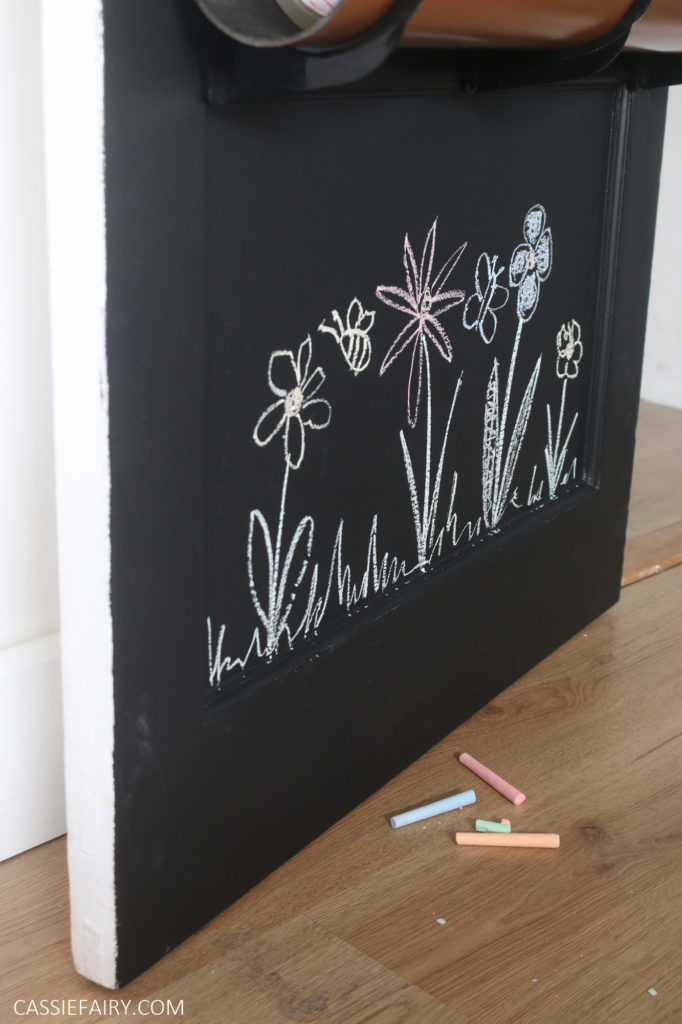
Use a white chalkboard pen to draw a grid on one section of the door. This can be days of the week or a monthly calendar. Then you can use normal chalk to add activities and plans, as this can easily be rubbed off with a dry sponge at the end of the week.
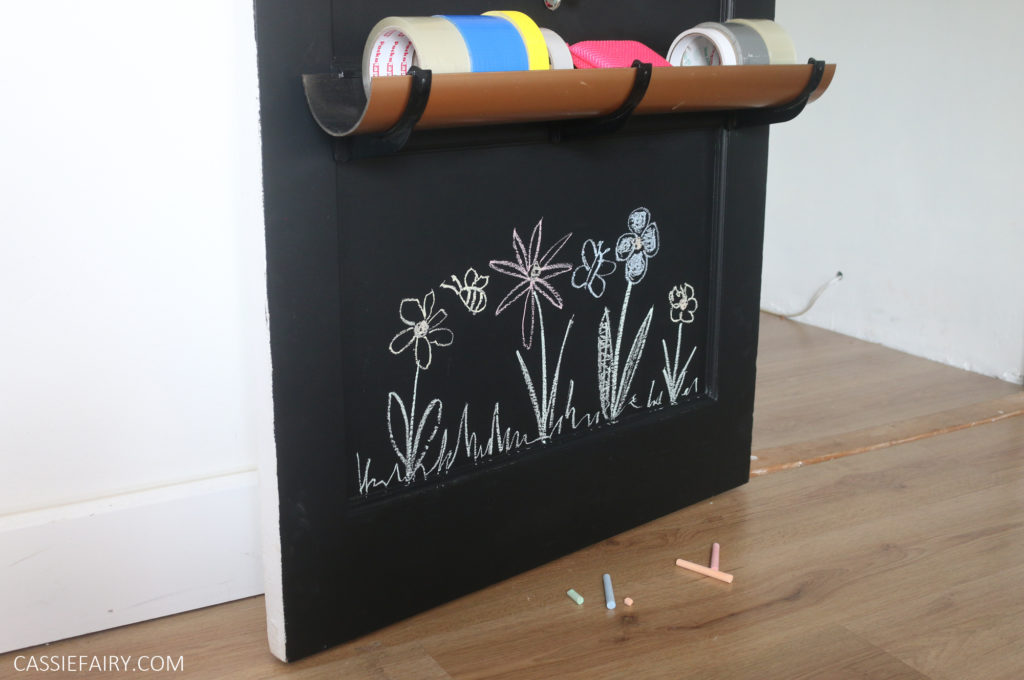
The possible uses of the doorganiser are endless. Children will love scribbling and drawing on a blackboard, so you could always use non-toxic chalkboard paint on the inside of their toy cupboard. Teenagers could create an organising space on their bedroom door to hold their revision timetable and a small enclosed shelf (like the spice rack I used in my office) to hold textbooks. And adults could keep track of office tasks while working from home by adding a planner to the door of their alcove desk.
I hope you enjoy DIYing this family organiser and please share photos with me on Instagram – I’d love to see what you create so please tag me @cassiefairy.
PIN IT FOR LATER
This article is a sponsored collaboration. The pink links in the content indicate a sponsored link or information source. The blog post reflects my own experience and the sponsor hasn’t had any control over my content 🙂


