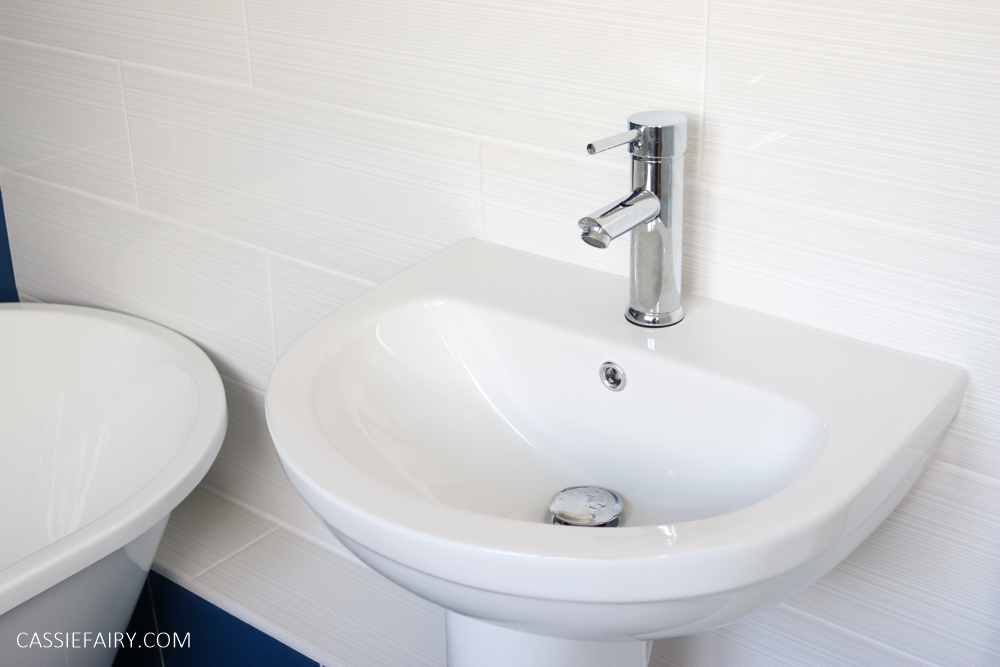
When I was writing my blog post about ways to spruce up your bathroom for summer yesterday, I remembered that I haven’t yet shared the “finished” photos of my bathroom renovation with you. I’ve put the word finished in quotation marks because, while all the plumbing, tiling and painting might be finished, I still need to get some essential accessories to really finish off the room. Do have a look at our before and during photos to see how the bathroom used to look – looking back at this reminds me just how far we’ve come even though it’s not entirely ‘finished’.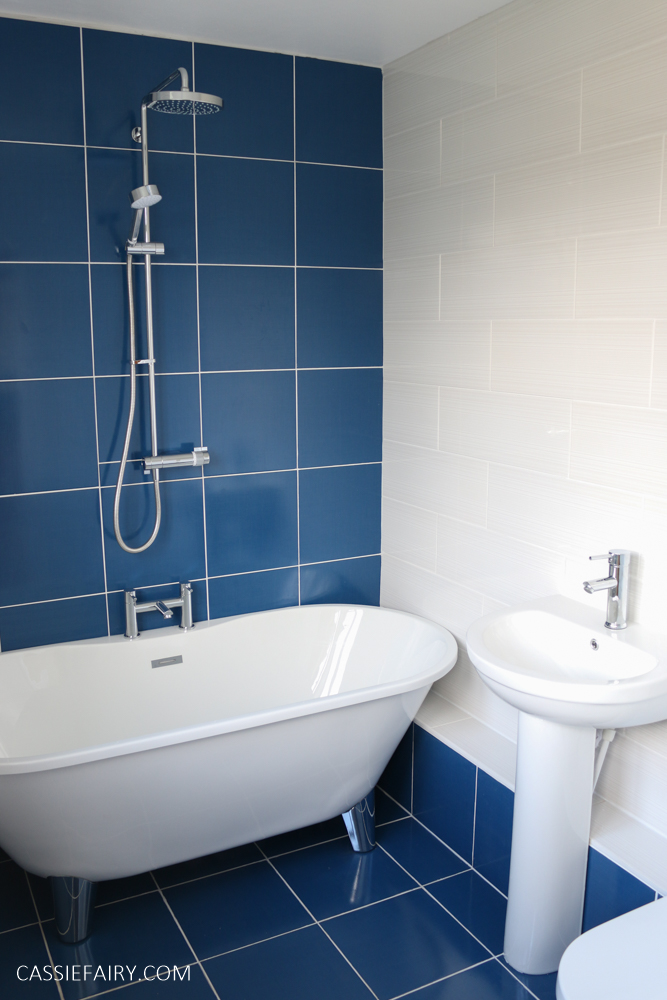 Nonetheless, I wanted to share these photos with you so that you can see how the room looks now that the new bathroom suit and tiles have been installed. We bought the tub, sink and loo (with all taps and wastes included) from the Better Bathrooms sale back in January for £300. This has since more-than doubled in price, so I’m pleased we invested during the sales.
 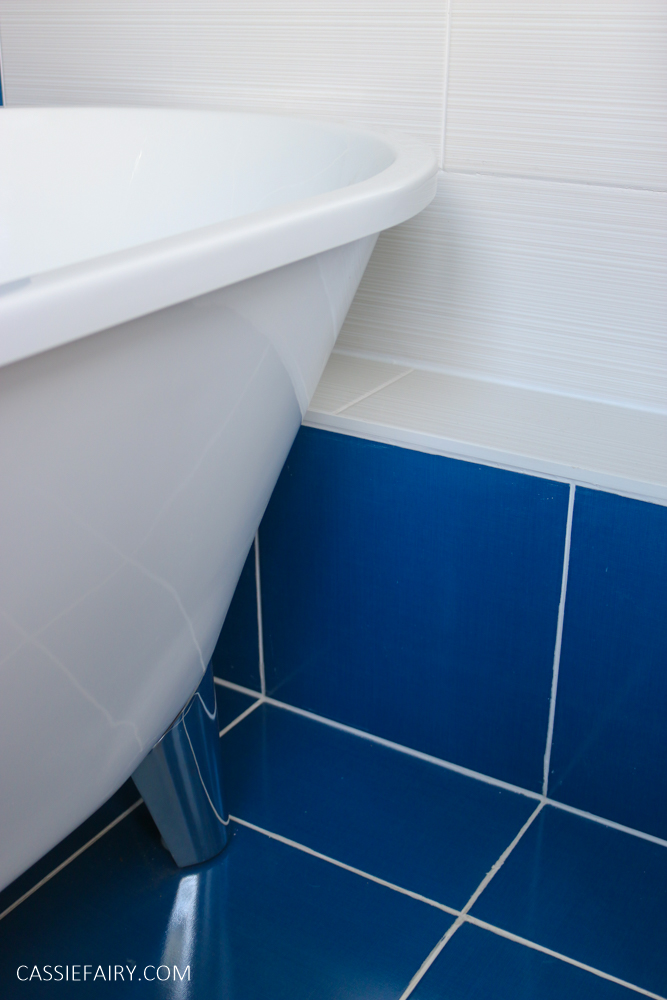 The suite was delivered in February but we didn’t get a chance to start installing the bathroom until the Easter holidays. We knew we couldn’t live in the house without a look, so we took advantage of this time off to take out the old bathroom and start plumbing in the new one.
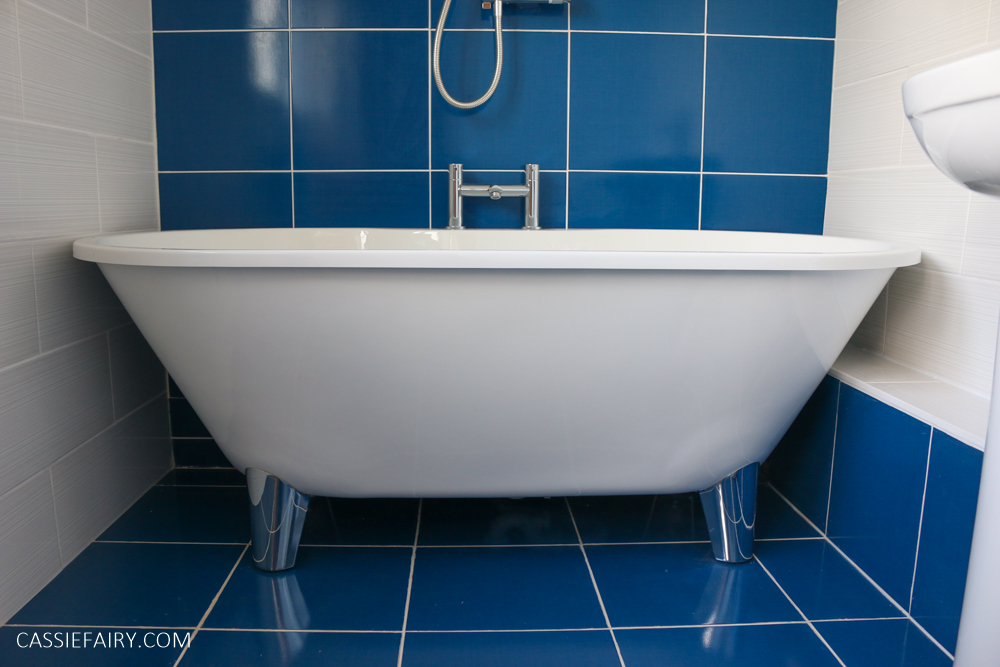 This involved changing the layout of the bathroom completely, so all-new plumbing was required. The bath was a smaller-than-average size, which meant that we can fit it across the width of the room, creating that dreamy spa-hotel design that I’ve coveted for years. Even though the tub is shorter than a usual bath, it’s wider and deeper so it really is a little too big for me – I feel like I’m in a swimming pool!
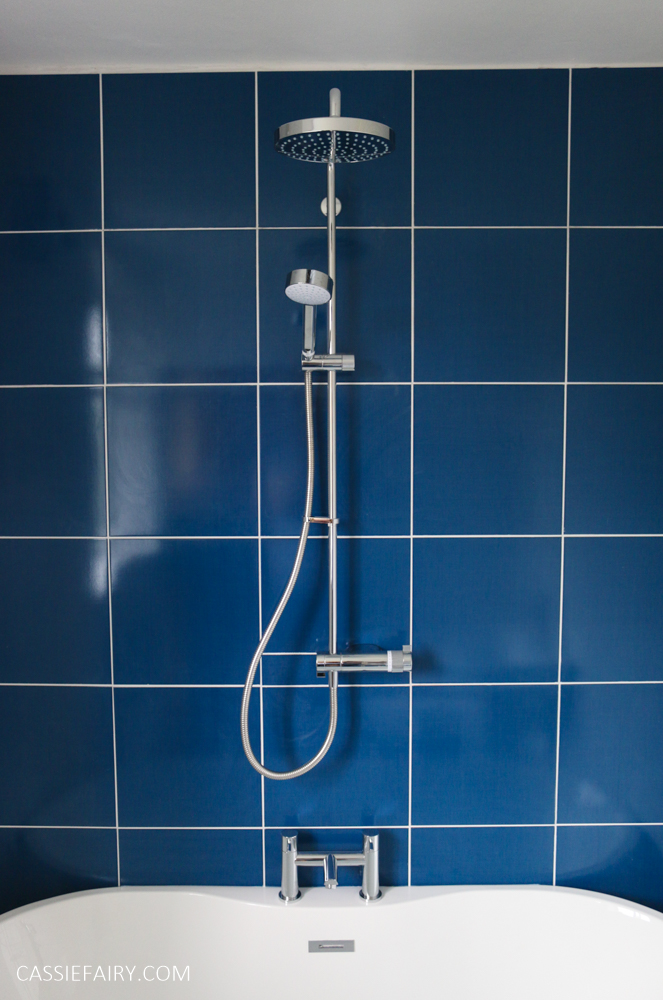 Even though the room is fairly small (more so after we built the false wall to contain all the shower plumbing behind the bath) I didn’t want to go for plain white tiles just to make the space look bigger. I hoped that dark blue tiles running across the floor and up the back wall would draw the eye into the full depth of the room and, now that it’s fitted, I think it does exactly that.
 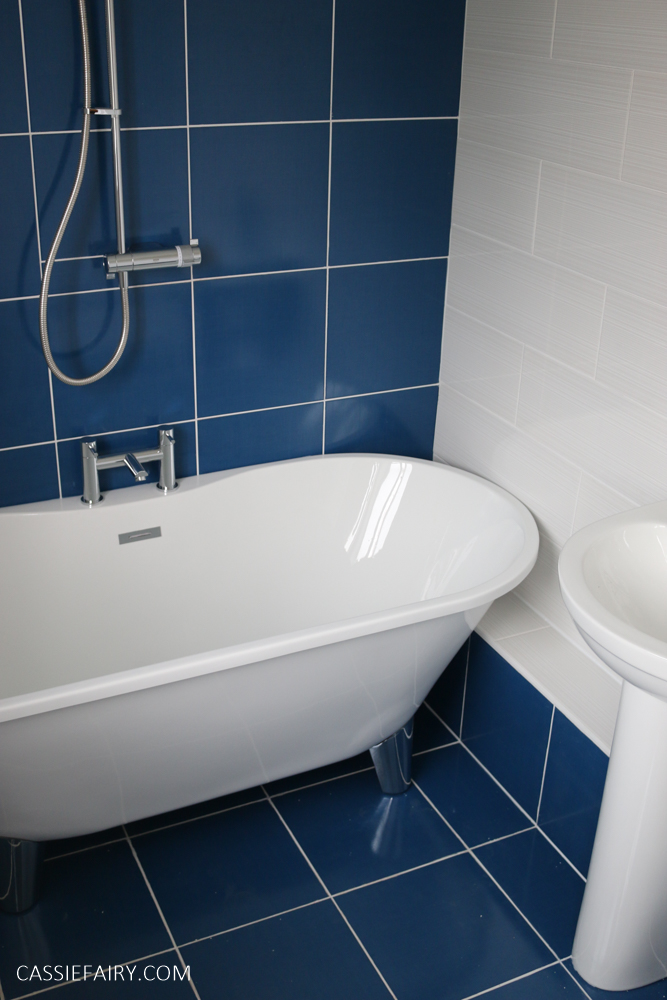 The blue tiles from Tile Trader are suitable for floors and walls and have a subtle textured denim-look pattern on the surface. Having over-sized white metro tiles on the walls either side (with a barely-noticeable striped pattern) makes the space feel wider than it did before, which adds to the feeling of spaciousness created by moving the sink and loo to the opposite side of the room.
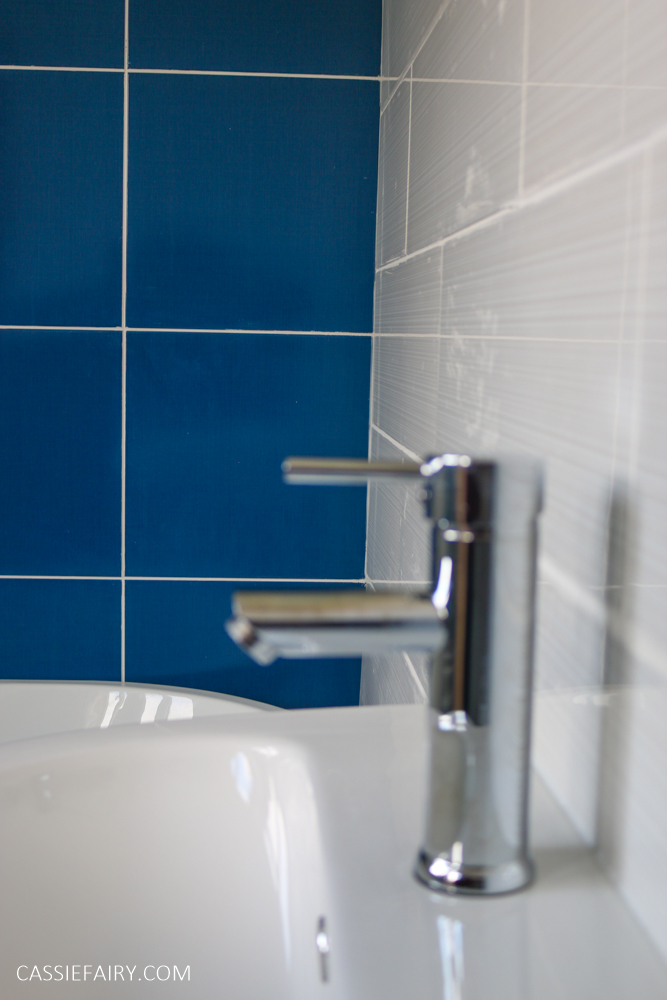 Thankfully, I have a very handy hubby so, even though we’d never plumbed in a bathroom before, we decided to tackle all the plumbing ourselves. I helped with planning out the pipes, making buying lists of all the connectors we’d need and double-checking the layout of the pipework before hubby took over and connected everything together. It’s kind of like constructing a big marble-run, but with a lot more opportunity to get wet if it goes wrong!
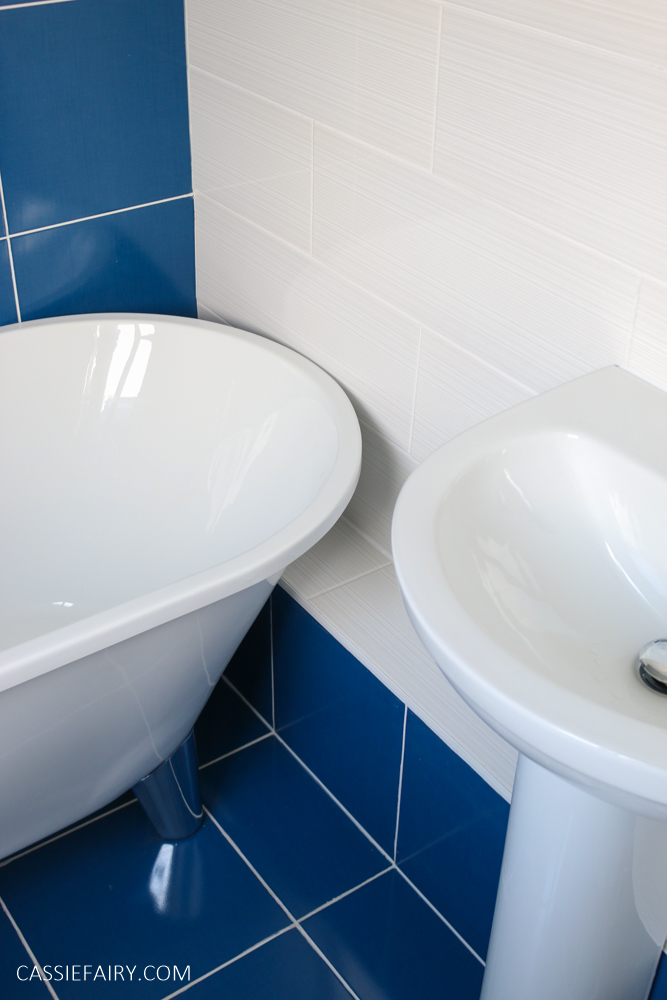 He also changed the old radiator over to an upright heated towel rail (cheapest we found was from ScrewFix) which runs off the house’s heating system. And we installed the Mira shower to run from the hot water boiler too. Yes, we DIY’d a shower and we’d never done it before, but that didn’t stop us from reading the instructions and having a go.
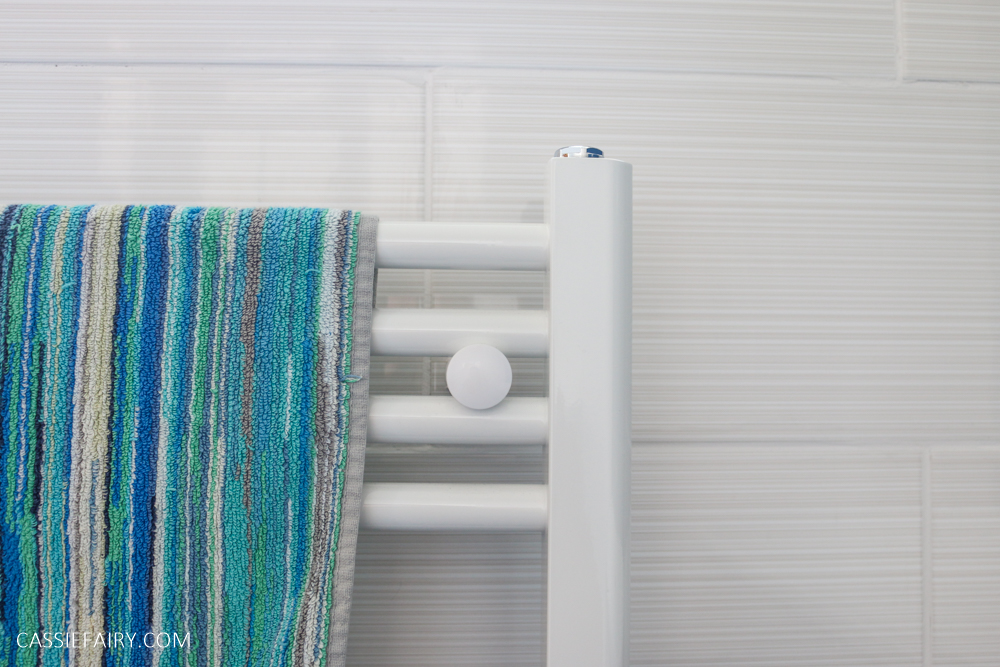
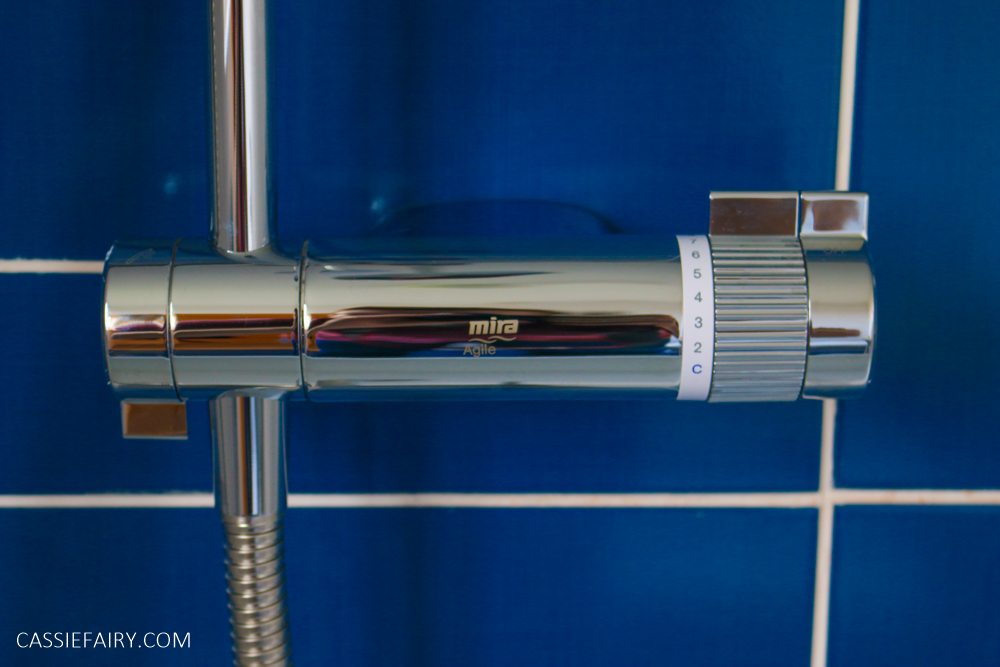
 Thankfully, it has all worked out perfectly – see the step-by-step photos of us installing the shower here – and we have a fully-functioning shower, bath, sink, look and towel rail. Turning the water supply back on was a hold-your-breath moment, I can tell you! So pleased with the result though, and I love the deluge rain shower head – so spa-like!
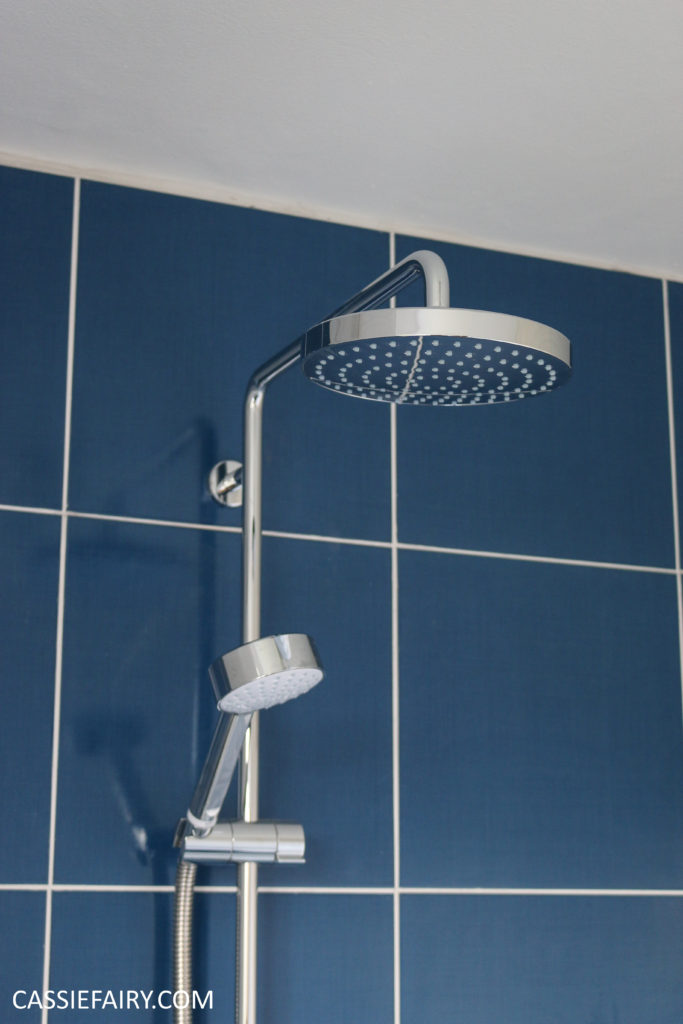 One of the most important things that is still missing from the bathroom is a shower curtain. You may have noticed in these photos that we haven’t yet installed a rail because we’re looking for the perfect oval or U-shaped rail to complement the shape of the bath tub.
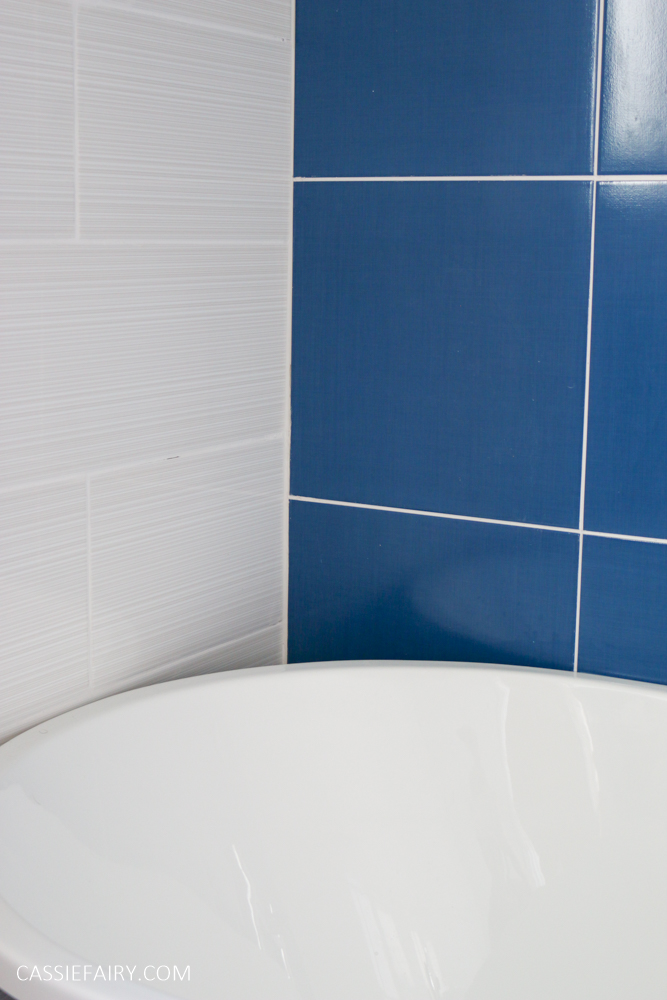 That, and we can’t quite agree on the colour of the shower curtain, and kind of don’t want to cover up our lovely tiles with water-proof fabric. I’m sure we’ll have this sorted soon – let me know if you come across suitable shower curtain rail on your travels!
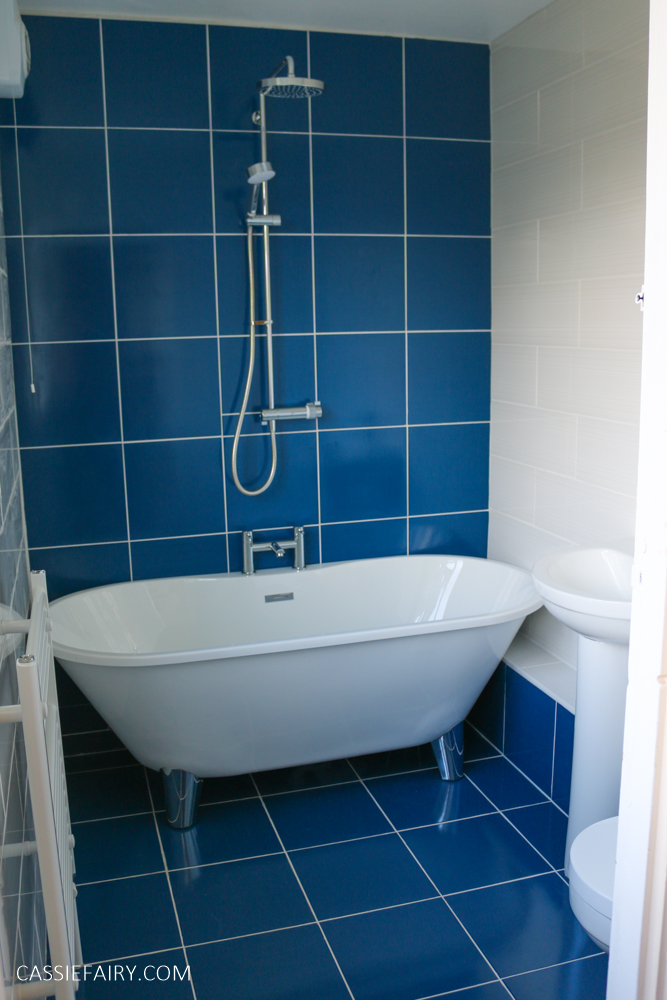 So what do you think of the progress of the bathroom so far? I’m so pleased that the plumbing itself went smoothly, and that is thanks, in part, to us getting a lot of great advice from the team at ScrewFix. Those people certainly know a thing or two about plumbing and gave us the confidence to try it ourselves. And when we bought the wrong part, they were happy to exchange it for the right fitting. The only thing that I found difficult was the tiling but you can read all about those struggles in my previous bathroom blog post here.
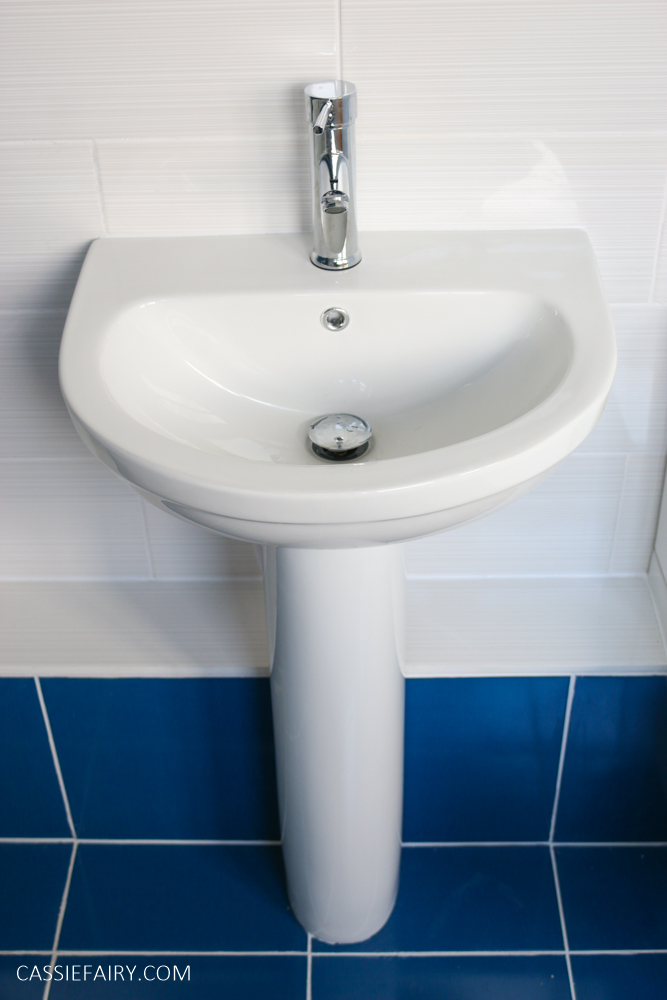 Now, a plea for some budget-bathroom shopping help; I need some storage so I’m looking for a shallow mirrored bathroom cabinet to fill the wall space beside the door. Please let me know if you happen to come across a cabinet like this in the approx dimensions of 60 x 60 cm, or 60 x 40 cm. Plus, I still haven’t invested in new towels for the bathroom so if you spot any blue striped towels at a bargain price, please tell me about them! At the moment, we are using the same ones from our old bathroom, but we had a slight mishap during the installation of the towel rail and a lot of rust-coloured water stained them, eek!Thanks for joining me on my bathroom renovation journey, I’ll be sure to share more photos when it’s truly ‘finished’ too!


2 responses
Hi Julie, Sure thing – it was from the Voss range at Betta Bathrooms about 4 years ago – hope you can find a similar one 🙂
What a lovely transformation!
We are looking to do something similar and would like to know the brand of the bathtub please? I have searched the site you bought from but it doesn’t appear to on there now. I’m hoping I can find the bath from other stockist by searching the brand.
Many thanks – Julie K