



If you’ve ever lived with a bathroom that’s technically functional but not exactly joyful, you’ll know exactly the feeling I had when I moved into my fixer-upper home. You want to do something about it but… will it ever be done?
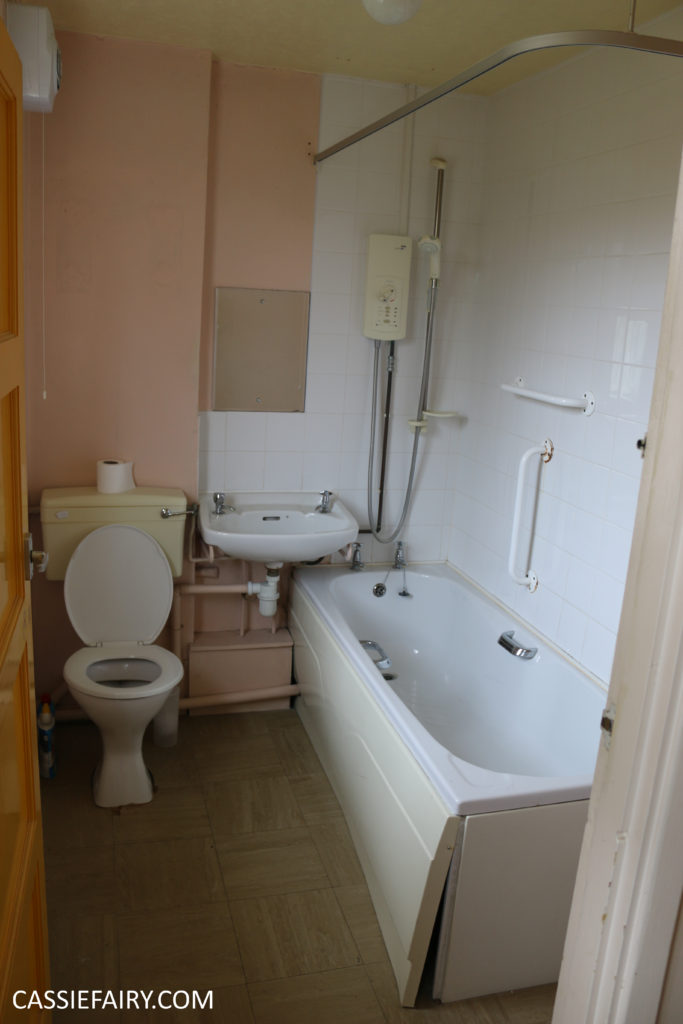
My own tiny bathroom was originally pretty horrid when we got the keys to our first home. The tiles were a colour I’d never have chosen, the tap had a personality of its own and the door swung open so enthusiastically it practically dented the wall.
Okay, the plumbing was mostly working (except for the toilet pipe, as we later found out, ick!) and I know that after a while, “fine” starts to feel okay, especially when you’ve got other things to spend your DIY budget on.
So if you’ve finally reached that day, after yet another moment of wrestling with the basin tap, and have decided it’s time to give your bathroom a little love, here are some tips I learned during my own bathroom makeover…
The plumbing trick that makes the whole process easier
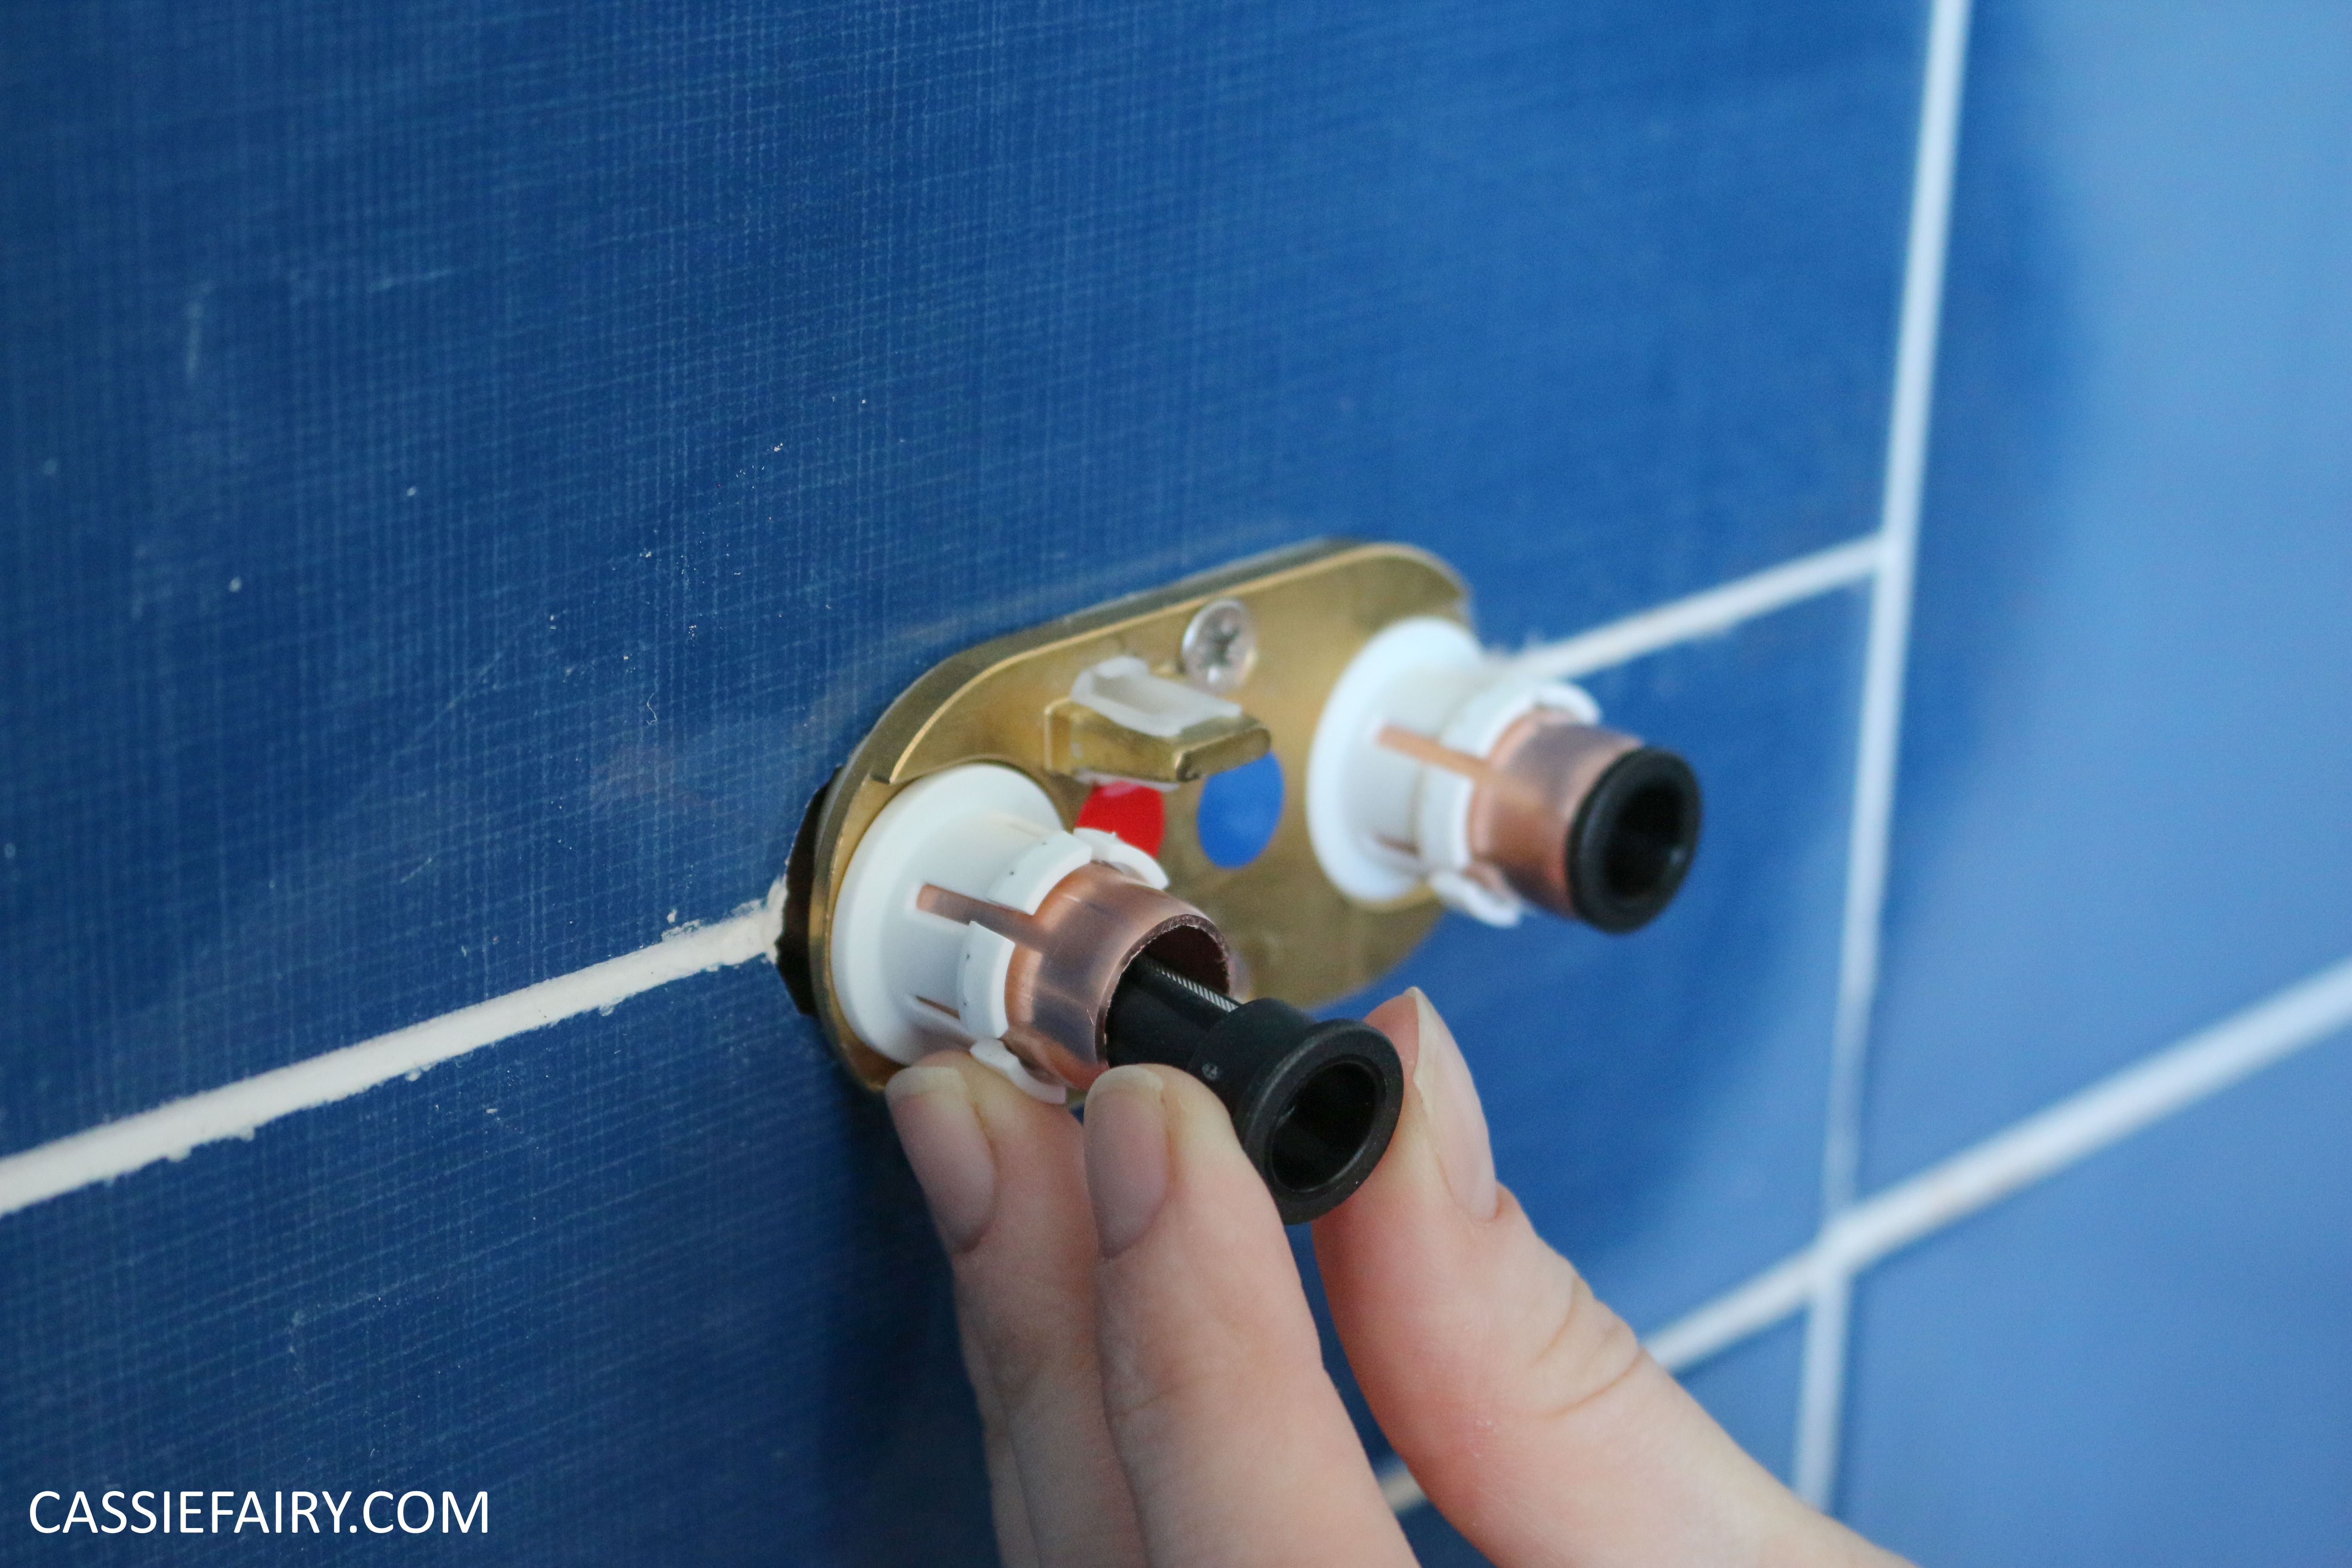
One decision can shape your whole bathroom project, and it’s one I wish I’d made before I started: don’t move anything. Not a pipe, not a drain, not a single fitting.
I’ve learned from my own project that shifting the plumbing is the quickest way to turn a simple refresh into a full-scale renovation that takes weeks to complete!
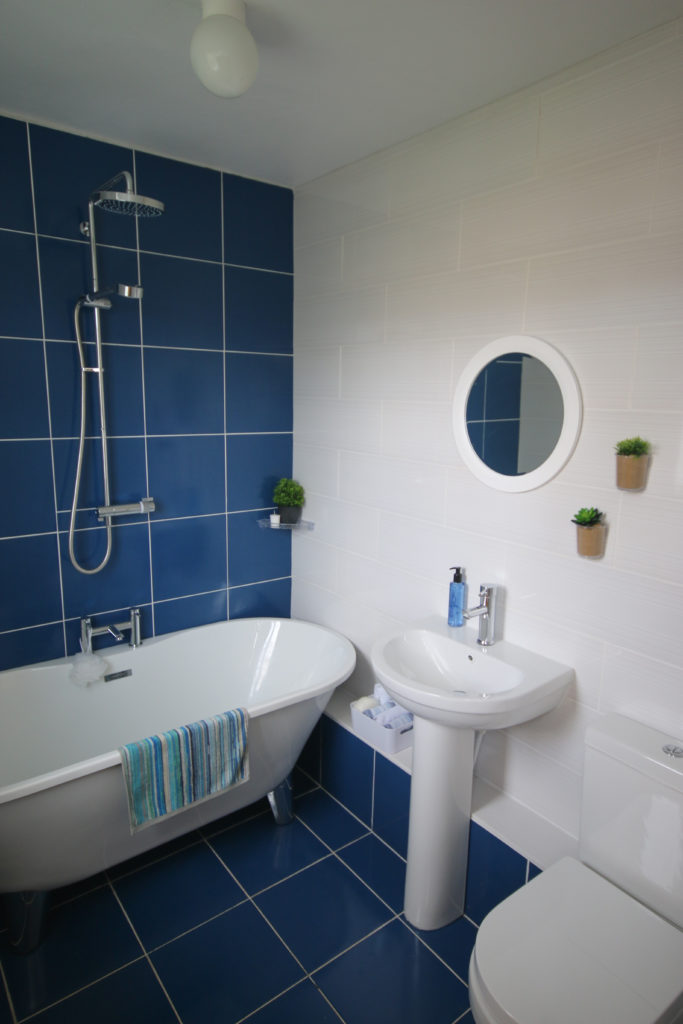
Looking at the muddle of pipes in the ‘before’ photo below, the sink overhanging the bath, and the toilet that was leaking into the floorboards, it’s obvious that I needed to make a change to the layout and therefore to all the plumbing.
However, this took longer and cost a lot more than I’d planned. So if your bathroom plumbing is technically okay, focus on what you can change without any big renovations: the look, the feel, the colours, the textures, the little details.
The details that make a bathroom feel more luxe
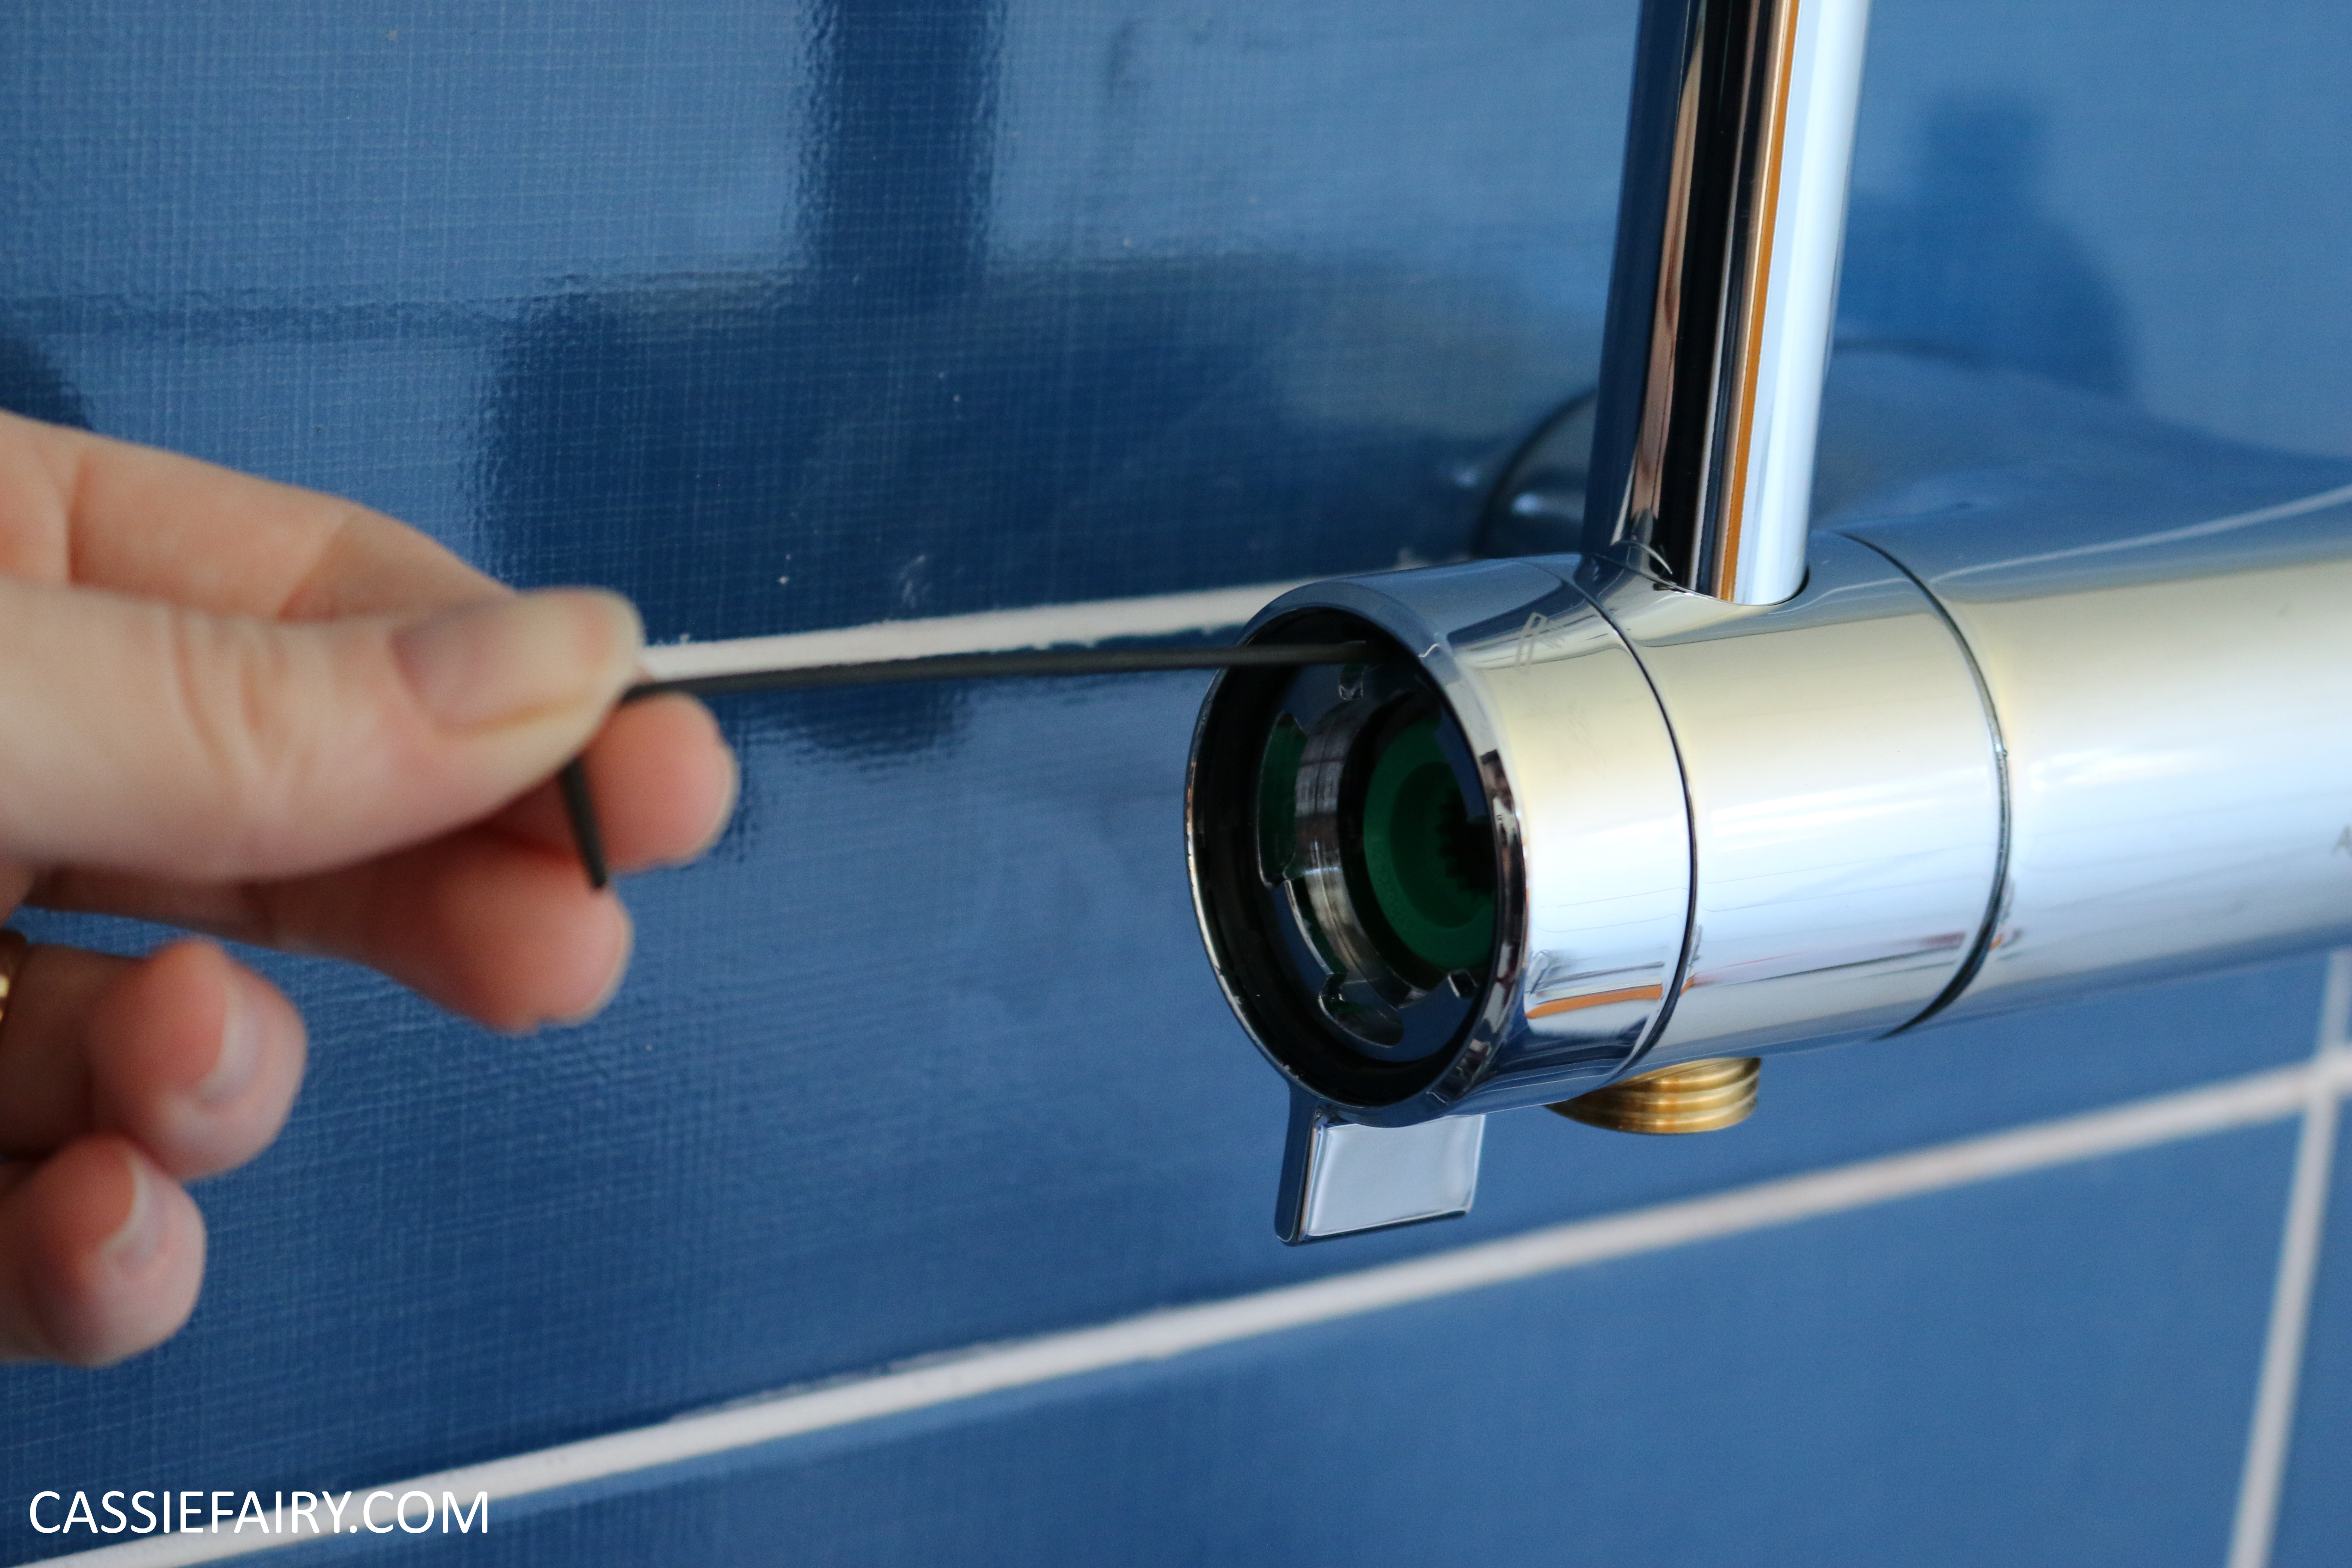
I’ve said it before on the blog and I’ll say it again: taps matter. They’re the thing you touch every day, and they set the look for the whole bathroom.
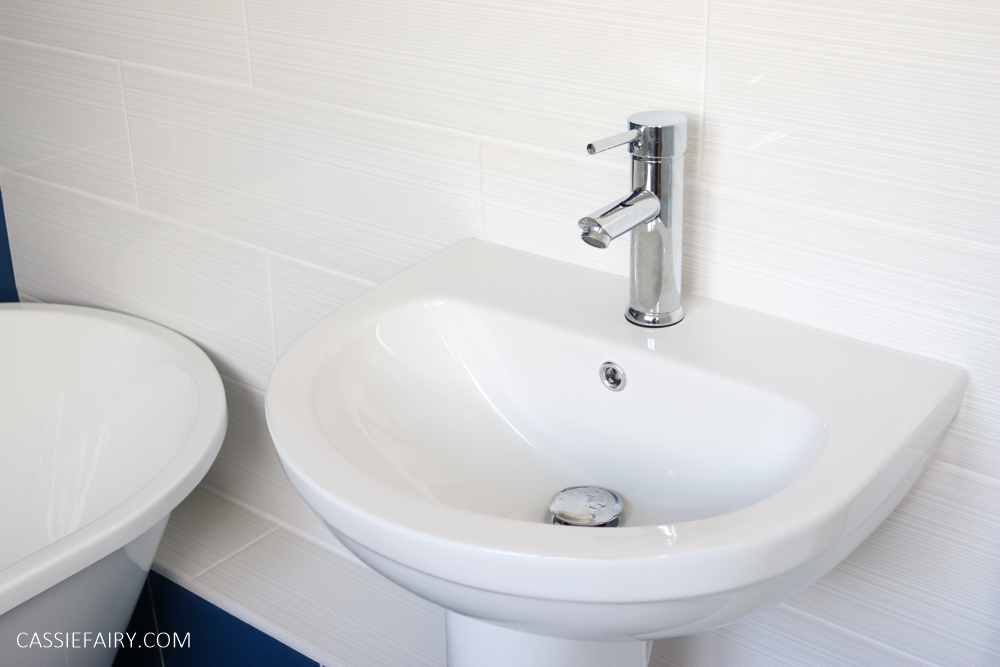
My old tap had a wobble that made me laugh and groan in equal measure. So I treated myself to a sturdier, smoother, more elegant mixer – and goodness, what a difference it made. It felt like the bathroom had suddenly grown up.
But here’s the lesson I learned the hard way: in a tiny bathroom, the height and reach of the spout matter so much. A tall tap over a petite basin? Splash city. A short tap over a countertop basin? You’ll be washing your hands under a little dribble of water.
I ended up researching how to choose a basin tap for a small bathroom and once I understood the measurements properly, I was able to purchase the perfect tap. And don’t forget to check your water pressure. It’s the one detail that can make or break a tap’s performance.
The surprising transformation of tiles
If you’ve followed my posts on Cassiefairy, you’ll know I’m a big fan of paint as a quick-fix for almost everything – including my UPVC back door and melamine kitchen cupboards. So when I look at dated tiles, I think… why not?
With the right primer and a durable finish, the tiles can look fresh and clean, completely transforming a tired bathroom. Or you can get adhesive tile stickers to quickly revamp the room.
One thing to mention: I wouldn’t paint inside a shower enclosure, because I’m not sure how long it’ll last, but for splash-only walls, it’s a brilliant option.
I actually re-tiled the whole bathroom and I can tell you it was a bad experience for me and was one of the many costly mistakes I made when DIYing my bathroom.
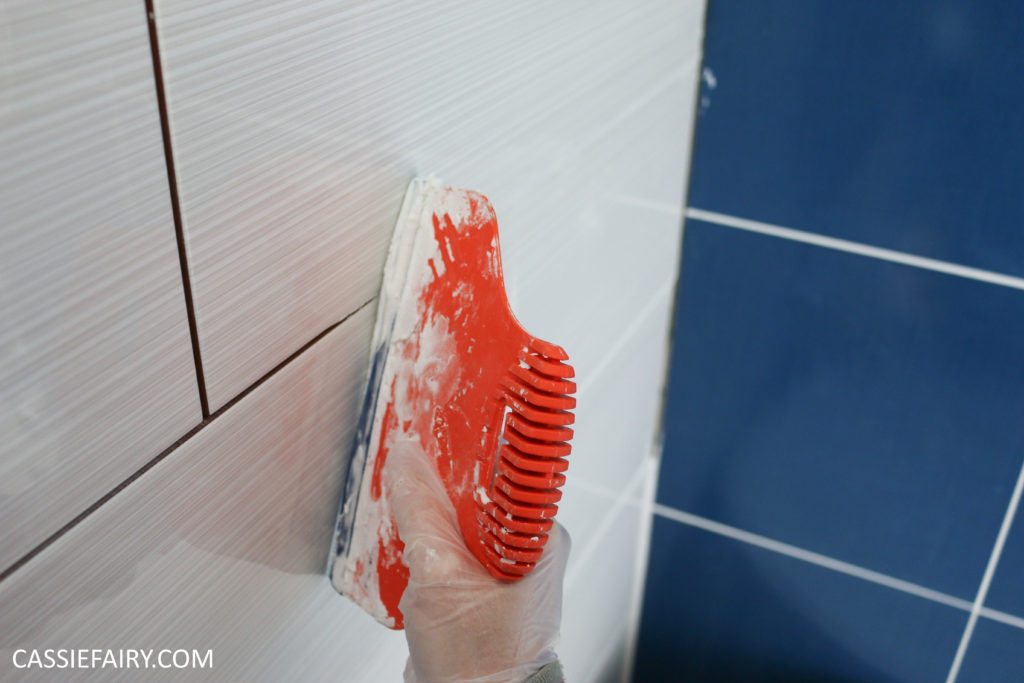
Not only was it more expensive to buy and install the new tiles than to use what was already there, but I also had lots of trouble getting the grouting to stick, and I spent quite a lot of time crying as I tried (and failed!) to apply it.
The finishing touches that pull everything together
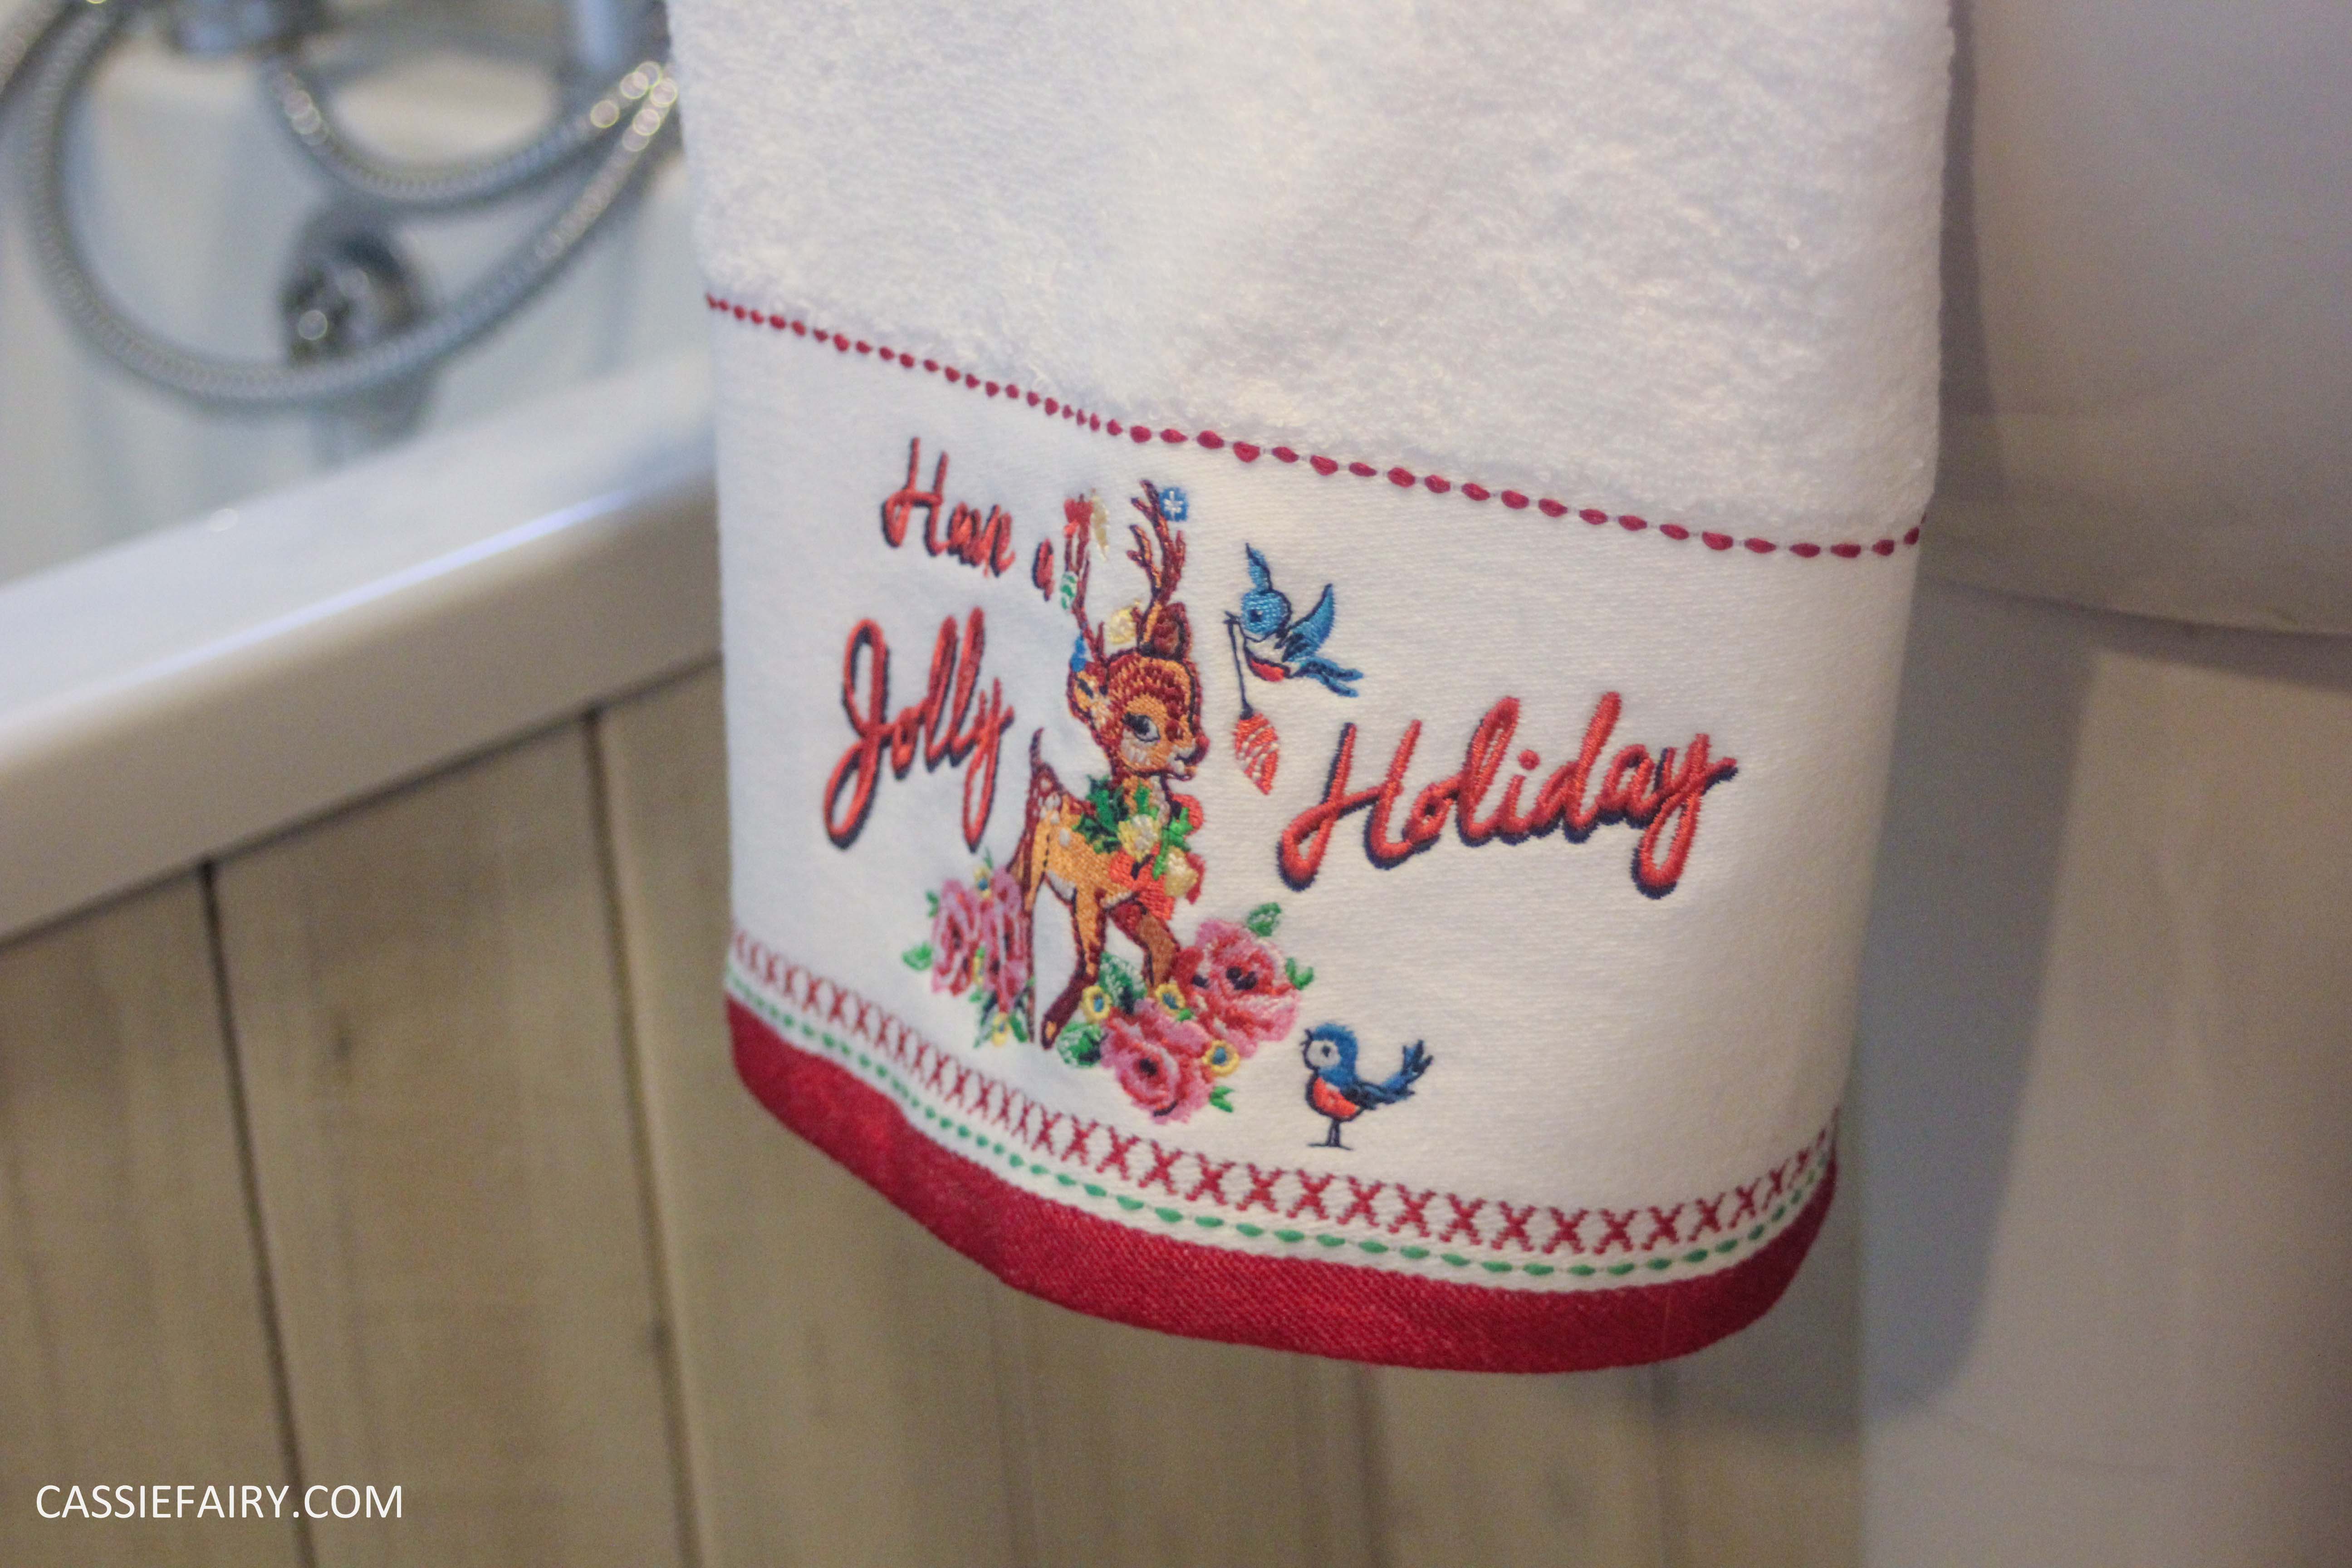
I used to think bathroom accessories were the last-minute bits you grab on a whim. But after refreshing a bathroom in a rental property with just some matching towels, soap dispensers and handy hooks, I realised they’re the secret ingredient that makes a room feel finished.
We’ve all got mismatched hand towels, bath mats and shower curtains that we’ve bought at different times over the years. Or maybe your accessories are in a mix of chrome, black and brass and look like a collection of random decisions?
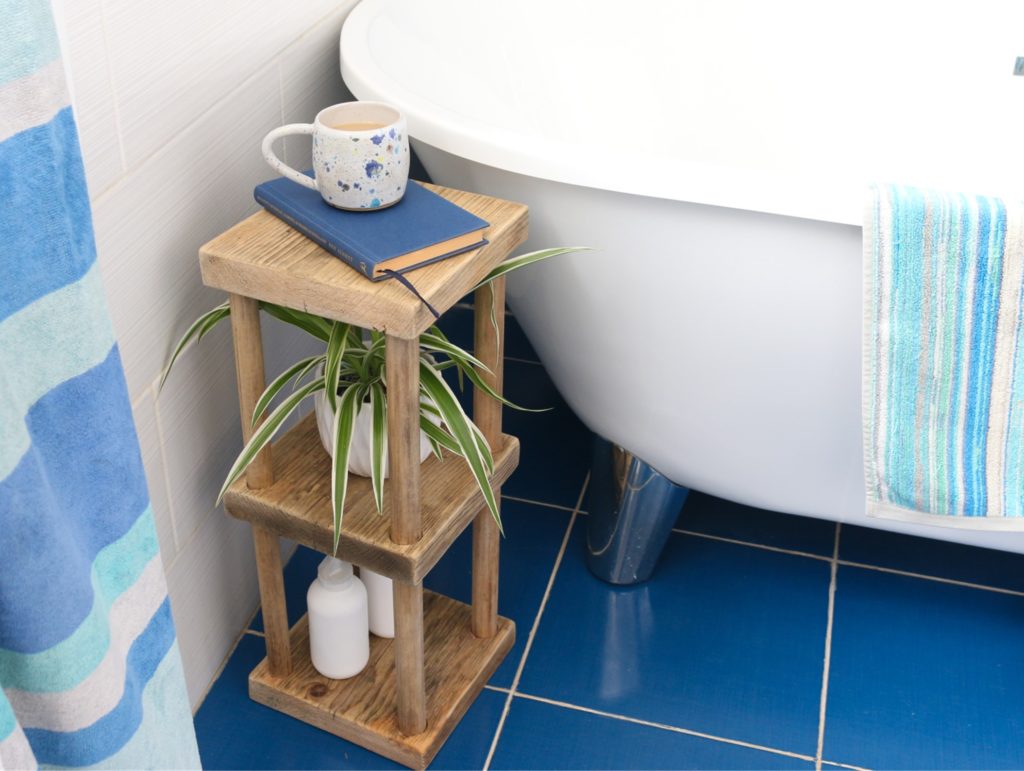
So for a cohesive look, why not use the money you saved on pipes and tiles to coordinate everything on a theme of your choice, including the towel ring, canisters, rails, storage, soft furnishings and shower curtains.
This can be such a simple change, with almost no DIYing needed, but it makes the whole room feel cohesive. You can even use adhesive hooks and holders for spots where you don’t want to drill into tiles, making it even easier to complete your makeover.
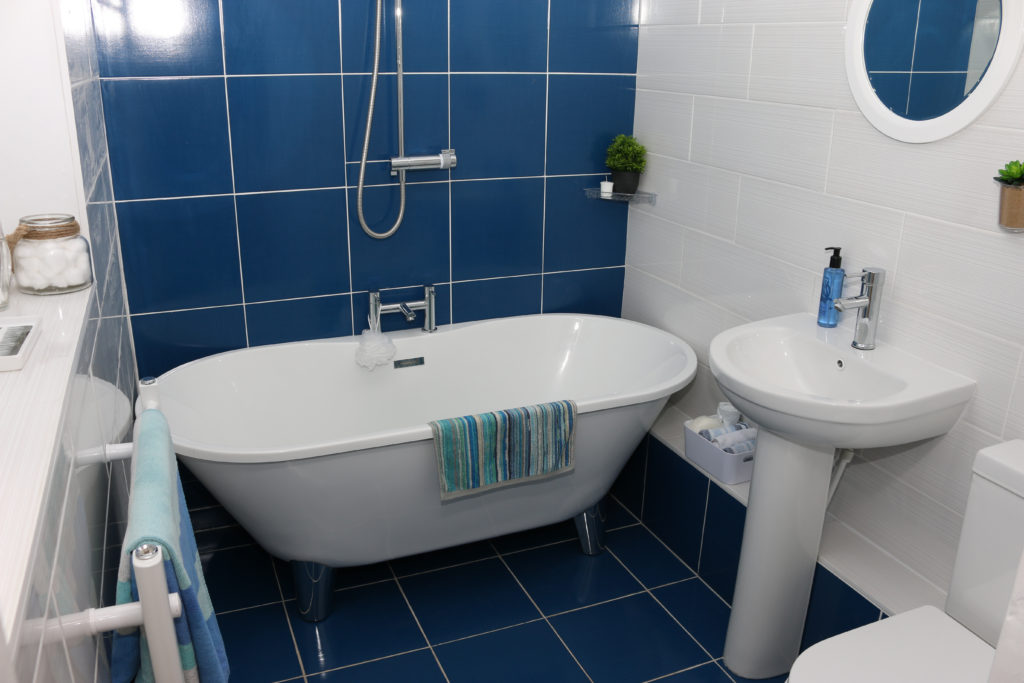
Quick lessons I’d tell anyone refreshing a small bathroom:
1. Test your paint colours
My bathroom is north-facing, so a colour that looks soft grey in the shop would turn lilac on the wall. Tester pots are your best friend to make sure you get the right colour for the lighting in your room – trust me.
2. Do the floor first
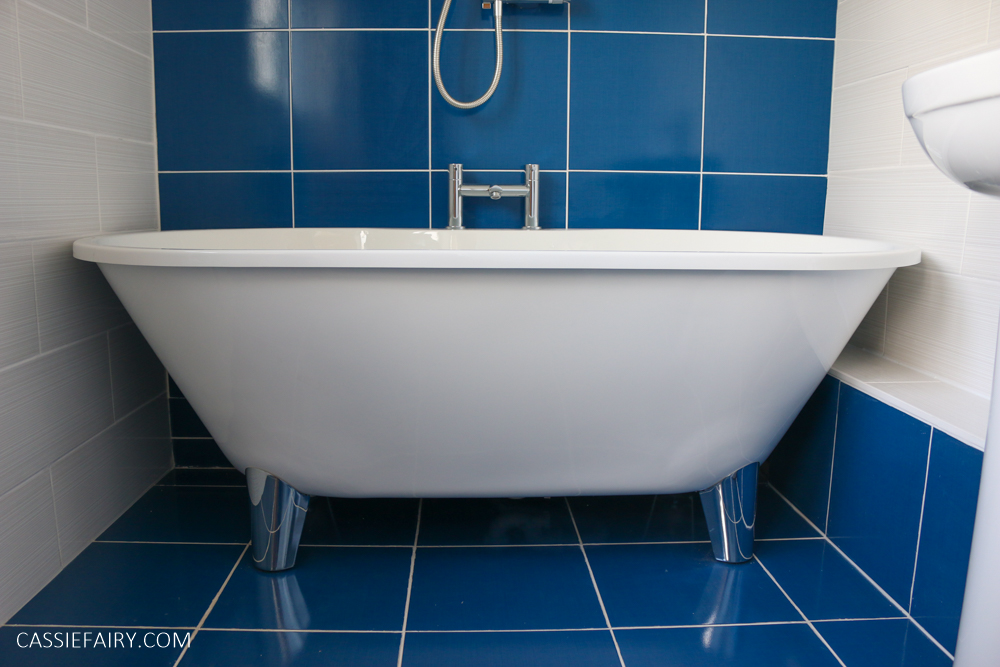
This is exactly what I did – the new floor was installed and tiled before the newly fitted bath and basin went in. This saved me the time (and stress!) of cutting tiles around a pedestal, so please consider doing any flooring updates first, whether that’s lino, tiles or wooden flooring.
3. Consider the curtains
Inevitably, you will need some kind of covering at your bathroom window; otherwise, the neighbours will get a surprise when you step out of the shower.
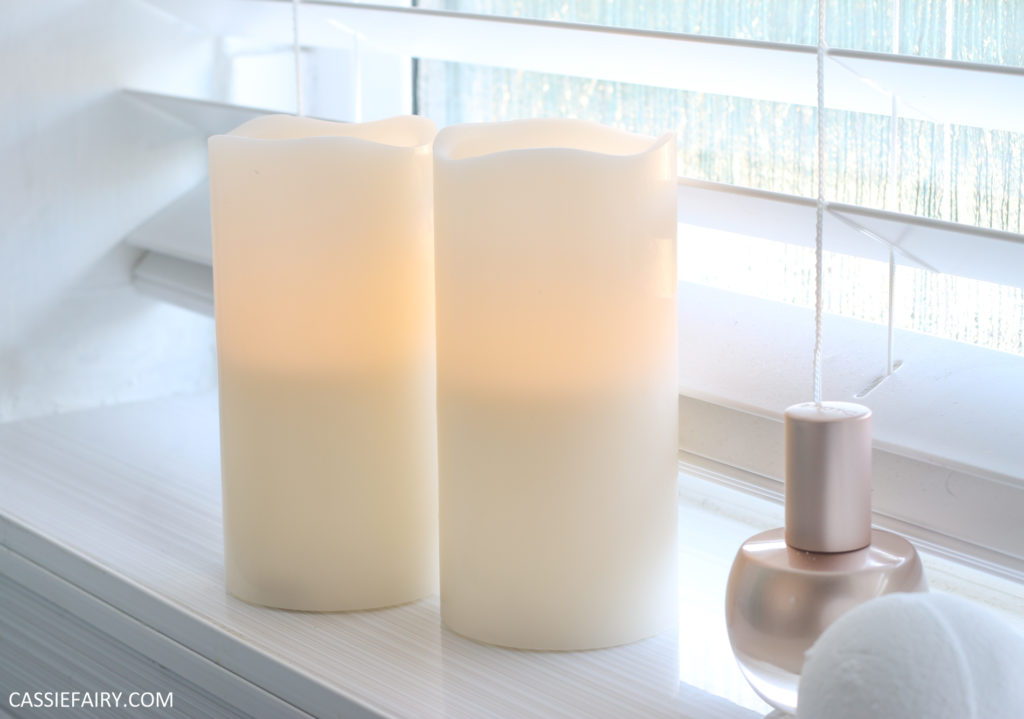
So, at the same time as choosing your paint colours (and perhaps your towels and bathmat too) take a look at fabrics for your roman blind or roller blind. Or select a venetian blind that matches the wooden floor or the white tiles (like I did).
Thinking about the window treatment is another finishing touch that can help to coordinate the entire space and can even be used to add a pop of pattern, if you’re choosing a fabric option.
What surprised me most wasn’t how the bathroom looked, but how it felt after the makeover. No more wobbling pipes. No more mismatched accessories. No more tiny irritations and a list of things that must be repaired.
It’s now just a calm, cheerful little space that makes me feel relaxed every time I step inside and is one of my favourite rooms.
I hope my own bathroom makeover inspires you to give your own small bathroom a little love. If you’ve refreshed a tiny space, or you’re planning a makeover, I’d love to hear about your plans in the comments below. And if you fancy more bathroom inspiration, DIY ideas or small-space tips, pop over to the bathroom category on my blog. Let’s make our homes happier, one tiny room at a time.
Pin it for later
This article is a sponsored collaboration. The pink links in the content indicate a sponsored link or information source. The blog post reflects my own experience and the sponsor hasn’t had any control over my content 🙂