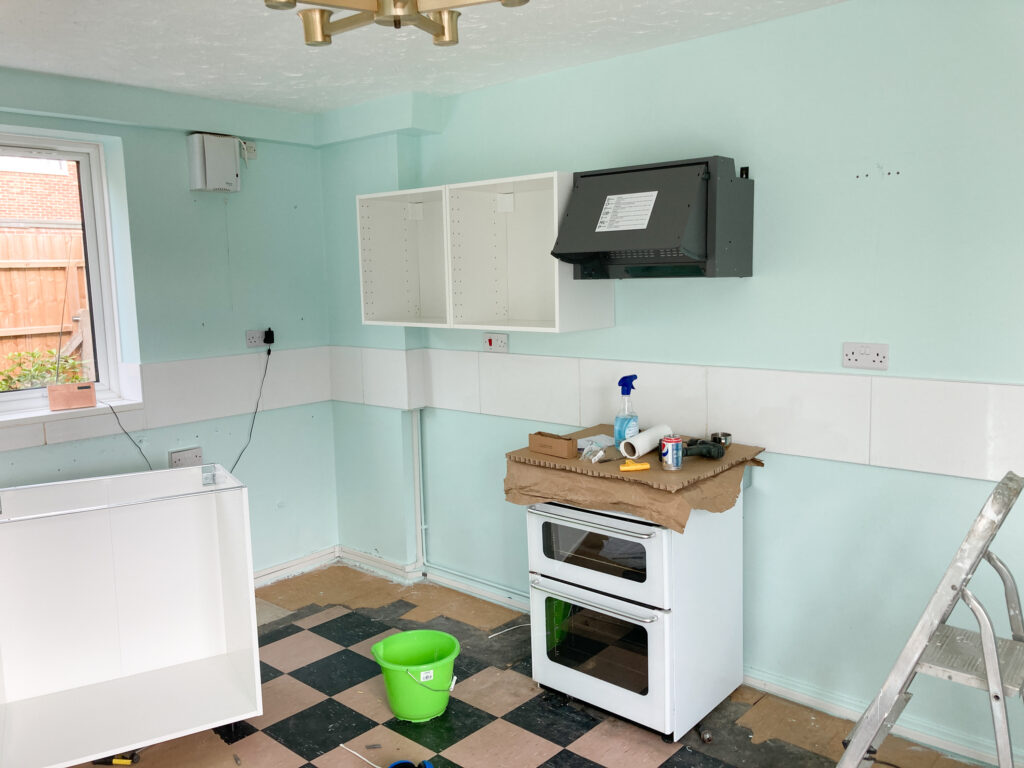
Renovating a home always starts with the fun stuff – mood boards, tile samples, dreamy Pinterest rooms. I remember when I first got the keys to my fixer‑upper house nearly 10 years ago, I spent weeks choosing paint colours before I even owned a working toilet. Priorities, right?
But the moment the renovation begins, reality hits. Tiles come down, pipes peek out and suddenly you’re knee‑deep in dust. Over the last decade of fixing up my own home, I’ve learned that having a stash of practical supplies ready before the chaos starts can save you hours of stress, as well as minimise those emergency trips to the hardware store.
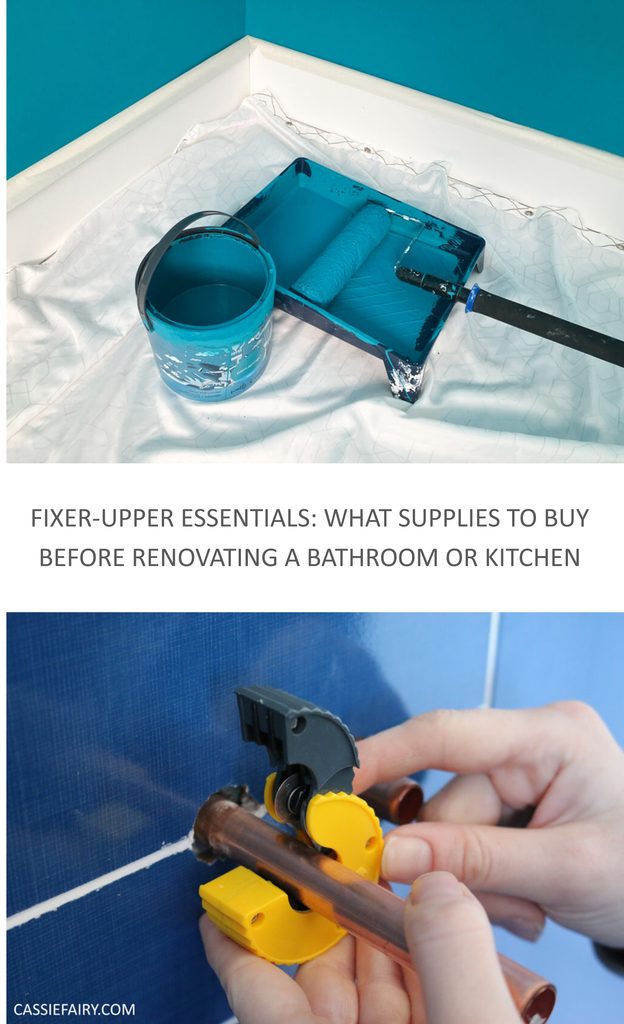
Whether you’re tackling a bathroom, kitchen, utility room or a whole‑house makeover like I did, here’s a DIY‑friendly guide to the renovation supplies worth buying early – especially the plumbing bits that always seemed to cause me delays in my own project!
Why Prep Matters (A Lesson From My Own Renovation Chaos)
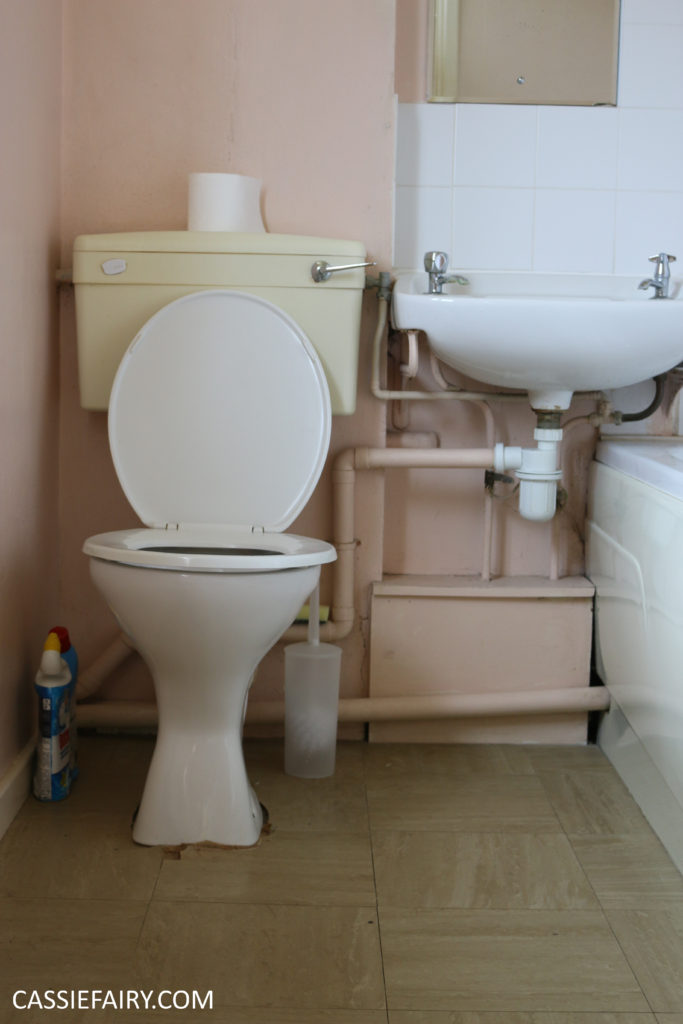
When I ripped out the old bathroom in my house, I genuinely thought I’d be installing the new one within a day or two. After all, I’d already got the full suite delivered, with taps, traps and everything else I thought I needed. Instead, I discovered that our 70-year-old pipes didn’t match anything you could buy in a DIY store, the shut‑off valve refused to shut off, and there was a toilet waste pipe that was leaking into the floorboards, ick.
I needed more plumbing fittings and supplies than I realised, and I must have made about 6 trips to the local hardware store to get those bits and bobs – wasting time and money and delaying the installation. If I’d had even a small kit of basics ready, I could’ve saved myself a whole lot of time (and avoided having to wait for deliveries). So trust me – a little prep goes a long way.

Plumbing Bits You’ll Be Glad You Bought Early
I’ve discovered that having the right supplies on hand is key to keeping the project moving. DIYers like me can avoid the dreaded “we can’t finish this today” moment and even if you’re not doing the plumbing yourself, builders love you for being so prepared.
Here are a few key items worth gathering in advance of your renovation and why they matter:
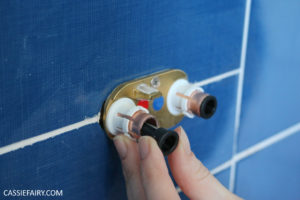
- Shut‑off valves – Old valves can be stiff, corroded or completely decorative. Replacing them while everything is already exposed saves you from future leaks and avoids the panic of rushing to turn off the whole house water supply. I once tried to shut off a valve only to discover it spun freely like a toy propeller, oops.
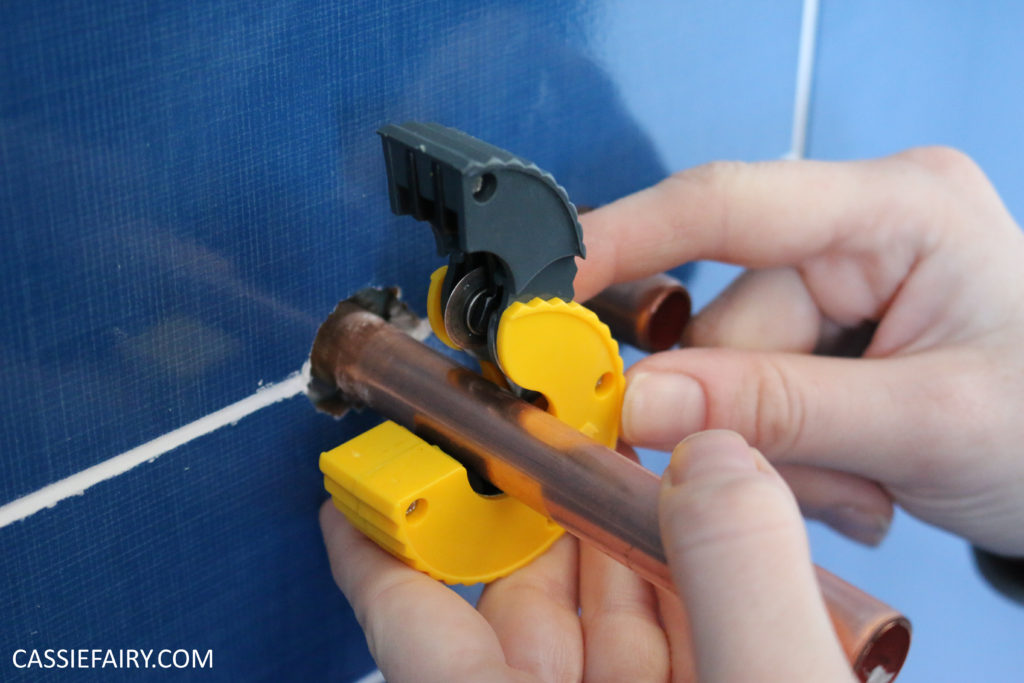
- Fittings and adapters – Renovations often reveal pipes in unexpected sizes or materials, especially in older homes. Don’t worry, this CAN be solved. A small selection of elbows, couplers and adapters can save you from halting the entire project just because one connection doesn’t match. During my bathroom renovation, I found a couple of different pipe types in one tiny space – a real plumbing lucky dip.
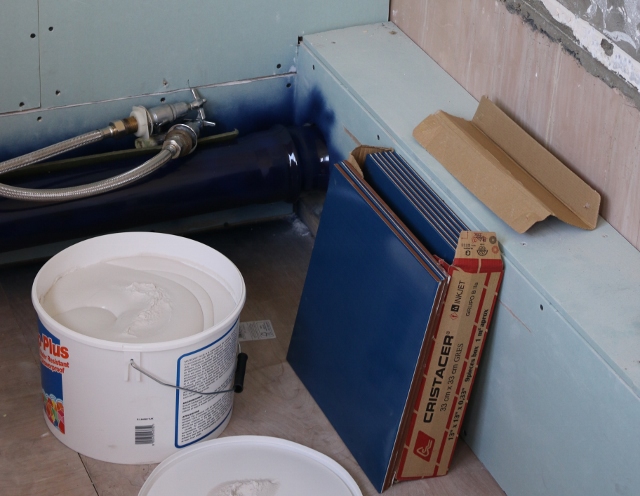
- Flexible supply hoses – These are inexpensive and incredibly useful. Old hoses can be rusty, kinked or too short for your new layout. Plus, replacing them now prevents leaks in the future. I once reused an old tap hose and it ended up needing to be replaced anyway, so I should have just done it when the sink was already taken apart and the plumbing accessible.
- Drain components – Even a small change in cabinet depth or sink height can throw off your drain alignment. I tried to keep my kitchen cabinets at the same height, but the new flooring threw it out by just a few centimetres. Having a P‑trap, extension tube or a few slip‑joint washers ready means you can adjust things on the spot. When I installed the new sink, the drain pipe ended up being just a smidge too low but an extension piece saved the day.
- And finally, put together a small emergency kit – a few washers, caps, adapters and a roll of thread seal tape (which we have needed SO many times). It doesn’t need to be huge, just enough to keep the project moving if something unexpected pops up.
What to Check Before You Buy Anything
Before you start stocking up on new plumbing bits and renovation supplies, it’s worth stopping for a moment and double‑checking a few important details. I’ve made the mistake of confidently buying a fitting, only to discover that it was almost the right size which, of course, means it was completely useless for the task I was trying to complete. A few minutes of prep now can save you hours of frustration later.
Start by identifying what type of pipework you’re dealing with. Older homes (even my 1950s house) can be a patchwork of materials – PEX in one corner, copper in another and a mysterious PVC section. Each material needs its own compatible fittings, so knowing what you’ve got behind the walls and under cabinets is essential.
Next, confirm the pipe size. This is one of those details that seems obvious until you’re standing in the aisle squinting at two nearly identical pipe fittings. Pipe sizes can be labelled in metric (mm) or imperial (inches) and by outside diameter (OD) or the nominal bore (NB) size inside. The labelling can differ depending on the material, so a quick measurement now saves a lot of guesswork later.
You’ll also want to check the connection type. Threaded, crimp, soldering, push-fit, compression and solvent weld – they all look deceptively similar when you’re in a hurry, but if you don’t have the right tools to be able to connect them, the seal won’t hold. Matching the wrong connection type is one of the most common DIY hiccups but it’s easily avoided.
Think about the fixture requirements for the taps, toilets, dishwashers and washing machines you’re installing. They all have their own quirks when it comes to fittings and hose sizes. If you’re upgrading to a new appliance, don’t assume you can just detach the old one and slot in the new one – double‑check what fixtures it needs before the renovation begins.
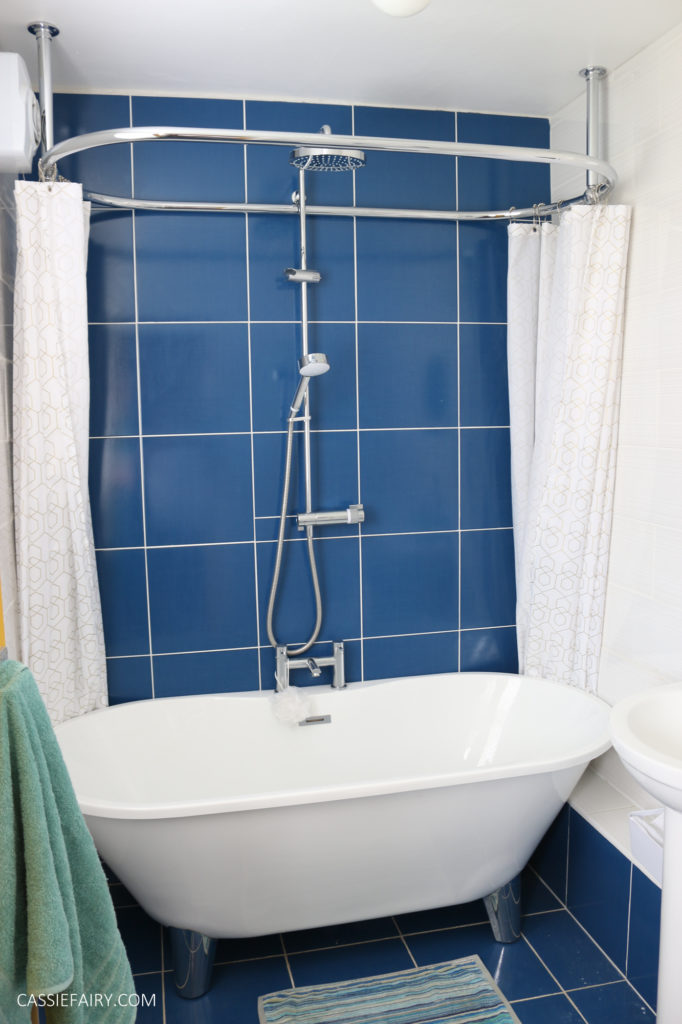
Another thing people often forget is future access. If a part is going to be hidden behind a wall (like my shower pipwork) or inside a cabinet once the renovation is complete, make sure it’s something you trust to last. This is the time to replace anything that looks worn, corroded or questionable to save on leaks you can’t reach later.
One last tip: take photos before you start. I promise, future you will be grateful when you’re trying to remember how everything was connected. You can just look back at the original plumbing and see what went where at a glance. I’ve relied on my “before” photos more times than I can count – they’re like a cheat sheet for matching fittings later.
Renovation isn’t just about pretty tiles and paint colours – it’s about making sure the hidden systems behind the walls and under units are secure and safe. A little preparation now means fewer surprises later and a much smoother DIY journey. Have you ever had a renovation grind to a halt because of one tiny missing part? Or maybe you’ve got a favourite must‑have supply that saved your project? Share your stories in the comments, I love hearing about your DIY adventures. 🙂
Pin it for later
This blog post is an advertisement feature that has been written in collaboration with a sponsor. The pink links in this post indicate a sponsored link 🙂