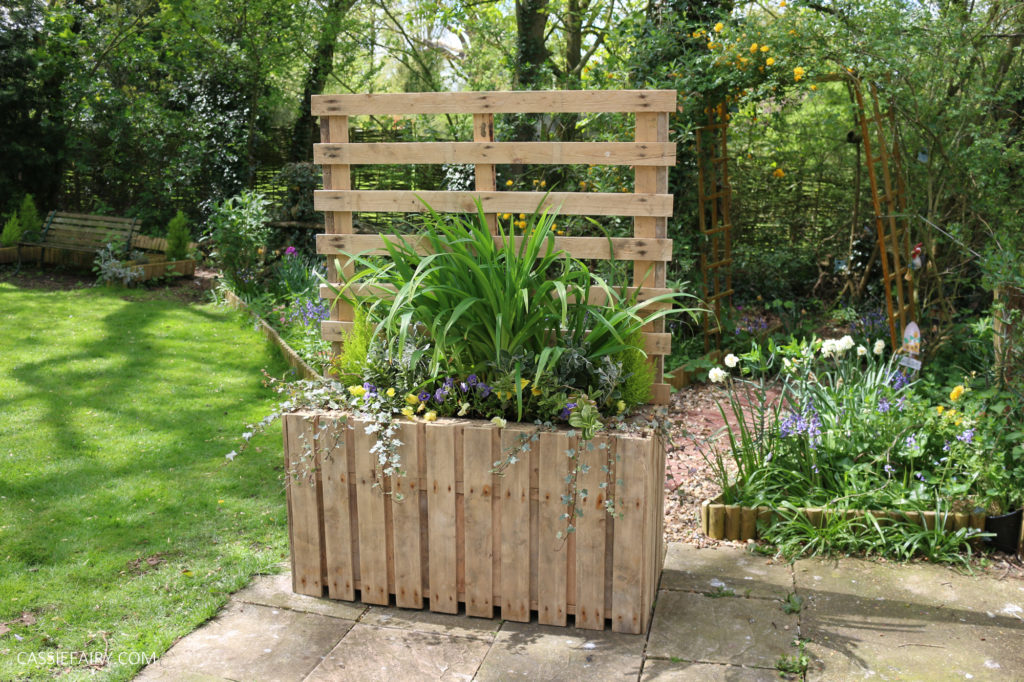
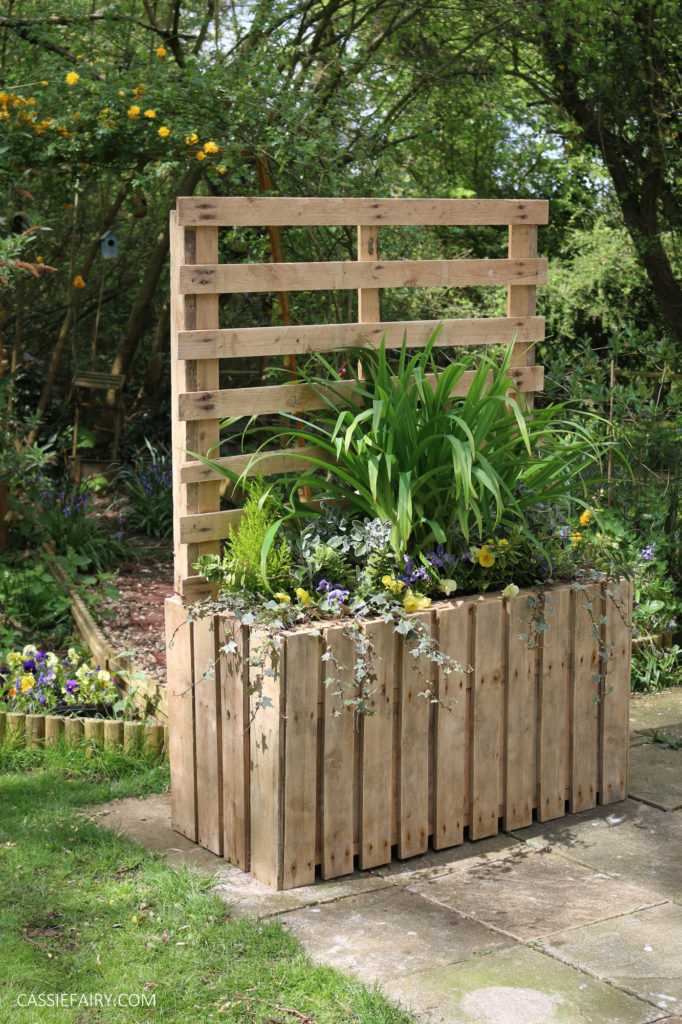
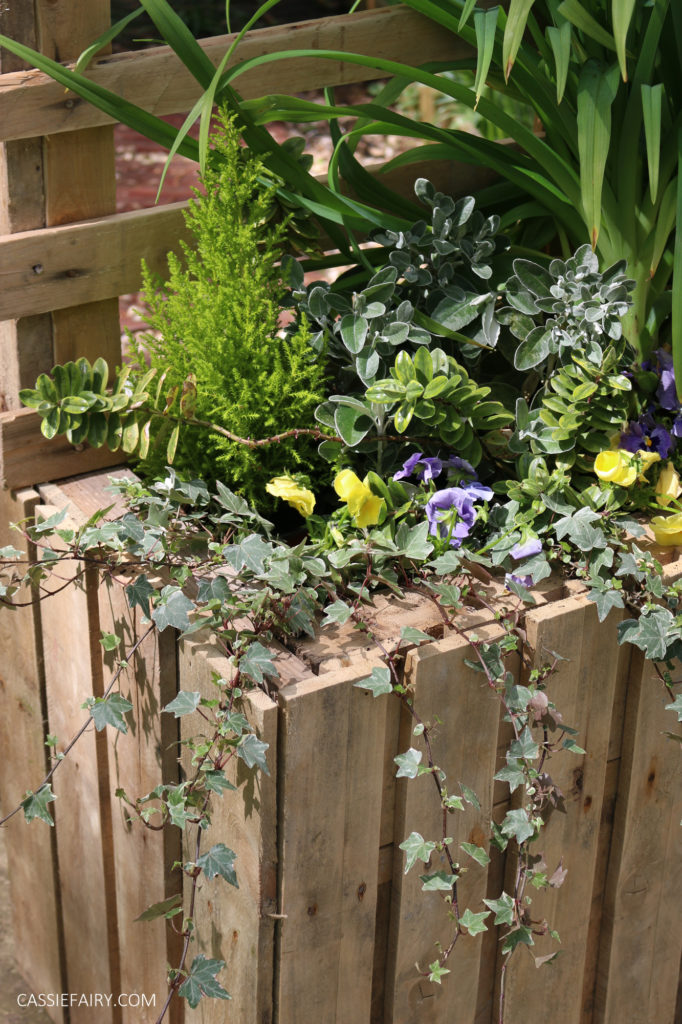
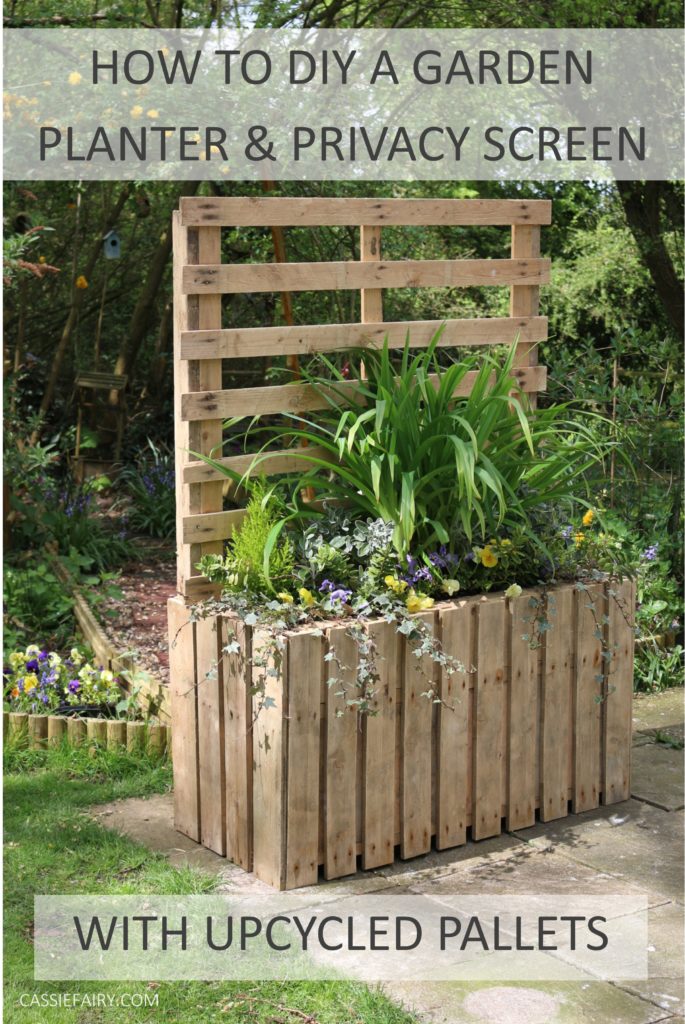
This handy garden project makes use of old pallet wood to DIY a planter with a trellis, which can also double as a privacy screen. You can choose whatever height and depth you want to make the planter to that it fits into your garden perfectly. Then, simply fill it with pretty plants and climbers to provide a subtle barrier between the patio and your neighbours, to give you both a little extra privacy.
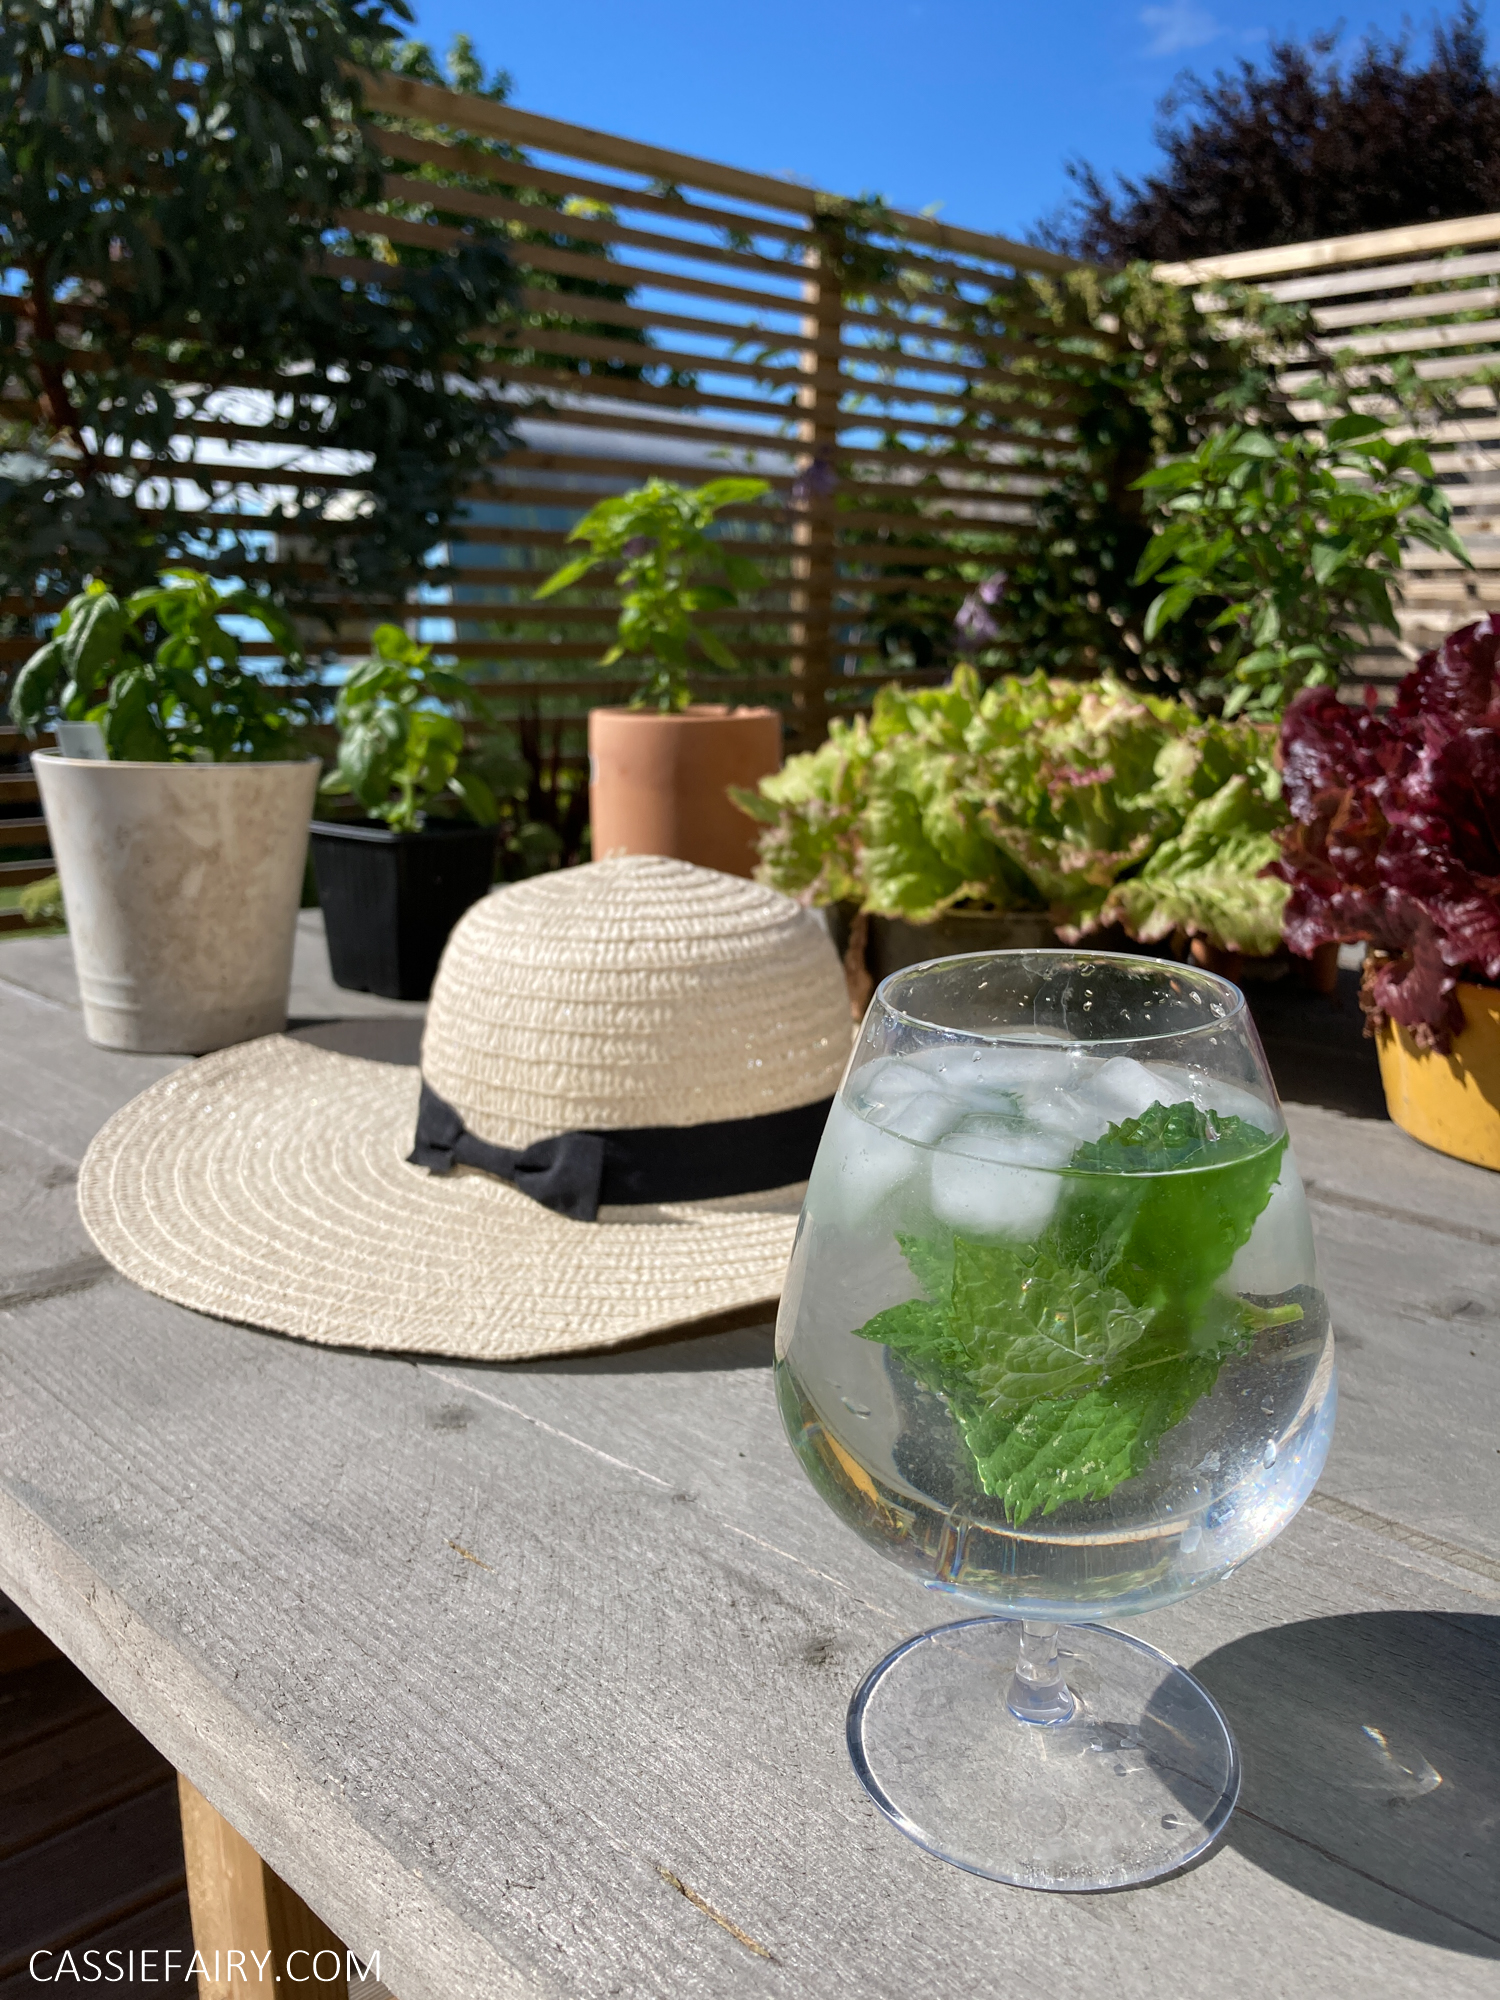
Alternatively, you could position your pallet planter near your back door to create a handy kitchen garden, which you can plant up with tasty fresh herbs and salad leaves. This’ll let you grow your own food – which is something that kids love to get involved in too!
You could paint the planter using shed/fence paint in a bright colour to coordinate with your other garden furniture or you could treat the bare wood with a protective outdoor stain to bring out the wood grain for a rustic finish.
You will need
- 7 x pallets, including 1 with thinner planks
- Set square and tape measure
- Power saw and a hand saw
- Palm sander and sand paper
- Screwdriver and wood screws
- Stapler with staples
- Crowbar or pallet wrecking bar
- Pack of 25mm nails
- Woven weed control liner
- Outdoor paint or protective treatment and brush
- Personal protective equipment – masks, goggles, gloves, etc
You’ll also need to have experience of using power tools – this project should only be tackled by experienced DIYers and don’t take any risks!
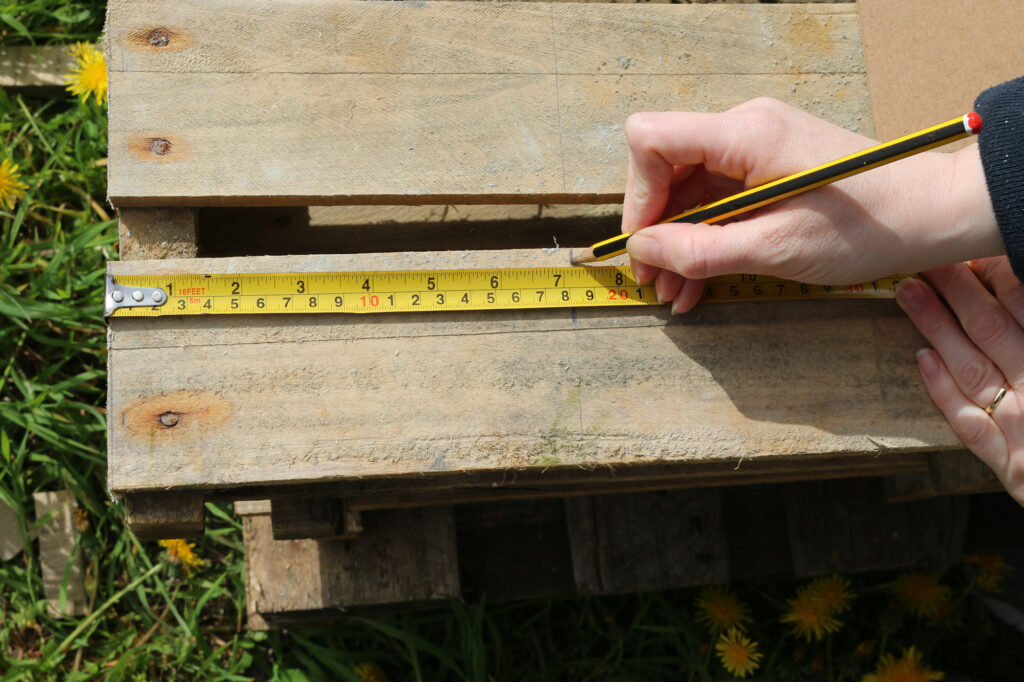
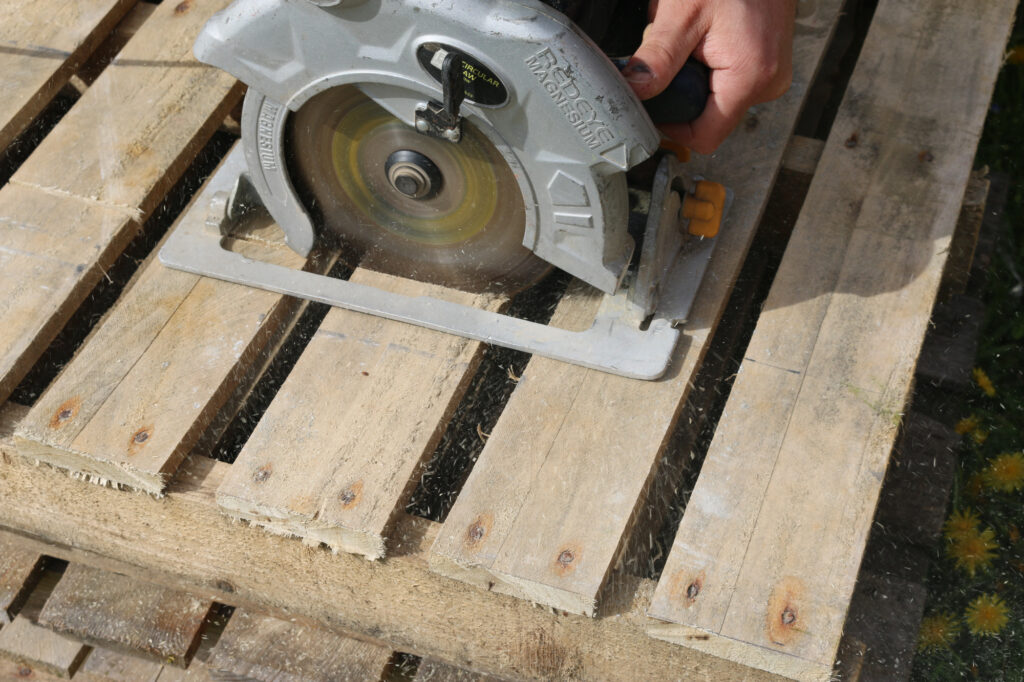
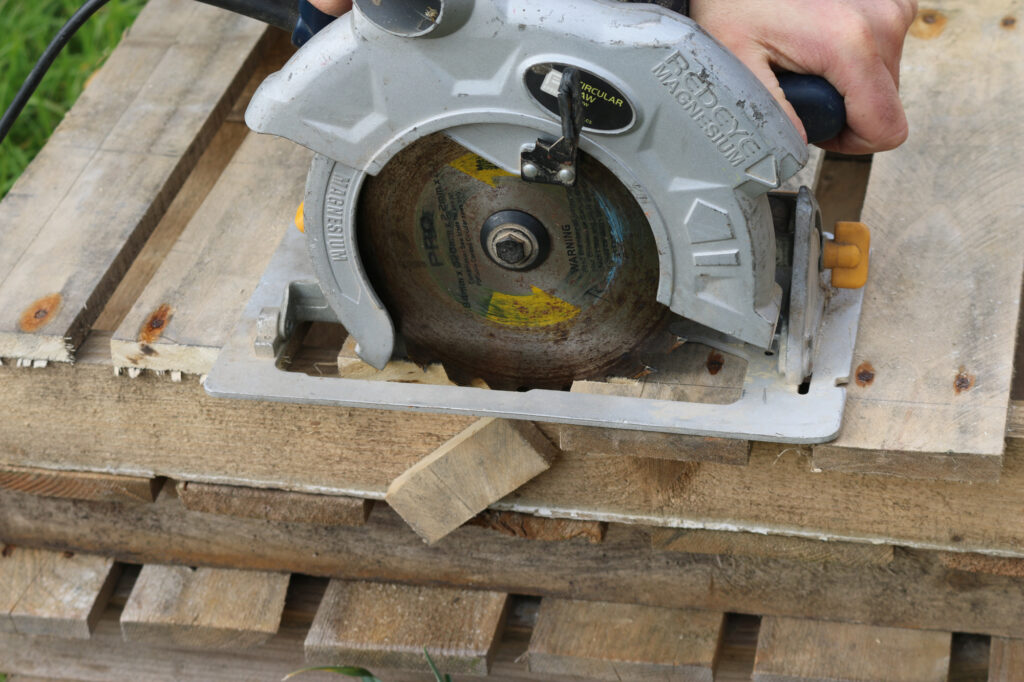
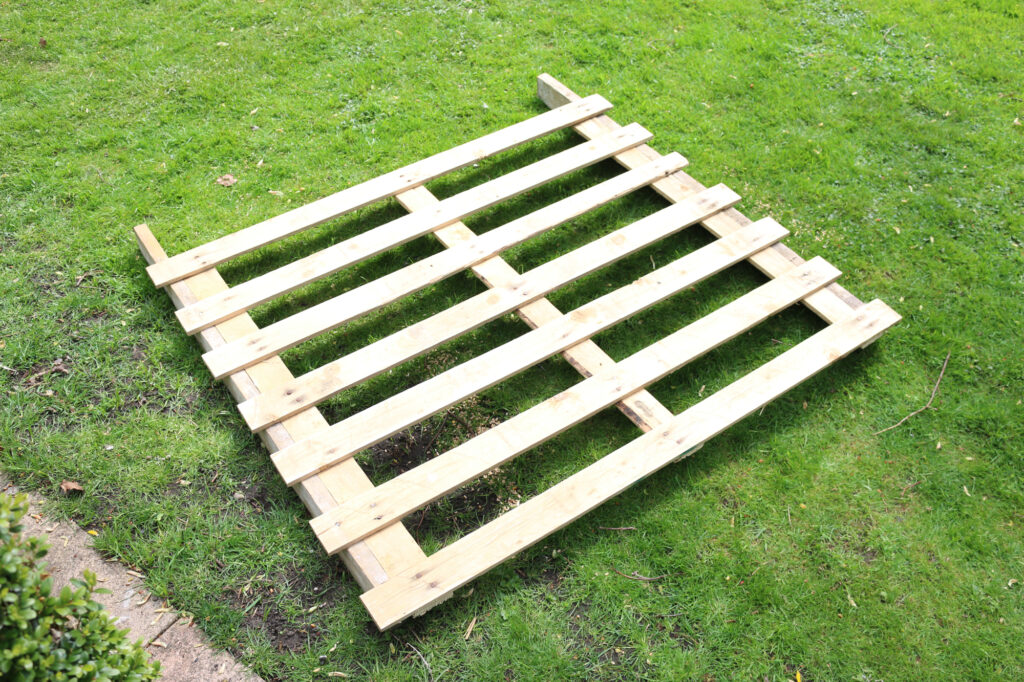
Step 1
Measure the gap between the edge of the pallet and the central supporting timber. Halve this measurement and mark a line across the pallet at this point. Use a circular saw, jigsaw or hand saw to cut along this line. This cut line will become the top edge of your planter.
Step 2
The shorter section you’ve cut off will be positioned behind the top edge of the planter to line the inside. The section will be slightly off-set to cover the gaps of the pallet, so you’ll need to saw off the excess wood at the end.
Repeat steps 1 and 2 with a second pallet to create another long side of the planter.
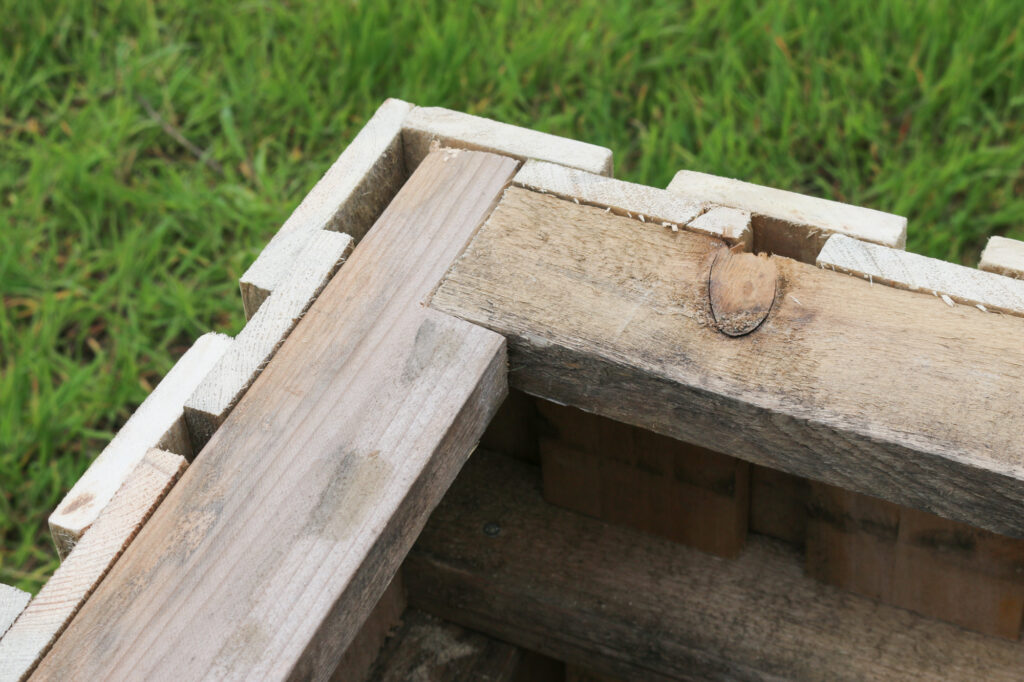
Step 3
Use another pallet to cut two shorter sections to become the ends of the planter – ours measured 50cm but you can make them whatever depth you want the planter to be. For the end pieces, you’ll need to cut away the overlapping edges of the pallet so that the planks are flush with the supporting edge timber, like this:
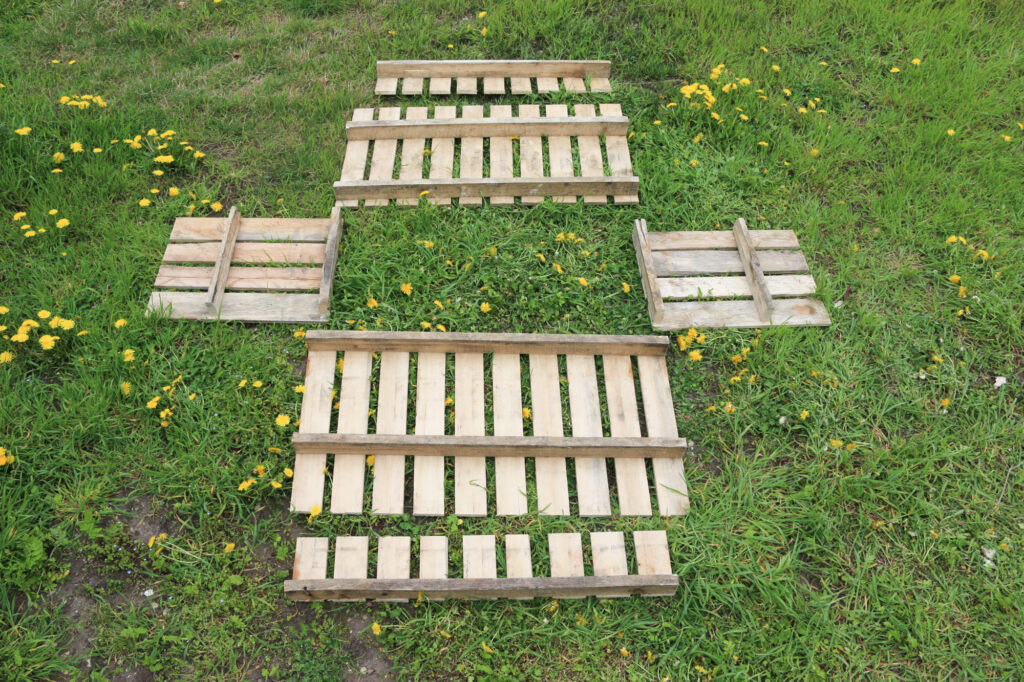
Step 4
Repeat step 1 for the side pieces, halving the measurement between the central supporting beam and the top. Cut this off to create the top edge of the planter sides. Here are the pieces you should now have (plus the two top edges that you just cut off):
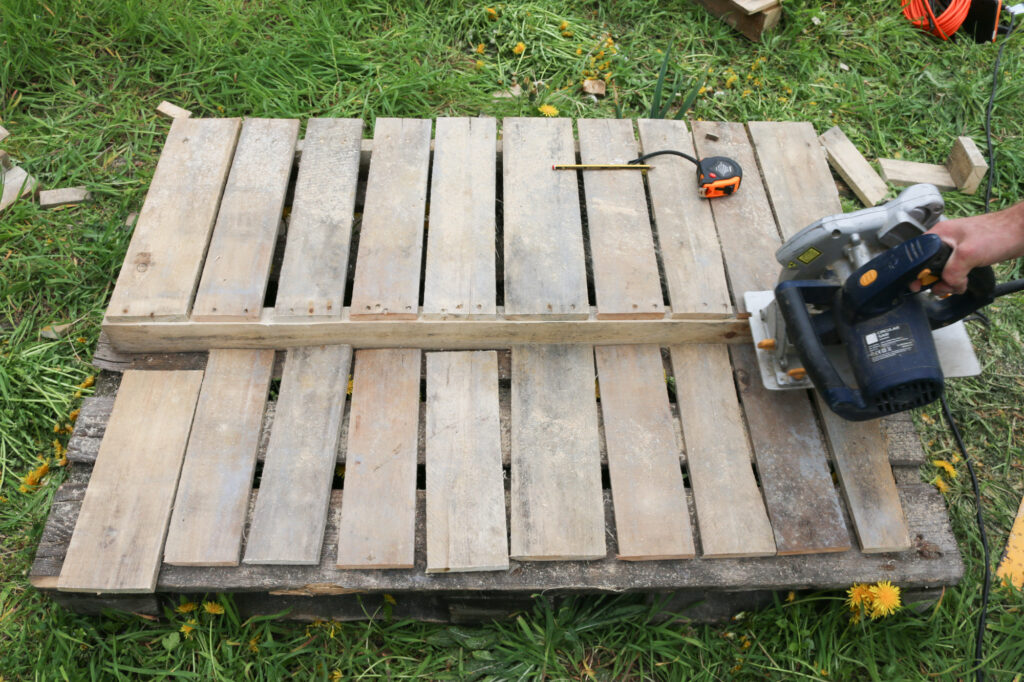
Step 5
Now you need to create some planks to clad the gaps in the side pieces. Use a circular saw or jig saw to cut away the supporting timber from one side of another pallet. Next, cut along the central supporting timber to create short planks. Repeat on the other side of the pallet.
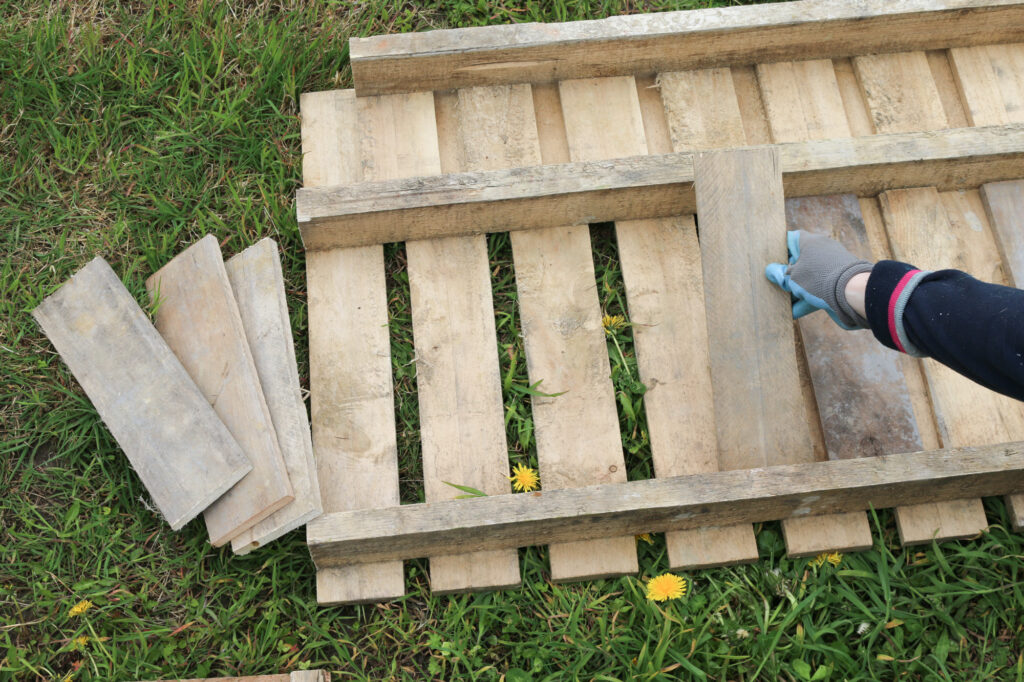
Step 6
Use these short planks to line the inside of the planter sides you’ve created. Use short nails to attach the planks, covering the gaps in the pallet from the inside. Also, in the picture below, you can see the short top edge we cut off in step 1 can been used to cover the gaps on the inside of the top section.
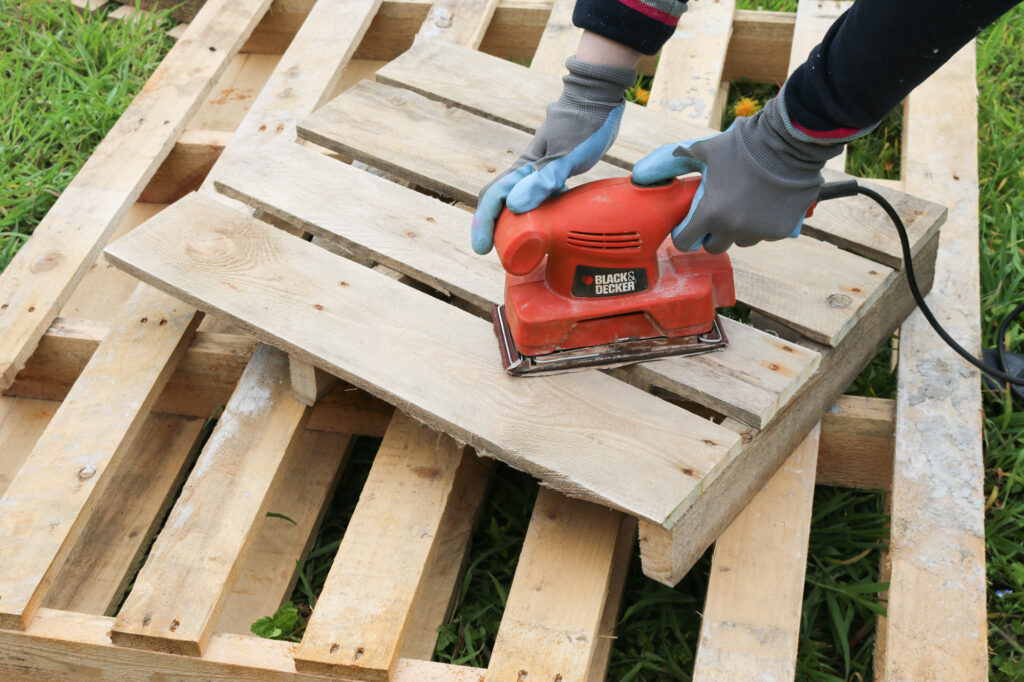
Step 7
Use a sander to smooth all the outer surfaces of the planter sides so that there are no splinters. You can also paint or stain the pieces at this stage, before you construct the planter.
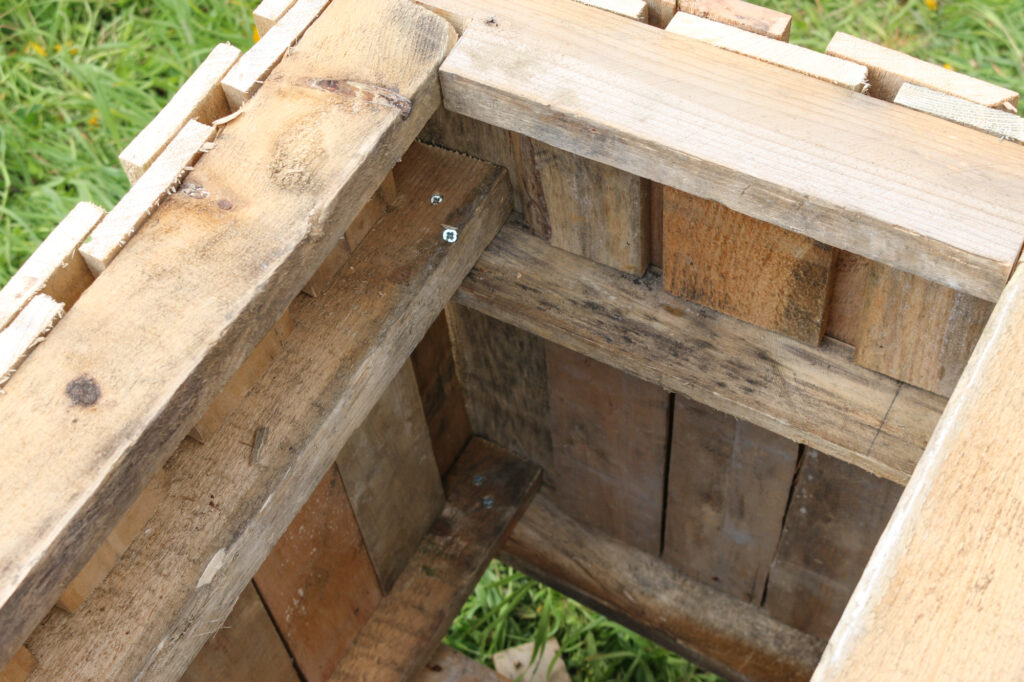
Step 8
In order to assemble your planter, you’ll need to cut away a rectangle from the supporting timber at the front corners of the short sides so that the sides fit together. Where the short sides meet the back of the long sides, you’ll need to cut away a larger section, which will provide space for the privacy screen to slot into the planter.
When constructing the planter, the supporting timbers inside the short sides should sit just below the supporting timbers of the long sides. Screw them together at the corners of the bottom and central supporting beams, with two screws in each corner.
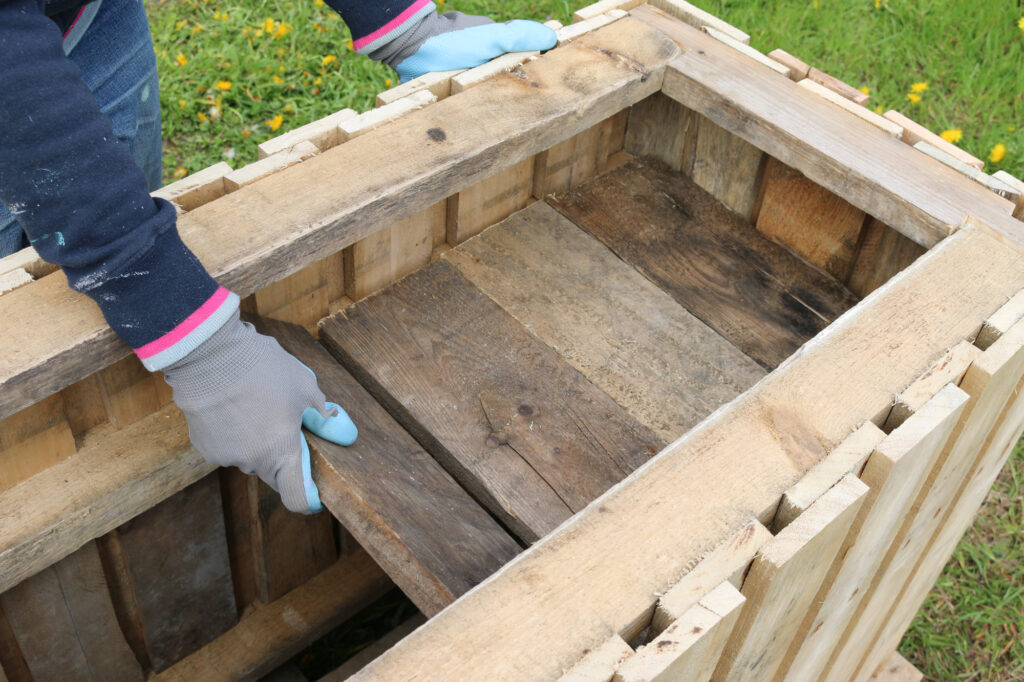
Step 9
Measure the gap inside the planter, above the central timber supports. Use this measurement to cut more planks from another pallet. Nail into place inside the planter to create a shelf. This means your planter will be shallow inside, meaning you’ll need less soil to fill it. Alternatively, if you want to plant something that needs a deeper planter, you can leave out the shelf.
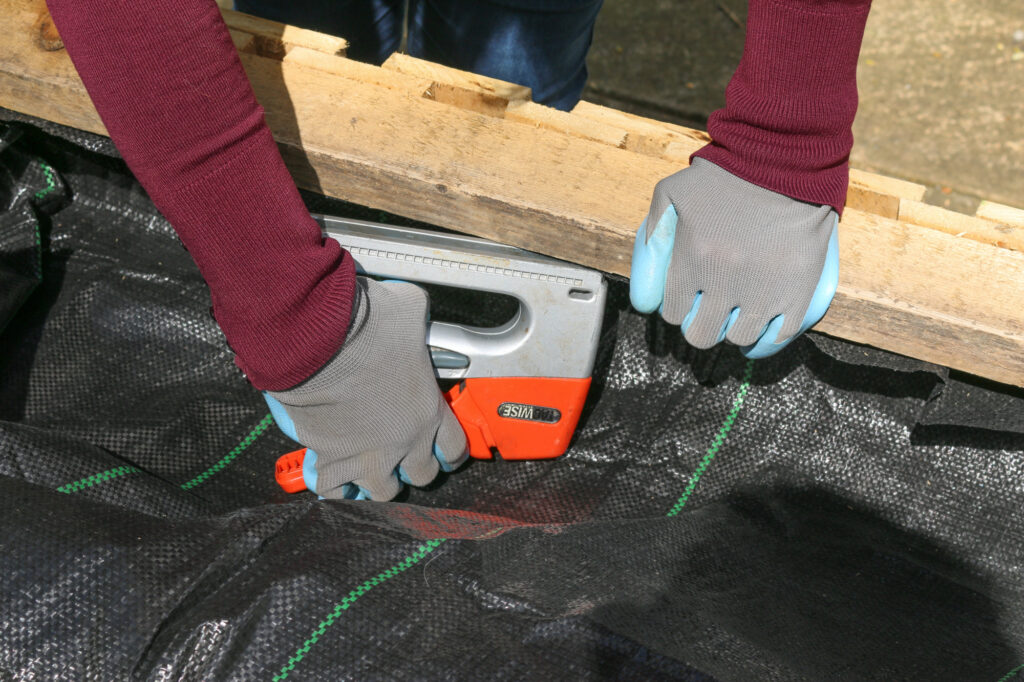
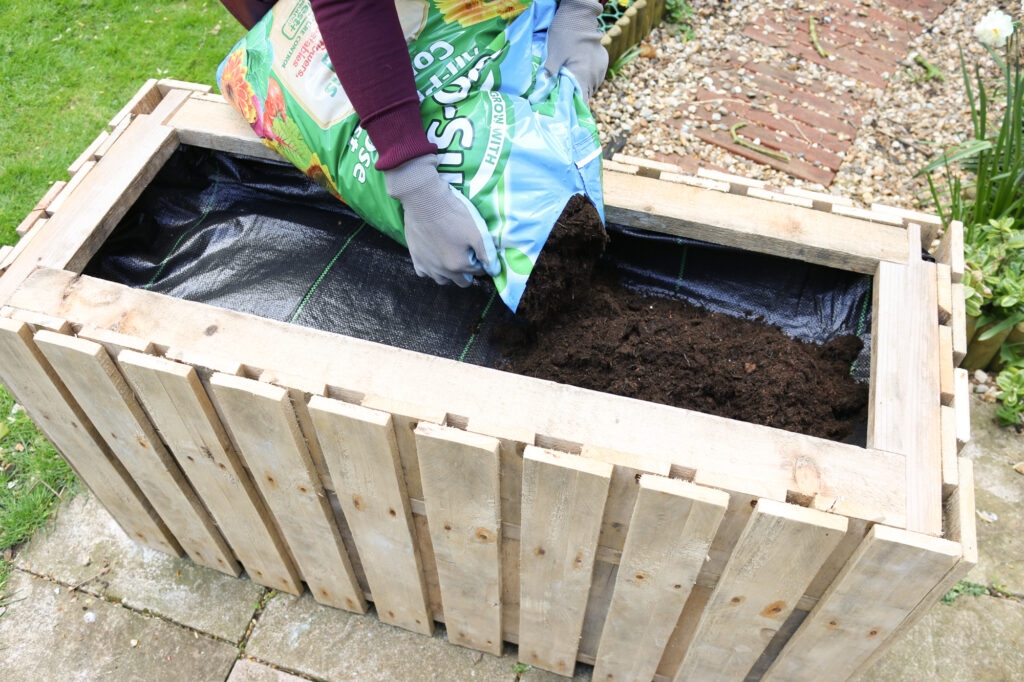
Step 10
Cut a piece of weed membrane to fit the inside of this top section of the planter. Use a stapler to attach the liner under the top edges. Position the planter in its final position in your garden before filling it with top soil or compost.
Step 11
To make the optional privacy screen, use a crowbar to remove the back supports of the thin-plank pallet. Cut the pallet front down to the height you’d like your privacy screen to be. Make the uprights using two of the spare pieces of supporting timber that you cut away from the in-fill planks earlier.
Nail the uprights to the edges of the thin-slatted pallet with the extra length of the support sticking out at the bottom. These extra lengths at the sides will slot into the holes at the back of the planter to anchor the privacy trellis in place. Use two screws at each corner to secure the screen.
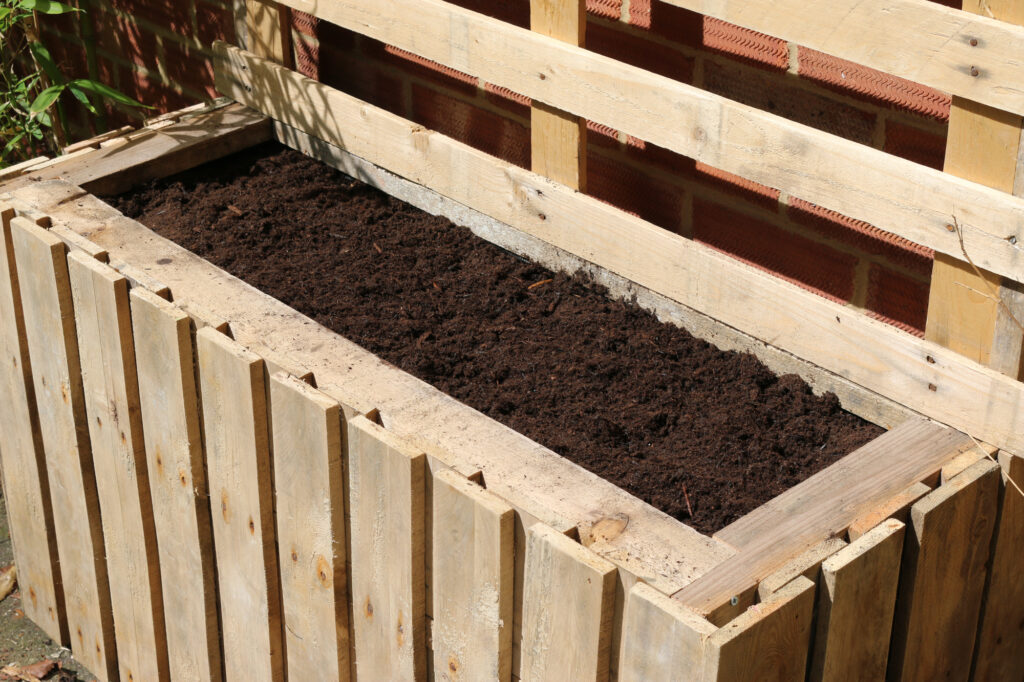
Just a few hours of cutting and screwing and you’ve got a planter for your back garden and an optional trellis at the back to grow climbers for a little extra privacy. Plant it up with your favourite shrubs, flowers and climbers to brighten up your patio.

Pin it for later


6 responses
Fantastic, I hope your build goes well! 🙂
That’s great news, good luck with your project!
Most helpful and just what I was looking for. Thanks
Great Idea. Will try and build one.
Thank you so much, that’s really lovely to hear – I’m glad you found it useful 🙂
This is fabulously built, thank you so much for the great tutorial!