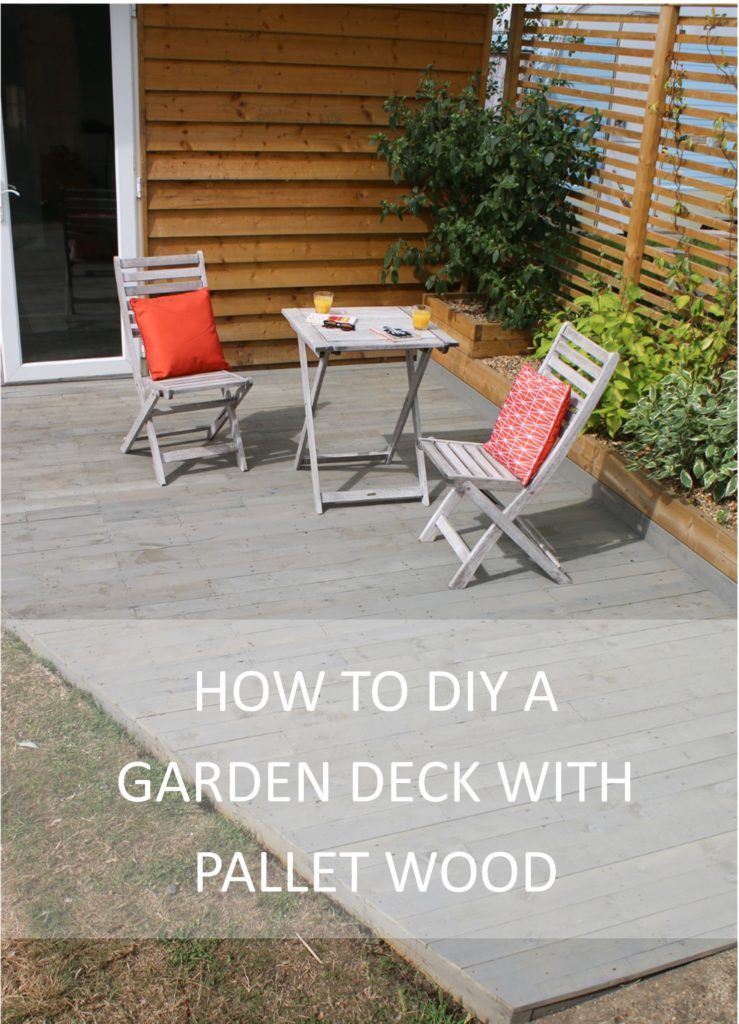




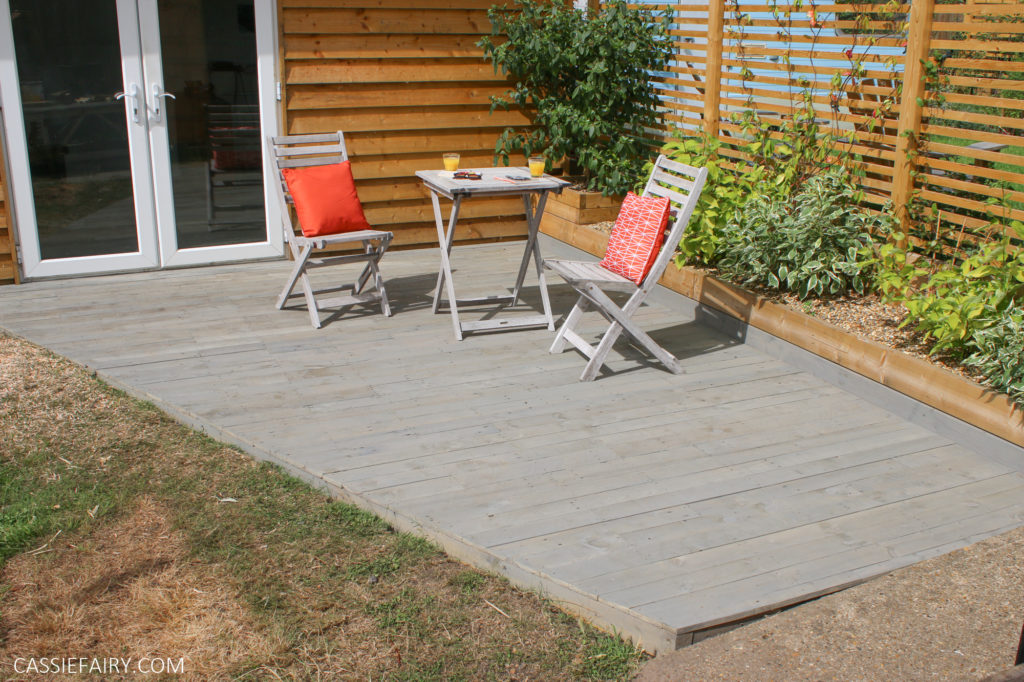
Today I’m sharing one of my own personal garden projects – how to create a deck using pallet wood. I DIY’d this decking in front of my garden cabin in 2020 and it has lasted for five years, so it’s a thrifty solution for creating a patio area – albeit much more temporary than professional decking!
Even though it may not last as long as decking planks, pallet wood is intended to be used both indoors and outdoors and, if you install a quality pressure-treated timber base, it won’t rot away from below. If any planks crack over time, you can simply replace them with more pallet wood for an easy, low-cost fix.
Just please be aware that the planks will be more SLIPPY than grooved decking, so you’ll need to take care in the winter or wet weather, and they’ll need to be pressure-washed to remove any sliminess – just like traditional decking.
My pallet planks lasted for five years and the pressure-treated timbers below the decking are still in good condition. So, if you’re on a very tight budget to refresh your garden, it’s an option you can turn to for a short-term solution that lets you enjoy your backyard this summer.
Here a step-by-step guide to turn old pallet wood into an outdoor deck of any size:
You will need:
- Multiple pallets of the same size
- Wrecking bar or pallet pry bar
- Pressure-treated timber
- Postcrete fast-setting concrete
- Spade
- Hammer and screwdriver
- Saw and circular saw
- Electric sander and sandpaper
- Self-drilling wood screws and nails
- Wood stain or garden paint
- Roller, tray and brushes
Step 1
Decide on the length and width of your deck. We went for an angled deck to make the most of the space available in the garden. Clear the space and construct the outer frame of the deck using pressure-treated timber.
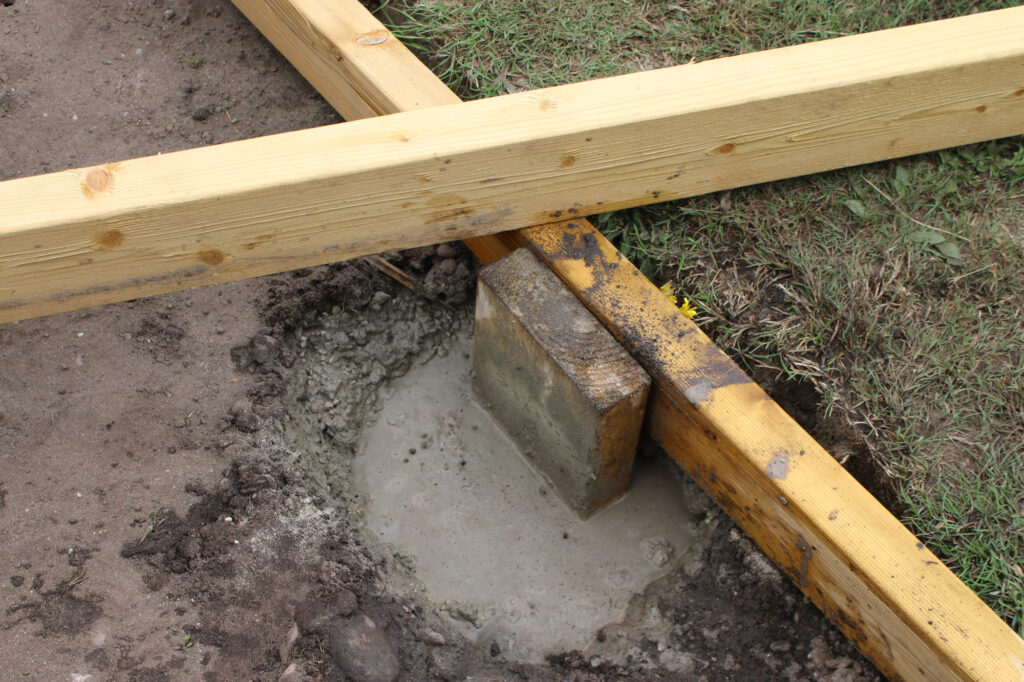
Then dig holes around the inner-edge of the frame and use postcrete fast-setting concrete to install some pressure-treated timber uprights, making sure that the top of the upright is flush with the frame. Once the concrete has set, you can screw the outer frame to the uprights.
Step 2
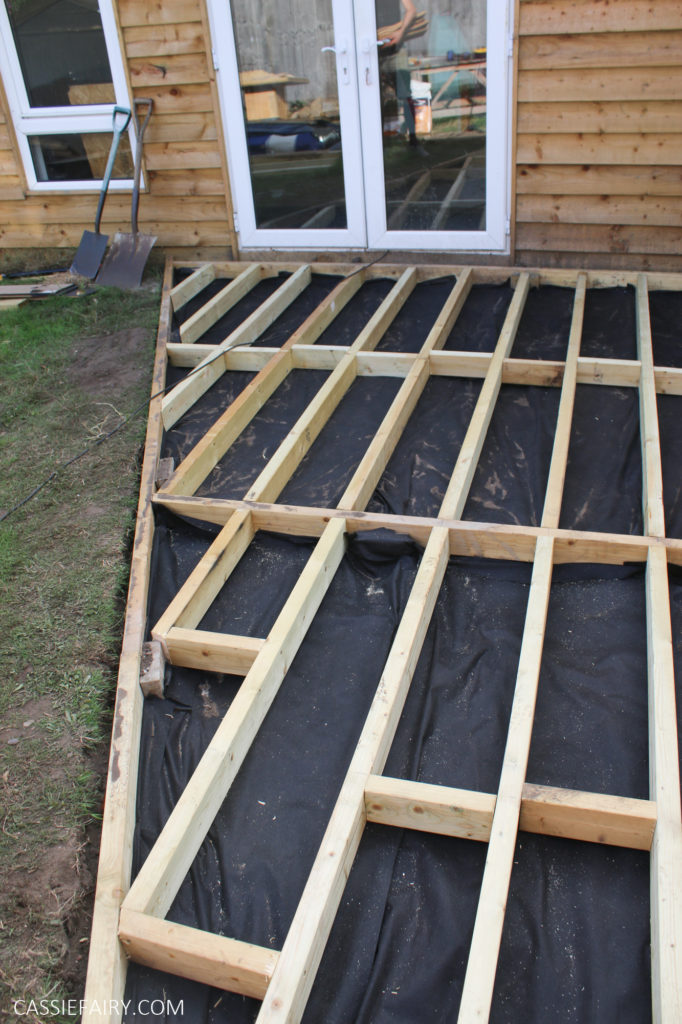
Lay down a weed-suppressing membrane on the ground before adding the pressure-treated beams across the frame. We added beams at intervals of every 30cm to ensure that the pallet planks wouldn’t flex when the deck was walked on. Screw the beams into the frame and then use offcuts of pressure-treated timber between the beams to add extra strength to the base.
Step 3
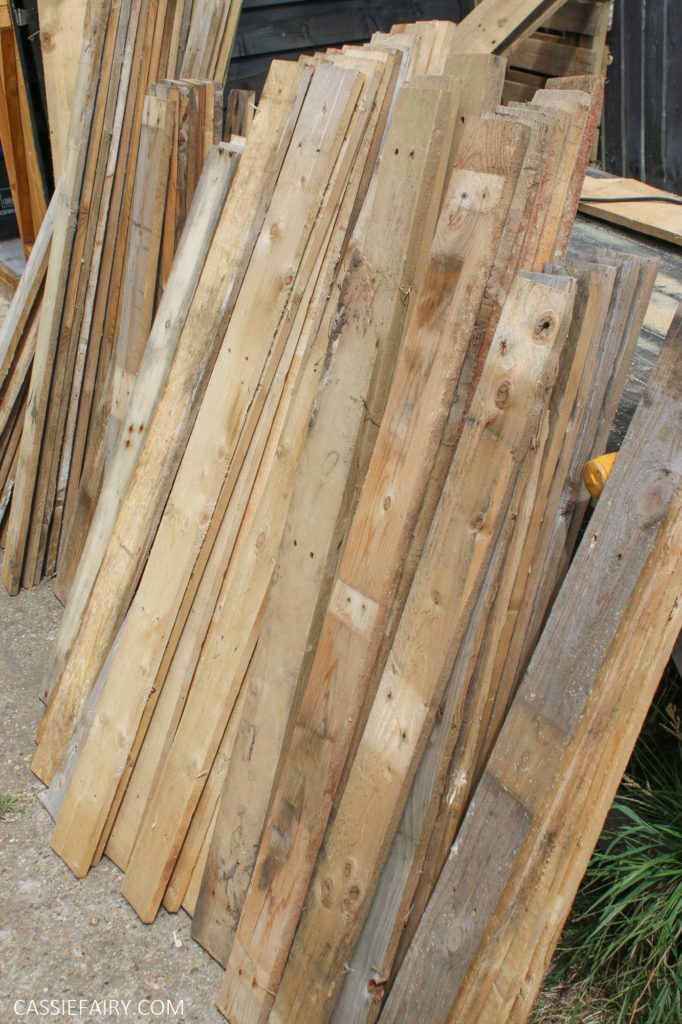
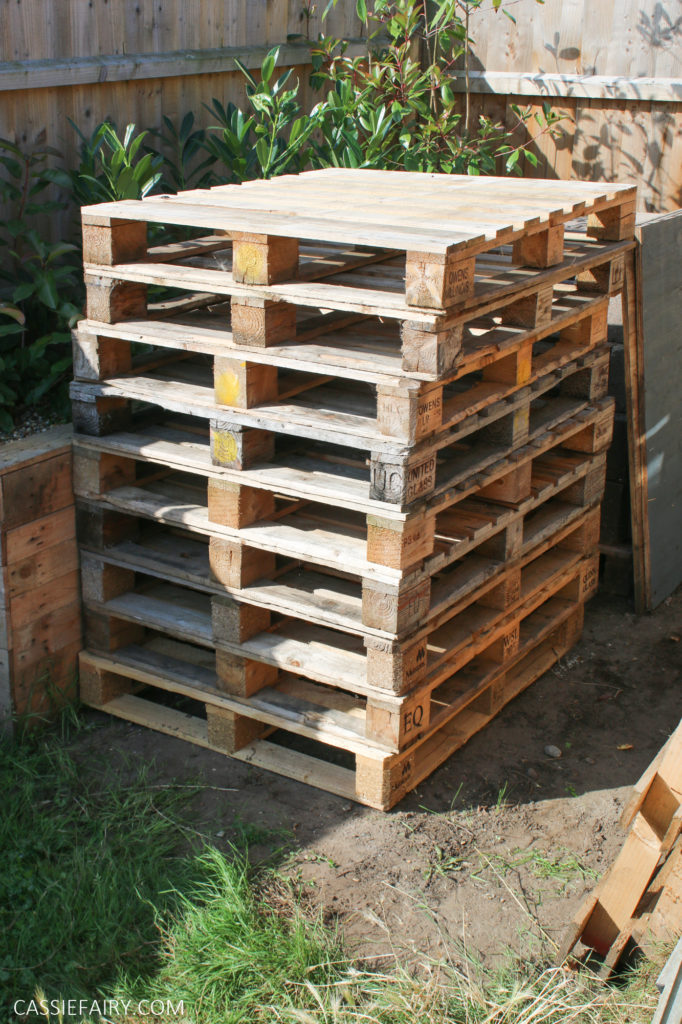
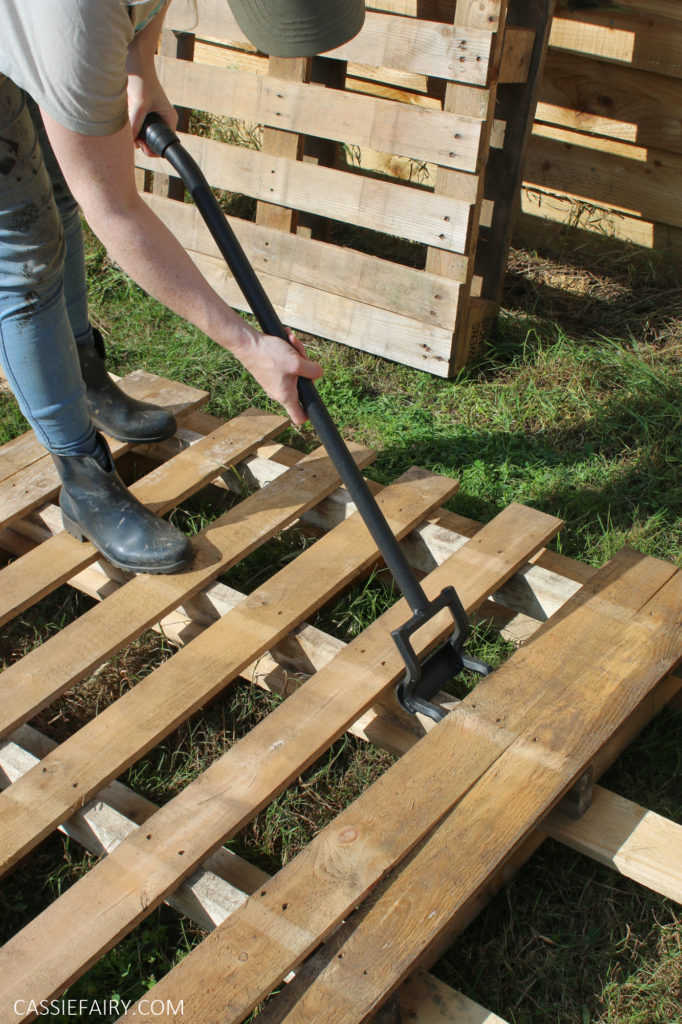
Take the pallets apart using a wrecking bar or pallet pry bar. Try to keep the planks of pallet wood intact, but if you have any cracked planks, keep hold of them as they may be useful for finishing off corners of the deck. Knock any screws through with a hammer and pull them out.
Keep the planks from each pallet together so that it’ll be easier to match them up when you’re laying the deck. It doesn’t matter if you have planks that are slightly wider or longer; it is only the thickness of the wood that will make a difference, as it will cause a slight ‘step’ if they’re not all the same, so try to only use planks with the same thickness.
Step 4
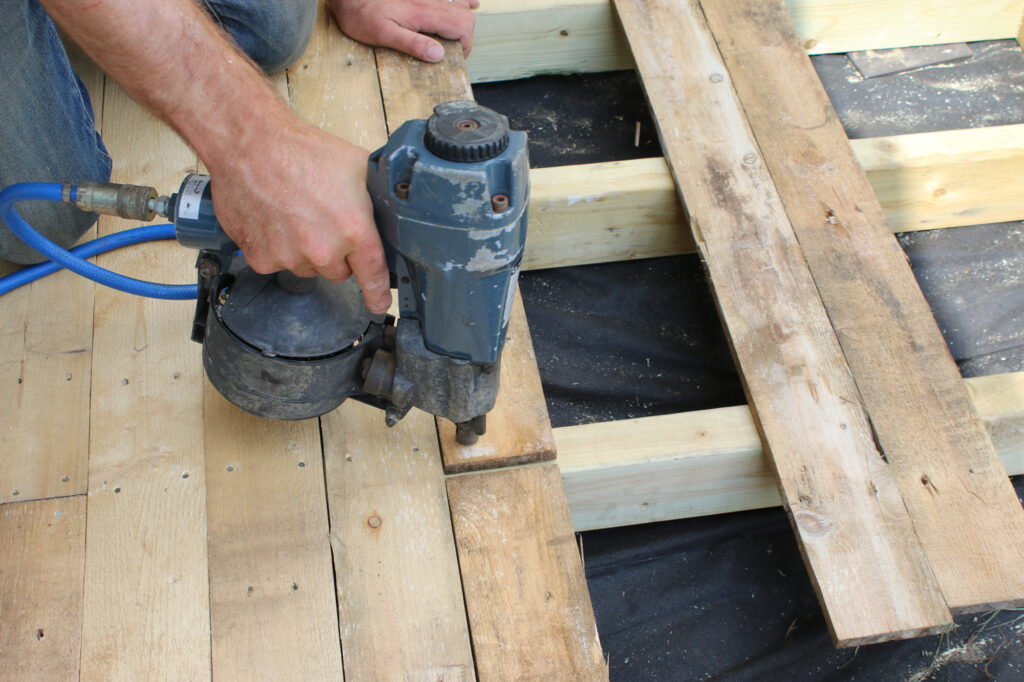
Using planks from the same pallet, add a run across the decking base. You will need to cut down the pallet planks so that the lengths finish in the centre of a beam. You could cut off the ends with the nail holes for a neater finish. Nail down one run of planks (allowing the excess to hang over the edge of the deck) and then move onto a different type of pallet wood for the next run.
You might want to start the run with a shorter plank than before, so that the joins on the beams are staggered rather than all the cuts being in one long line down the length of the deck. Be sure to nail the wood onto every beam across the base, to attach the planks securely.
Step 5
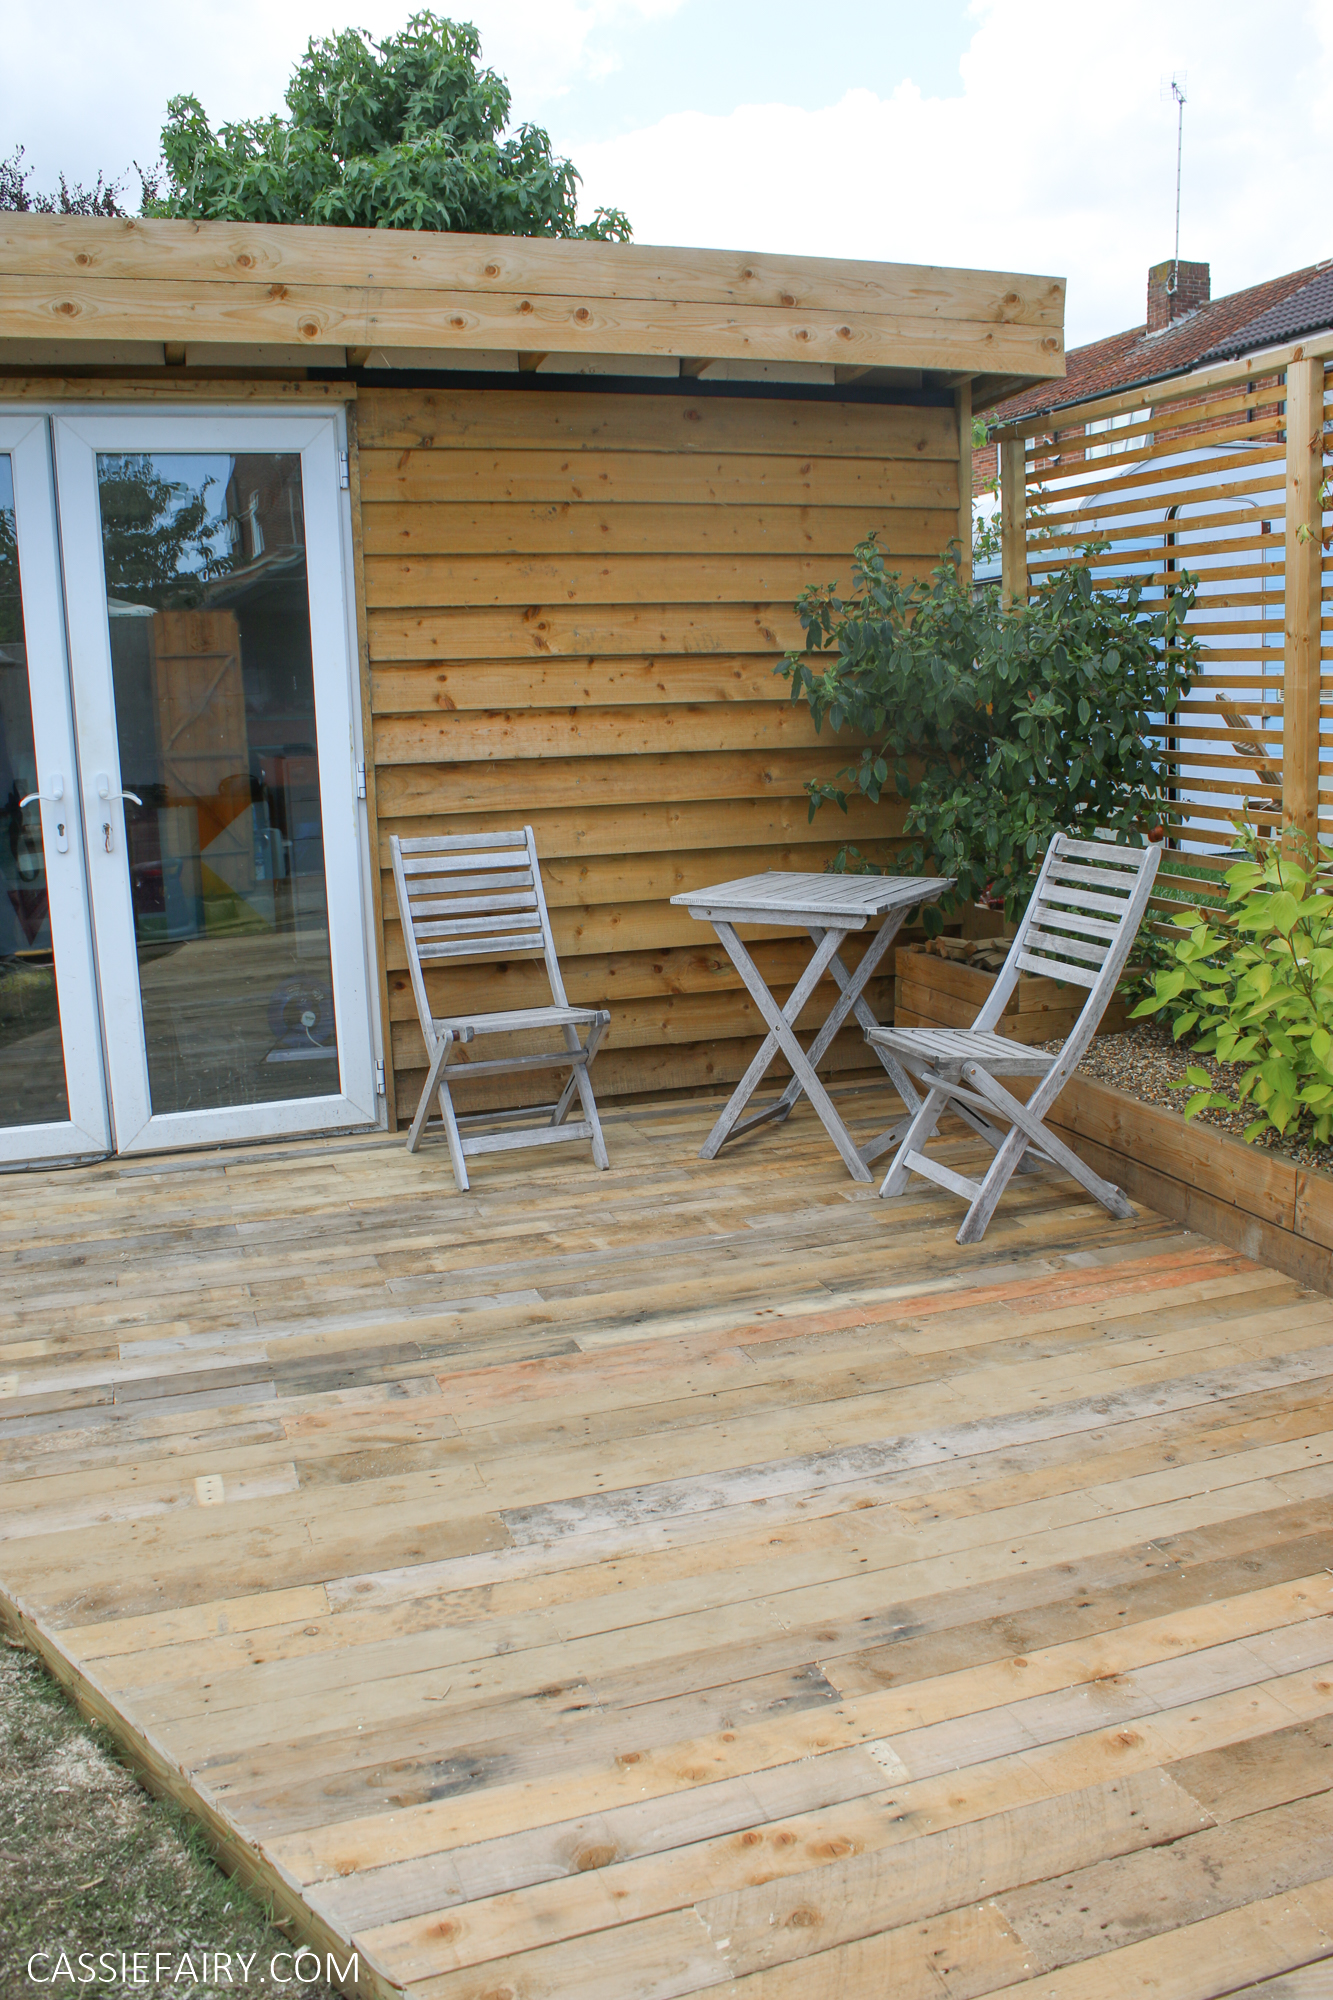
When you’ve finished laying all the pallet planks across the deck, you can cut off the excess at the edge using a circular saw. Temporarily screw a long piece of wood alongside the edge of the deck, allowing space for the width of the circular saw, so that the saw blade is flush with the pressure-treated framing.
Run the circular saw along the piece of wood to neatly cut away the excess pallet wood at the edge for a tidy finish. If you don’t have a circular saw, you can simply cut the pallet planks to the right length when you’re installing them but, because we wanted an angled deck, it was easier for us to trim away the edge after laying the planks.
Step 6
Use an electric sander to get rid of any rough edges and splinters from the pallet wood so that the deck is smooth and safe to use. Then you can treat the pallet wood to protect it from the elements. If you like the rustic finish of the pallet wood, you can use a clear outdoor wood preservative treatment to give the deck extra water-resistance and help it to last longer.
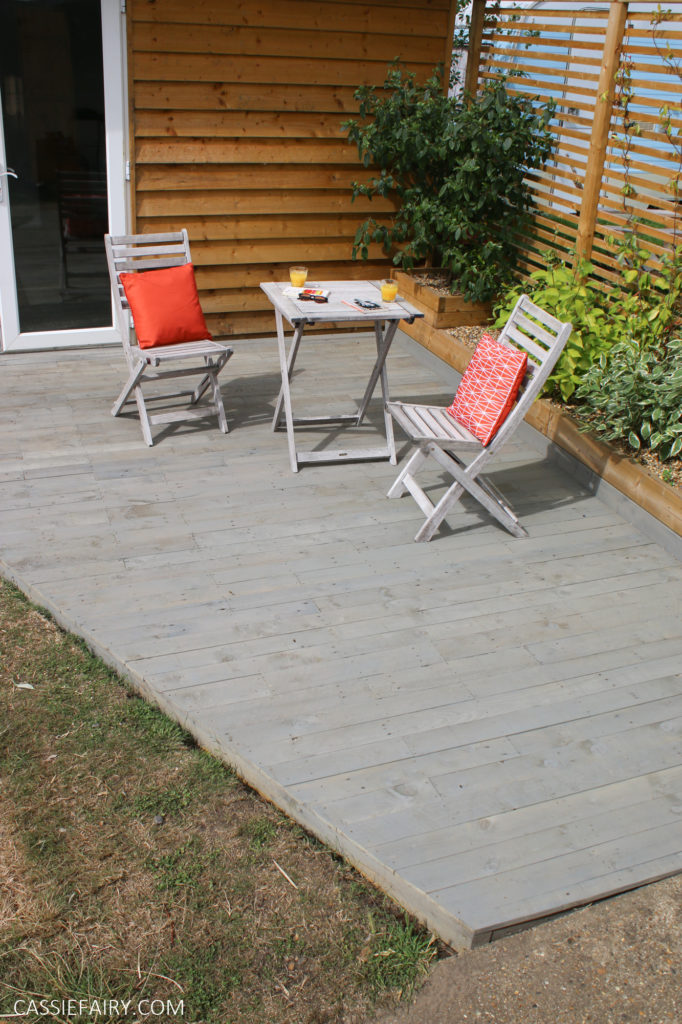
Alternatively, you could stain it with a decking treatment to give the wood a uniform finish. We decided to paint the deck with outdoor paint in a grey shade. One layer of the paint is more of a stain/wash, so we gave it two coats for depth of colour, and you can still see the original wood grain through the paint.
If you can get hold of used pallets from a builders’ yard or factory, pallet wood is a great, low-cost way to create a rustic deck. It’s simply a case of putting in some time to dismantle the pallets and to carefully remove all the old nails before beginning to lay the deck. With a substantial, pressure-treated base beneath the deck, it should last for many years and could cut the usual cost of installing traditional decking by at least half.
Just please be aware that the planks will be more SLIPPY than grooved decking, so you’ll need to take care in the winter or wet weather, and they’ll need to be pressure-washed to remove any sliminess – just like traditional decking. Plus, the planks WILL need to be repaired over the years and the whole thing will probably need to be replaced after five years. Still, it’s a handy quick fix if you have zero budget for decking!
Let me know if you have a go at making your own pallet deck in the comments below, I’d love to see your photos, so please share them with me on Instagram @cassiefairy. 🙂
Pin it for later