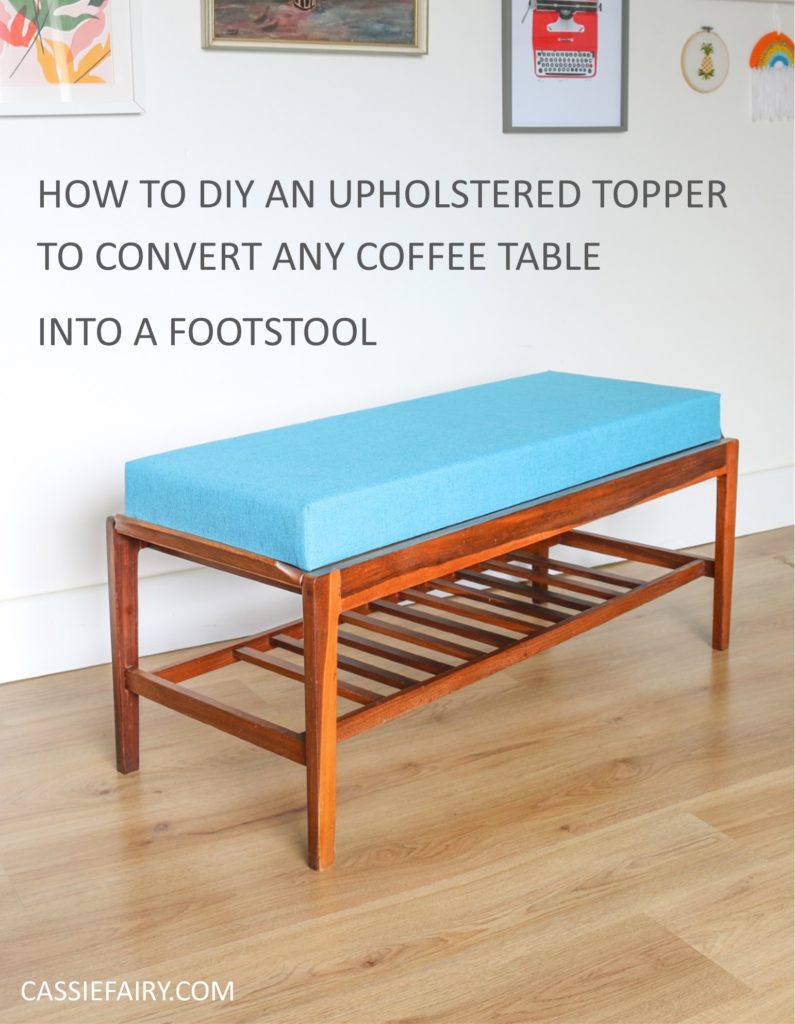
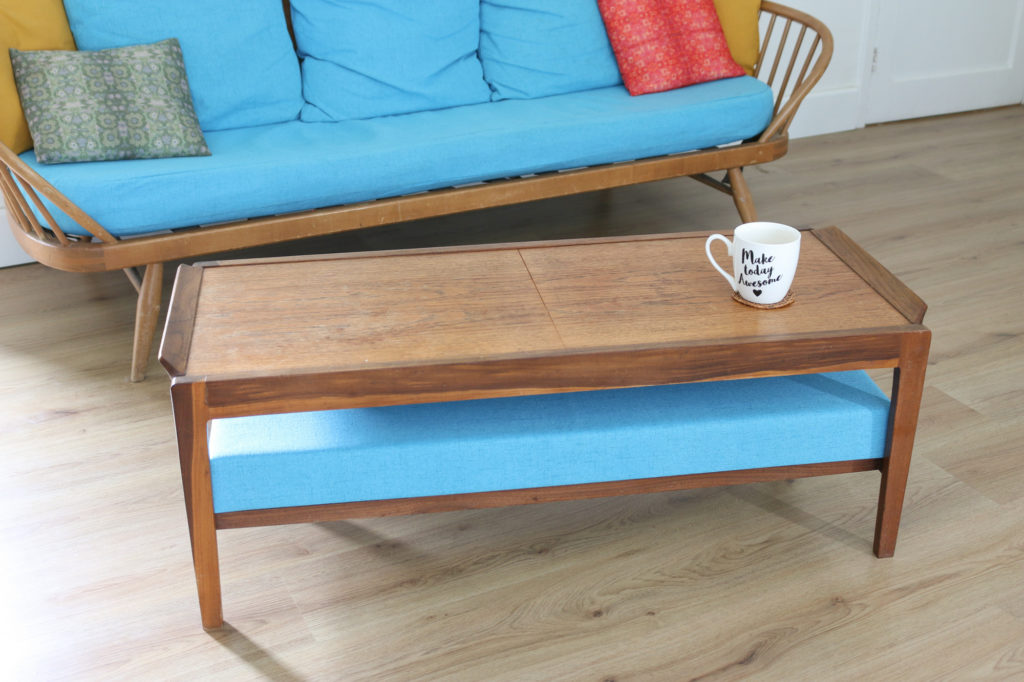
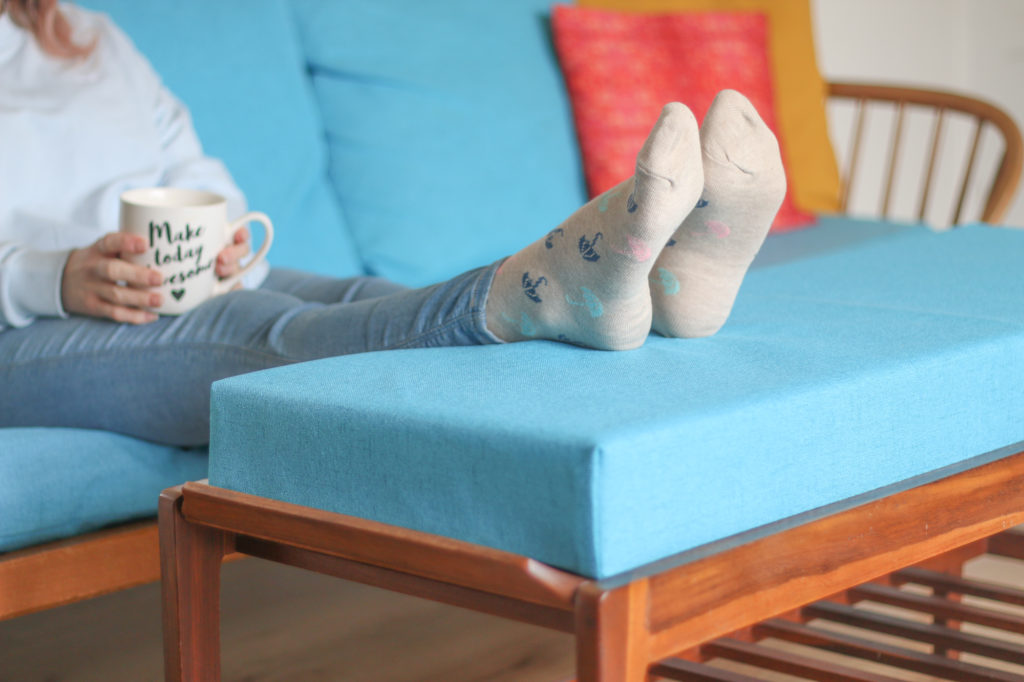
Get the most out of your existing by furniture by turning a simple coffee table into a two-in-one piece of furniture that converts into a comfy footstool and back again.
For months we’ve been putting sofa cushions on our coffee table when we want to put our feet up and I thought there must be a better solution. That’s when I thought about the little seat cushions in my caravan that allow the seats to lift up and be used as storage, and I realised that the same idea could apply to my coffee table.
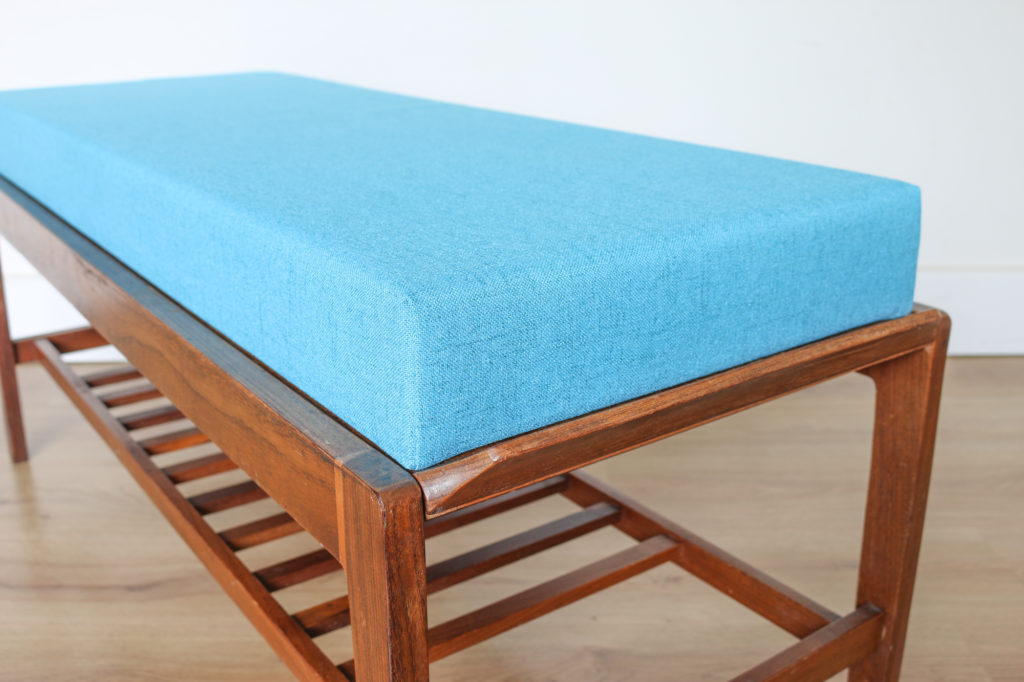
Of course, you could always just upholster the top of a sturdy coffee table or side table and staple the fabric directly to the wood, but I wanted to keep my coffee table AND be able to use it a footstool. So the padded ‘topper’ provides the best of both worlds and takes up less space than having two pieces of furniture in the living room.
You can use a coffee table of any size, just make sure that it’s very sturdy so that the table is strong enough to be used as a footstool without wobbling or breaking. And choose a table that’s a comfortable height for you to put your feet up.
The underside of the topper has a non-slip surface attached which protects the table top from scratches from the staples or plywood, and it also means the topper will stay in place when you pop your feet up on the ‘footstool’.
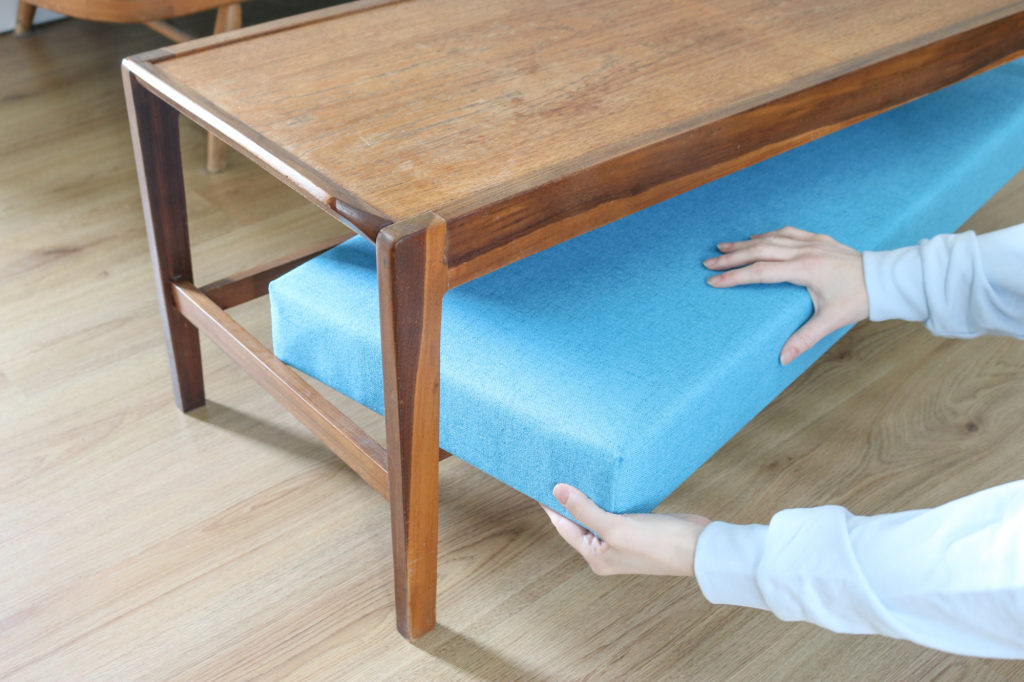
I decided to make a topper that would also fit on the coffee table’s shelf so that I could store it there when I wanted to use the table. I simply adjusted the measurements a little so that it would easily slide between the four legs and be safely stowed away.
I teamed up with home improvement experts ManoMano to create this DIY upholstery project so you can find more photos and info on The Handy Mano blog, along with plenty of other step-by-step guides to help you upcycle old furniture and materials into useable decor pieces.
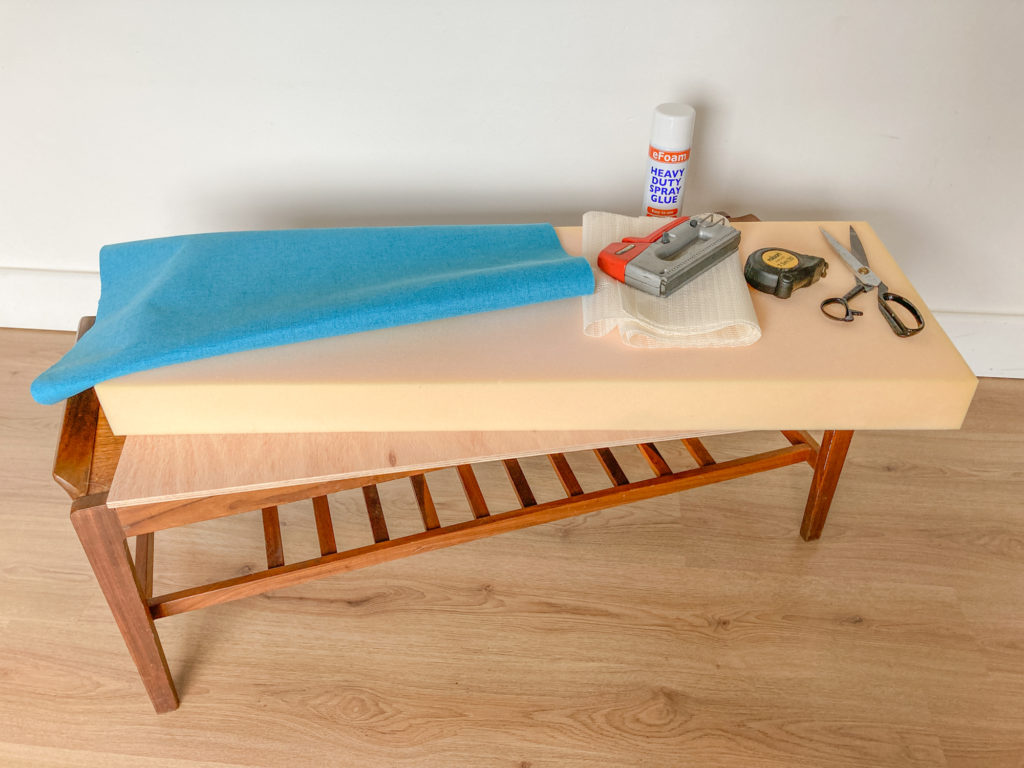
Here’s what you’ll need to make a coffee table footstool topper for yourself…
YOU WILL NEED
- Thin hardwood ply
- Foam
- Upholstery fabric
- Non-slip mat
- Spray adhesive
- Stapler and staples
- Super glue, fabric glue or hot glue
- Sewing machine or needle and thread
- Scissors, pencil, ruler
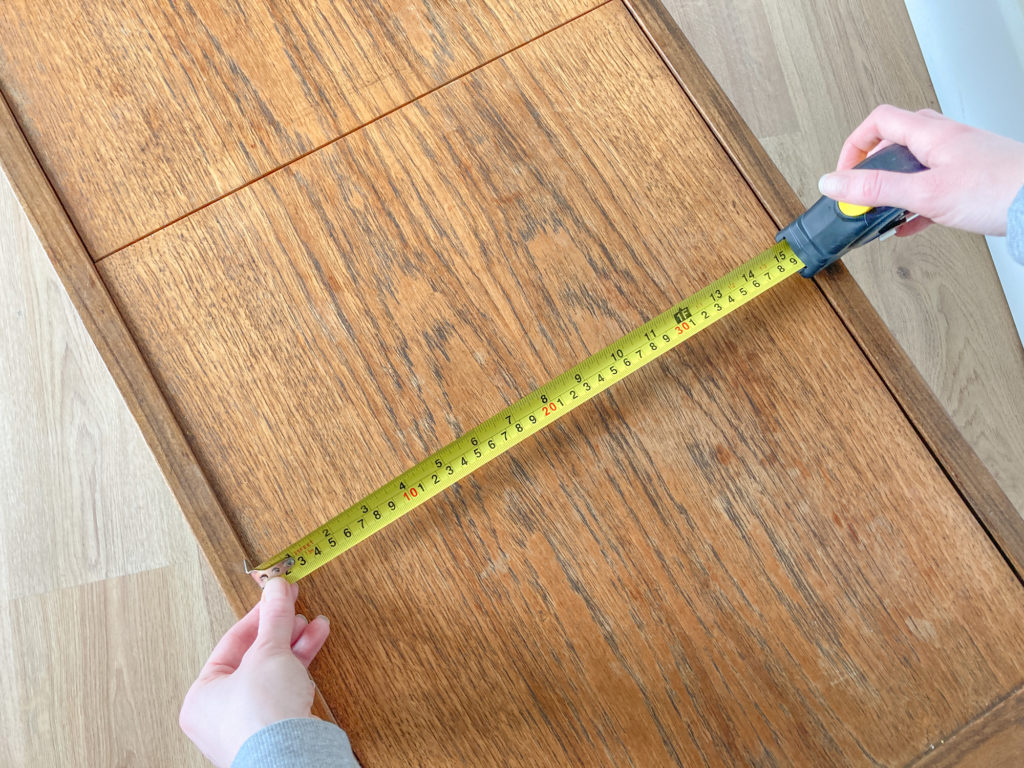
STEP 1
Measure the top of the coffee table. If your table has raised edges like our coffee table does, make sure you measure side the ‘lip’ so that the topper will sit snugly on top of the table.
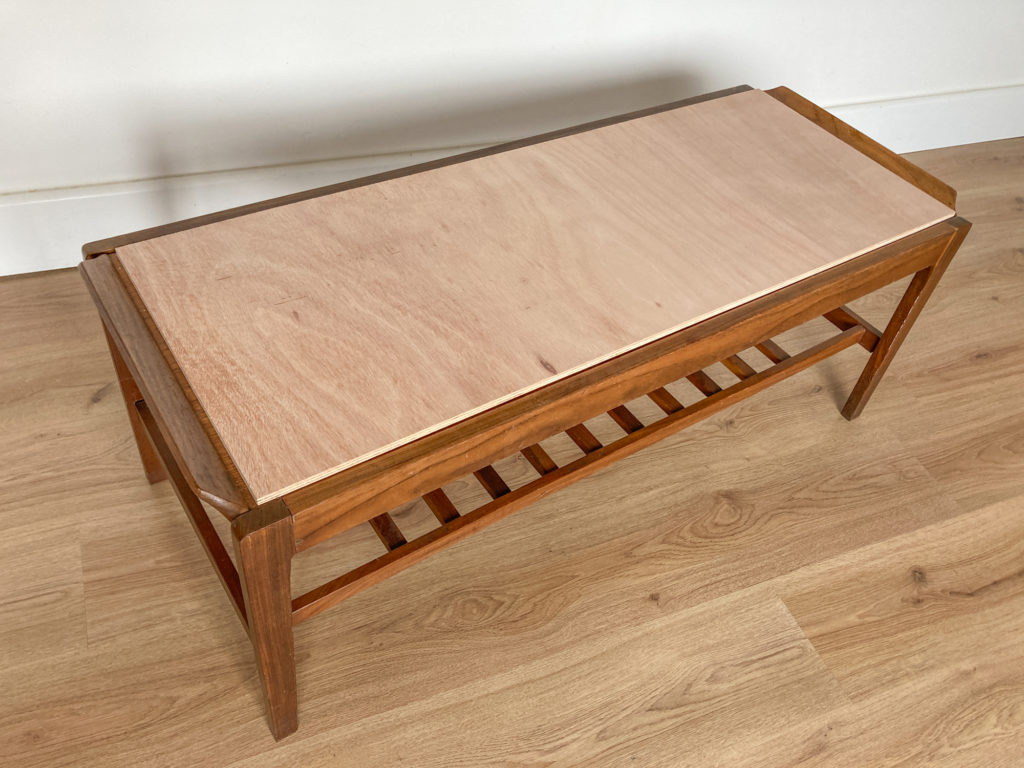
STEP 2
Cut a piece of wood to fit the top of the table. Use something like a thin hardwood ply which shouldn’t warp over time. You can use an offcut that you already have, or you can order a piece of wood to be cut to your required sizes online, which saves you the step of cutting the wood.
STEP 3
Likewise, cut a piece of foam to fit the measurements, or have a piece cut-to-order and shipped to you. You can choose whatever thickness or density you find most comfortable.
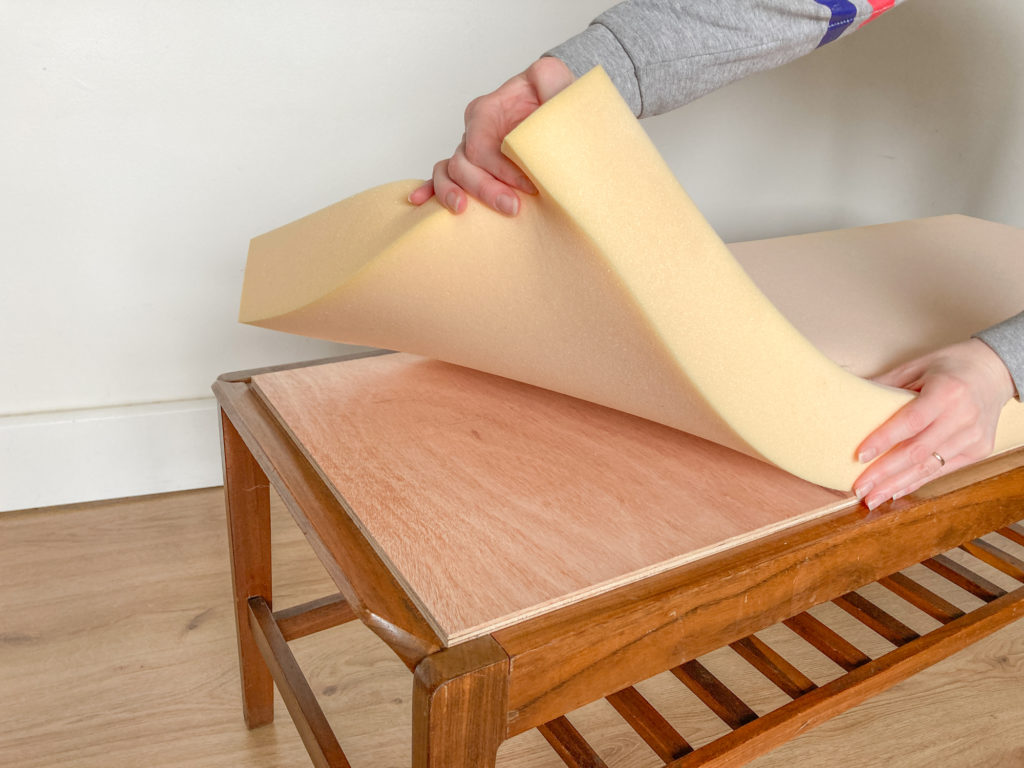
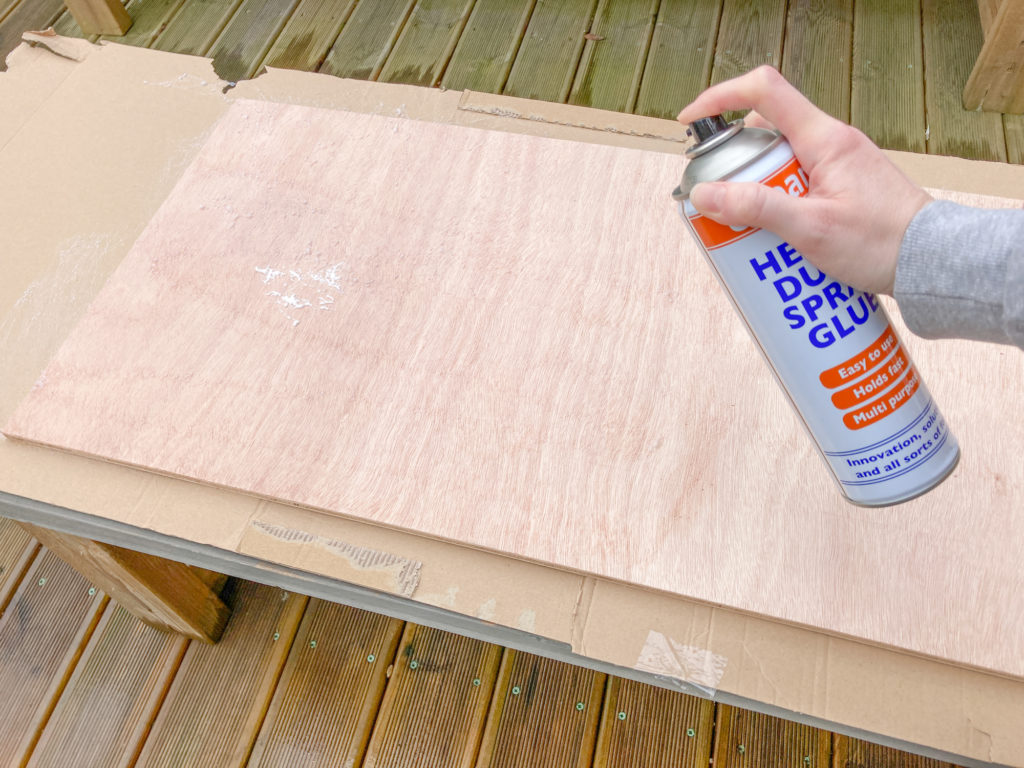
STEP 4
Use suitable upholstery spray adhesive to attach the foam to the plywood. Press down firmly once the foam is in place and allow to dry.
STEP 5
Create a cover for the topper using upholstery fabric. Lay the fabric face-down and position the topper on top. Draw around the topper to mark out the top surface of the fabric. Then measure the depth of the sides and add on a few inches to ensure that you’ve got enough fabric to staple to the base. Use this measurement to add a second line all around the outside of the top surface rectangle and cut out the piece of fabric.
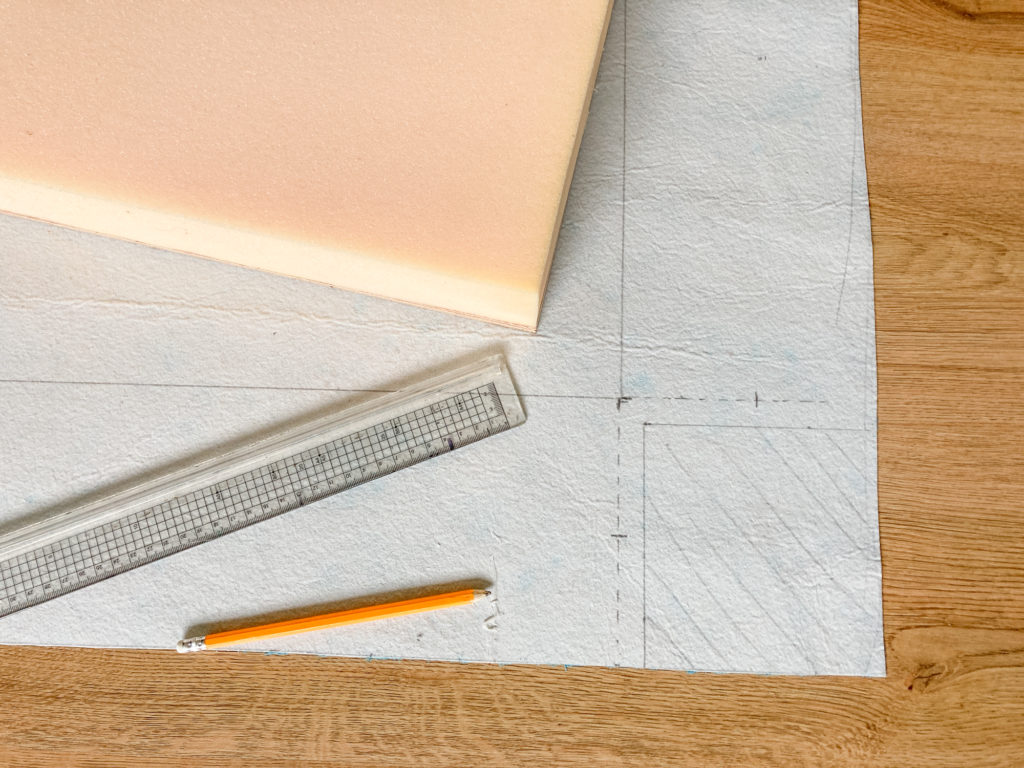
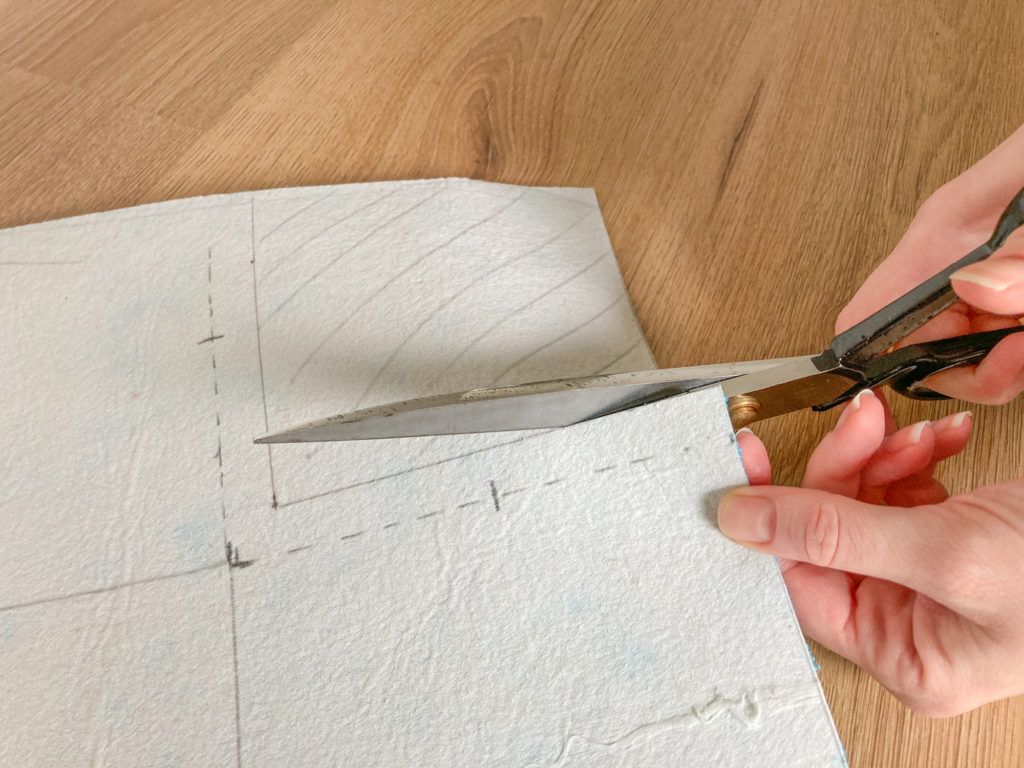
STEP 6
To prepare the corners, extend the line you drew around the ply/foam to the edge of the piece of fabric, giving you a square in each corner. Then add on a seam allowance of a couple of centimetres to the lines you’ve just drawn and cut away the excess fabric.
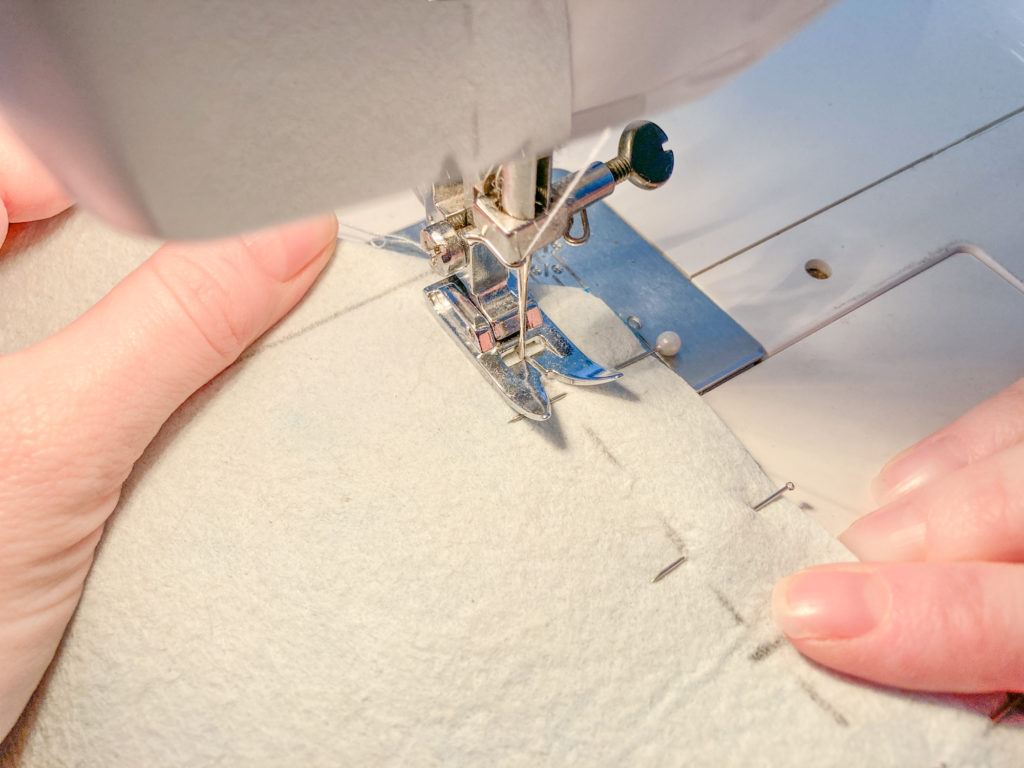
STEP 7
Fold the corner so that the two edges of the seam allowance are together and pin in place. Stitch a straight line down the marked corner line, stopping just beyond the measurement of the depth of the foam, leaving the last couple of inches for the overlap open.
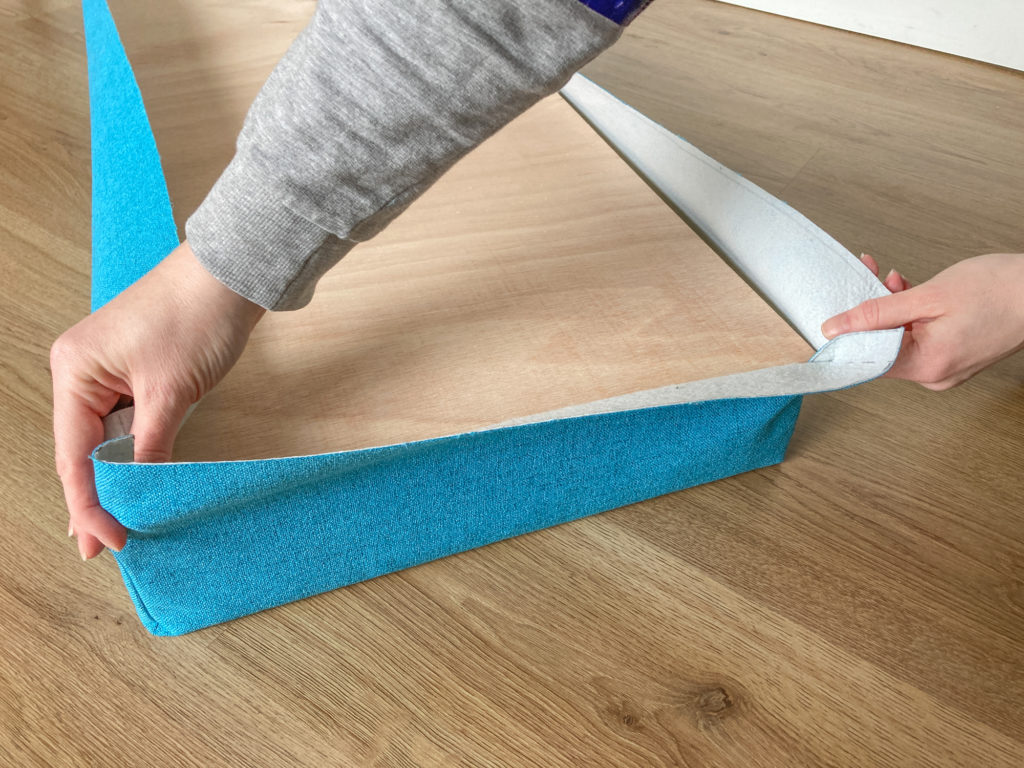
STEP 8
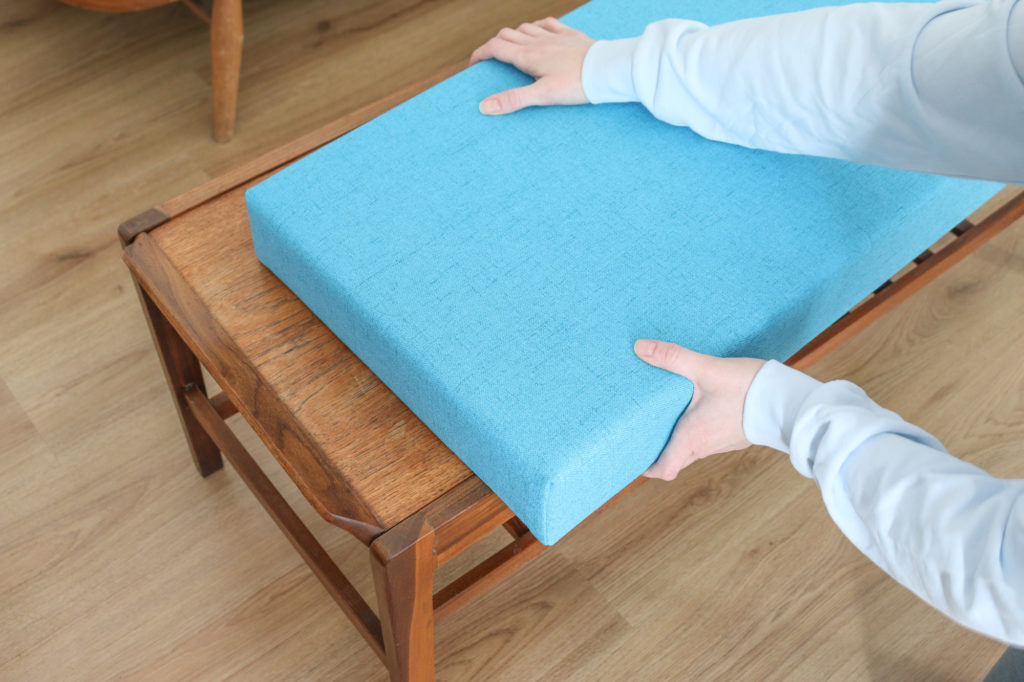
Repeat on all corners and then turn the fabric right-side out. Carefully pull the fabric cover over the top of the foam and down the sides.
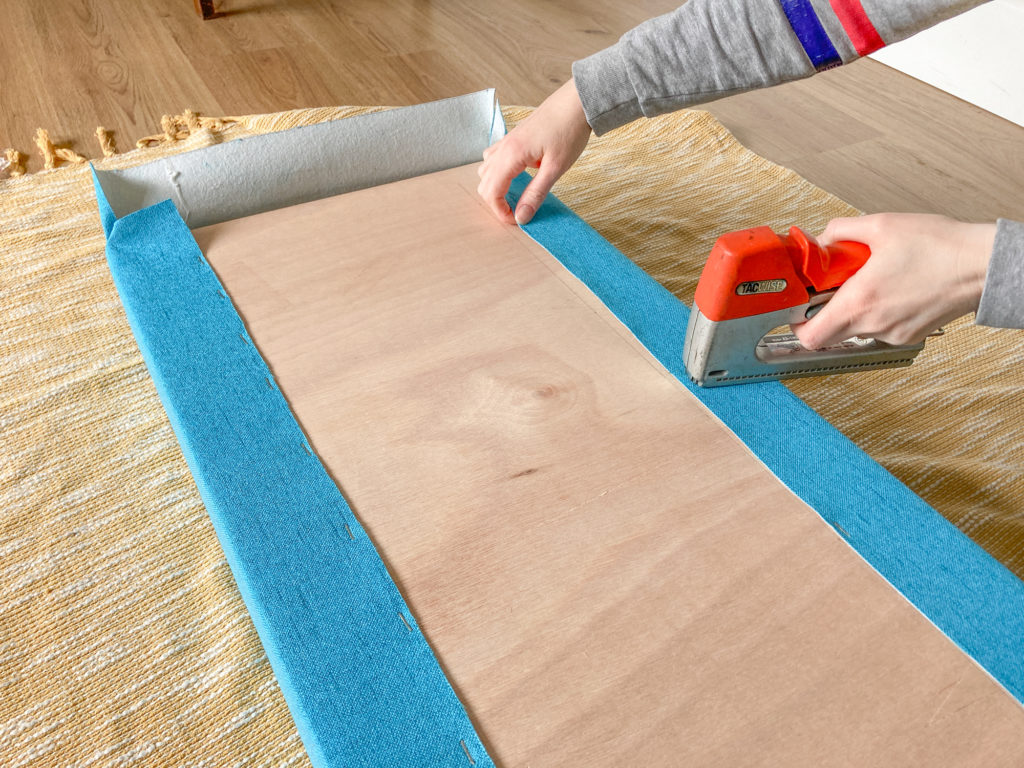
STEP 9
Fold the excess fabric over the back of the ply and staple into place. It’s a good idea to start stapling at the centre of the two longest sides and then work along the lengths. Once two opposite sides are stapled, turn the ends over and staple in place.
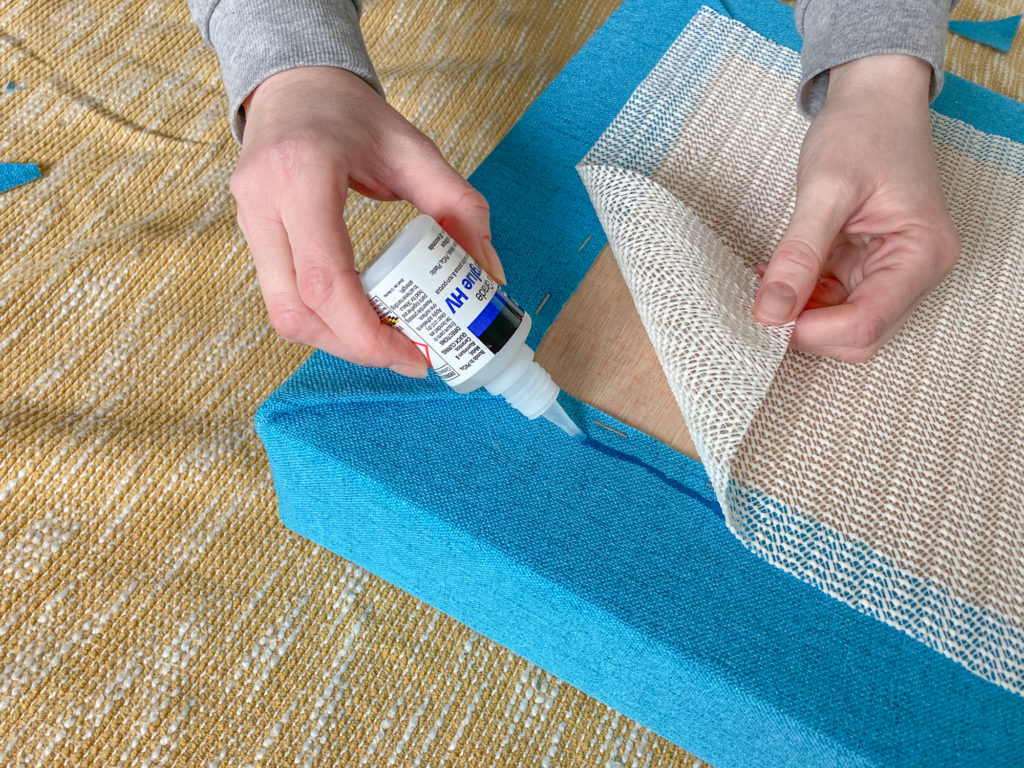
STEP 10
To cover the staples (protecting the table top from scratches) and to stop the topper from slipping when in use, glue a piece of non-slip matting to the underside. Take care to cover the staples with the mat and allow the glue to dry thoroughly.
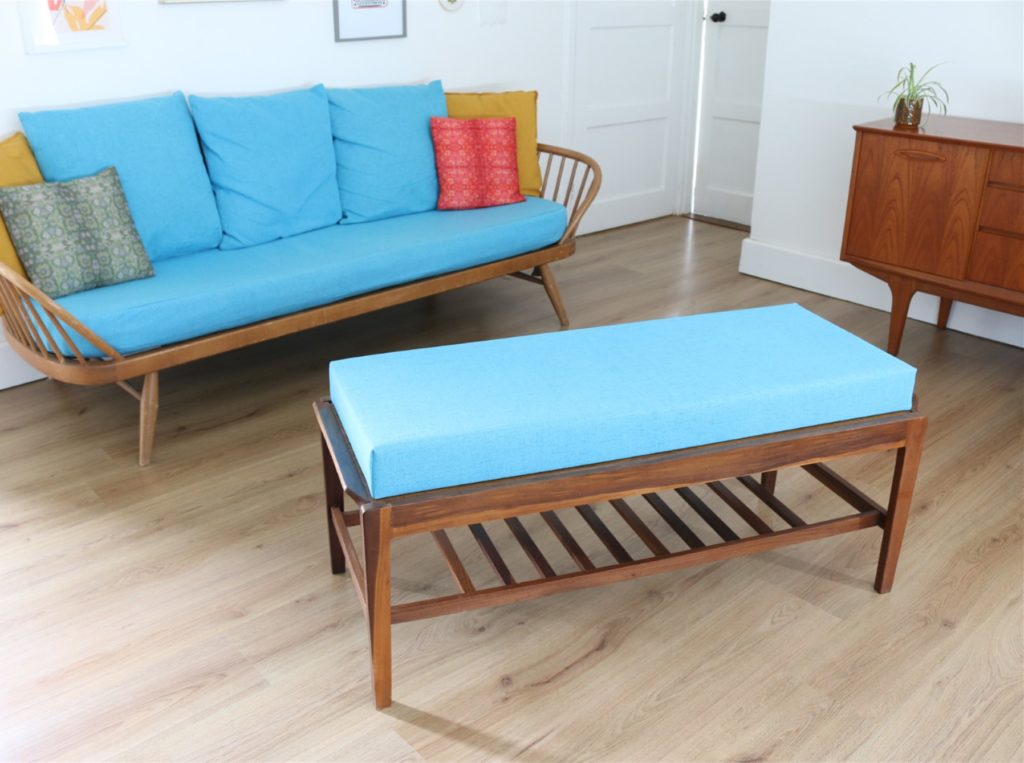
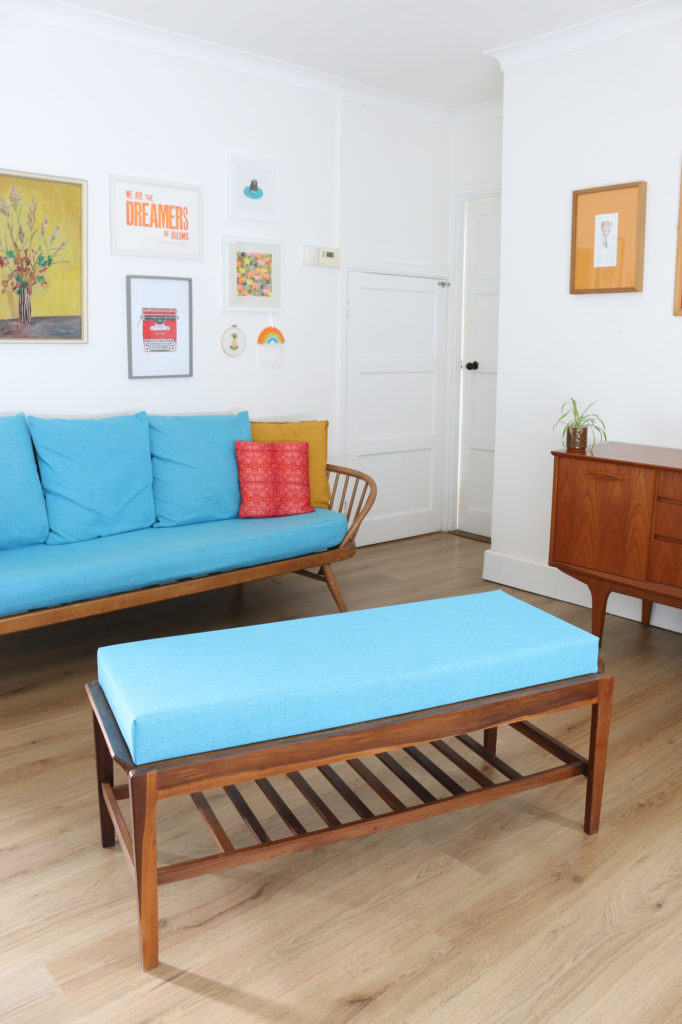
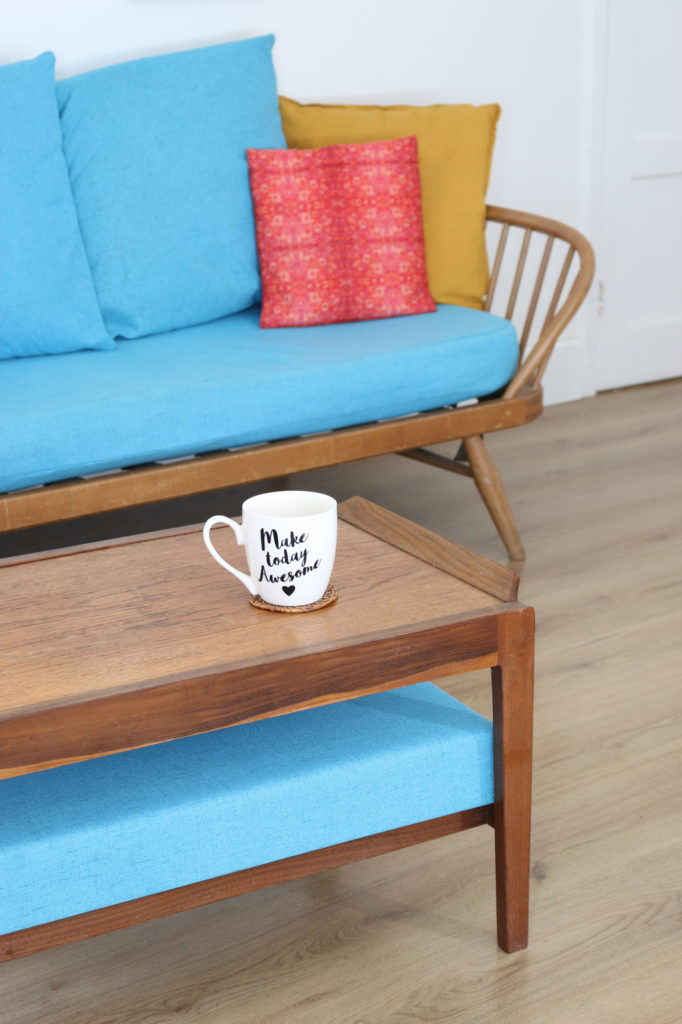
As you can see, I’ve used some upholstery fabric that I had left over from revamping my Ercol studio couch, so my coffee table footstall fits into the room perfectly now.

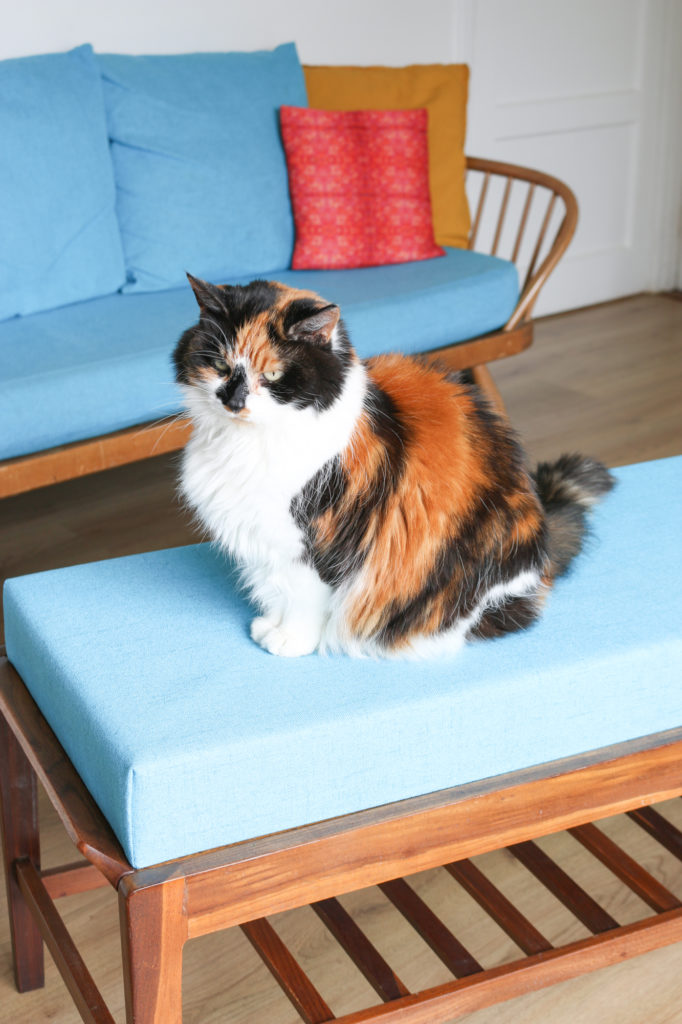
No sooner had I added the foam to the top of the coffee table than Muffin decided it was ‘her spot’!
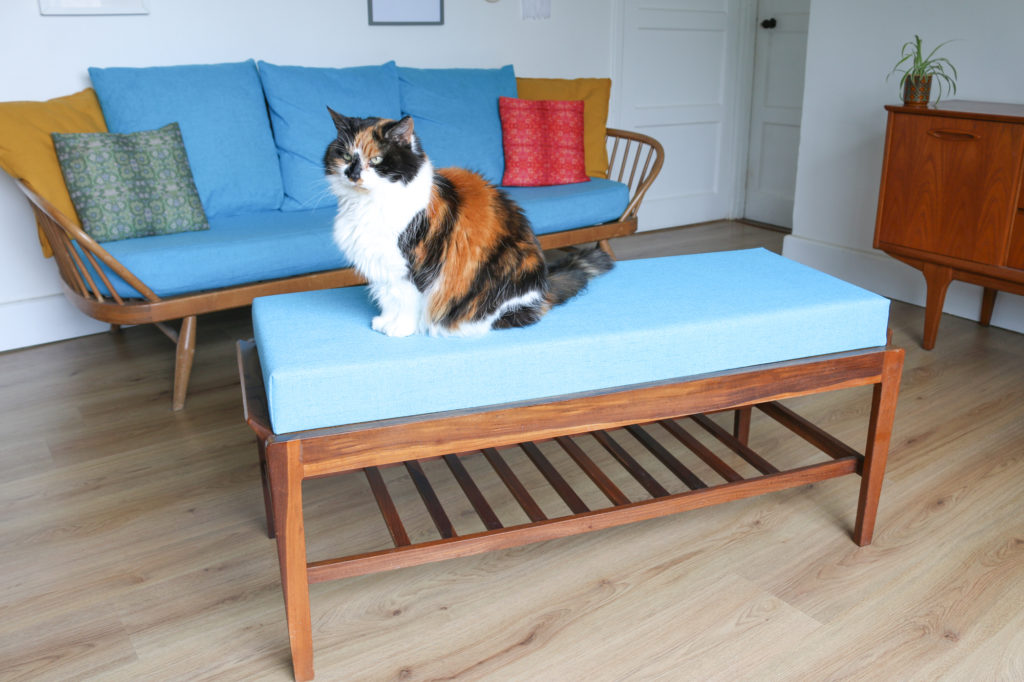
I’m really pleased with how this project turned out – it’s probably the easiest (and best!) thing I’ve attempted to upholster. We can now comfortably put our feet up in the evening and still use the coffee table in the daytime.
Let me know if you have a go at making this project for yourself in the comments below, and I’d love to see your finished footstools so please tag me @cassiefairy in your Instagram photos. 😊
PIN IT FOR LATER