Everybody knows wellington boots are an amazing accessory for any wet day. But, with all the wear-and-tear of splashing in puddles and squechling through mud, they eventually become cracked and damaged, perhaps with holes letting moisture in – not very handy for waterproof footwear!
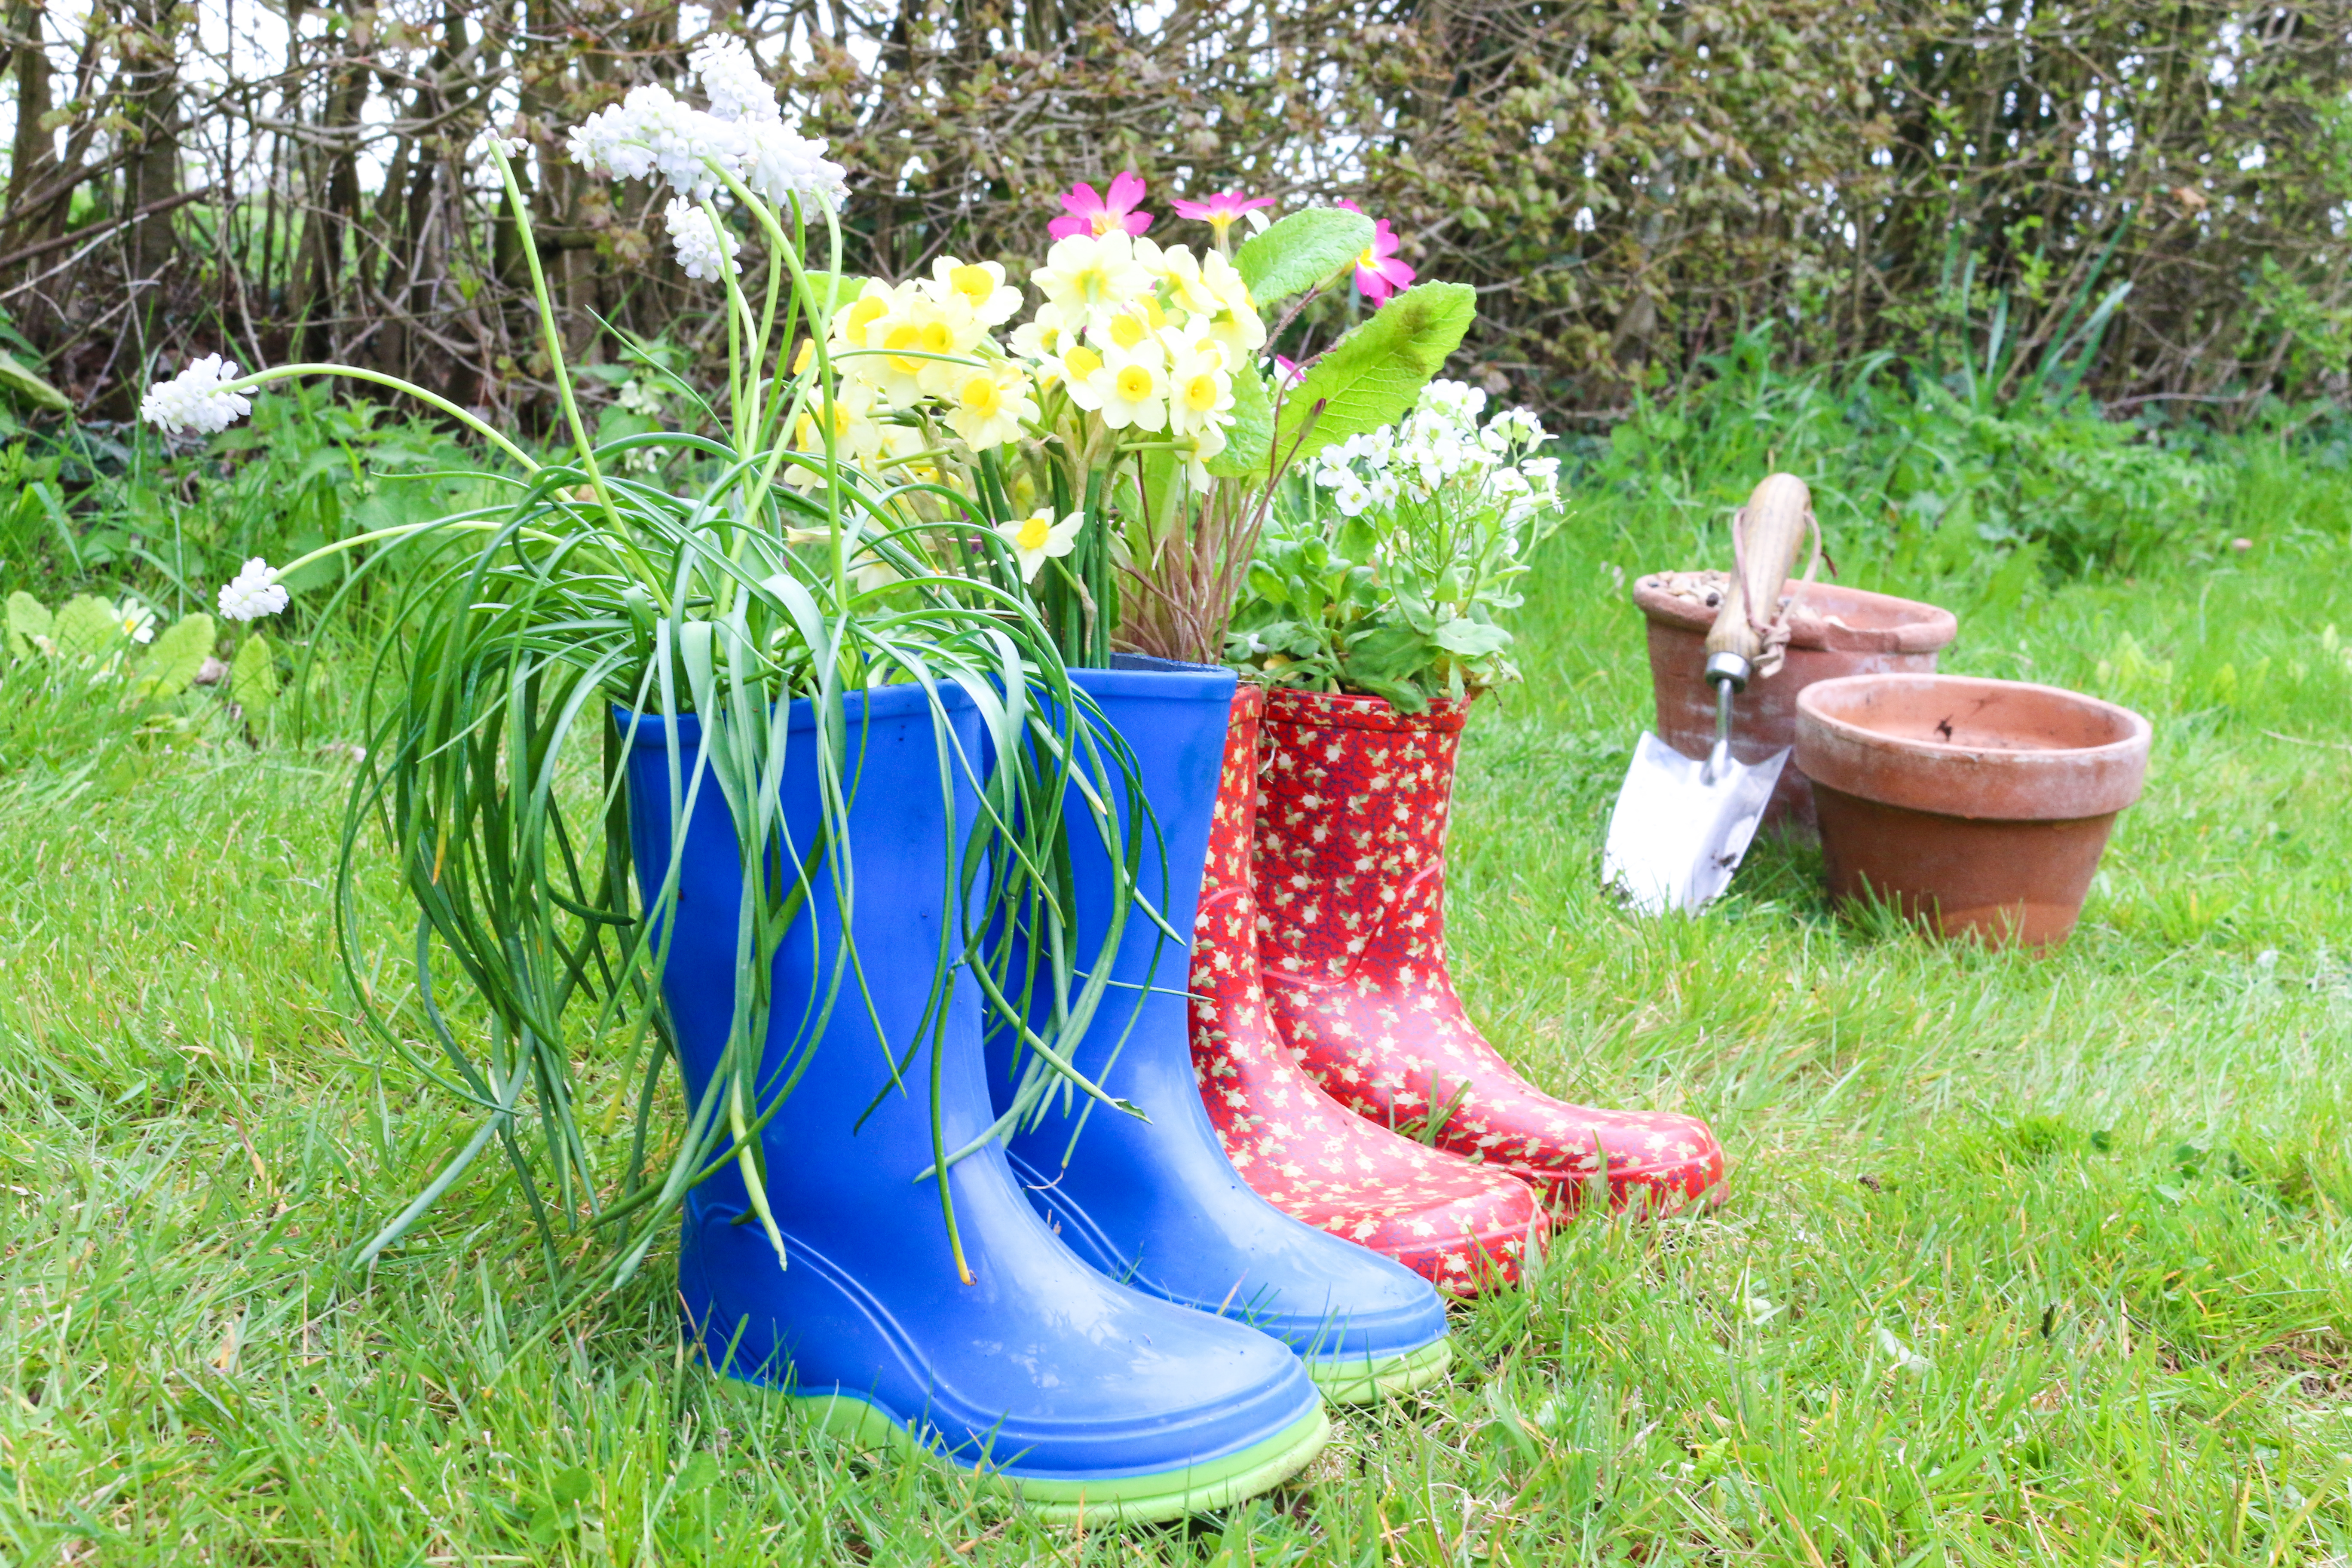
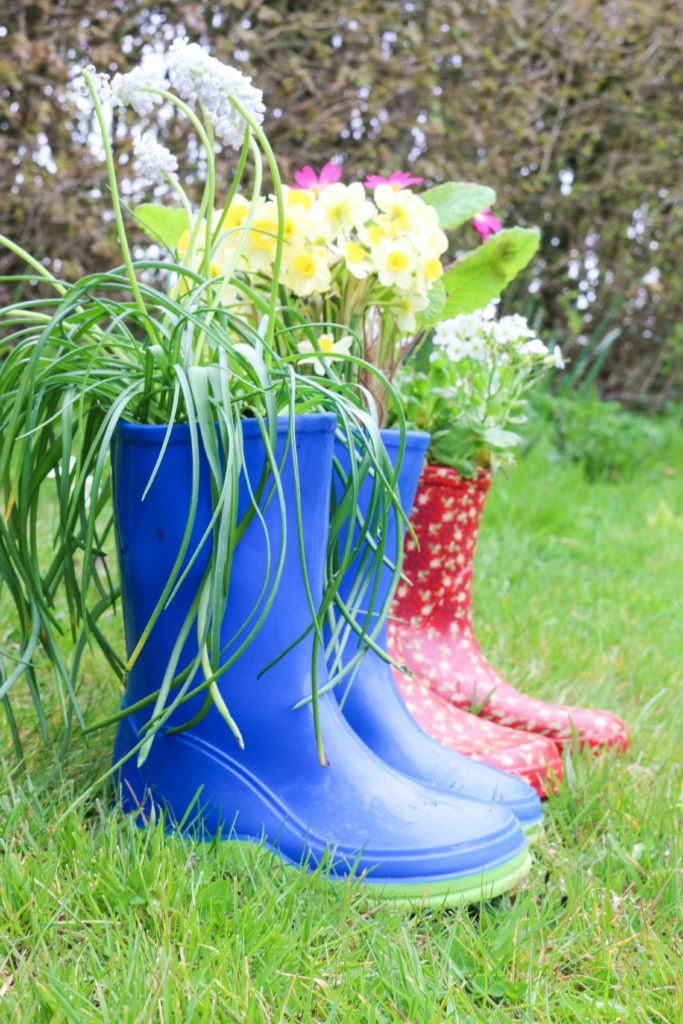
Well, if you find this to be the case don’t worry, you can make yourself some welly planters! What better way to not only add a little fun to your garden, but to recycle too!
Before you begin making your welly planters, there’s a few things you’ll need:
- Old, leaky wellington Boots
- A drill
- Compost
- Seeds or plug plants
- Watering Can
- Stones or Pebbles
- Labels if you wish to label your seeds/plants
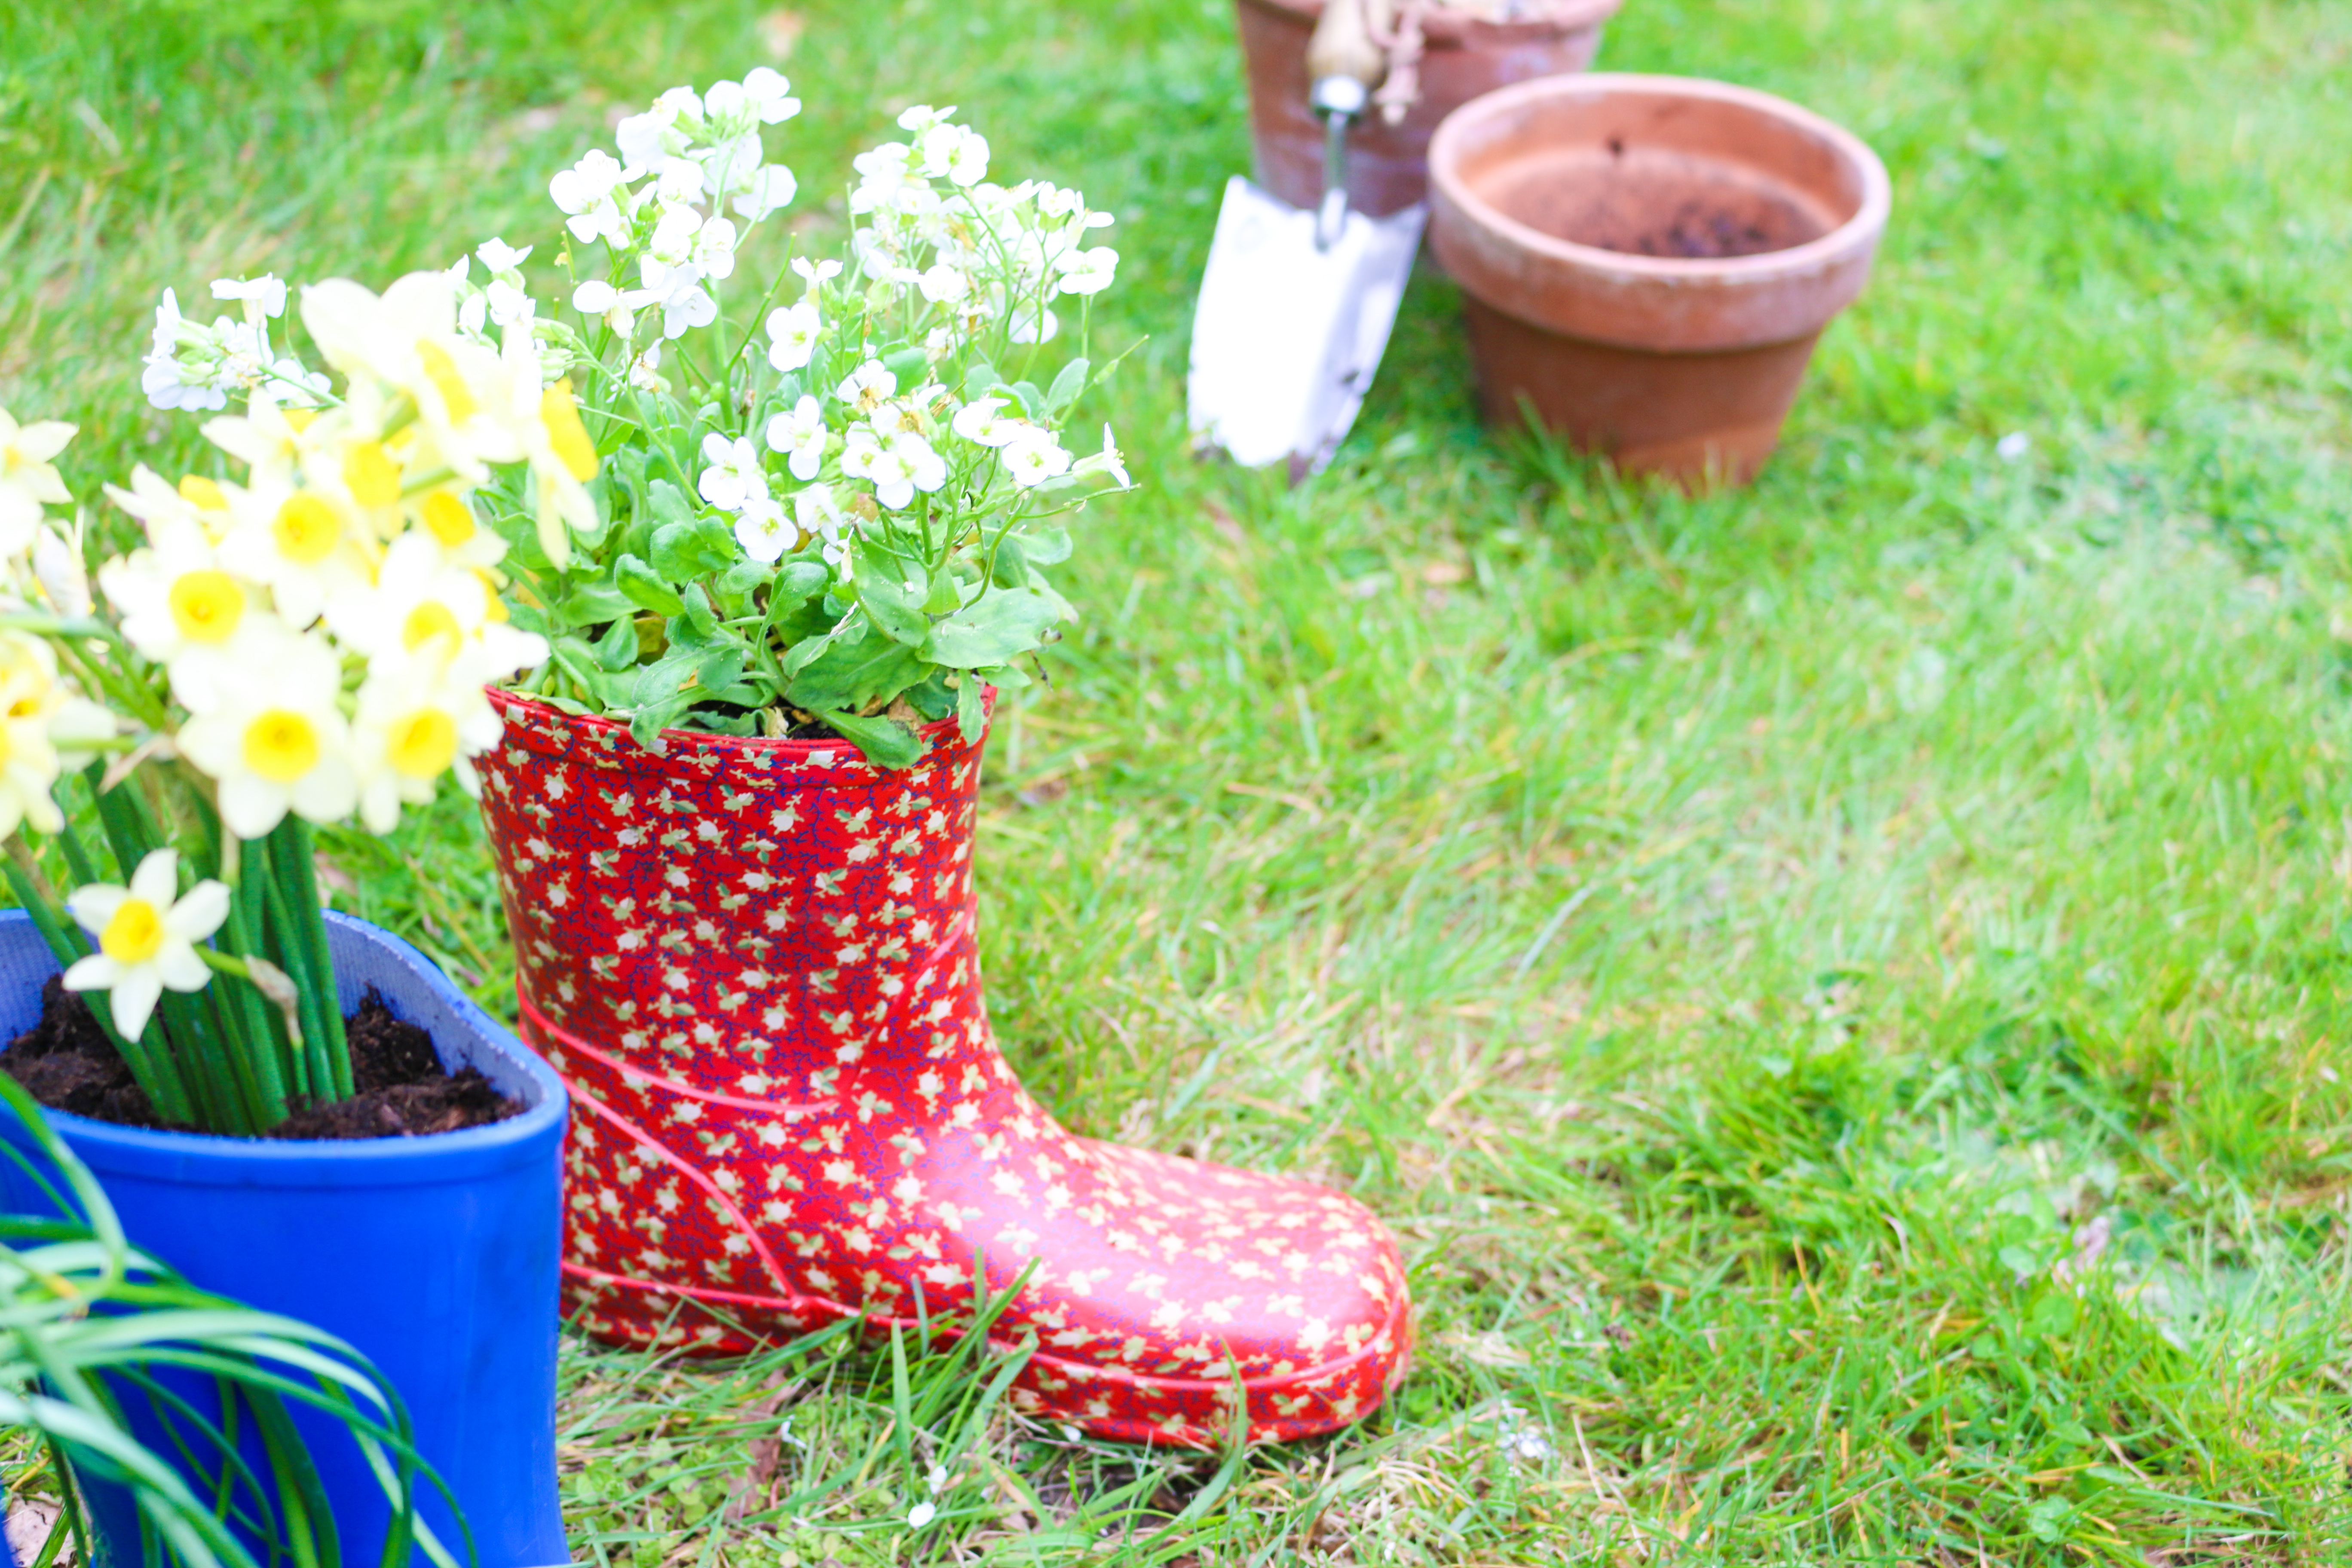
You can use any old wellington boots that are headed for the bin – maybe your child’s old ones with a pretty pattern would look fun in the garden.
Now you have everything you need, you can get started.
Step 1
Make sure you wash your wellington boots with warm water and a little soap, just to give them a freshen up. Dry them off with an old tea towel and then you’re good to go.
Remove any insoles or liners that are inside the wellington boots, as we need as much space as we can get.
Step 2
Turn the boots upside down with sole facing upwards and use a clamp on a workbench to hold it in place while you drill a few small holes into the sole and maybe even around the edges of the boot.
This will make sure that when you water your plants, the water can drain out. Even if they’re already cracked and leaky, there may not be enough holes to allow the water to escape.
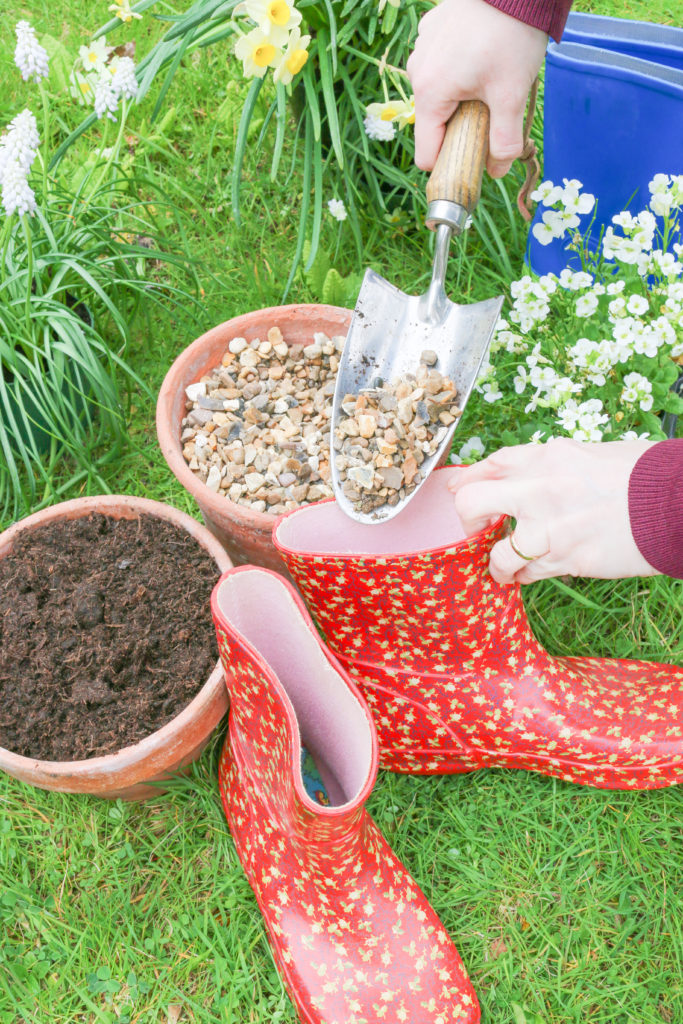
Step 3
Next, Fill the bottom of the wellington with some stones or pebbles, this is to weigh the welly down so that if there are any blustery days, your new planter will be less likely to fall over.
Also, having stones at the bottom will make it that little bit easier for the water to drain out, as there will be room between the compost and the holes.
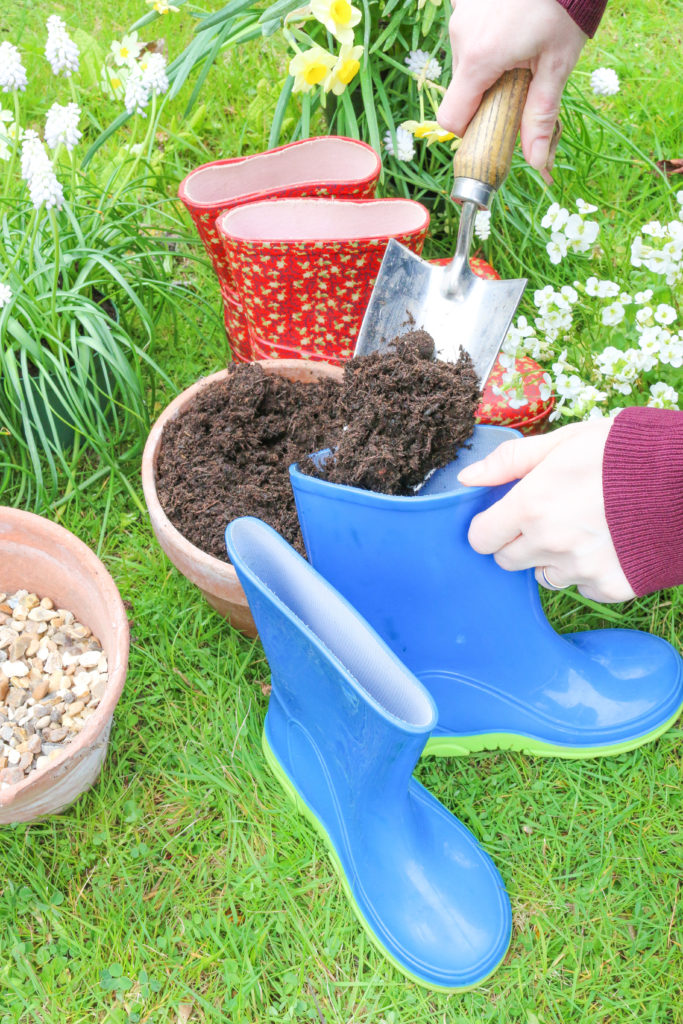
Step 4
Add compost to your wellington, be sure to press gently to ensure the compost goes right down into the toe of the boot. Depending on the size of the wellington, fill them up to about 1 or 2 inches from the top, if the welly is larger or taller, then stick to two inches from the top.
Step 5
Once you’ve done this you can plant plug plants or sow some seeds into the top of the boots. Be sure to press the seeds into the compost to the depth suggested on the packet. Now give your wellies a nice splash of water, this will help begin the growing process.
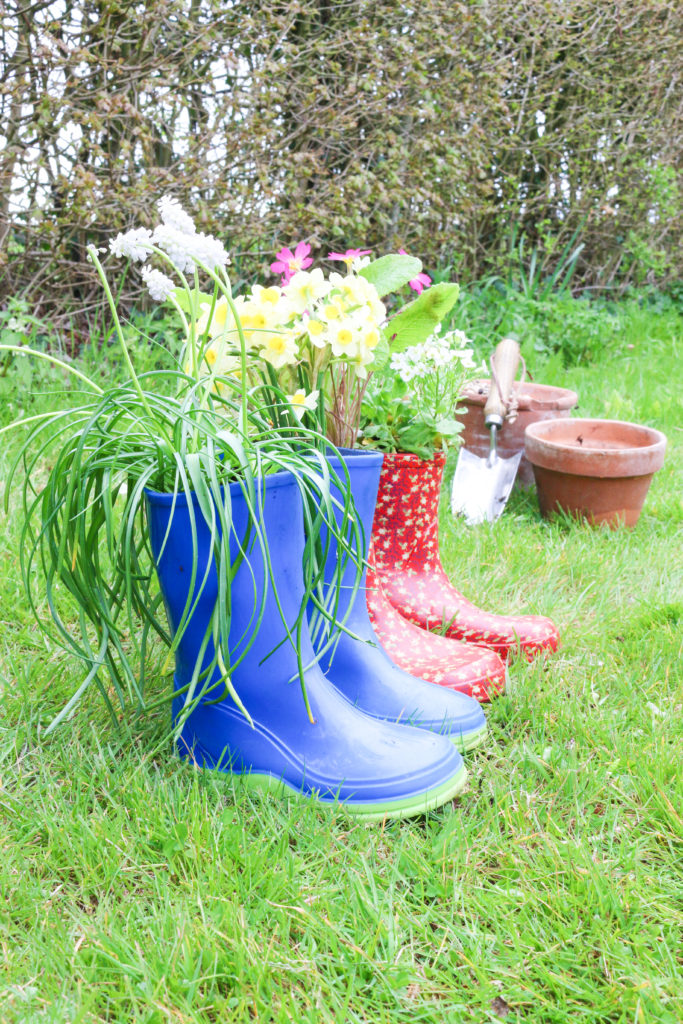
Choosing where to put your wellington boot plant pots is entirely up to you. I recommend placing them somewhere that receives a nice amount of sunlight, as this will help your plants grow quicker. Also, placing them somewhere that is easily accessible is important, as you’ll need to be able to water them regularly and keep an eye on how they are growing.
You could be adventurous and hang them on your fencing – this is also easily done. Find yourself some string or garden wire then create a small hole in either side of the wellington at the top. Feed the string or wire through the holes and tie them around the fencing panel. Or if you don’t need a removable planter, you could simply screw the welly boots straight onto the fencing using woodscrews.
What do you think of this quick and easy DIY idea? You could spruce up your garden over the Easter weekend with a few pairs of tiny wellies that the kids have grown out of. You could even get them to plant up their own old wellies with bulbs or, for instant satisfaction, you could plant pots of already-flowering daffodils or primulas for a really Spring-time burst of colour in the garden.


3 responses
good ideas
This is brilliant perfect for the garden.