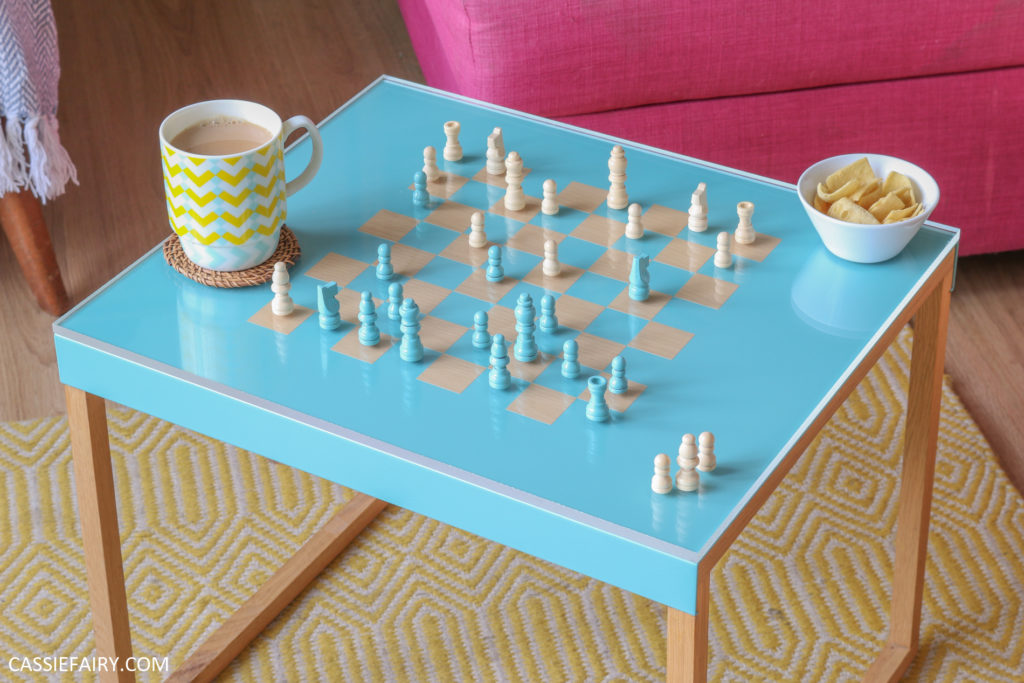
Today, I’m putting an old side table to good use by upcycling it with paint, sticky vinyl and acrylic to create a multi-purpose piece of furniture that serves as both a handy coffee table AND a games table! Want to make one for yourself? Here’s my project…
When my husband headed to the recycling centre with some scrap materials at the weekend, this side table nearly went with him. It’s the largest in a nest of tables that we’ve had for yeeeears and it’s fair to say that we’ve ruined it over time.
It’s been used for all kinds of activities including but not limited to, coffee breaks, meals, crafting, Lego-building, card games, cutting paper with a knife, making Christmas decorations, record player base, flat-lay backdrop, board games and much more. Which is probably why it’s in such poor condition now – we’ve worn it out!

The table has been scratched, knocked and stained – just look at this mysterious greasy-looking mark that won’t come off, no matter how much I clean it. Eww. So, it was nearly heading out of the door to the recycling centre when I decided to do something with it.
It’s not like me to scrap a perfectly usable piece of furniture, so I had a think about how I could re-finish the table to make it a joy to use again. And then the idea hit me – let’s turn it into a chess-board table!
Sure, the surface was in a bit of a state, so it would need a new acrylic top, and I couldn’t be sure if that stain would seep back through a coat of paint but I thought I might as well give it a go! I already had primer and aqua spray paint left over from my kitchen makeover, so I set to work.
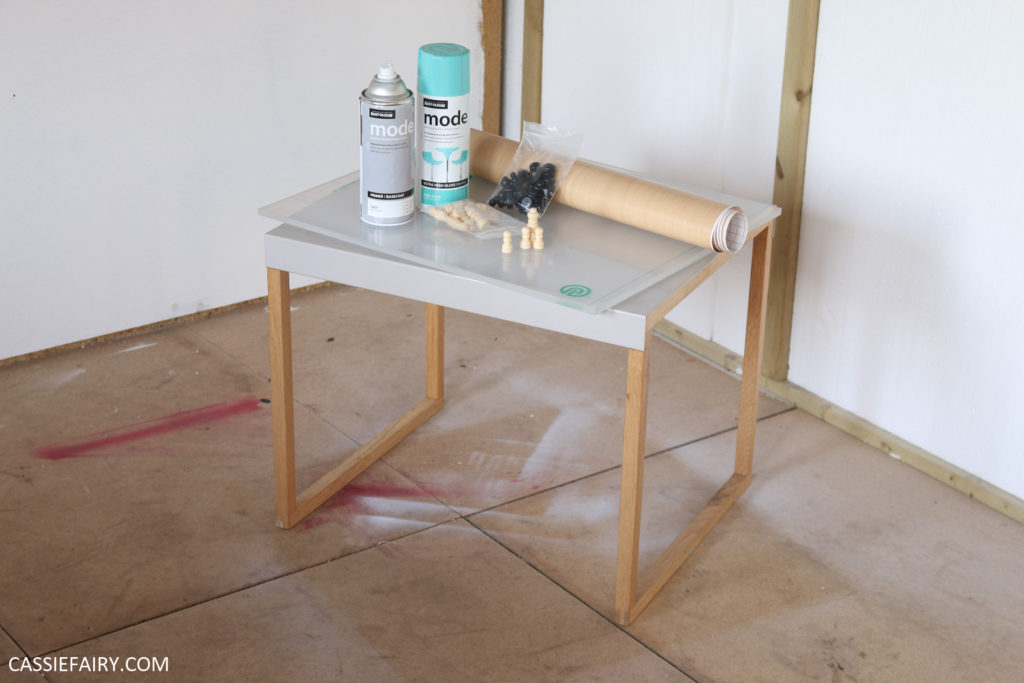
YOU WILL NEED
- Old table
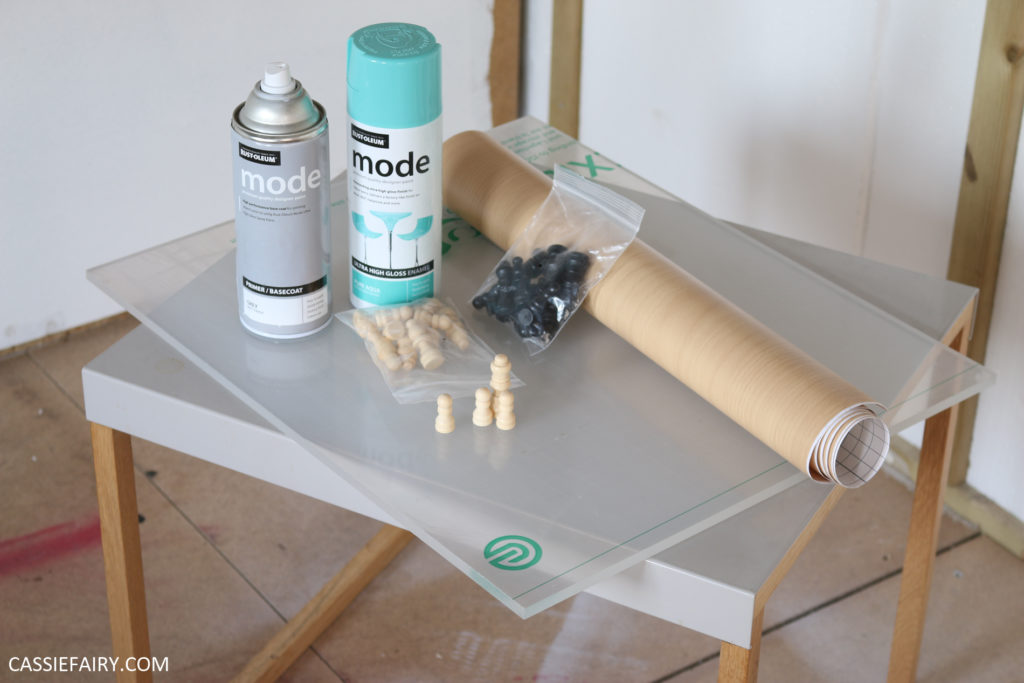
- Spray paint and primer
- Acrylic sheet cut to size
- Self-adhesive vinyl in any colour or effect you like
- Ruler, pen, cutting mat, craft knife or paper guillotine
- Glue dots
The table first needed cleaning and drying, and then I gave it a dusting of the primer. It was pretty much the same grey colour as the table, so you might not be able to see it clearly from my photo but honestly, I did bother to add a coat of primer before spray painting it.
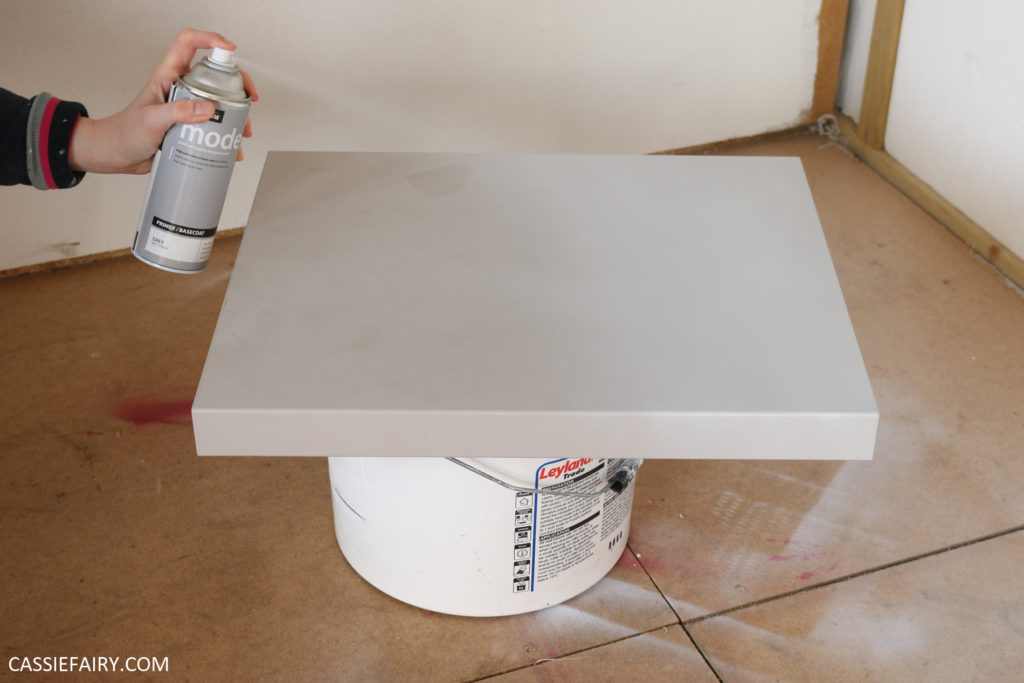
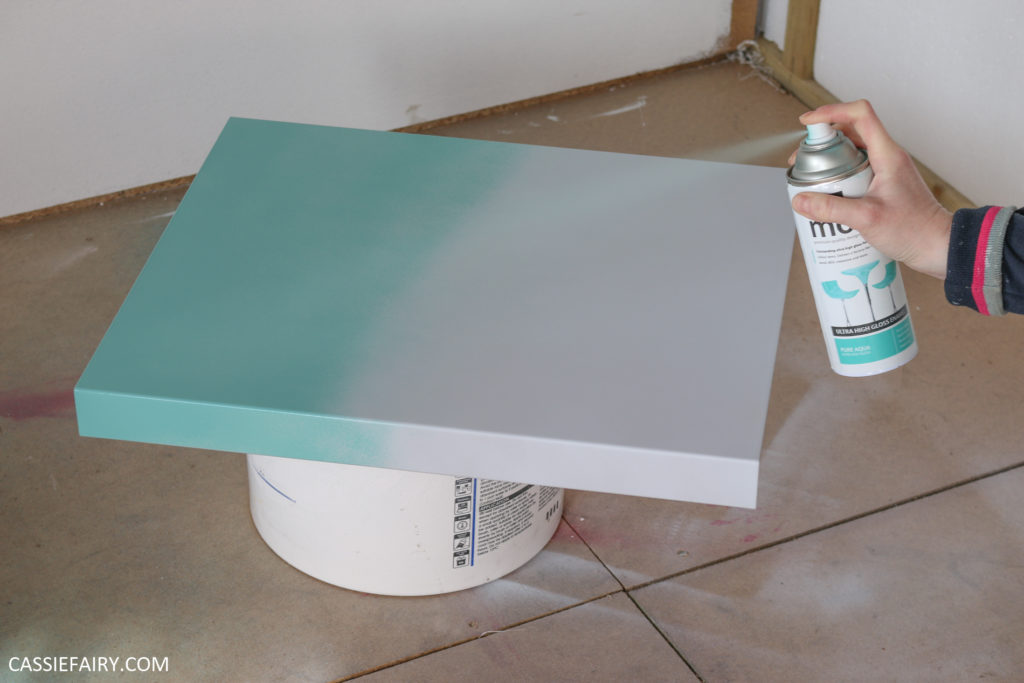
I used a gloss spray paint and gave the table a few fine coats of paint, allowing each layer to dry thoroughly before adding another misting. I propped the table top on an old tub of paint so that I could get around it to cover all the sides and angles with paint.
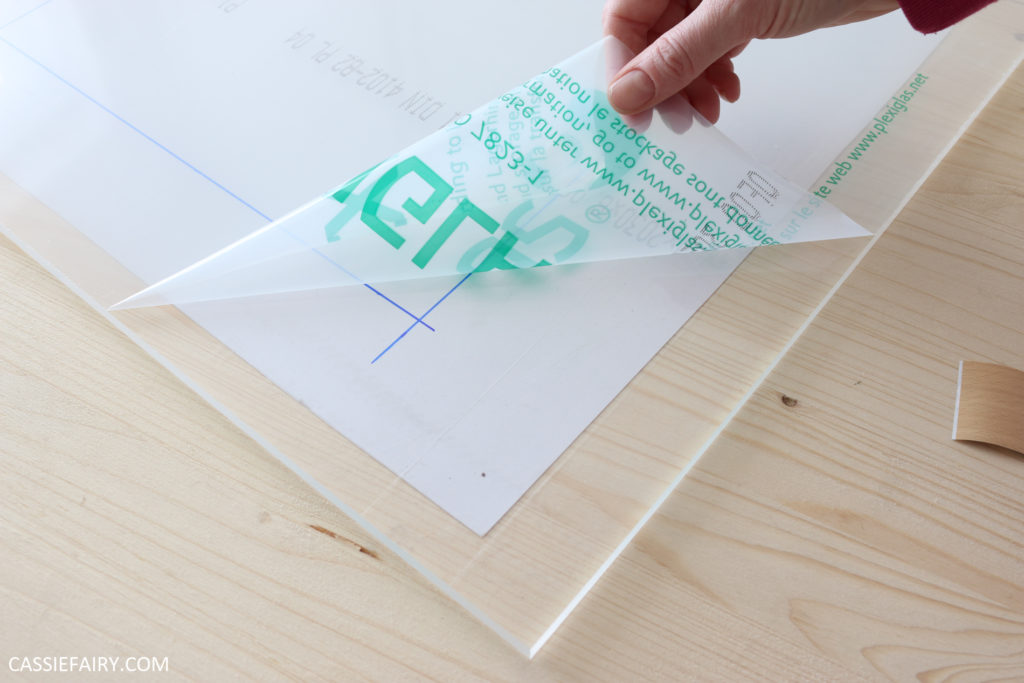
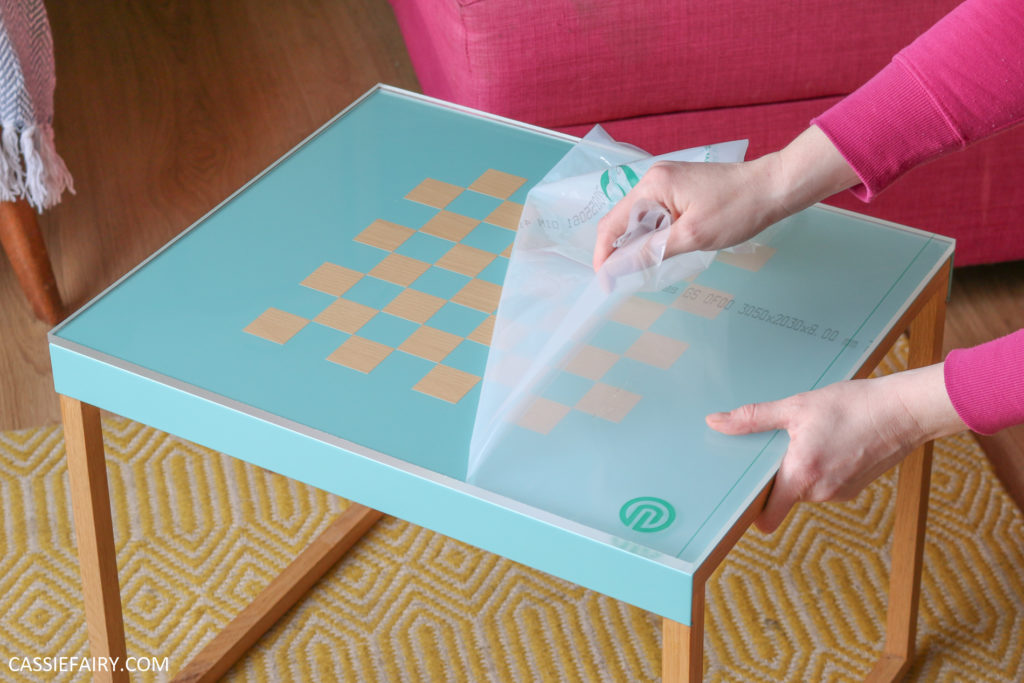
While the painted surface was drying I moved on to the highlight of my ‘new’ table – an acrylic top with chess board! I got a piece of clear acrylic cut to the exact measurements of the table top from Plastic Sheets Shop. I ordered a thickness of 8mm, which actually was thicker than it needed to be to simply cover the surface and make it look like new.
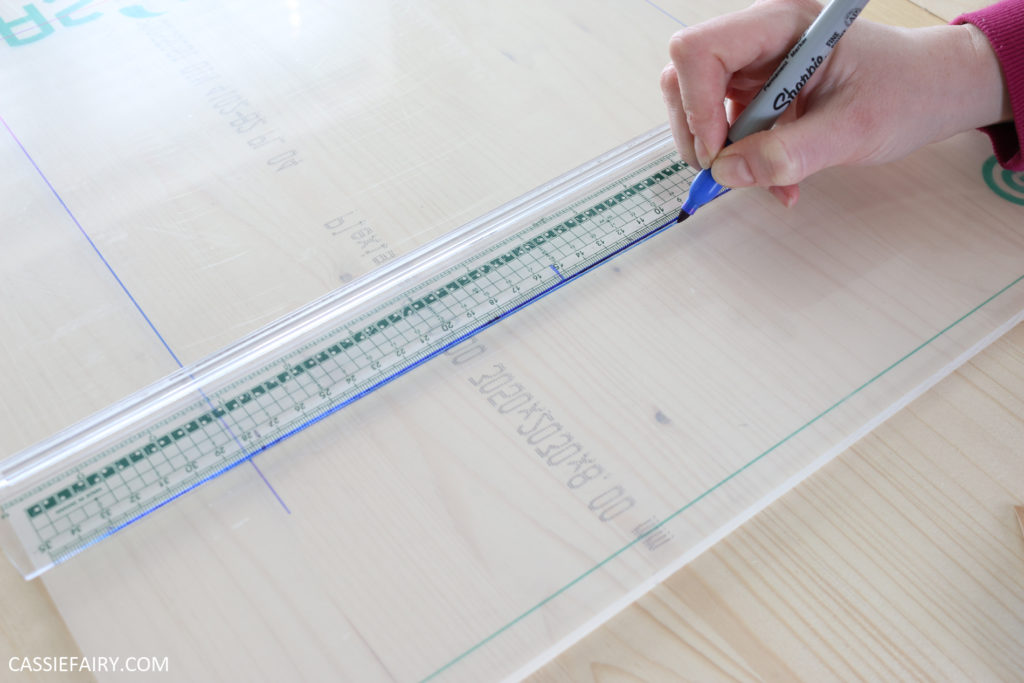
I really like the chunky acrylic effect on the top of the finished table, so I’m glad I went for a thicker measurement but you could cut the cost of this project even more by opting for a thinner sheet of acrylic. The plastic sheet was delivered by post and it comes with a protective layer over the top – which is super handy for marking out a chess board design!
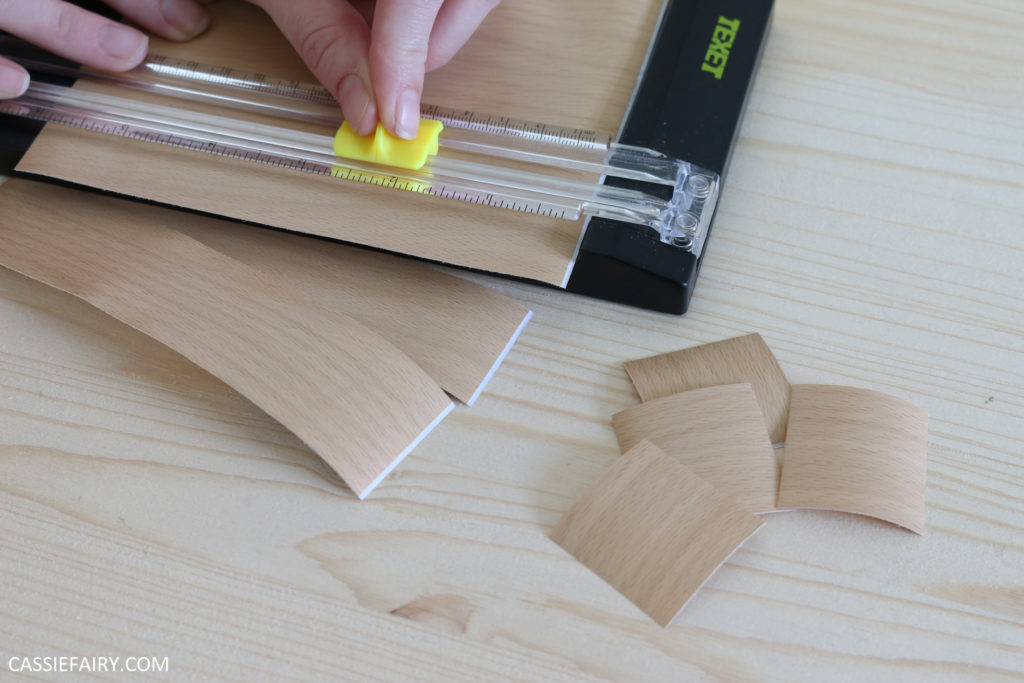
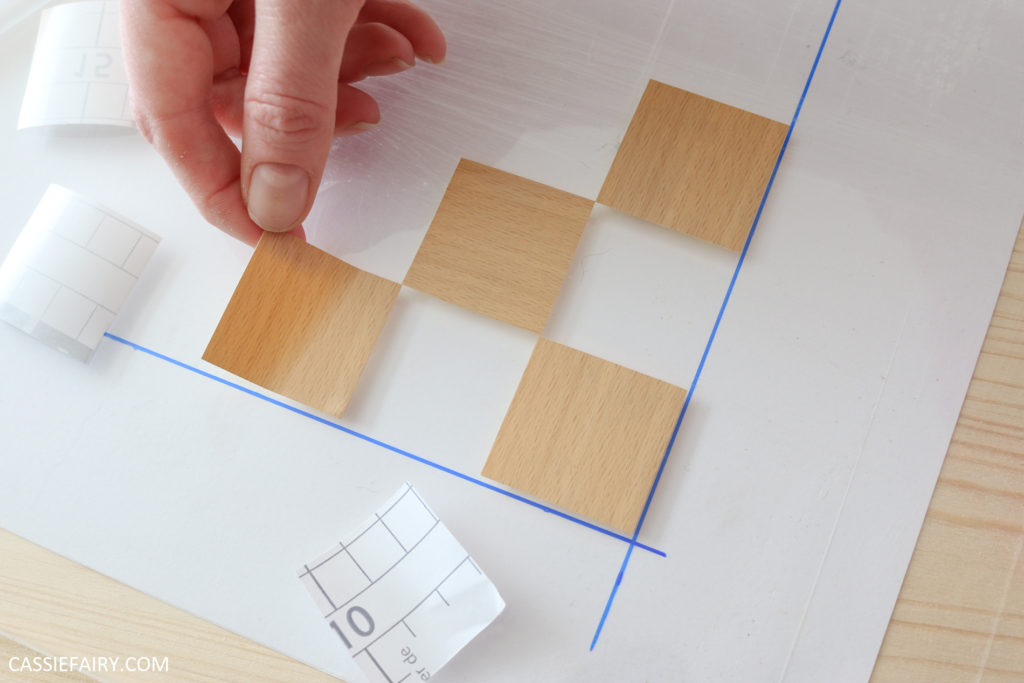
I already had some chess pieces so I decided on the size of the squares based on the existing playing pieces – in this case, 3.5cm square – which I cut with a paper guillotine. You could use a craft knife, ruler and cutting board or programme the size into a cutting machine.
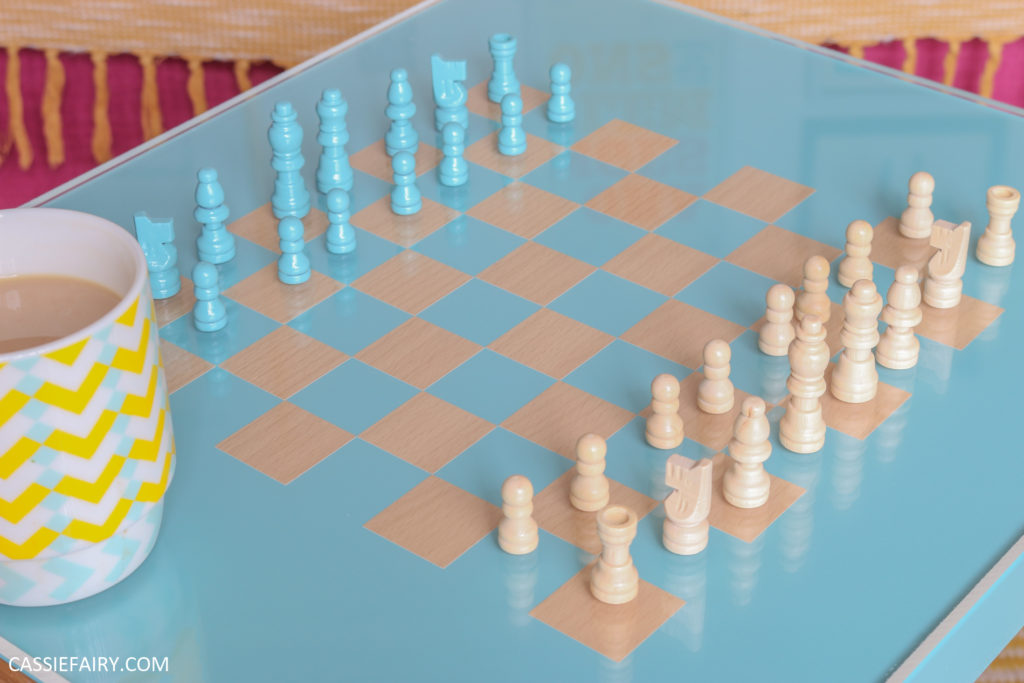
I choose some light wood grain self-adhesive vinyl for the ‘white’ squares of the chessboard, to match the existing legs of the table. I planned to leave the ‘black’ squares empty, which allows the aqua paint to become the ‘black’ squares.
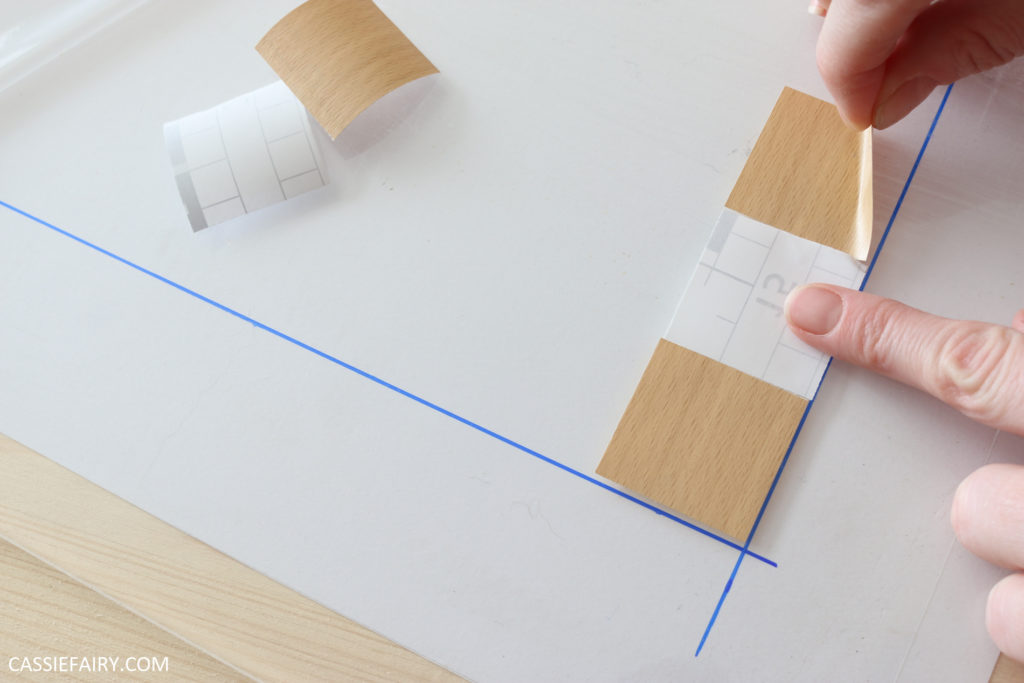
I used a ruler and pen to draw the outline of the chessboard onto the protective sheeting on the top of the acrylic table top and then turned it over to apply the sticky vinyl squares to the underside. Peel off the protective sheeting from the underside first, and then start sticking! I spaced out the squares along the first row and then worked my way back until I had a complete chess board.
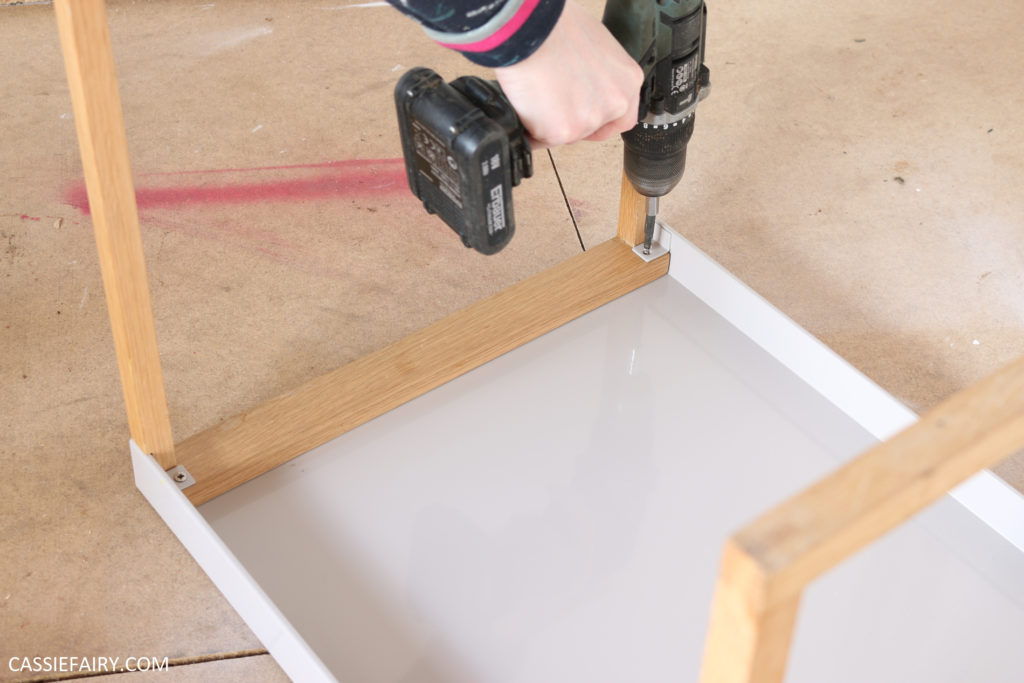
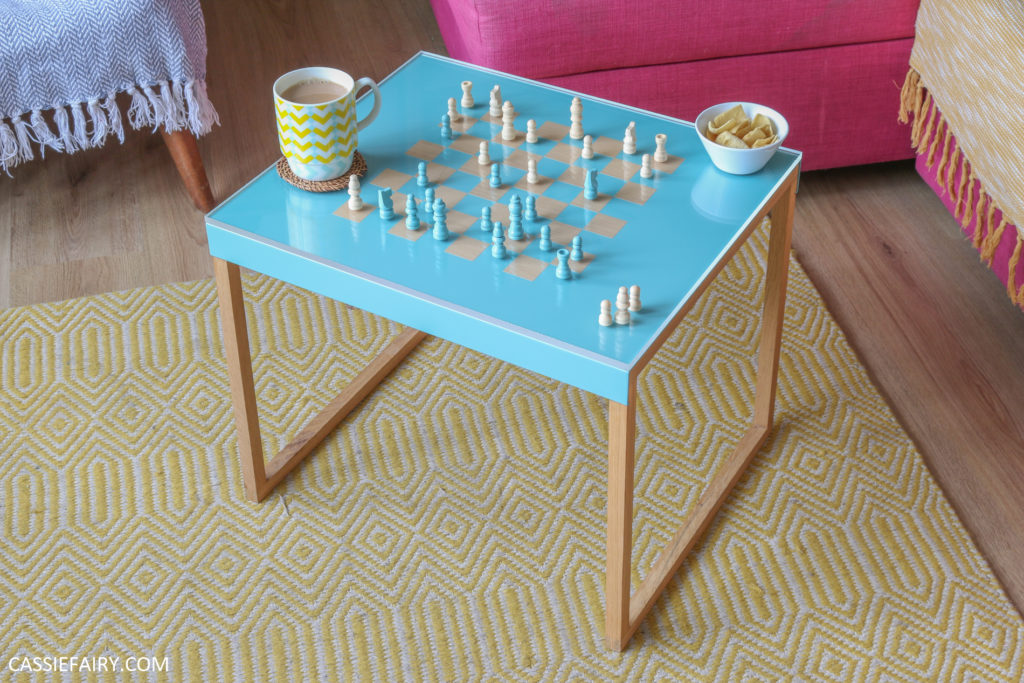
The final step was to reattach the legs to the freshly painted table top, and then position the acrylic top. You can use glue-dots on the corners of the acrylic sheet to secure the top to the table. Peel off the protective sheet from the top of the acrylic and admire your new table!
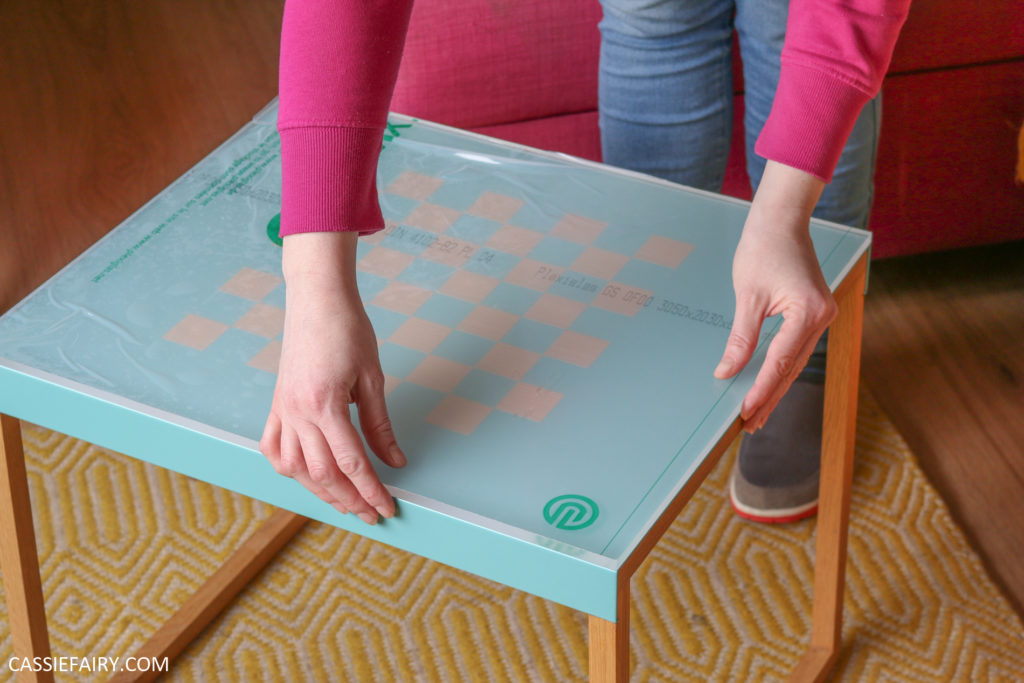
What do you think of my chess/draughts/coffee table? I am pleased to report that the mystery greasy stain hasn’t seeped through the paint, and the new acrylic top has hidden all the scratches, so everything is looking as good as new!
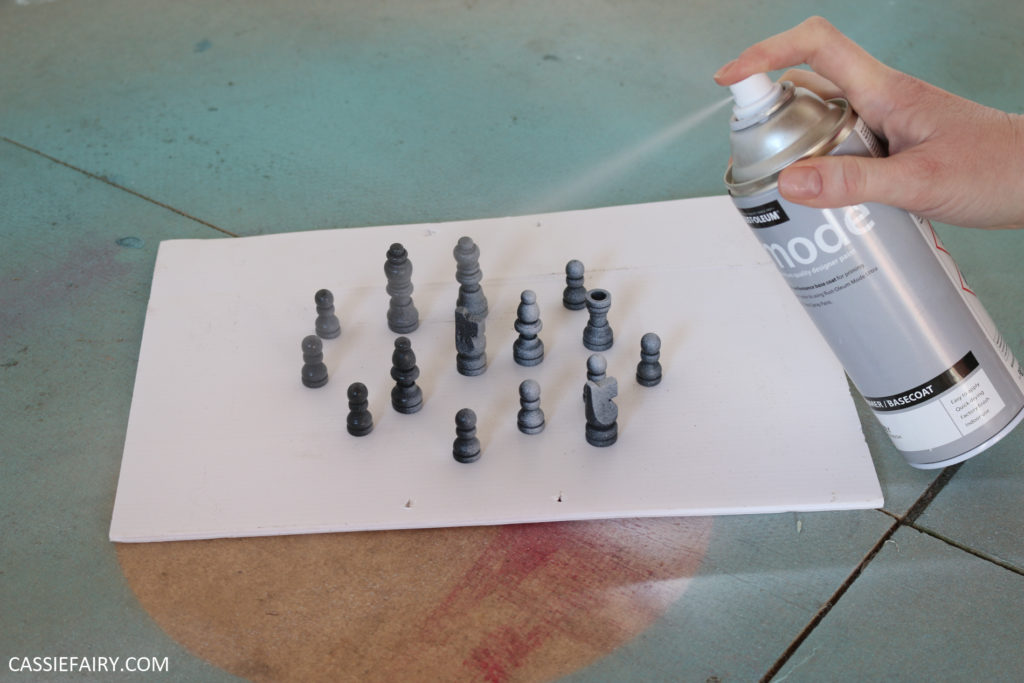
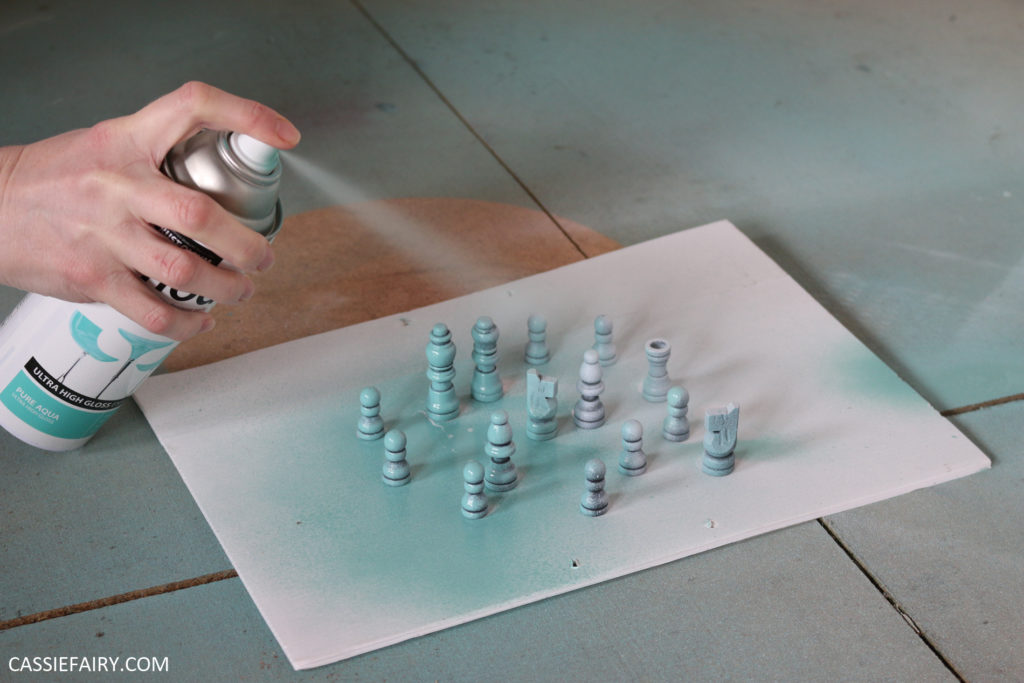
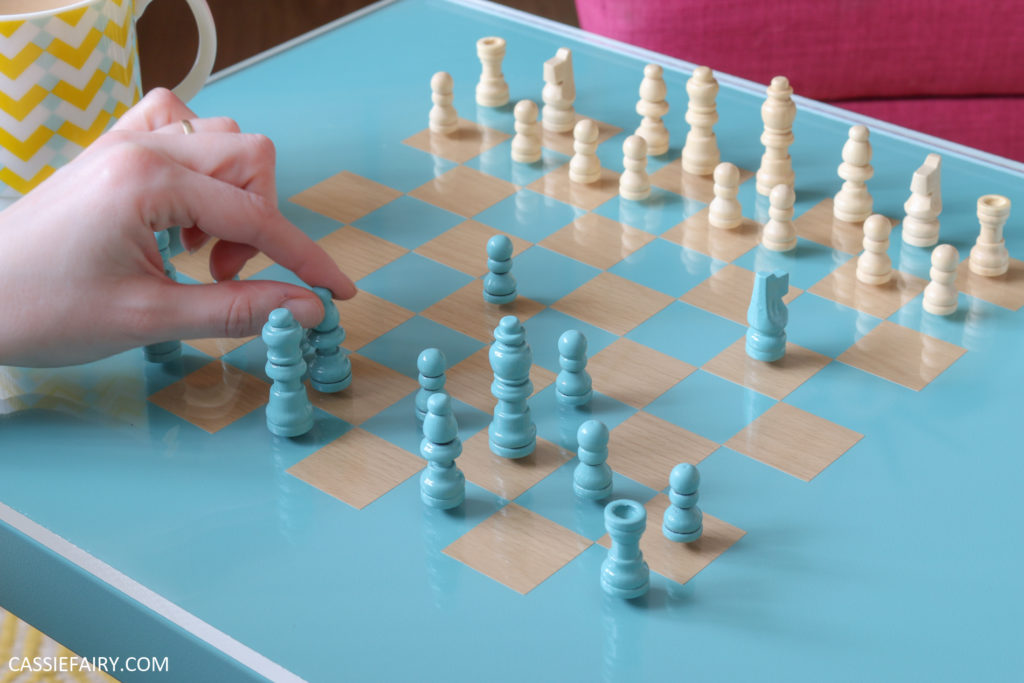
I decided that I really should paint the black chess pieces to match the table, so I gave them all a coat of primer and used the same aqua spray paint to create a coordinating set. I love it!
And I’m much more likely to play a game of chess now that the playing table looks so pretty..!
Let me know if you have a go at making this project in the comments below and please share your projects if you’ve previously used acrylic to refinish a table.

I’m totally addicted now that I’ve started using acrylic in my DIY projects and want to put thin sheets of acrylic on all my mid-century furniture to protect the surfaces – so watch this space 😉

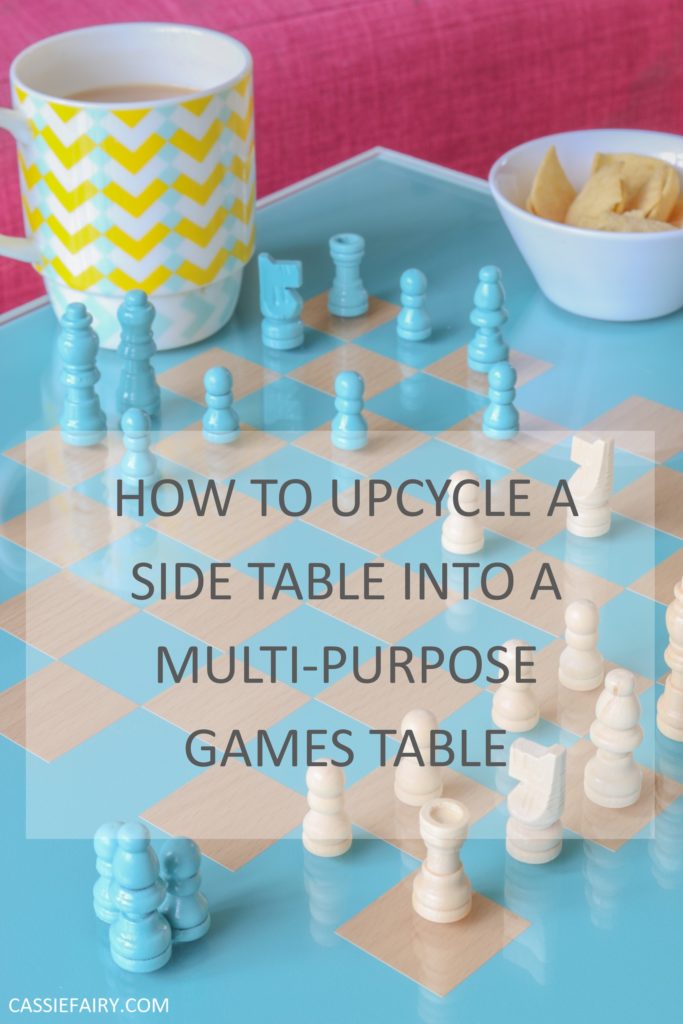
PIN IT FOR LATER…!
This article is a sponsored collaboration. The pink links in the content indicate a sponsored link or information source. The blog post reflects my own experience and the sponsor hasn’t had any control over my content 🙂


2 responses
Thanks for getting in touch 🙂 If you’re using a cutting machine to cut out the squares from self-adhesive vinyl, you could set the cutting depth so that it cuts the vinyl but not the backing paper. Then you can peel off every other square, leaving the whole chess board grid behind on the backing sheet. Then you’ll need an adhesive sheet to lift the grid off the backing paper and then place it sticky-side down on the table. If you’re cutting the squares by hand, you could cut a ‘blank’ square from paper to position beside the vinyl square once you’ve stuck it down. This will then help to space out the gap before you apply the next vinyl square 🙂 Hope this helps!
How did you place the squares so precisely?