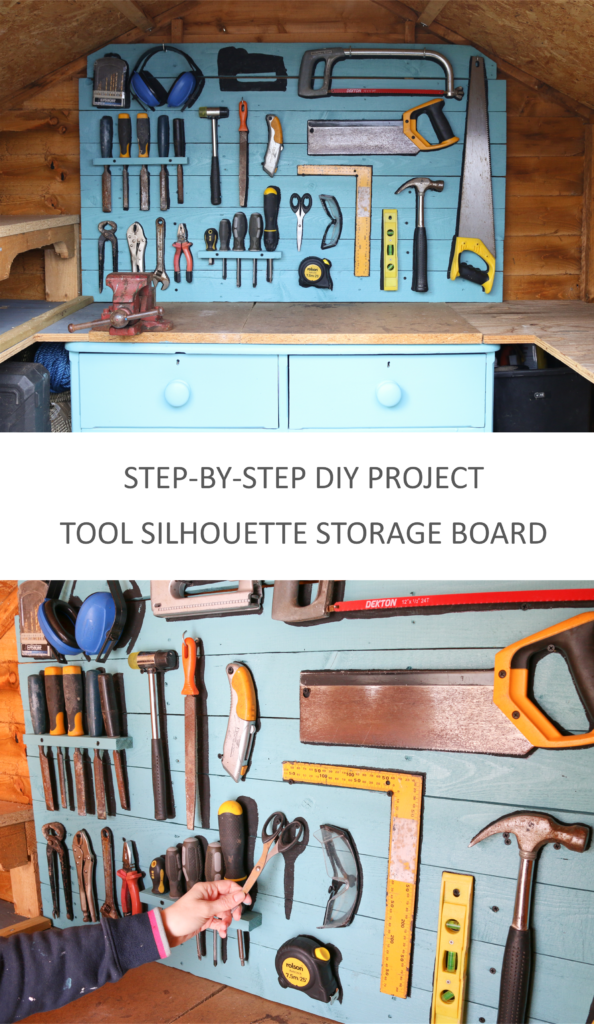
What do you do when you’ve got a shed full of tangled tools and a spare pallet in the garden? Why, pull it apart and build a tool silhouette storage board, of course! Here’s how to DIY your own shed hanging system to organise your essential tools…
When our tiny tool shed became such a mess that I couldn’t find anything I needed for my projects I decided that enough was enough. It was time to add some method to the madness and install a tool silhouette storage board. I’ve seen this idea used in kitchens before, for hanging pots, pans and utensils, so I figured there was no reason why it wouldn’t work in my shed too.
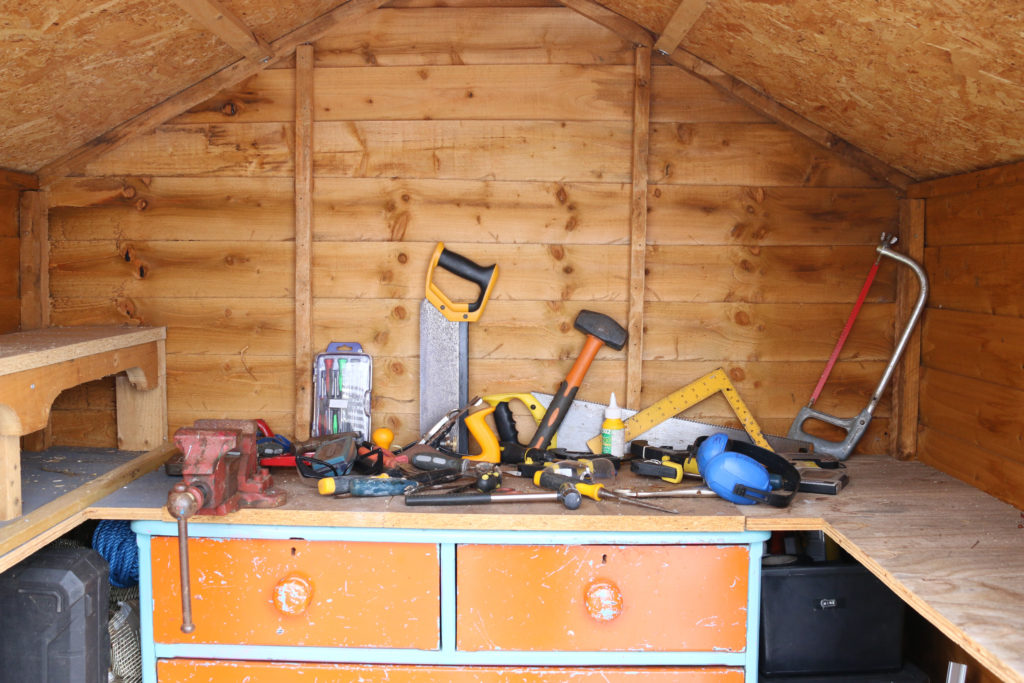
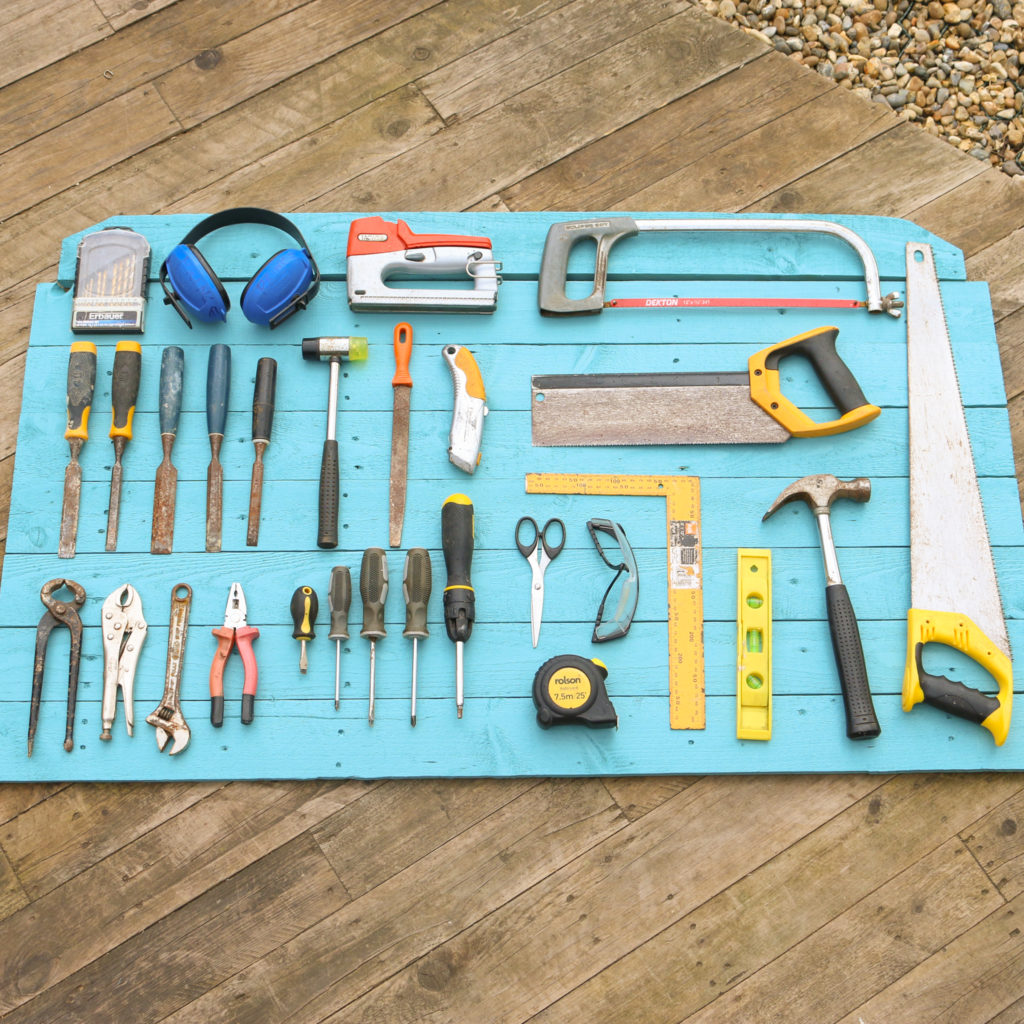
While this isn’t the extent of our kit (there are still boxes power tools in the shed and painting supplies in the drawers) but I wanted all my essential tools, the ones I use most days, to be organised and easily accessible. I wanted to be able to open the shed door and put my hand on the tool I need, when I need it. No more rummaging through dusty tool boxes or wondering if I even own an adjustable wrench.

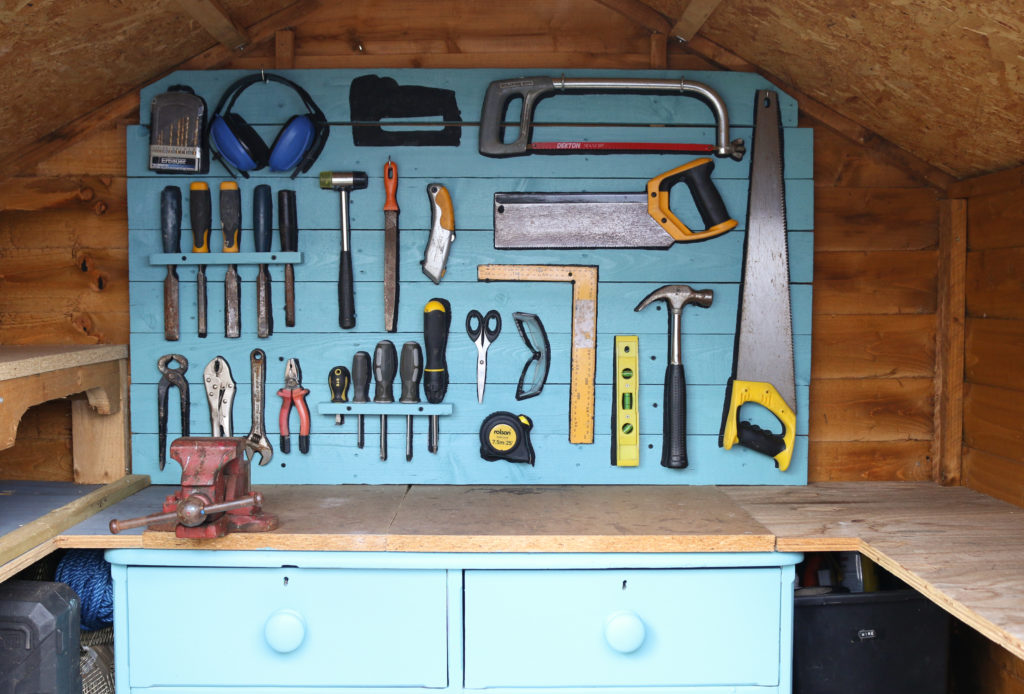
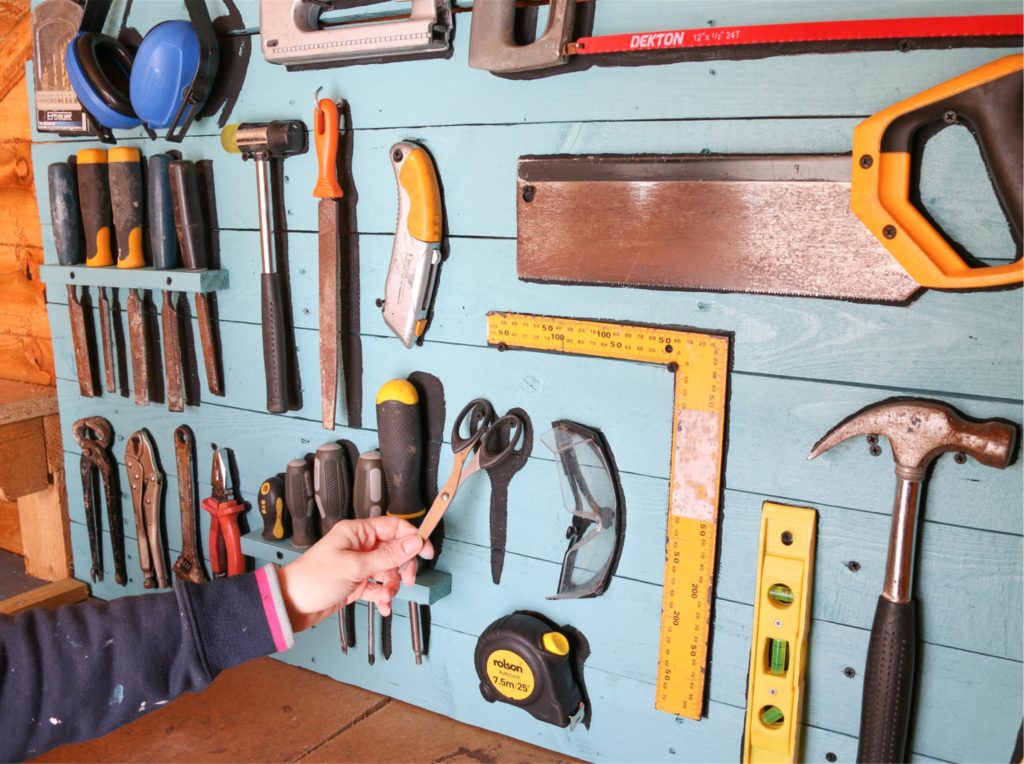
The idea of painting a silhouette onto the storage board means that every tool has its place. So I know exactly where my hammer and safety goggles are at all times. AND, if there’s an empty silhouette at the end of the project, I know that means I haven’t put the item away so it’s still on my workbench somewhere – I’ll need to find it and tidy it away before I’m done for the day.
I was really chuffed when Harris Brushes shared this project on their Instagram account @harrisbrushes_uk and I’m so excited to be able to show you the step-by-step today. If you’d like to make your own tool storage board, here’s how to DIY one yourself…
YOU WILL NEED
- Pallet wood or offcut of ply
- Wrecking bar or pallet wrecking bar
- Hammer
- Screwdriver and screws
- Sandpaper or sanding block
- Paint brushes and roller
- Two colours of paint
- Marker pen
- Hooks, screws, hangers etc
STEP 1
Use a wrecking bar to take apart a pallet. Cut the planks of wood to the correct length to fit across two or more uprights in the shed. Sand the rough edges – I used a course sanding block to smooth the pallet wood. If you’re using an offcut of ply, simply cut it to the correct size.

STEP 2
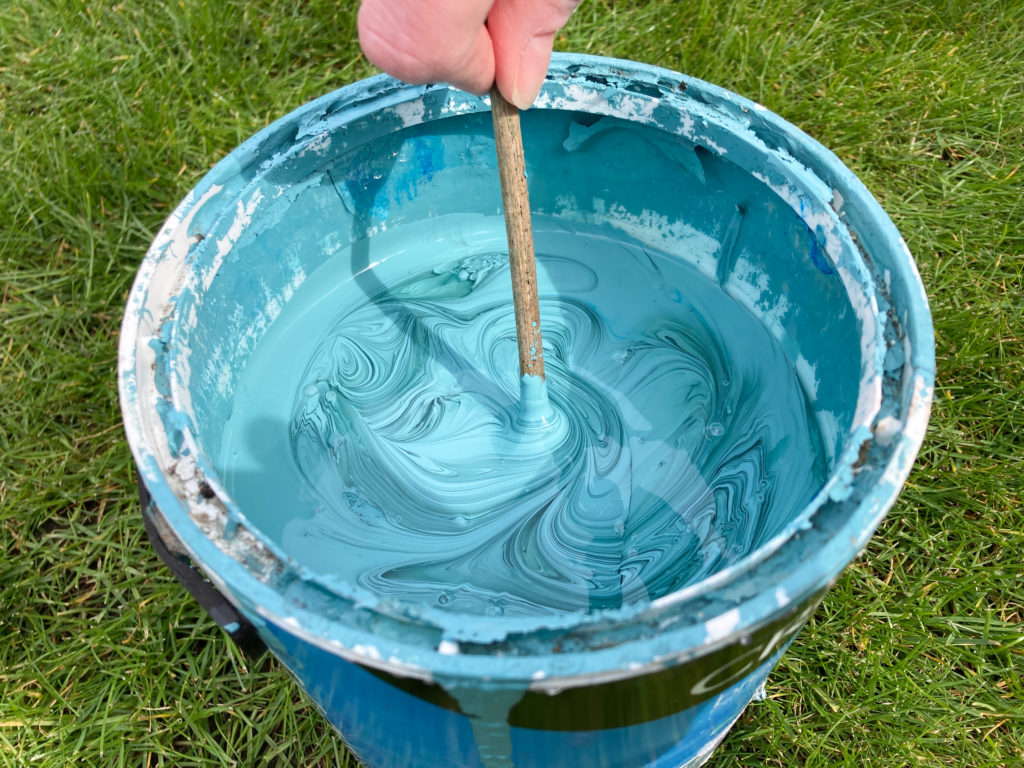
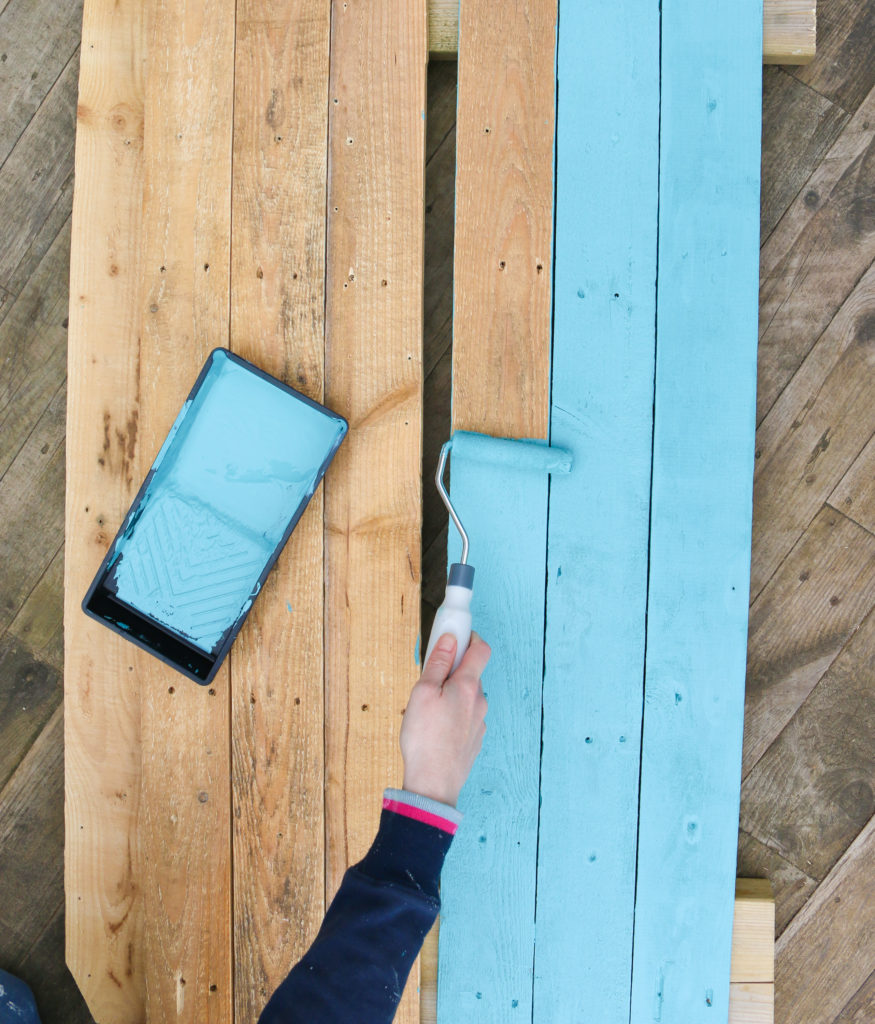
Paint the pallet or ply wood a solid colour, or leave as wood grain if you prefer. If you spotted my mesmerising reel of stirring blue paint on Instagram, this is the project that I was using it for! I used a Harris mini roller to easily paint the front and edges of each plank. Add a couple of coats of paint for a solid colour, allowing to dry thoroughly between coats.
STEP 3
Lay the planks of wood together to form the ‘board’. Next, choose your favourite essential tools and lay them out on the board. Think about how to position each tool so that you can fit everything onto the board. Plus, you’ll need to keep sharp points and edges of saws angled away from where your hands will be reaching to pick up items, so consider this when you’re laying out the tools.
STEP 4
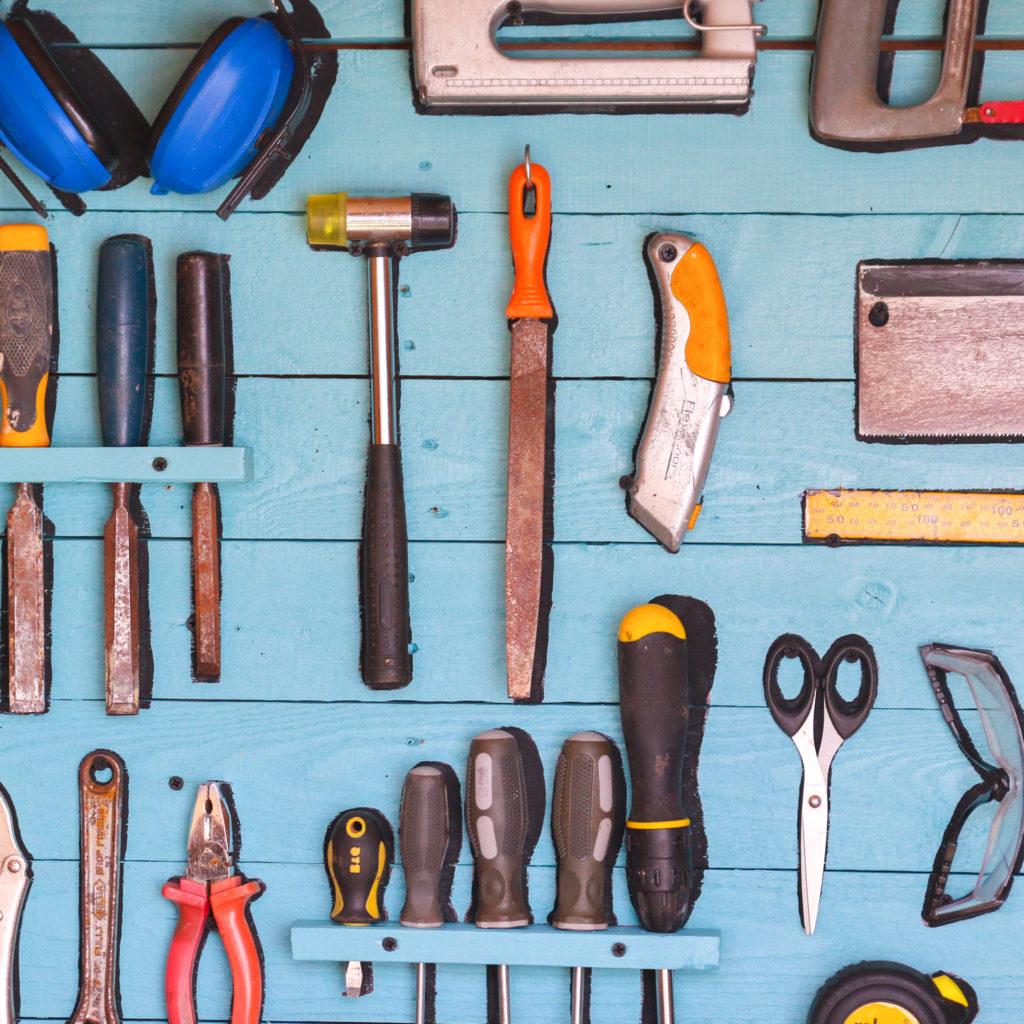
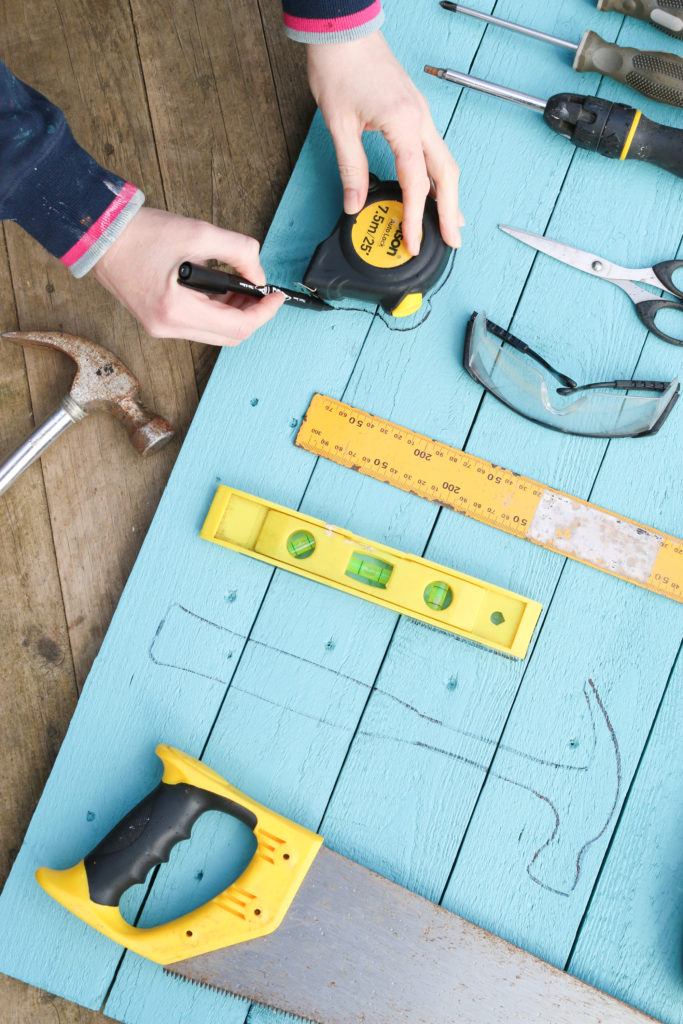
Use a marker pen to draw around the shape of each tool. Once you’ve outlined a tool, you can remove it from the board and continue marking out the rest.
STEP 5
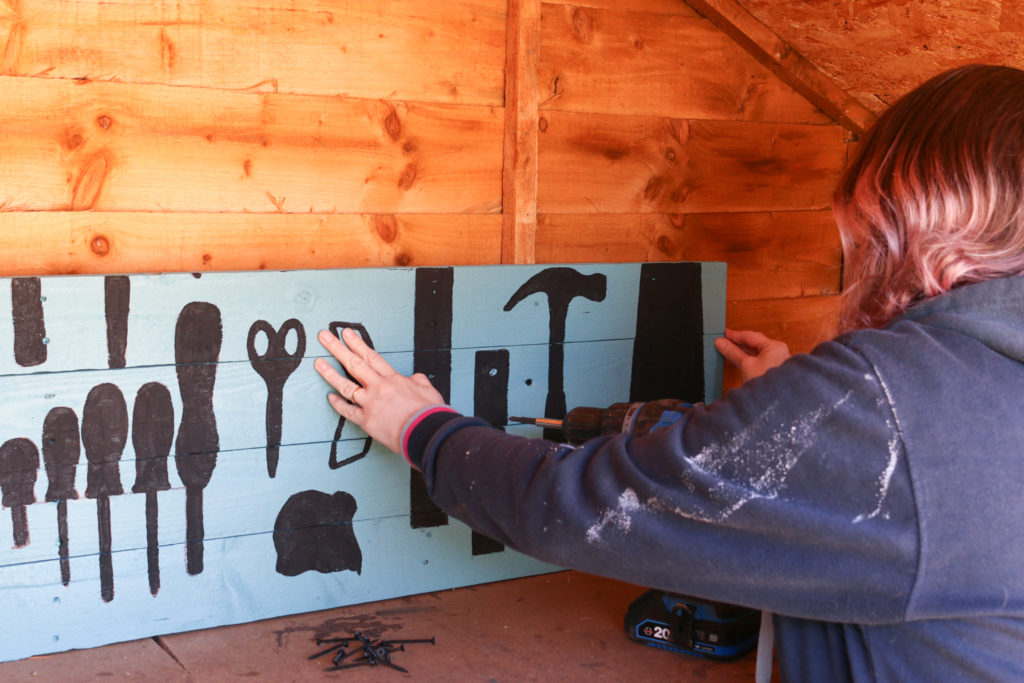
Use a small brush to paint inside the tool outlines you’ve drawn. I used Fitch paint brushes in sizes 0.5 inch to 1 inch, which are designed for painting intricate details. Once the outline is coloured in, this creates a silhouette on the board for each tool. You could use black paint like I did, or opt for any contrasting colour – even neon if you like! Allow to dry thoroughly.

STEP 6
Take the lowest plank and screw it into position in your shed. Screw through the plank and into the uprights of your shed walls. Then add the second lowest plank, taking care to line up the silhouttes as you go. Carry on adding the planks until you have added the whole silhouette storage board to the shed wall. If you’ve used a piece of ply, screw this into the uprights, adding screws at various heights along the uprights to secure it in place.
STEP 7
Twist in hooks, add hangers or use screws at the top of each silhouette to hold each tool in place.
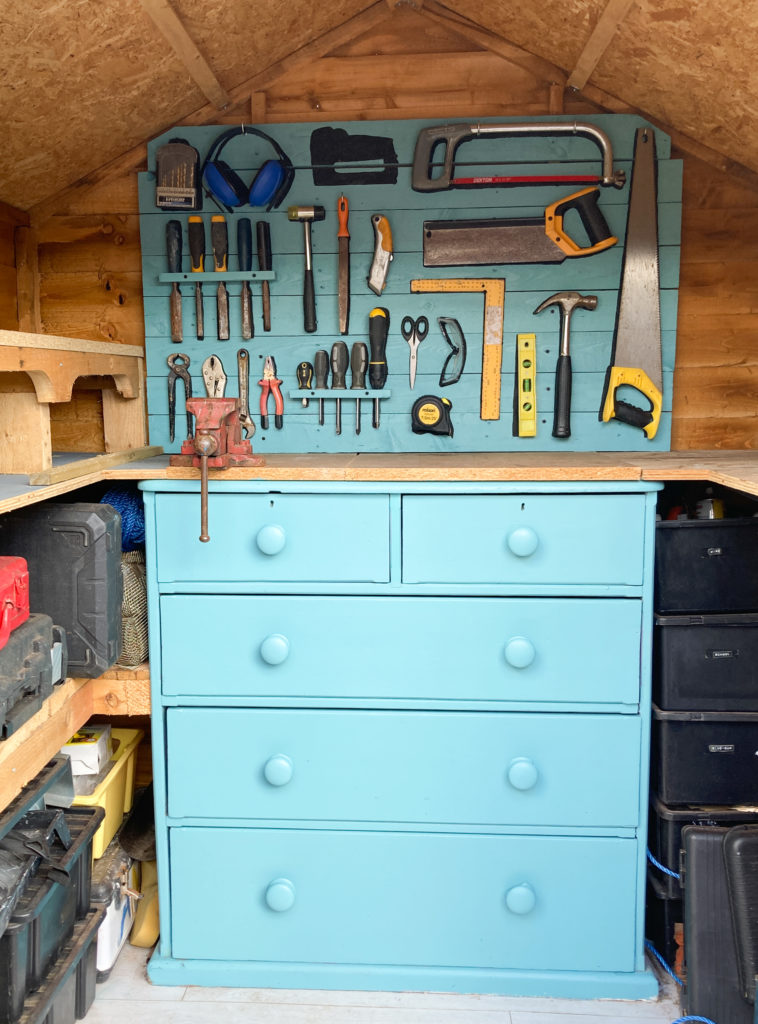
And there you have it – a tool storage board where everything has its place! While I was at it, I decided to paint the old chest of drawers in the same blue paint as the back board. I used a woodwork brush and roller to add a couple of coats of paint to tidy up the old paintwork. The drawers are where I store all my painting gear like brushes, sandpaper, pots of paint, filler etc and I think the fresh blue paint really finishes off the shed. Everything looks so neat and tidy now, and I always know where my essential items are when I need them, thanks to the silhouette board.
What do you think of this tool storage system? How do you keep your tools and shed organised? Will you have a go at making one of these silhouette storage boards for yourself? Let me know in the comments below. 🙂
PIN IT FOR LATER
This article is a sponsored collaboration. The pink links in the content indicate a sponsored link or information source. The blog post reflects my own experience and the sponsor hasn’t had any control over my content 🙂


