But before you start creating your first cold spa at home, a word of warning from ColdPlungeFacts.com:
While cold plunges offer numerous health benefits, they should be approached with caution. Individuals with heart conditions or high blood pressure should consult a healthcare professional before attempting cold water immersion.
Safety first always applies to cold water immersion. Have someone present when plunging in case assistance is needed. Set a timer so you don’t stay in too long, as a couple of minutes max for beginners is recommended. You could even begin your cold exposure journey with brief cool showers, starting with just 10 seconds at first and working your way up.
Finally, enter the icy water slowly and have an exit plan if you get in over your head – literally and figuratively. Taking precautions allows you to relax once immersed.
Preparing your space
When setting up your own cold plunge, the first consideration is identifying a space that allows for full body emersion. For many, this means locating an outdoor area for setup. If you are using a preexisting tub or bin, ensure that it’s large enough to sit in while cleared of any other items. Some may also opt to purchase a special cold tub. Should you go this route, be sure to measure your space beforehand.
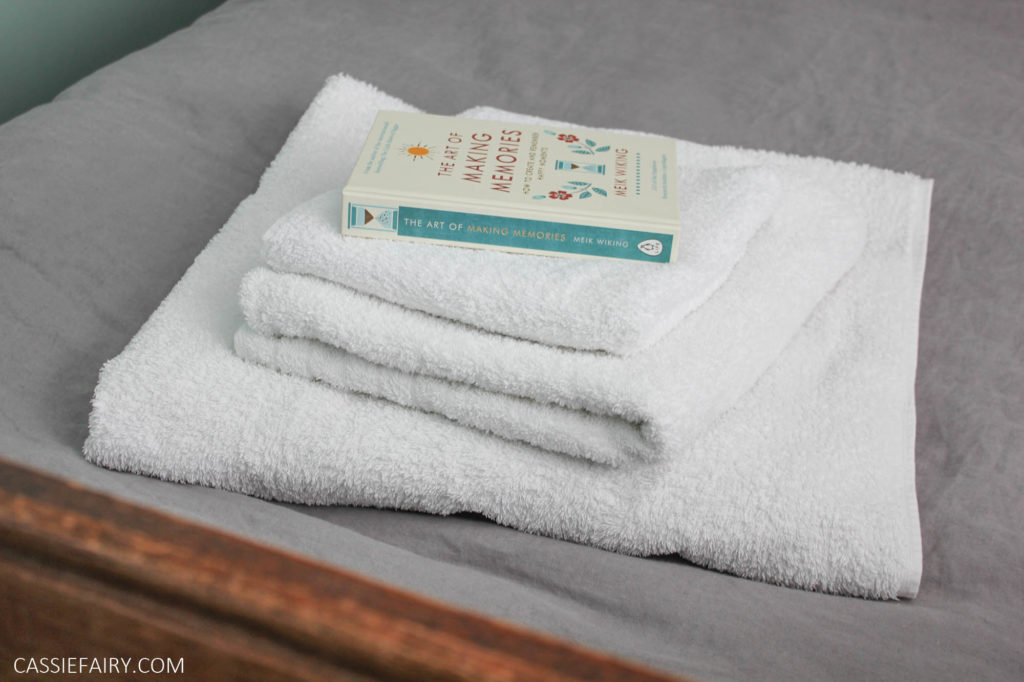
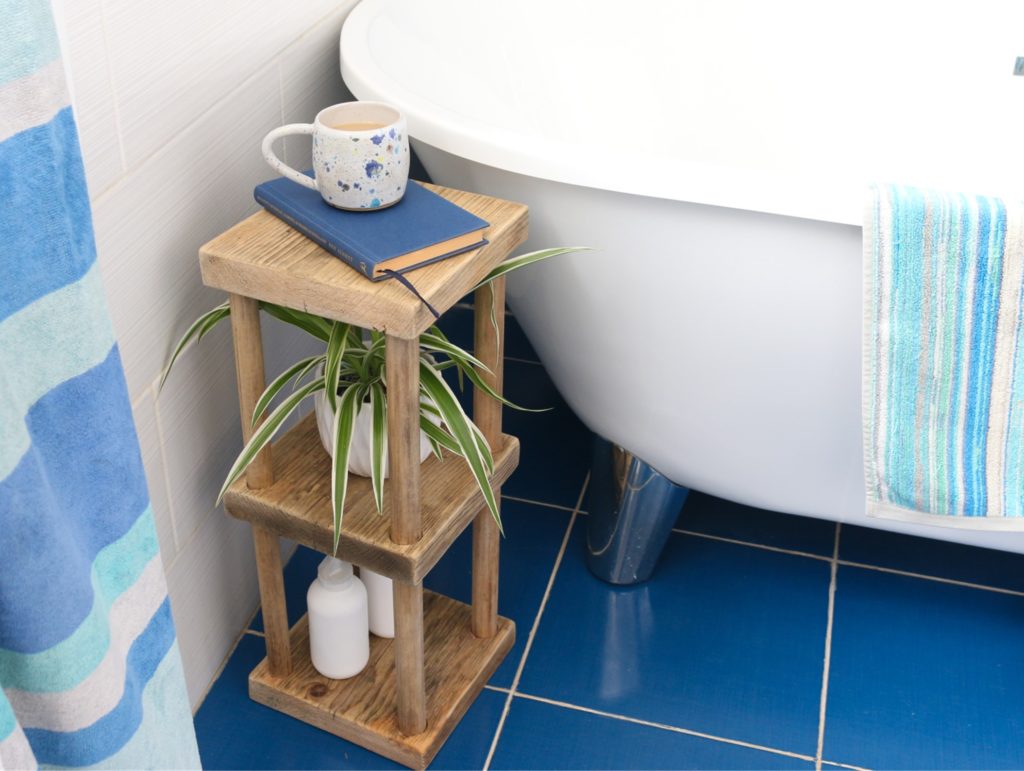
Once you’ve identified your ice bath location, dedicate the area solely to cold therapy use. This might involve setting up a small table for towels, adding a robe hook or bench for changing, and designating a prep/recovery zone. Consider nearby access to a hose as well for ease of filling and draining. Making the space feel like a spa sanctuary will enrich the experience.
Perfecting Your Plunge
When prepping your at-home ice bath, focus first on water temperature. For beginners, aim for 50-60°F. You can gauge accuracy by using an inexpensive water thermometer. Allow time for proper cooling by filling your tub the night before use. How much ice you need will depend on your container’s size, the temperature you want to achieve, and weather conditions. Be prepared to experiment a bit when first getting started.
Hacking Your Home Ice Bath
When researching how to create your own cold tub, you’ll uncover an array of methods for achieving icy perfection without breaking the bank. Approaches range from ultra-simple to more complex, giving you flexibility based on your skills and resources.
If you are quite handy and looking for a focal point, construct a wooden barrel or frame out of a hot tub shell for cold therapy use instead. This involves more skill but grants the ability to customize. Evaluate if this DIY special project suits your capabilities before committing.
On the easier end, fill a standard bathtub with water, add ice, and enjoy your frosty soak. For those willing to invest minor effort, pick up a plastic storage bin, gardening tub or tank to convert into a dedicated cold plunge pool. You’ll benefit from increased space and depth.
Advanced Advice
Once you are familiar with basic cold water immersion, certain accessories can enhance the enjoyment of your home ice bath while also promoting effectiveness and convenience. Consider utilizing a submersible water pump to promote circulation for an even chill. This also prevents surface ice from fully forming.
Installing a small filter helps keep water clean, particularly if you will have multiple household members utilizing the tub. For quick fills, a specialty garden hose featuring an integrated shutoff valve eliminates annoying drips. And custom stadium seat options allow you to sit more comfortably in the icy water.
If you seek the ultimate experience, you may also consider the Nurecover ice bath, which offers high-quality cold plunge benefits endorsed by celebrities like Kevin Hart and Nate Diaz. Featuring innovative cooling technology and ergonomic design focused on effectiveness and accessibility, this ready-made bath delivers affordable luxury.
Please focus on your safety and health at all times when considering cold exposure and always start off gradually – with short times (even just seconds) and milder temperatures. There’s no hurry to immerse yourself and, if you take your time to work up to longer durations gradually over a number of weeks, you’ll find it easier and more beneficial over time.
Please always refer to advice from the professionals at ColdPlungeFacts.com, who wrote this advice article for us.
Pin it for later
This blog post is an advertisement feature that has been written in collaboration with a sponsor. The pink links in this post indicate a sponsored link 🙂


