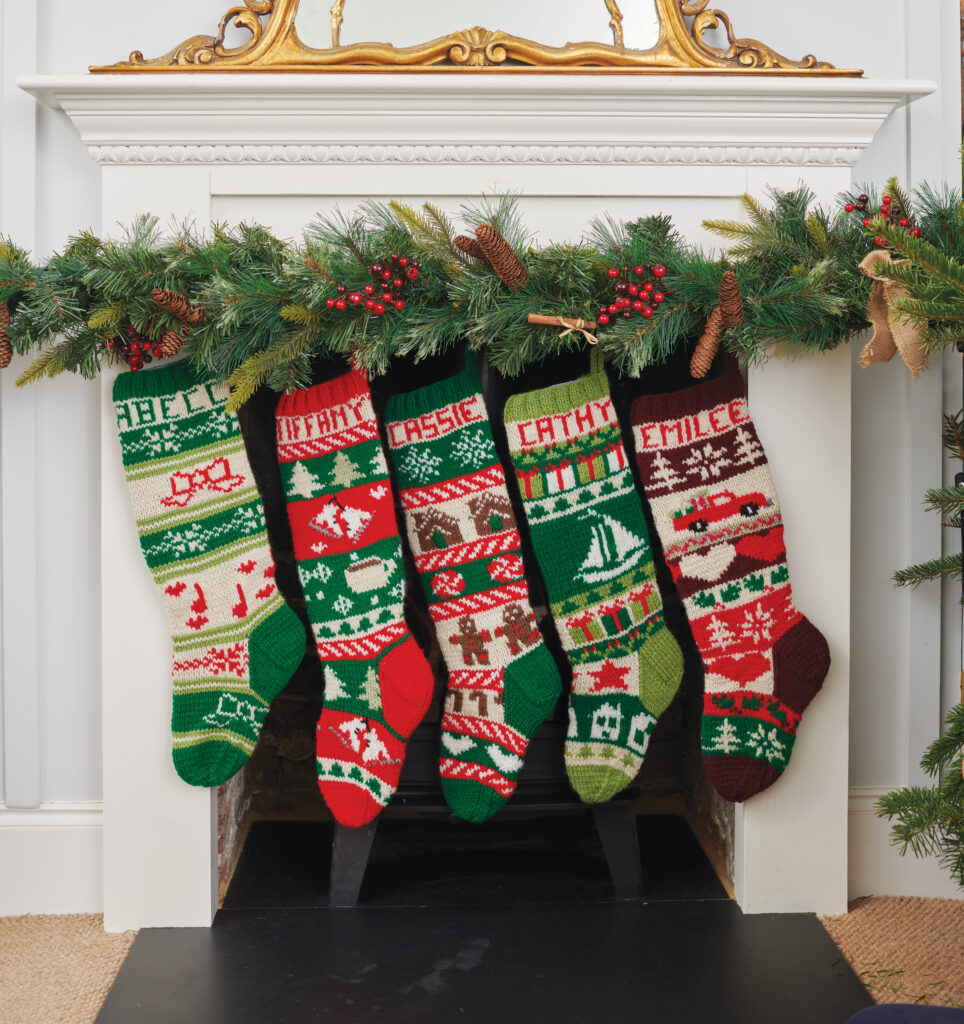
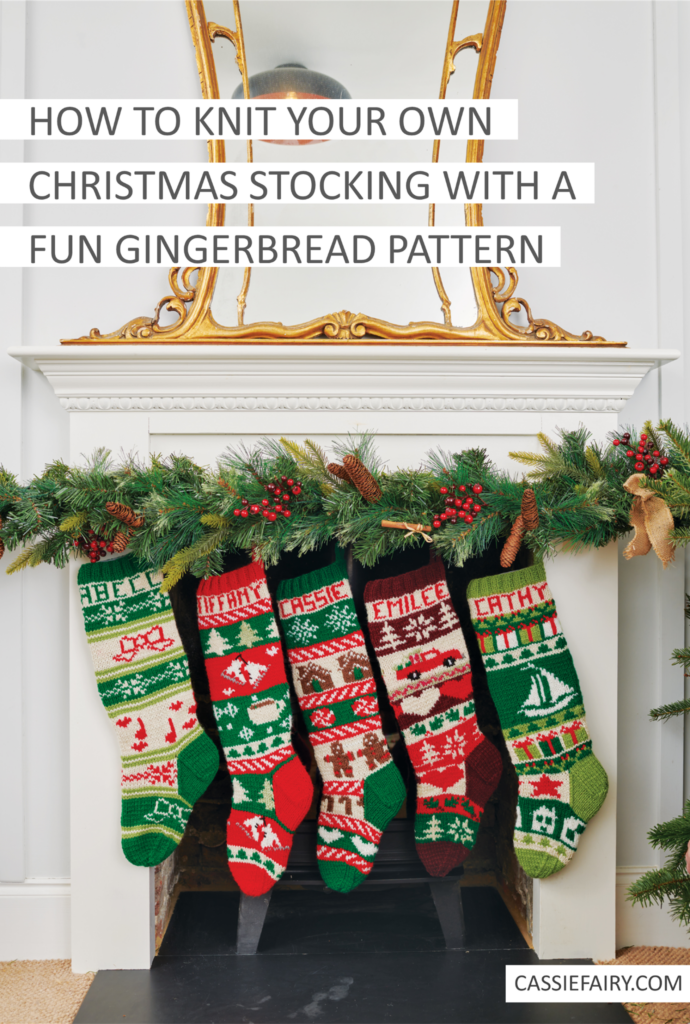
When I first saw the front cover of Knitted Christmas Stockings by Emilee Reynolds, I couldn’t believe my eyes – one of the stockings was personalised with my name! So, of course, I had to investigate further…
The book is a treasure trove of knitting patterns for anyone who loves Christmas. And, importantly, it provides all the instructions you’d need to make your own knitted stockings in time for the festive season.
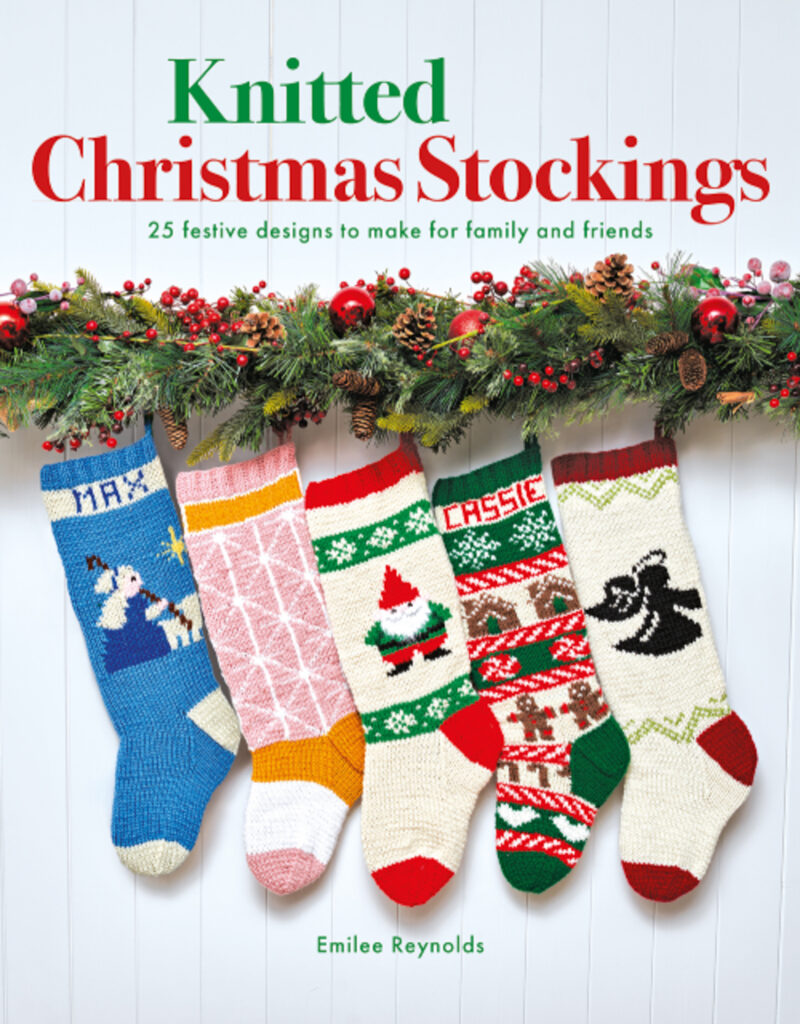
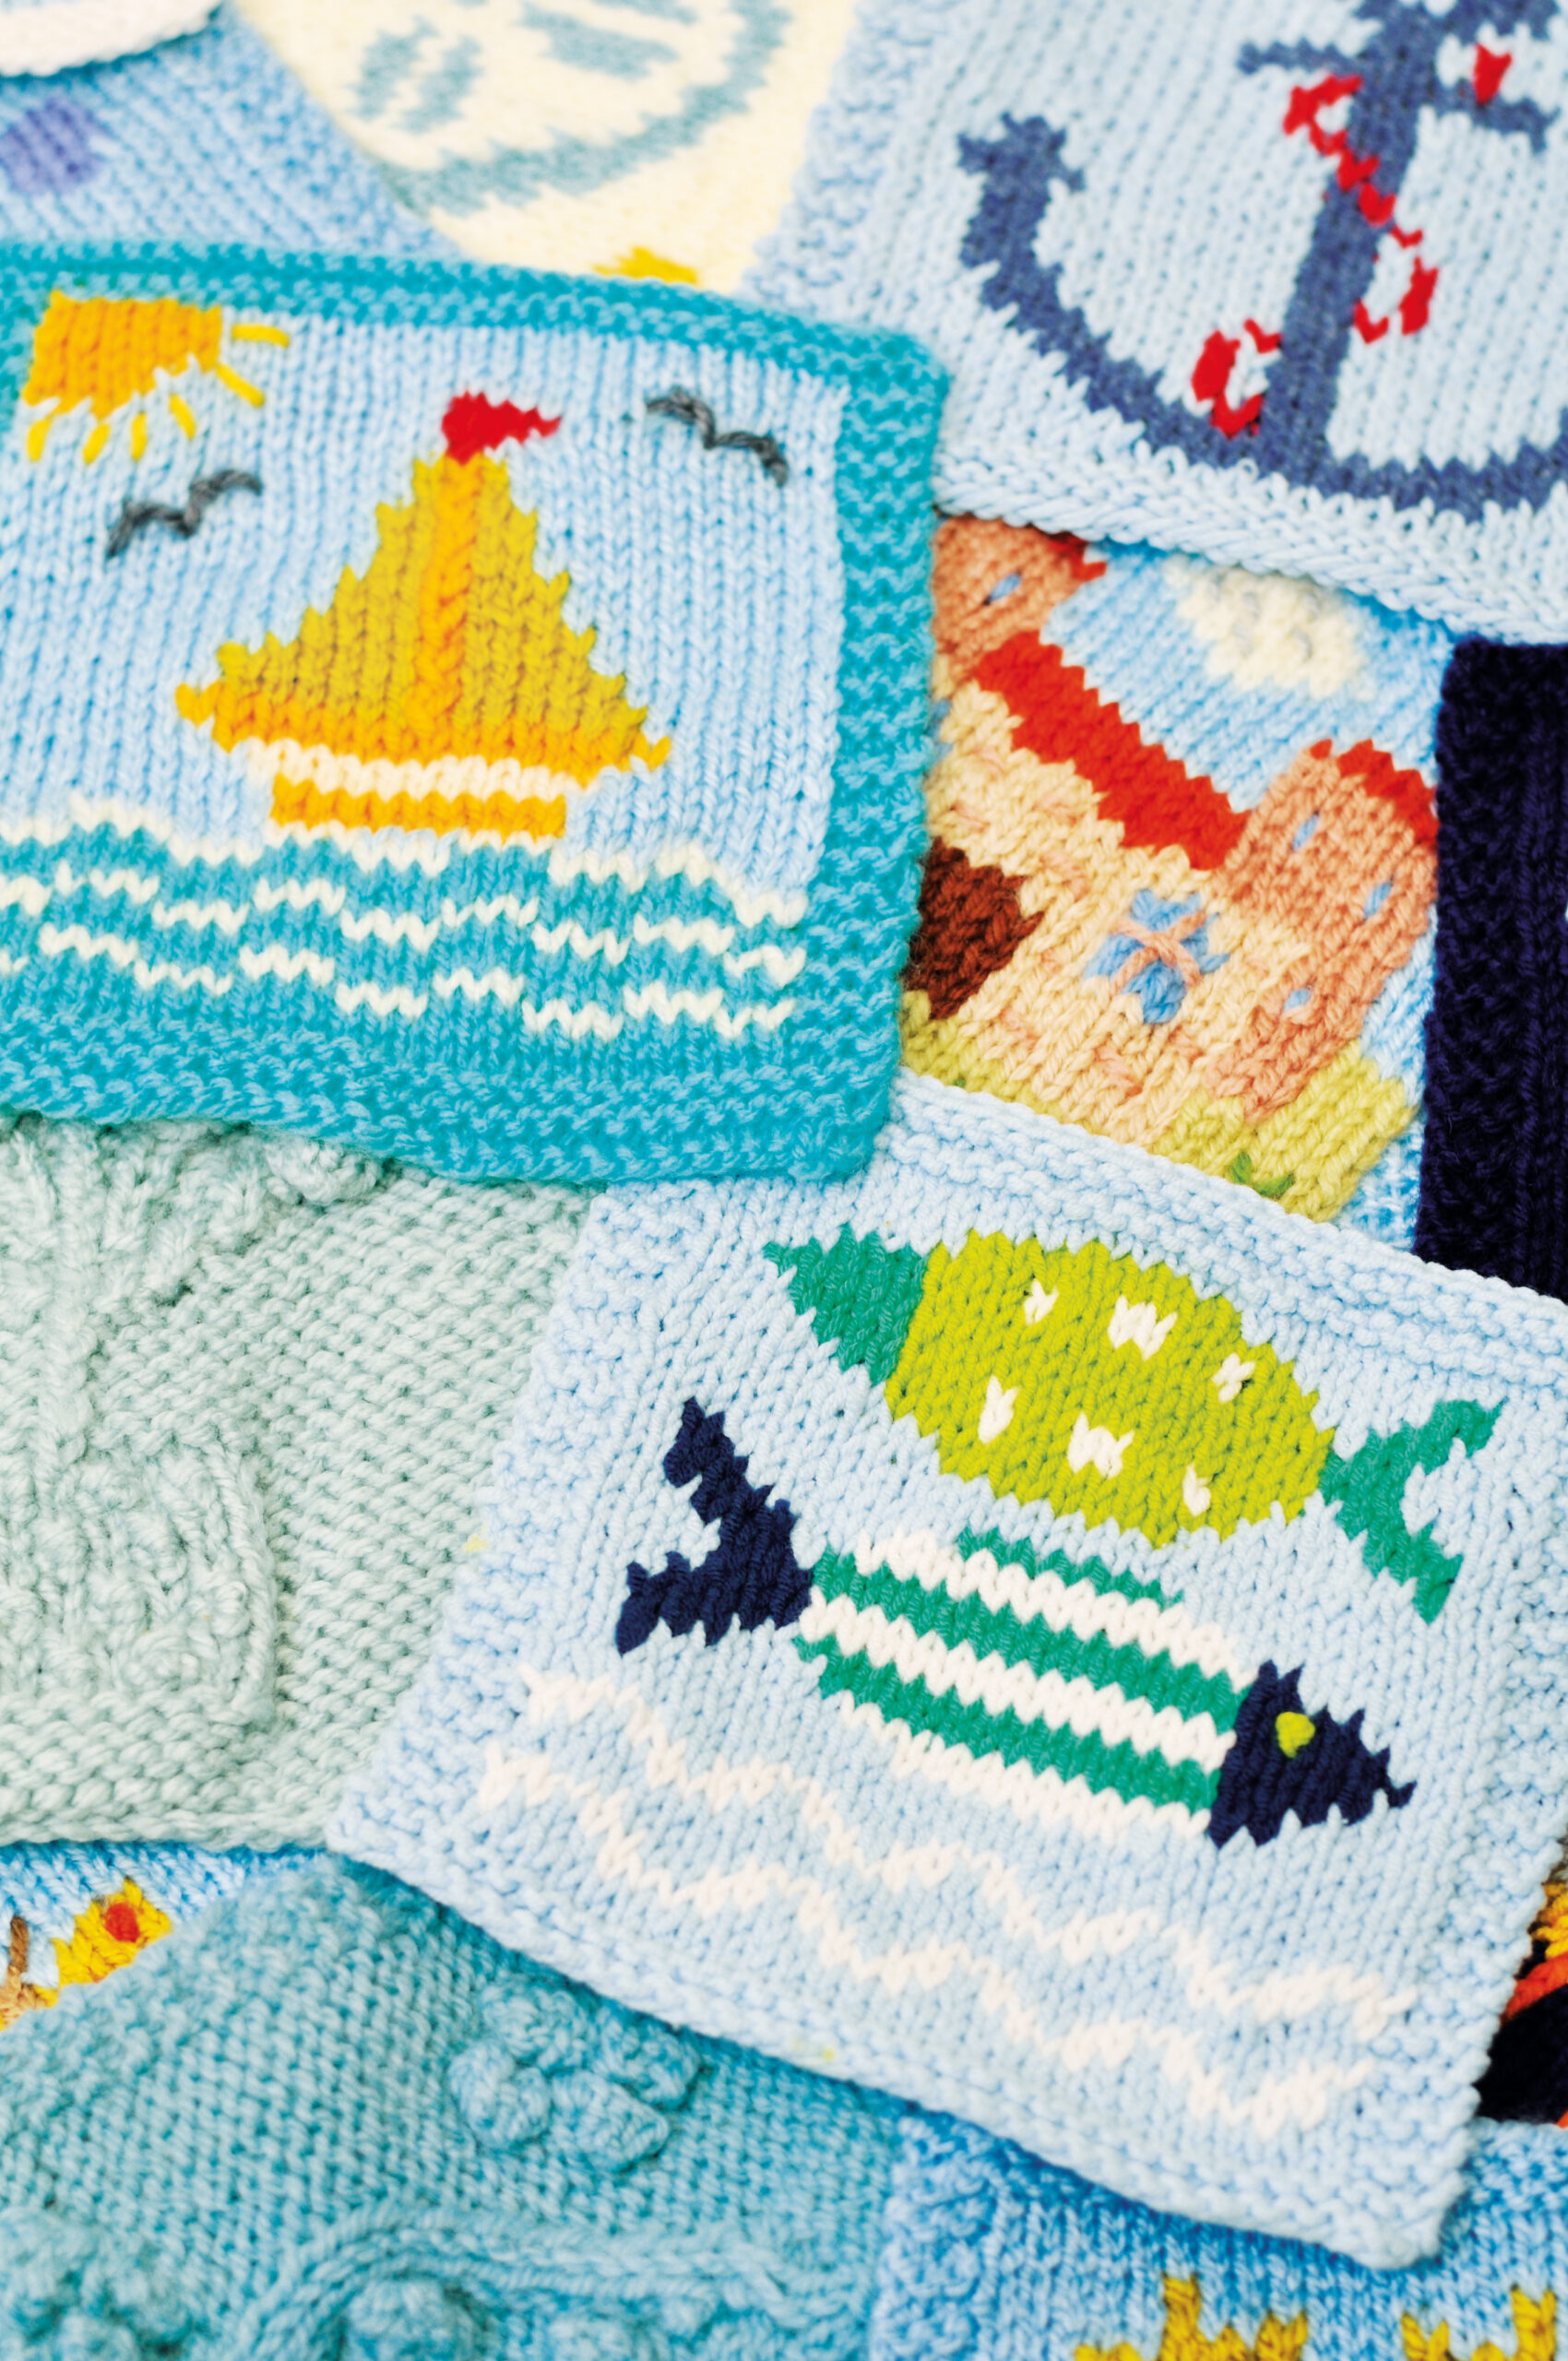
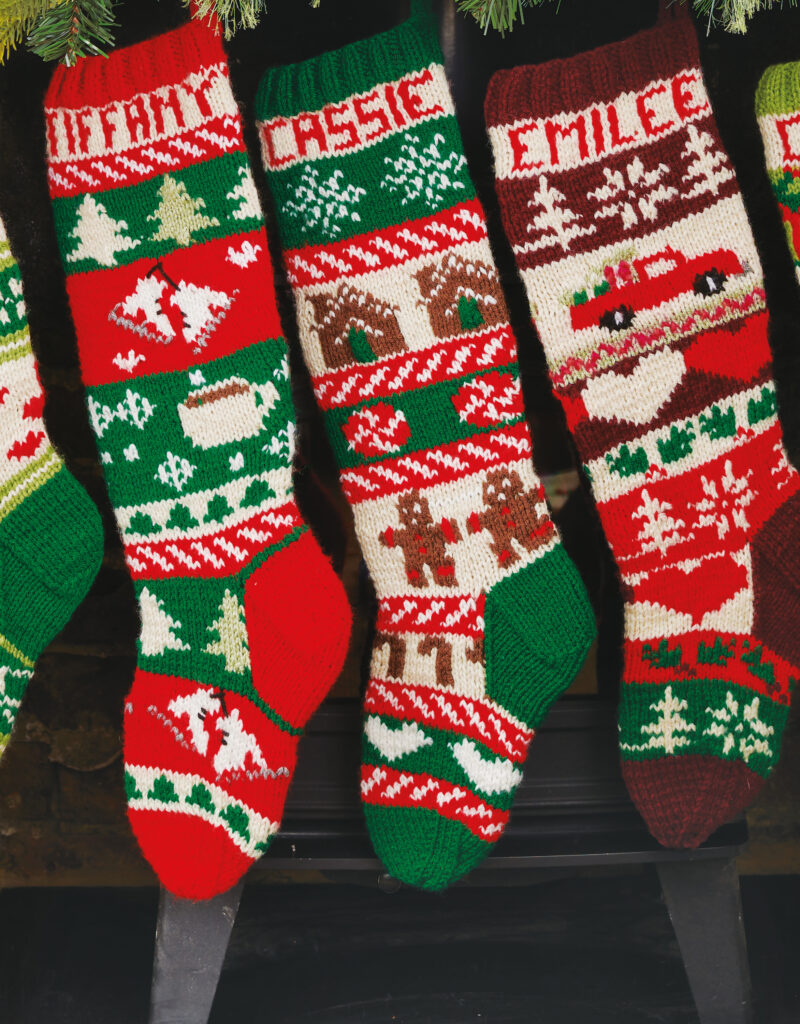
Within the book, you’ll find designs to suit all members of the family from cartoon-like images for little ones to contemporary geometric patterns for teens. And, of course, personalised stockings – but you don’t have to have my name on it! Which one would you make for yourself?
The book provides knitting projects that can be tackled by anyone – from beginners like me to advanced stitchers like my friend Alice. She shares her skills with others through her website LearnToKnitOnline and I’ve been taking her on-demand video classes for a while now.
I’ve just bought her class on circular knitting with the aim of making a hat for myself this winter, and my husband bought me her sock knitting class for my birthday last year, so I’m well on my way to being able to try out one of the Christmas stocking projects in this book.
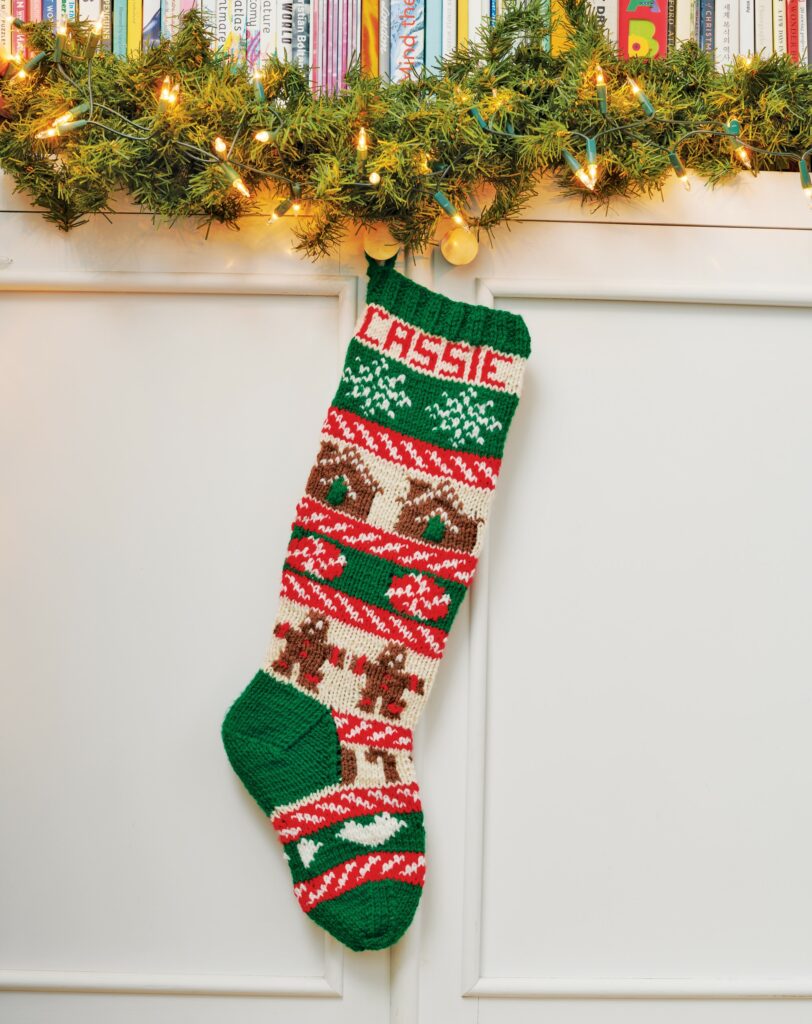
If you fancy making your own gingerbread patterned stocking, the author Emilee Reynolds has kindly shared the project below – with all the instructions, charts and materials you’ll need. Let me know if you give it a go in the comments below.
You will need:
Materials
- Pair of 3.5mm (US4) knitting needles
- 3.5mm (US4) double-pointed knitting needles
- Red Heart Super Saver, 100% acrylic (364yds/333m per 198g ball):
1 x 198g ball in Paddy Green, Aran, Cherry Red, White, Coffee - Tapestry needle
- 2 stitch holders
- Jingle bell (optional)
Finished size: 22in (56cm) long and 6in (15cm) wide
Instructions to knit the stocking
Cast on 60 sts in Paddy Green.
Cuff
Working in k2, p2 rib, continue for
7 rows. Break yarn, leaving about
10in (25cm) for sewing up.
Personalize your stocking
If you would like a name or date on your stocking, use the alphabet and number chart provided on page 138 of Knitted Christmas Stockings by Emilee Reynolds and a yarn colour of your choice.
Row 1: P 1 row in Aran.
Row 2: K 1 row and inc 1 st at end of row (61 sts).
Rows 3–9: Continue to p 1 row and
k 1 row in Aran for 7 more rows for a total of 9 rows.
Main design
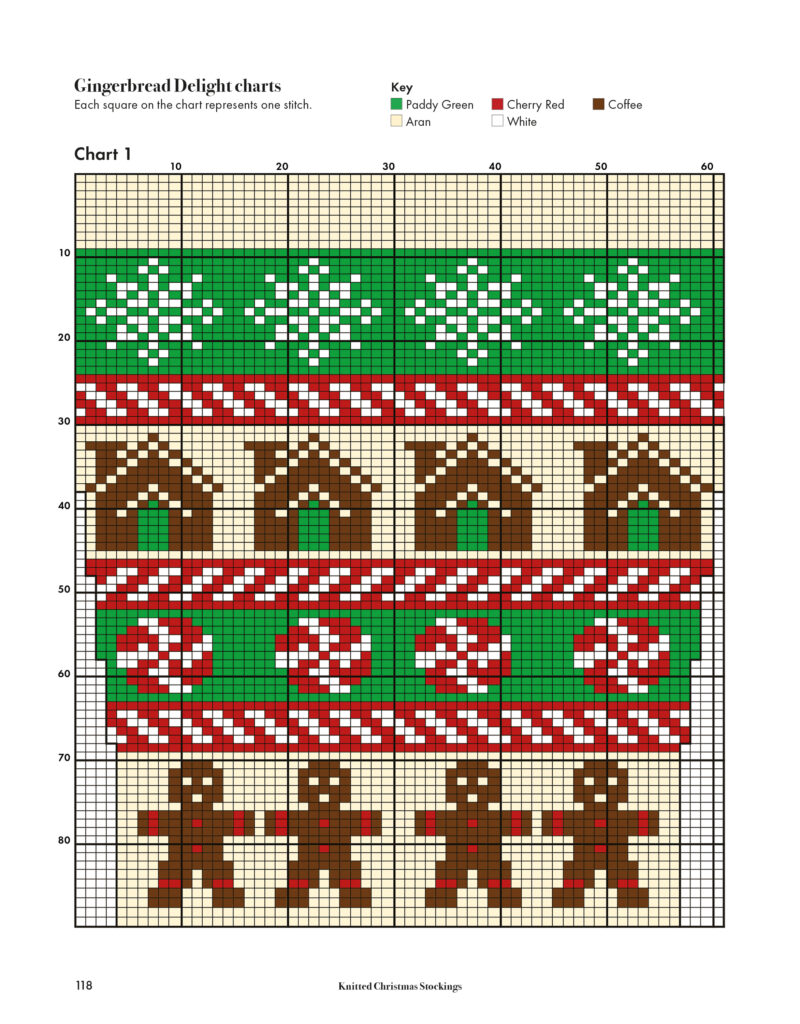
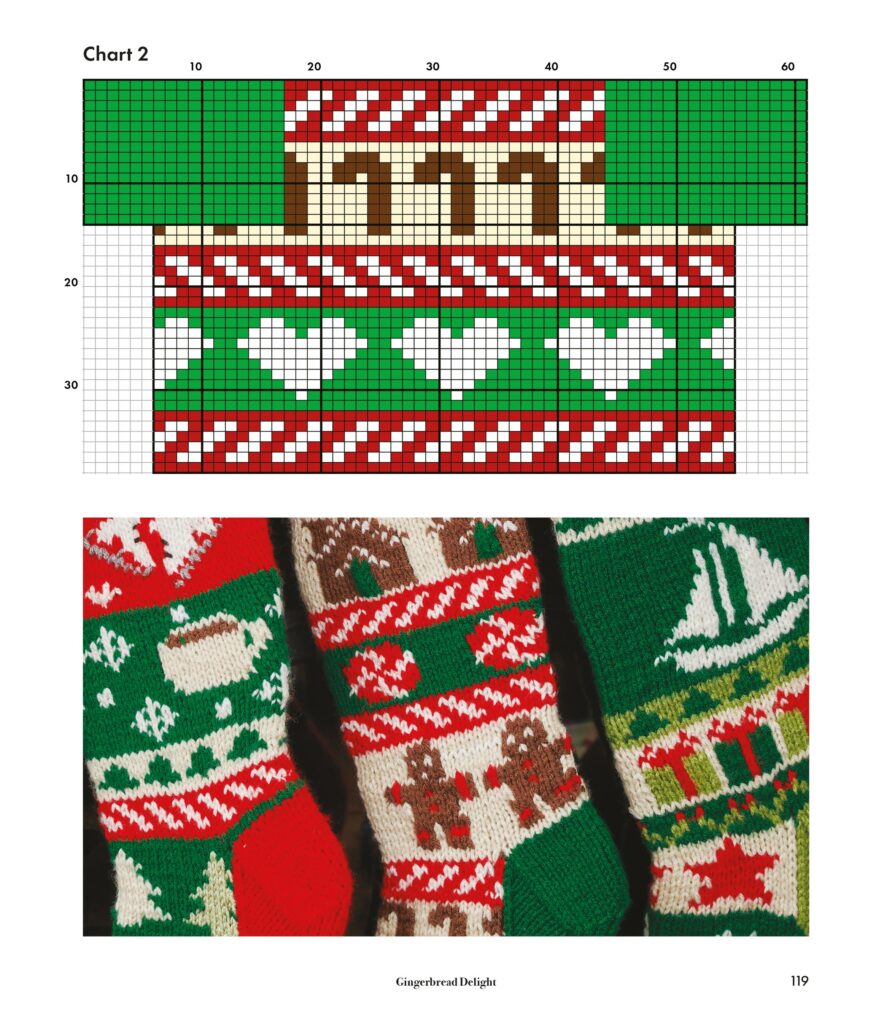
Row 10: Using st st, follow the chart 1 on page 118.
Dec 1 st each side on rows 39, 49, 59 and 69 (53 sts).
Work to end of chart 1, end on a p row.
Be sure to cross yarns when changing colours to avoid leaving a hole in
the work.
Break yarn, leaving an 18in (46cm) end for sewing up.
With RS facing you, sl first 13 sts onto a stitch holder for right half of heel; sl next 27 sts onto a stitch holder for instep; sl last 13 sts onto a dpn for left half of heel.
Left half of heel
With WS facing you, k and p the
following rows in Paddy Green.
First row: P.
Next row: Sl 1, k12.
Repeat these two rows for a total of
8 times (18 rows on heel).
Turn heel as follows:
Row 1: P2, p2tog, p1, turn.
Row 2: Sl 1, k3, turn.
Row 3: P3, p2tog, p1, turn.
Row 4: Sl 1, k4, turn.
Row 5: P4, p2tog, p1, turn.
Row 6: Sl 1, k5, turn.
Row 7: P5, p2tog, p1, turn.
Row 8: Sl 1, k6, turn.
Row 9: P6, p2tog, p1 (8 sts).
Break yarn, place sts on stitch holder or leave on needle.
Right half of heel
With RS facing you, k and p the
following rows in Paddy Green.
First row: K.
Next row: Sl 1, p12.
Repeat these two rows for a total of
8 times; 18 rows on heel.
Turn heel as follows:
Row 1: K2, SKP, k1, turn.
Row 2: Sl 1, p3, turn.
Row 3: K3, SKP, k1, turn.
Row 4: Sl 1, p4, turn.
Row 5: K4, SKP, k1, turn.
Row 6: Sl 1, p5, turn.
Row 7: K5, SKP, k1, turn.
Row 8: Sl 1, p6, turn.
Row 9: K6, SKP, k1 (8 sts).
Break yarn.
Next: Using Paddy Green, k across
8 sts starting on the outer edge of the RS; pick up and k 9 sts on inner edge of half heel. Follow chart 2 on page 119 and k across 27 sts of instep in stocking design; pick up and k 9 sts in Paddy
Green on inner edge of other half heel; k across 8 sts in Paddy Green (61 sts).
P 1 row in same way as above.
Gusset and instep
Row 1: K14, k2tog, k29, SKP, k14
(59 sts).
Row 2: P.
Row 3: K13, k2tog, k29, SKP, k13
(57 sts).
Row 4: P.
Row 5: K12, k2tog, k29, SKP, k12
(55 sts).
Row 6: P.
Row 7: K11, k2tog, k29, SKP, k11
(53 sts).
Row 8: P.
Row 9: K10, k2tog, k29, SKP, k10
(51 sts).
Row 10: P.
Row 11: K9, k2tog, k29, SKP, k9
(49 sts).
Row 12: P.
Follow chart 2 and k 1 row, p 1 row for 22 rows.
Row 23 (decrease row): Continue to follow chart, k23, k2tog, k24 (48 sts).
Row 24: P.
Break yarn, leaving a 14in (36cm) end for sewing up.
Shape toe
Row 1: Using Paddy Green, k9, k2tog, k2, SKP, k18, k2tog, k2, SKP, k9
(44 sts).
Row 2: P.
Row 3: K8, k2tog, k2, SKP, k16, k2tog, k2, SKP, k8 (40 sts).
Row 4: P.
Row 5: K7, k2tog, k2, SKP, k14, k2tog, k2, SKP, k7 (36 sts).
Row 6: P.
Row 7: K6, k2tog, k2, SKP, k12, k2tog, k2, SKP, k6 (32 sts).
Row 8: P.
Row 9: K5, k2tog, k2, SKP, k10, k2tog, k2, SKP, k5 (28 sts).
Row 10: P.
Row 11: K4, k2tog, k2, SKP, k8, k2tog, k2, SKP, k4 (24 sts).
Row 12: P.
Row 13: K3, k2tog, k2, SKP, k6, k2tog, k2, SKP, k3 (20 sts).
Row 14: P.
Row 15: K2, k2tog, k2, SKP, k4, k2tog, k2, SKP, k2 (16 sts).
After last row, with WS facing you, place first 4 sts on a dpn. Sl next 8 sts
to a second needle and sl last 4 sts to third needle.
Begin with fourth st, sl 4 sts from first needle, k last 4 sts from third needle to same needle with edges at the centre of needle. Needles should be parallel with one another.
Break yarn, leaving a 14in (36cm) length for weaving the toe.
Weaving the toe
Thread end of yarn into tapestry needle and weave sts together as follows:
Front needle: Pass needle through as if to k and sl st off, pass through second st of front needle as if to p but leave st on needle, draw yarn through.
Back needle: Pass needle through as if to p and sl st off, pass through second st of back needle as if to k but leave st on needle, draw yarn through.
Repeat until all sts are joined.
Fasten off.
Completing the stocking
Use a tapestry needle to sew in all ends securely. Weave in all ends using matching colours. Use a mattress stitch to join the seams. Sew the jingle bell onto the toe. To make a chain, use a dpn and cast on 3 sts. K each row until you have the desired length for your chain. Use a tapestry needle to sew the chain onto the top of the stocking.
Pin it for later
Some items in this blog post have been gifted to me and the pink links indicate a gifted product, affiliate link or information source. All thoughts and opinions in this post are based on my own experience and I am not responsible for your experience 🙂