Christmas starts here! As soon as bonfire night has finished, that is the start to my festive season. Some may say it’s too soon, but I’ve already had to hold myself back from watching Christmas films and singing carols. Okay, I’ve already done a little bit of Christmas shopping and I did actually watch the a couple of TV Christmas specials on DVD during the half term holiday… And I’ve been buying the ingredients for my Christmas cake (recipe post coming soon!). So even though I’ve tried not to let Christmas take over my life completely, it’s been creeping in and now I can finally let my festive feelings run wild! 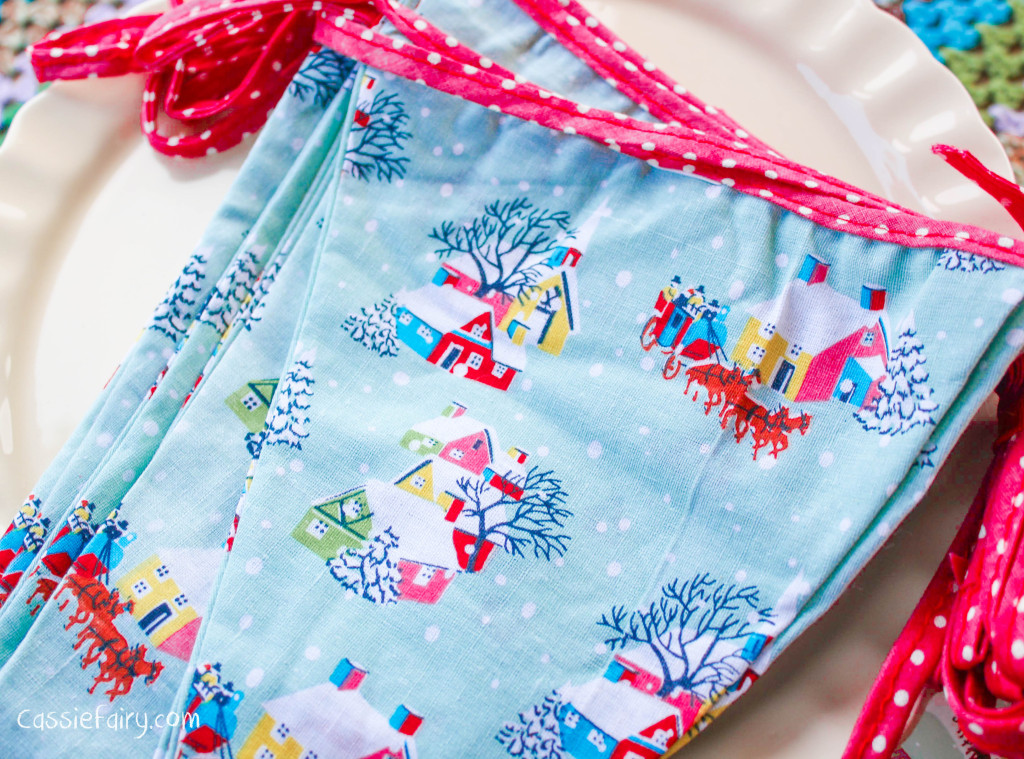
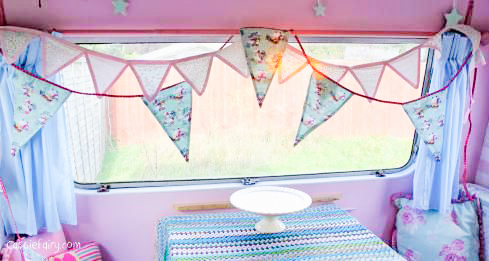
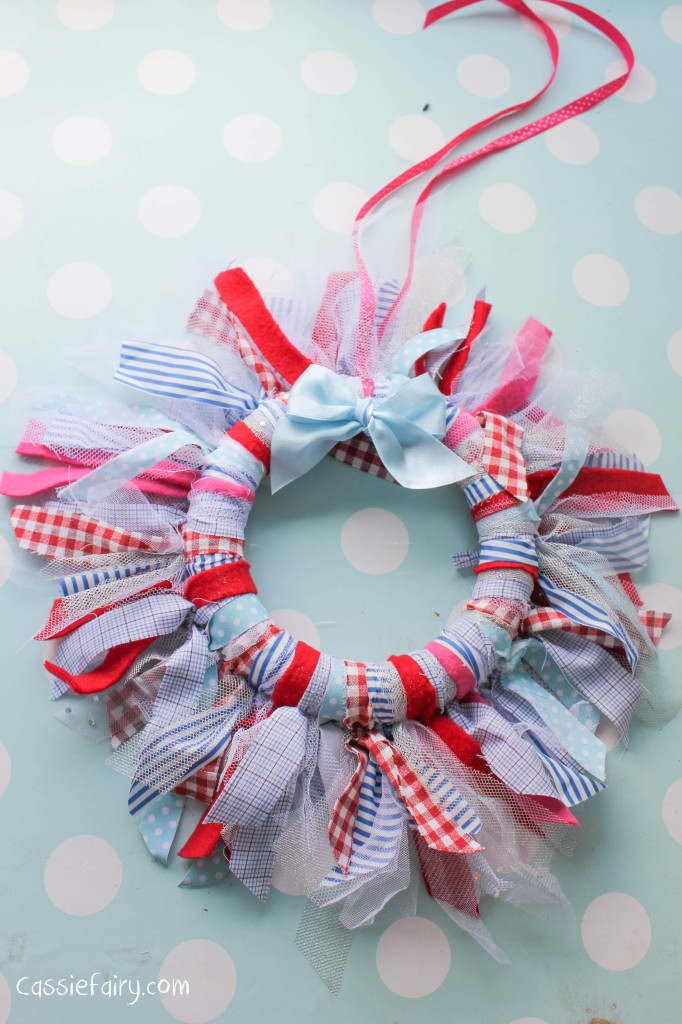
So today I’m kicking off with a quick tutorial for making my own fabric wreath. I actually intended to make this wreath last year so really I’m just 12 months behind rather than ahead. I wanted to create a red and blue fringed wreath to match my new festive ‘Vintage Christmas’ bunting I got from RexLondon.com last year. I love the retro pattern and decided to use this design as the basis of a whole red and blue theme for Christmas. I bought the polystyrene ring from a craft shop last year (I think it was The Range or somewhere similar) for around a pound and I’ve decided to wrap this in red, blue and pink strips of fabric to make a matching decoration. 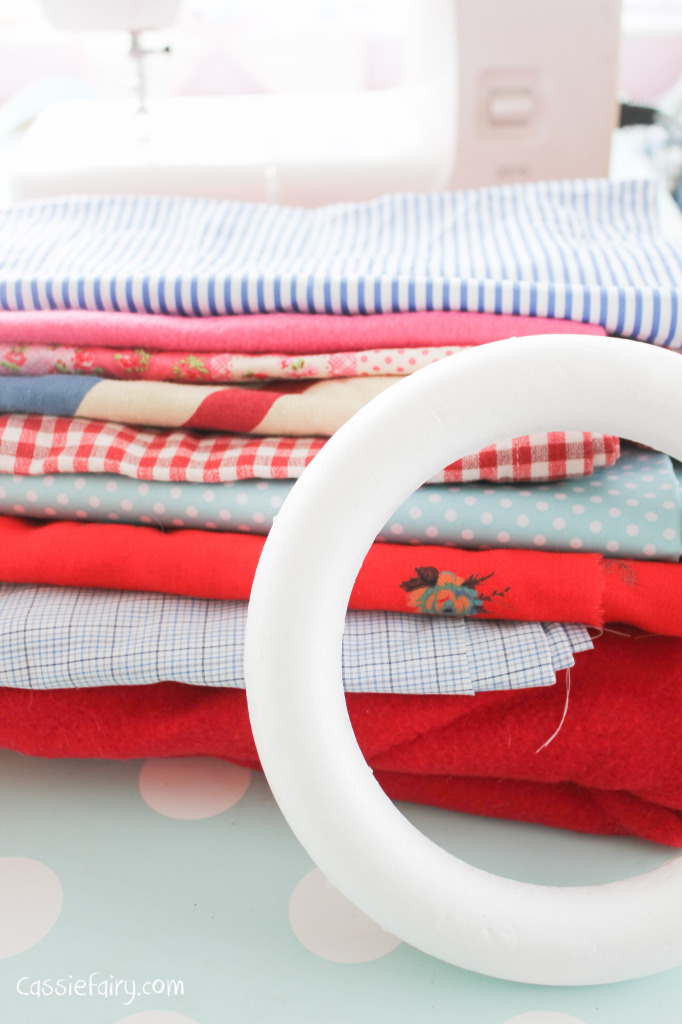 Here’s how to do it yourself: Choose a few pieces of fabric in your favourite festive colours and cut these into long thin strips. The length of these really depends on the thickness of your wreath ring so measure around the circumference and then double this measurement. This will give you enough fabric to wrap around the wreath and knot in place.
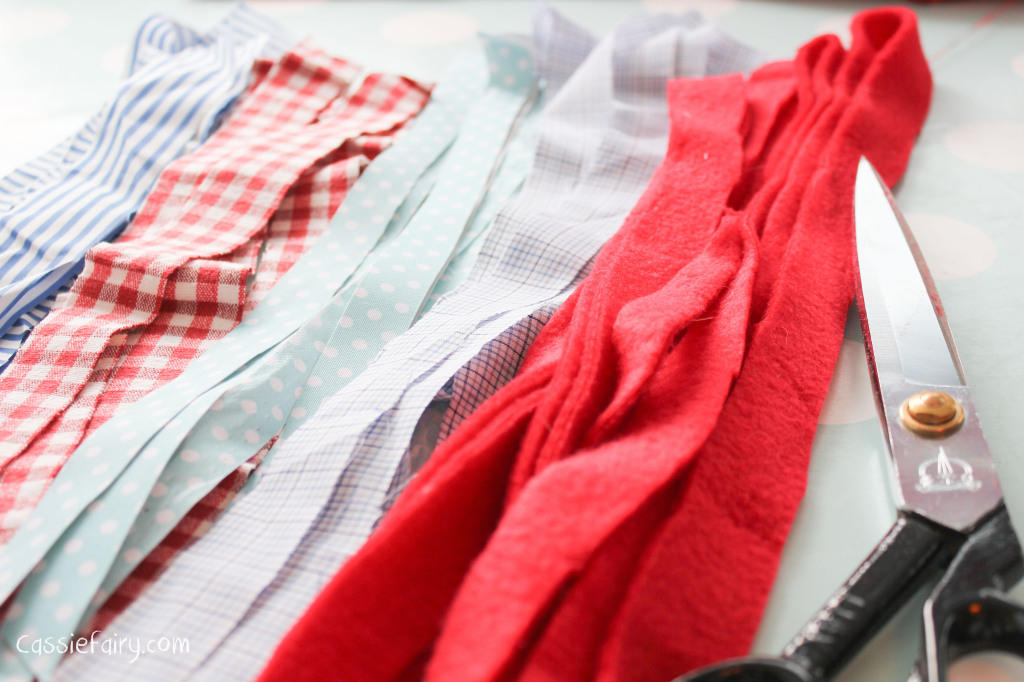
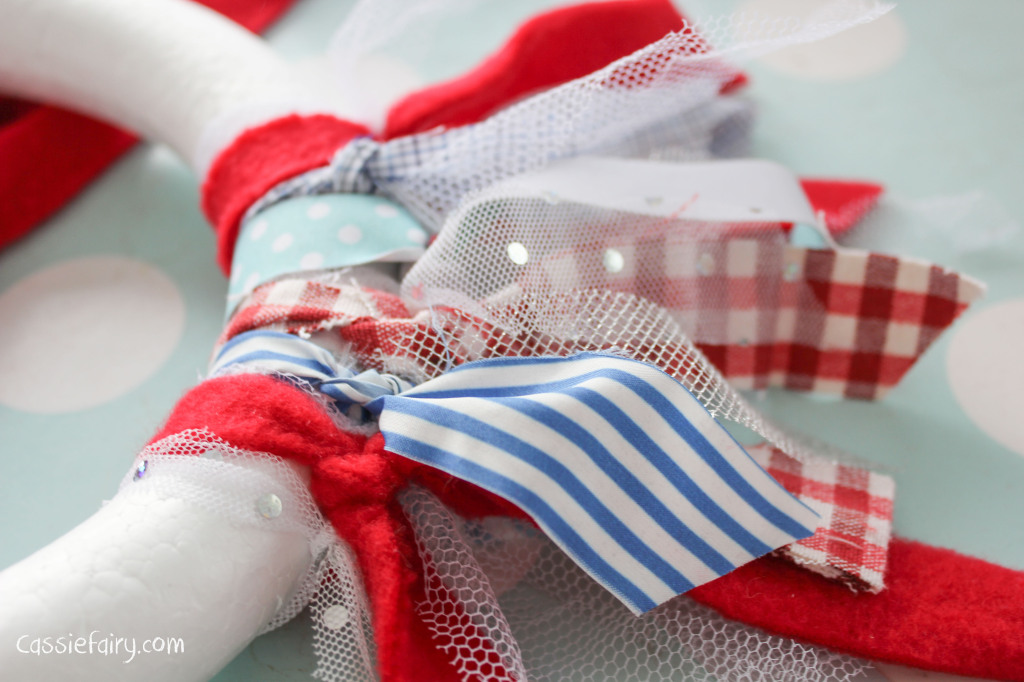
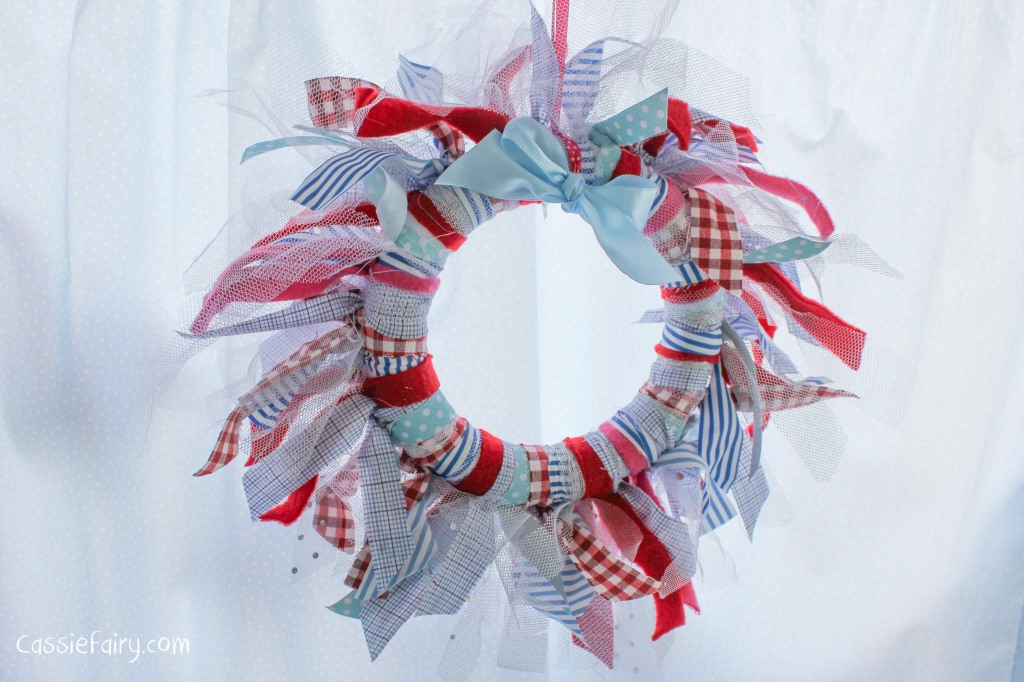
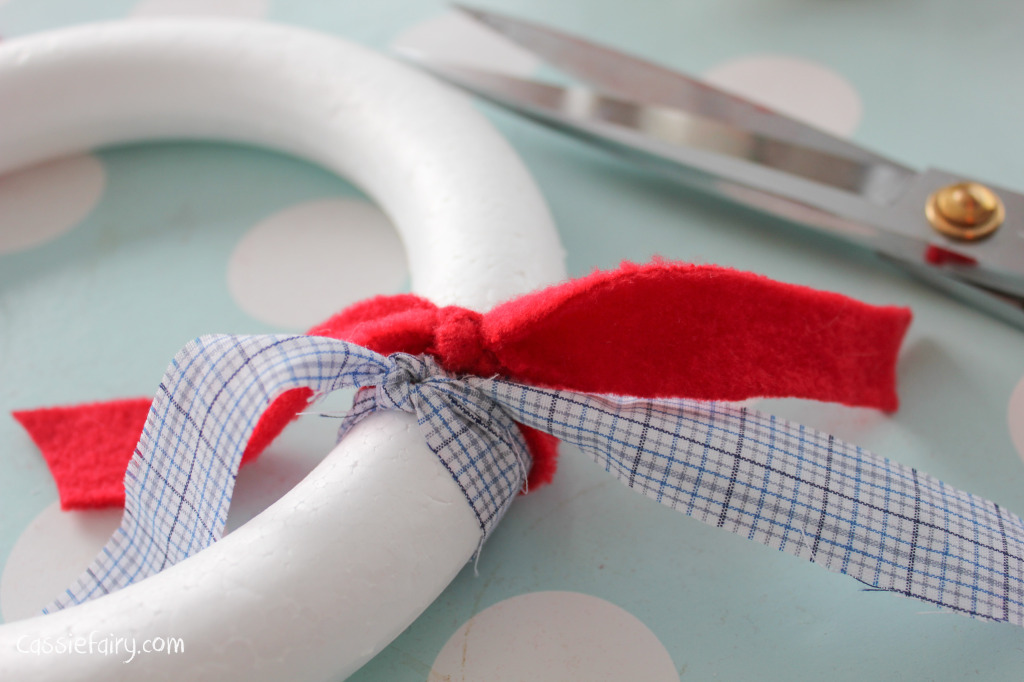 Tie on your fabric strips in alternating or random colours and textures and continue adding the strips all the way round to create a bushy, frilly, full wreath. I used a mixture of red fleece, tulle, blue cotton and the bunting fabric to create my wreath, with the tulle giving it a spiky fullness.
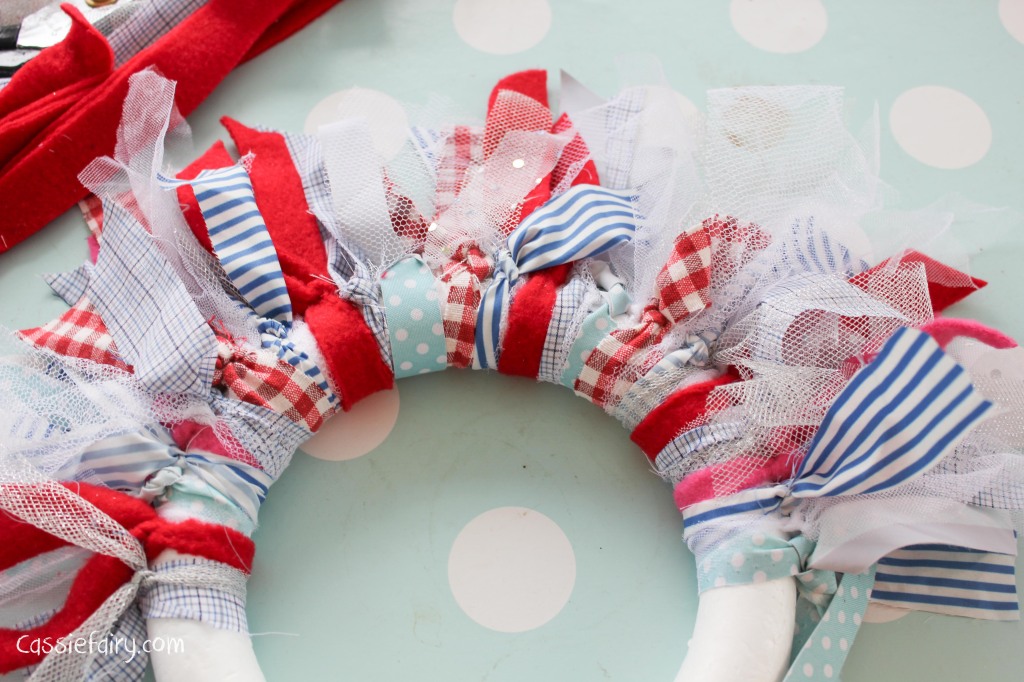 At the top of the wreath wrap a long piece of ribbon around the top and knot in place to use as a hanging loop. Next tie a second piece of ribbon over the top of this one and knot before tying into a pretty bow to finish off the design.
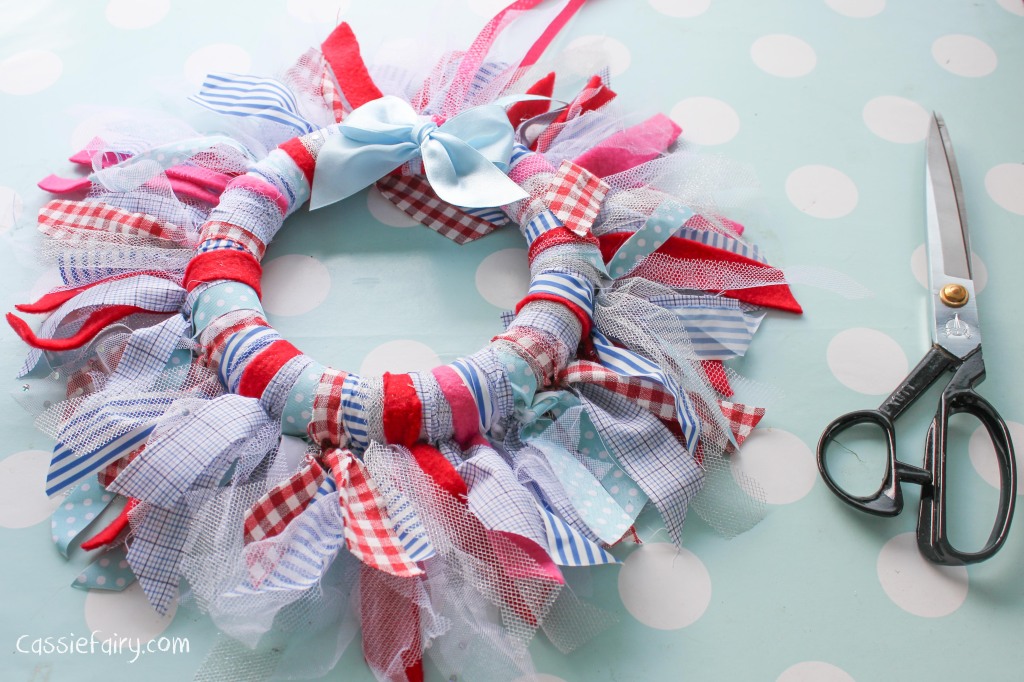
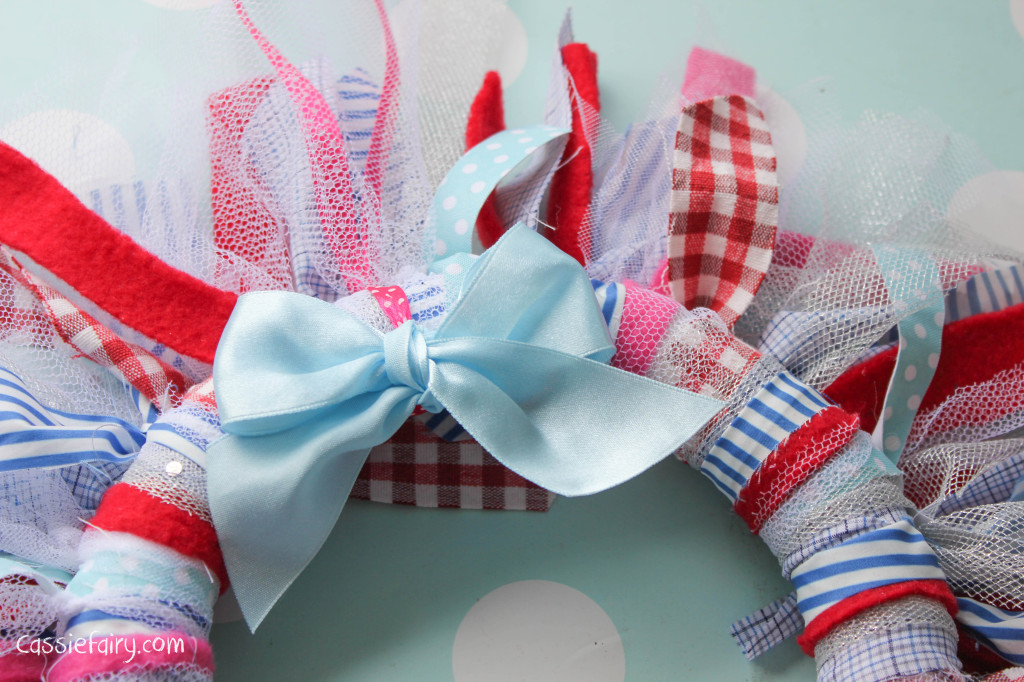 I think my homemade wreath will look great with the retro bunting and I’m planning to lay my festive table with red placemats and my favourite collection of baby-blue ‘Grey Dawn’ crockery. I picked up a little deer table decoration from a pound shop last year too and his colours coordinate with the vintage red and blue scheme perfectly so he’ll be the ideal table centrepiece. If you want to recreate the ‘Vintage Christmas’ look for yourself (or even want to go for a different coordinating look, such a Christmas carnival or 50s Christmas), check out the Christmas shop at DotComGiftShop for a whole range of festive designs in everything from biscuit tins to gift wrap. The ‘Vintage Christmas’ doilies and napkins are on my wish list to finish off my festive table for Christmas dinner and I’m definitely in the mood for Christmas now – bring it on! What do you think of my home-made wreath? Will you have a go at making one yourself this year? Please leave me a comment below and I’d love to see your photos if you make one!









7 Responses
Thanks so much Jess! 😀 x
How adorable is this! Such a sweet idea! Congrats on winning the competition by the way 🙂 xx
Thank you, you’re too kind!! I’m so pleased you like it! 😀
This looks absolutly gorgoeus, love the kitch vintage feel. I just foud your blog and, as a thrifty lady myself Im delighted to have a new blog like your to follow. Your recognition is well deserved 🙂 xx
Thanks so much Kathryn, I’d love to see your finished project if you give it a go! X
What a fab project! It looks amazing, and simple enough for a busy mum to squeeze into my schedule! Thanks for sharing. I’d definitely like to have a go.