Sewing should be fun. Creative projects ought to make us happy. And DIYs should be simple. However, in the world of perfect Pinterest photos, I’m starting to think that my crafts aren’t all that good. There are so many awesome tutorials out there that I can’t be but be inspired every day, yet I’ve found that Pinterest is a double-edged sword, because it motivates me yet puts me off projects in equal measure.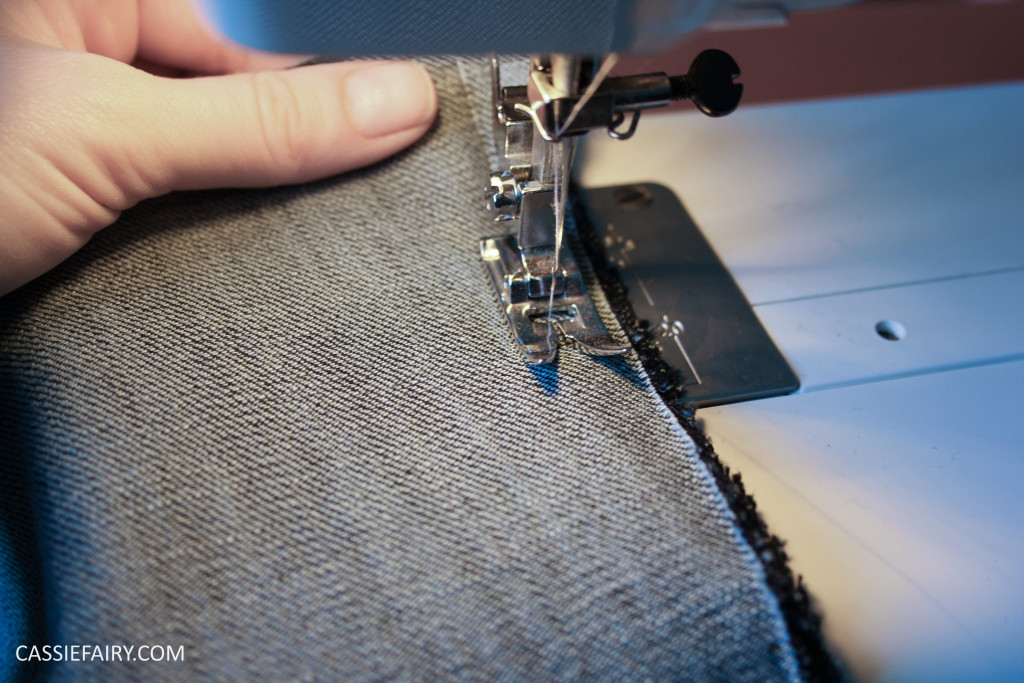
As a result of pinning hundreds of gorgeous, perfectly photoshopped, Etsy-esque craft projects, I’ve ended up hrumphing about the things that I make because I know that I don’t have the patience for that level of perfection. And it’s kind of putting me off even getting started on new projects. And when I do click through – the 50 ‘simple’ steps make me want to turn off the iPad and watch TOWIE instead.
It’s not that I don’t want to follow patterns; I just don’t want to feel bad when I get the darts in the wrong place! I just want to make something with my bare hands and feel happy with the end result, so matter how simple (or shabby!) the project is. So I decided to pull myself out of my sewing funk and make something, anything, to get myself back in the mood to create.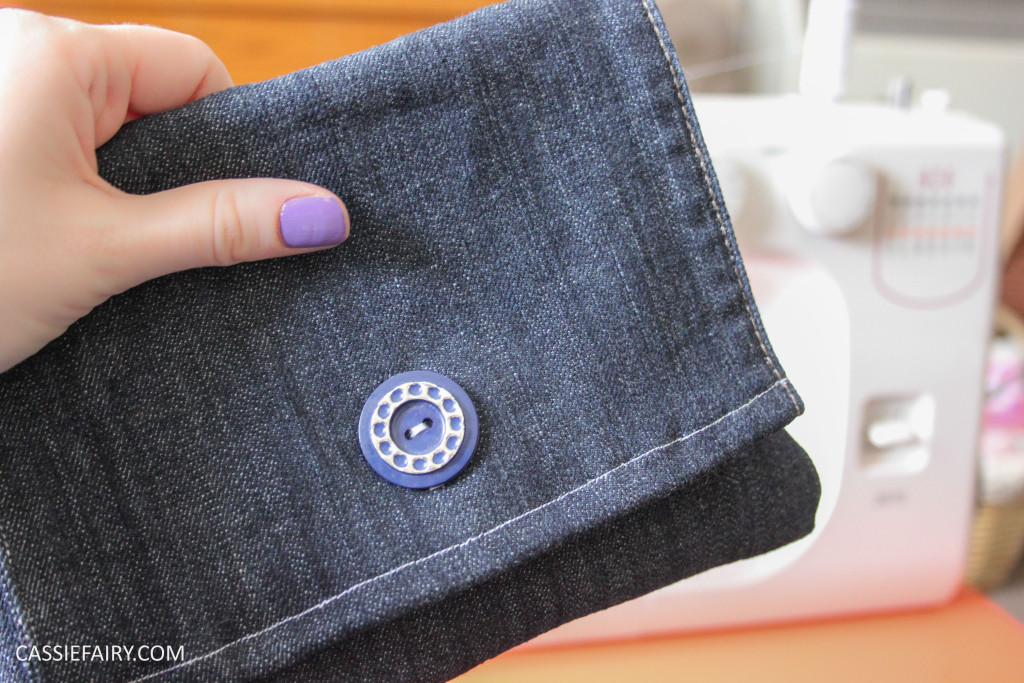
When I found out about an upcycling challenge to celebrate the launch of Debenhams’ new Jeans page last week, I couldn’t resist digging out my old denims and getting thinking about what kind of project I could do. Here’s what I came up with: a trouser-leg clutch bag.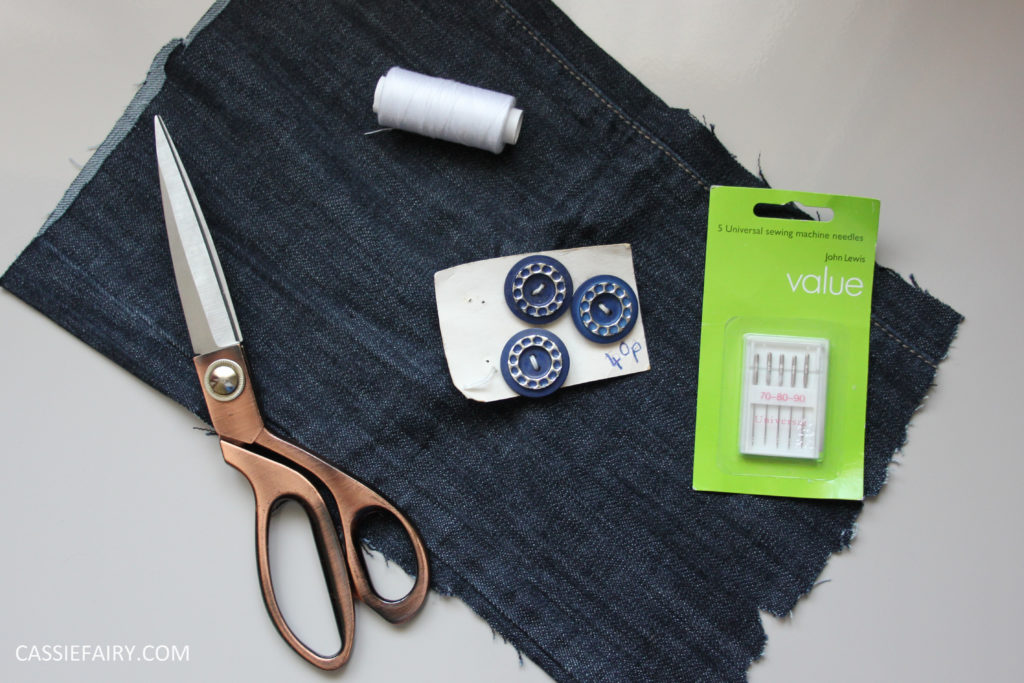 You will need: a bit of denim or the leg from an old pair of jeans, a button, thread, scissors and a sewing machine (or strong needle if you’re hand-stitching).
Step 1: Cut off the leg of your jeans at a length that is approximately twice the depth that you want the clutch bag to be. Step 2: Cut half of the ‘front’ of the leg away, to leave you with a pouch with open bottom and flap at the top.
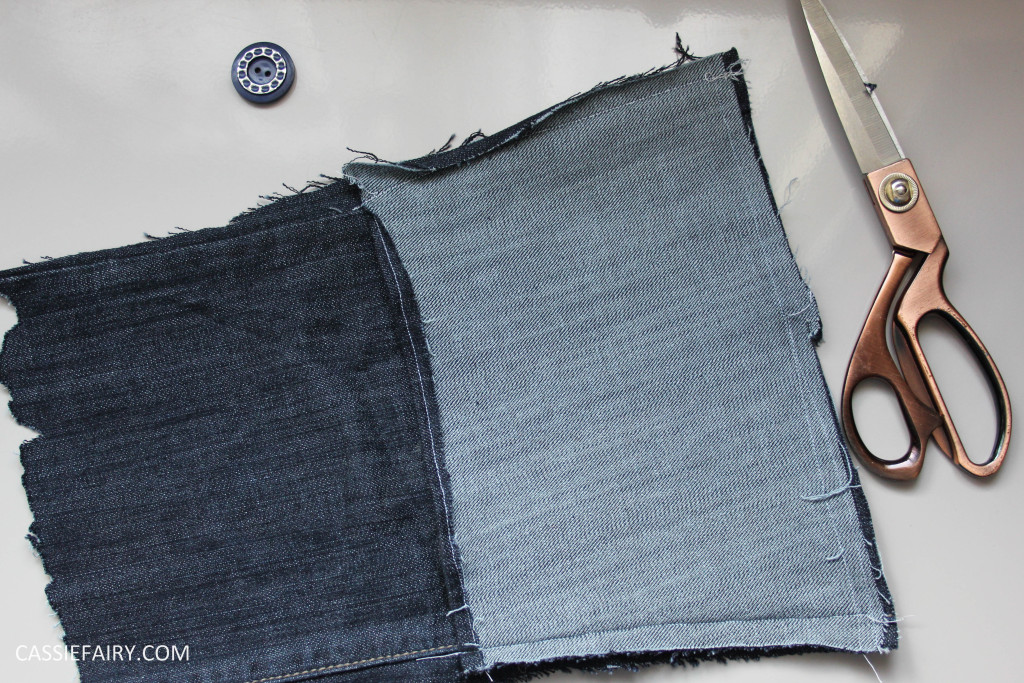 Step 3: Turn inside out and sew across the bottom of the leg to make a pouch.
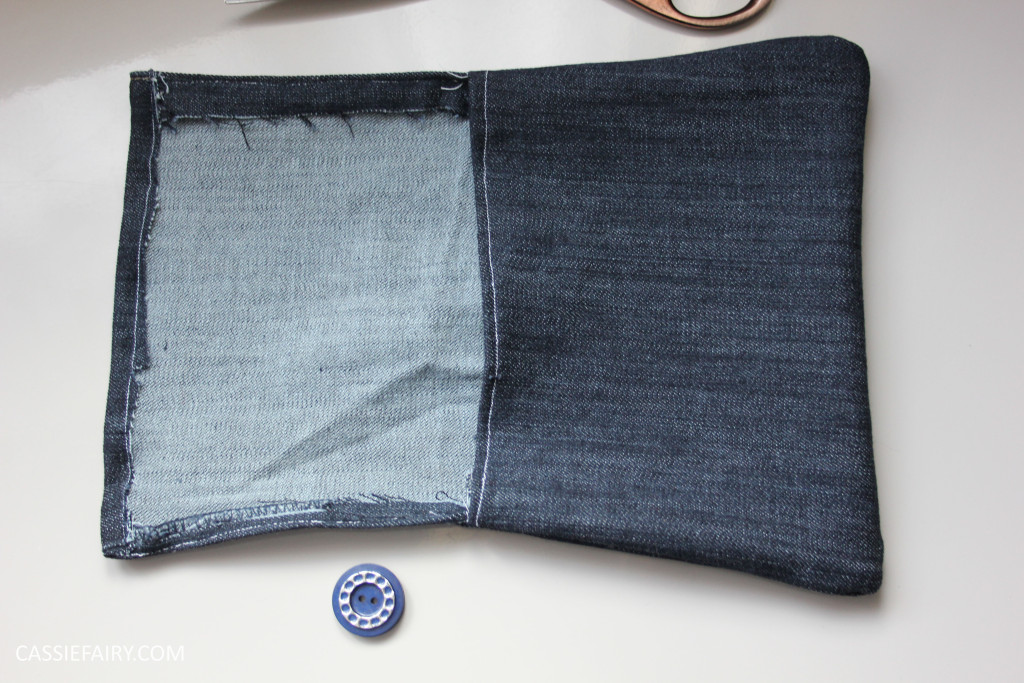 Step 4: Fold over the top edges of the pouch and the flap and stitch hems.
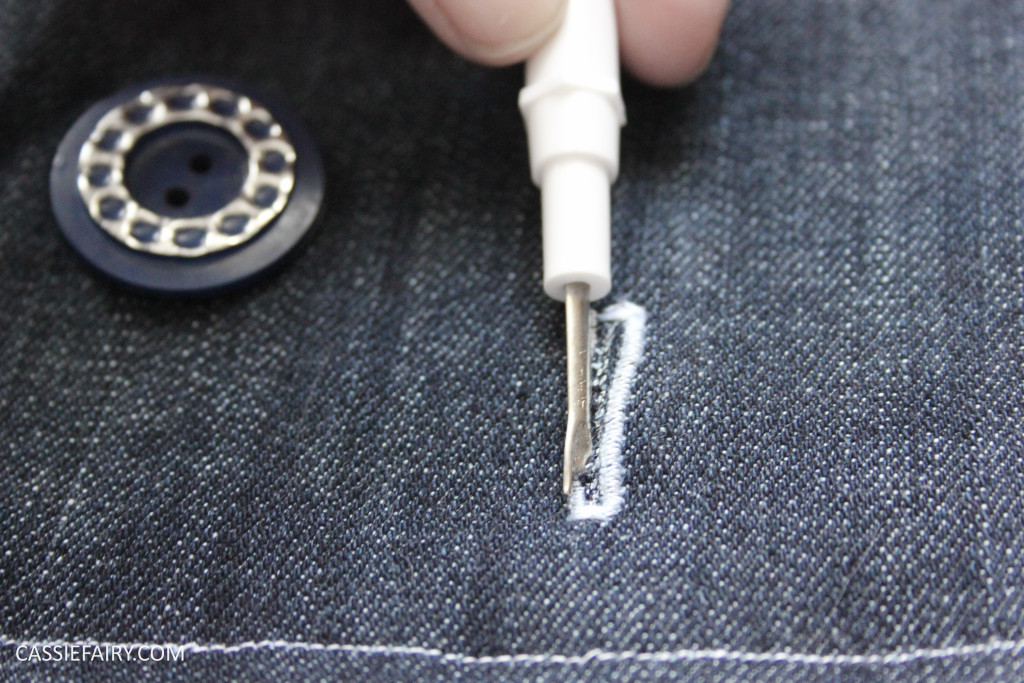
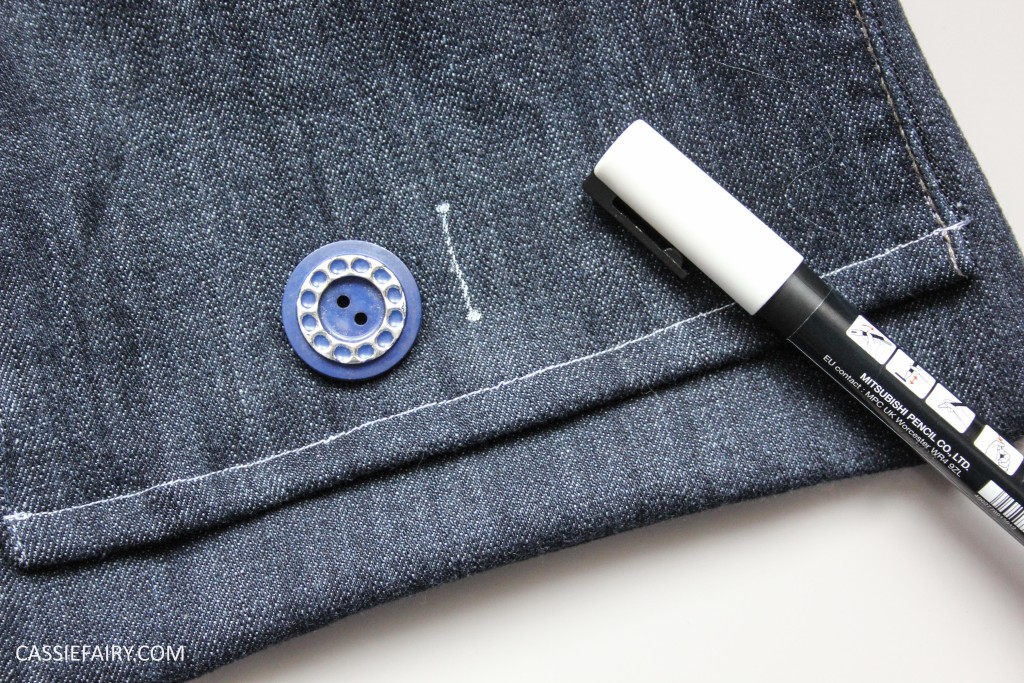 Step 5: Mark and stitch a button-hole in the centre of the top flap. This was my first ever attempt at a button-hole using the settings on my sewing machine so I’m really chuffed that I now know how to make button-holes!
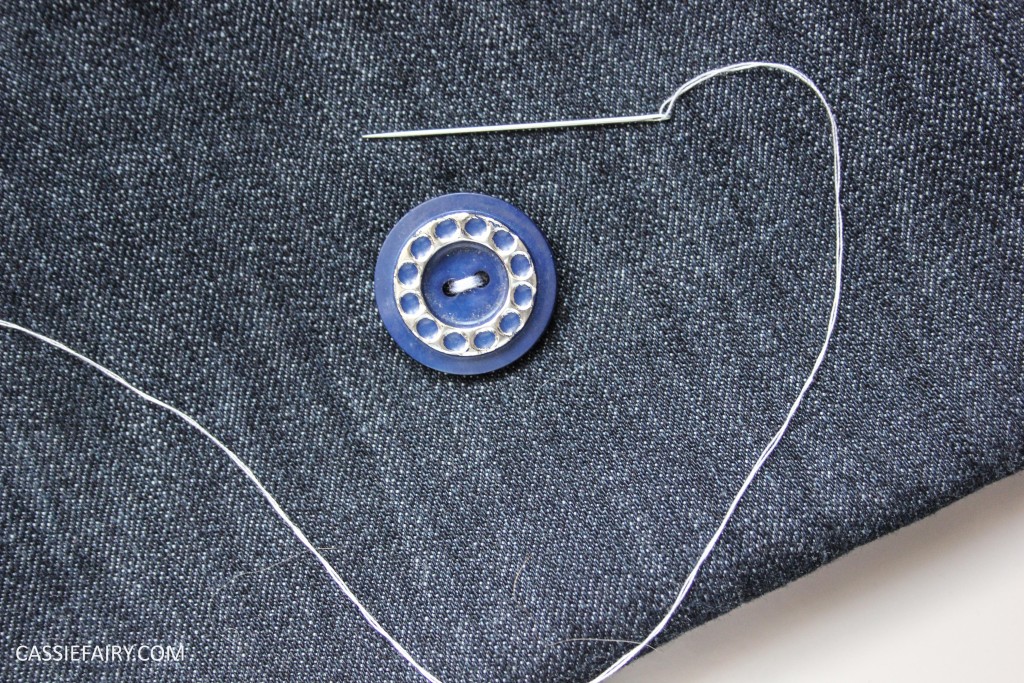
 Step 6: Sew a button onto the centre of the pouch.
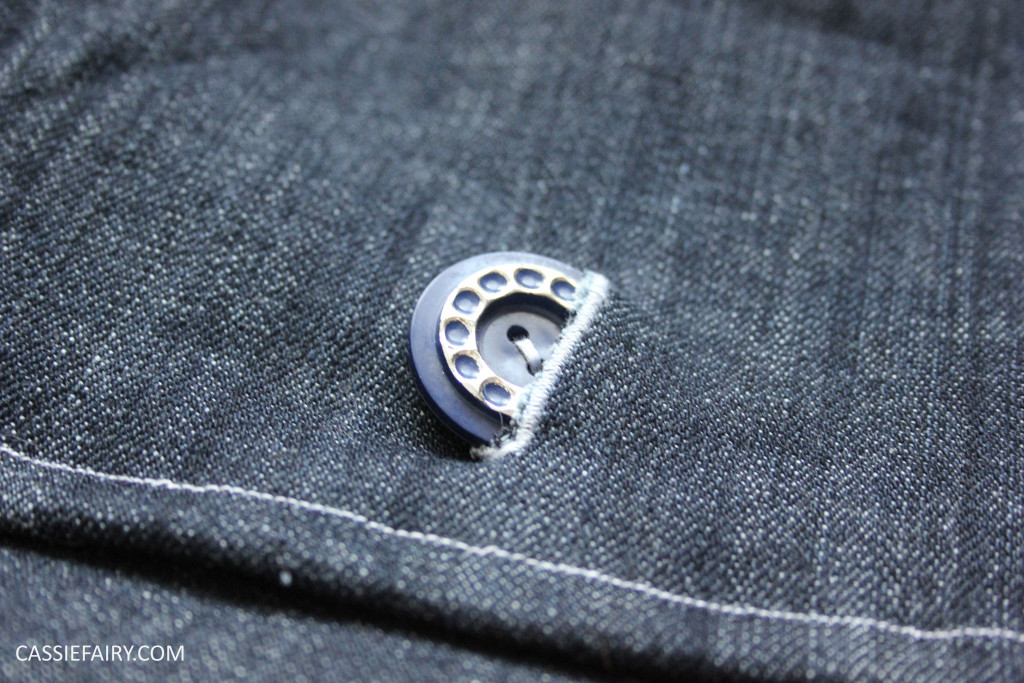 And that’s it! You could use it as a clutch bag, purse, make-up bag, pencil case, camera bag etc and I’m going to be storing my sewing bits-and-pieces inside my bag so that I always know where my spare needed, thread and seam-ripper is when I need them.
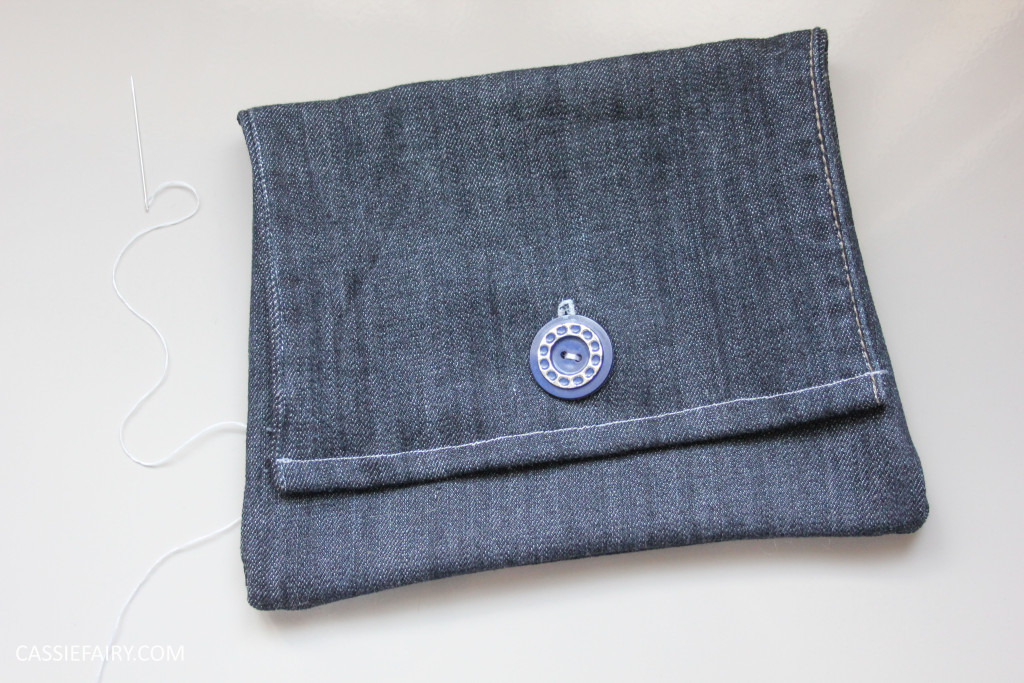 I’m just thrilled to have completed something, even if it is a bit rough around the edges, as I needed to get myself back into sewing so that I can feel motivated to try out more challenging projects and patterns in the future.
Let me know if you have a go at this super-simple DIY and I’d love to see photos if you make a bag yourself so please tweet me @Cassiefairy with your pics.






4 Responses
Thanks Alina! I’m just so surprised that making a buttonhole was so simple – why have I been avoiding them all these years?! X
I agree! I will definitely be trying this one out for myself. Loving the button-hole especially x
Thank you Sarah 😀
This is amazing!! Love it 🙂
Sarah
https://everydayconcepts.wordpress.com/