This week I’ve been out in the sunshine spray-painting my brogues gold. Yes, completely on purpose. That sentence would have previously been due to an over-spray while tackling some kind of interior design project (which happened when I spray painted my retro desk!) but this time, it was with good reason (a DIY on the Oxfam Fashion blog) and a completely welcome transformation.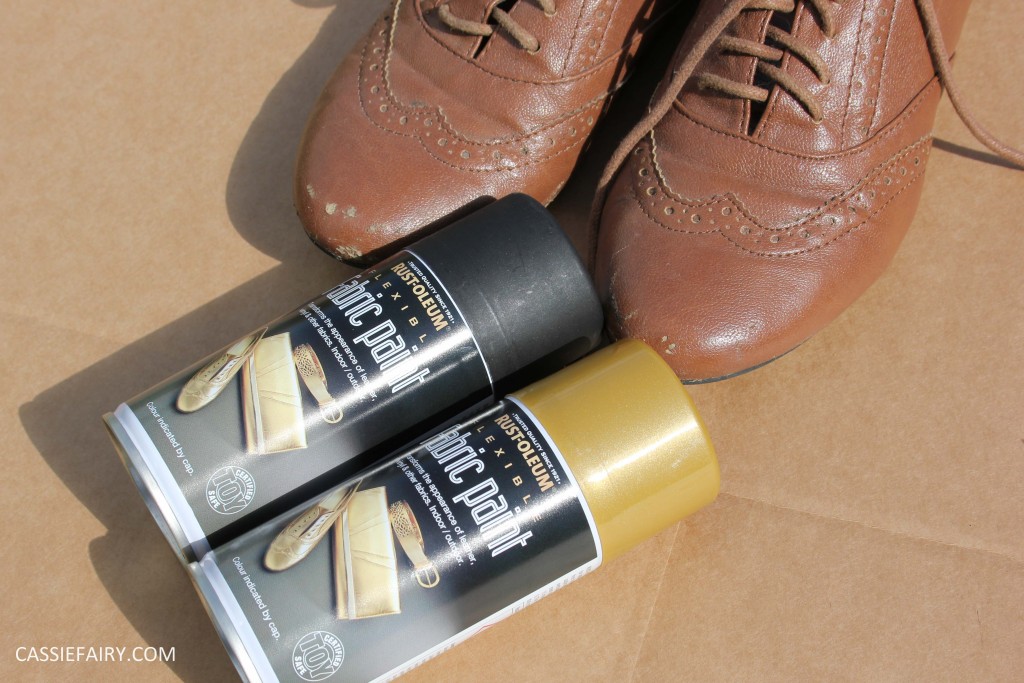
 You see, my most comfortable dancing shoes had definitely seen better days. They were getting pretty ropey, with scuffed toes and plenty of creases in the leather. Even though they no longer looked particularly great, that was precisely why they were so comfortable – they had been worn into submission and all those scrapes and wrinkles were the result.
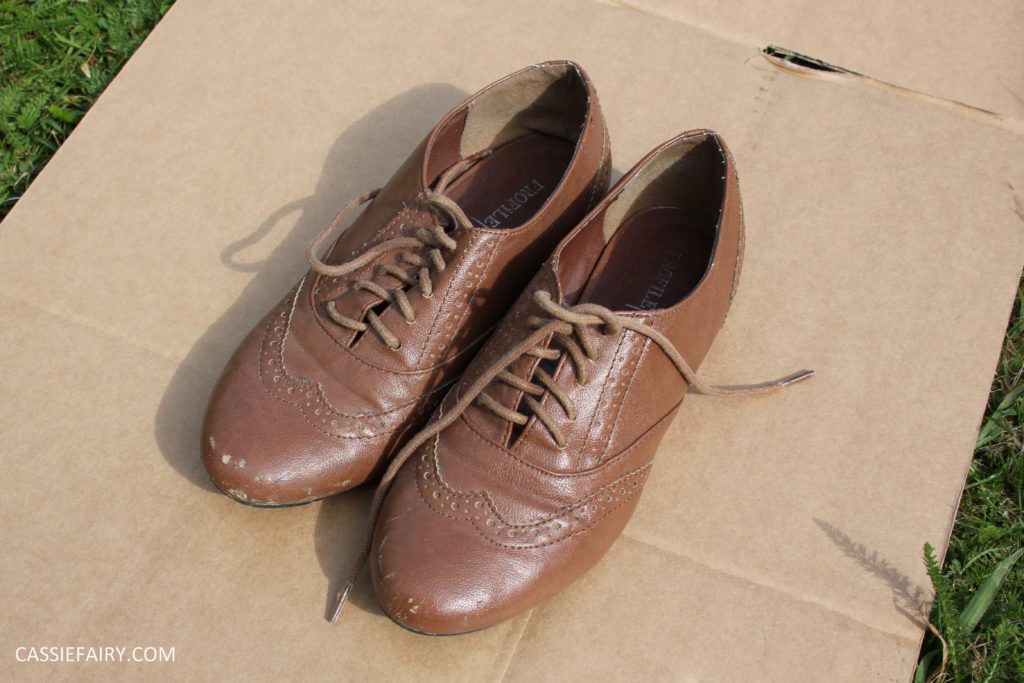
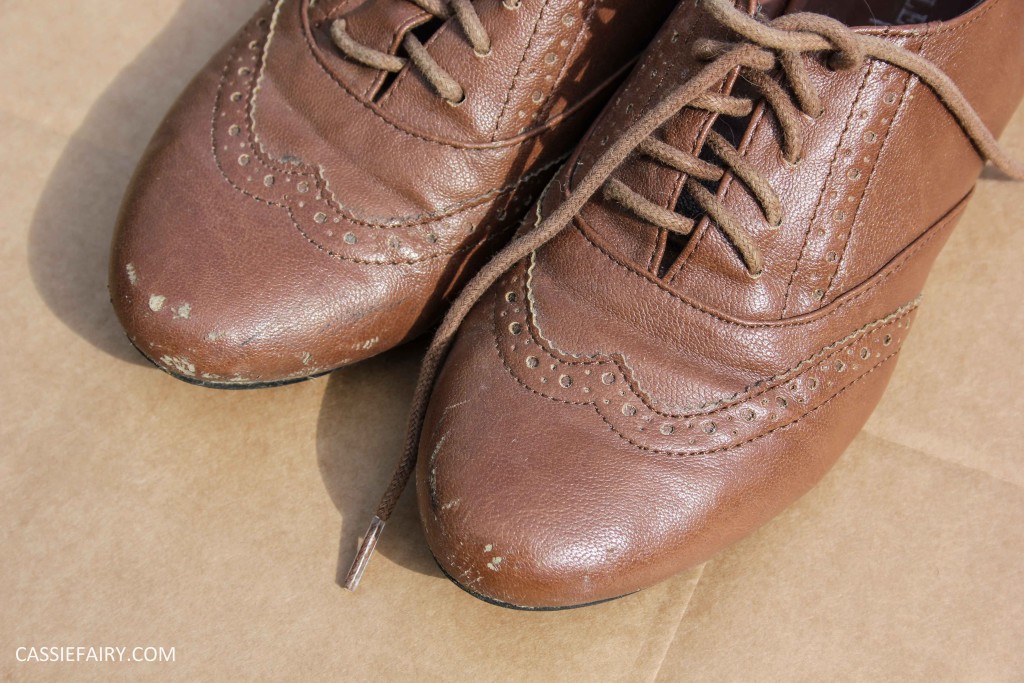 I really didn’t realise quite how bad they had become, but one day a couple of weeks ago I noticed just how shabby my feet were looking. This just won’t do. I hopped online and did my research to see if there was some miracle product that would bring my long-loved shoes back to life.
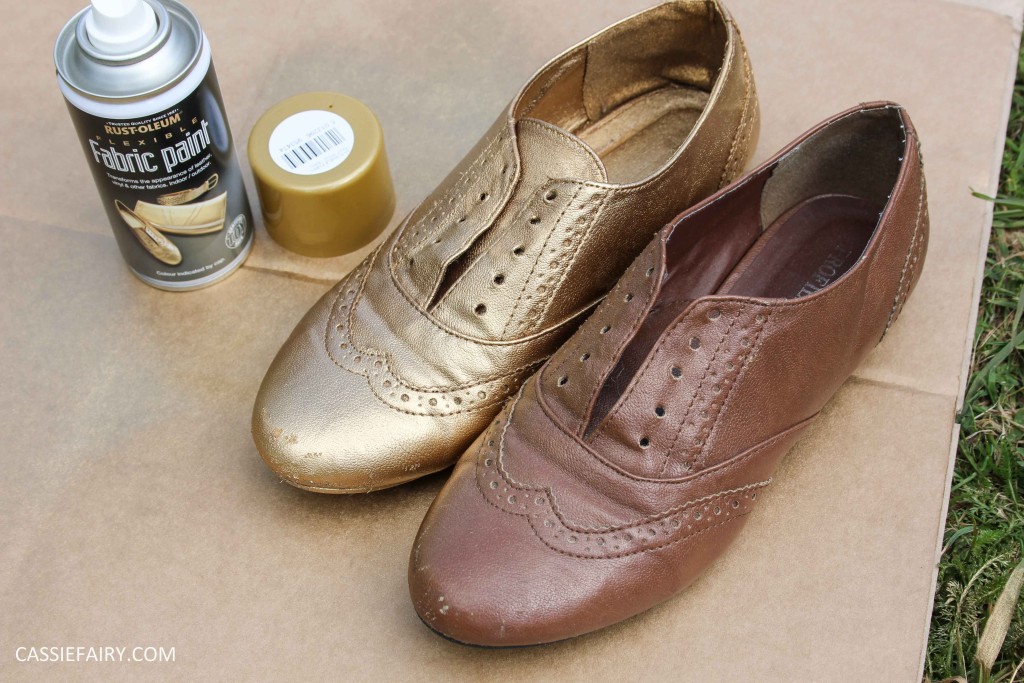
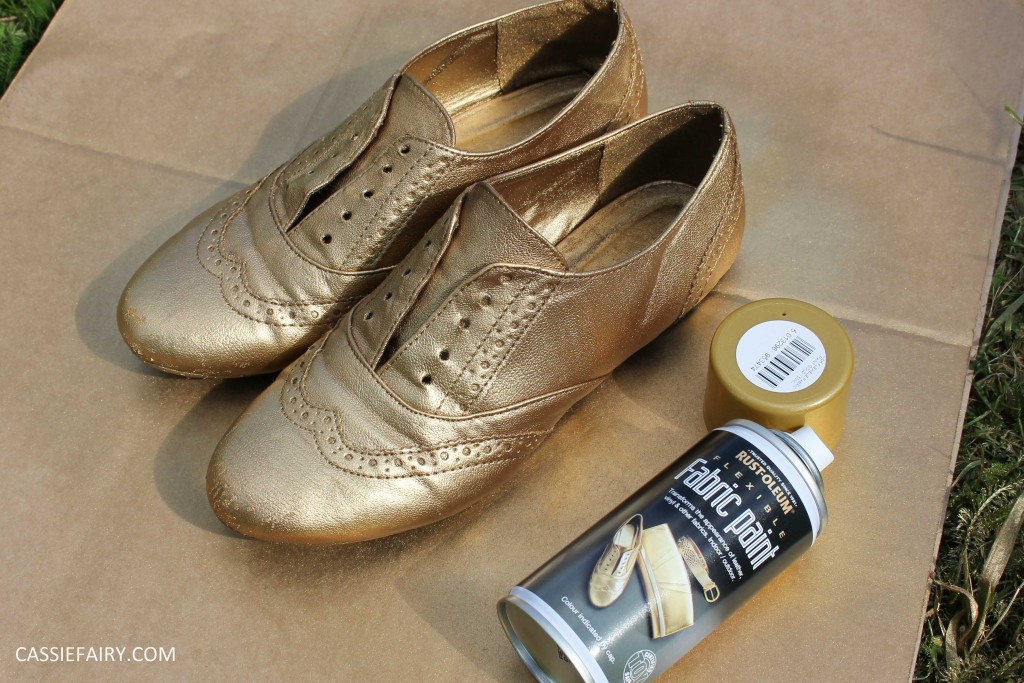 And thank goodness for Rust-Oleum – I discovered their range of flexible fabric paints and a couple of little cans of shoe spray paint found its way into my shopping basket. My shoes really couldn’t get any worse so I decided to give it ago – what did I have to lose? This paint comes in gold, silver and black so I picked out a can of gold spray because I already had two pairs of silver brogues in my shoe wardrobe (just call me hoarder). I decided to give the shoes a contrasting black trim on the heels and toes – just like traditional dancing brogues – so I grabbed a can of black too.
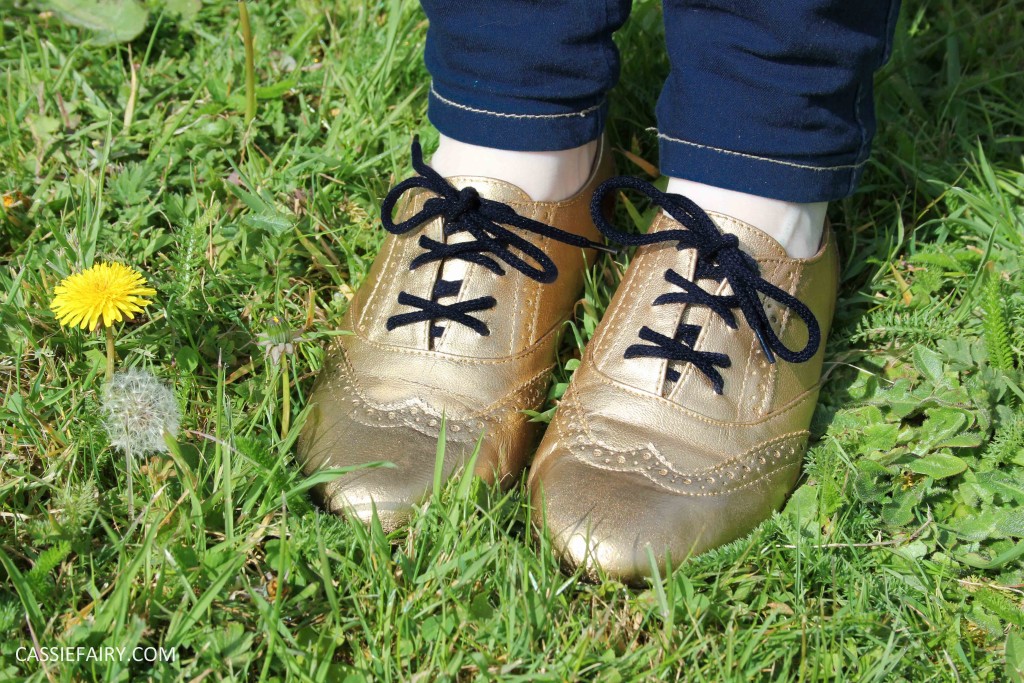
 One sunny day this week I skipped outside (to a well ventilated area!) and started to spray my beloved pumps. I couldn’t quite believe the transformation; with just one coat of gold paint they looked like a completely different pair of shoes. A pair that I would no longer be embarrassed to wear!
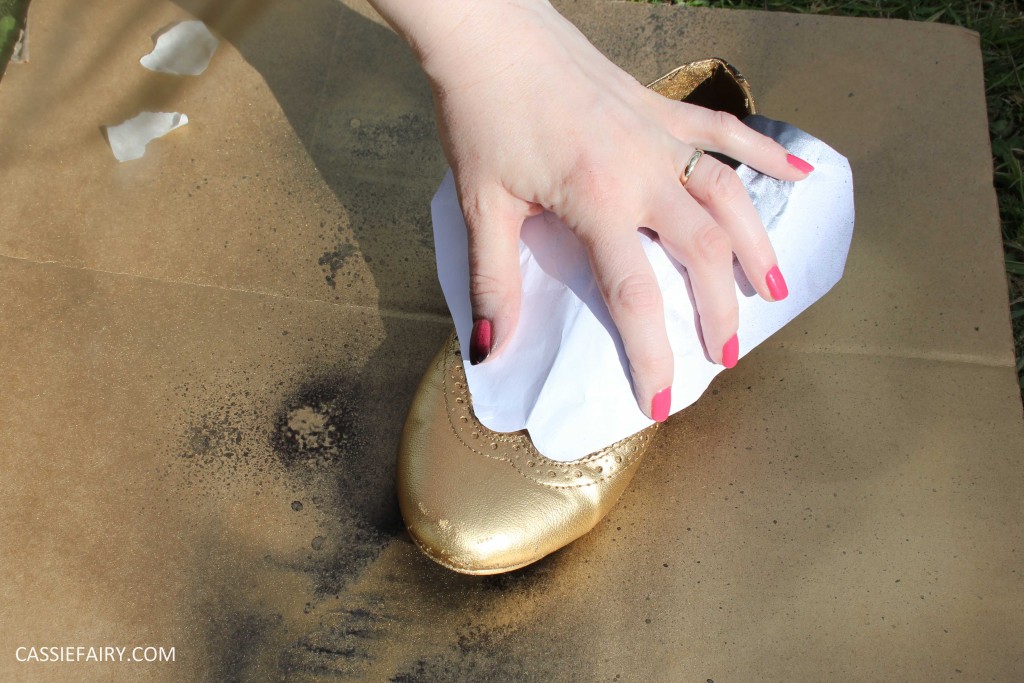
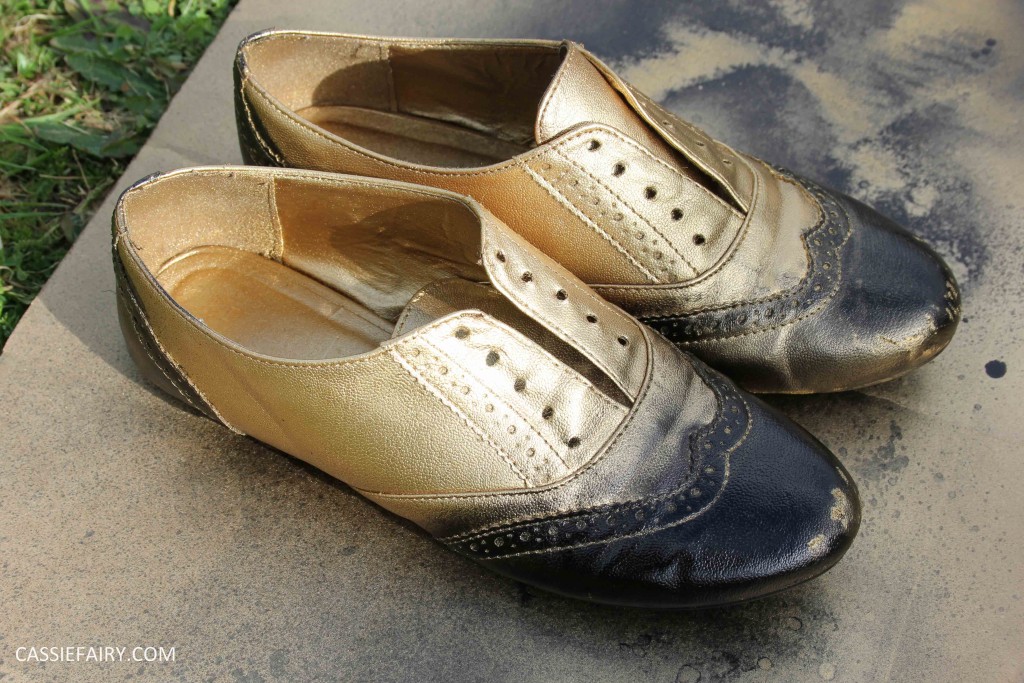 I allowed them time to dry in the sun before adding a second layer of gold, just to be sure that the shoes were completely covered. After a little more drying time I started to mask off the back and toe areas of the shoe, ready to give them their black coating. I quickly discovered that the masking tape was too sticky for the gold paint, and when I tried to reposition it around the shape of the heel some patches of gold peeled off with the tape. I expect this was down to my impatience and it may have worked if I’d left the shoes to dry overnight.
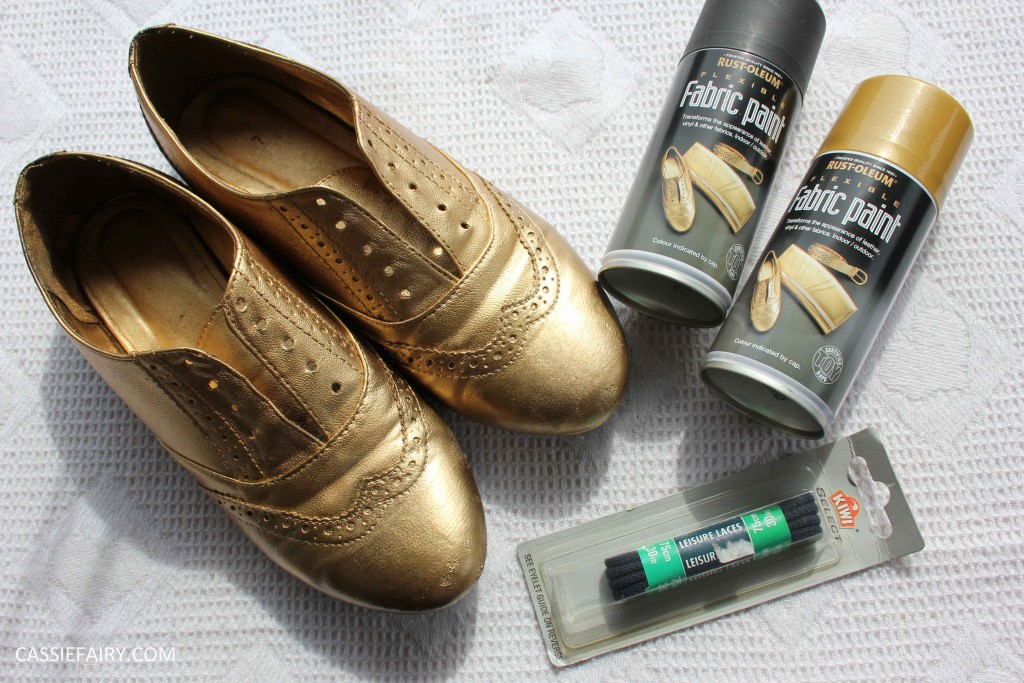
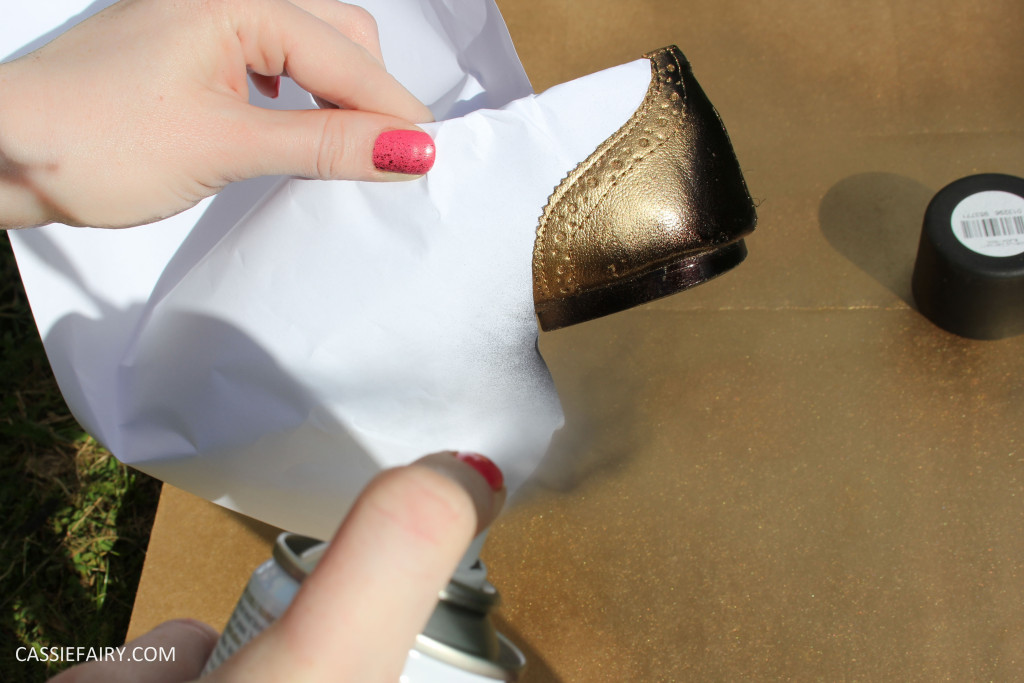
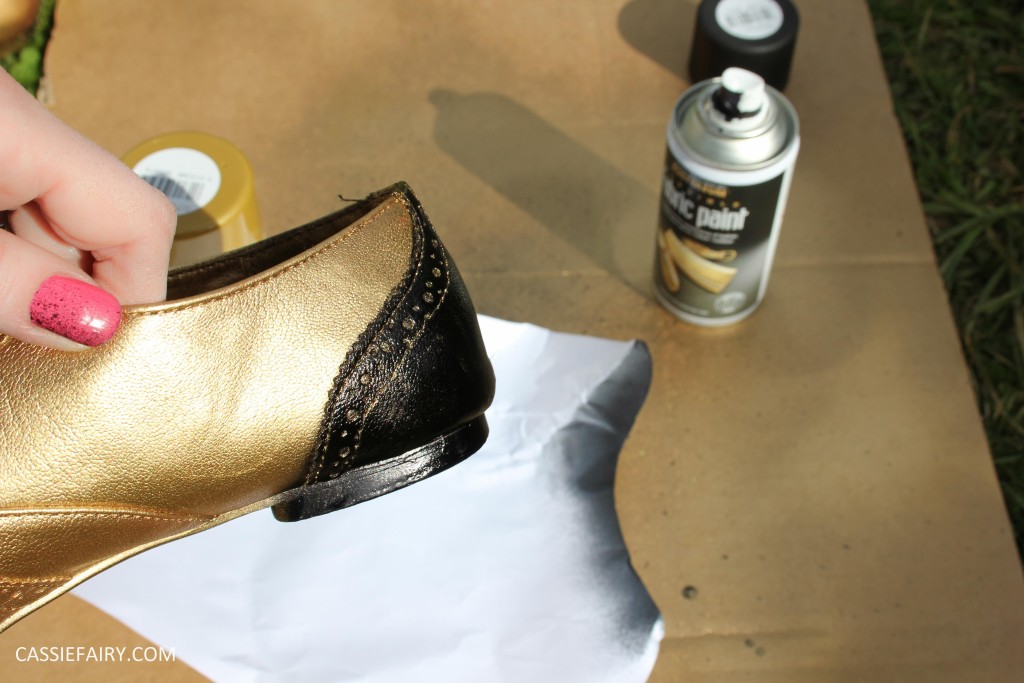
 After this mini masking tape disaster I simply re-sprayed the patchy area and then set to work making a mask from paper to cover the gold areas. I held the paper mask in place and sprayed the heels black. It worked pretty well and I ended up with a rather neat edge. The problem came with the toe section…
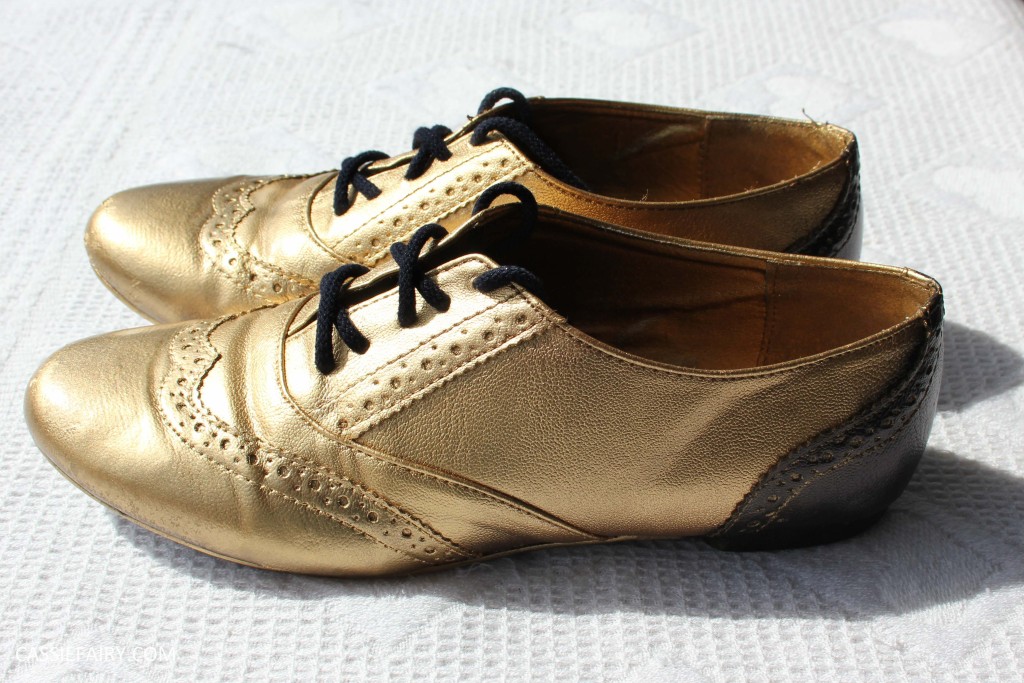
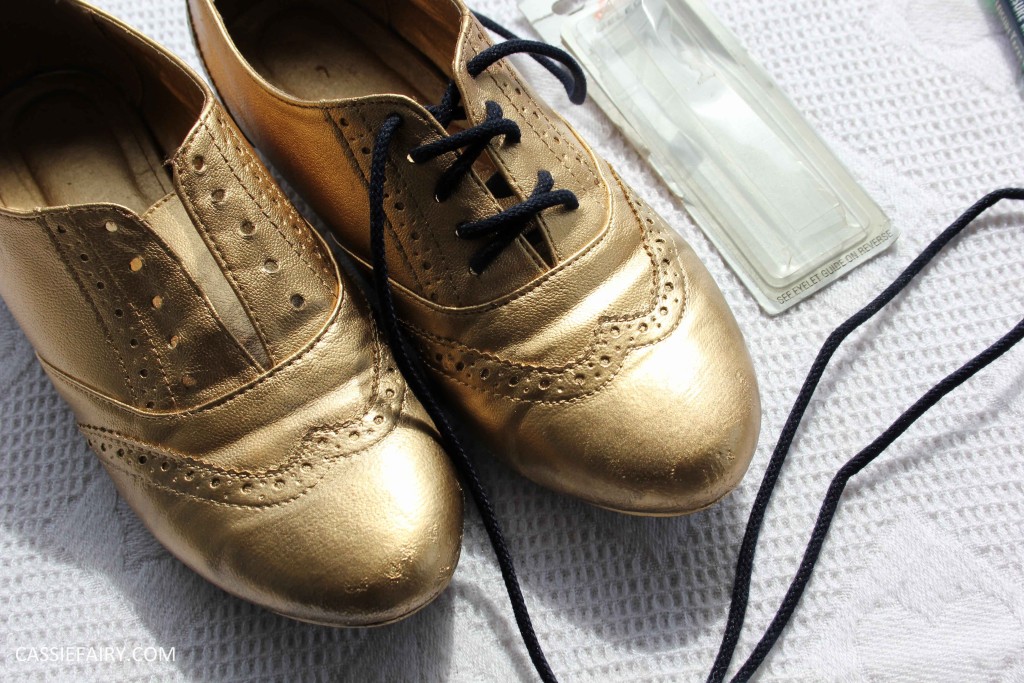
 I held the mask in place as before but the spray seemed to get underneath it and covered most of the front of the shoe. Apart from the scuffed areas, which seemed to stay gold. After sulking a little that I’d ruined my shoes, I decided that gold shoes with a black heel and laces would look fine so I sprayed over the black toes with two more coats of Rust-Oleum gold flexible fabric paint, which covered it really well.
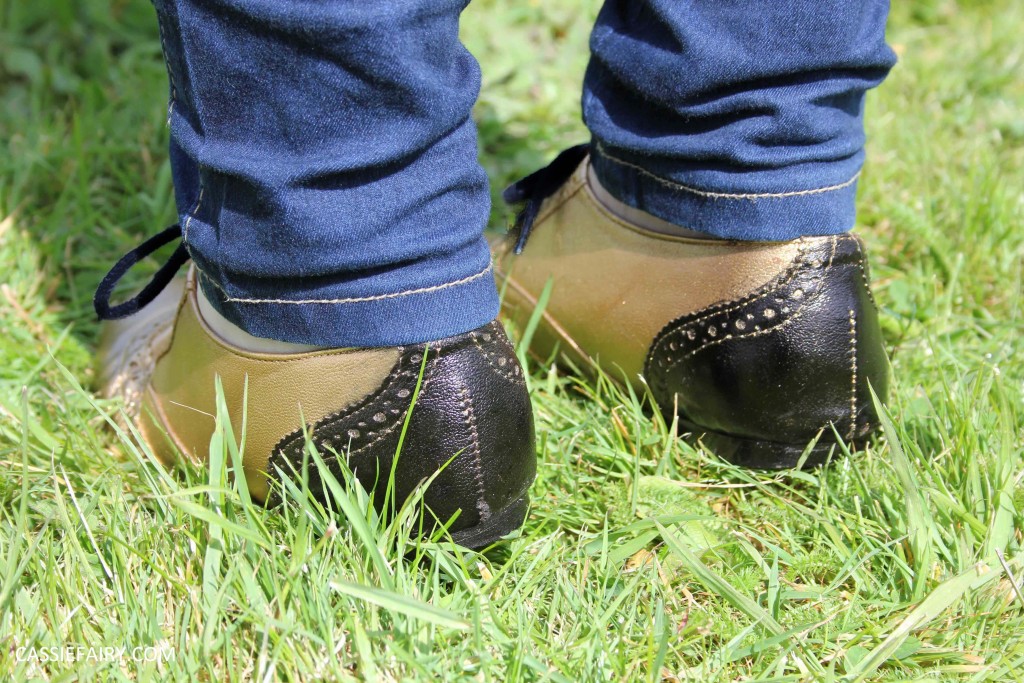
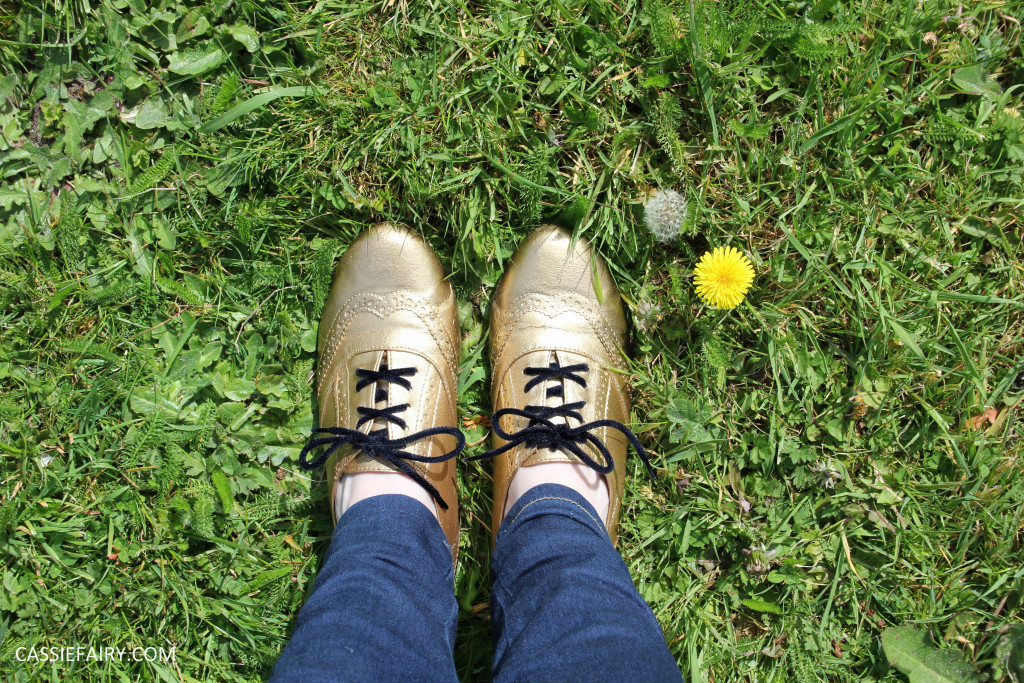
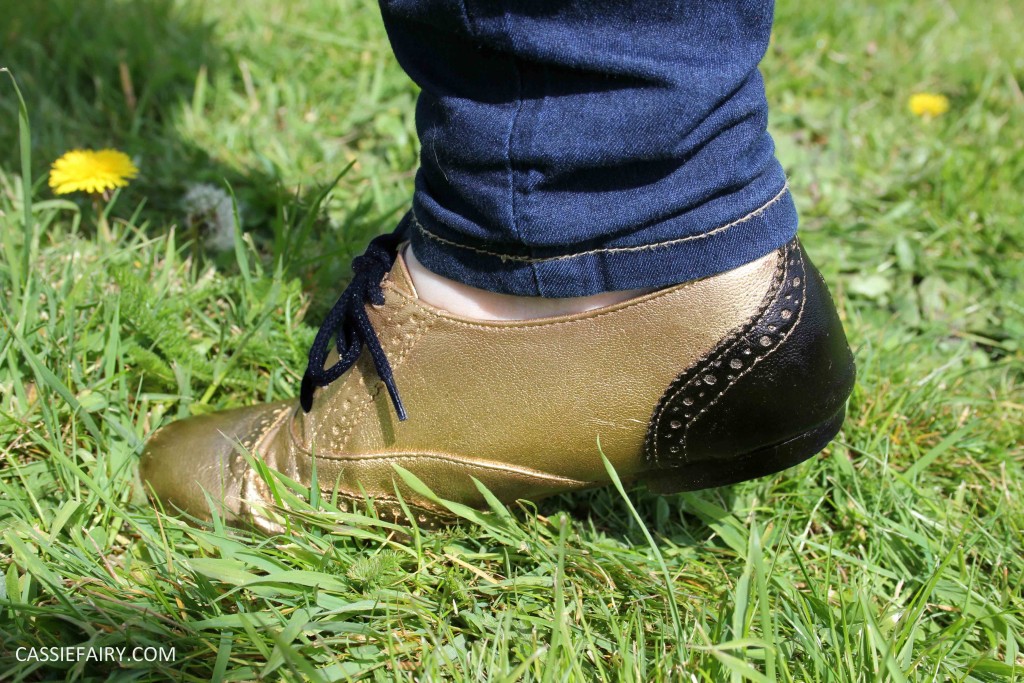 I’m not sure that so many coats of this fabric paint is officially recommended but I’m pleased that I was at least able to salvage the mess I’d made! After letting them dry overnight, I added some fresh new laces that I’d had floating around in my sewing box for years and popped my brand new shoes on my feet.
What do you think of my new dancing shoes? Have you every spray-painted your own shoes in the past? What kind of results did you get? I’m really chuffed with my revamped shoes and I’m so pleased that I didn’t have to throw out my old comfortable pumps. I’m also pleased that I still have most of the can of black fabric spray paint left so I can makeover any of my other shoes or handbags if they become tatty in the future. Let me know what you think and leave me a comment below 🙂
Some items in this blog post have been gifted to me and the pink links indicate a gifted product, affiliate link or information source. All thoughts and opinions in this post are based on my own experience and I am not responsible for your experience 🙂






6 responses
Yay thank you so much Krissy 🙂
I love it!!
love this so simple and easy definitely need to give it a try 🙂
Wow, they look fab!! Great tutorial – thanks for sharing!
It would be great if you could pop over to my blog and maybe leave a comment 🙂
Sarah
https://everydayconcepts.wordpress.com/