Over the past few months I’ve shared a few blog posts about my bathroom makeover and today I wanted to show you the ‘finished’ room. Okay, okay, I’m pretty sure that it’ll never truly be ‘finished’ as I’ve been adding it to whenever I find a new nautical accessory at the car boot sale… but at least the construction is finally finished and I thought that it was about time that I showed you some photos.


The inspiration behind the room was a beach hut we rented last summer. It was right on the promenade and I loved the feeling of looking straight out to sea while being cosy inside a white-washed room. I wanted to get one of our holiday photos printed up to fill the whole wall to create a trompe l’oeil style seascape photowall. We pasted up a fly-poster print created by StressFreePrint using wallpaper paste before painting with a coat of yacht varnish to make it waterproof.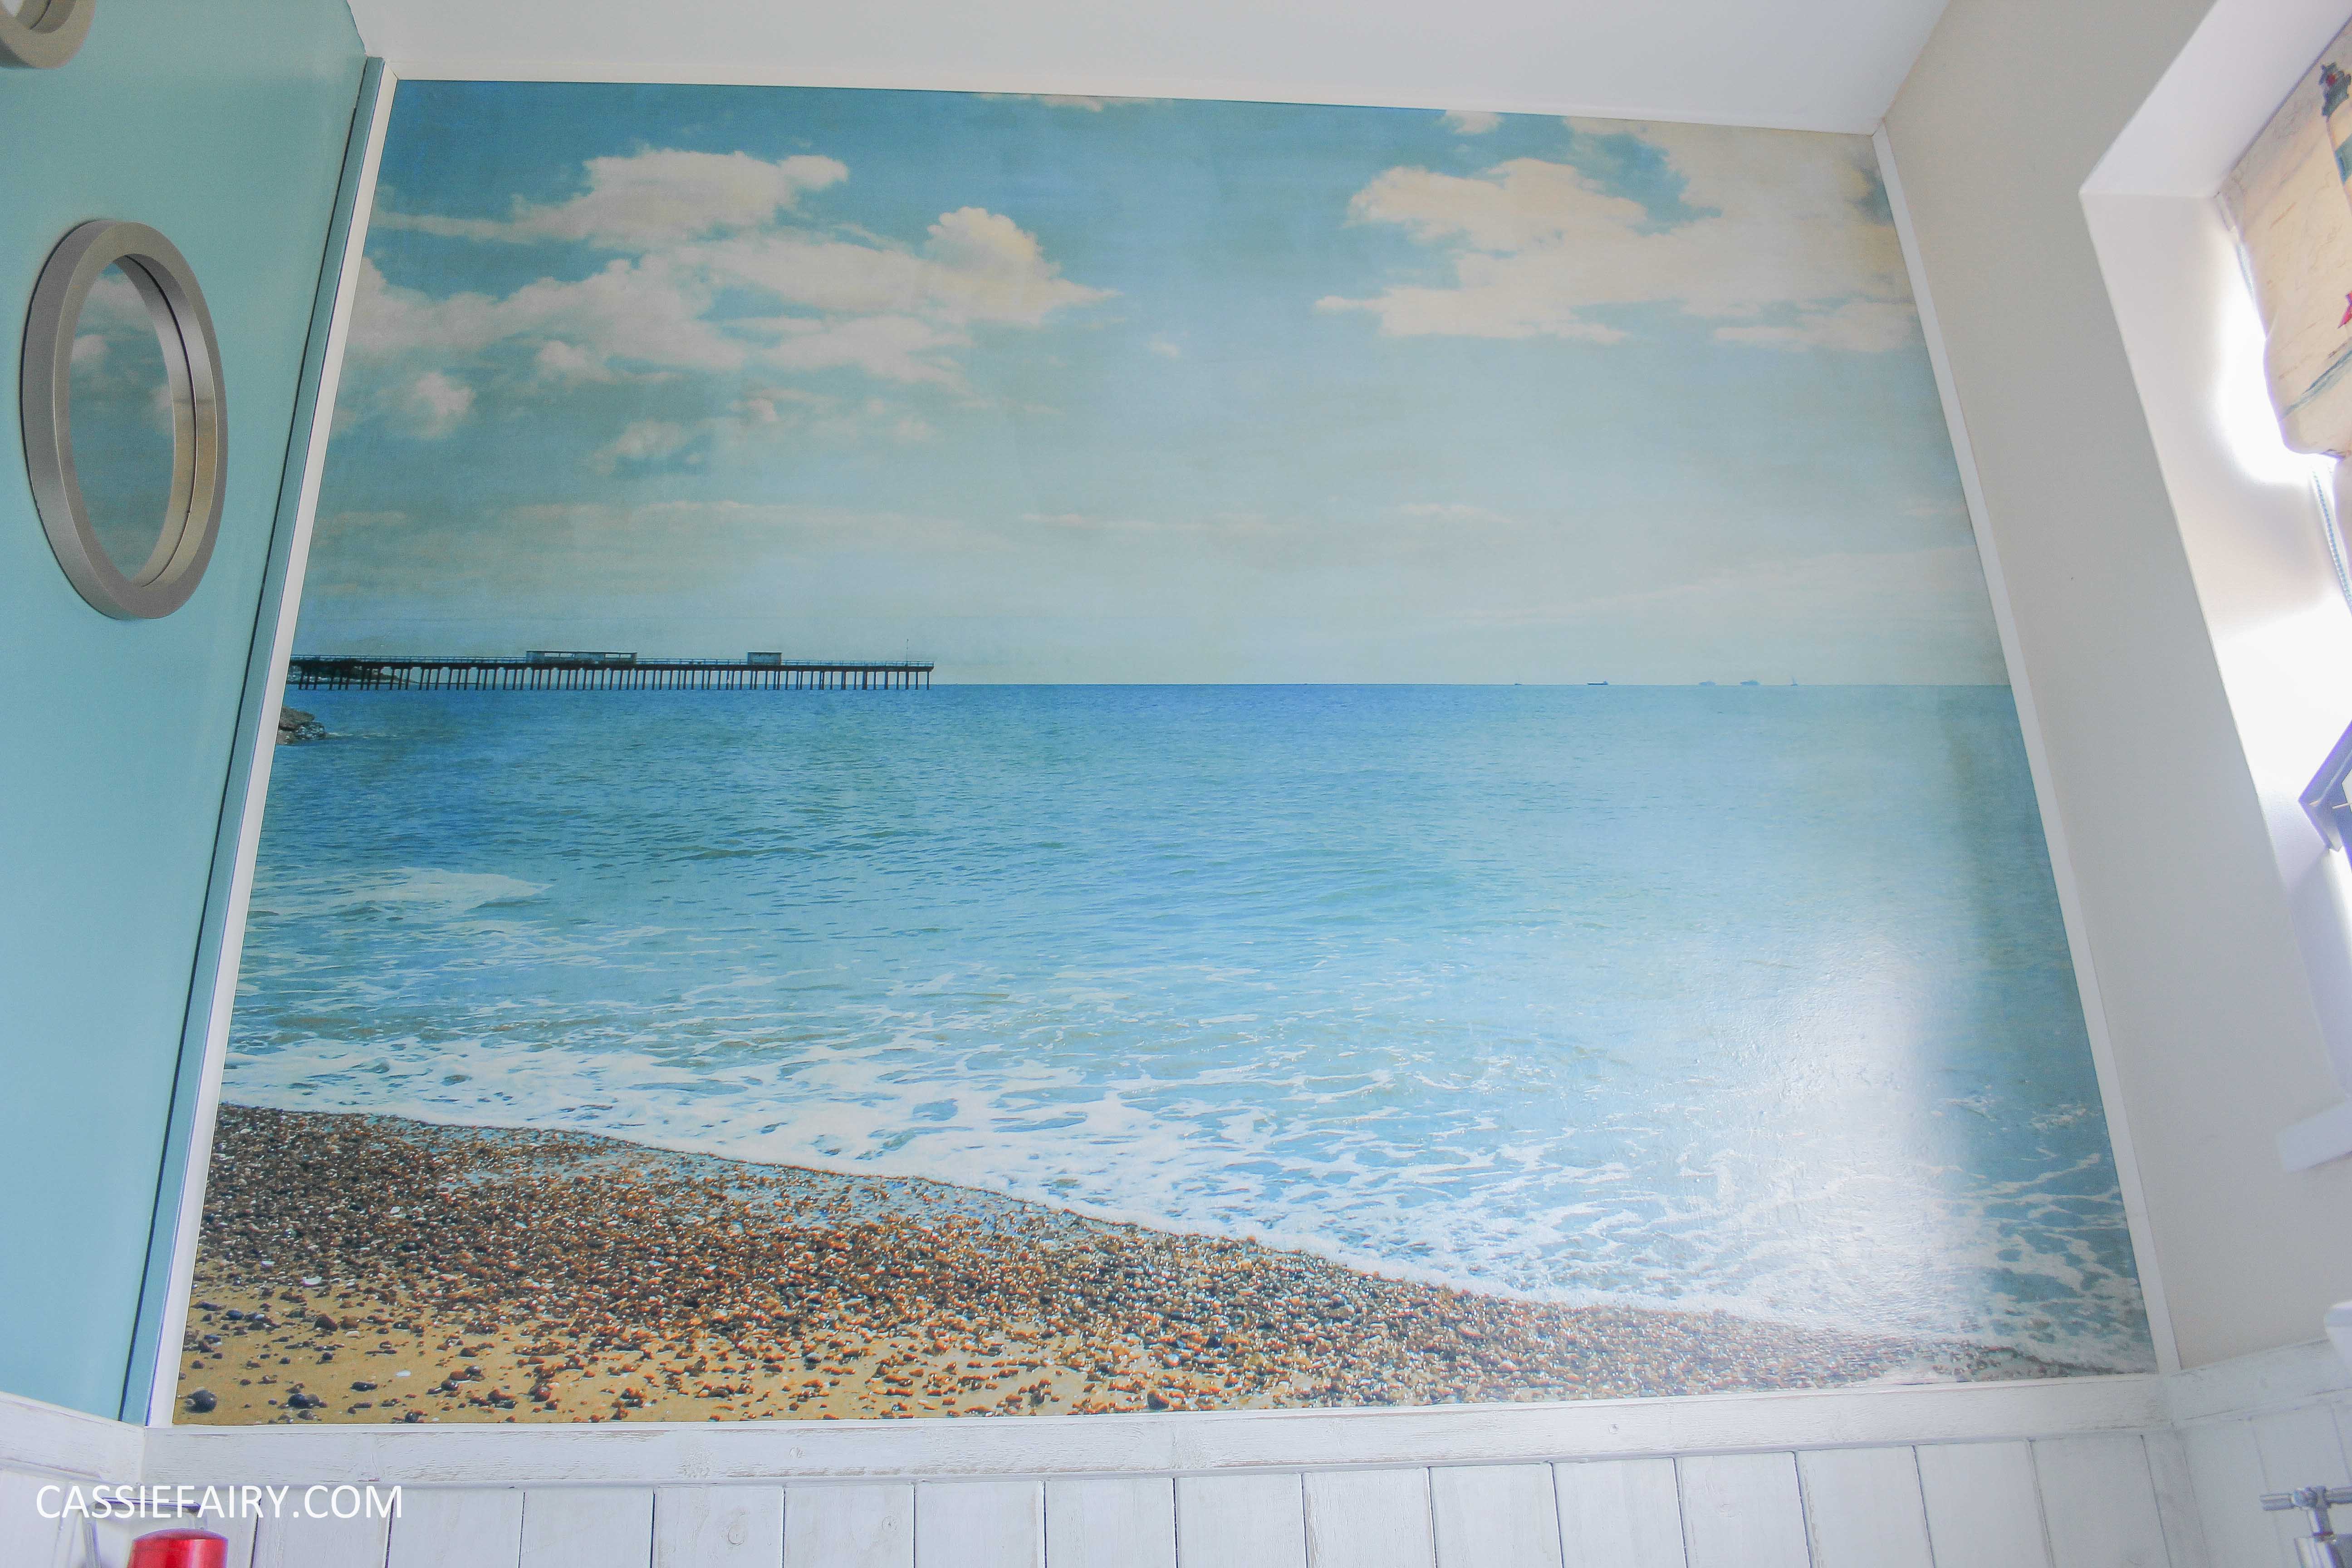
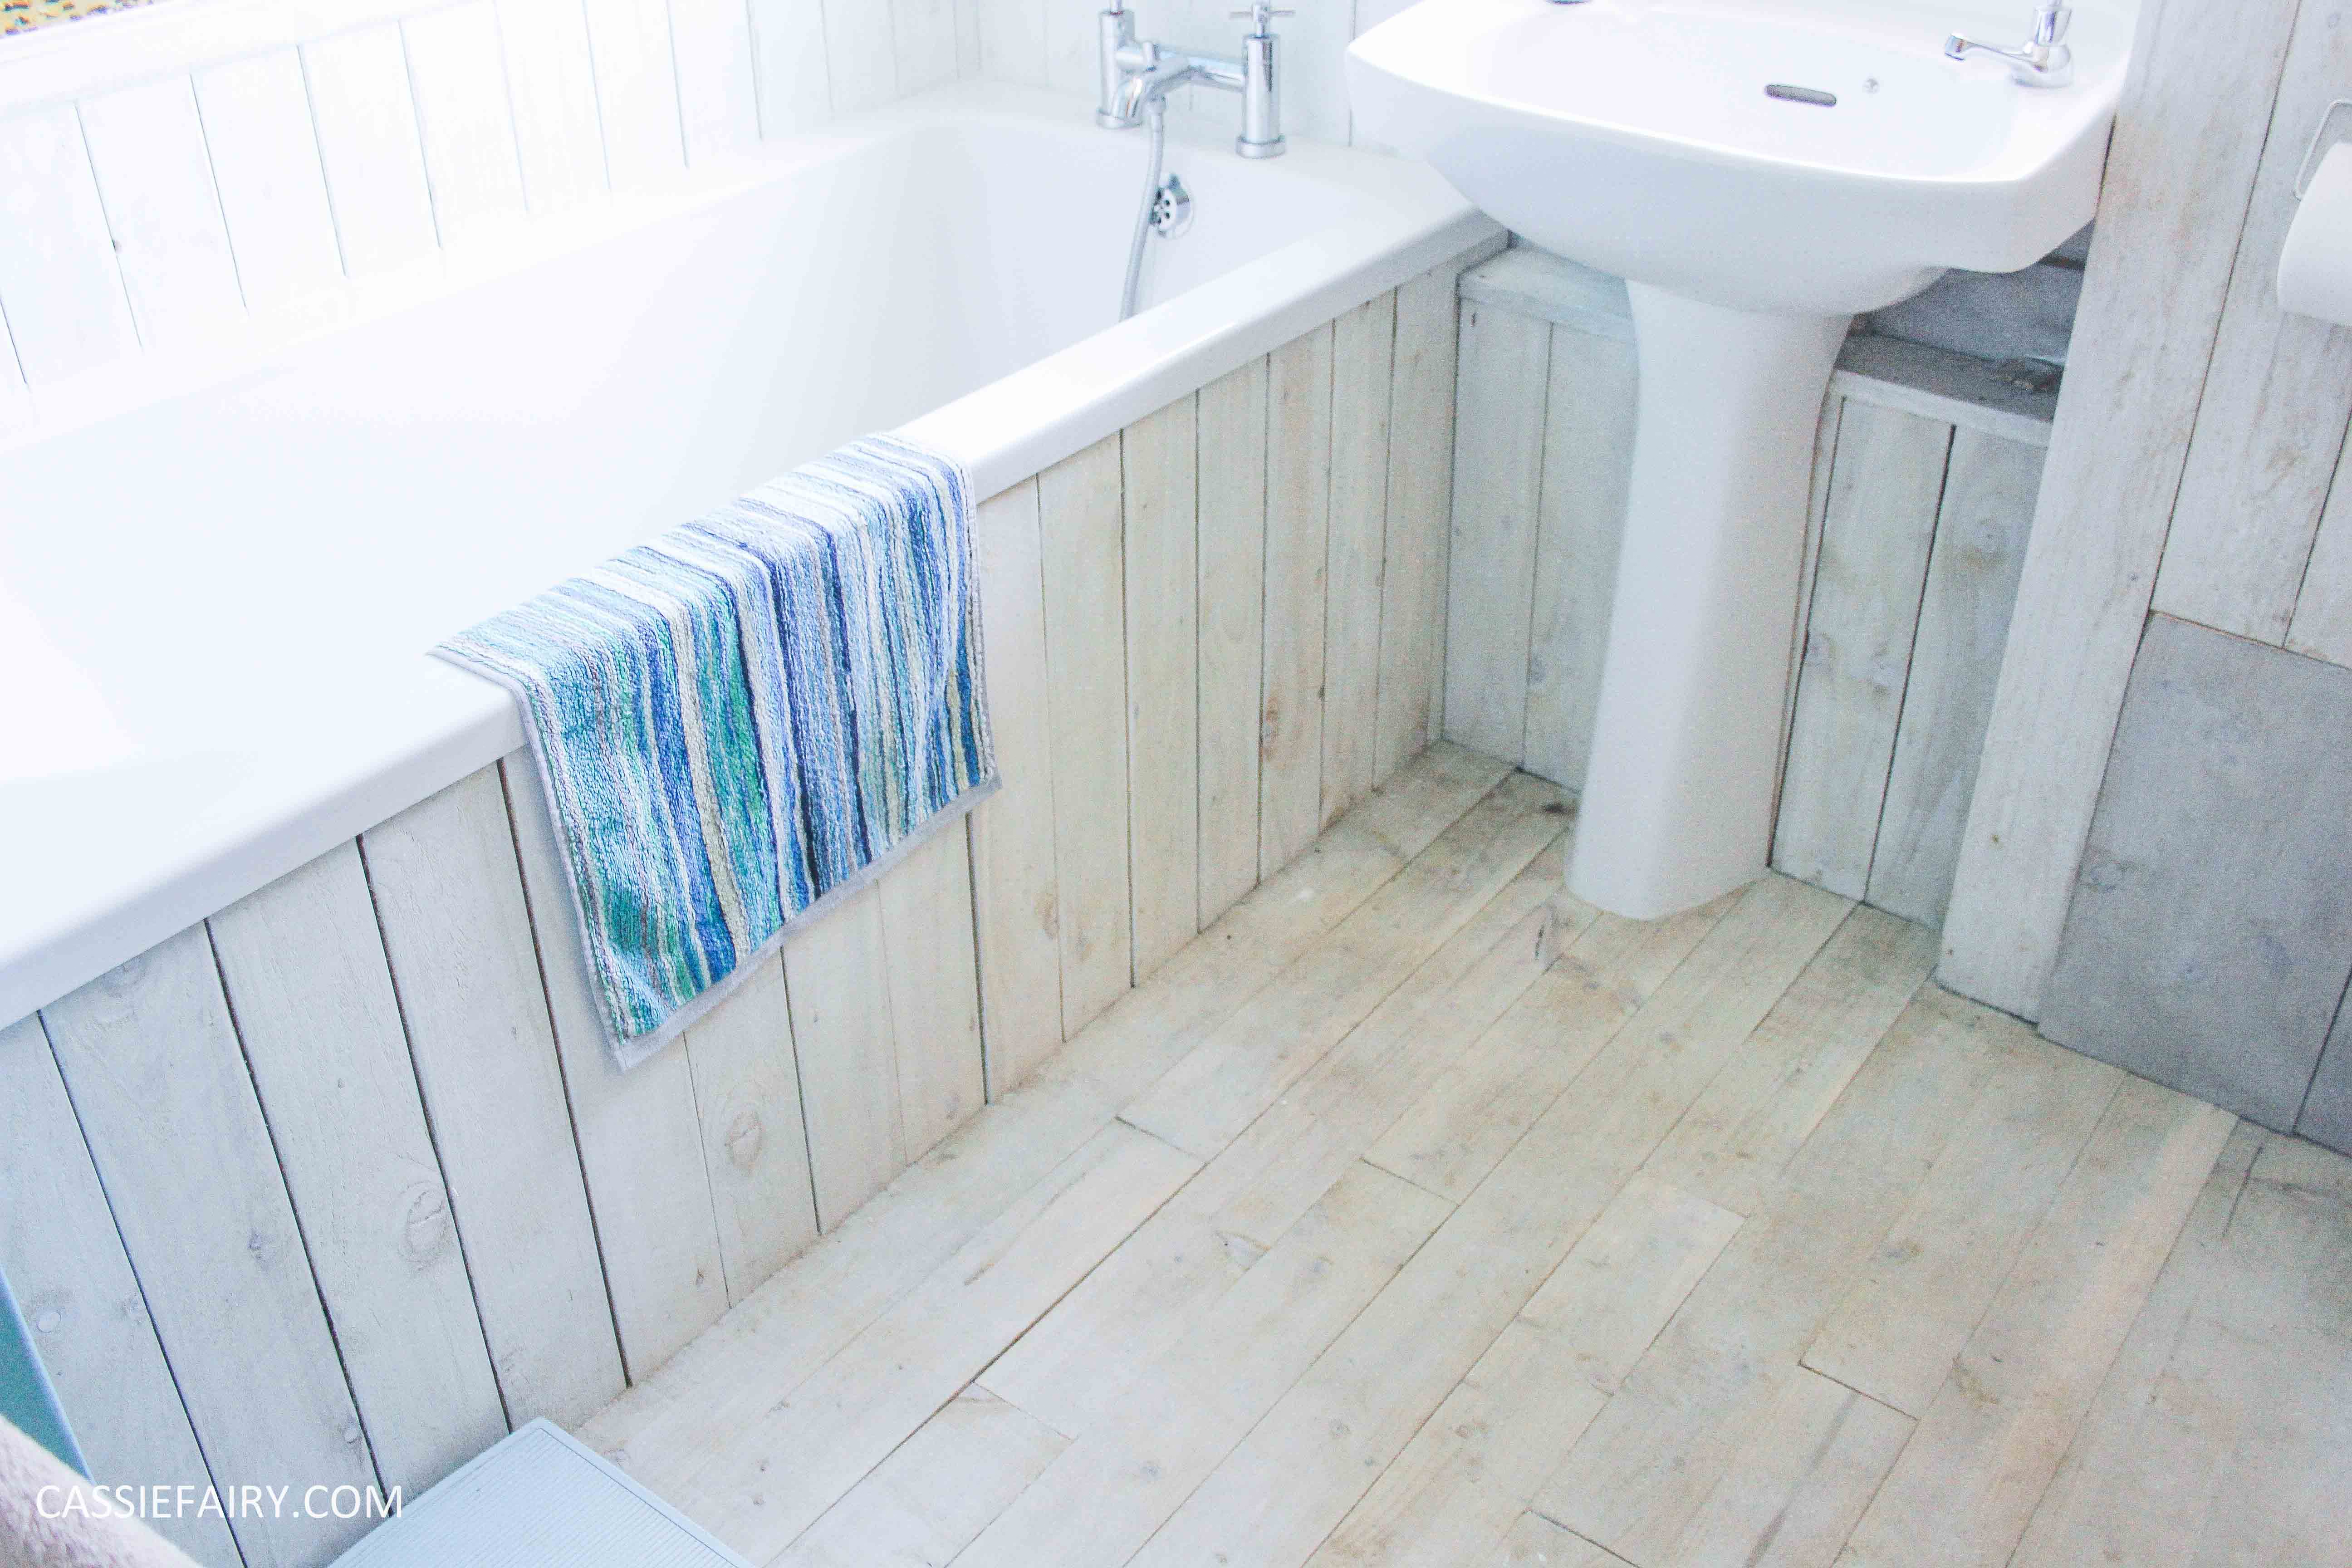 When my husband and I found some waste pressure-treated wood in a skip we jumped at the chance to install a new floor in our dated, old bathroom and spent hours scraping off the concrete residue to reveal textured planks. This wood was the ideal flooring as the pressure-treated timber shouldn’t rot, no matter how damp it gets; it’s guaranteed to last 25 years in a garden so I think it’ll be okay in the bathroom! The width of the planks was very similar to that of a beach hut floor so I sanded down the wood to make it smooth and we used grab adhesive to ‘glue’ the planks to the bathroom floor.


With plenty of wood left over, my husband drew up a plan for a built-in storage wall which would hide the exposed pipework and provide much-needed shelving. Thankfully, there were just enough offcuts from this project to line the walls around the bath (the tiles pinged off while we were changing the bath!) and to create a new bath panel, we just needed to buy some basic wood batons to construct the frame for each of these projects.


We kept the sink and toilet because they were clean and perfectly usable, and the ugly old cistern is now neatly hidden away behind the storage wall. A couple of new taps took literally 5 minutes to fit and gave the old sink a facelift without the need for a new basin or plumbing. The old enamel bath was chipped and rusty so we decided to replace it with a new low-cost acrylic bath from Bella Bathrooms which is slightly narrower than the old one, so it fills up with water more quickly and uses less water to get a good depth of bath water.
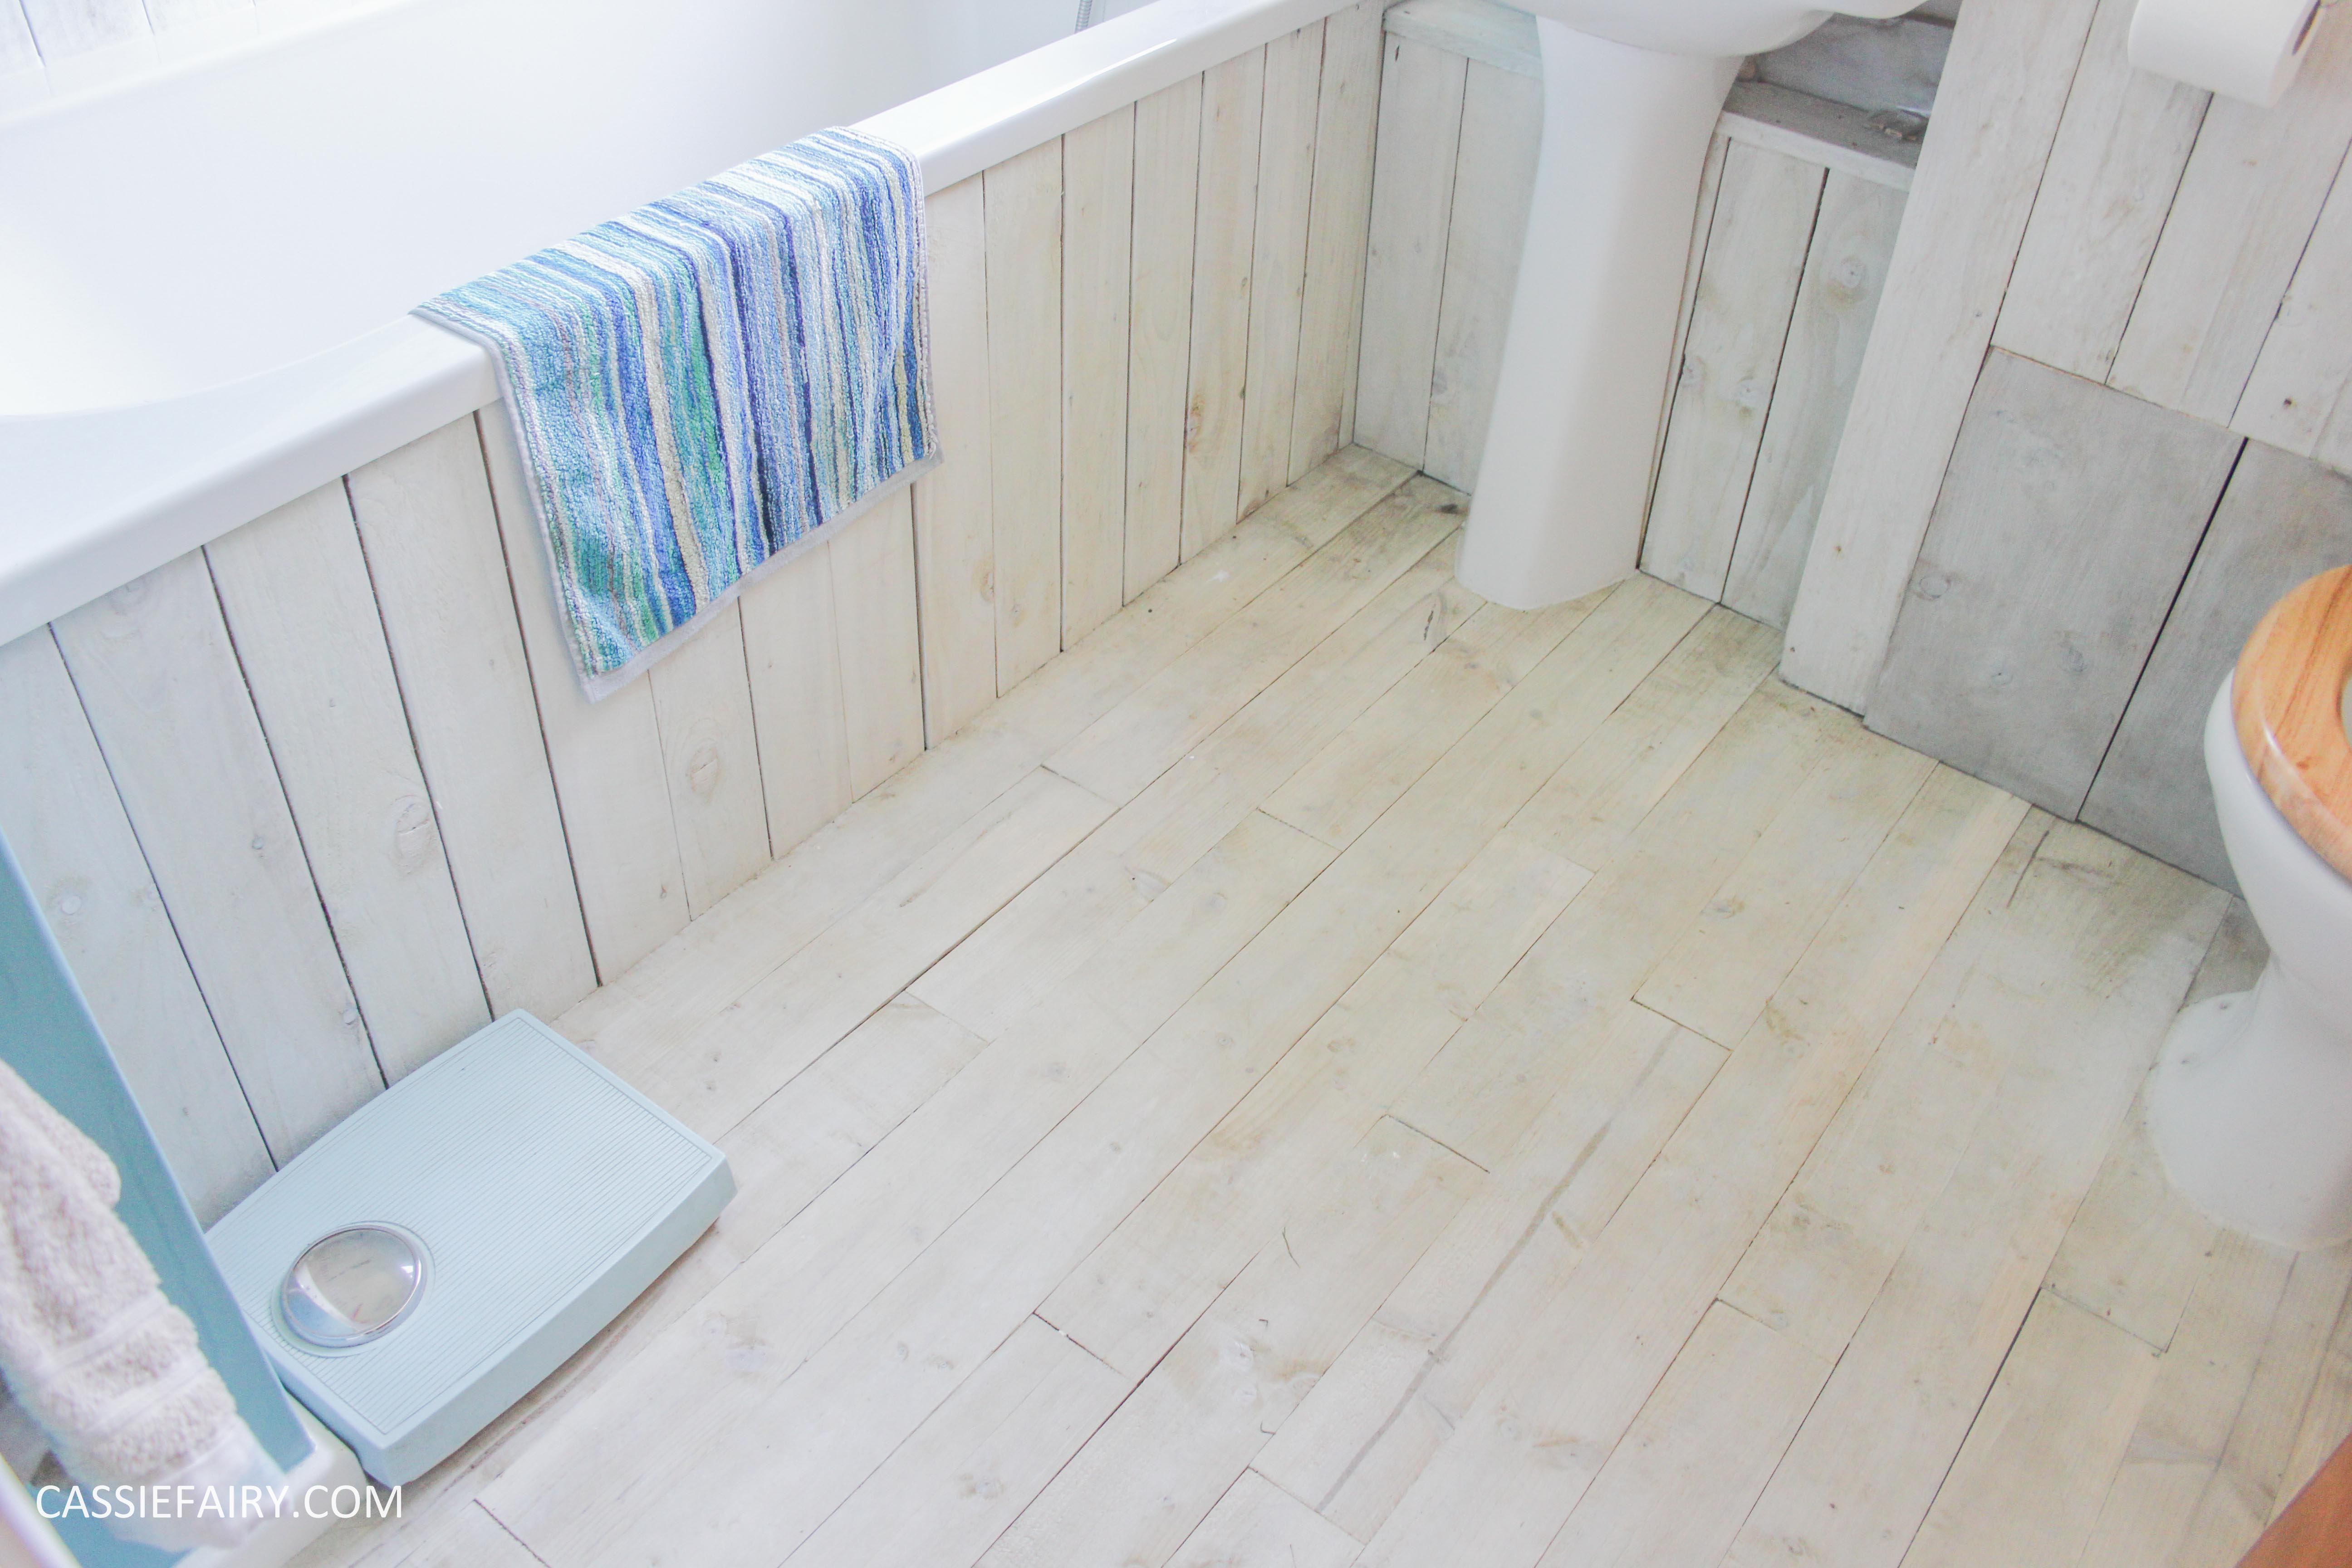 We decided to whitewash all the wood to finish off the room so bought a £6 pot of basic emulsion paint which we watered down to create a faded shade that still allows the wood-grain to show through. I also used sandpaper to distress some of the edges of the wood to create an aged effect. There was a lot of deliberation about whether we should paint the floor but I’m so pleased that we went for it in the end, the whole room looks just like that beach hut we stayed in last year!


Other than the bath and taps, we’d only spent a little money on adhesive, silicone and screws at the DIY store, and after this thrifty, upcycling start, I wanted to be sure that any new accessories were equally purse-friendly with good eco-credentials. I picked up a small beach-hut cabinet from the carboot sale and my hubby found some industrial bits and bobs, including a torch light that reminds me of a light house. His favourite find was the old brass pressure gauge which he attached to the shelf above the toilet as a cheeky joke and this always makes me smile. I wish I could work out a way to get the gauge to rise when the loo is flushed, that would be hilarious! 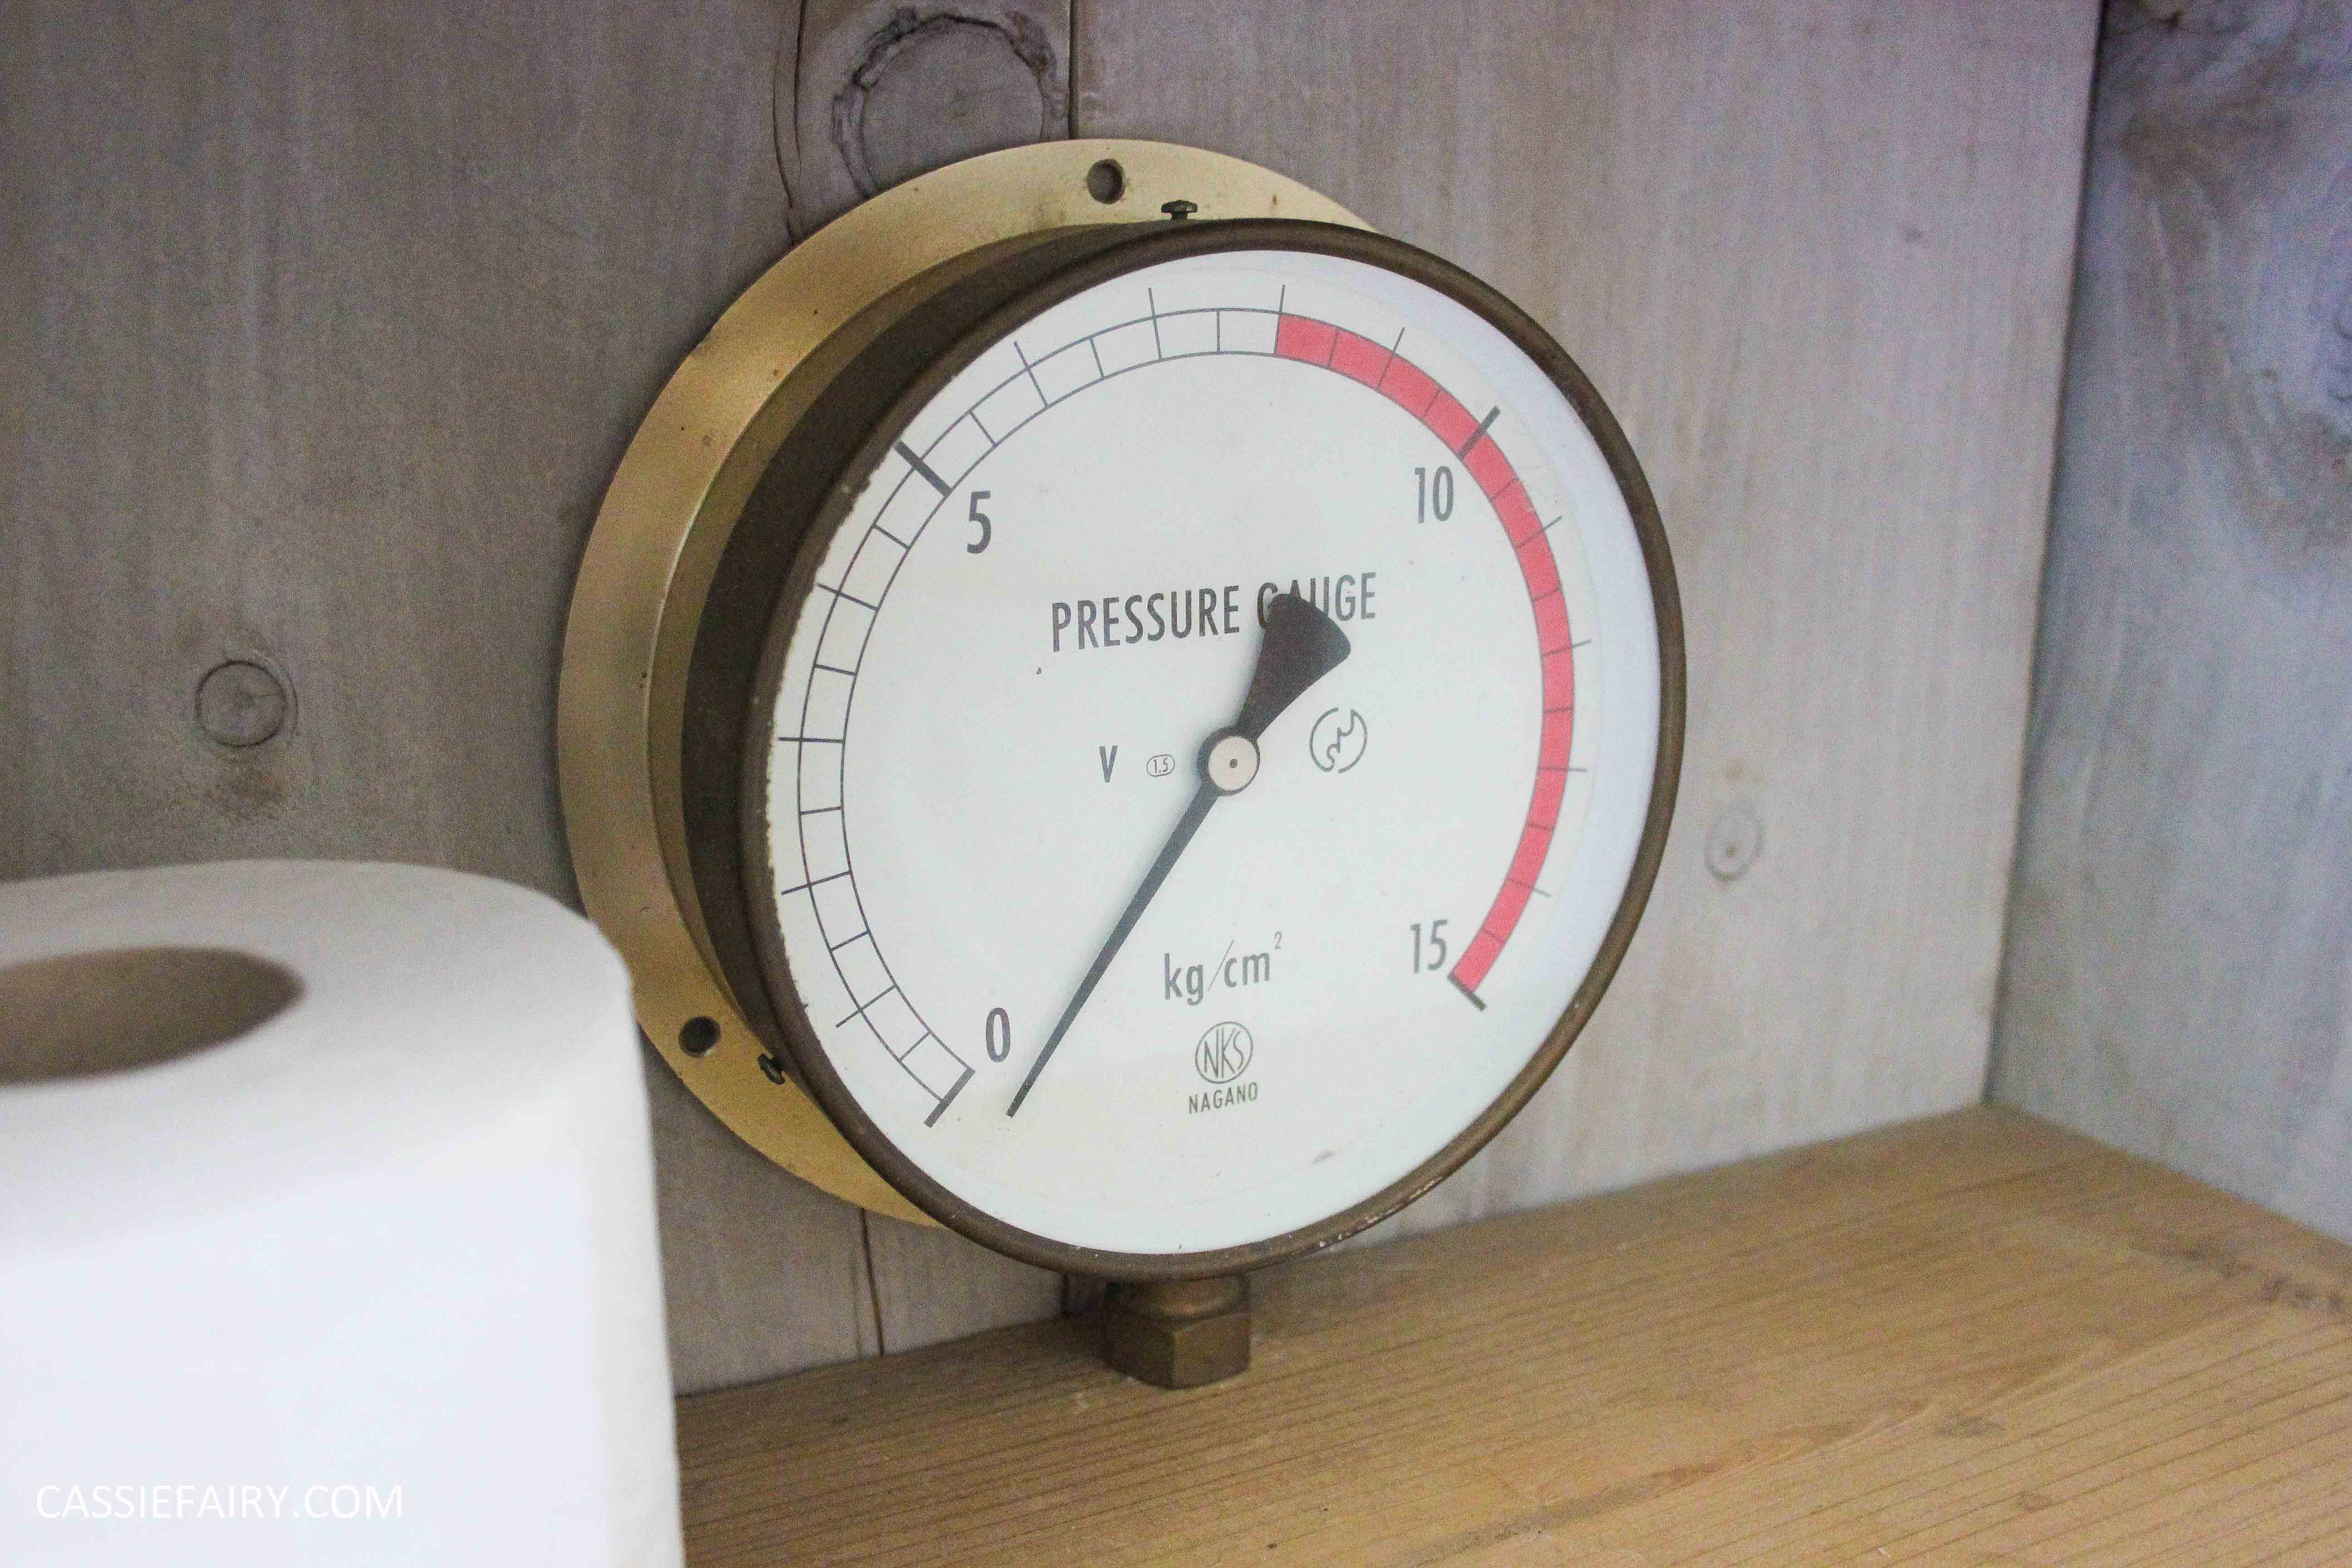 We needed a new toilet seat so we chose one from the John Lewis clearance sale (check here for current sales at John Lewis) with excellent eco credentials: it’s made from rubberwood, which is a by-product of the latex industry. So rather than any of the tree going to waste, the wood has been used to create our toilet seat! When it came to choosing a bath bridge I wanted an equally earth-friendly product and the one we chose is made from bamboo. Known to be a fast-growing, rapidly replenishing material, bamboo has great eco-credentials and is both lightweight and strong, so it’s an excellent alternative to wood and fits in perfectly with the beach-inspired design.


In terms of sewing, I spent a few hours putting together a roman blind using lighthouse fabric and I used the off-cuts to create a binding trim for the edges of my old sand-coloured towels. We picked up a couple of nearly-new striped towels from the charity shop and gave them a good hot wash to fluff them up and now they really finish off the coastal theme.


My tips for renovating a bathroom on a budget:
- Reuse your existing bathroom suite if possible – just give it a good scrub and replace worn-out fittings.
- Save materials from landfill by asking friends, family and neighbours if they have any wood or DIY items going spare – they may have half-full tins of paint, packets of screws and leftover wood that you could make use of in your project.
- Choose eco-friendly, replenishing materials such as bamboo and rubberwood for new accessories.
- Consider installing a shower or narrow bath to save energy and water each time you bathe.
- Ask friends and family for help with DIY tasks – your granddad might have hidden plumbing skills and your pals might be able to knock up a shelf in no time.
Let me know what you think of my finished beach hut inspired bathroom by leaving me a comment below or tweeting me @Cassiefairy, I’d love to hear from you!
Some items in this blog post have been gifted to me and the pink links indicate a gifted product, affiliate link or information source. All thoughts and opinions in this post are based on my own experience and I am not responsible for your experience 🙂


19 responses
Hello Cassie,
Hope you are doing well. You right a amazing blog. It is very informative article. I love is amazing blog its look like great. Great Idea , So many lovely finishing touches too.
your bathroom ideas for renovation are perfect.
Hi Penny, the wall behind the print was already quite smooth so it didn’t take much work to prepare it for the photo. If you attach the scene to a board and then fix this to the wall, it would be easier to take it down in the future if you redecorate 🙂
Can you please tell me what kind of wall is behind the seascape. Mine used to have tile and is rough , crumbling . It looks like concrete. I wonder if I could put some kind of boarding/sheet rock there then attach a scene like yours and paint with Yacht varnish like you did.
Must be quite a relaxing feeling! You might have to get yourself a sound machine or download something with the sounds of the sea! x
Ooh thank you Archita 😀
this is so beautiful!! makes me want to go to the beach!
Thanks Laura! You’re right & that’s all hubby’s doing – he has great taste & spots things at the car boot sale that I just walk past haha! 🙂
Cheers Hannah, I just varnished it and kept my fingers crossed that it would be waterproof haha! 🙂
Thanks Leanne! Ahh you’d should go for it! I’ve no idea how to paint laminate though so maybe google it first haha! 😀
Thanks Fay, I often forget that I have the seascape on the wall so am surprised when I go in the bathroom & find myself at the coast! X
I love this so much! It’s all the little details that make the room – that torch light and gauge just work perfectly x
Laura | Loved By Laura
I absolutely love it! I’d have never thought to use a printed wall mural in a bathroom – it looks great!
Wow, well done, this is beautiful! I particularly love the white washed wood, I really want to do that to the laminate that we currently have in the bathroom but am a little scared of completely trashing it!
This is just gorgeous.
This looks absolutely amazing – i love being by the beach so this is the perfect alternative for those days when you cannot get there! Such a great idea 🙂
Thank you Lacey, the mirrors actually have made a big difference to the light in the room & means that the dark teal wall isn’t too oppressive 🙂
This looks fantastic!! I love the use of the three round mirrors to reflect the light and reflect the sky outside – great idea 🙂 So many lovely finishing touches too.
Haha thanks Elise! So please you like it 😀
I love this! I love wood anything in a room but this looks great, just like you’re at the beach. Excellent blind too, and that sounds like the fanciest toilet seat ever 😉