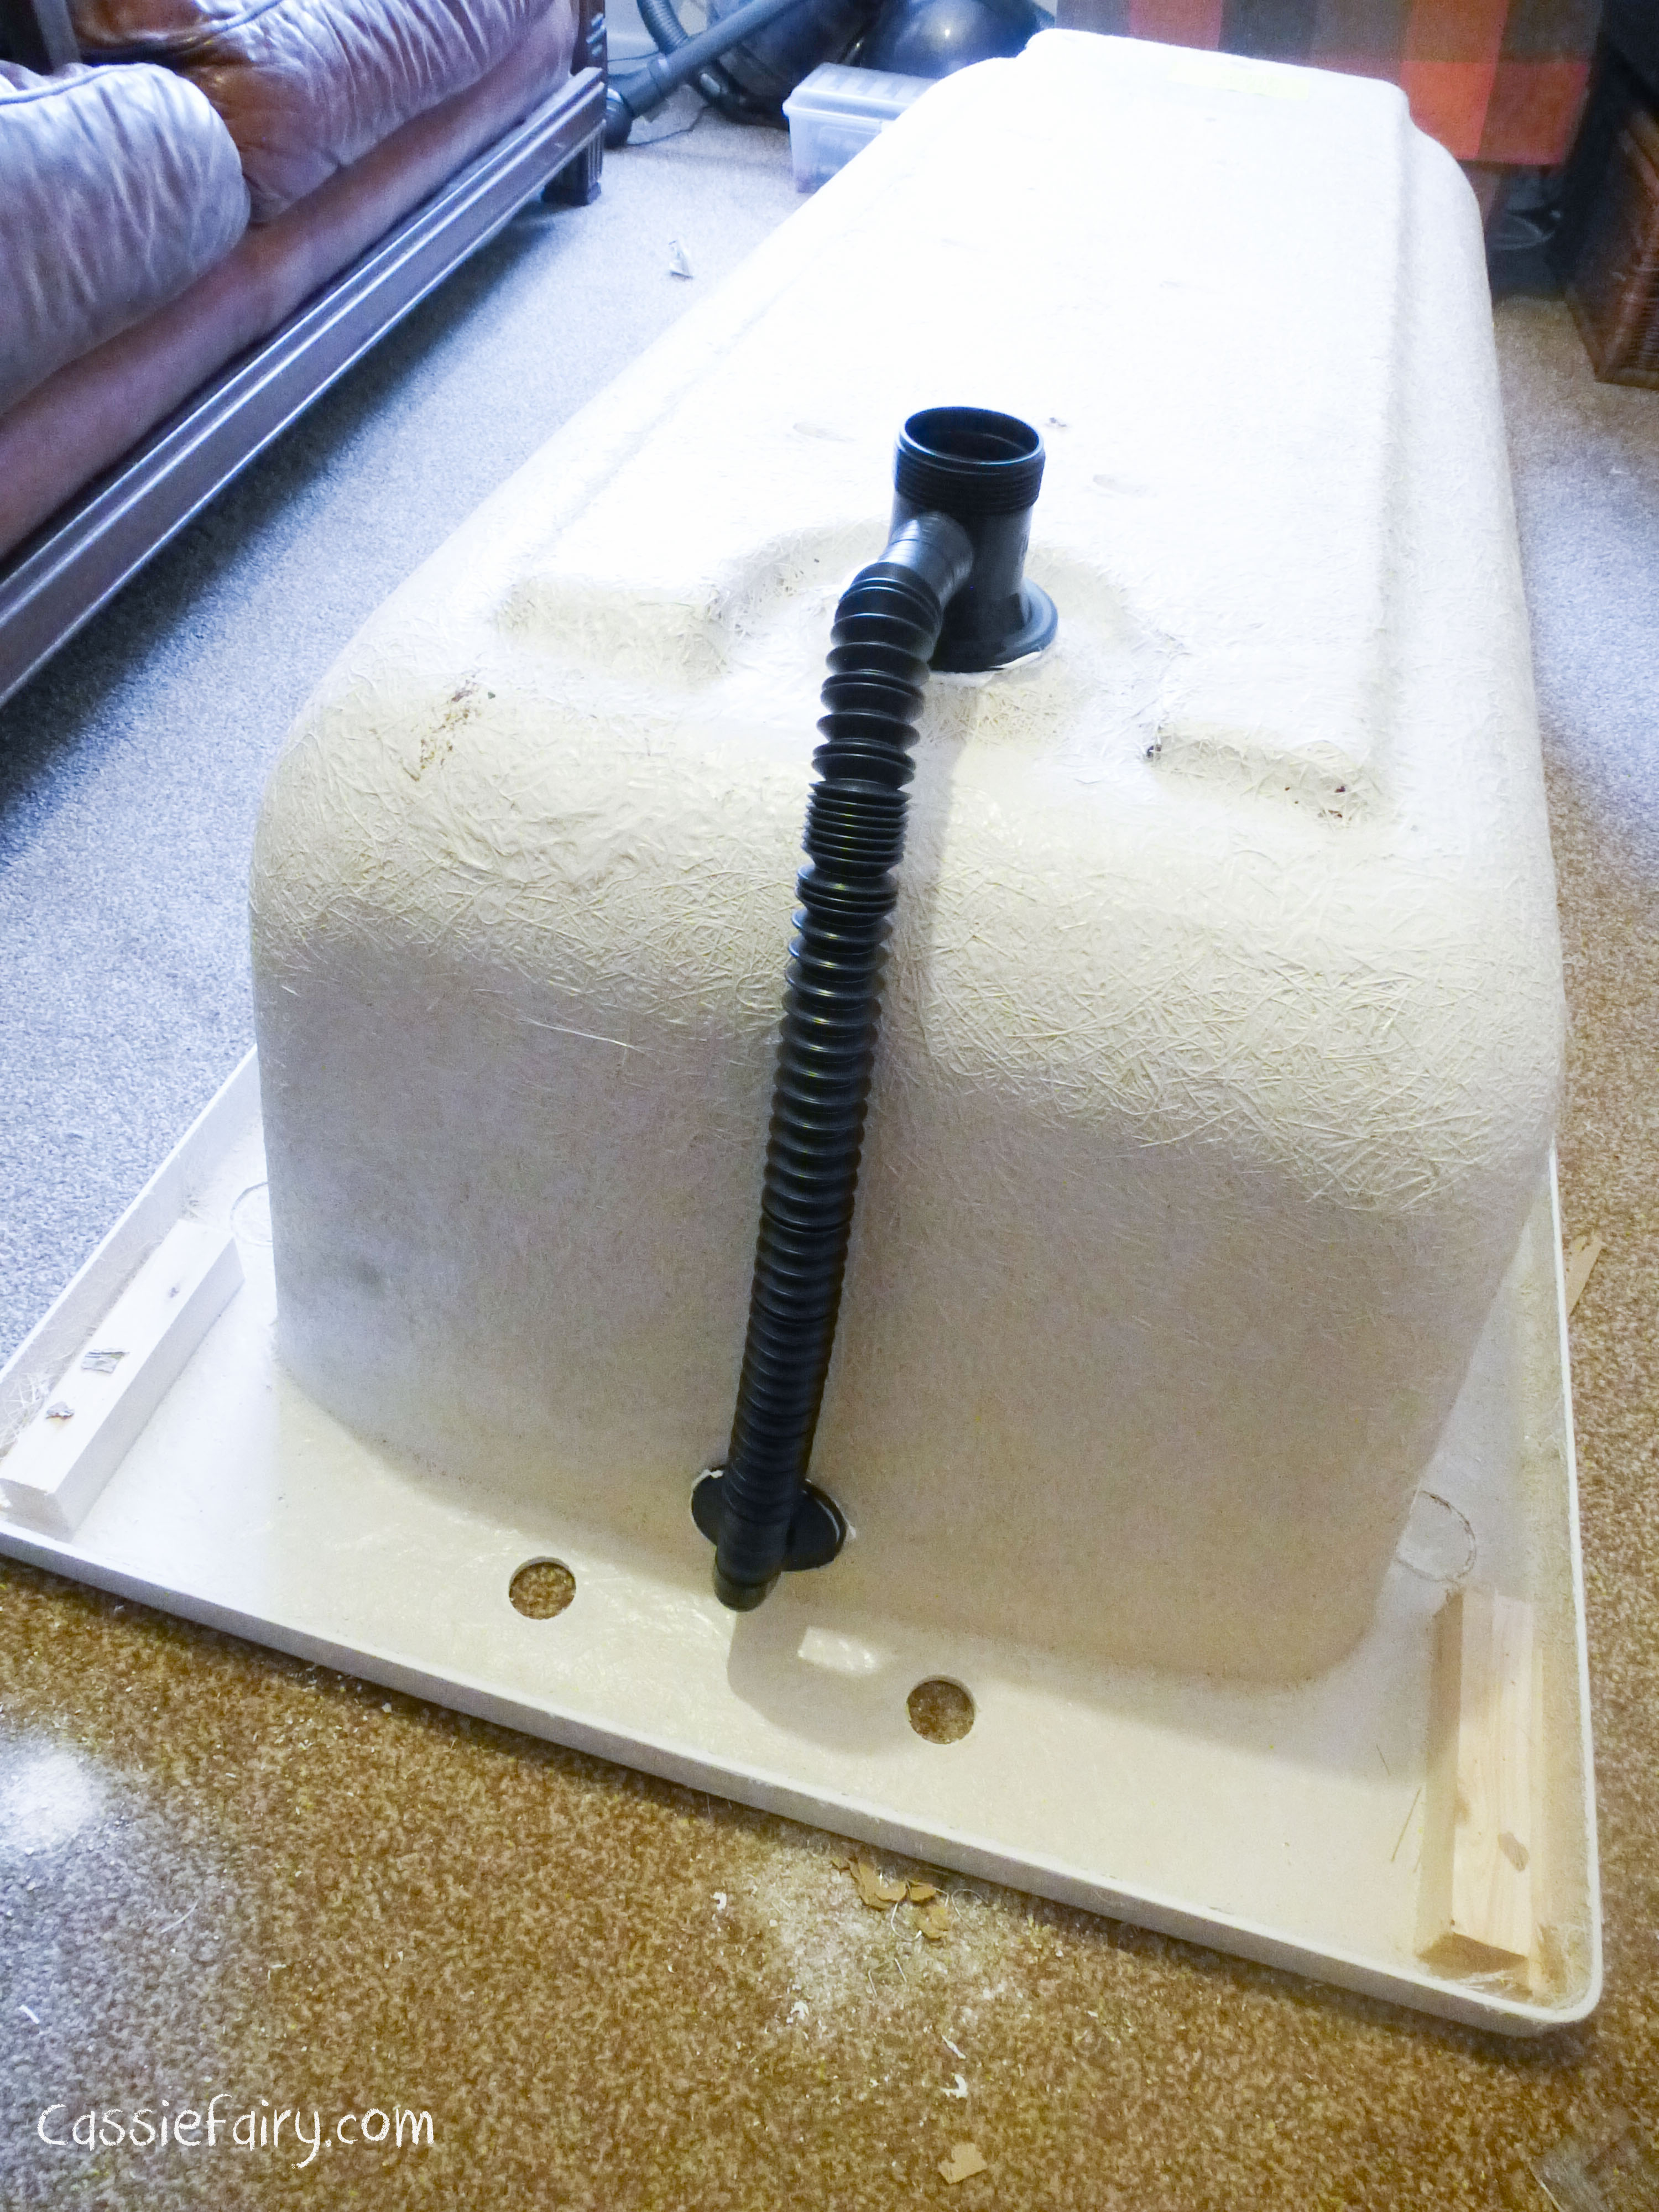
I’ve been worrying about fitting my new bath for a while now. When I first ordered the new bath I was confident that we could easily do a DIY bath replacement and I was sure that it would look amazing after we’d finished it. But ever since the bath arrived, my confidence began to disappear and worry took over. I took a second look at the bath and realised that it didn’t have any tap holes. Is that a deliberate mistake? Where do I put the taps?! I look at the item specifics on the website and this is completely normal – the tap holes were to be drilled by the installer. This reassured me, as I thought I’d made a stupid rookie DIYer error and ordered the wrong thing! But thankfully, as an acrylic bath it could be easily drilled to accommodate the taps. 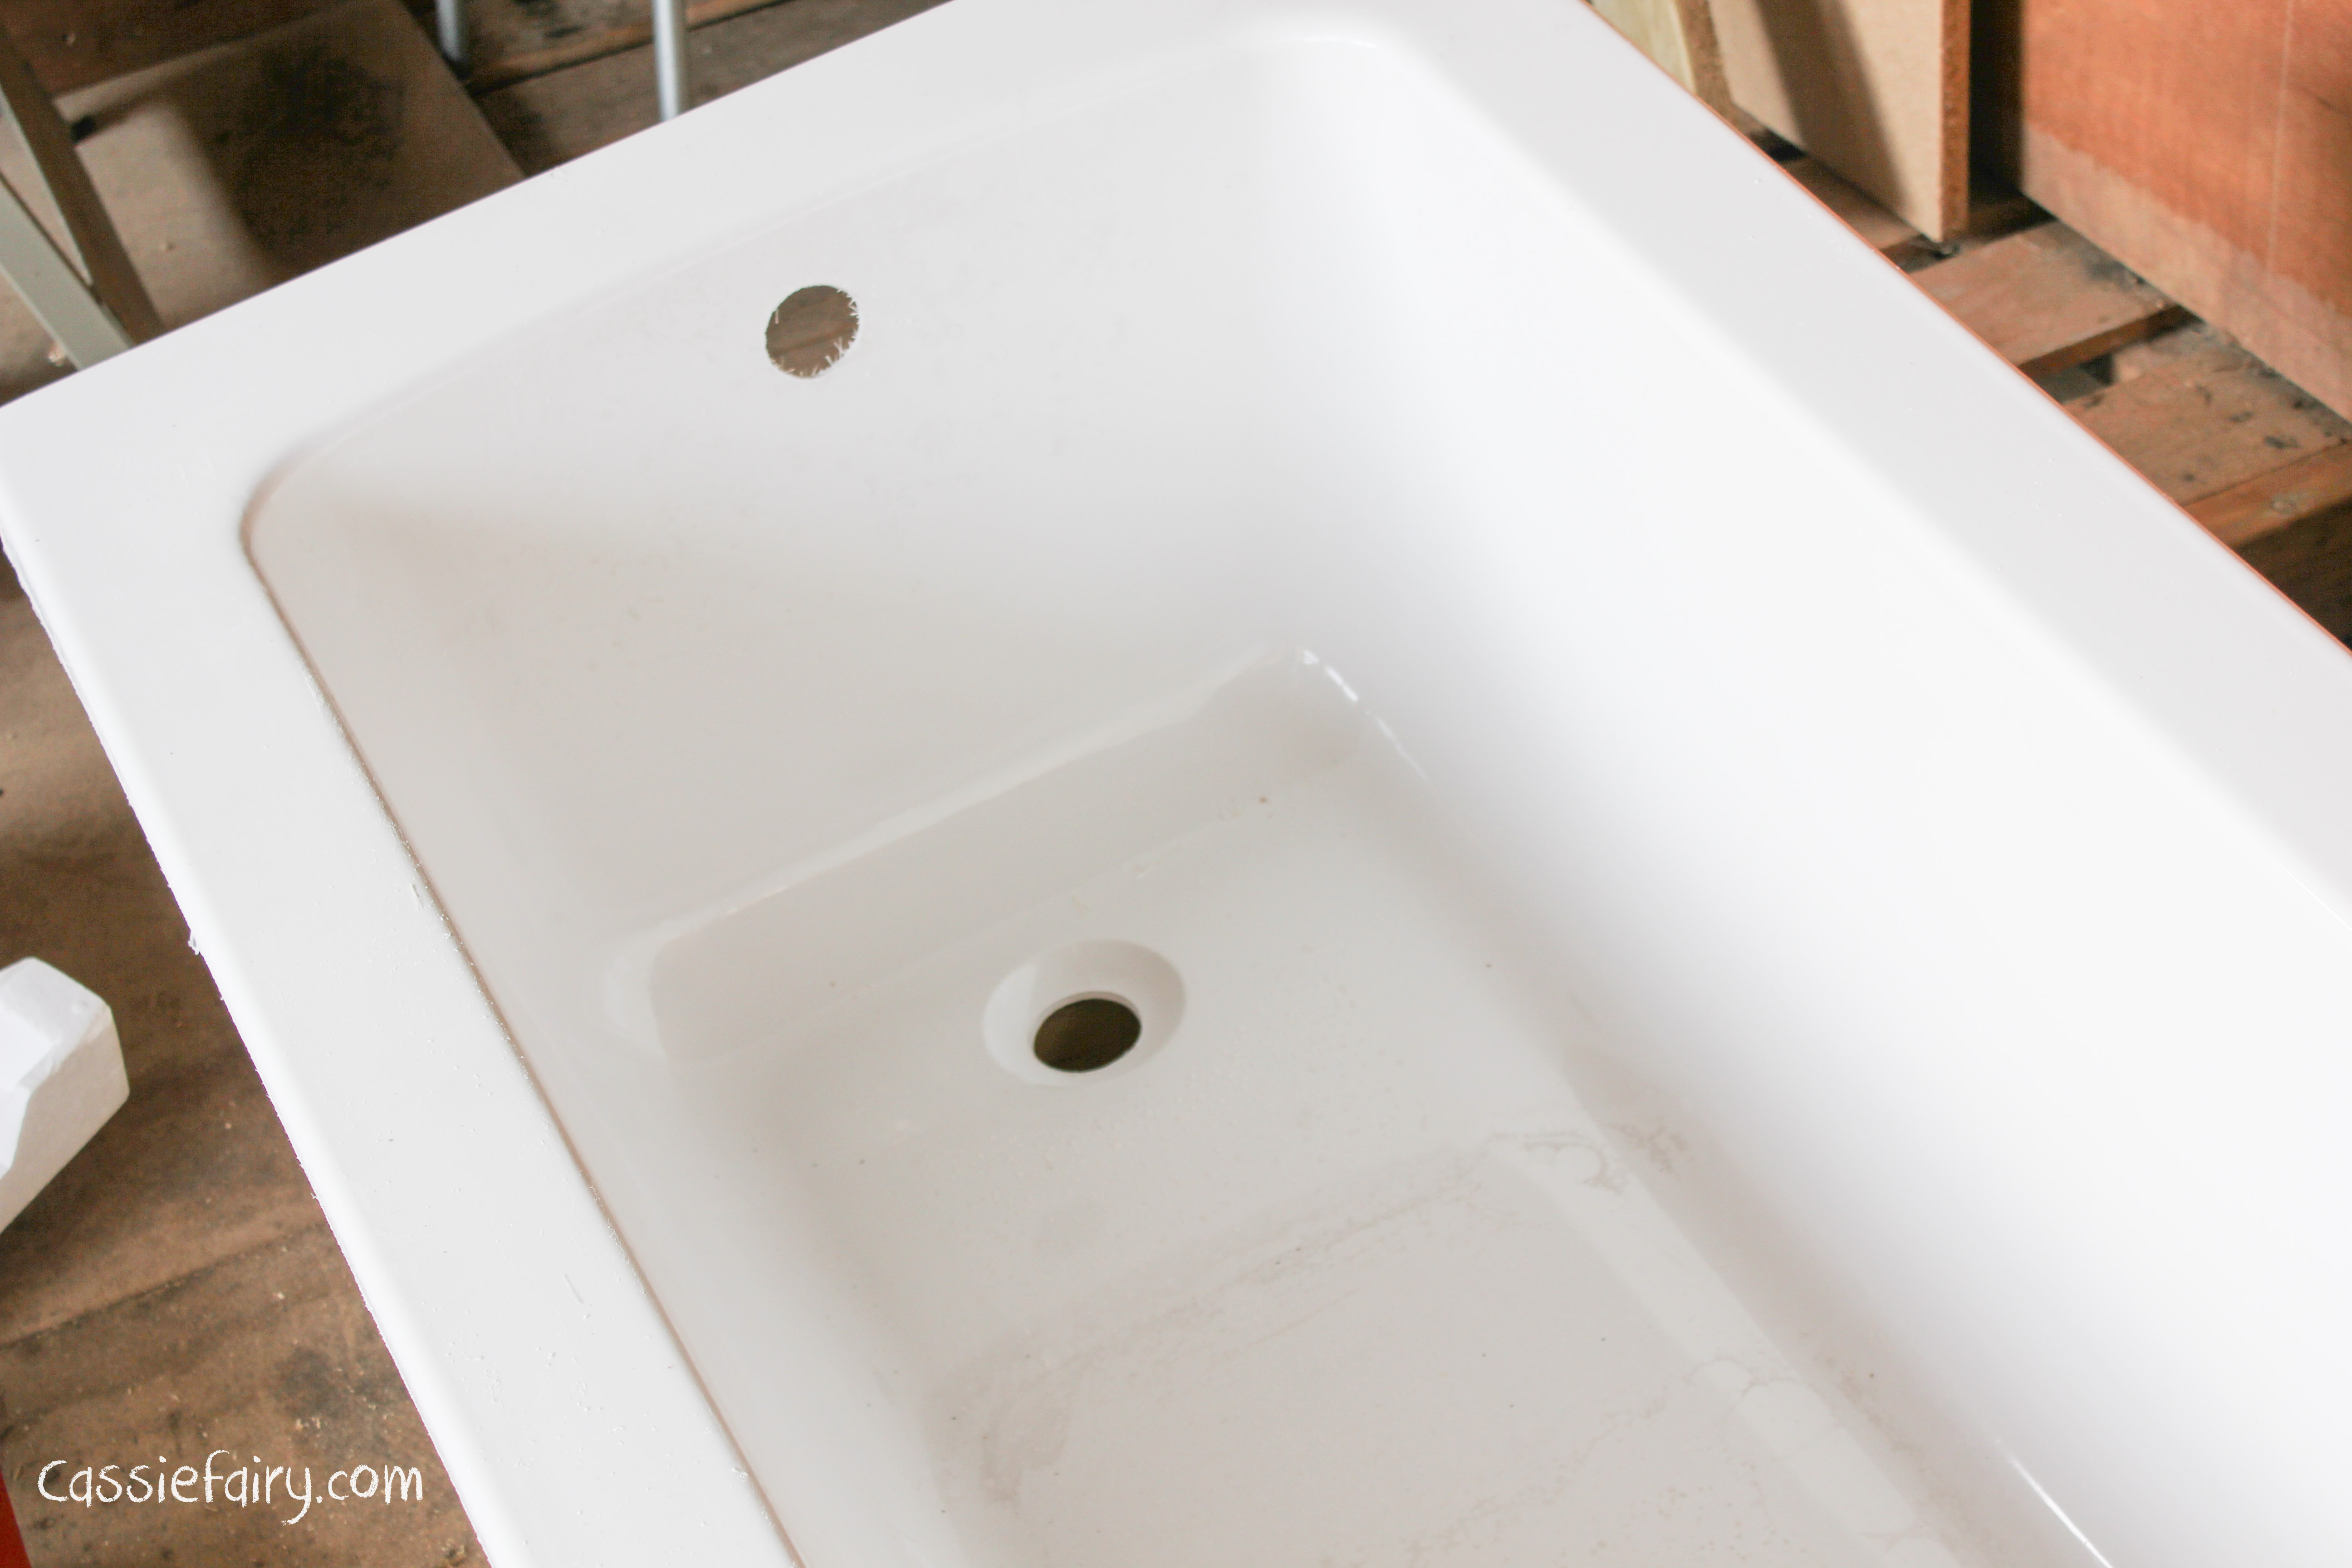
From investigating the tap situation online, I started looking into DIY factsheets about how to fit a bath. And that’s when I really started to get scared. The DIY instructions were far removed from my initial imaginings that I would just unscrew the existing bath panel and simply swap the old bath for a new one! There were all kinds of details for shutting off water supply (which I’ve never needed to do before!), earthing the pipes, and something about water supply contamination – scary stuff! I worried on my own for about an hour as I read up on bath fitting techniques and then I asked my husband whether we’d bitten off more than we could chew. Absolutely not, he reassured me. He’d installed sinks and showers before and told me that a bath is just a ‘big sink’, so he’s be more than capable. However, I insisted that he called his father for help and we decided that the three of us would tackle the job together with a bit of common sense and a lot of following instructions. 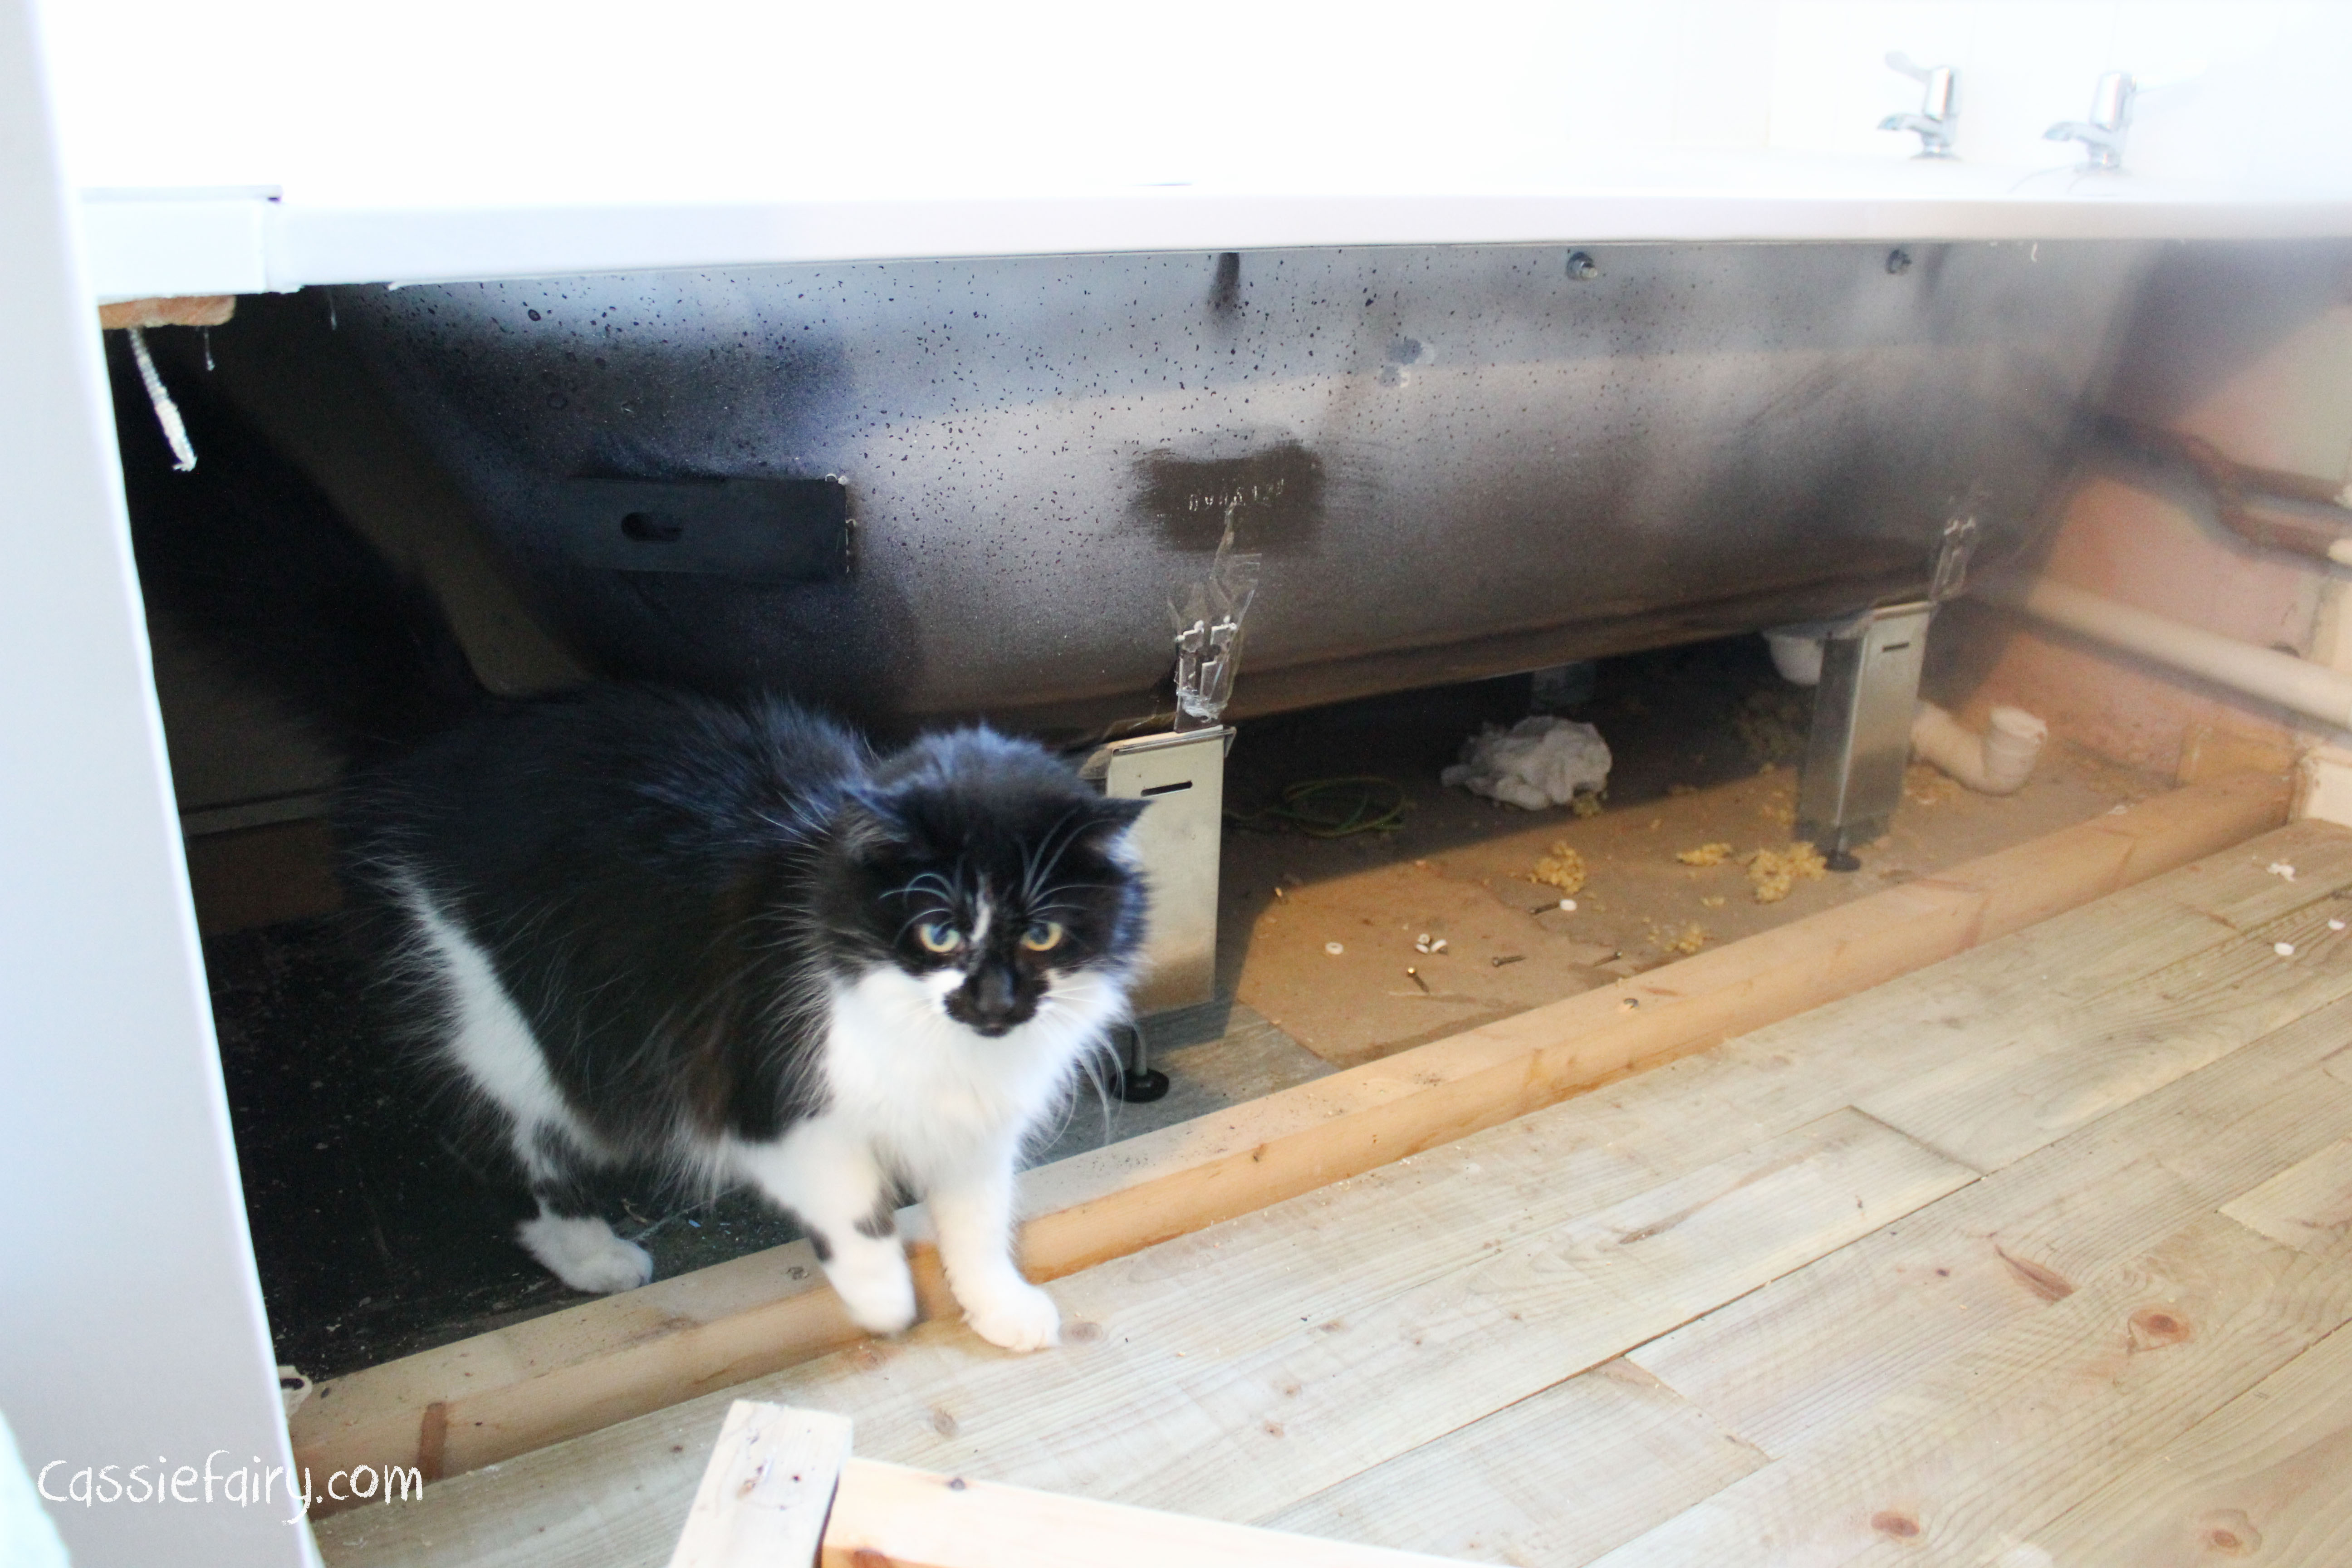
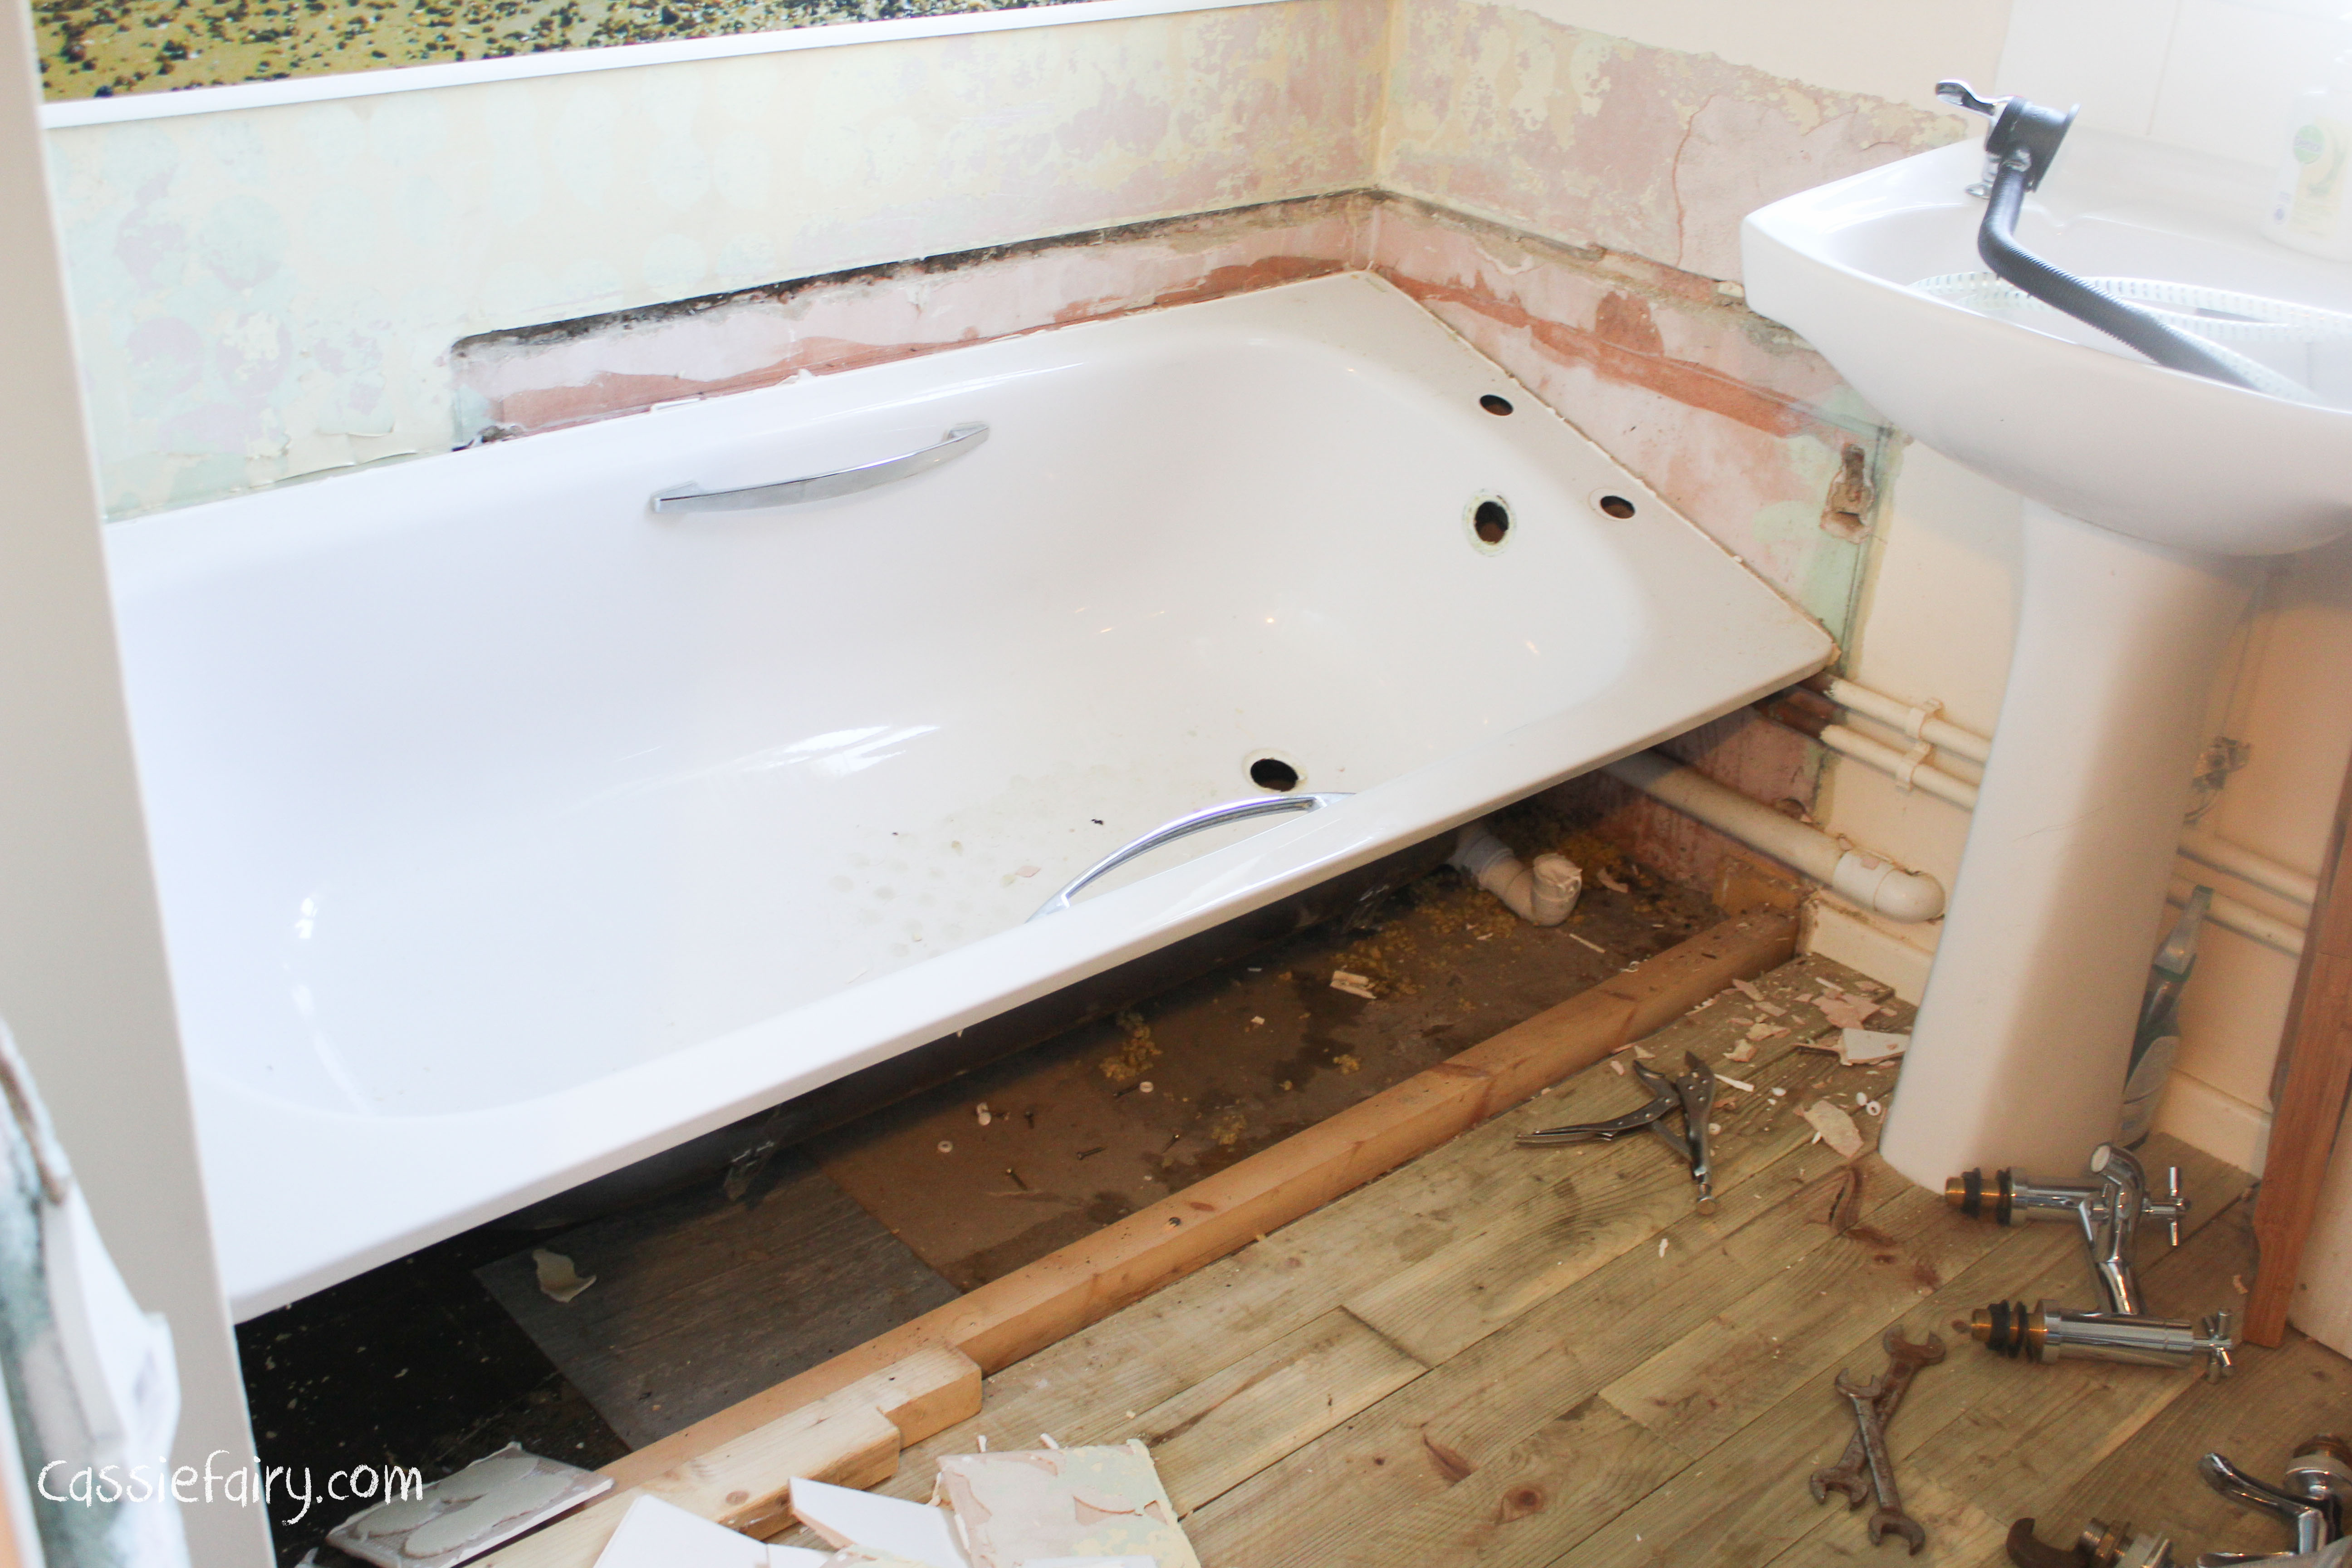
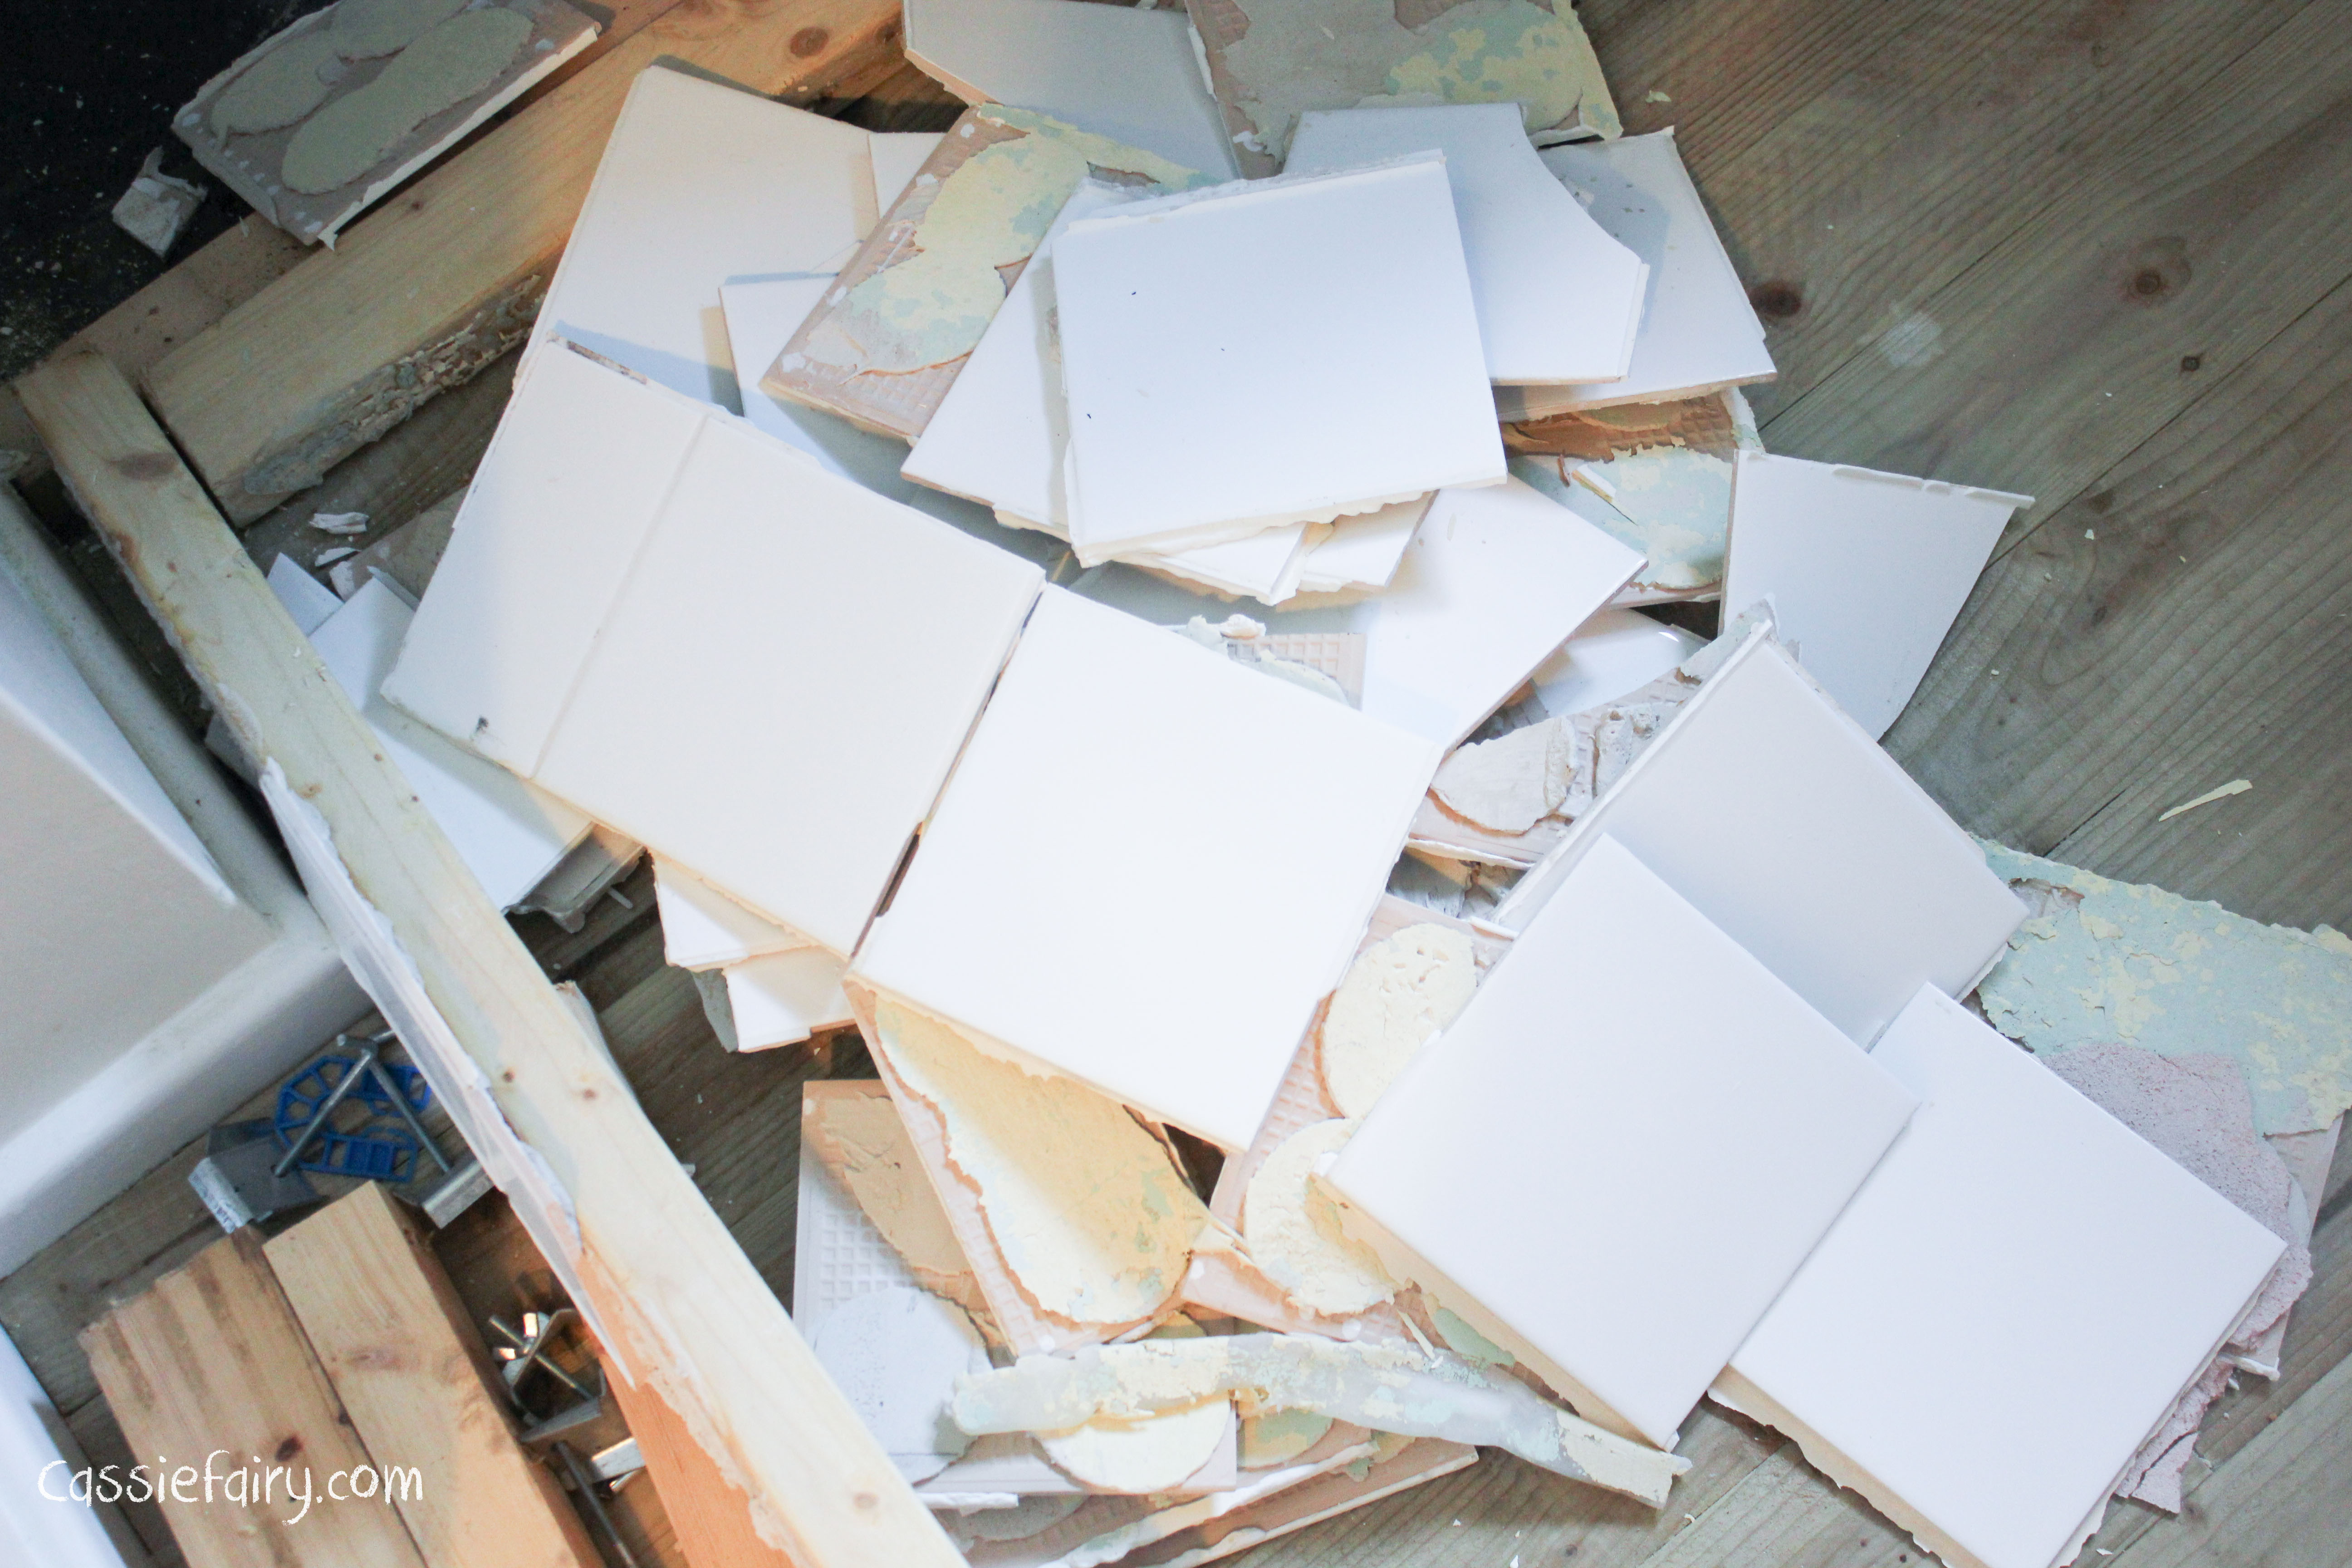
So we made a start by removing the old bath. Of course, Cookie came to ‘help’ and as soon as we’d removed the old bath panel she was under the bath ‘dusting’ away the cobwebs with her fluffy tail. What is it with cats and dark spaces?? I was hoping that we’d be able to keep the white tiles around the bath and imagined lifting one bath out and a new bath in, but this wasn’t quite the case. After the tiles began pinging off the wall, I resigned myself to the fact that we’d need to replace the tiles and we really got stuck in with ripping out the old bath. 
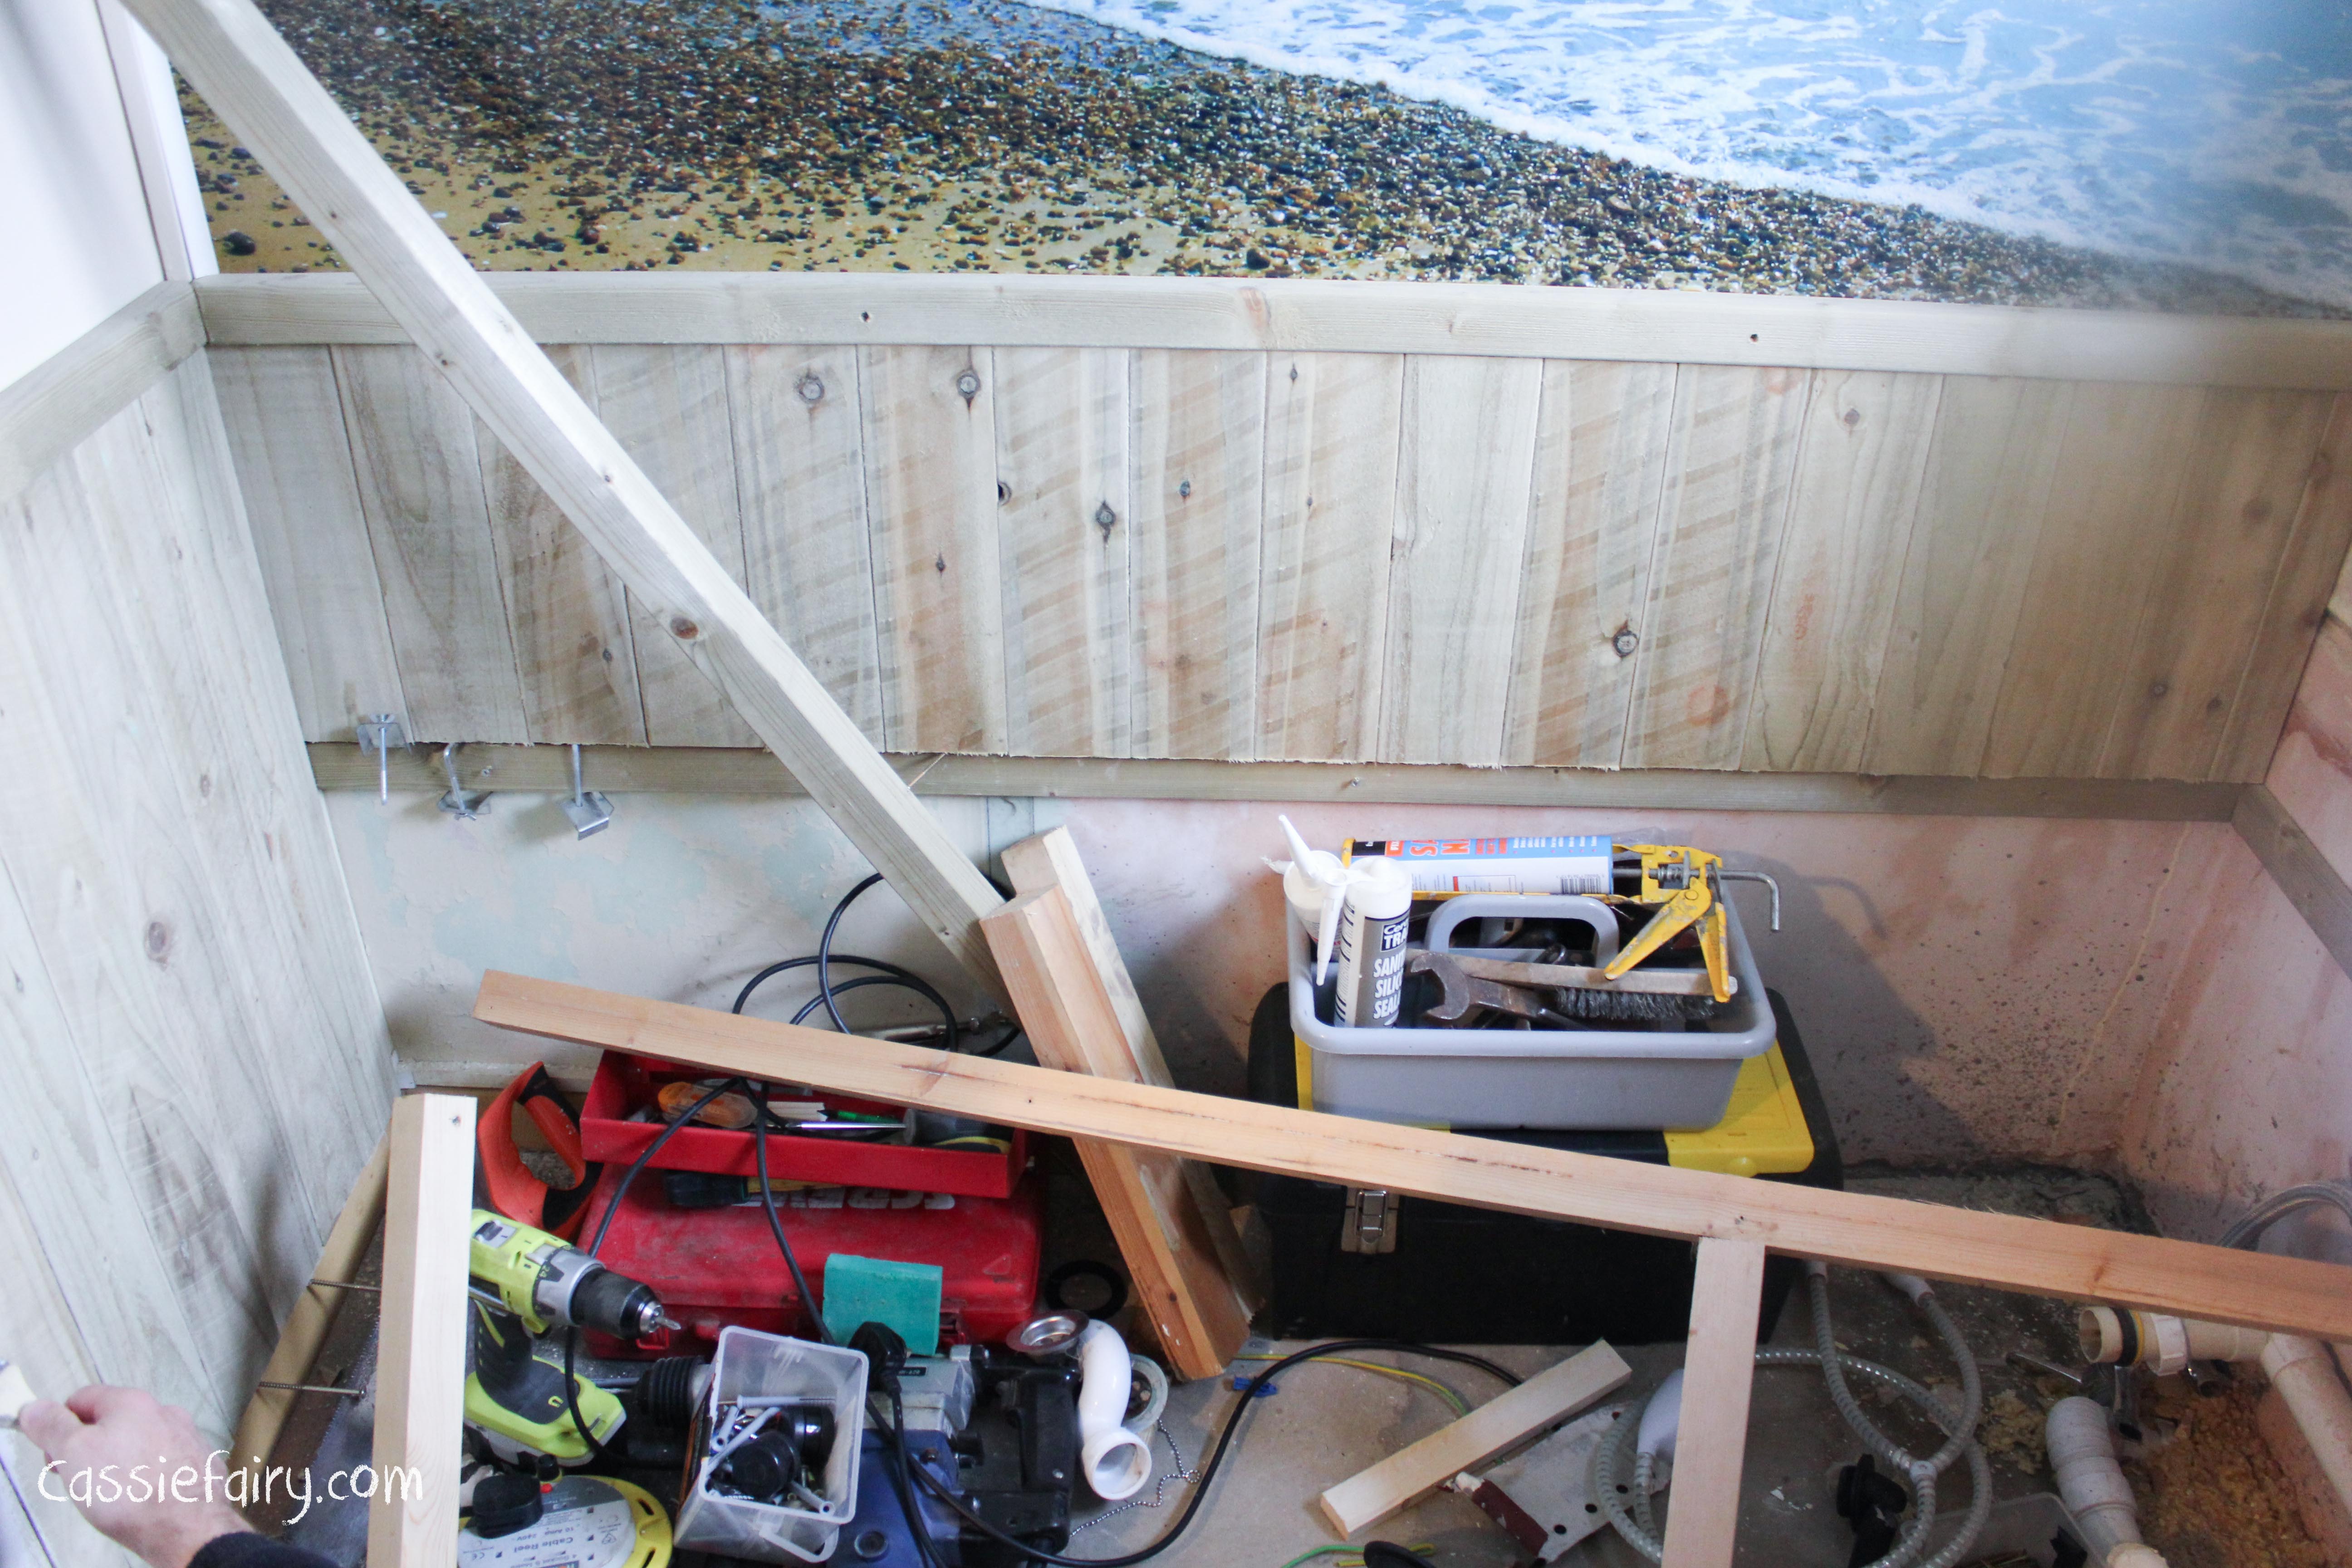 After we’d cleared the space, I decided that cladding the wall around the bath with a wood surround would look great alongside the storage unit we’d already built. We’d already decided that they new bath panel would be made from the same shuttering that we’ rescued from a skip (anything to save some cash, eh?!) and I thought that a white-washed surround would be ideal to create the ‘beach hut’ look that I was trying to achieve. So after a lot more sanding, I glued lengths of the wooden shuttering to the wall using a grab adhesive and allowed this to dry before painting one coat of white paint to create a limed effect. Now that the room was ready, the next step was actually installing the bath…
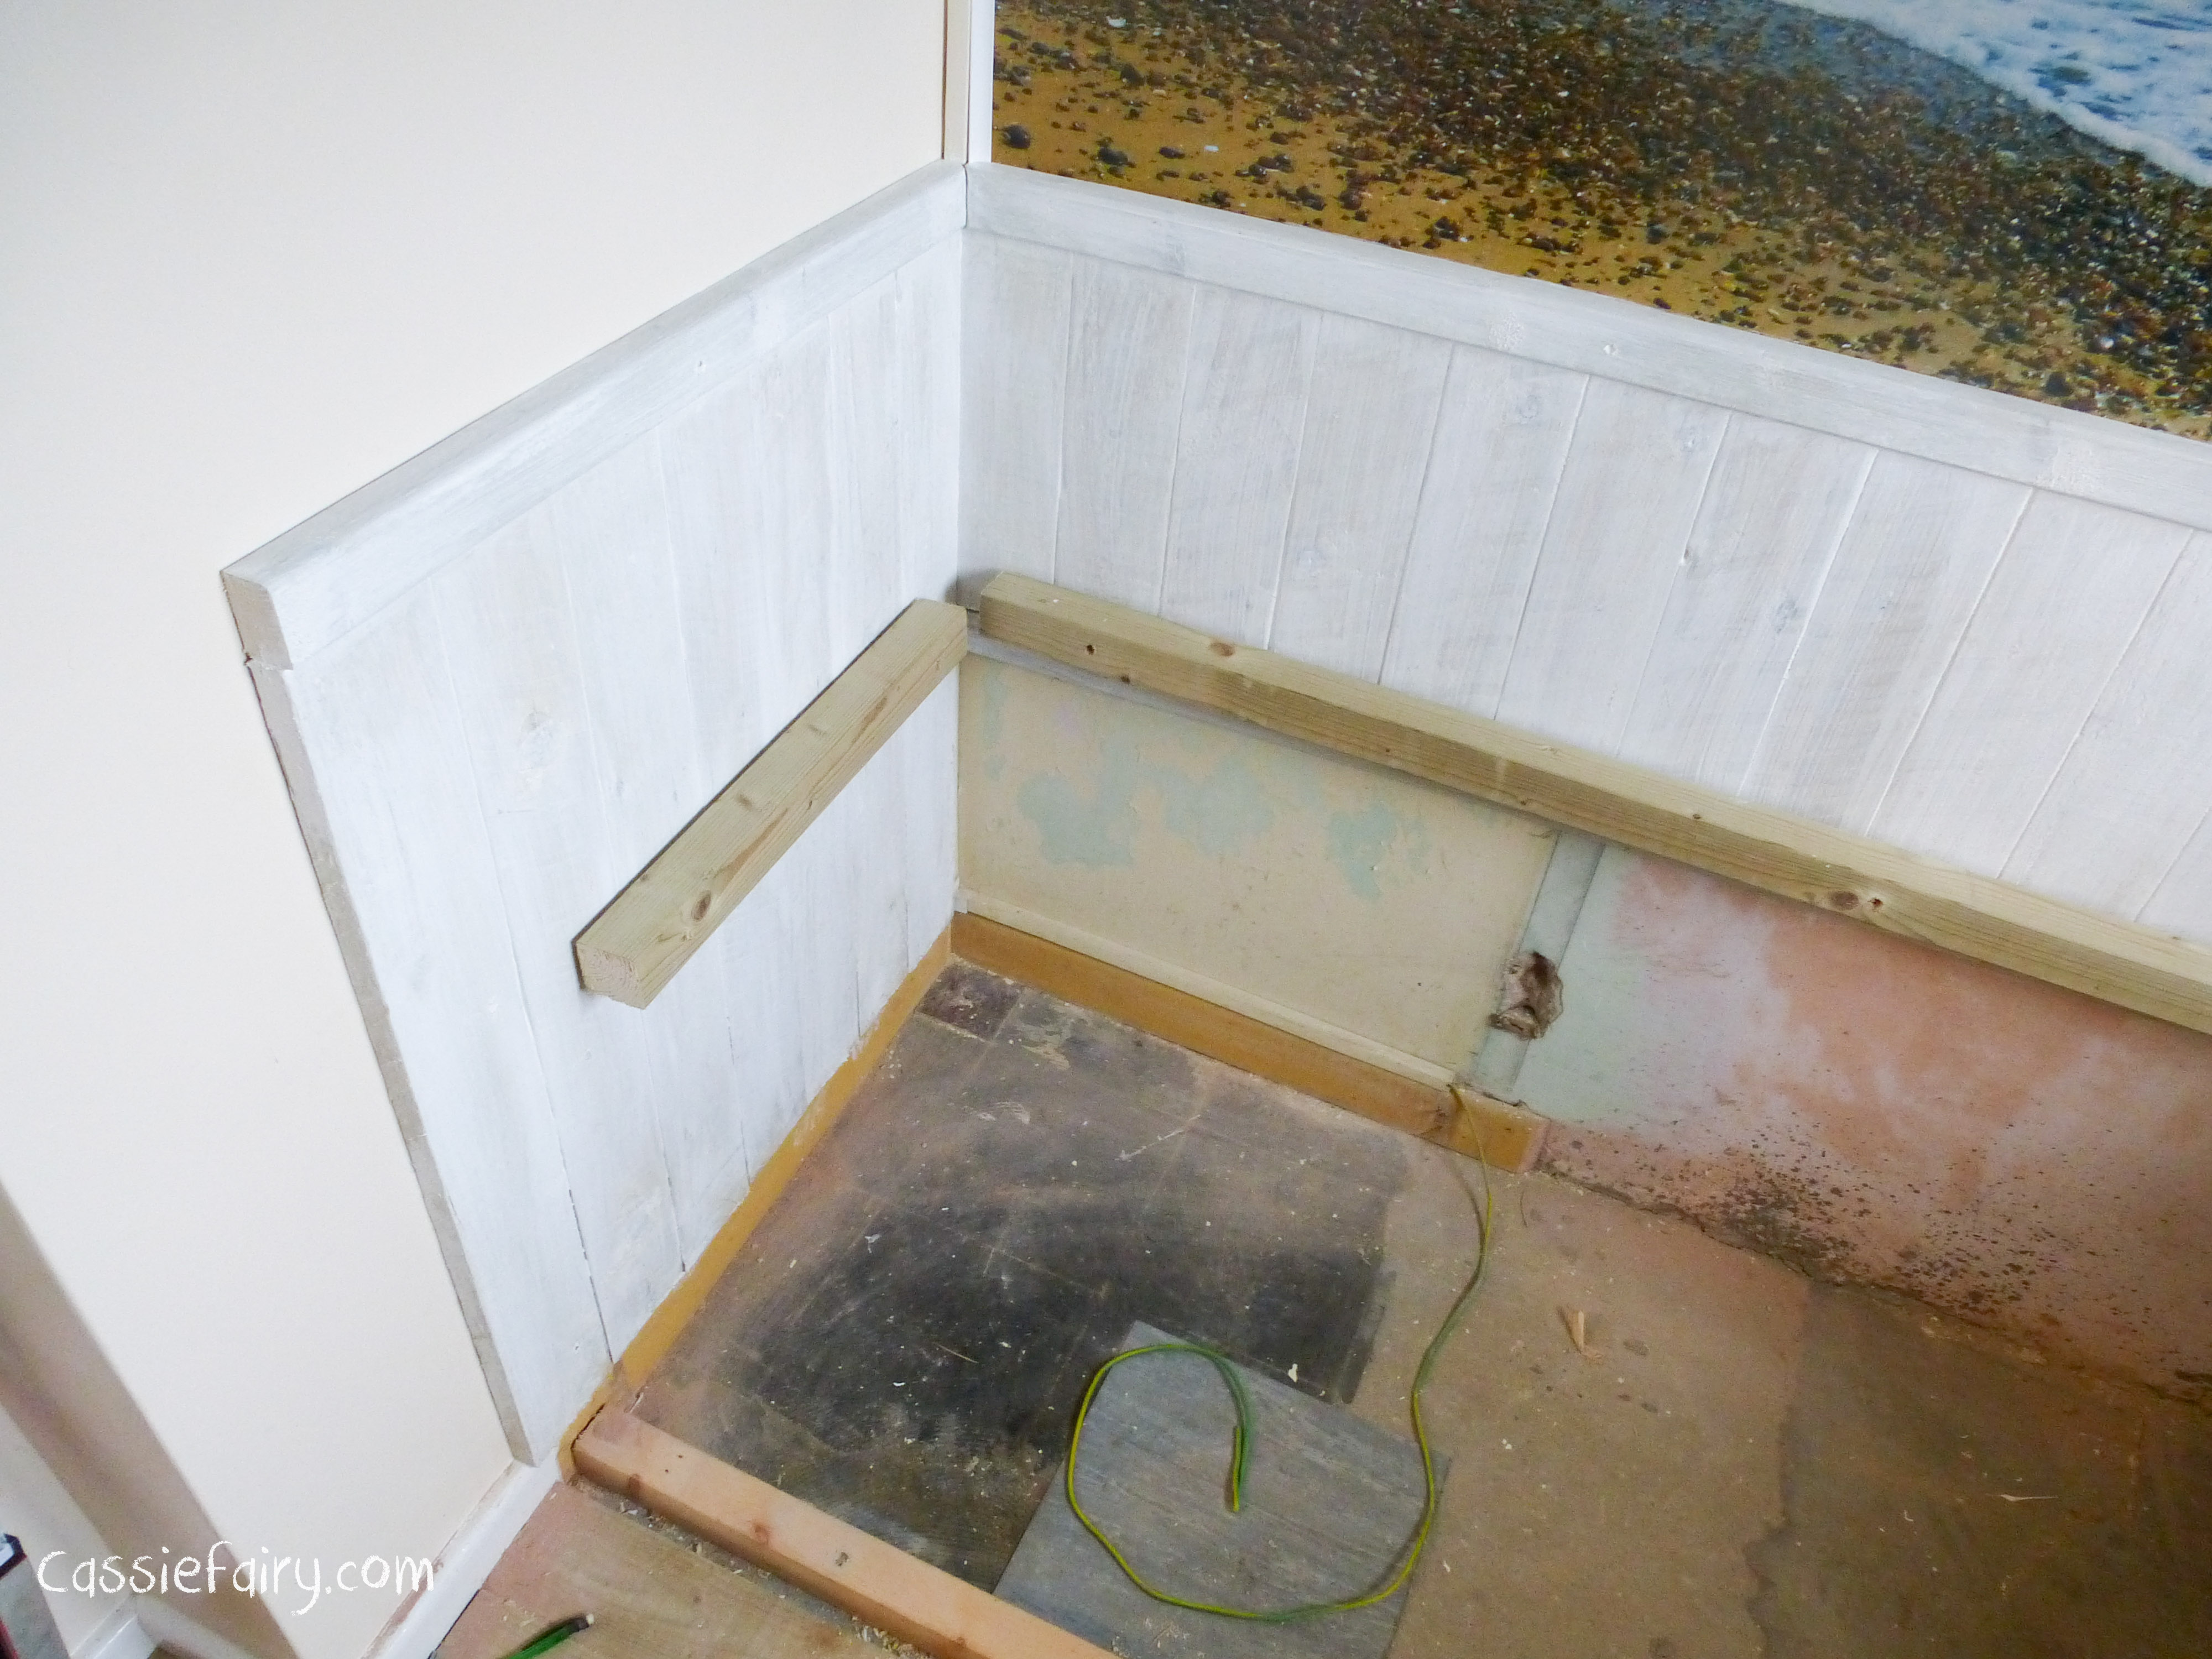
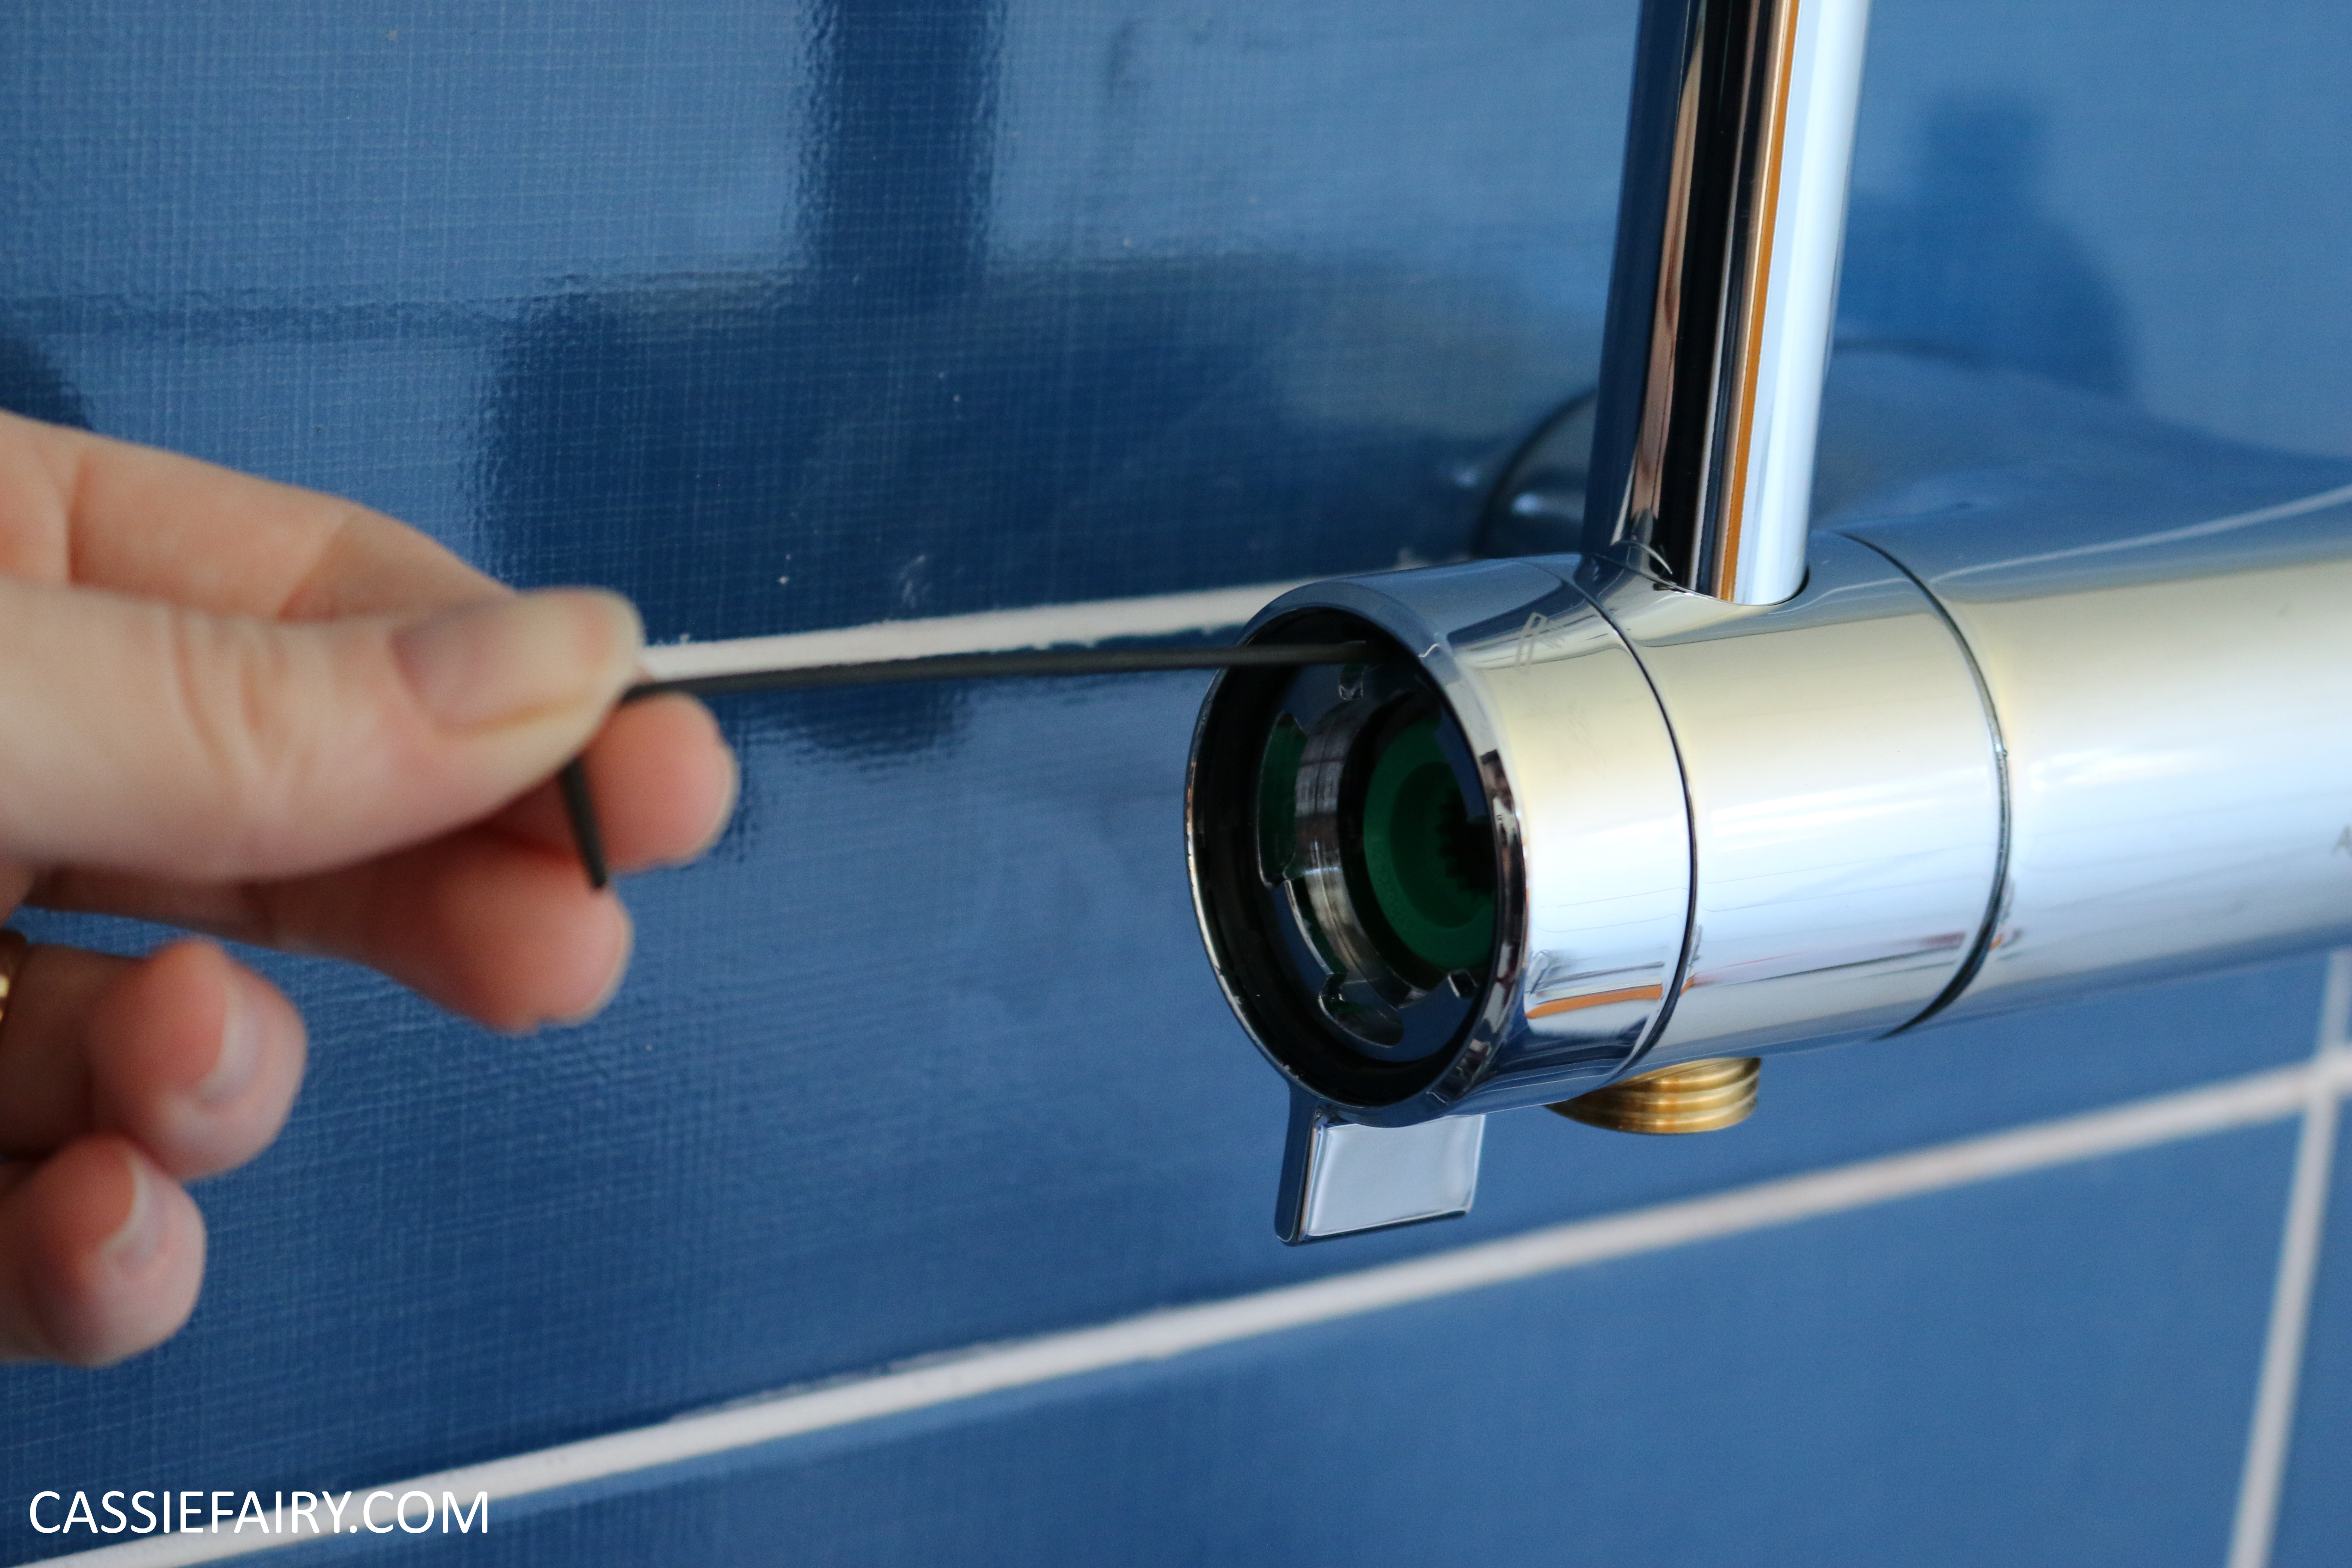
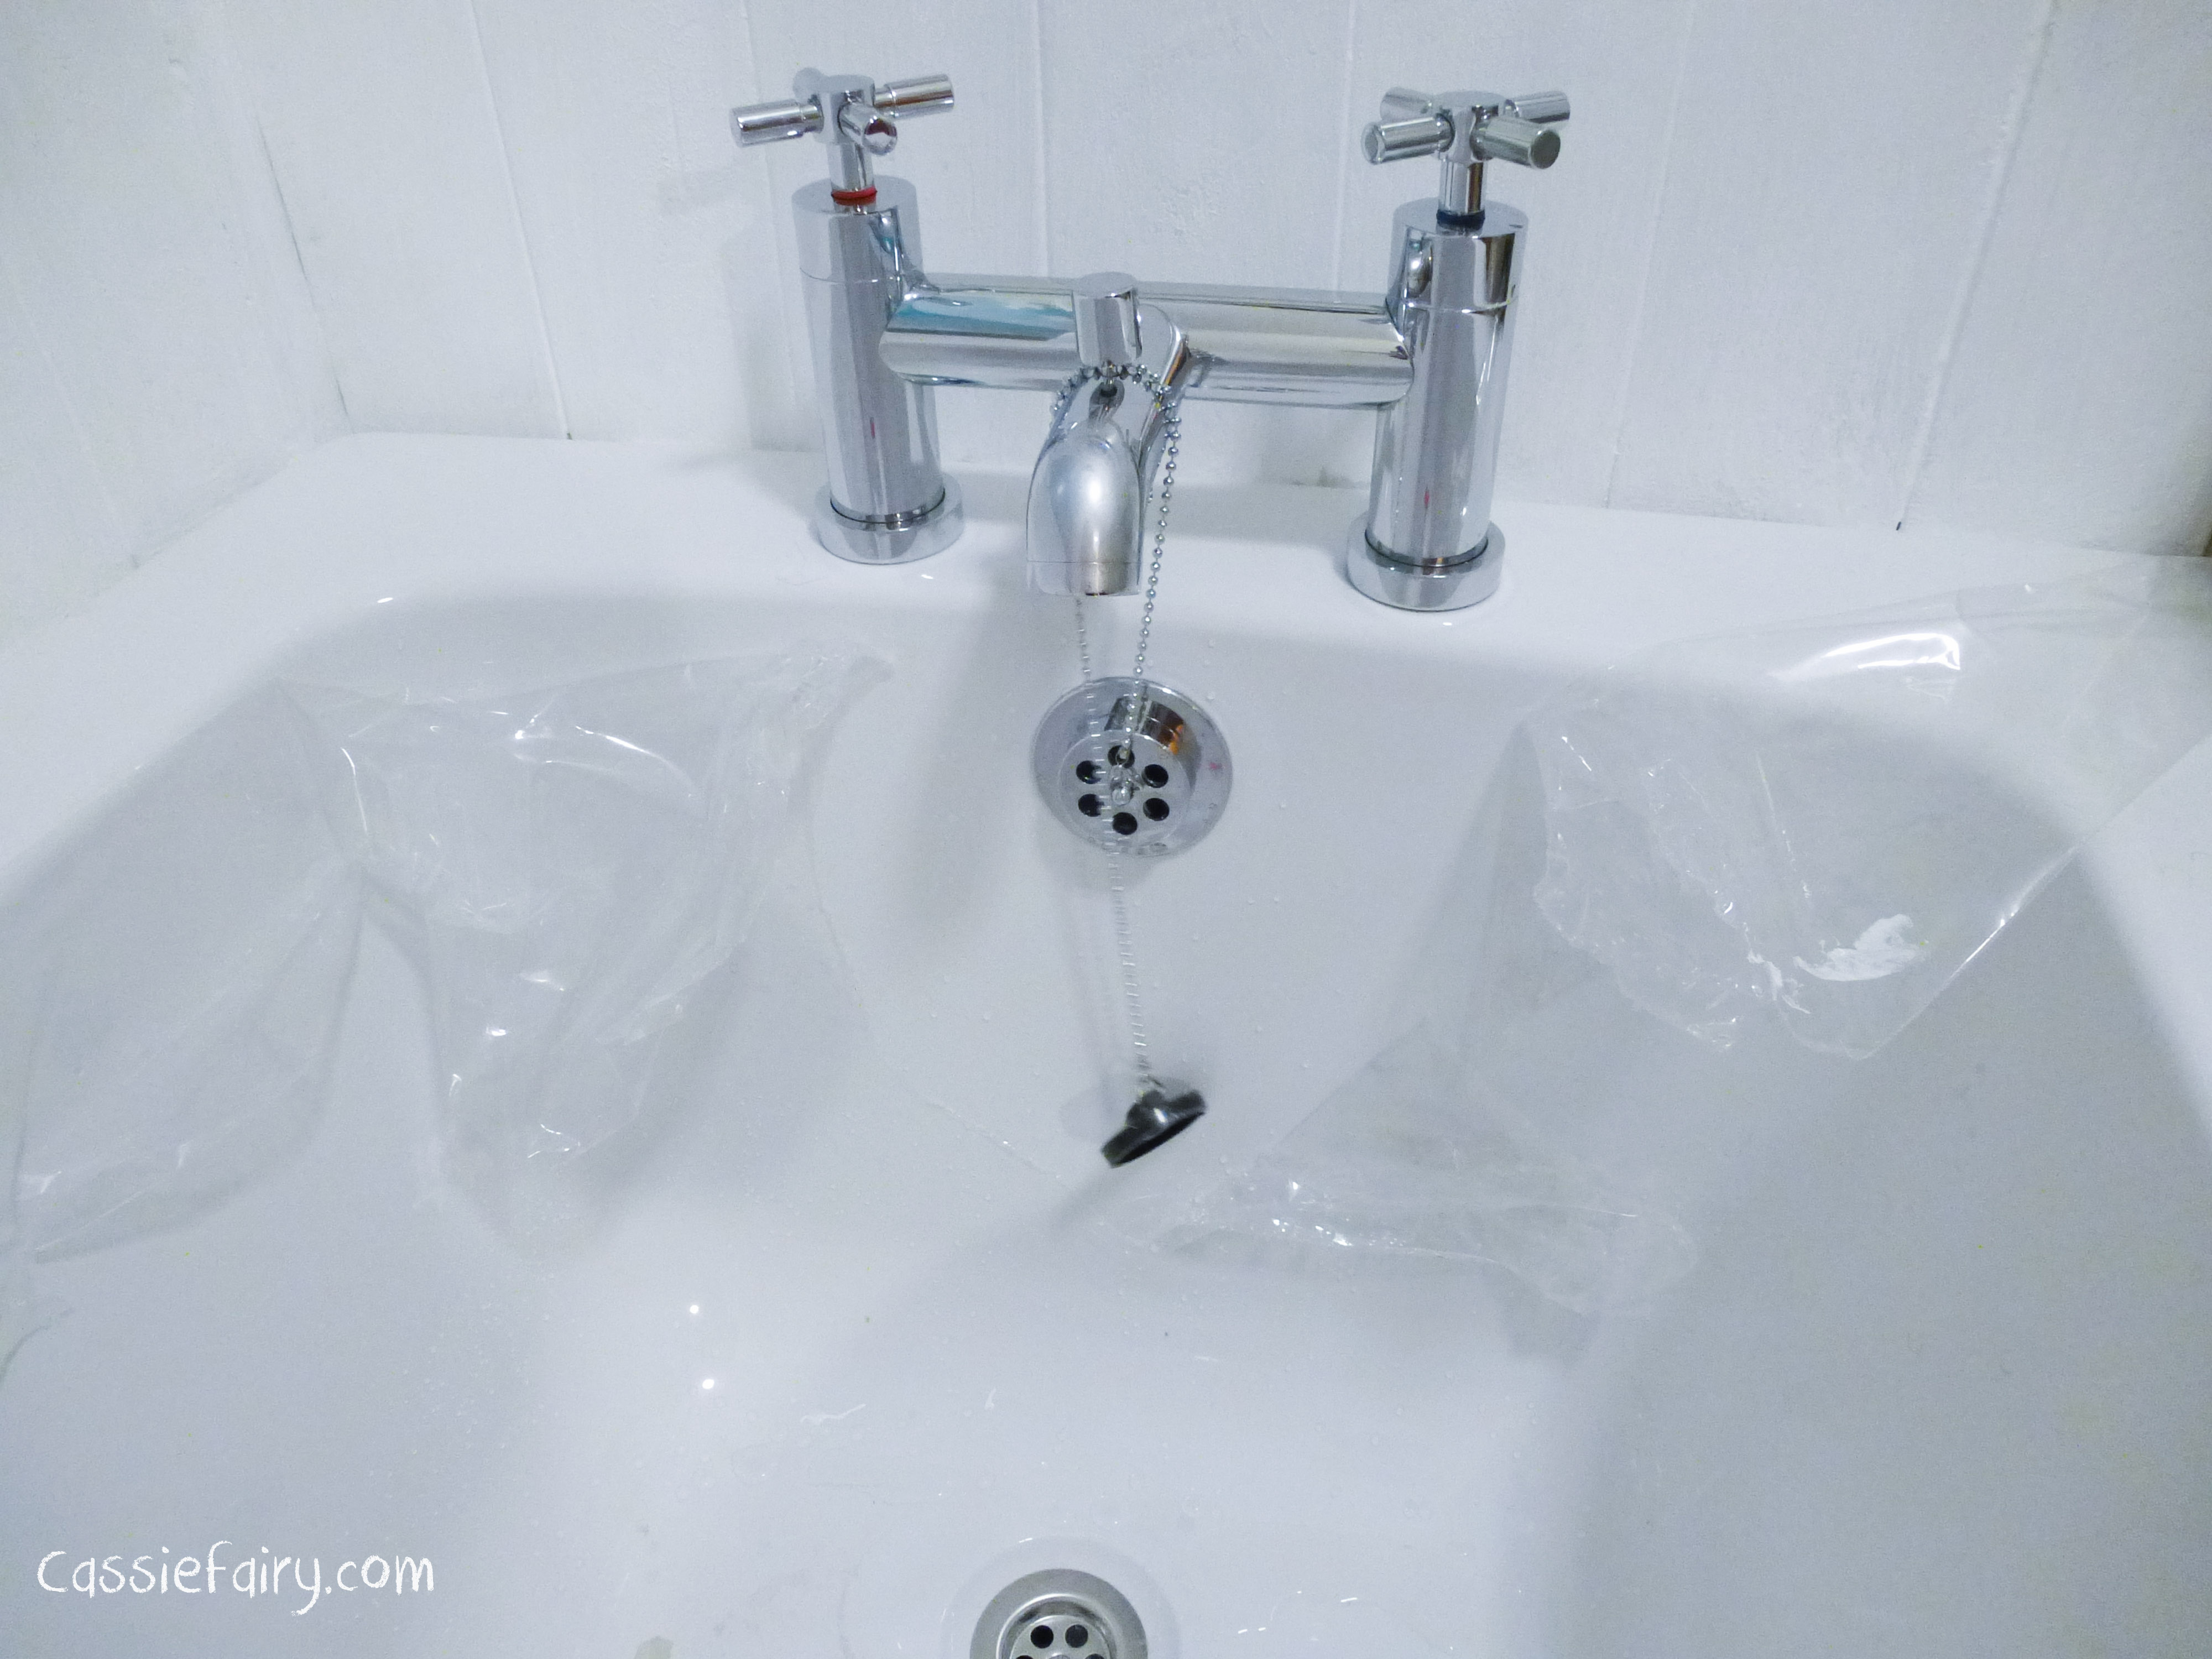
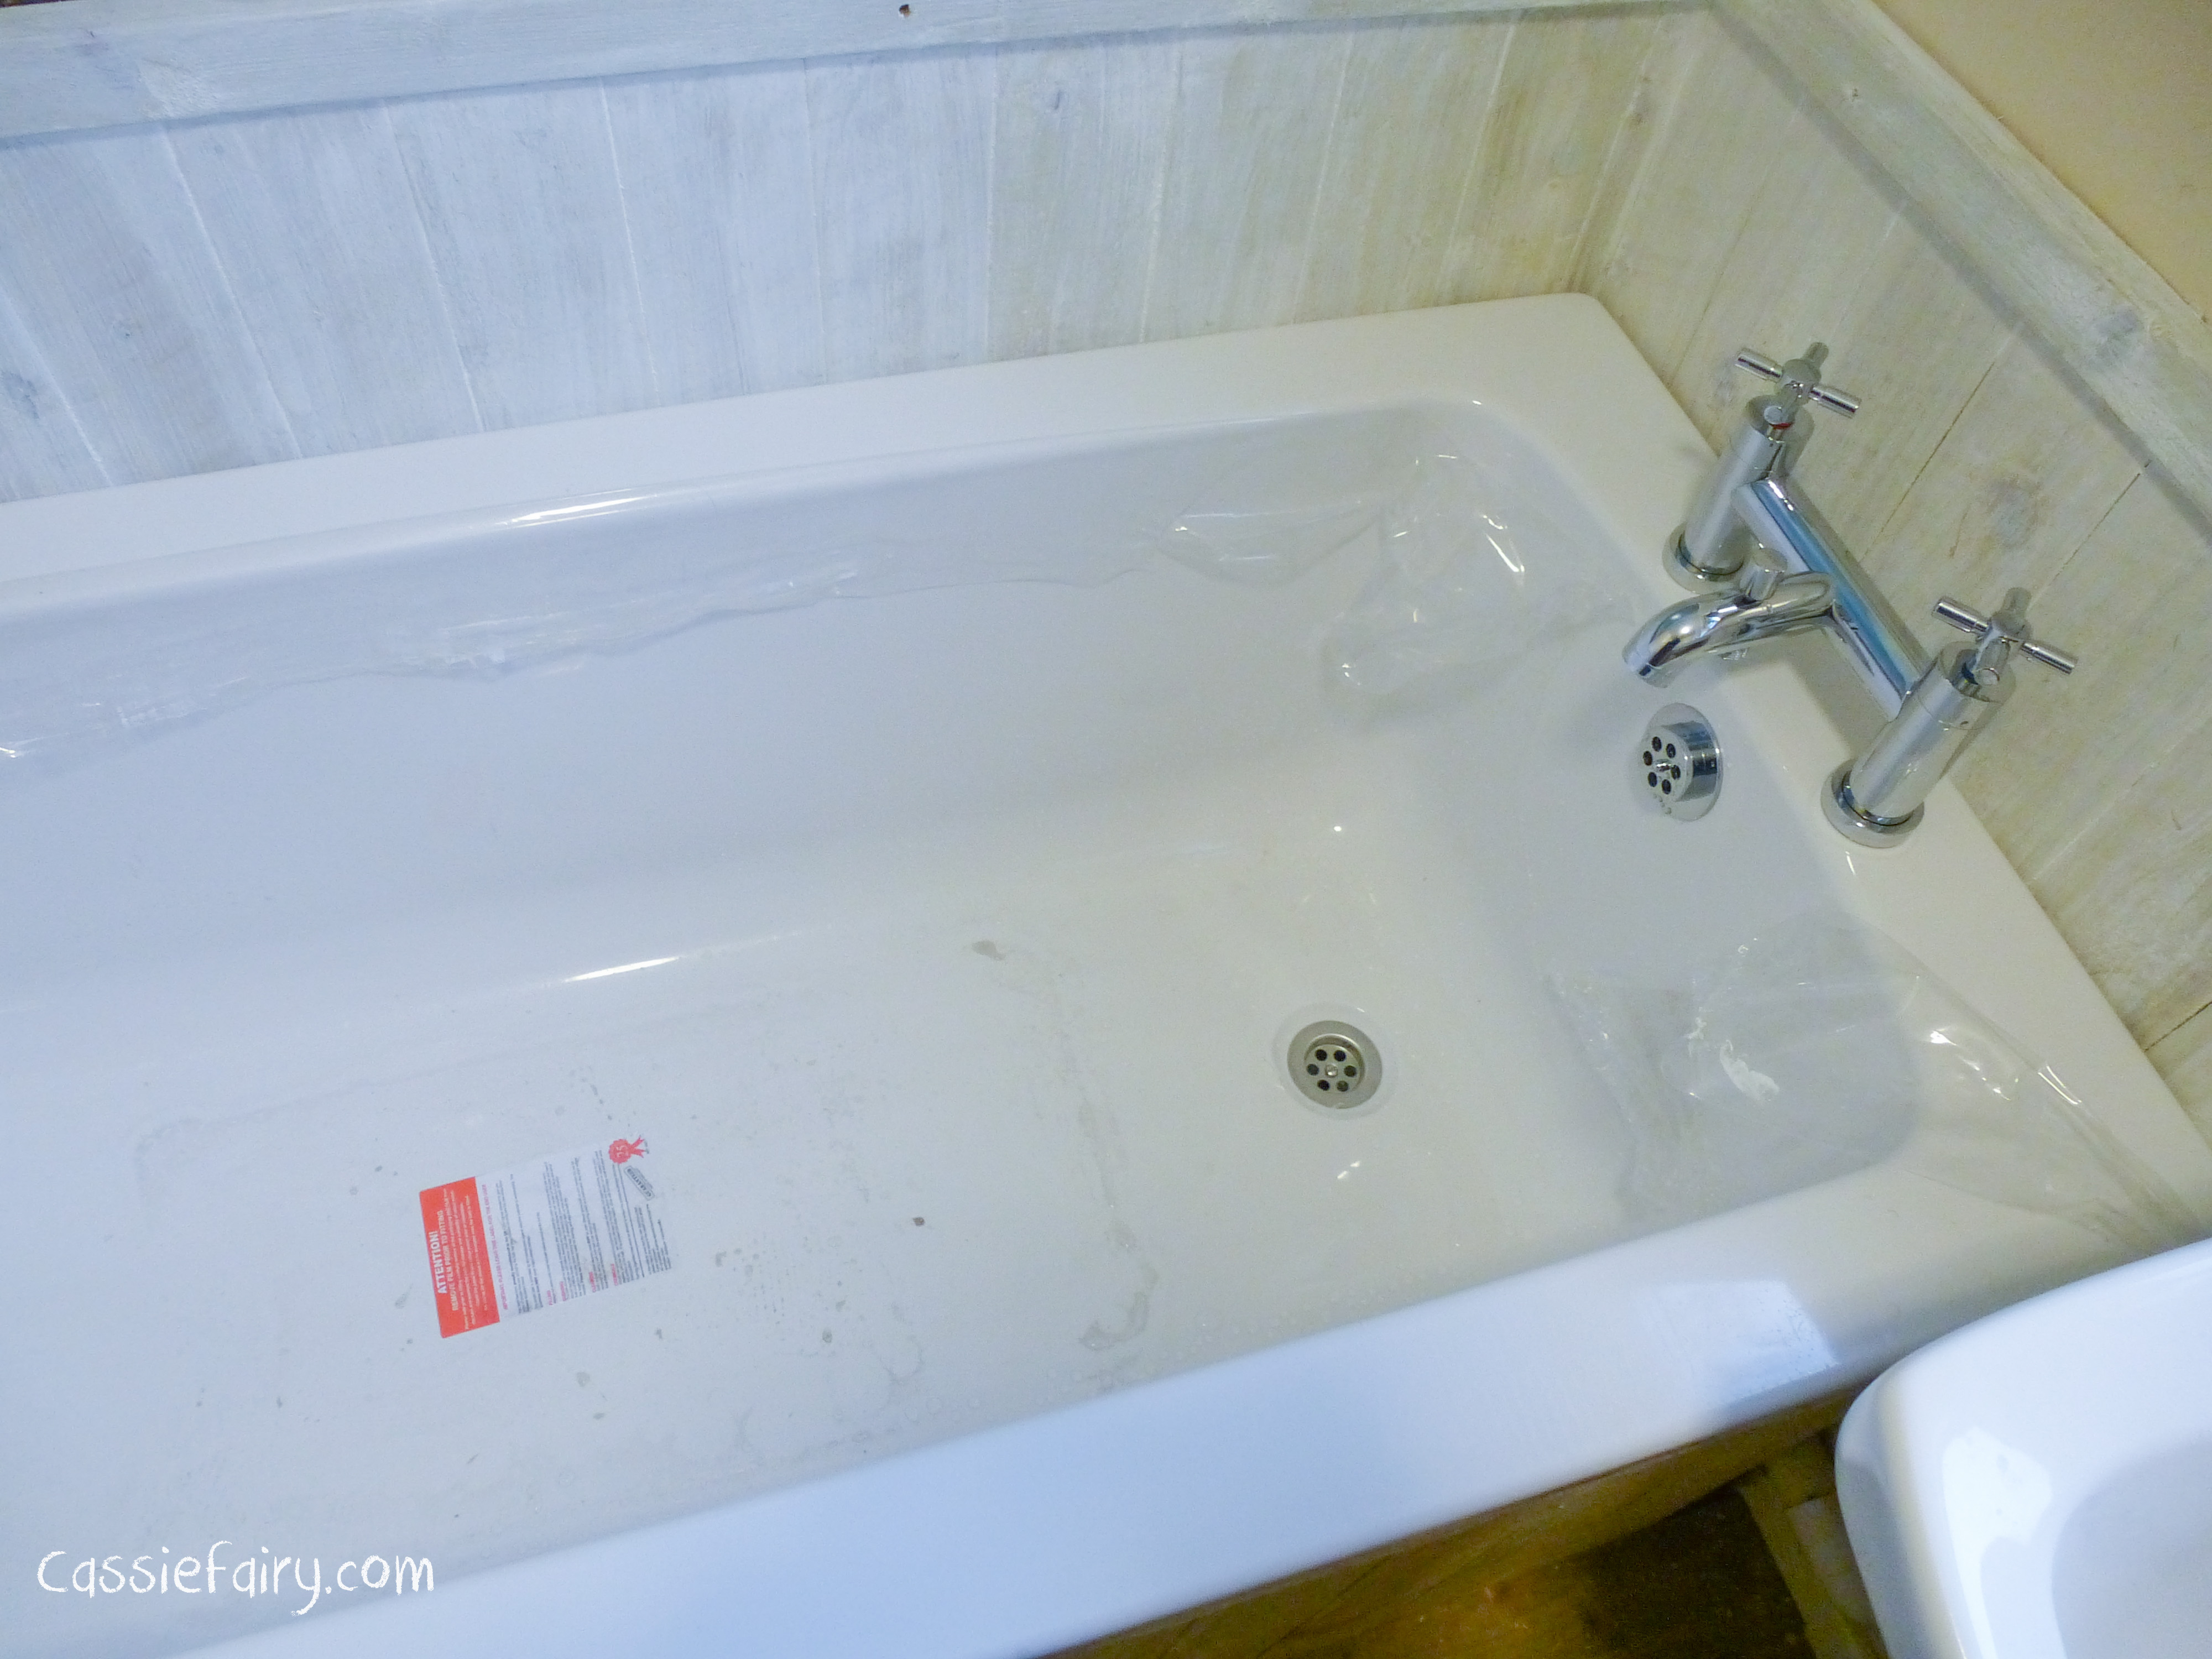 I’m pleased to report that all my worrying and wobbling was completely unnecessary. As soon as we began to fit the new bath, it became clear that I’d fallen into the self-diagnosis-online trap and had become a plumbing hypochondriac. It wasn’t the massive week-long job I’d imagined it to be and we managed to fit it within a day. There was much more siliconing than I’d imagined (did you know that even the bath waste plug hole needs to be siliconed in?) but at least this ensured that nothing is leaking! The bath came with adjustable feet but hubby suggested that we also ‘hang’ the bath on a frame around the walls for additional support and by the time we’d finished we had a sturdy, level bath that was more stable than the original!
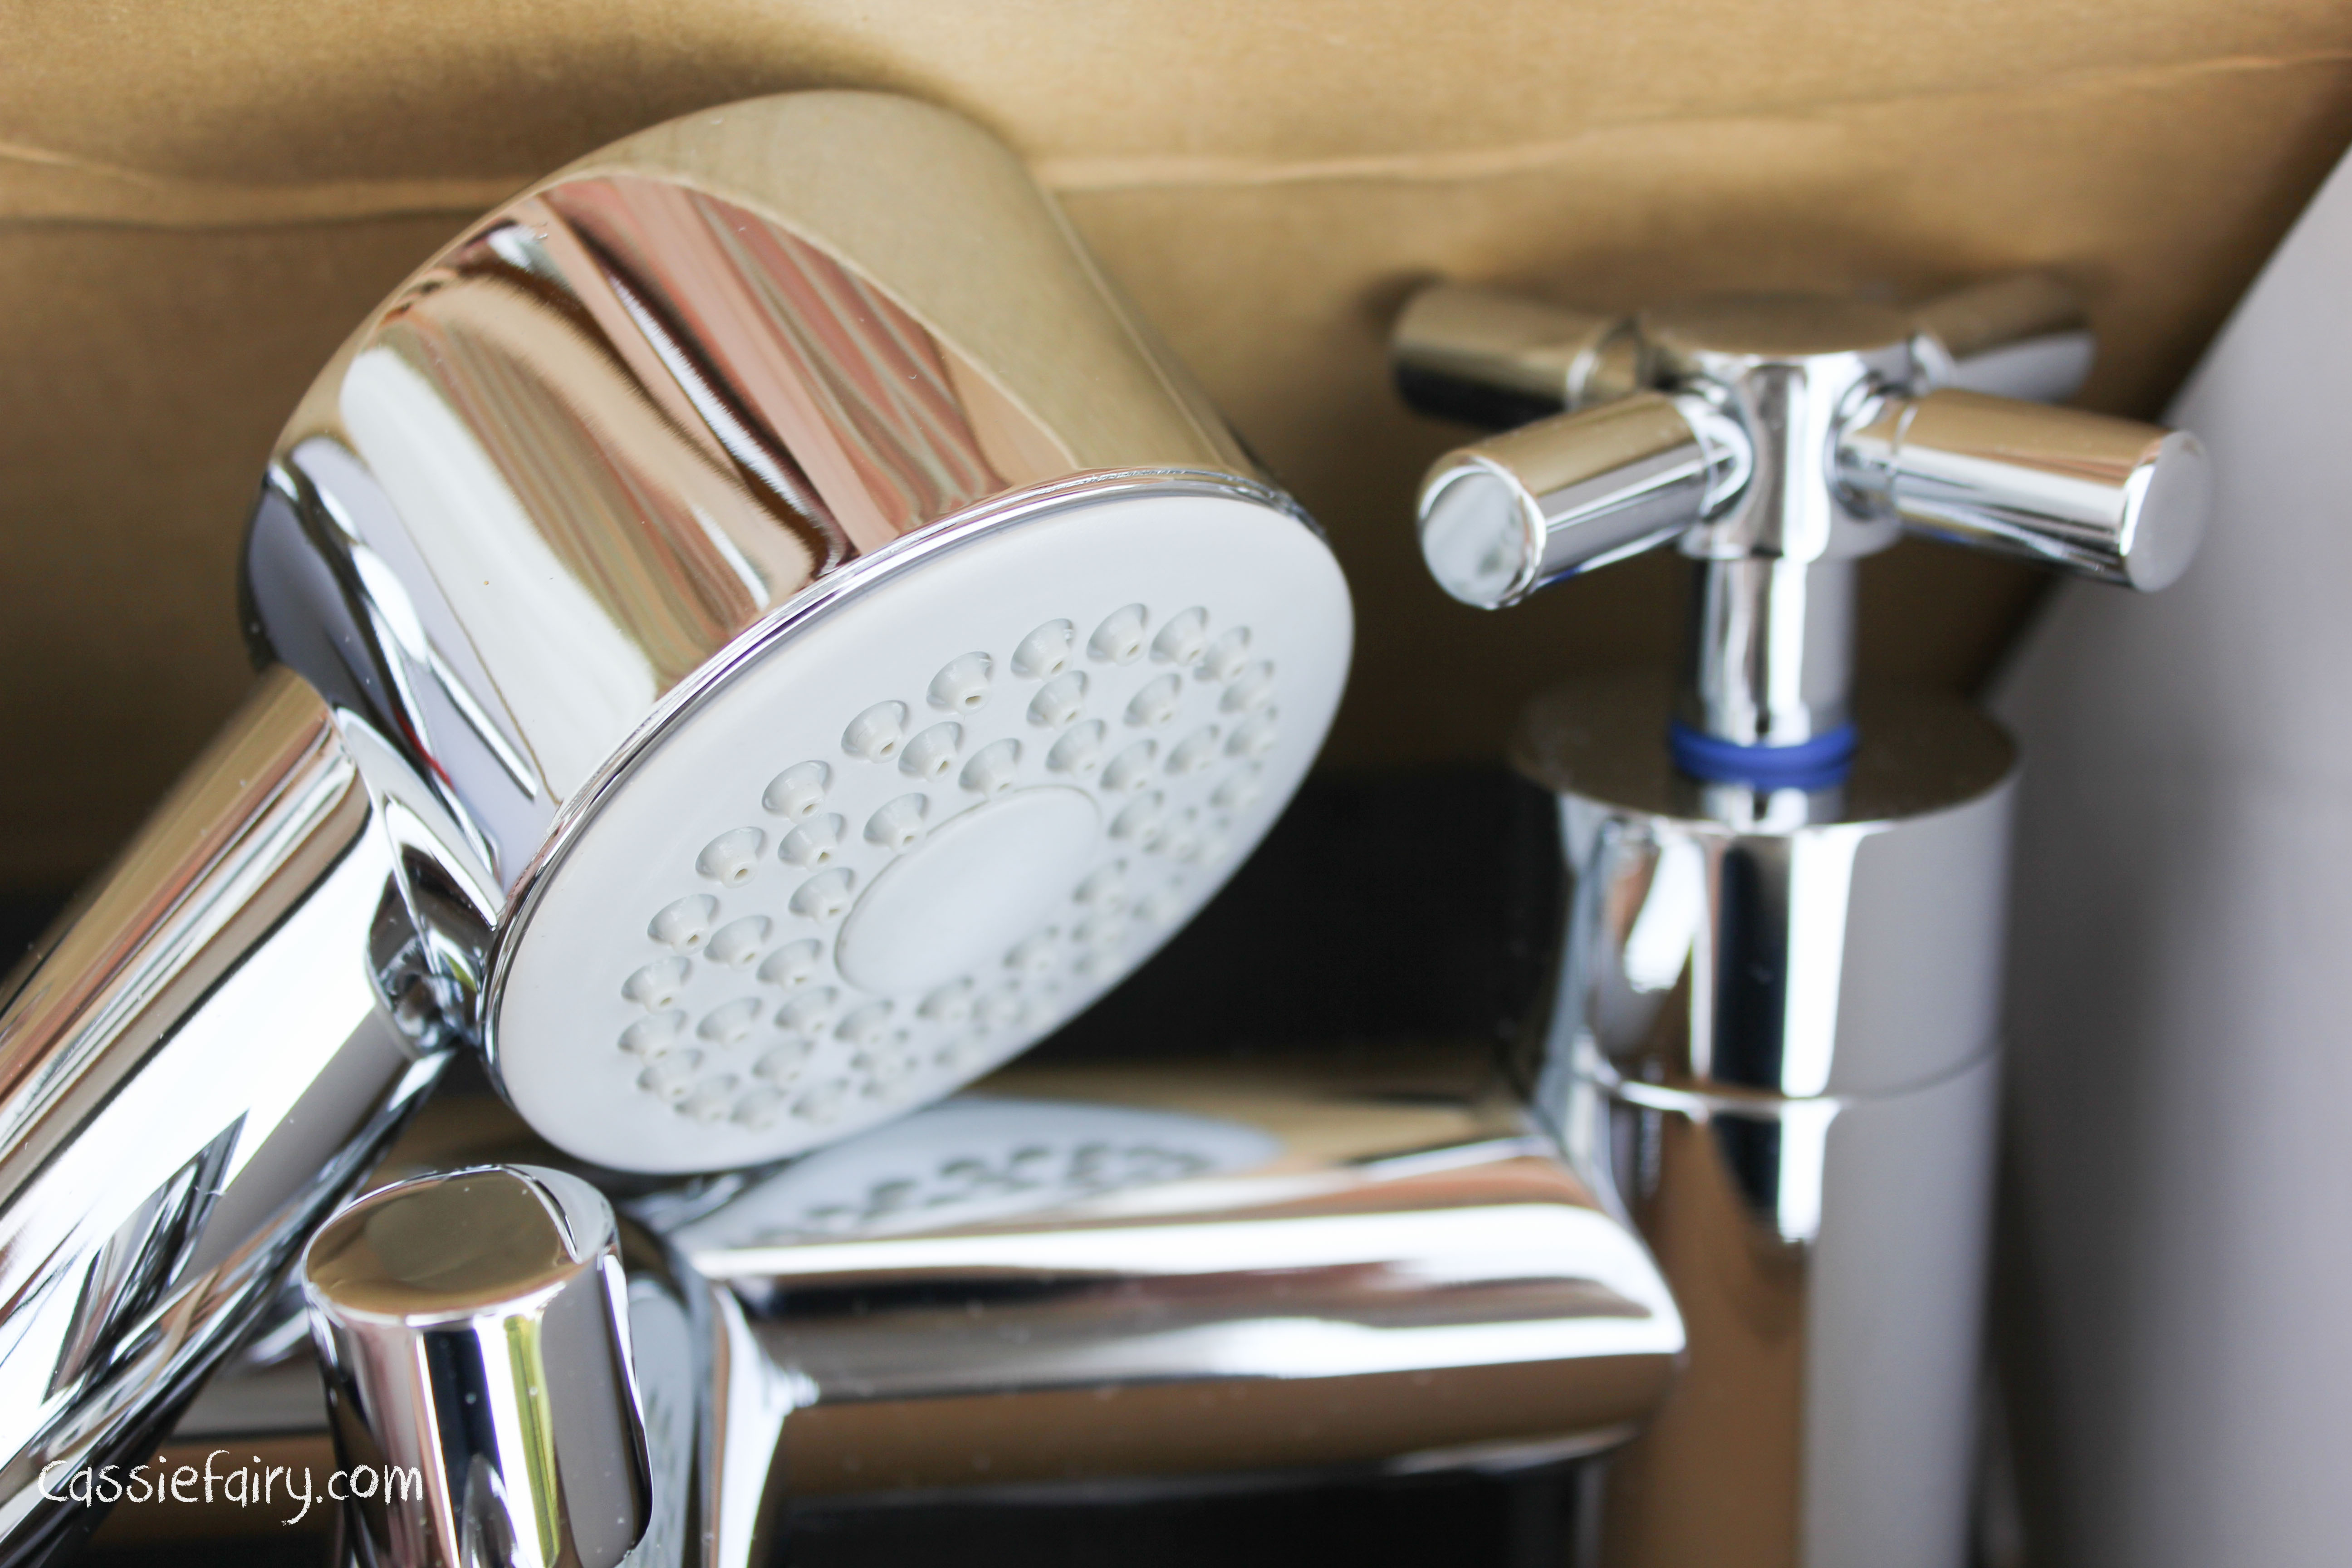
 Our fabulous new bath from Bella Bathrooms
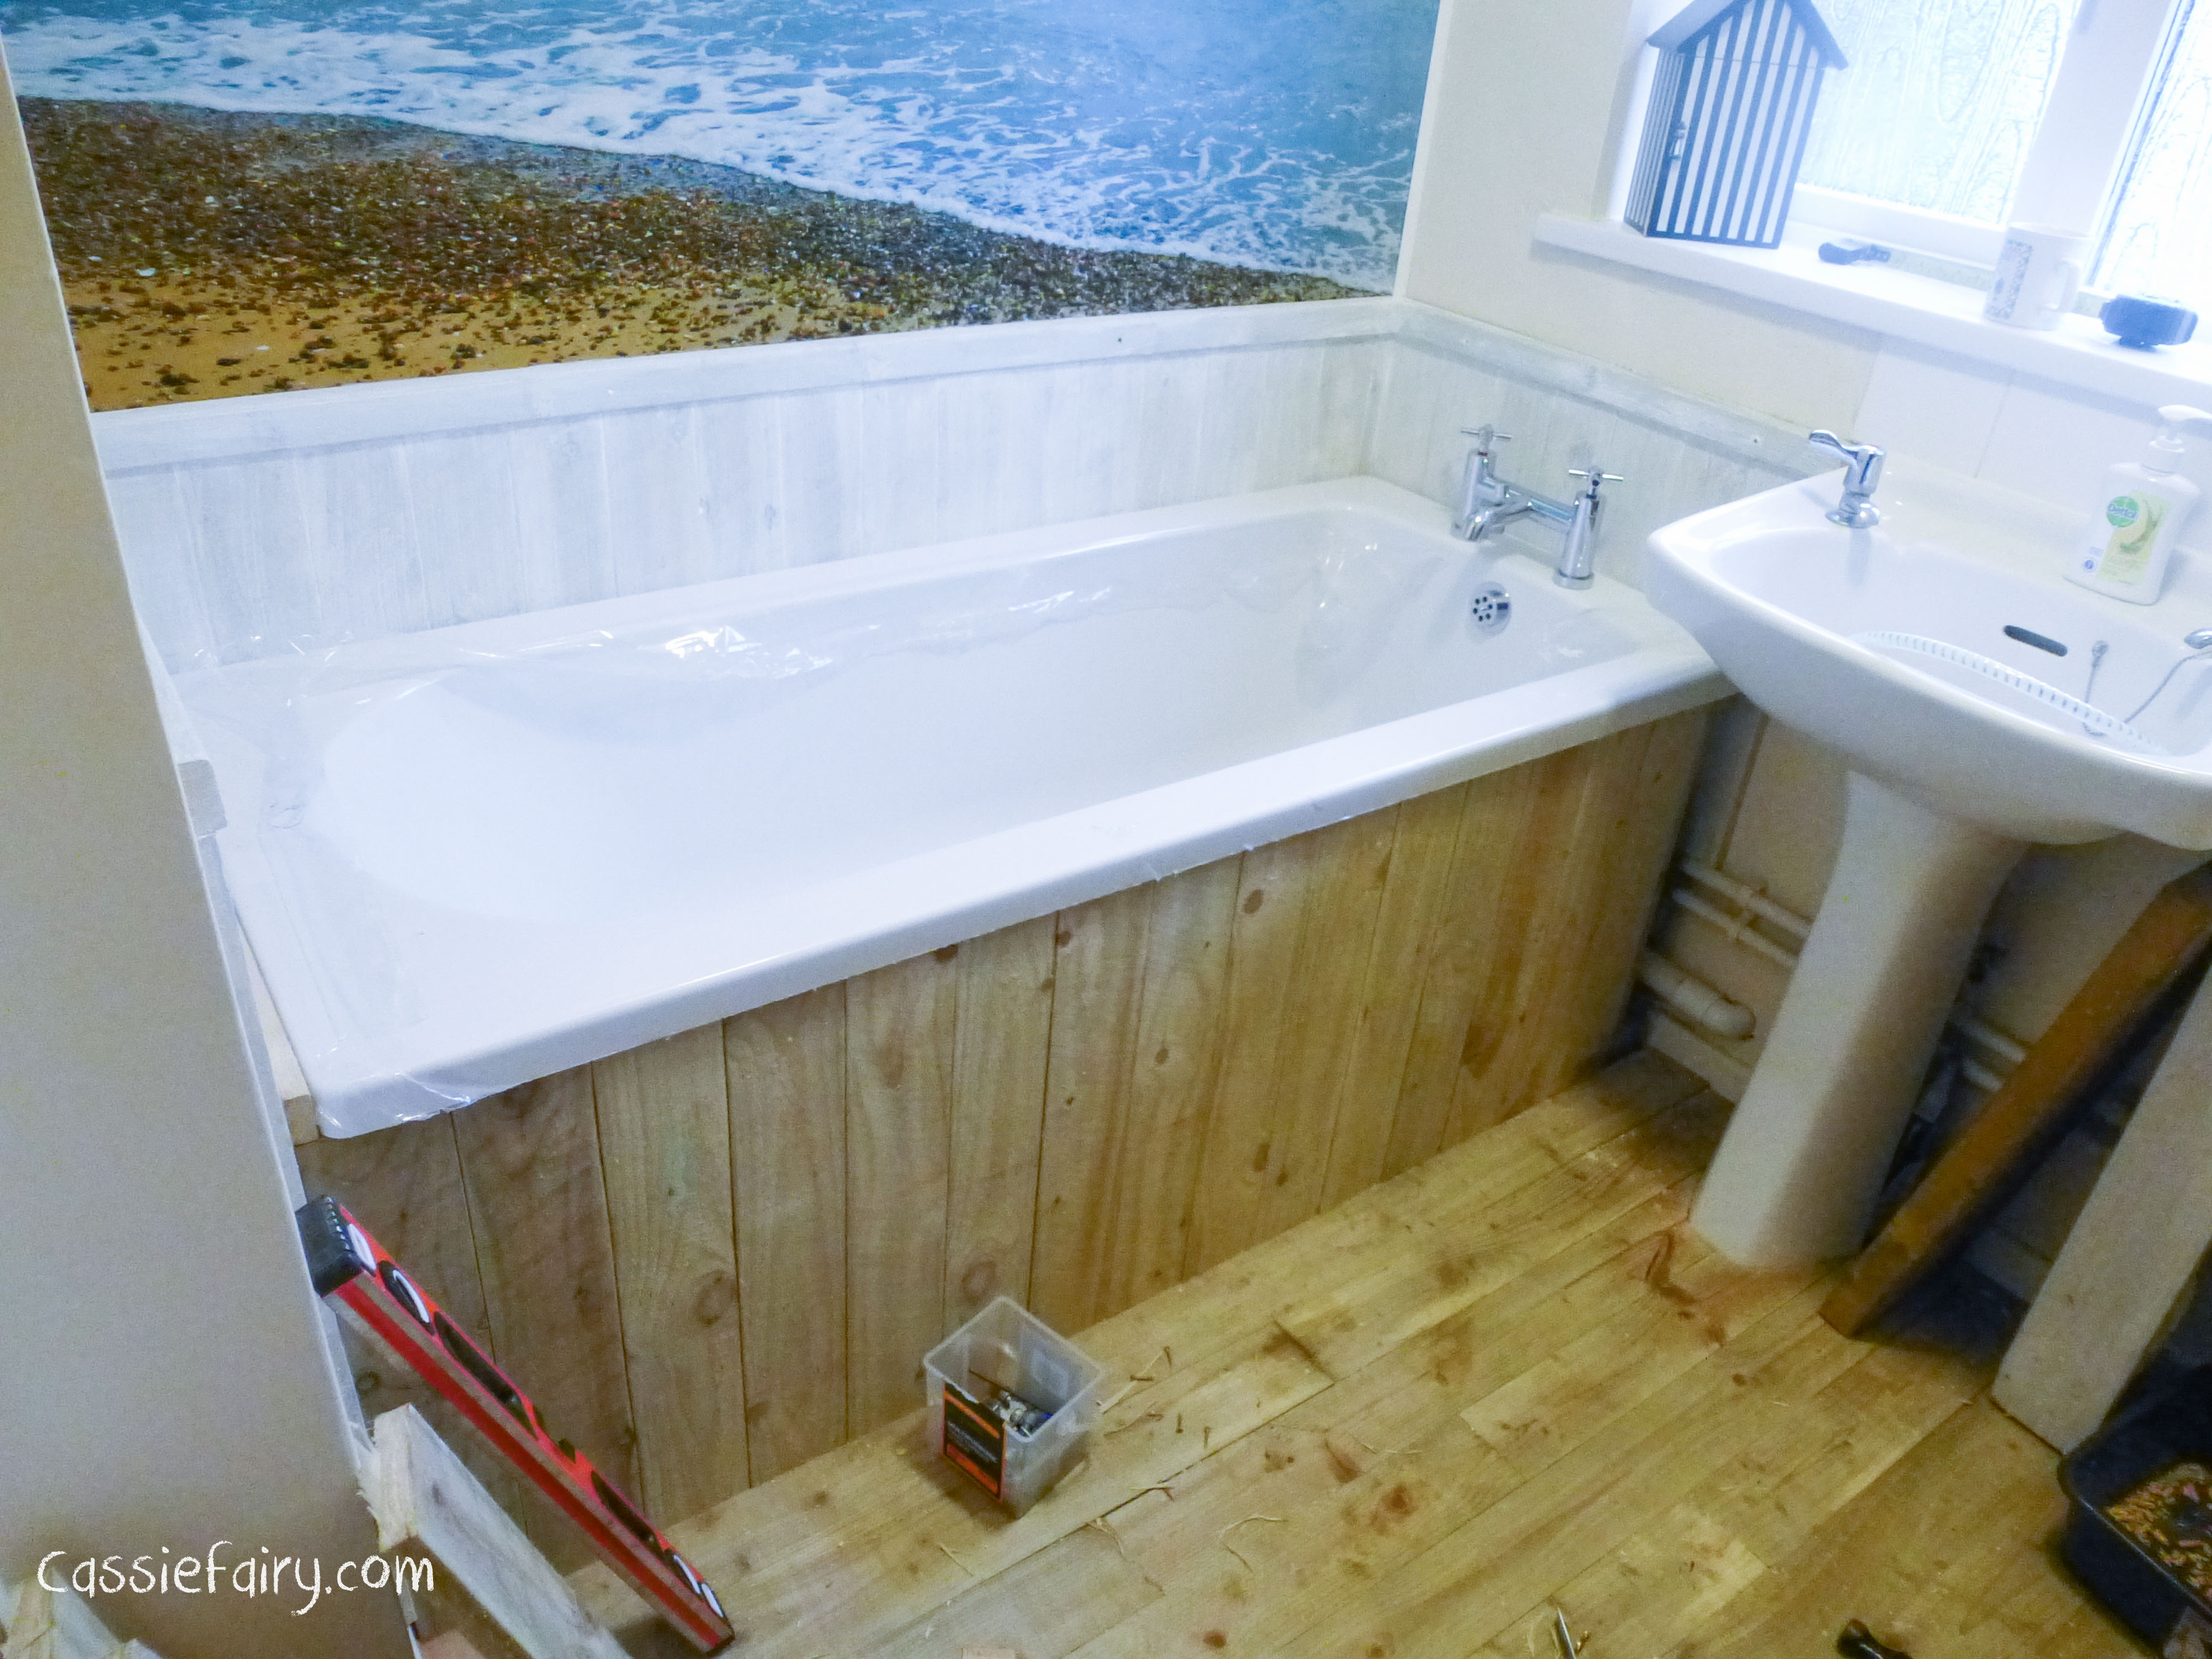
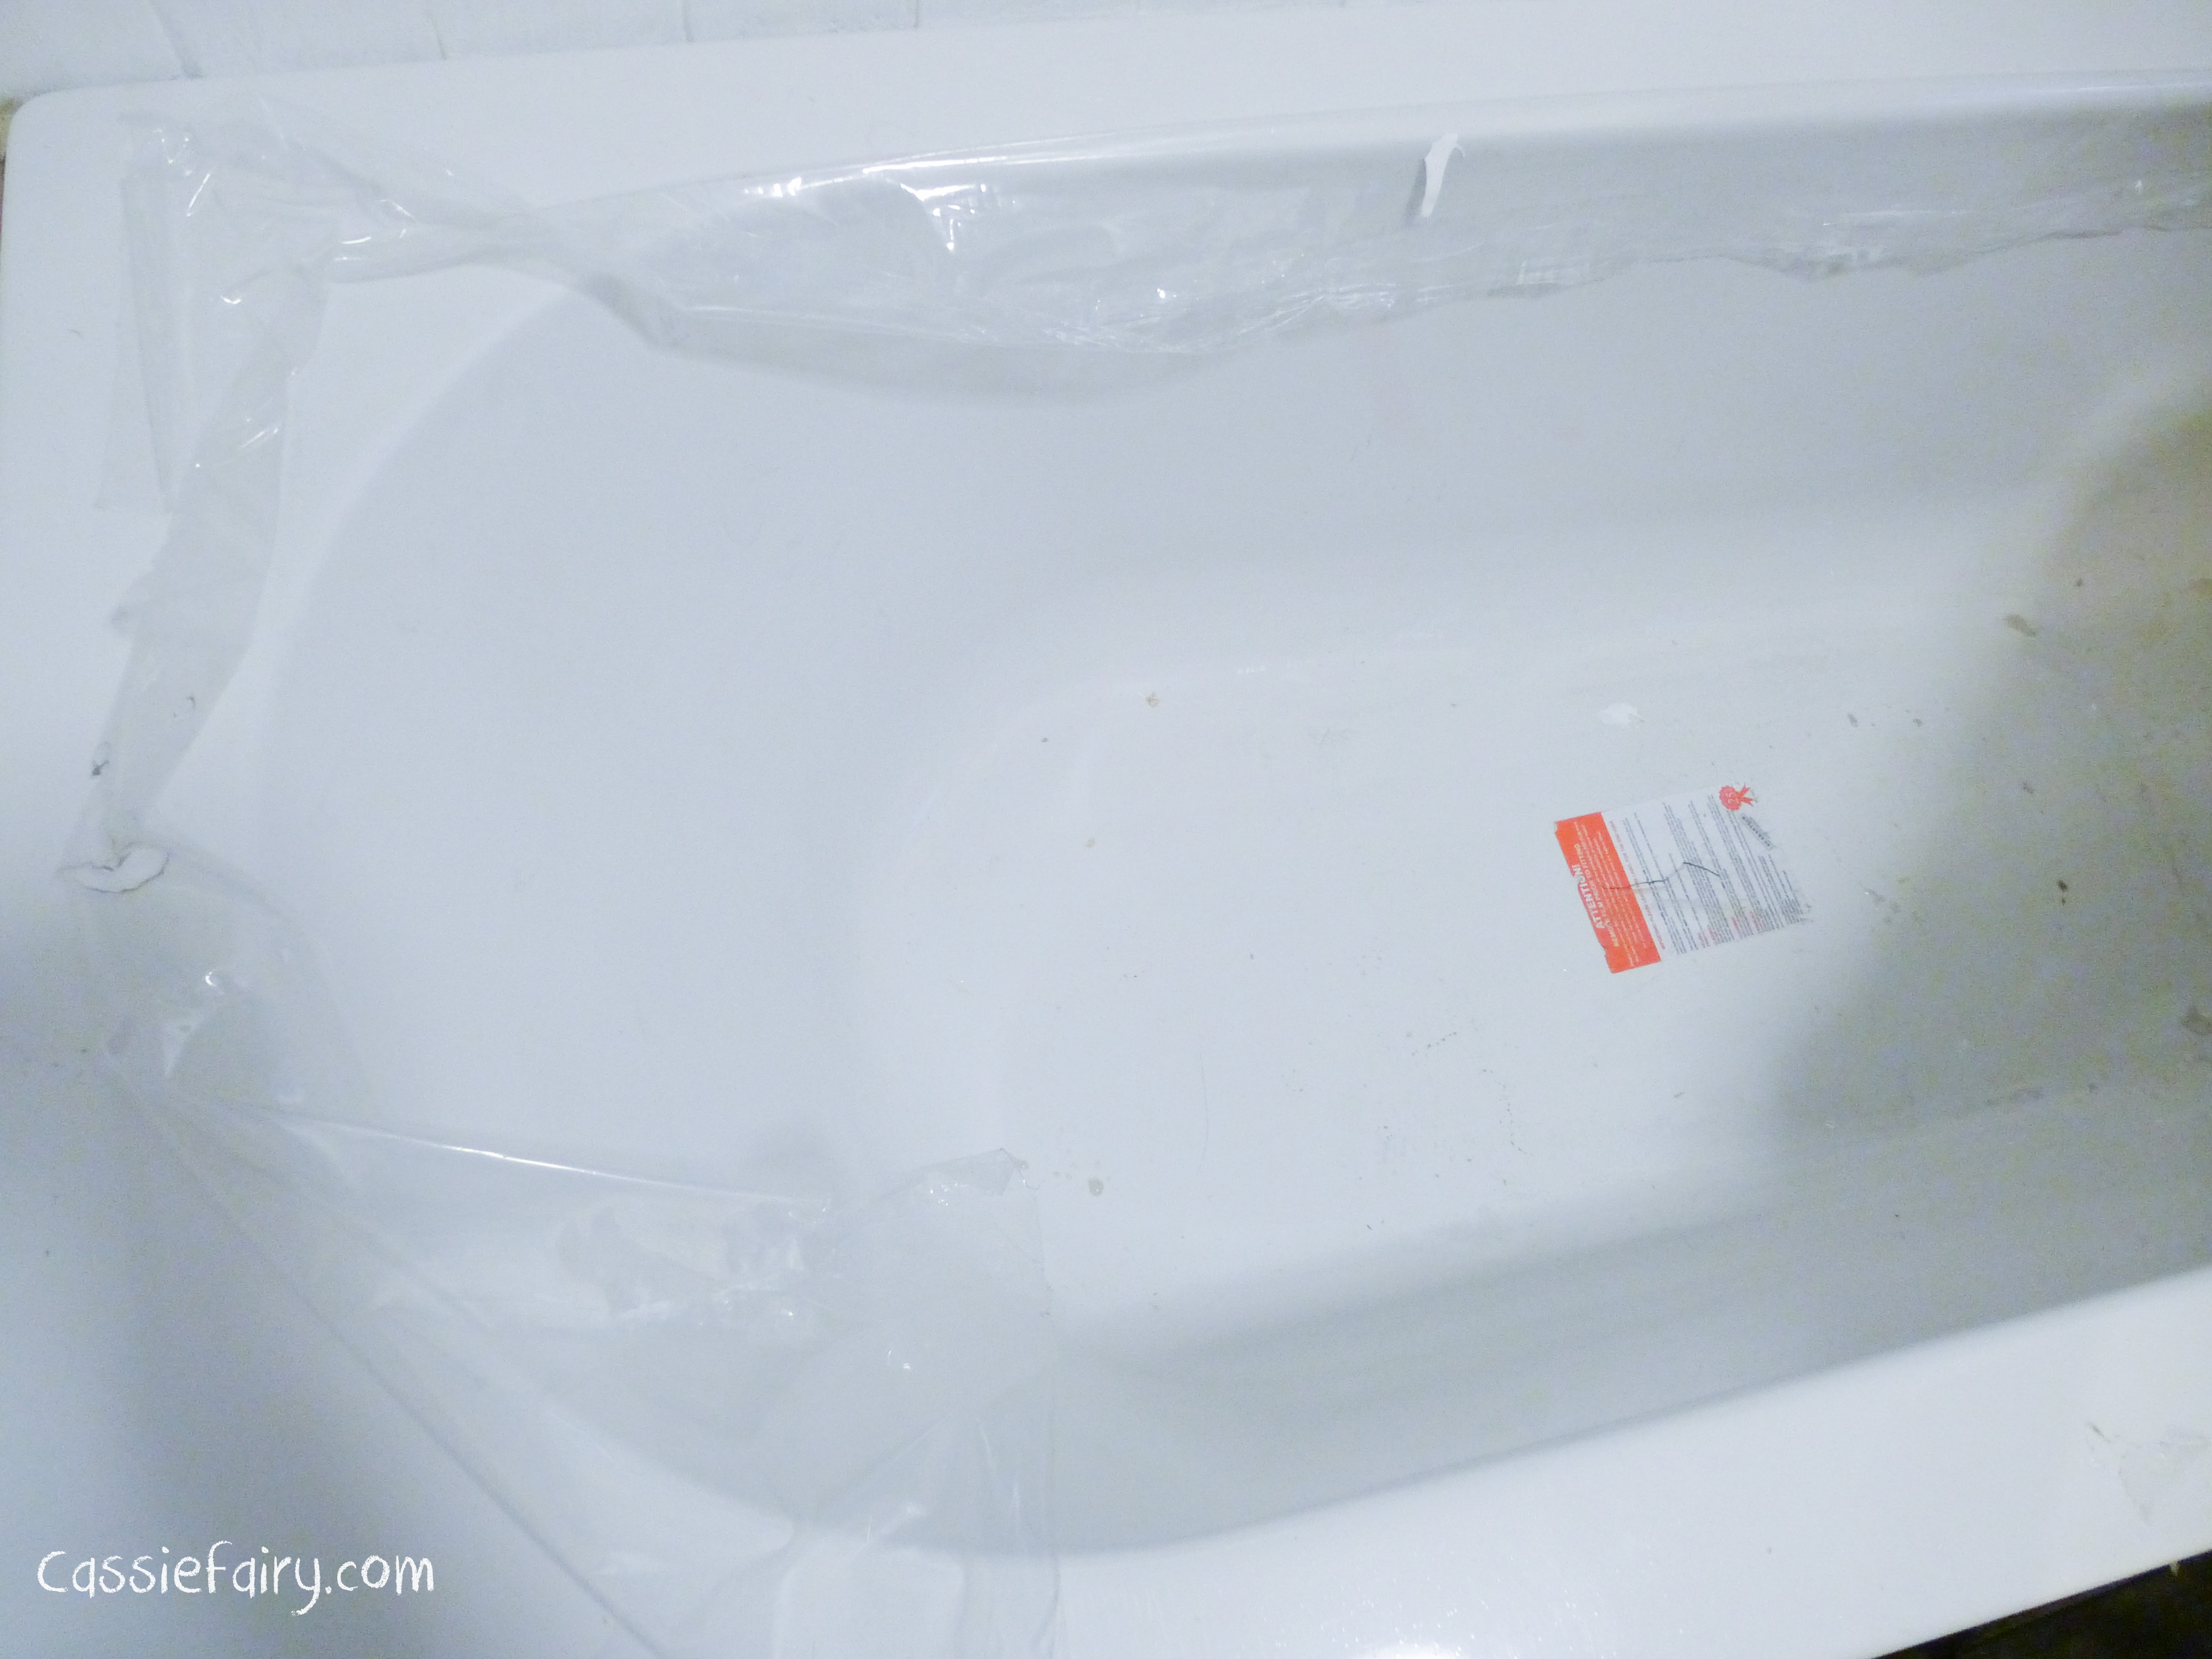
The bath was finished off with a panel of the same shuttering wood across the front and I’m still deciding on whether to white-wash this panel and the floor or not. A particularly scary moment was when we turned the water supply back on and tried the taps for the first time. Of course, there wasn’t anything to worry about as my husband had carefully fitted all the pipes, washers and silicone in the plug hole etc but it didn’t stop me checking for leaks! Thankfully, everything was fine and not a drop of water escaped so the final thing was to remove the plastic covering of the bath – like peeling off the cover of a new phone screen, but even better! We did it together and stepped back to admire our new bath.
I’ll be sure to share more photos of the ‘finished’ bathroom soon, so watch this space!
Some items in this blog post have been gifted to me and the pink links indicate a gifted product, affiliate link or information source. All thoughts and opinions in this post are based on my own experience and I am not responsible for your experience 🙂