Before buying anything new for my home, I stop for a moment and think about whether I could make it myself. Could it actually be better than a budget buy if I hand-make the item I need? Do I already have something that I can upcycle and customise?
If I’m able to save some money along the way that’s great but, most of all, I like being able to choose the exact dimensions, colours and finishes for my ‘new’ furniture. How else can you get custom-made furniture for next-to-no money??
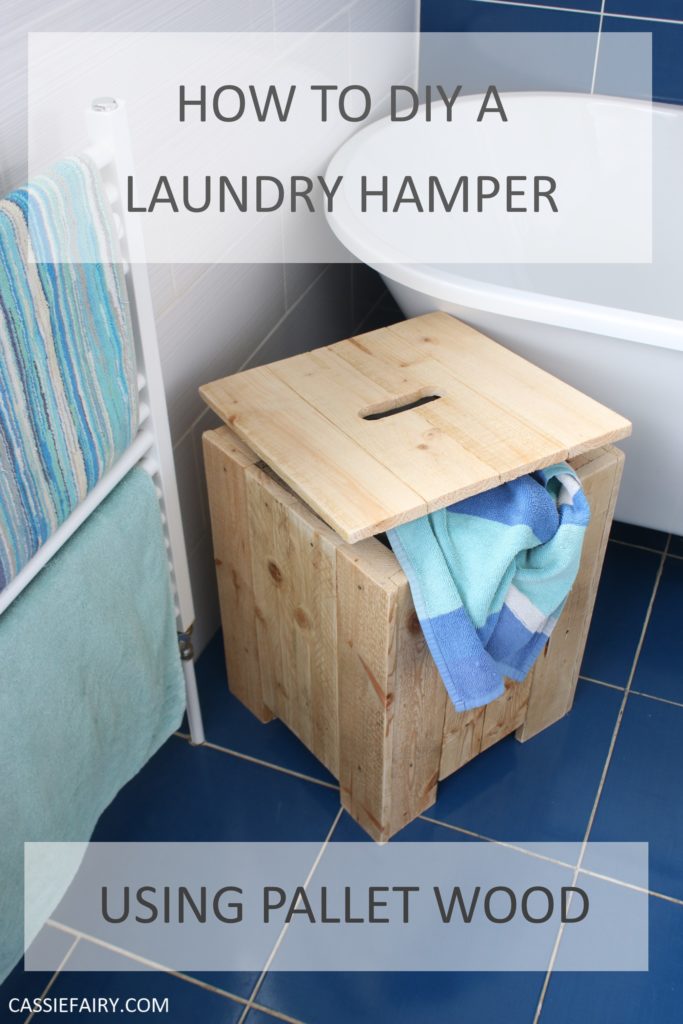
Let’s grab a pallet and make some driftwood-style bathroom storage!
You will need:
- 2 x Brick pallets
- 75mm holesaw
- 35mm forstner drill bit
- Palm sander and sandpaper
- Screwdriver and screws
- Small right-angle brackets
- Hammer and nails
- Wood glue
- Glue gun and glue sticks
- Rope
- Clear topcoat varnish

Laundry bin
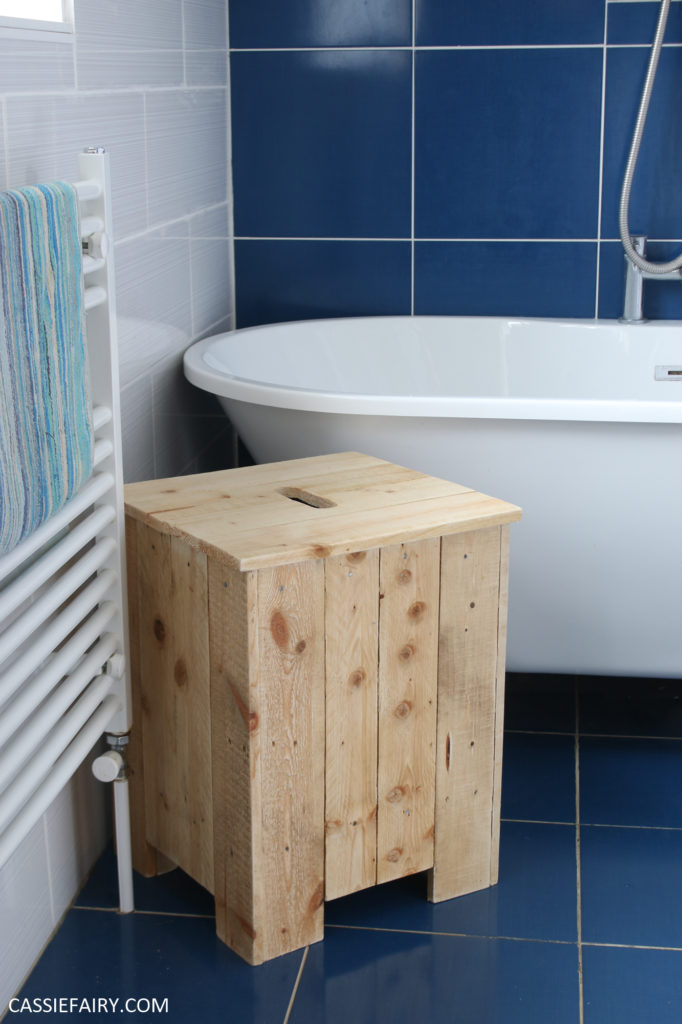
This DIY laundry bin also doubles up as a seat in your bathroom (or somewhere to put your cup of tea while you’re relaxing in the bath). It’s a low-cost way to get that driftwood, beach hut style in your bathroom and the project shouldn’t take more than a couple of hours to complete.
I’ve used my Addis bin inside the wooden frame, so that it can be easily removed when you need to take a load of washing to the machine. You can use any bin you like, just adjust the measurements of the pallet frame to accommodate the size of the bin you’re using.

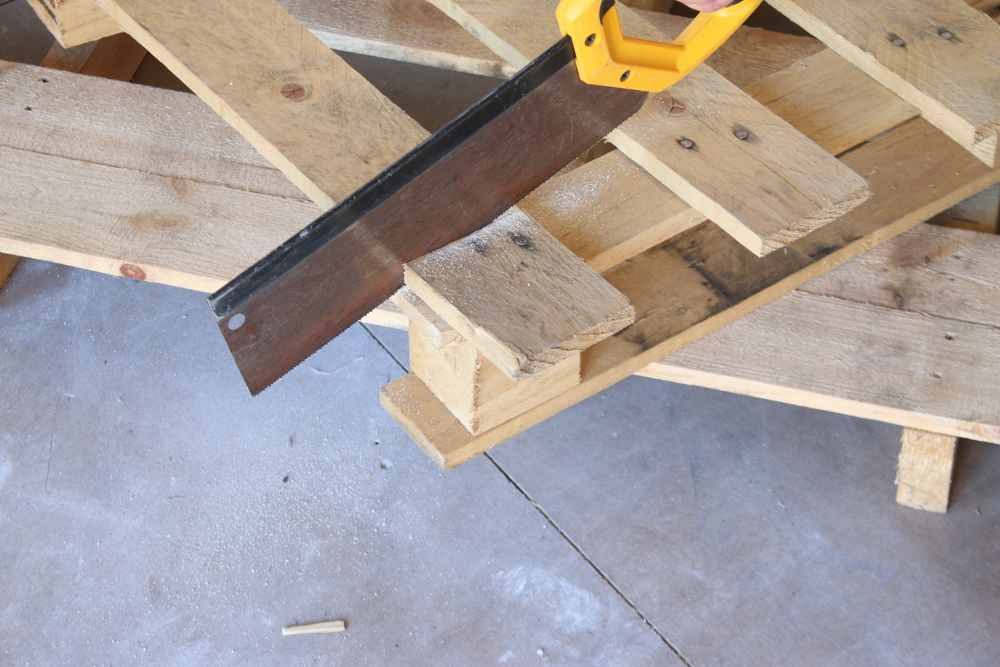
STEP 1
Begin by cutting the planks off the top of a brick pallet. This is the kind of lightweight pallet that has 7cm x 3cm framing between the planks, rather than big chunky blocks.
STEP 2
Use the internal 7cm x 3cm framing to build two ‘A’ frames, using two uprights and two cross beams. These will need to be big enough to allow the bin you’re using to sit inside the frame. Use wood glue on all the joins and nail into place. Then make another two rectangle frames – the same size as the ‘A’ frame but as if the legs of the ‘A’ have been cut off.

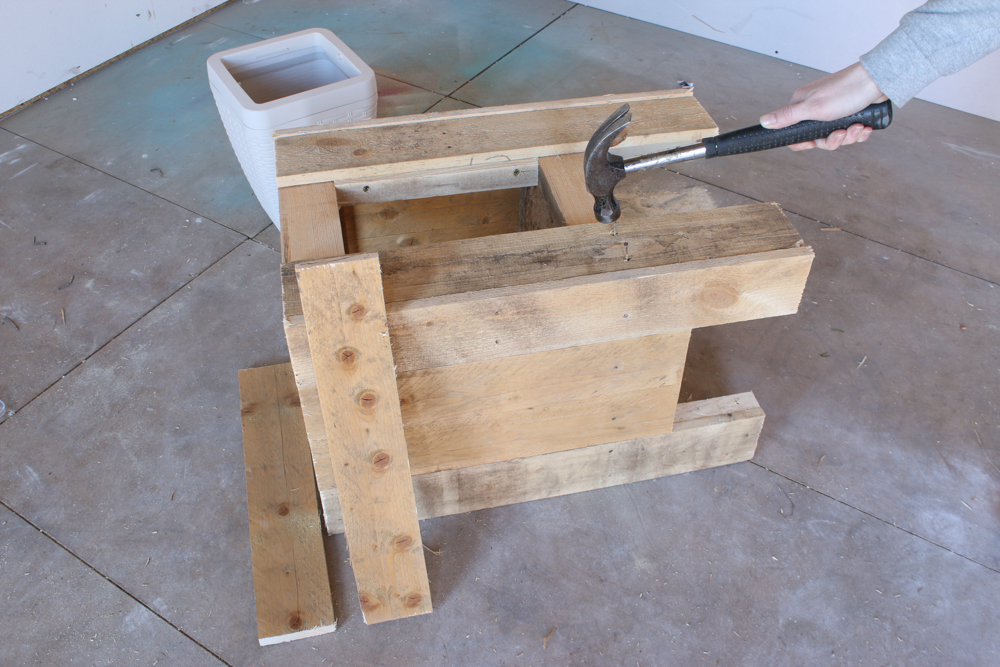
STEP 3
Glue and screw the four frames together at the corners and then add a couple of planks inside, across the lower beam of the ‘A’ frame to make a base for the internal bin. Nail in place.
STEP 4
Clad the outside of the frame with pallet wood. Add wood glue between all the planks and nail onto the frame. Allow the glue to dry thoroughly before using a palm sander to sand down the wood until it is smooth. Try to create curved edges so that it resembles well-worn driftwood.
STEP 5
Cut 4 planks of pallet wood to create a lid that’s the right size for the top of the laundry bin. Screw two planks across the underside of these four planks, to hold them together, using wood glue on all the joins.
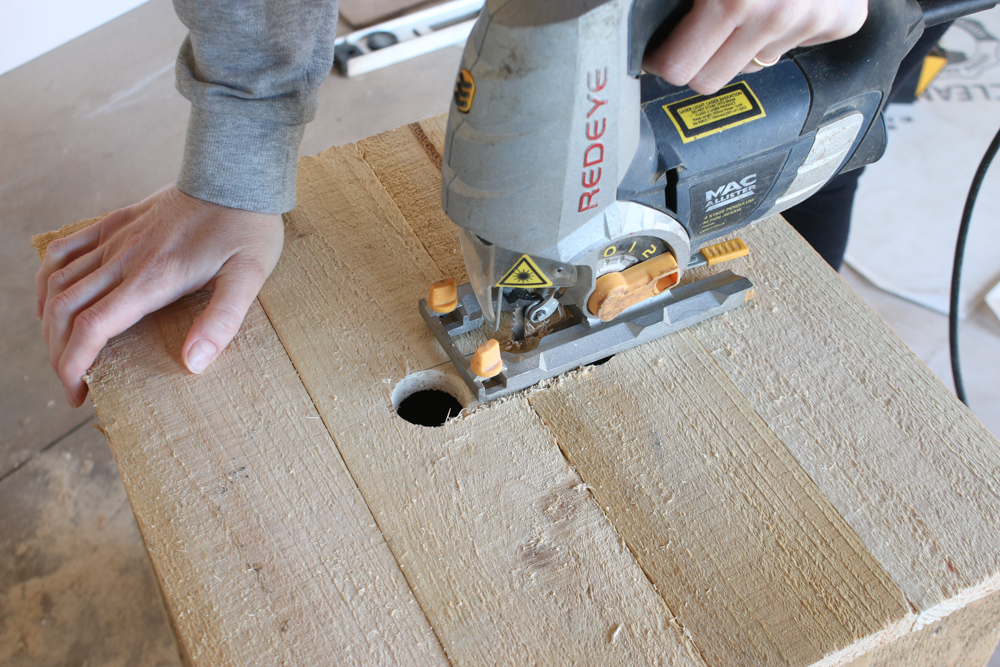
STEP 6
To create a handle hole in the lid of the laundry bin, use a 35mm diameter forstner bit to drill two holes and then use a jigaw to cut lines between them. Sand down all the rough edges.
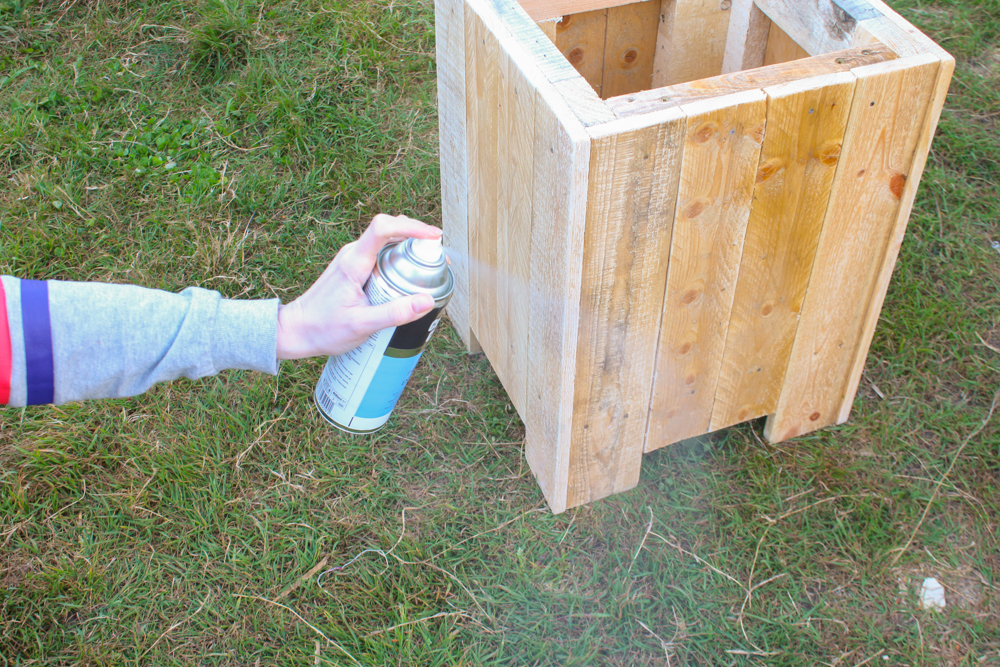
STEP 7
The final touch is to paint and seal the finished laundry bin. You can go for a whitewashed effect by watering down some emulsion paint, or you could choose a solid colour paint. We decided to keep the wood grain visible by simply spray painting the wood with a clear top-coat sealing varnish. The choice is yours!
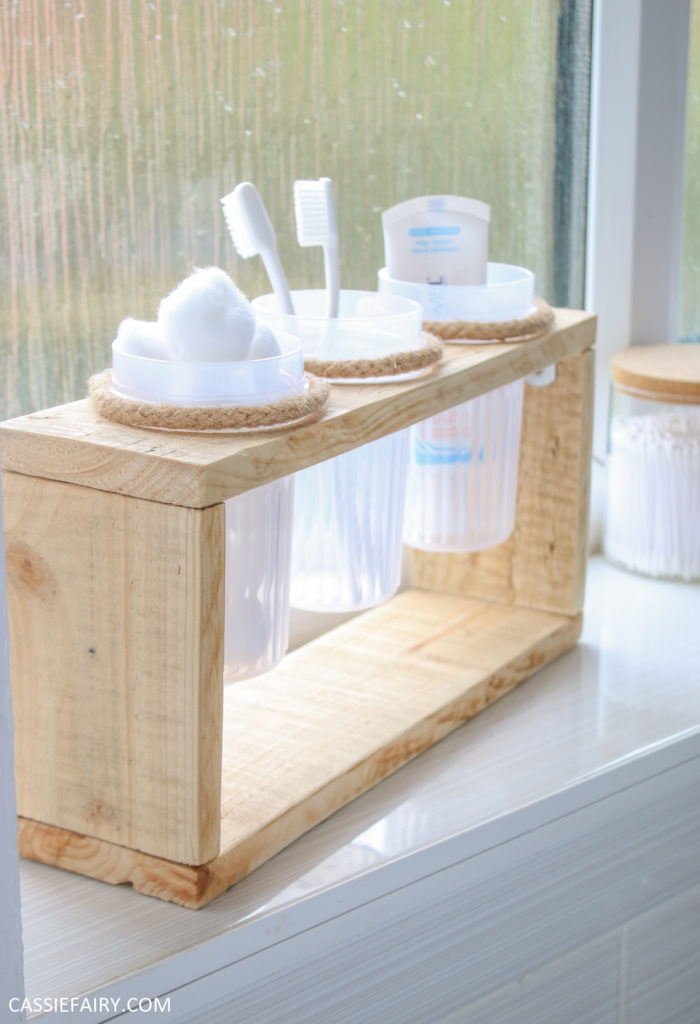
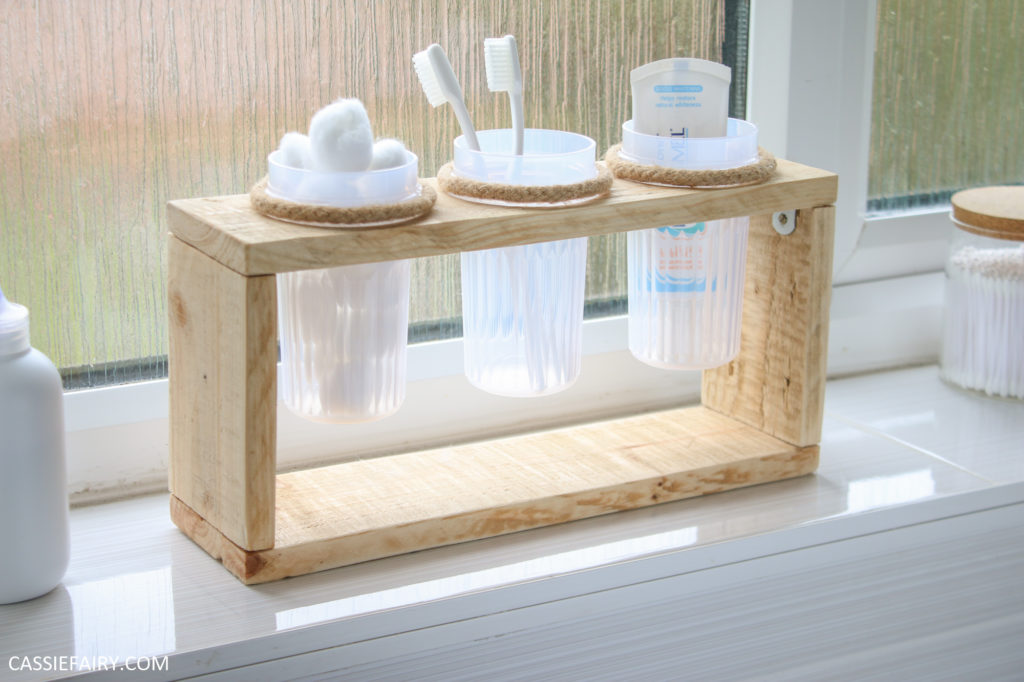
Bathroom caddy
This handy storage caddy can help to keep your bathroom shelves tidy. You can make it as big as you like and can add as many cups as needed to accommodate all the family’s toothbrushes and bathroom essentials. I’ve used Addis 330ml Seal Tight beakers in this project, which can be removed and cleaned as needed, but you could also use old jam jars or any storage tubs you have.
STEP 1
Cut two planks of pallet wood to the length you require, and another two side pieces to accommodate the depth of the cups you plan to use. Draw line down centre of one of the longer pieces ensure that the holes will be central on the plank.
STEP 2
Use a holesaw that’s the same diameter as the storage cup or jar you’re planning to use. In this instance, a 75mm holesaw was idea for holding the 330ml Seal Tight beakers. Decide on the spacing between the cups you’re using, and then use the central pencil line as a guide to position the drill bit when cutting out the holes.
STEP 3
Again, you can create a driftwood effect by sanding down the rough edges on all the planks using a palm sander.
STEP 4
Once the wood is completely smooth, you can use right-angle corner brackets on the internal corners to fix the unit together, using wood glue where the planks meet at the corners. Add some nails from the underside of the caddy for extra stability.
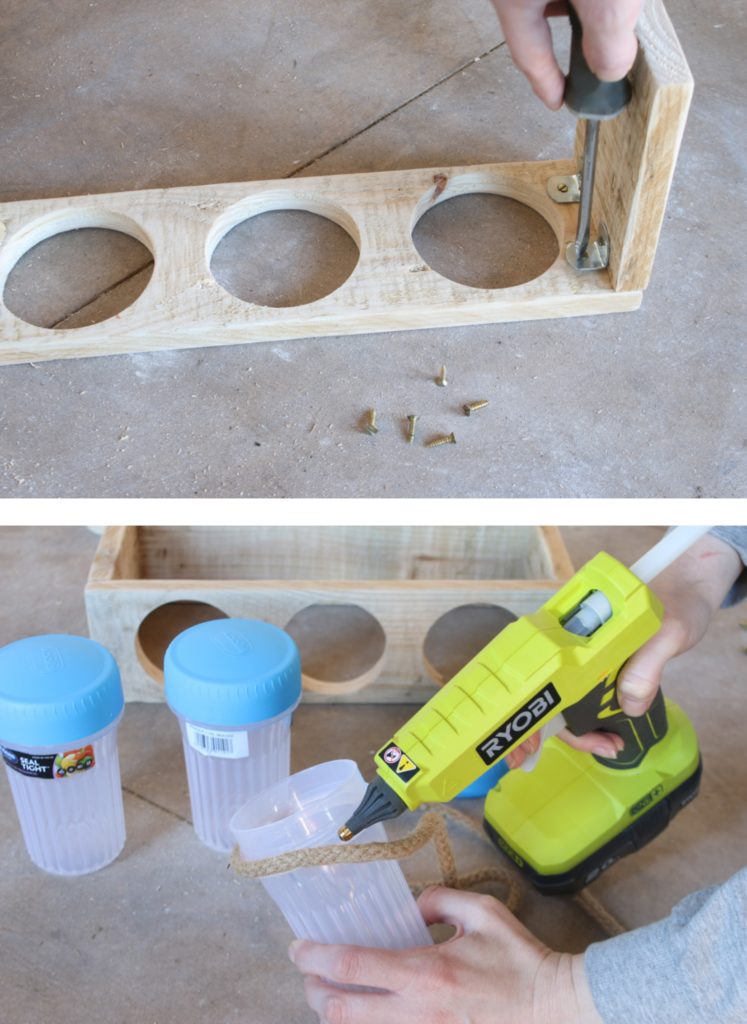
STEP 5
Finally, paint, stain, varnish or whitewash the wood to coordinate with the finish of your laundry bin and allow to dry. You can decorate the jars or cups by using a glue gun to hot glue some rustic rope around the top, to tie in with the nautical, coastal vibe.
So, there you have it – two handy storage items for your bathroom that bring beachy, driftwood style to your bathroom, using upcycled pallet wood.
Let me know if you have a go at making these DIYs in the comments below. And, as with all our projects, please take care while using tools and materials and be sure to carry out projects safely. Your use of this guide is entirely at your own risk – stay safe!
Pin it for later