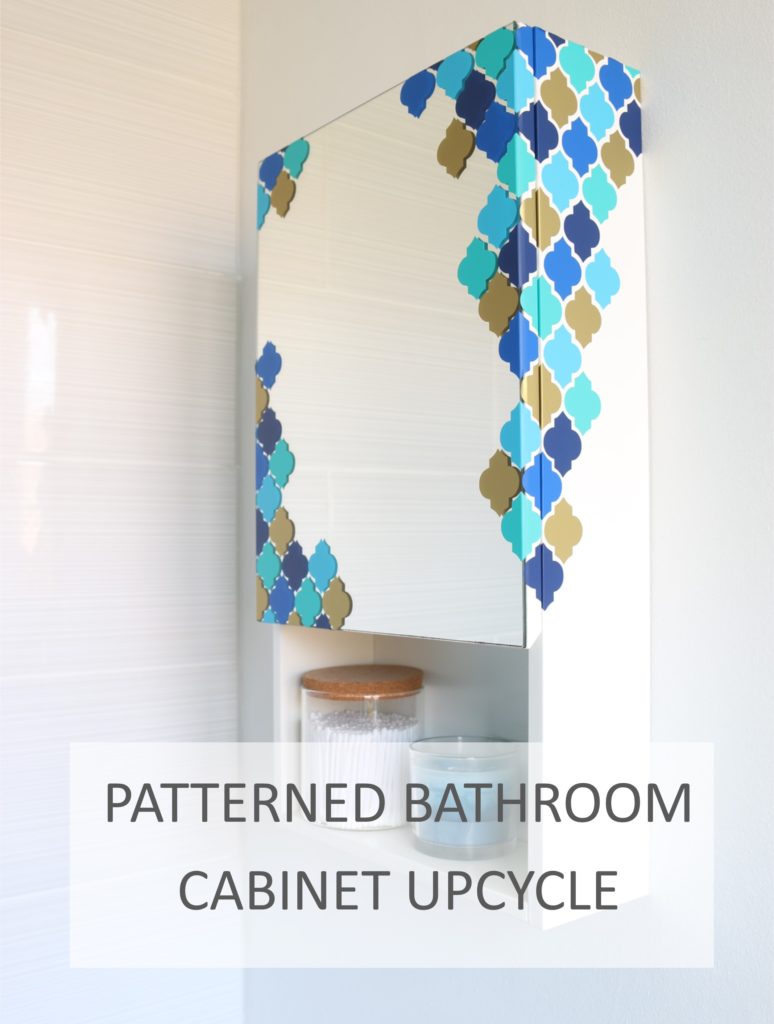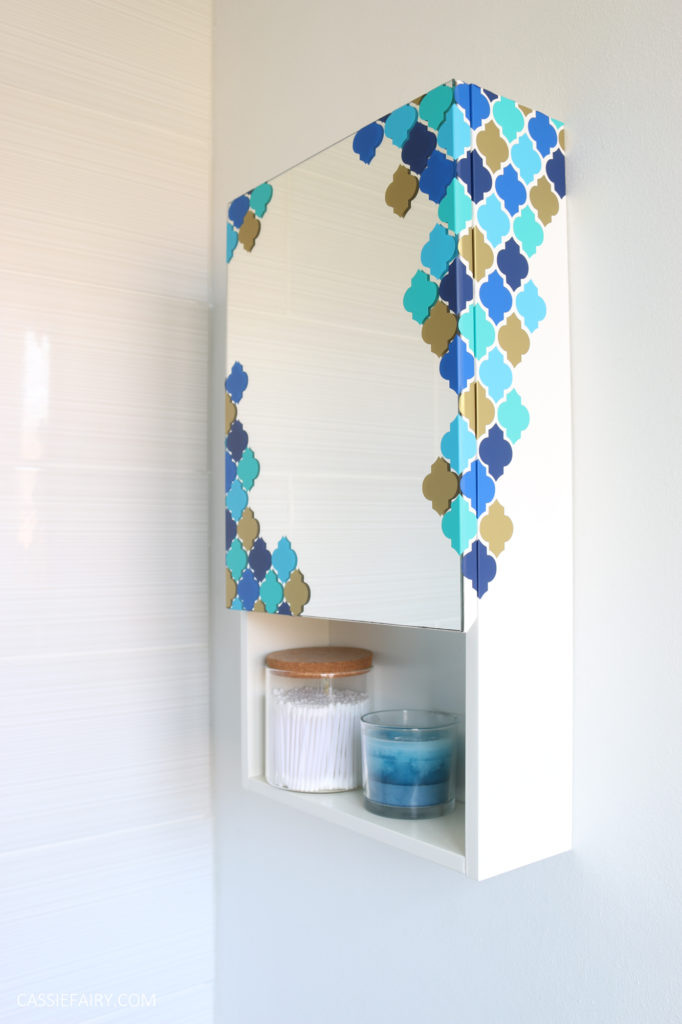
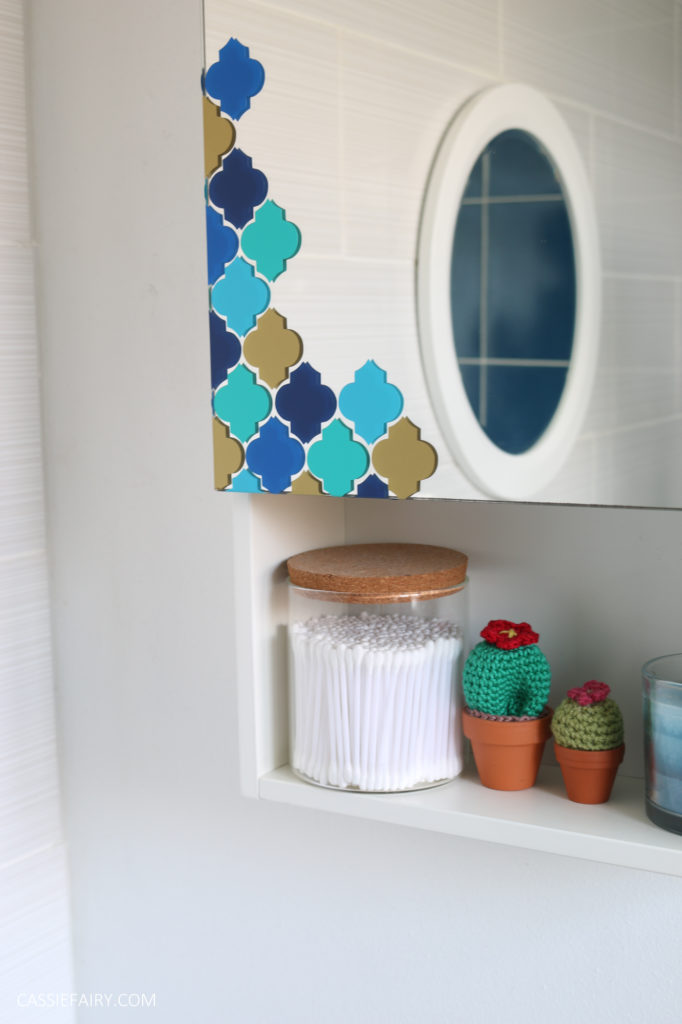
I wanted to create some storage that would coordinate with my dark blue bathroom tiles and gold accessories. I chose a Moorish-inspired pattern to create a spa-like Turkish Bath feeling at home.
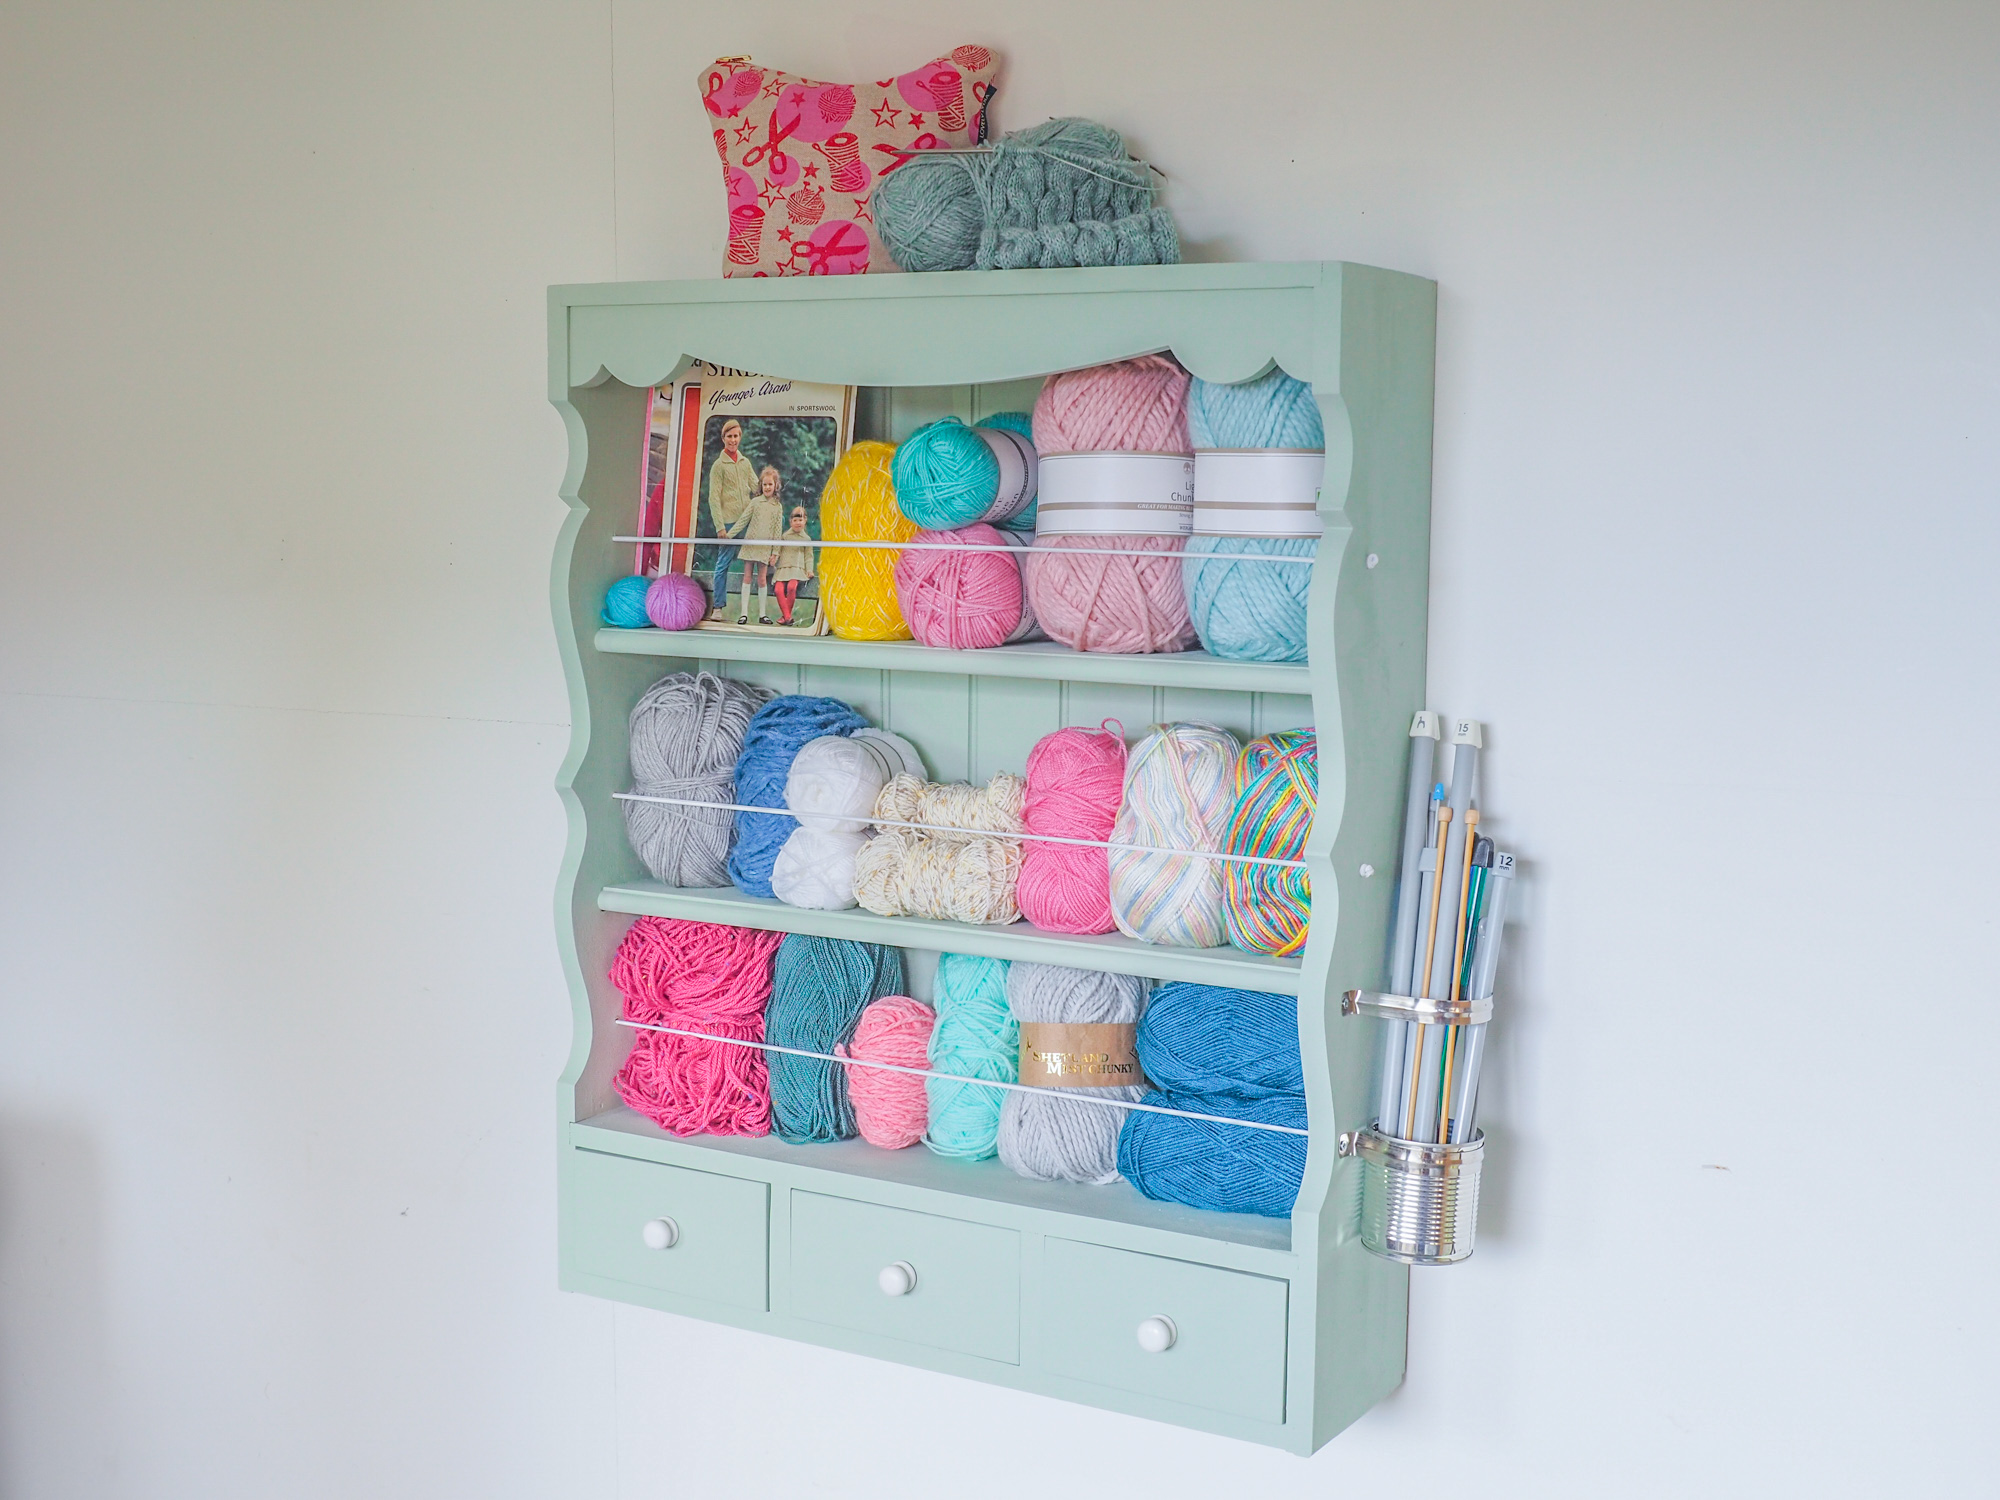
This method of adding pattern using self-adhesive vinyl can be used on a variety of furniture items and you can use any pattern you like to add colour to wooden, melamine, glass or metal surfaces.
You will need
Self-adhesive matt vinyl from www.vinylwarehouse.co.uk – I used these shades:
- Turquoise 366
- Sky blue 358
- Cobalt blue 359
- Mid blue 354
- Metallic gold 391
- Lint-free cloth
- Brother ScanNCut CM900
- Middle-tack adhesive mat 12” x 12”

Step 1
Turn on the ScanNCut and press the ‘Home’ button to auto-connect to the WiFi network. Choose a shape or pattern from the built-in collection in the ‘Pattern’ section or search for a free downloadable pattern online. I used a pattern from freesvgs.blogspot.co.uk. Make sure that you’re using a Scalable Vector Graphic (SVG) file as this can be resized without causing pixilation around the edges, ensuring a smooth cut.
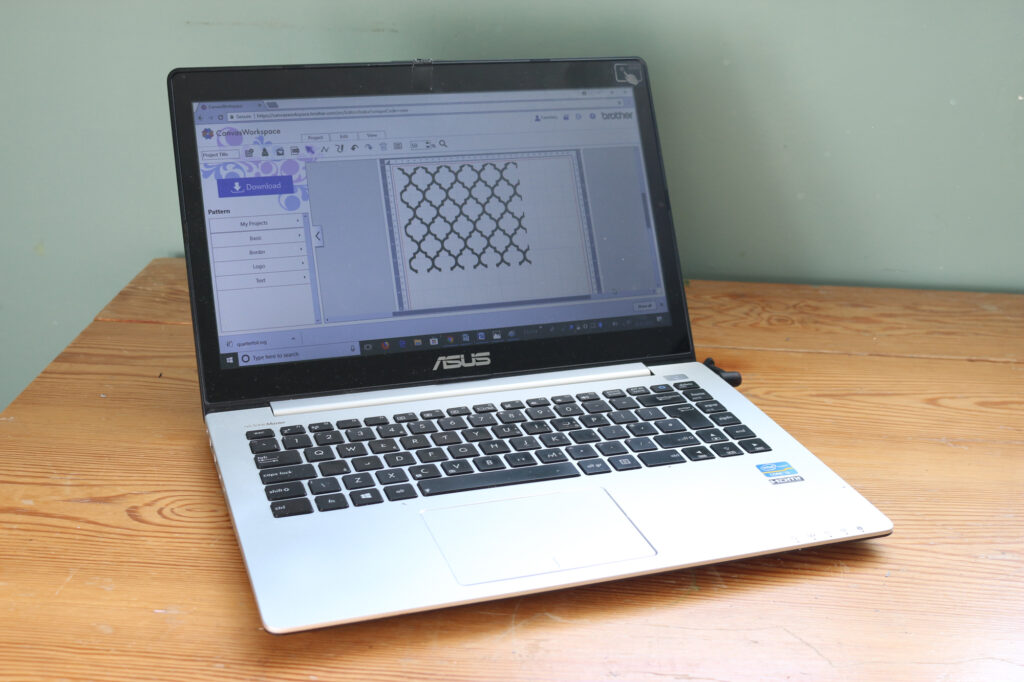
Step 2
Import the SVG file into the ScanNCutCanvas Workspace program. Adjust the size if needed and, when you’re happy with the pattern, click ‘download’ to transfer the pattern to the ScanNCut via your WiFi connection. Click ‘ScanNCut Transfer’ and on the ScanNCut screen, click the cloud ‘Transfer’ button to retrieve the pattern from ScanNCutCanvas workspace.
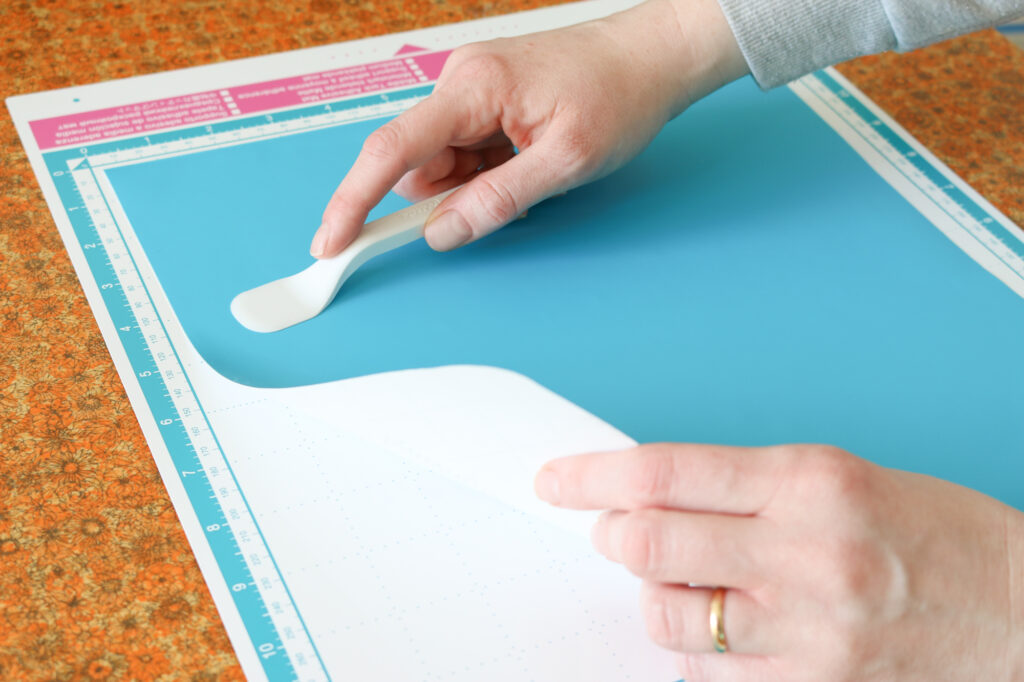
Step 3
Cut a piece of vinyl to fit onto the cutting mat. Peel the protective film cover on a middle tack adhesive cutting mat and press the vinyl onto the tacky surface. Use the spatula tool to smooth out any bubbles under the vinyl. Load the mat into the ScanNCut by pressing the ‘Mat’ button. Click scan.
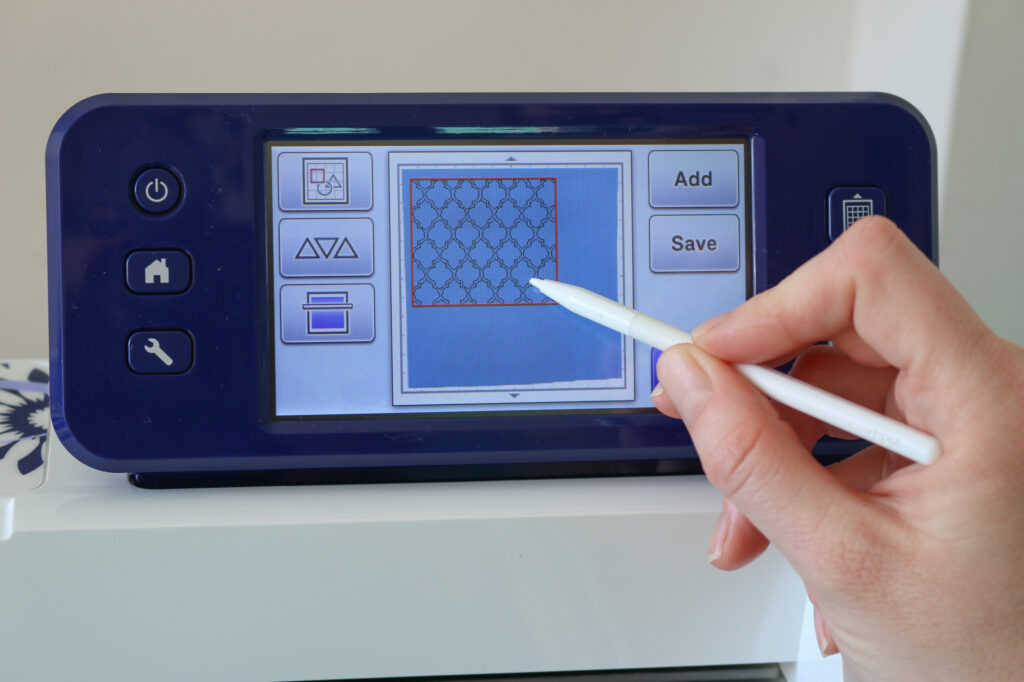
Step 4
The scanned piece of vinyl will show on the ScanNCut screen and you can use the stylus to drag and reposition the pattern to make sure it’s within the piece of vinyl. Check the blade depth and speed settings for cutting vinyl and click the ‘tools’ button to adjust the settings to suit the vinyl you’re using. Press ‘Cut’, then ‘Start’ and the blade will begin cutting the pattern from the vinyl.
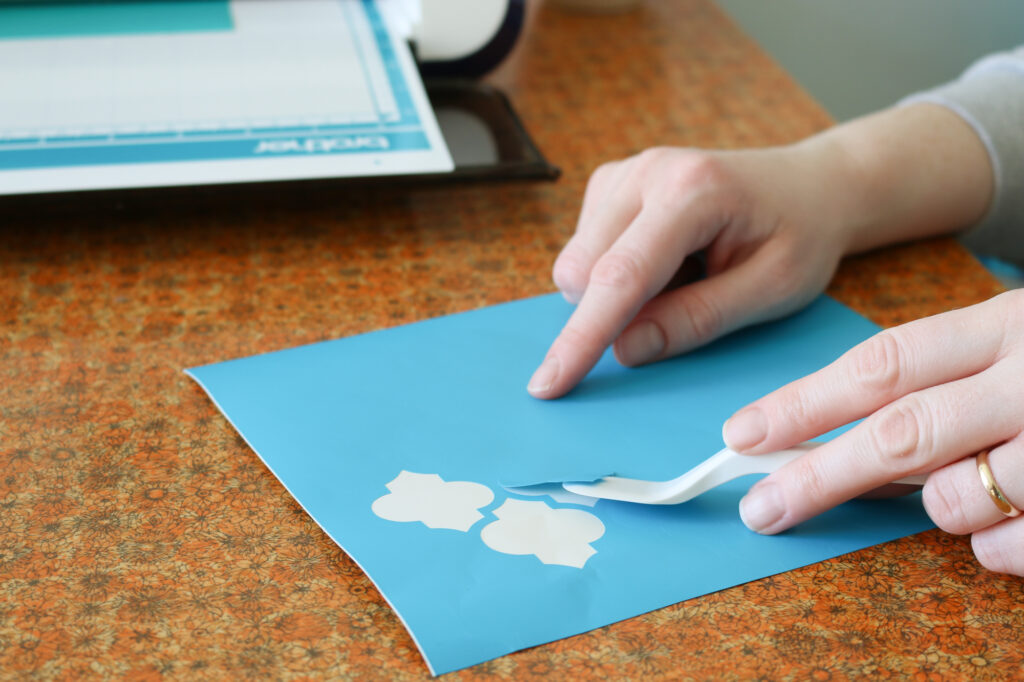
Step 5
When the pattern cutting is complete, use the spatula tool to remove the vinyl from the middle tack adhesive cutting mat and put the protective film back onto the cutting mat. When you’re ready to begin decorating the cabinet, use the spatula tool to remove each self-adhesive vinyl shape from the backing paper.
Step 6
Clean the bathroom cabinet with soap and water and allow to dry thoroughly. If you’re decorating a new cabinet, give it a wipe-over with a lint-free cloth to remove any dust from the packaging. When the cabinet is clean and dry, you can begin applying the adhesive vinyl shapes.
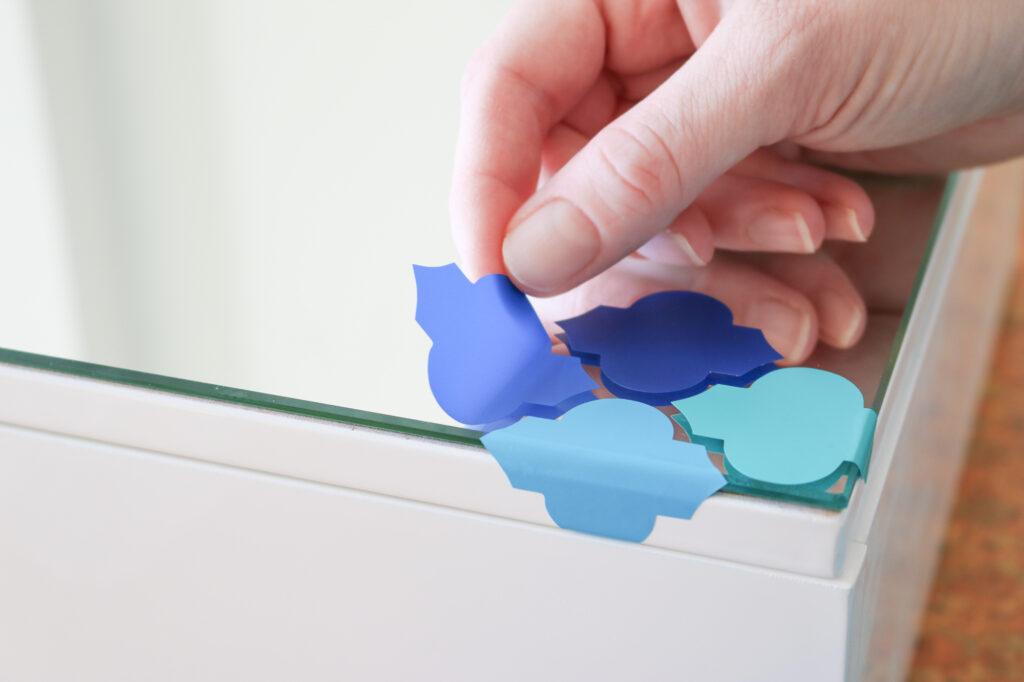
Step 7
Start at one corner and work your way along the edges of the cabinet, alternating colours as you go. Be sure to leave a small gap between the shapes, so that the white frame and mirror show through and create an ‘outline’ of the pattern.
Step 8
When you reach a join at the edge of the mirror, place the shape into the pattern as usual and fold over the edge of the mirror, onto the inside of the cabinet. With the door closed, create the second half of the pattern on the frame by lining up a shape in the same colour on top and sticking down the edge that meets the frame, not attaching the part of the shape that overlaps the mirror. Open the door and stick the rest of the shape to the inside of the frame.
Step 9
Continue adding to the pattern until you are happy with the spread of the design. I added a few extra shapes to break up the straight edges and make the finish around the mirror look more random.
Also, you don’t need to leave a gap between the vinyl shapes if you want to completely cover up the cabinet. Choose a pattern that tessellates perfectly and stick the vinyl shapes beside each other.
I hope this technique will help you to add extra colour and pattern to your own furniture pieces in the future. Let me know what upcycling projects you’re working on at the moment in the comments below and please feel free to tag me in your photo on Instagram so I can see your progress! 🙂
Pin it for later