It’s the ideal summer day, isn’t it? A BBQ sizzling away. Kids playing on the grass. Friends clinking bottles of beer and glasses of sangria together. The evening sun still shining warmly on your face. Ahh yes, an alfresco dinner with friends is the ultimate August bank holiday activity, so I thought I’d help your event go smoothly with this upcycling project…
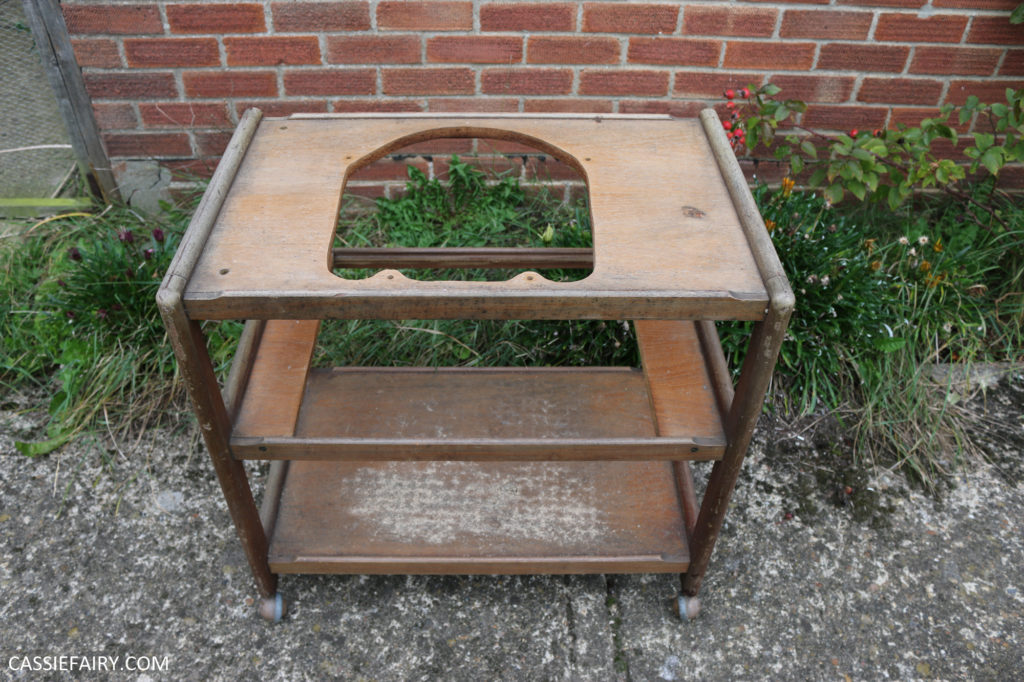
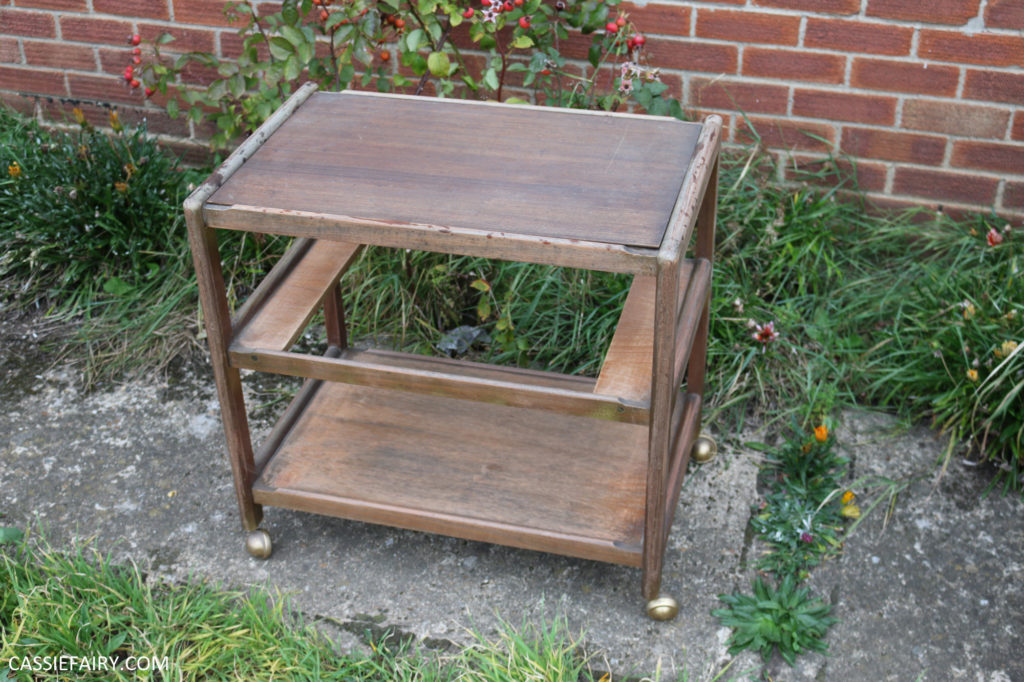
I don’t know why hostess trolleys ever went out of fashion. They’re so handy for gathering everything you need together, and wheeling it right where you need it to be. So, when I spotted this old wooden trolley in a skip, I was keen to rescue it.
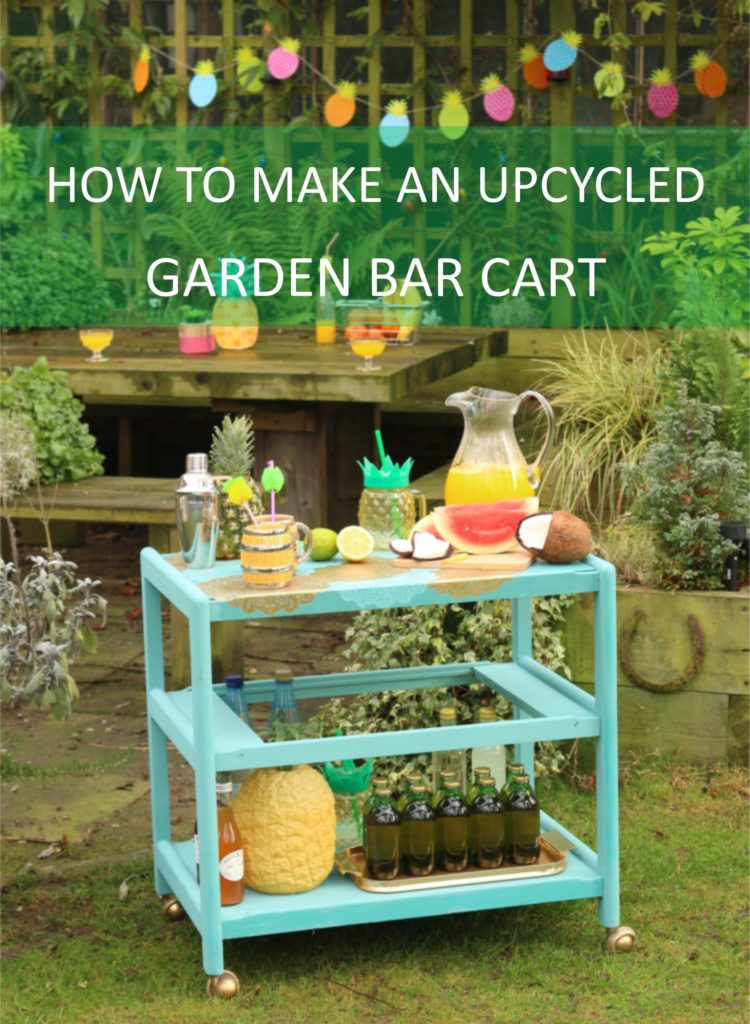
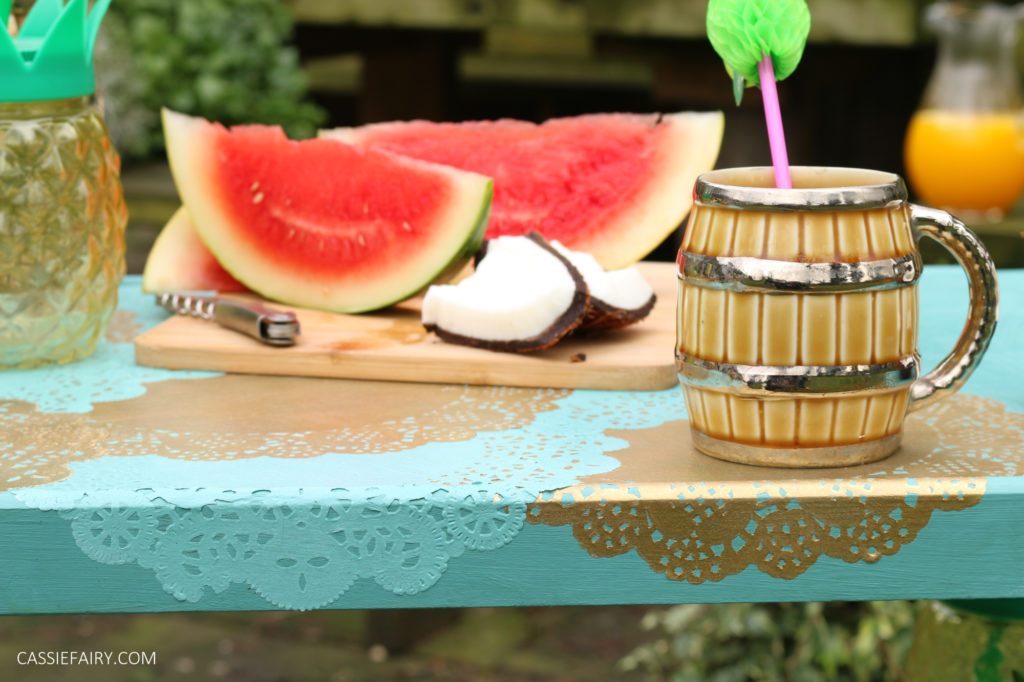
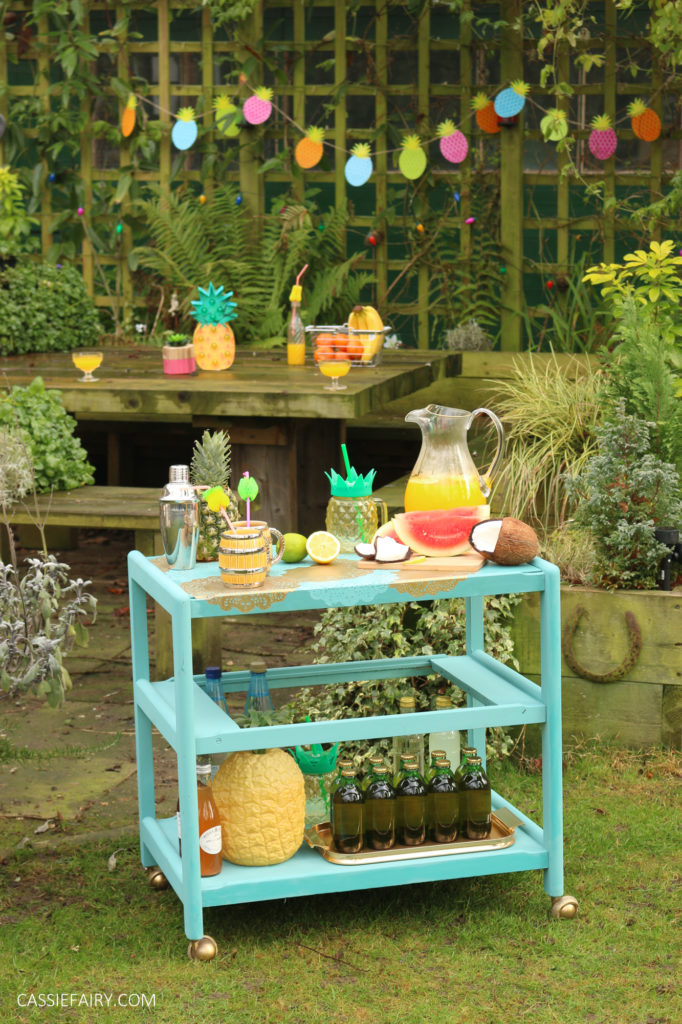
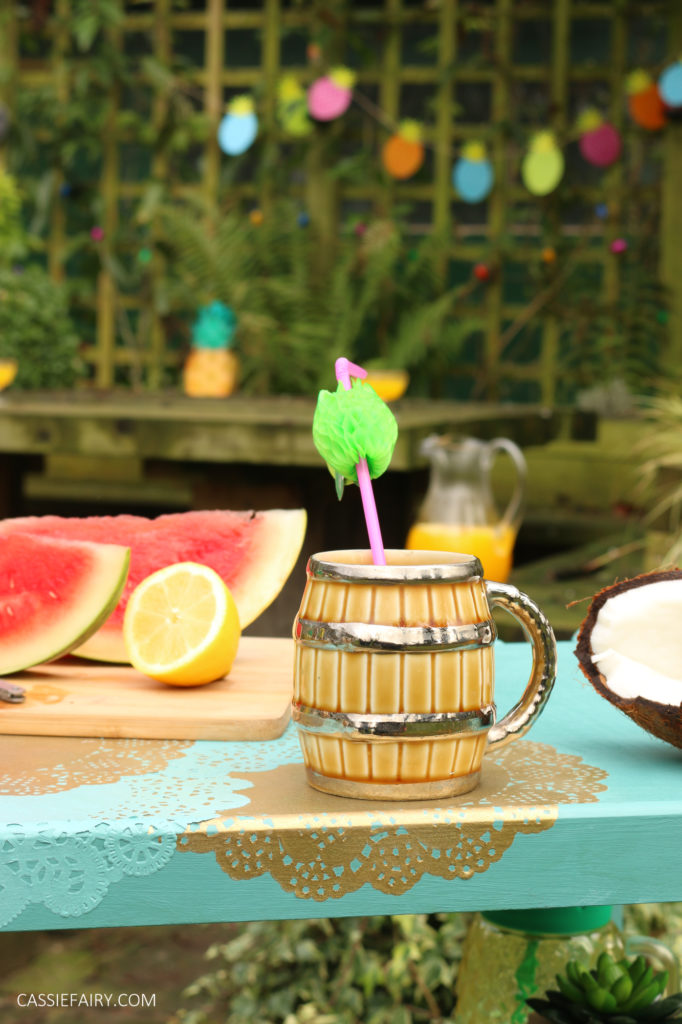
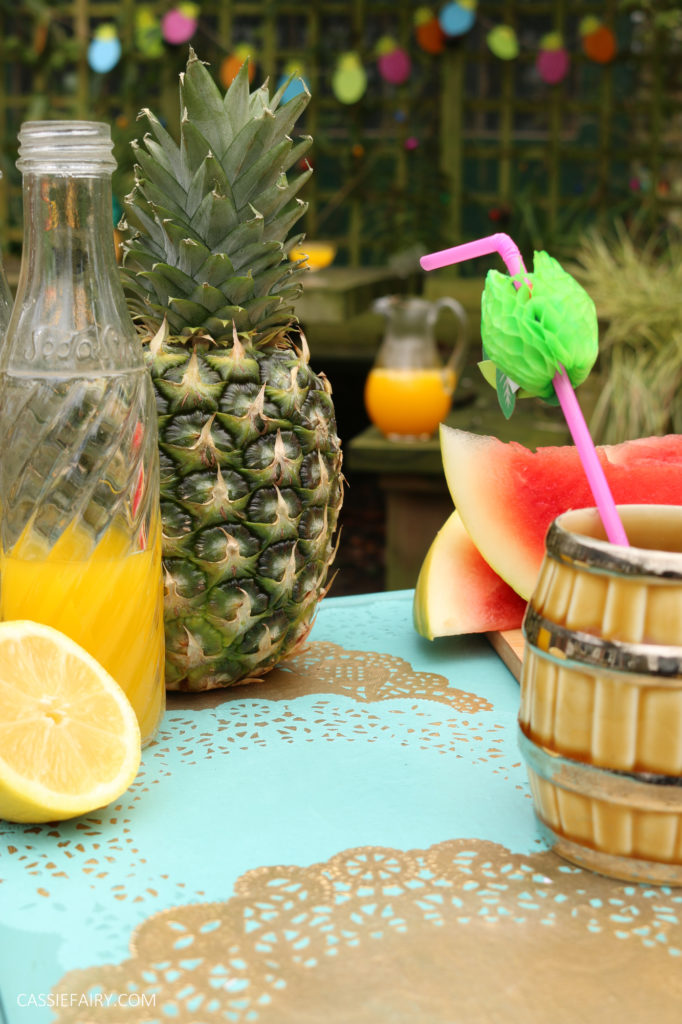
I saw the potential to create a handy entertaining cart for summer garden parties and barbeques. It’s the perfect place to prepare drinks or dish up tasty treats when you’re dining alfresco. I opted for a bright aqua colour by Frenchic and added a glitzy gold doily pattern to give it a vintage vibe for summer events.
STEP-BY-STEP BAR CART UPCYCLING PROJECT
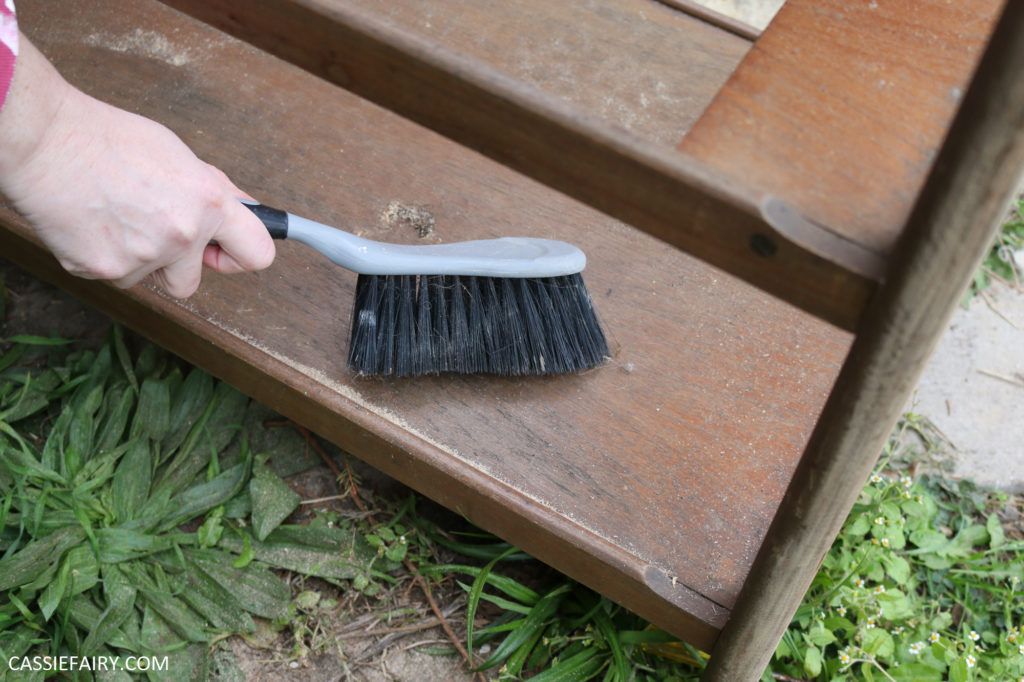
STEP 1
Dust off any cobwebs using a brush or the brush attachment on your vacuum. Remove any loose shelves from the trolley and take off the wheels.
STEP 2
If you need to adjust the cart to make it fit in tall bottles etc, use a jigsaw to cut out a gap in the middle shelf and sand down the edges. I added a piece of wood to the top surface, as a hole had previously been cut into the trolley to hold a bowl.
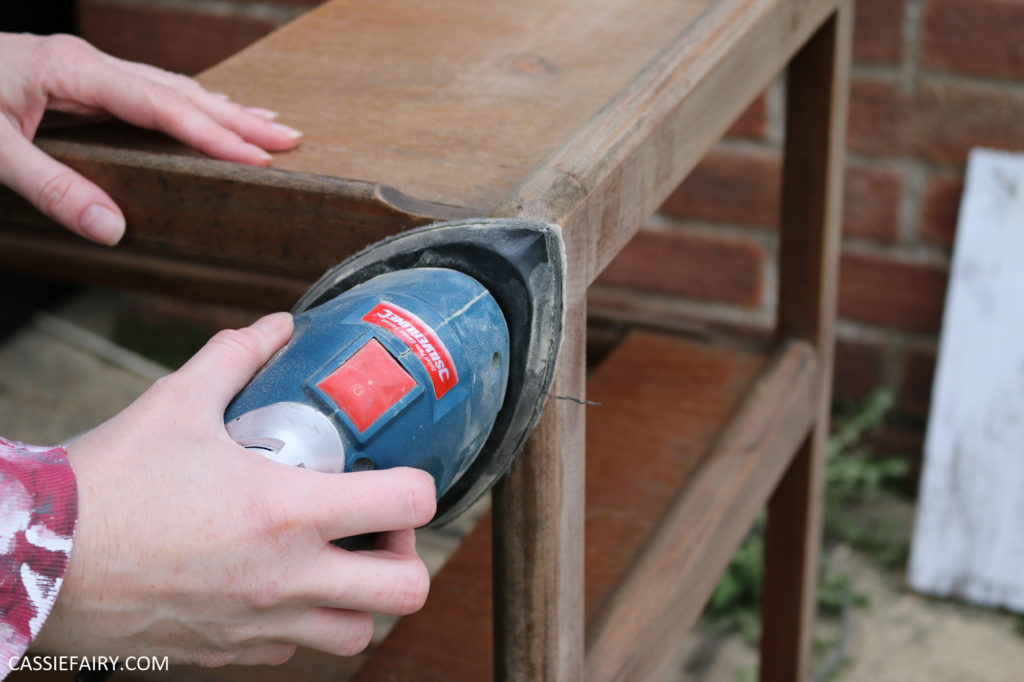
STEP 3
Use a palm sander to smooth off any rough edges. You shouldn’t need to sand down the whole piece of furniture as the chalk paint will adhere to most surfaces. Wipe away the dust caused by the sanding process.
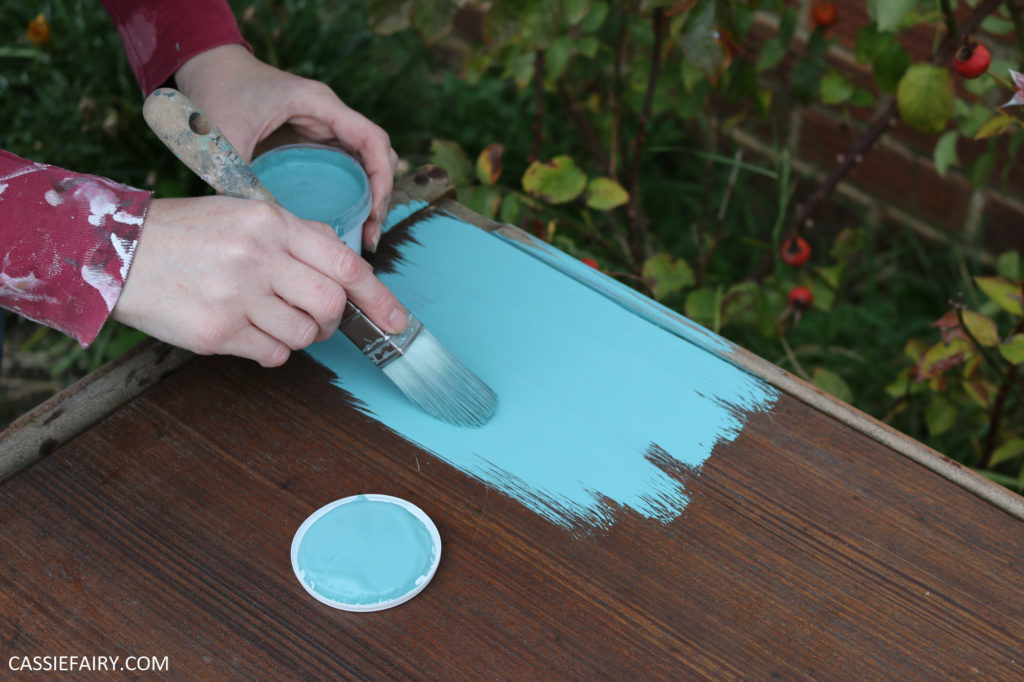
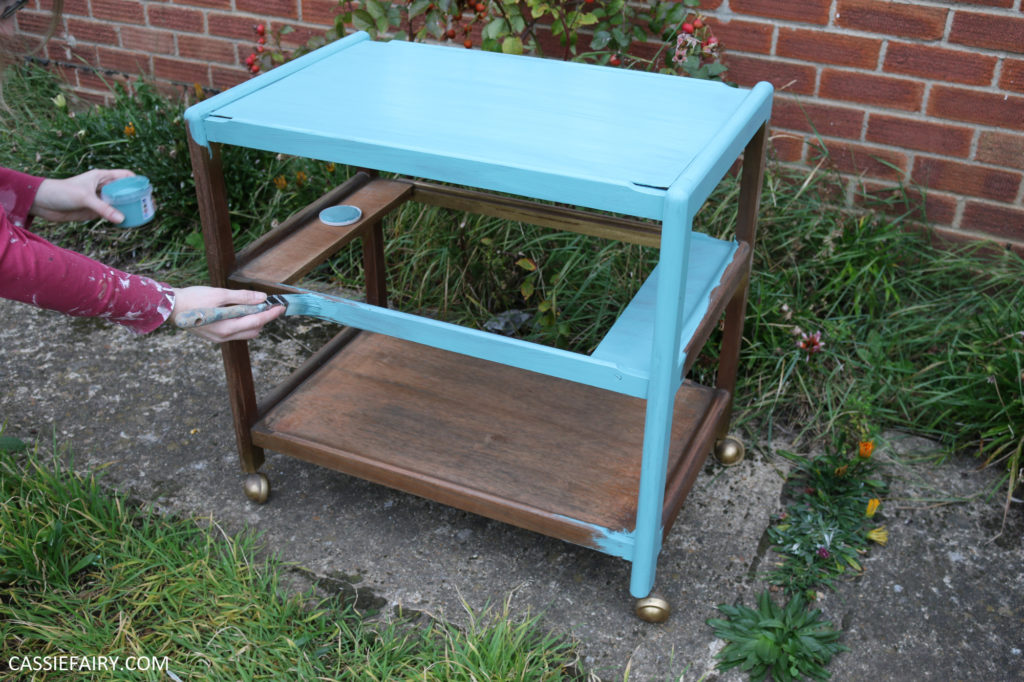
STEP 4
Brush on a coat of Frenchic furniture paint. I used shade 126 Anguilla for a tropical vibe. A little paint goes a long way so brush on a fine coat and leave to dry. Repeat this step to finish off the trolley with a top coat of paint.
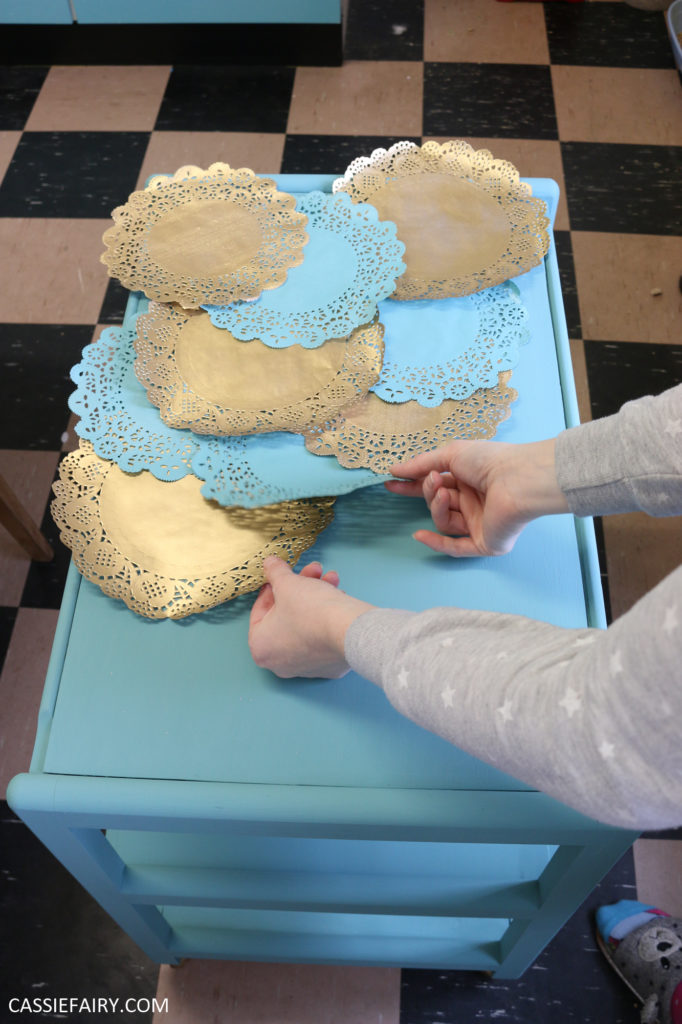
STEP 5
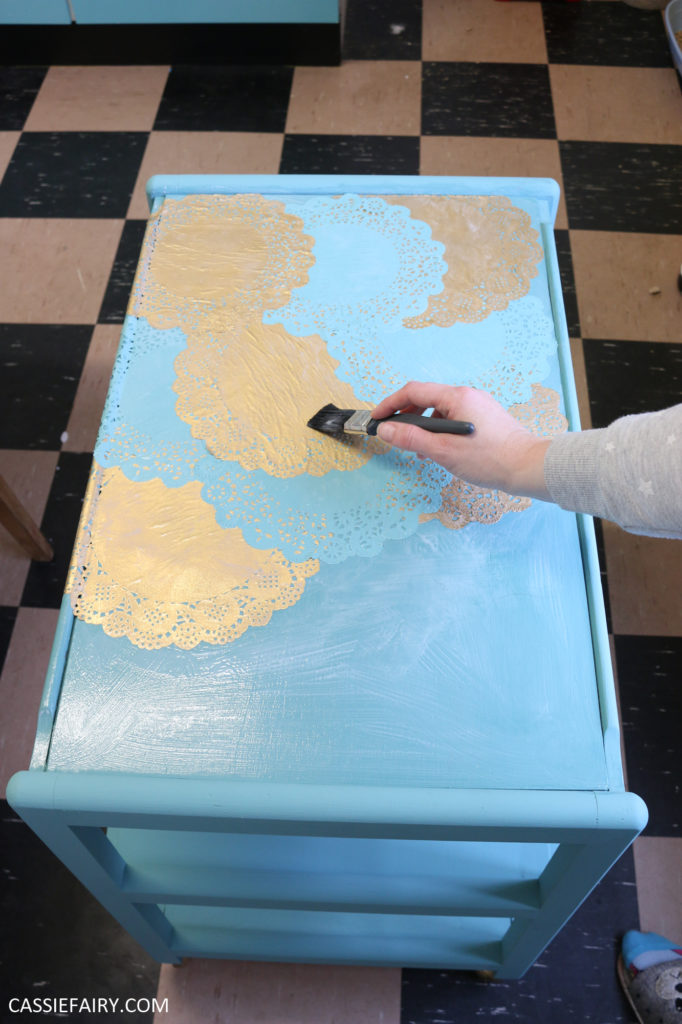
Lay out some doilies onto a sheet of newspaper and give them a light coat of spray paint in your chosen colours. I used Rust-Oleum spray paint in aqua and gold. Allow the doilies to dry thoroughly before arranging on top of the cart to work out your preferred pattern. I decided to press some of the doilies over the edge of the cart and glue them onto the sides.
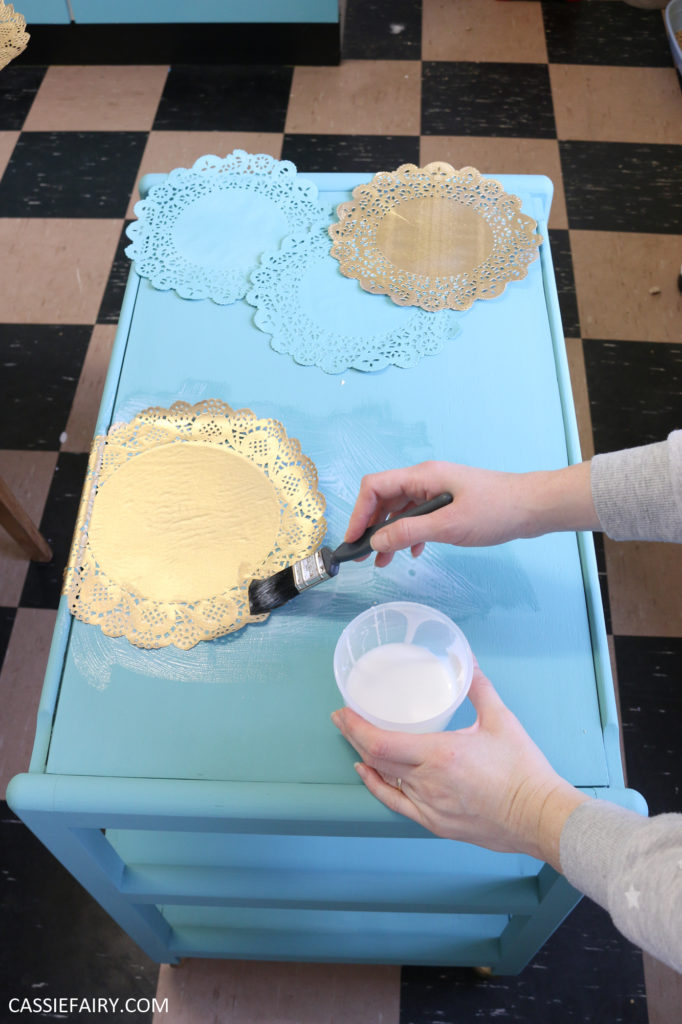
STEP 6
Add a thin layer of PVA glue to the surface of the cart and stick down the first doily in the pattern. Cover the doily with a thin coat of PVA glue before adding the next doily layer. Repeat this process until the entire doily pattern is glued to the surface. Don’t worry about the doilies bubbling up; simply smooth them out as much as you can with your brush and leave to dry – they’ll flatten out more as they dry out.
STEP 7
Brush on a top coat of PVA glue all over the surface to seal, or spray on a polyurethane top coat to protect the finished doily design.
STEP 8
Clean the trolley wheels and allow to dry thoroughly. Give them a light coating of bright gold spray paint all over. Once the paint is dry, pop them back into the legs of the cart.

MY TIPS
Contrasting colours can help to create an eye-catching pattern on the top of your cart or you could paint the old trolley in ‘garden shades’ paint to match the colours of the woodwork in your garden.
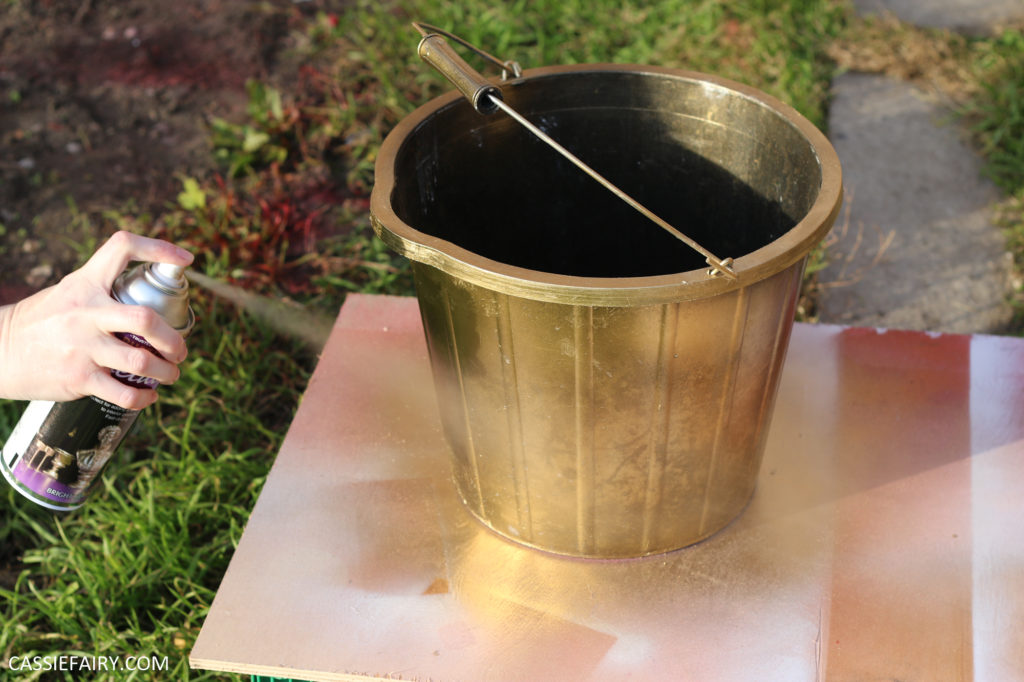
If you want to add an ice bucket for drinks, you could use a jig-saw to cut a hole in central shelf to fit the inside edge of a normal DIY bucket. Spray paint the bucket gold, allow to dry and fill with ice to create a great space to chill bottles of fizz.
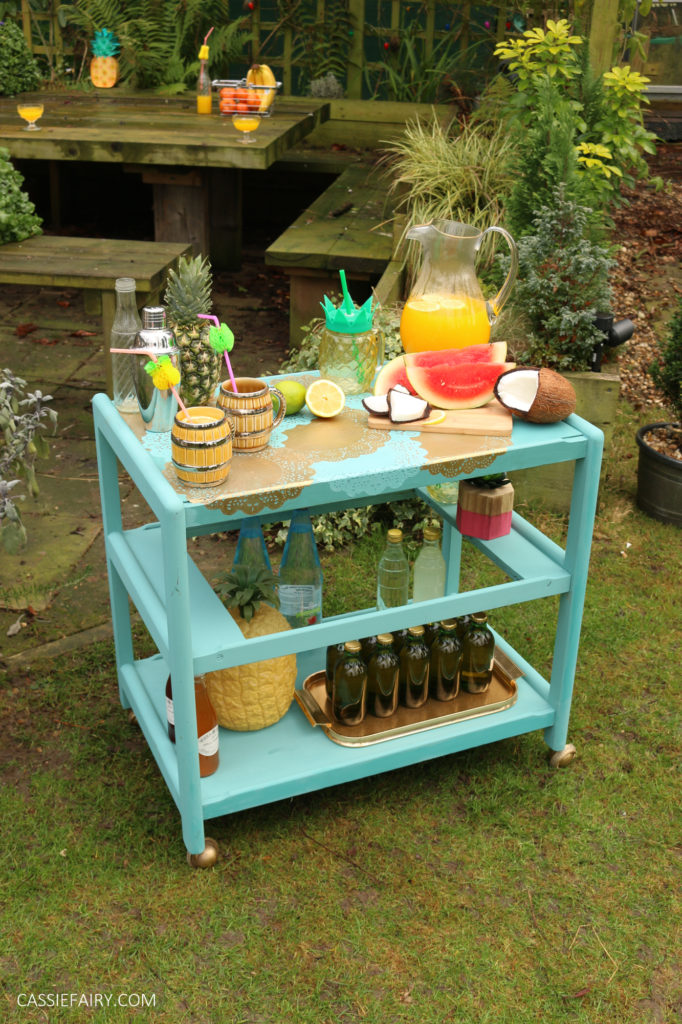
What do you think of the finished bar cart? Here’s my hostess trolley in action at a tropical-themed party in the garden. Let me know if you have a go at upcycling a trolley of your own and I’d love to see your photos to please tag me @cassiefairy on instagram.
PIN THIS PROJECT…