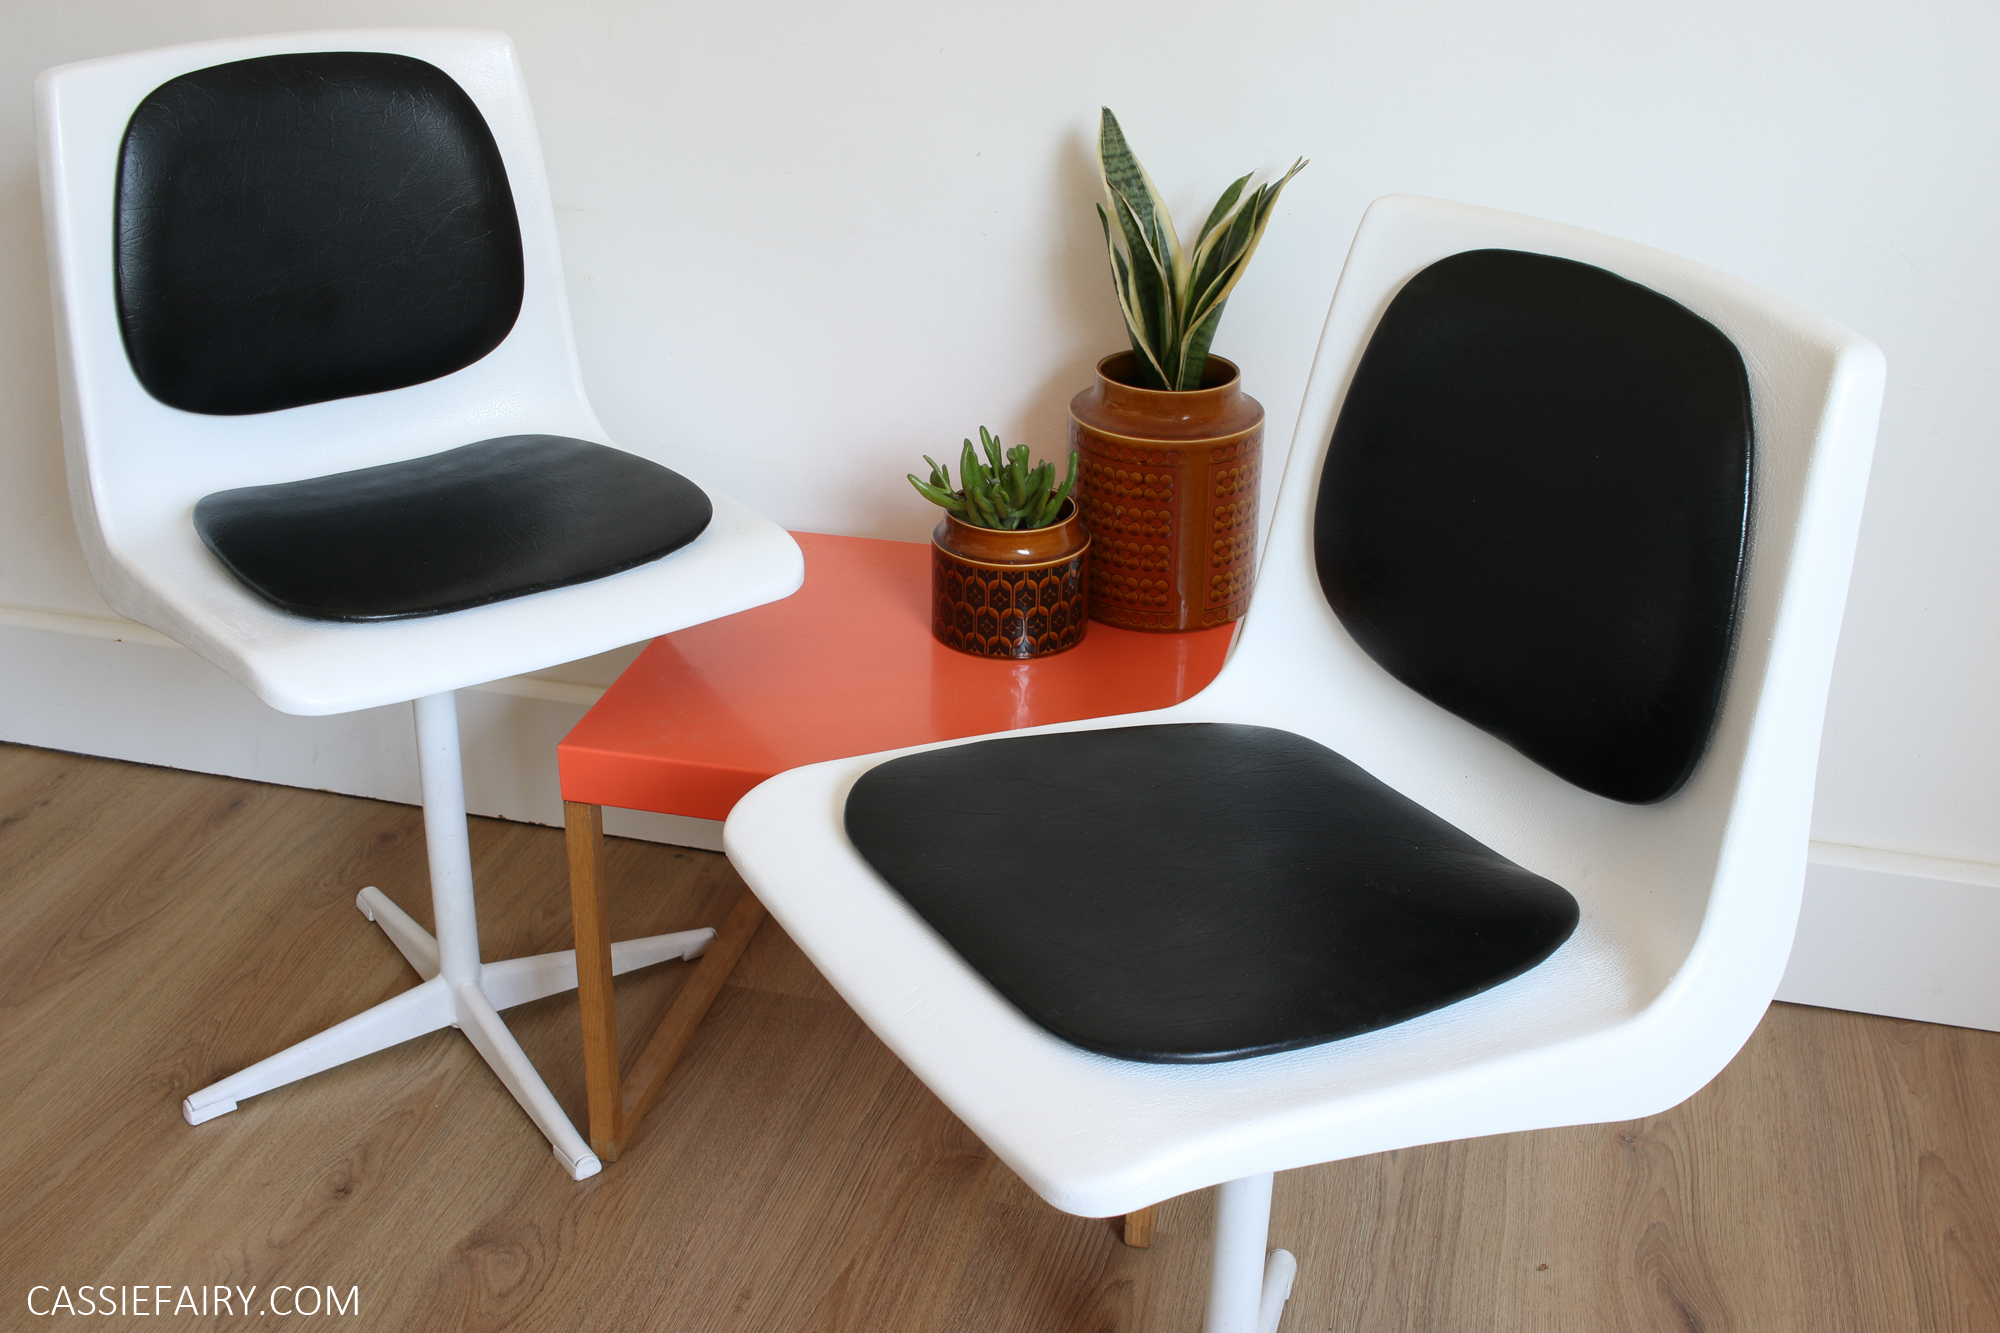
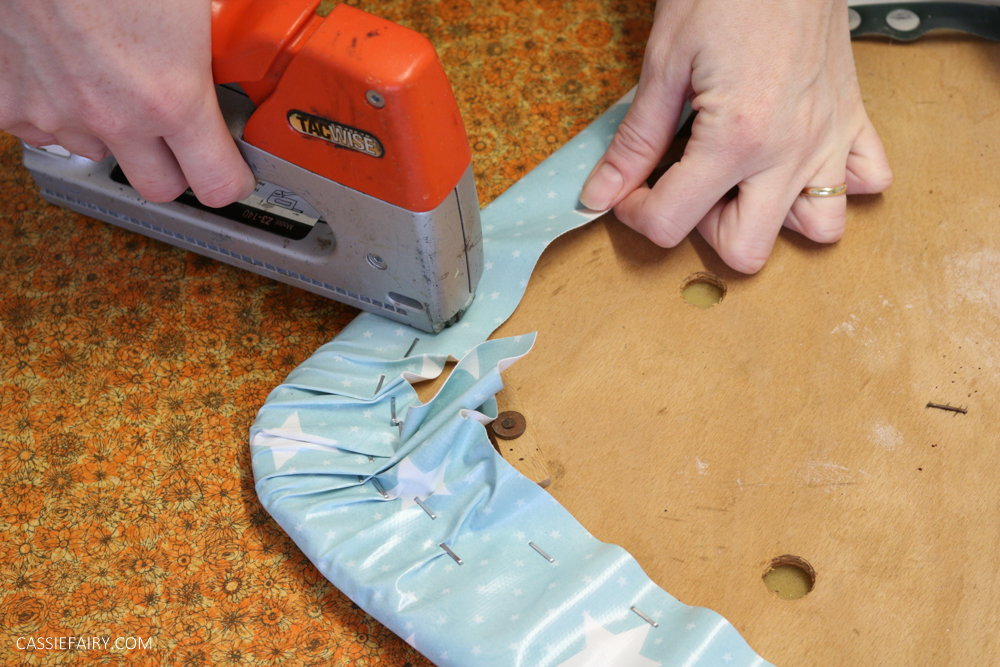
Last week I mentioned that I’m currently working on renovating my kitchen and that I’ve already revamped a few retro kitchen chairs. I’ve since been asked how I restored these junk-shop finds to their former glory so I thought I’d put together a little video to show you how to upholster a kitchen chair and renovate the wooden frame…
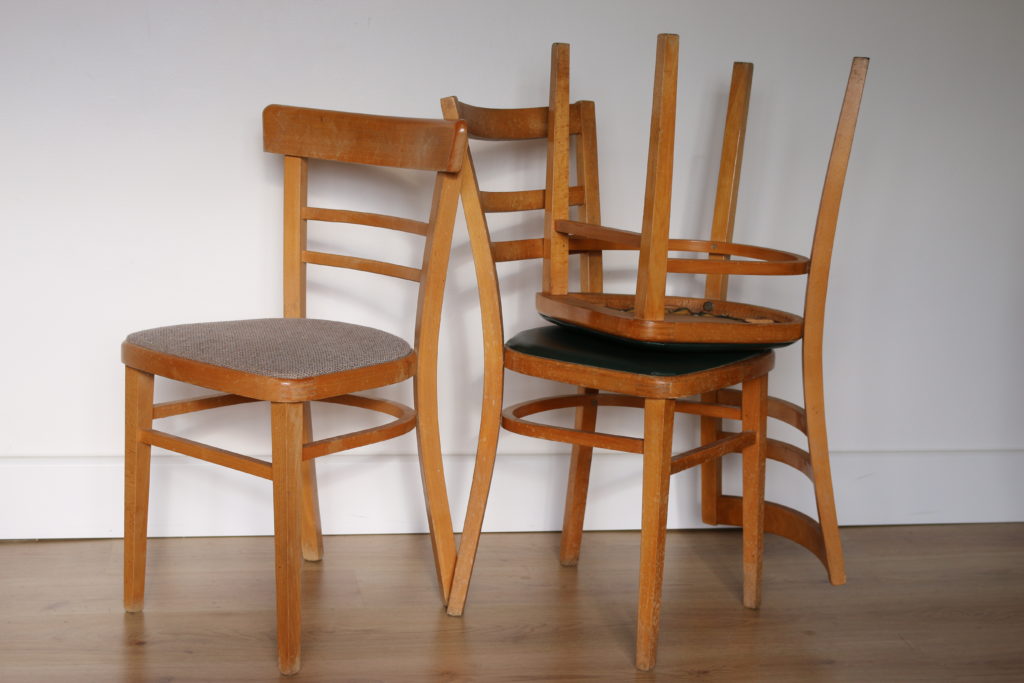
If you haven’t already spotted my revamped chairs on my blog, here’s how they looked before…
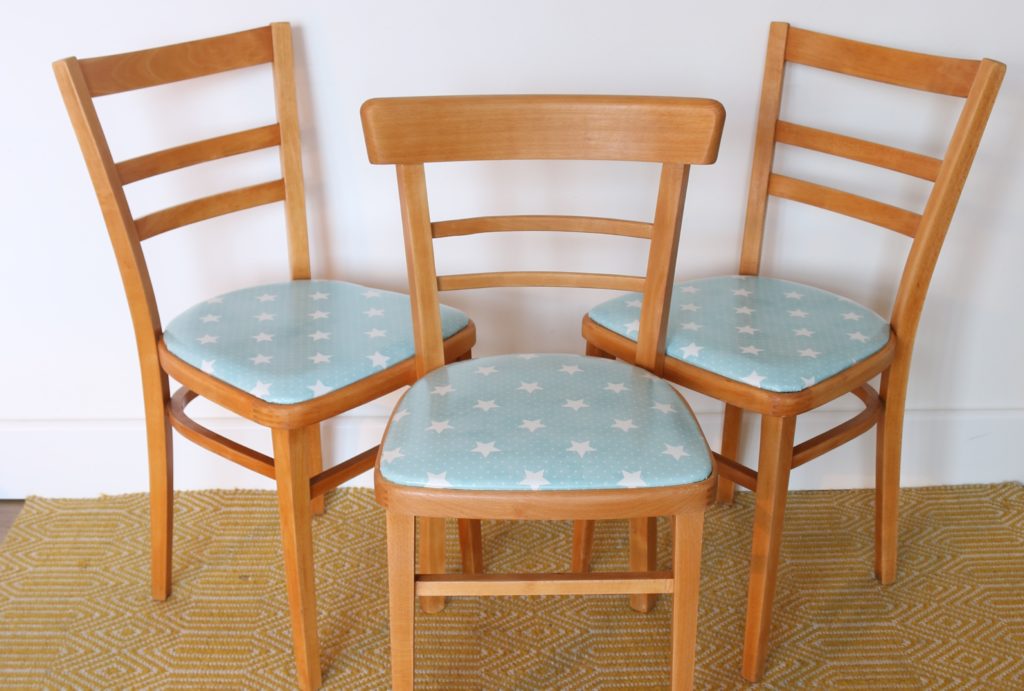
And here’s how they look now…
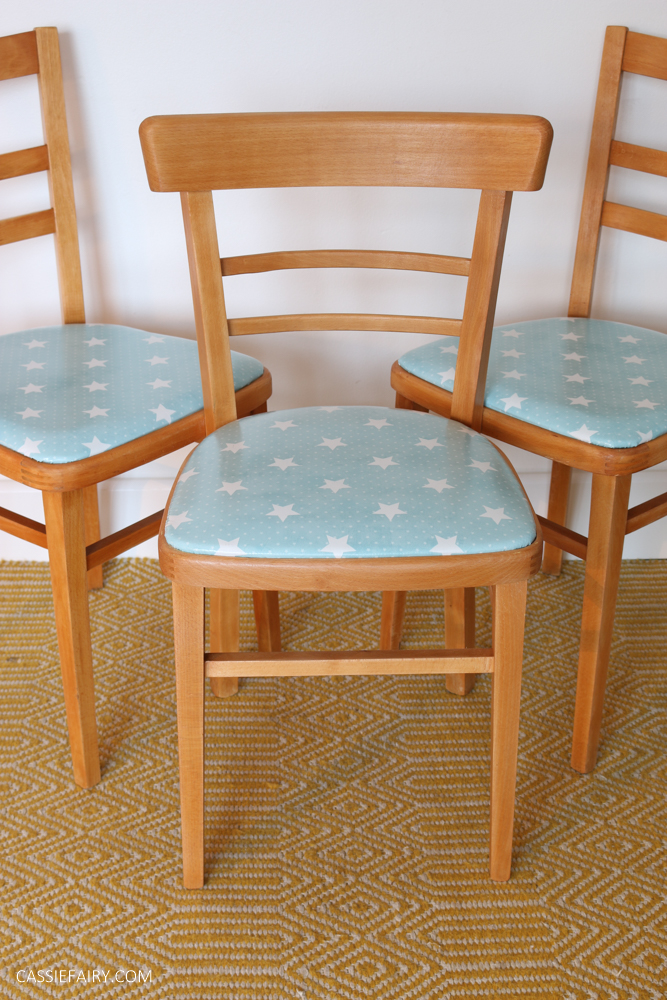
I had to add a couple more chairs to my kitchen in August to make sure that we had enough seats for all our friends who were coming to stay. Luckily, I found another pair of retro dining chairs at the Vintage Mischief sale so I snapped those up and bought another length of matching oilcloth fabric in this pretty star pattern.
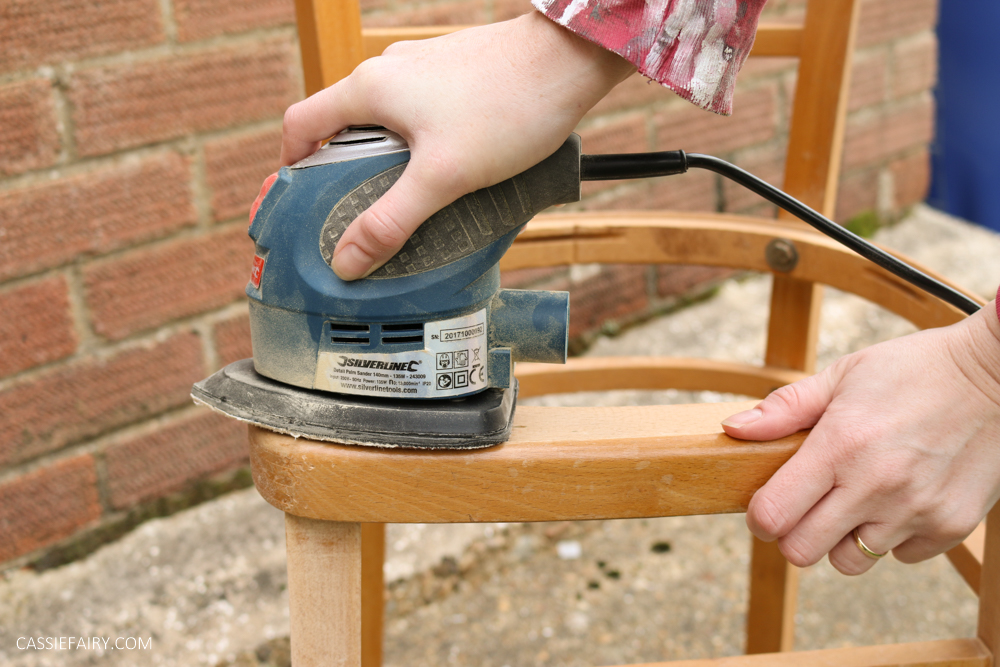
It’s a short video – less than 2 minutes – as that’s about the length of time that I like the videos I watch to be. Ain’t nobody got time for a a lengthy tutorial, right?! I’ve shared the video below so I hope you can view it okay or if not, head over to my Cassiefairy DIY channel on YouTube to have a watch.
I love how the chairs look now and it’s such a simple upcycle that theres’ no reason why you wouldn’t be able to do the same to some old kitchen chairs too. Simply pick up similar-ish chairs for a few pounds at the car boot sale or charity shop and get to work!
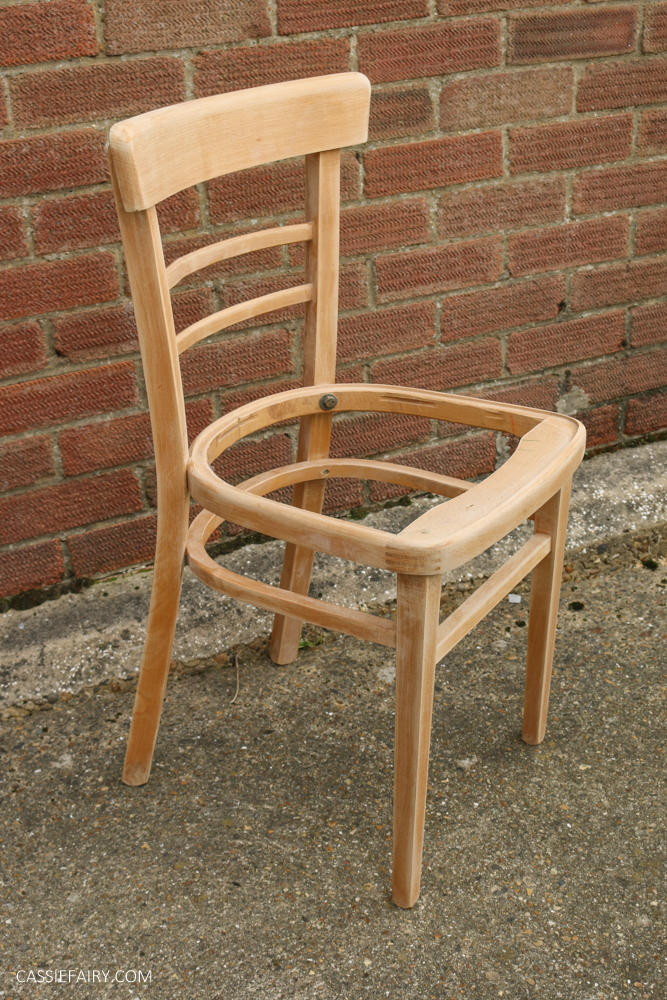
It doesn’t cost much for a tiny tin of varnish and a short length of fabric so this is a truly thrifty project. Plus, it doesn’t require too many skills to revamp your chairs, as you don’t even need to remove the old upholstery before you cover the chair pads, hurrah!
Let me know if you have a go at renovating your own kitchen or dining chairs in the comments below and I’d love to see a photo of your finished projects so please tag me on instagram @cassiefairy.
PIN IT FOR LATER


