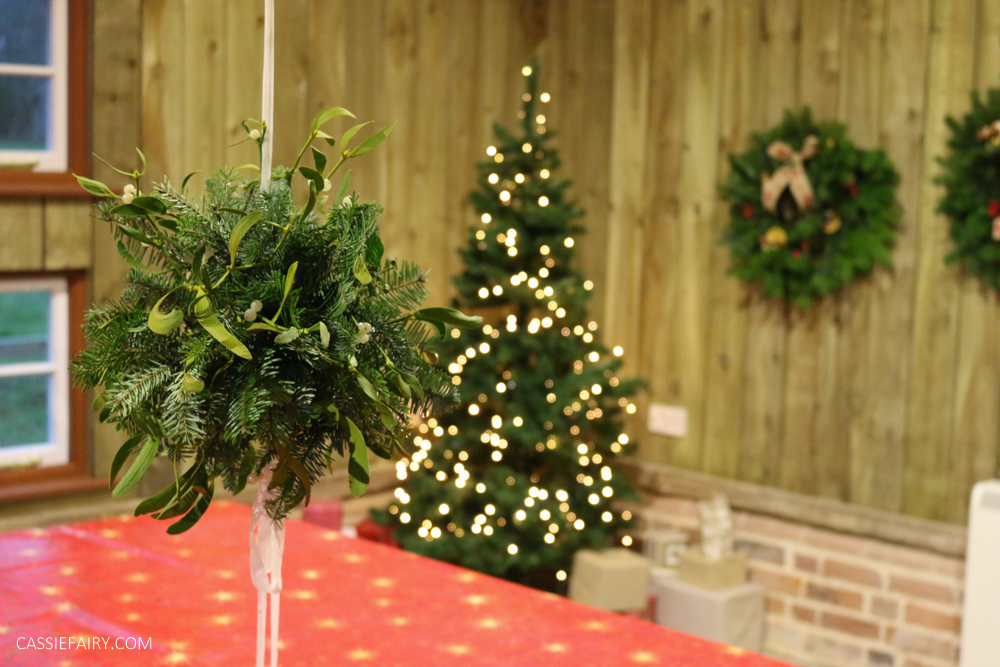
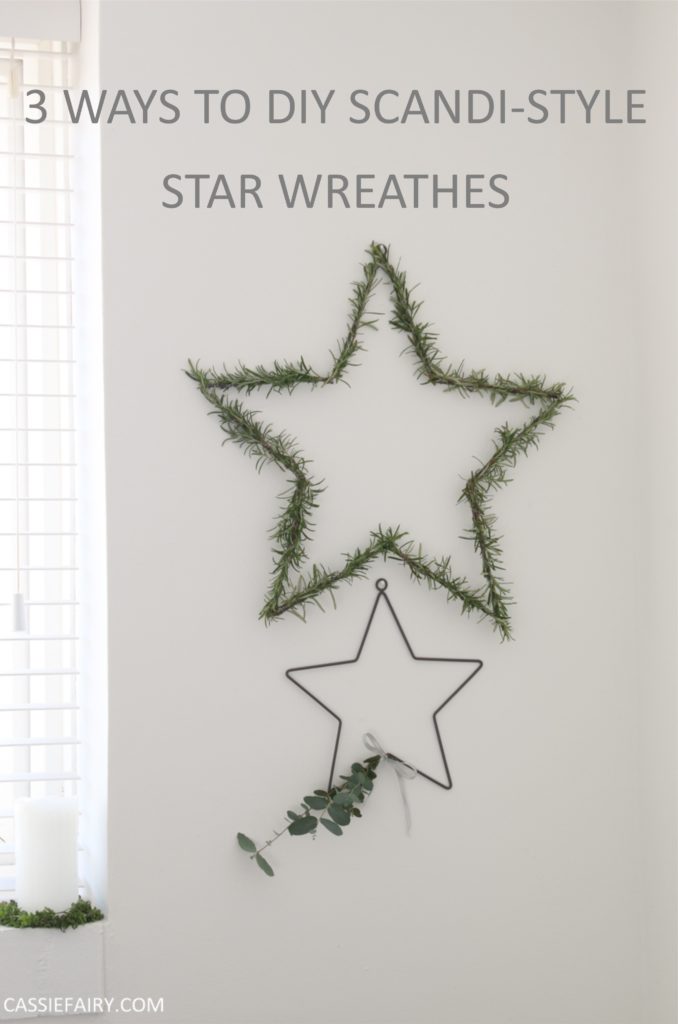
If you want to add some festive touches to your walls but don’t want to go all-out with tinsel and garlands, today’s DIY star wreathes could be the solution. They’re a minimalistic, Scandi-style and look great in both contemporary or rustic homes so here’s how to recreate this simple Nordic look for yourself…

It’s never too early to start thinking about Christmas decor, right?? You might have spotted my scandi-style decorations post last month, where I used wood-effect vinyl to create custom baubles, festive artwork and a Christmas eve box, so you can tell that I’m someone who likes to start my holiday prep early!

I’ve been DIYing some more festive decor this week BUT only as a practice run… You see, I can’t be sure how long foliage will last in my home and it’s likely that it’ll dry out and need replacing before the big day. Nonetheless, I wanted to create a little step-by-step guide so that you can give this project a go for yourself in December AND I’ll recreate all these designs when mum and I sit down to make our wreathes together.
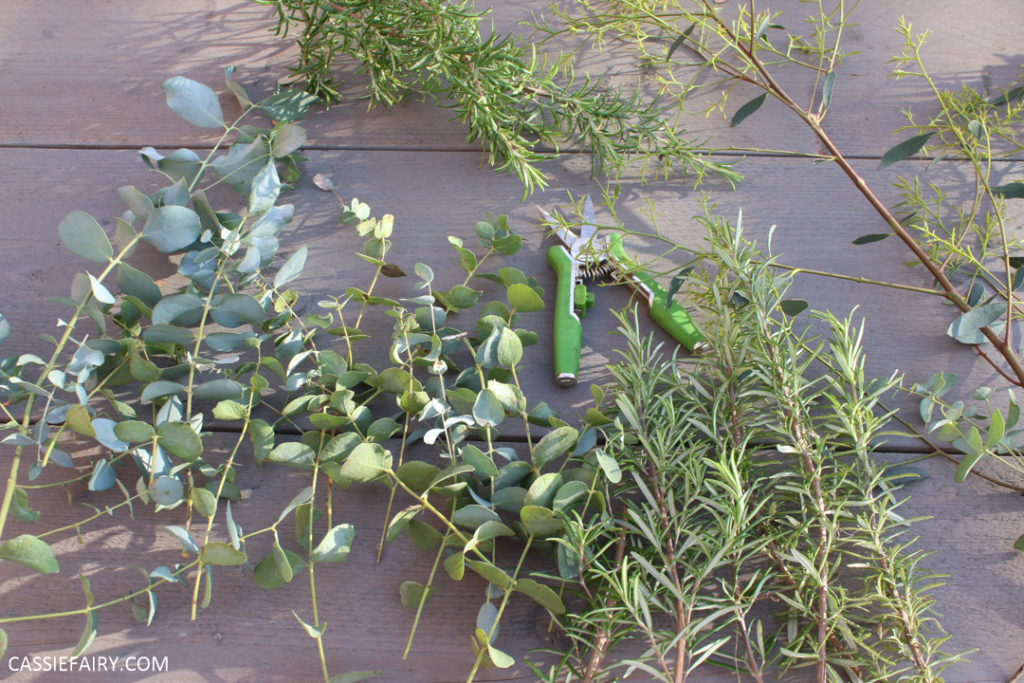
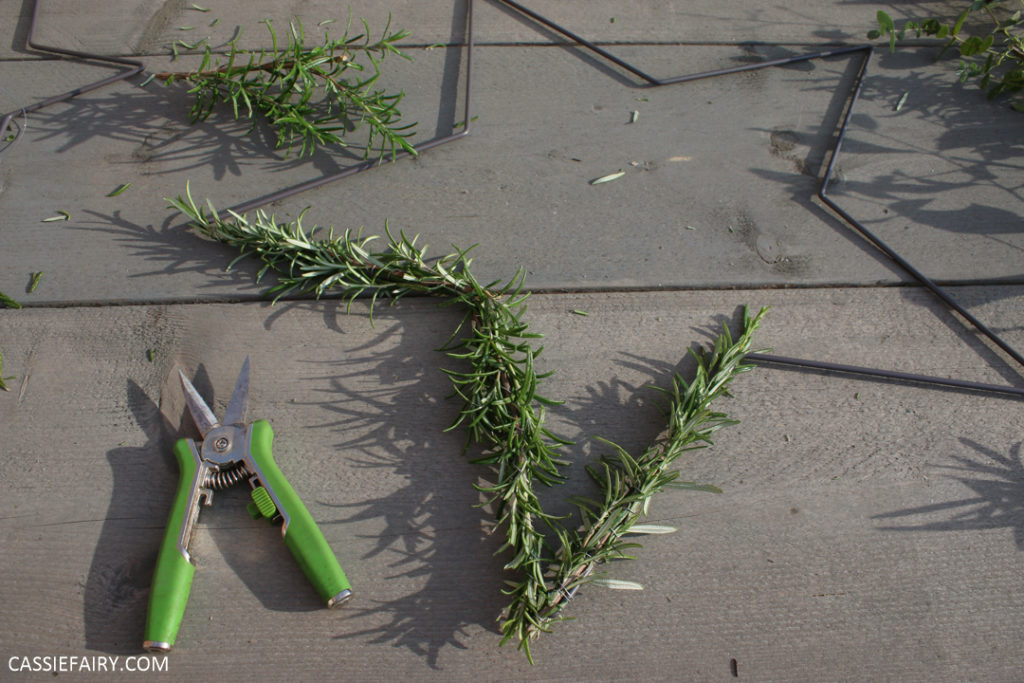
Then again, the eucalyptus might last until December – I’ve no idea how long it’ll look good for so it’s good to have a dry run. I’ve also picked some herbs from my garden to include in these star wreathes as they create a lovely scent when brought into the home. Nearer to Christmas, you’ll be able to use off-cuts of spruce or fir, or stick with the rosemary or lavender for the fresh aromas.
For this project you will need:
- Foliage
- Secateurs
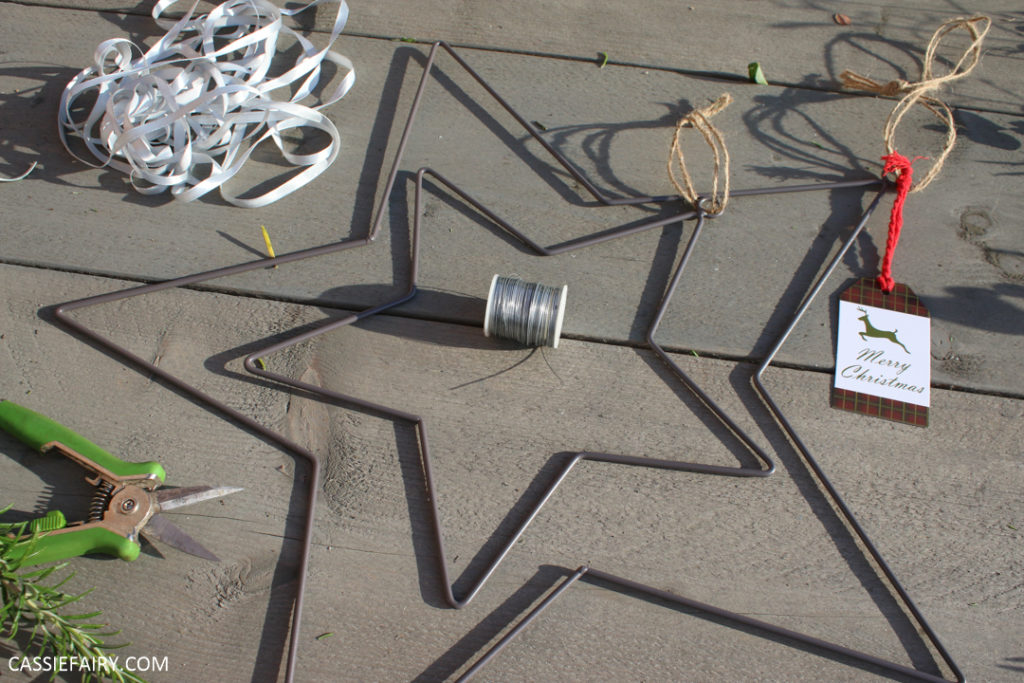
- Metals stars – This set of two stars is from the Christmas range in Sue Ryder charity shops.
- A large illuminated star – Again, I found this one in the Sue Ryder online shop.
- Thin wire on a reel
- Ribbon
Using these items, I’ve come up with three different wreath designs that can be combined or hung separately to add a sprinkling of festive joy to your decor. You can position them in place of pictures on your walls, hang a large star on the chimney breast, or use them as a wreath on your front door.

Here’s how to make these lovely, minimalist star wreaths – you can watch my video tutorial on YouTube or read on to find the step-by-step instructions and photos below.
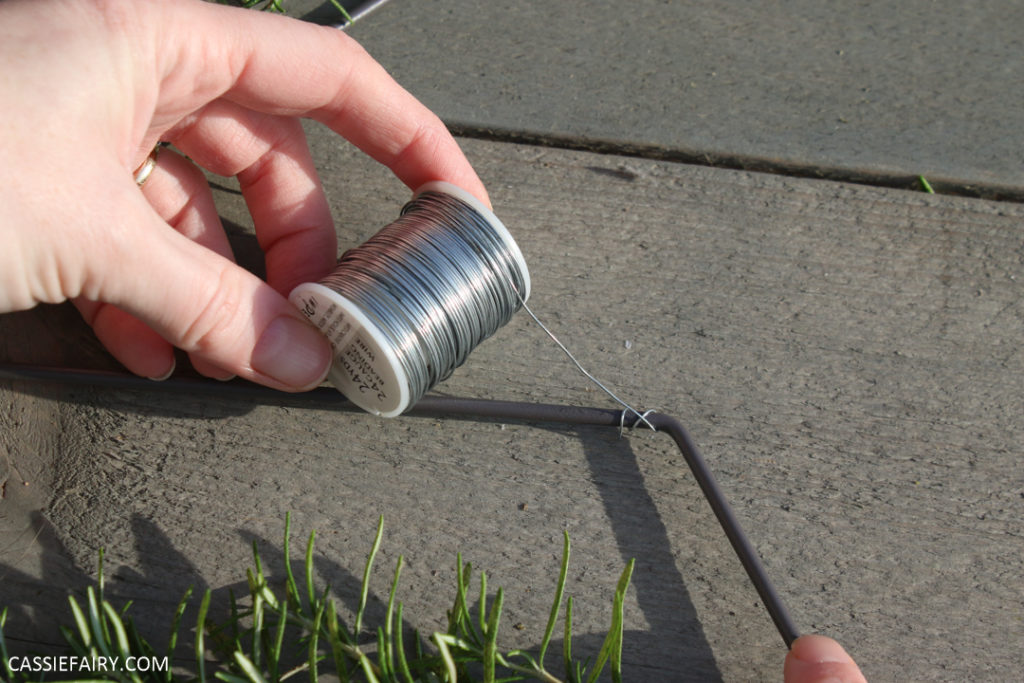
STEP 1 Wrap wire around the metal star shape.
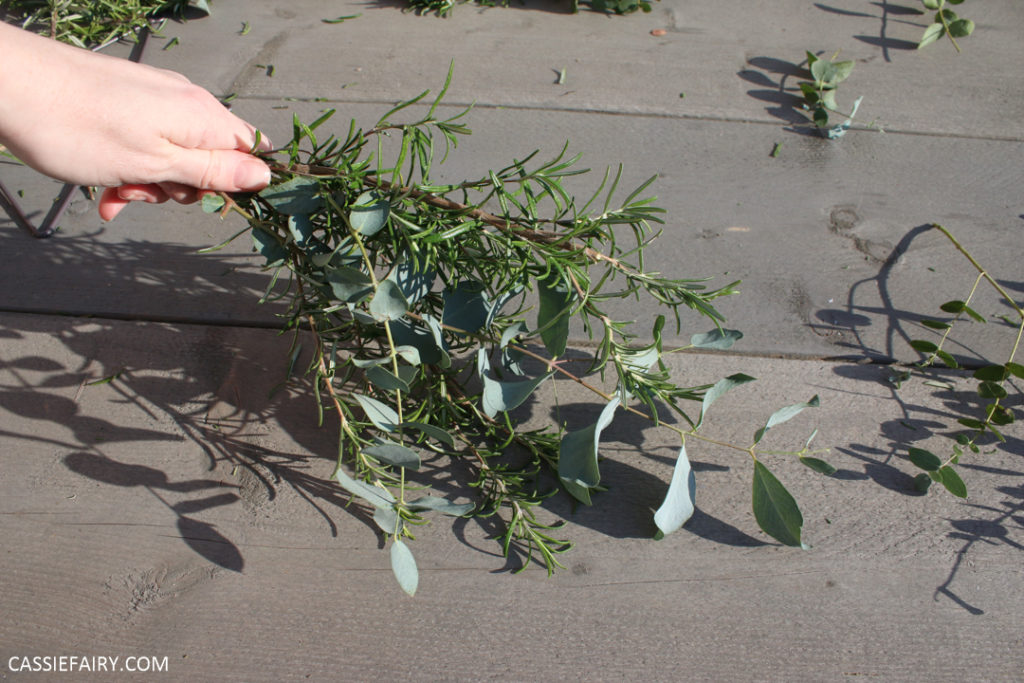
STEP 2 Cut foliage to the length of the sides of the star.
STEP 3 Position the foliage on the side of the star and wrap the wire around the stem to secure it.
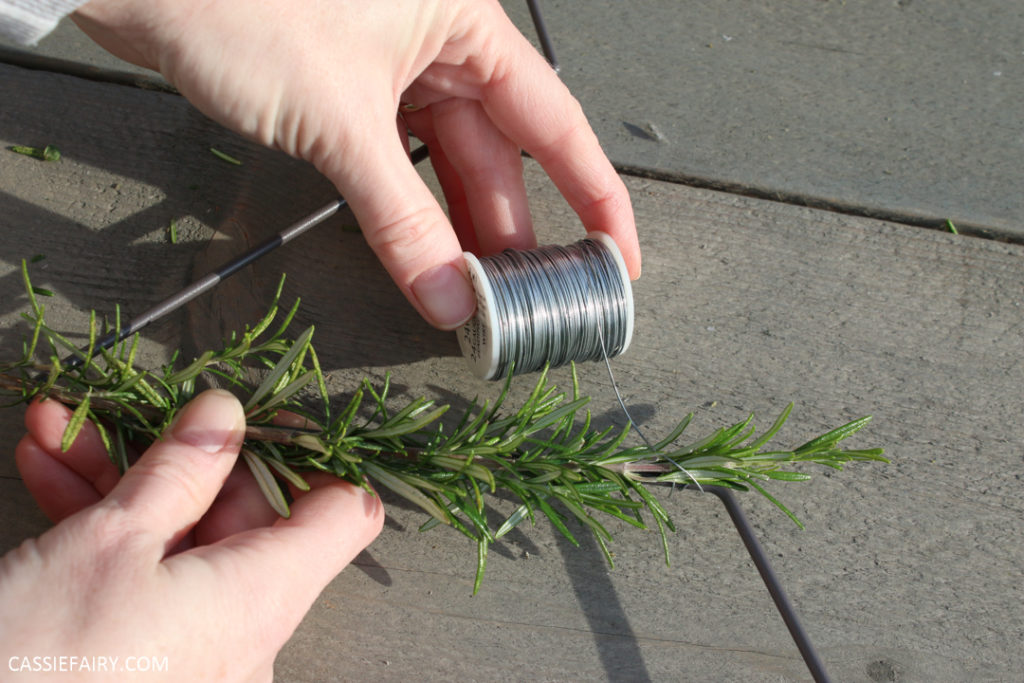
STEP 4 Continue adding foliage and wrapping the wire around until the entire star is covered.

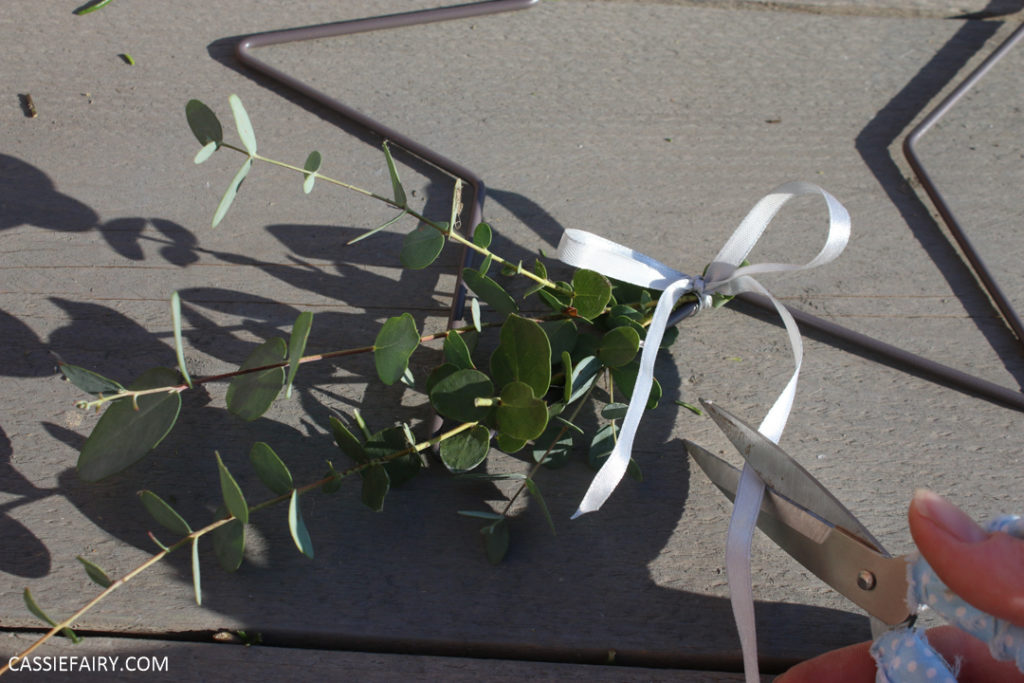
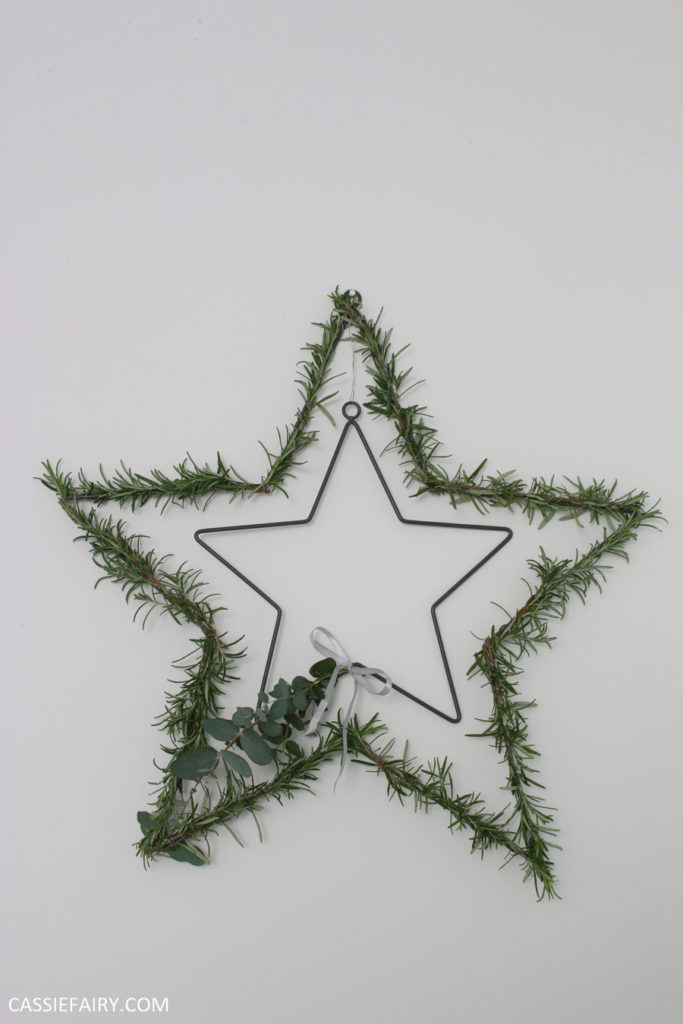
ALTERNATIVELY you could add foliage to just the bottom side of the star to create a shooting-star style effect. Wrap the wire around the bottom half of three or more stems to attach the ‘sprig’ to the star. Then tie a bow in the centre to disguise the wire.

You can hang the stars individually or could layer up the two stars using a piece of wire to position the smaller star in the centre of the larger star.
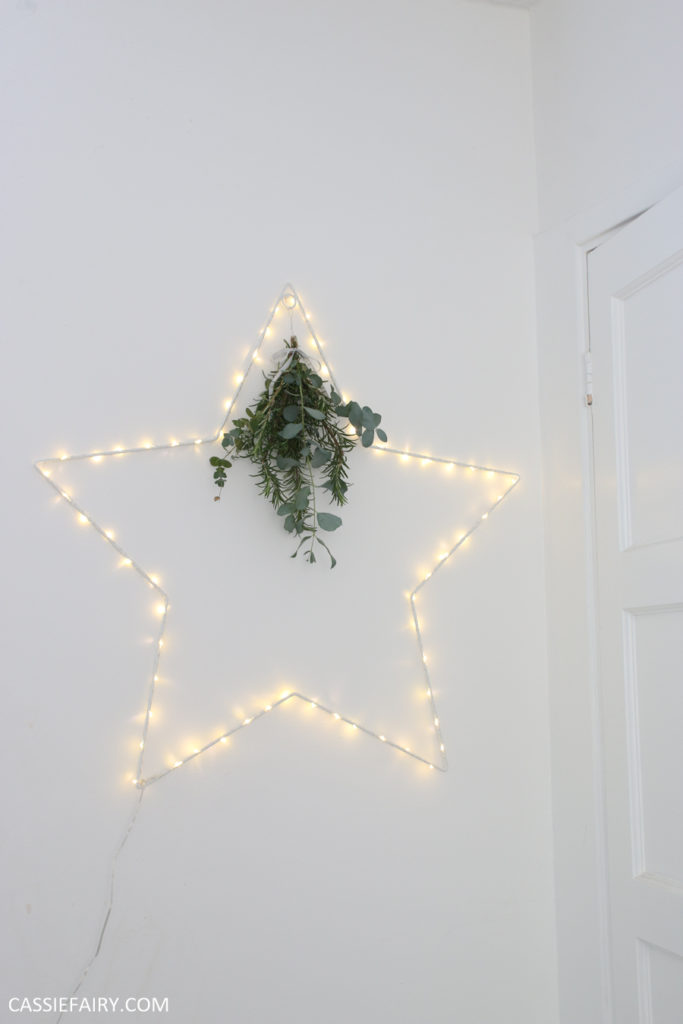
Another festive decoration for an illuminated star is hanging a bunch of foliage from the top of the star.
STEP 1 Gather together a variety of foliage and cut it to the same length.
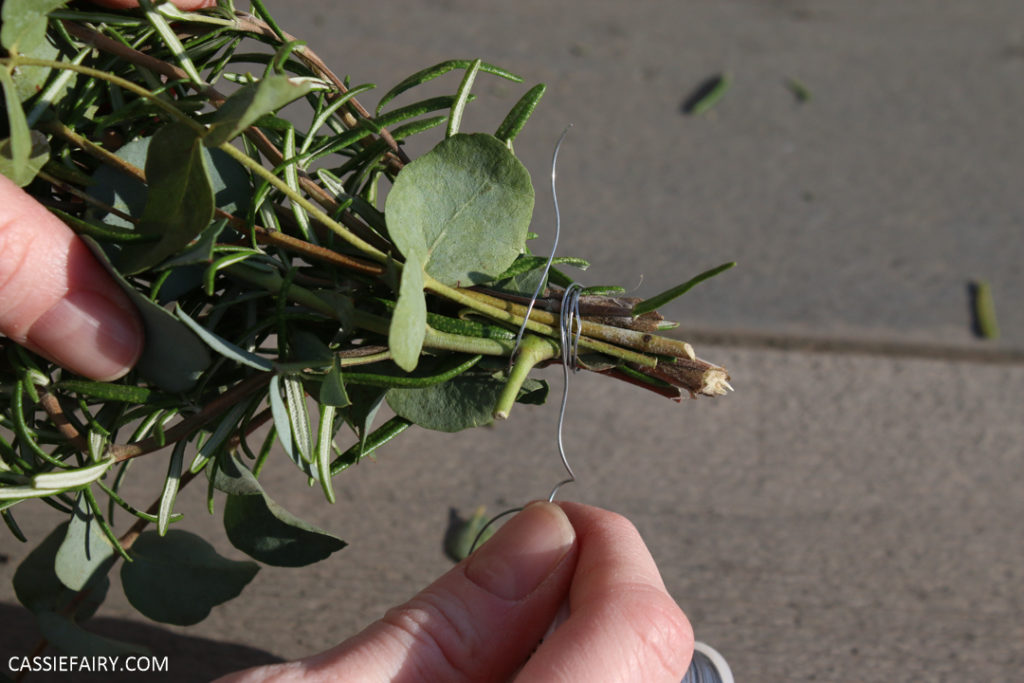
STEP 2 Use the thin wire to bind the ends of the foliage together.
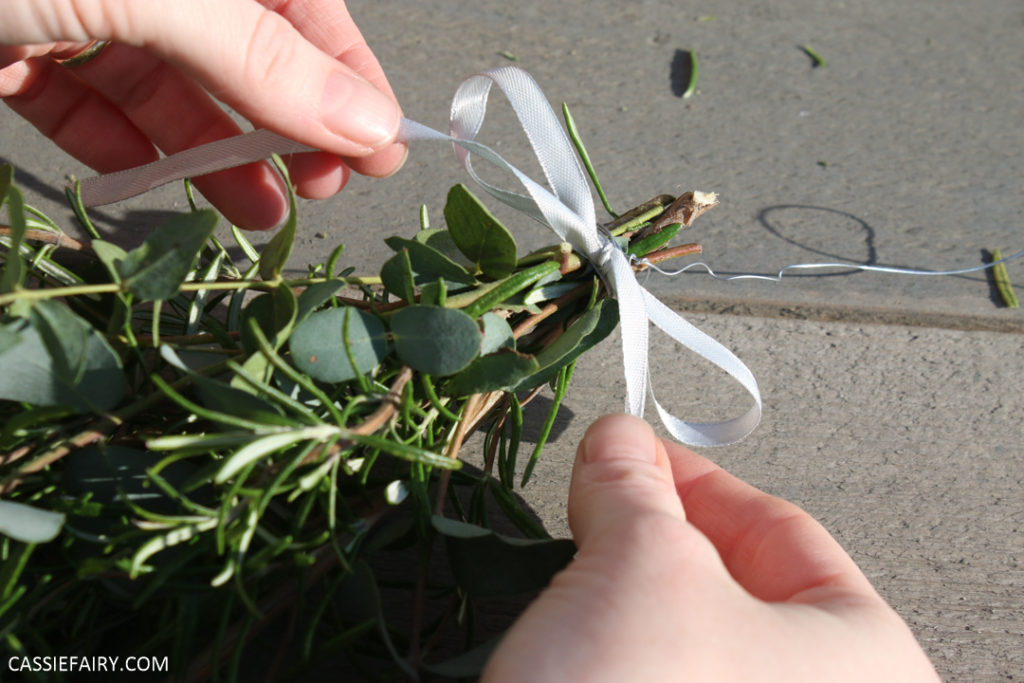
STEP 3 Wrap a length of ribbon around the top to hide the wire and tie into a bow.
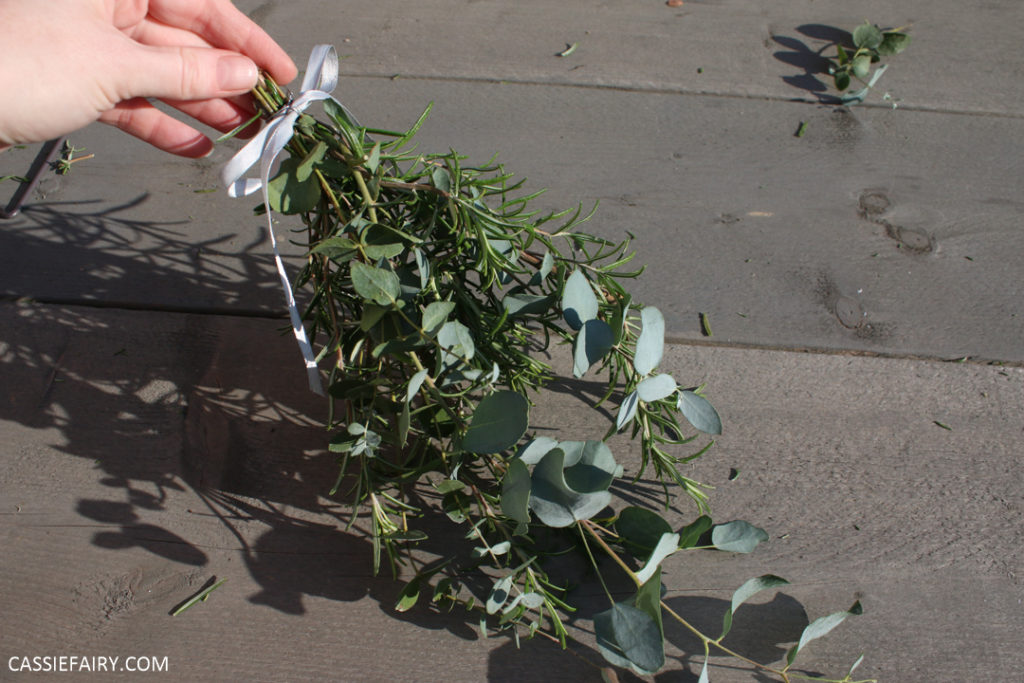
STEP 4 Attach the bunch of foliage to the top of the star and switch on the fairy lights.

What do you think of these three Scandi-style star decorations? Will you be making one (or all three?) for yourself this year? What other things would you incorporate into your star wreath? Let me know in the comments below and please pop back next week when I’ll be sharing a DIY guide to making your own LED candle centrepieces for the dining table or mantlepiece.
PIN IT FOR LATER
Some items in this blog post have been gifted to me and the pink links indicate a gifted product, affiliate link or information source. All thoughts and opinions in this post are based on my own experience and I am not responsible for your experience 🙂