I’ve been DIYing again and this time I’ve made some nightstands for the bedroom. It’s a simple project that makes use of old drawers from a broken chest to help keep old furniture out of landfill. I’ve shared the full step-by-step guide to make the upcycled bedside table project here so please have a read to find out what materials you’ll need and the simple steps to create them for yourself.
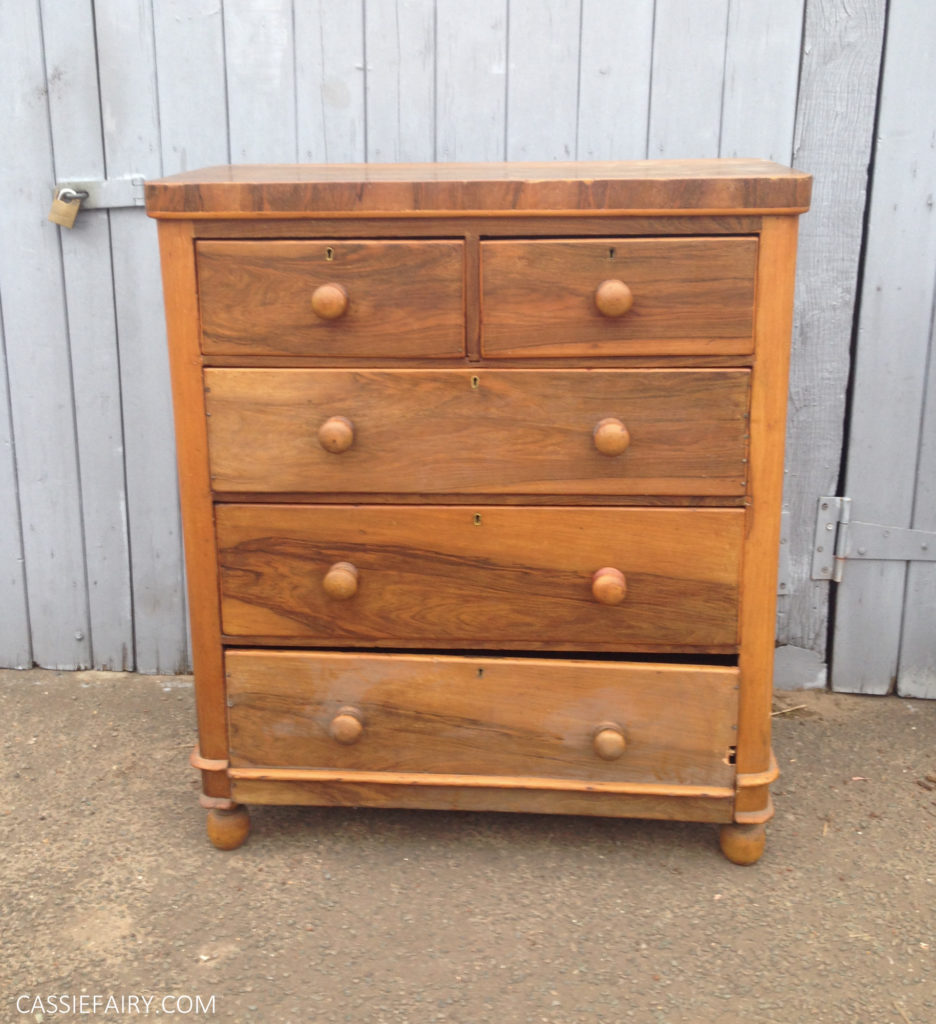
When I saw a tumble-down chest of drawers outside at the Vintage Mischief clearance sale I know I could turn them into something lovely for my bedroom. The larger drawers has loose fronts and missing bases on the inside but the two small drawers at the top were still intact. I ‘rescued’ the drawers and brought them home, ready for the project I had in mind.
I rummaged around our outbuilding to find offcuts of wood that would work to create a frame and discovered that I’d previously kept hold of some mid-century style legs from an old planter that had long since broken and been taking to the recycling centre.
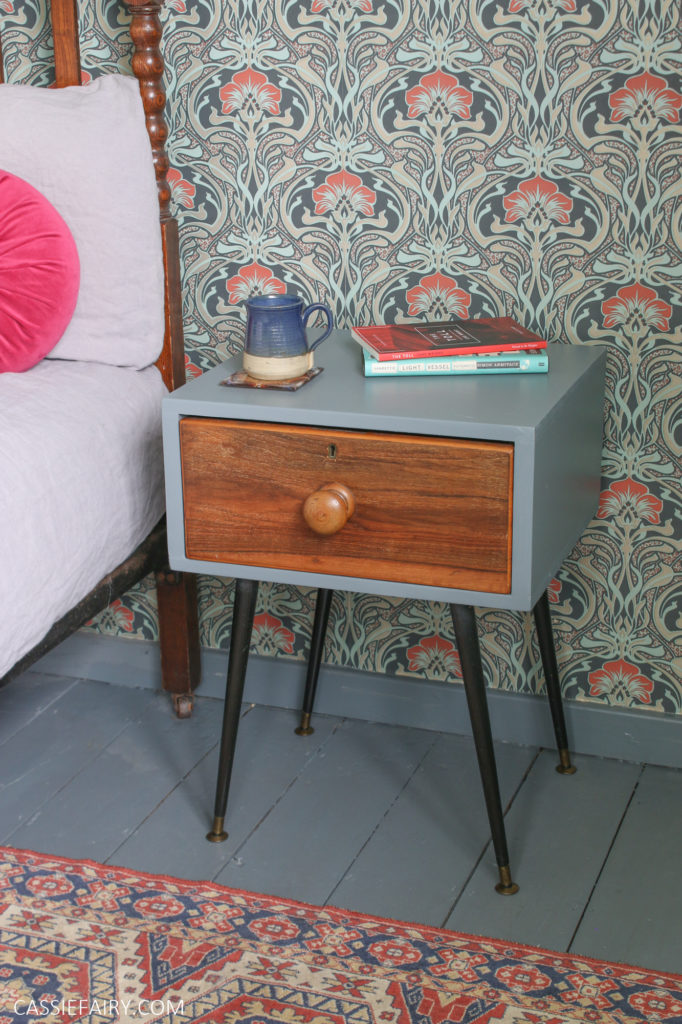
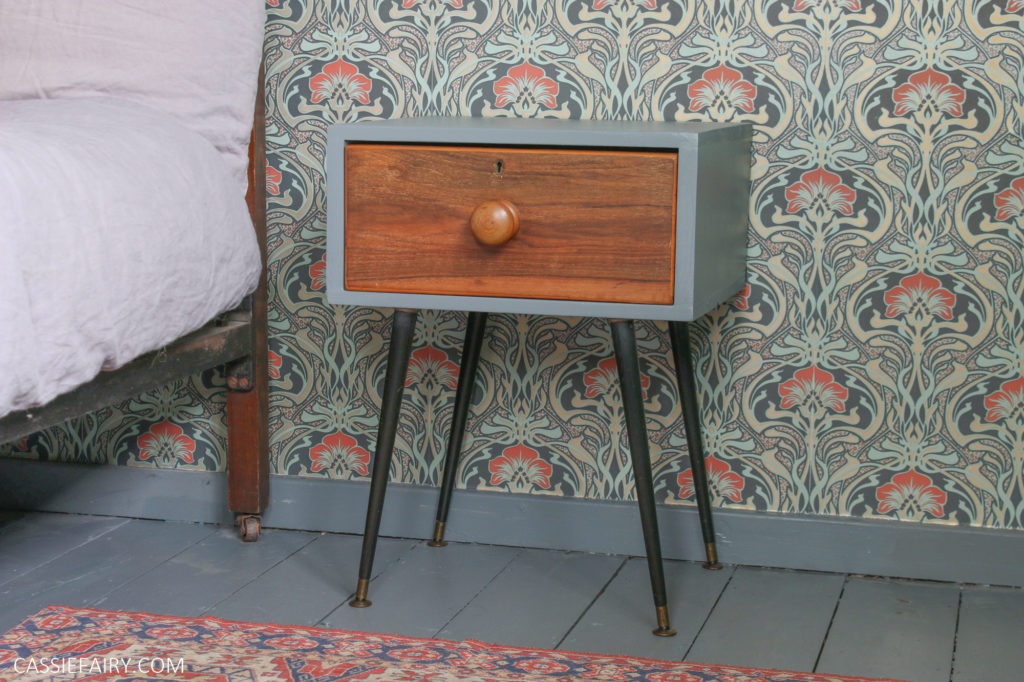
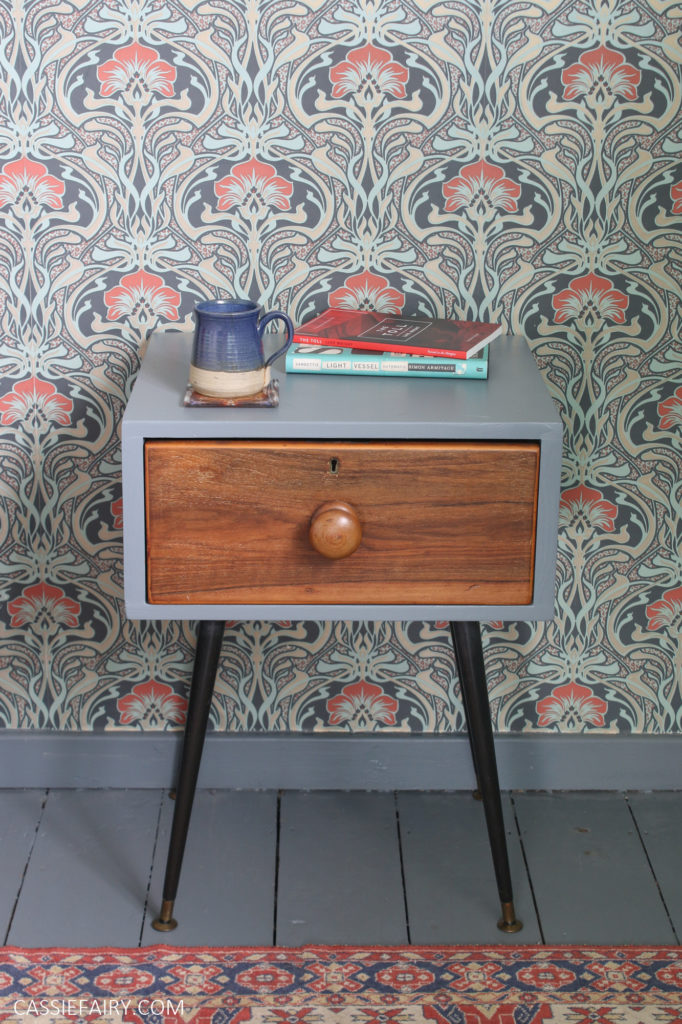
Once I had cobbled together all the materials needed to create some compact, farmhouse-style bedside cabinets, we set to work on our upcycling project. Luckily I had some of the same ‘Steel Smoke’ colour paint that I used in our bedroom, so I decided to paint the outside frame in grey and leave the drawers in their original wooden finish.
You can see the full tutorial on the Safestore blog, where I share step-by-step photos so that you can see how to put together this easy DIY project. It uses the existing shape of the drawers, so you can simply adjust the measurements to suit whatever drawers you’re working with.
You may remember that I previously DIYed some basic bedside tables when I first decorated my new home. Those drawers were from an old mid-century style chest of drawers and we opted for white paint to create vintage-yet-minimalist pieces for my bedroom. I love them and they’re still going strong three years later!
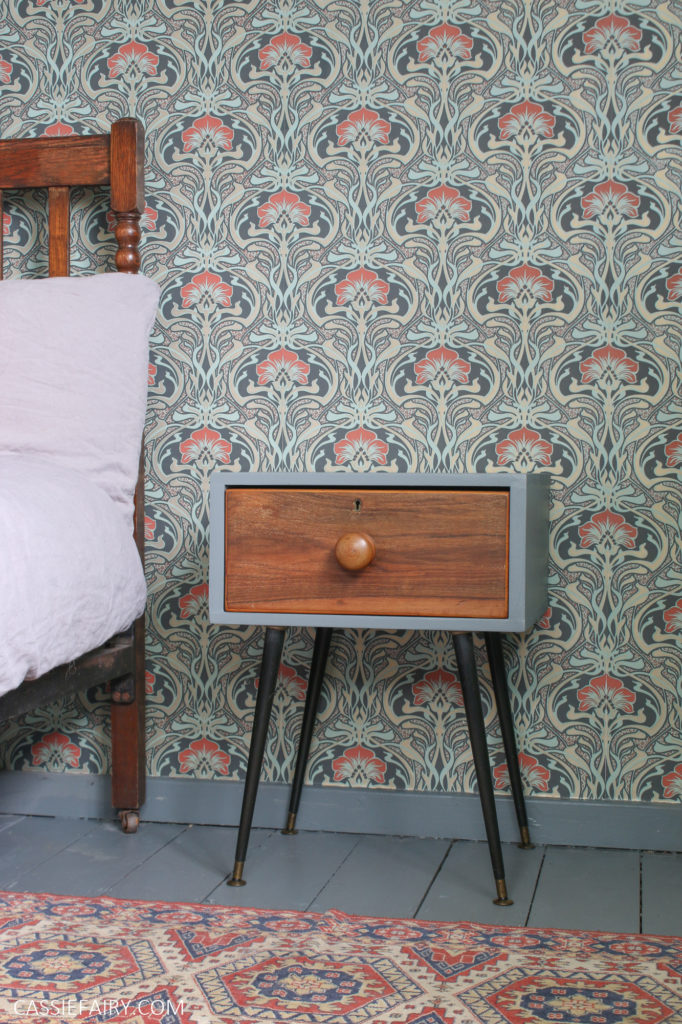
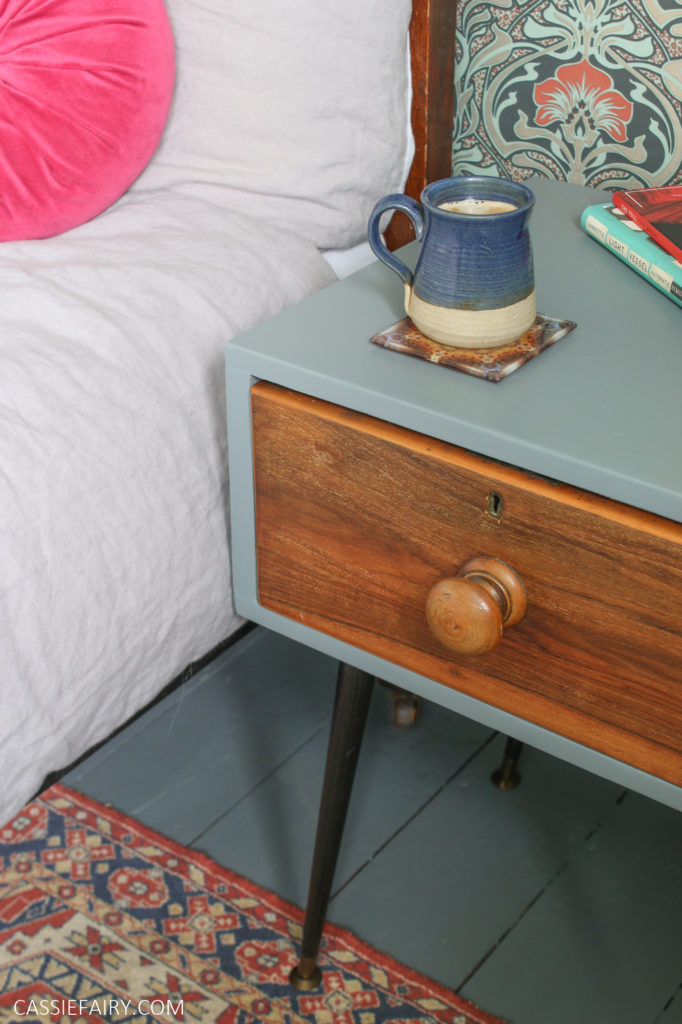
I really like the contrast between the wood and the grey tones. They tie in with the rest of the decor perfectly; the wooden Vono bed frame and the grey painted floorboards. I’m so happy with how this upcycling project turned out – you never quite know how it’s going to look until you’re done but that’s the beauty of DIY, and you can always keep tweaking the design and painting different colours until you land on a finish you’re happy with.
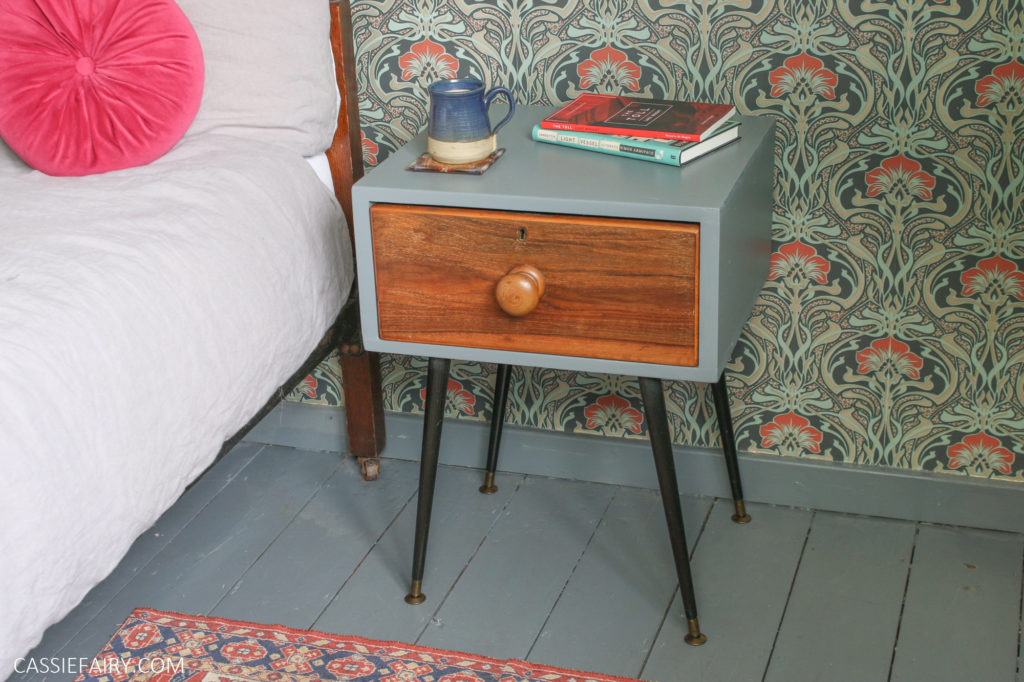
What do you think of my upcycled bedside tables project? Will you have a go at rustling up some nightstands for yourself? Let me know in the comments below and I’d love to see your photos of your project if you do! Tag me @cassiefairy on Twitter or Instagram.
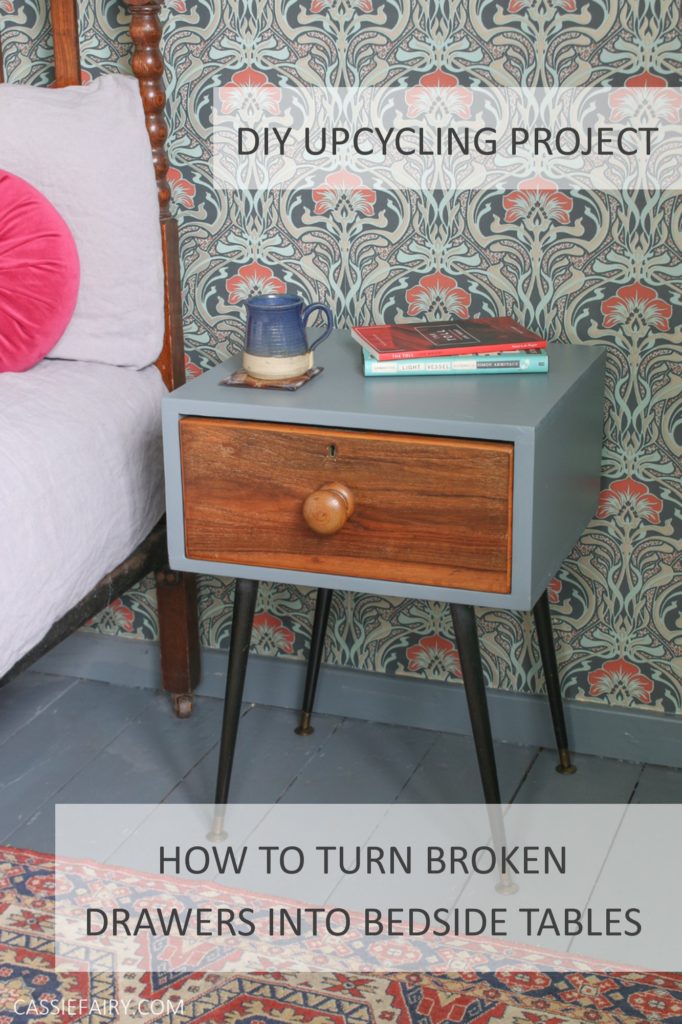
PLEASE PIN IT..!







2 Responses
Thanks so much Liz, I’m glad you like it! Absolutely, it’s worth giving it a go, isn’t it?!
Very nice and it shows you can make something just as good from old, without any cost other than time, saving money in the long run.
Similar furniture you can buy to this, can be expensive.