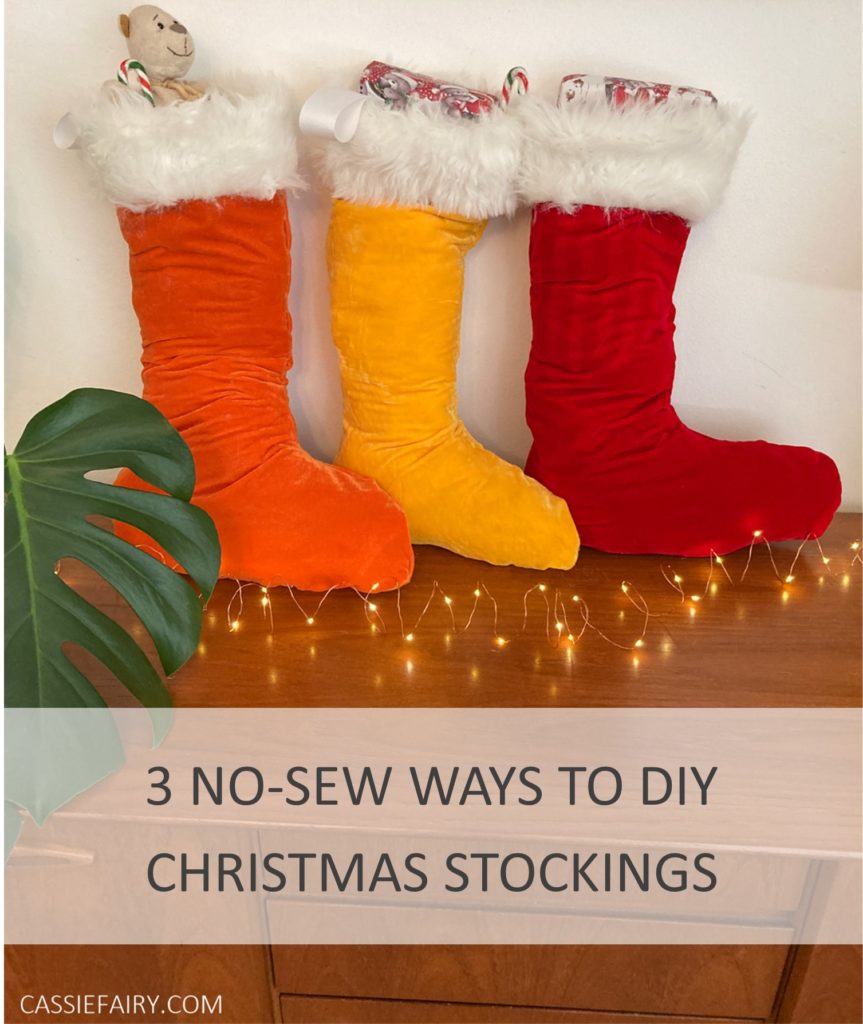
If you don’t have any sewing skills and the last time you stitched anything was during a textiles lesson at school, don’t worry – it IS still possible to DIY your own handmade Christmas stockings. I’ve come up with three no-sew ways to make a unique stocking without ever needing picking up a needle and thread. It also means these festive stockings are super-quick to make and they’ll be hanging on your fireplace in no time. I’ve shared my quick step-by-step video below – enjoy..!
If you want to make some custom stocking to match your interior, DIYing your own is the best way to get that coordinated look. Making it yourself means you can choose whatever fabrics and colours you like, and you can create a different one for each member of the family.
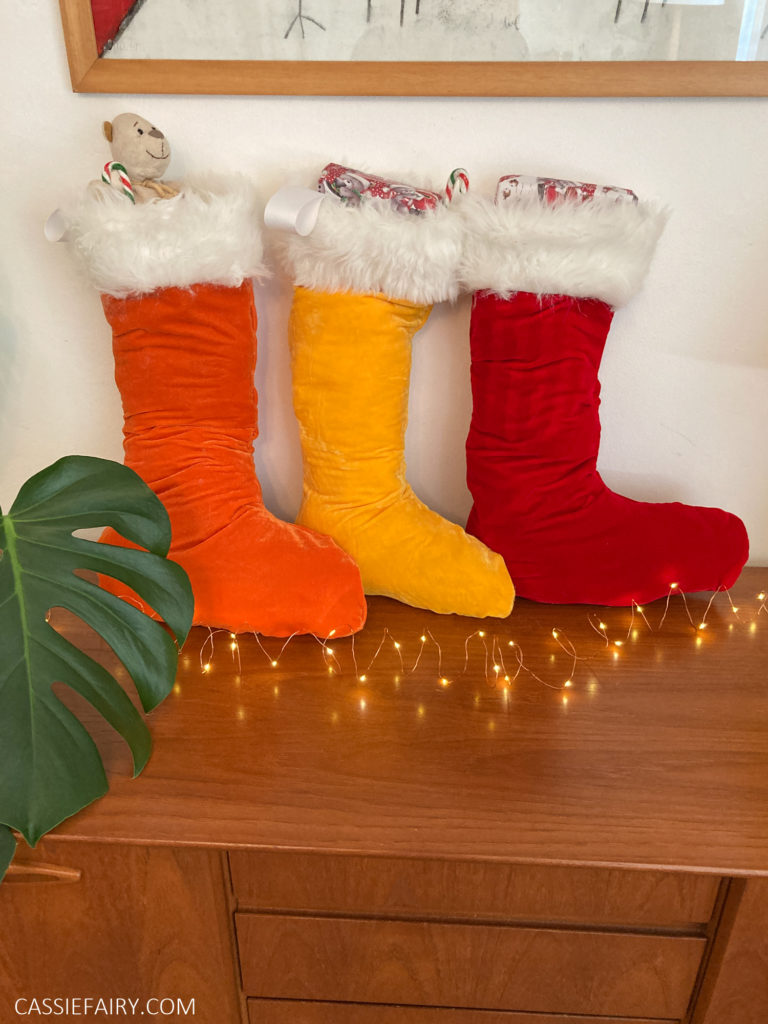
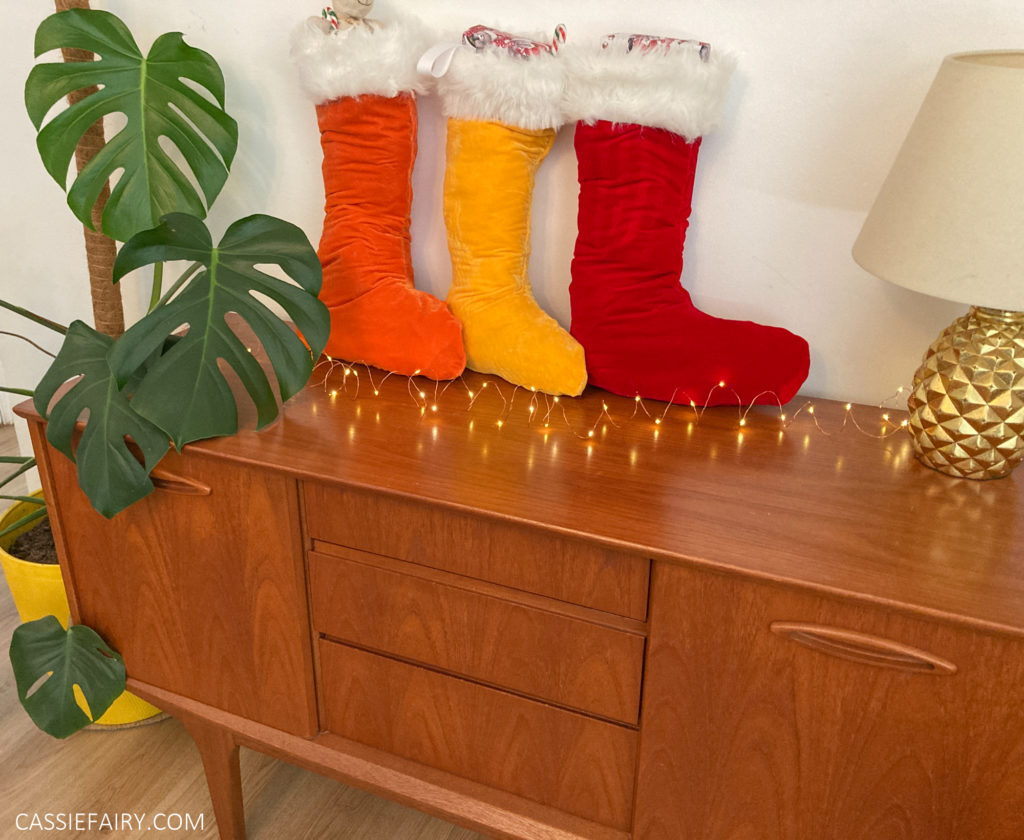
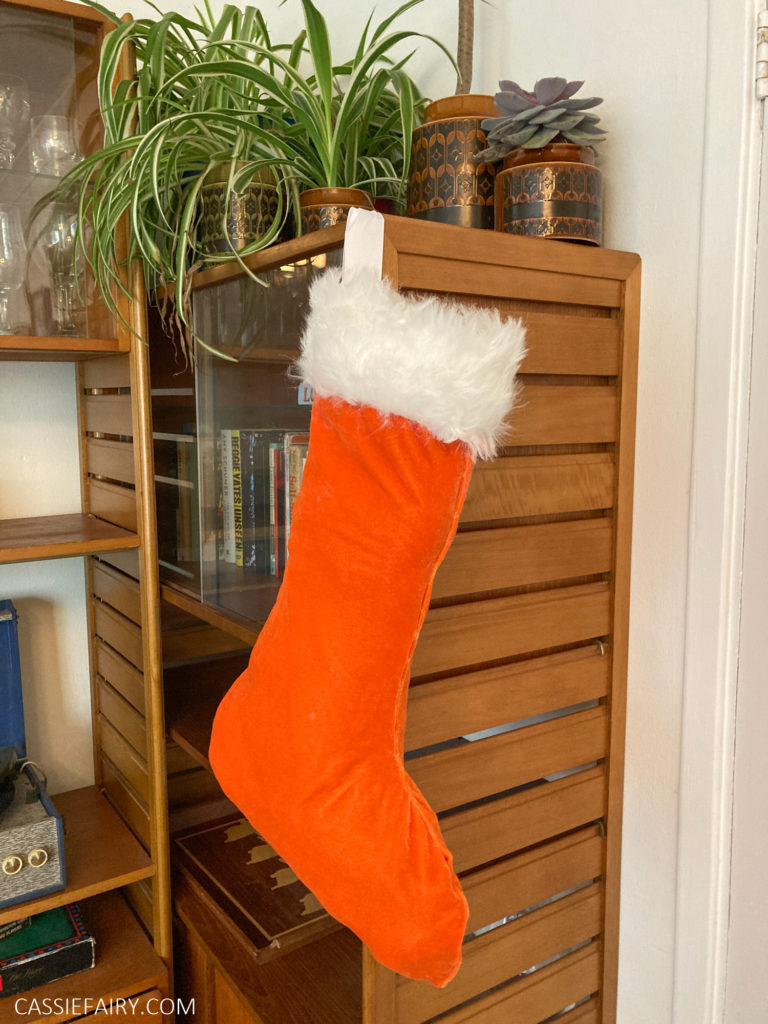
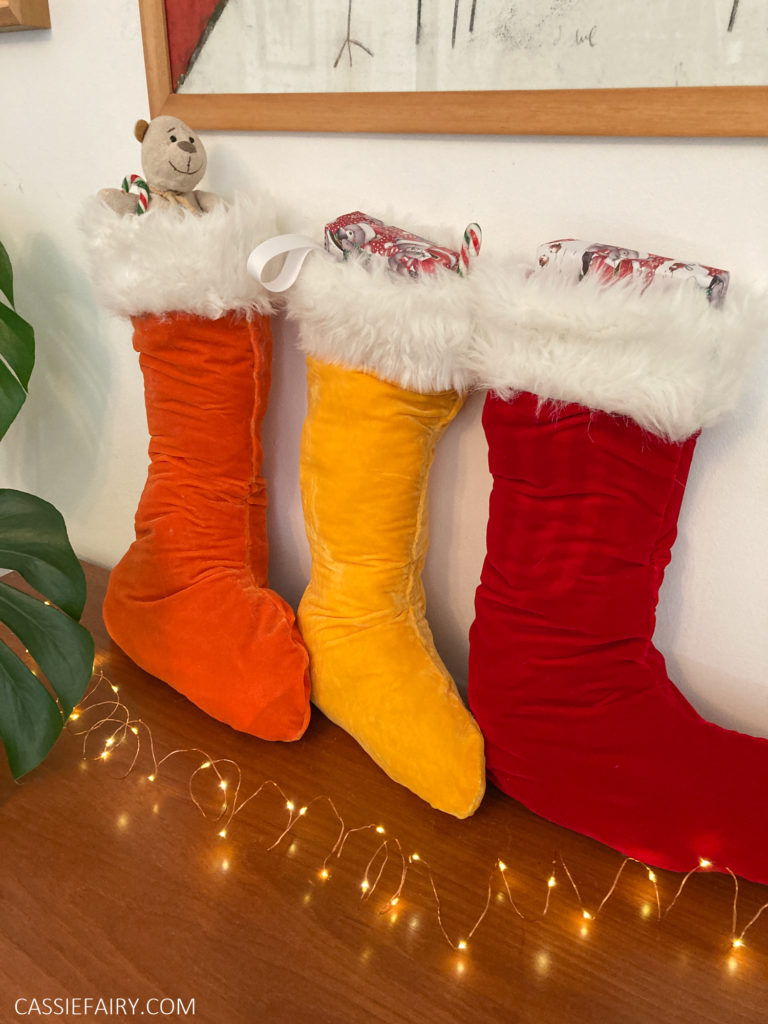
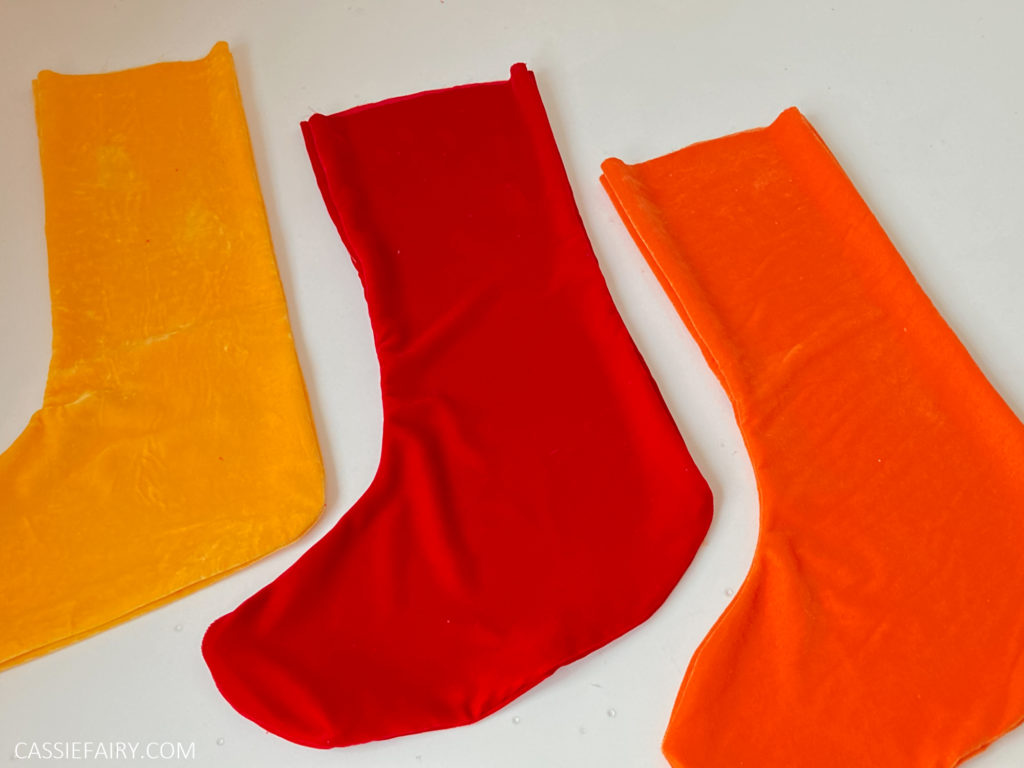
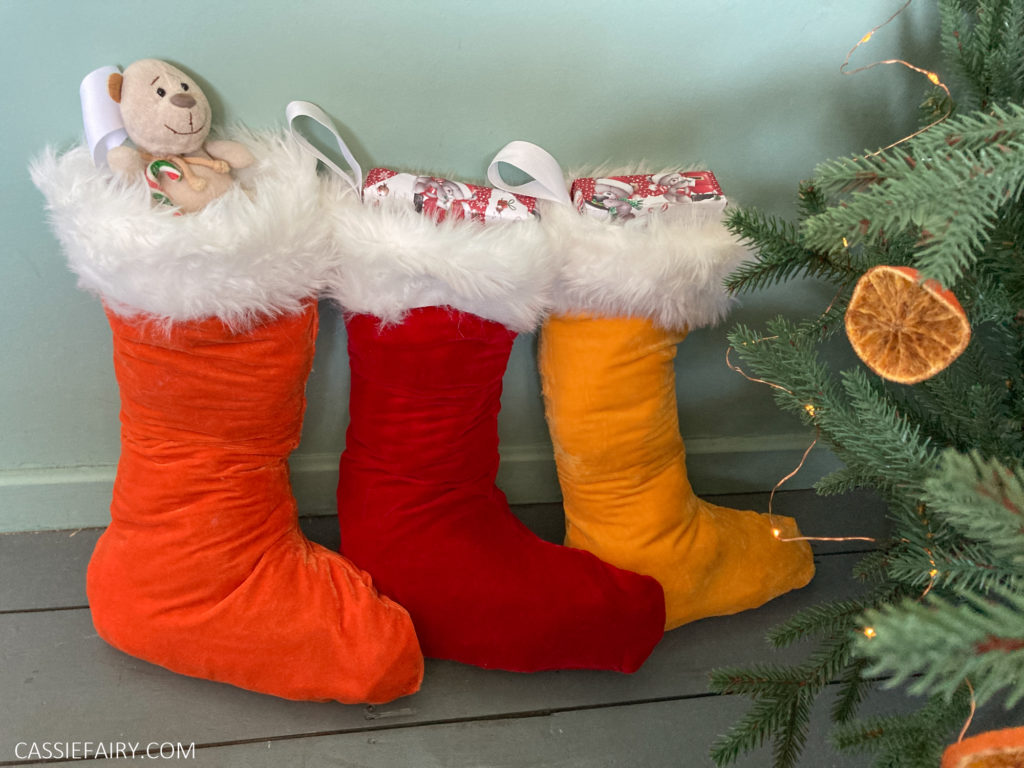
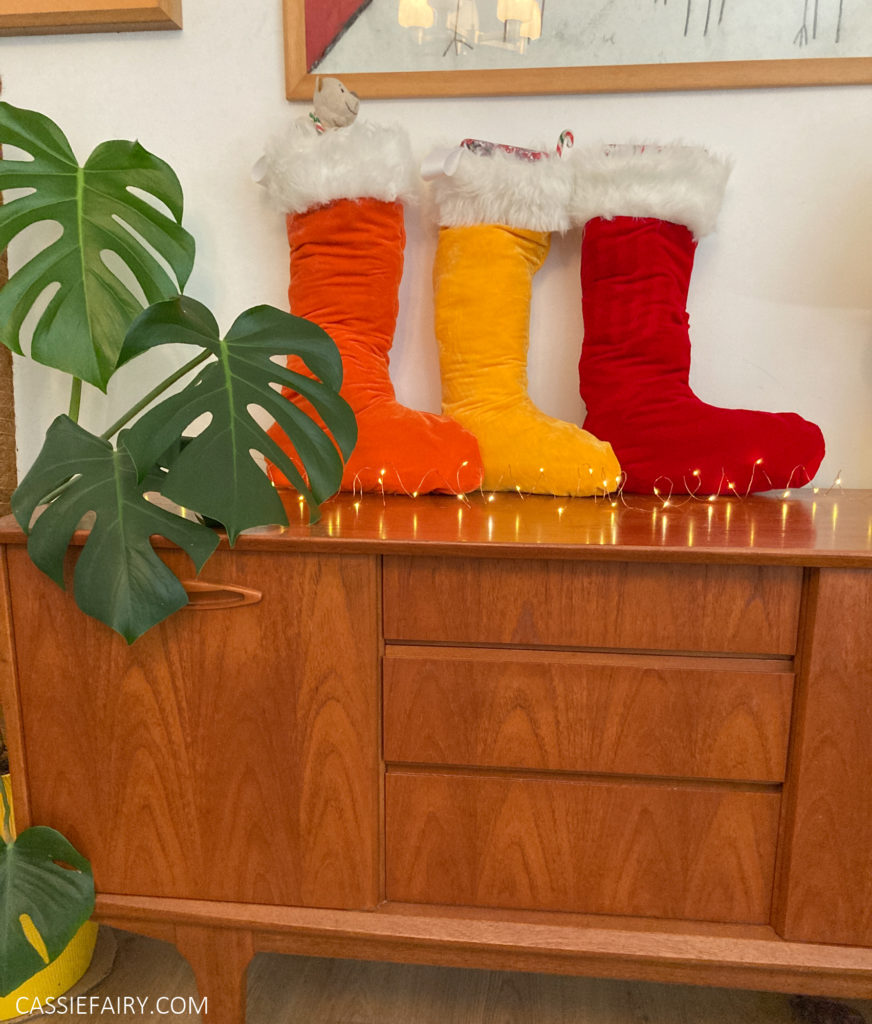
I chose micro velvet fabrics but in less-than-traditional colours of mustard yellow and orange so that they coordinate with my mid-century modern living room. But of course, I had to try making a classic red Christmas stocking too. And is it even a stocking if it it doesn’t have a fluffy white top??
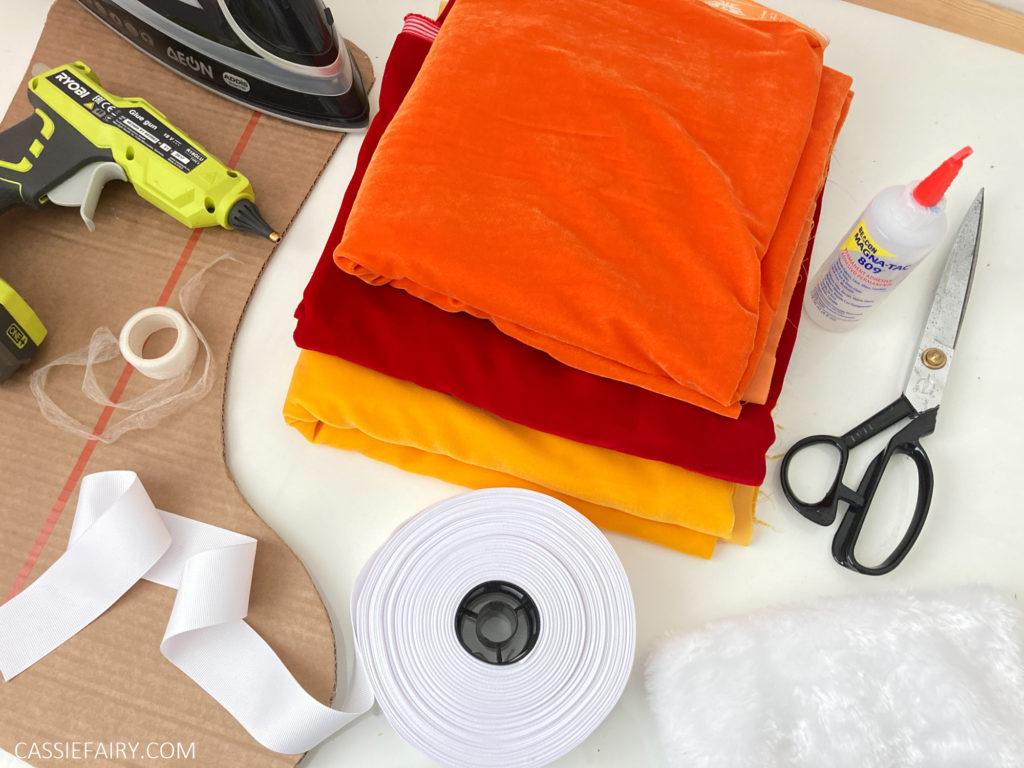
YOU WILL NEED:
- Fabric – cotton, linen and upholstery fabrics will all work well – anything that won’t melt when heated! I used velvet fabric from FabricWholesaleDirect.com
- Fluffy plush faux fur fabric for the trim around the top of the stocking.
- Ribbon for hanging. I used grosgrain ribbon in white.
- Pins and fabric shears
- Cardboard and pen
- Fabric adhesive or
- Iron-on bonding webbing, an iron and ironing board or
- Hot glue gun with glue sticks
Firstly, you’ll need to make a template from cardboard. Simply draw around a stocking you already have, or draw it free-hand to any size you like.
NO-SEW STOCKING WITH FABRIC GLUE
Cut out two stocking shapes from the fabric and lay one down with the right-side of the fabric facing up. Squeeze a line of fabric glue around the edge of the stocking shape. Lay the second stocking shape with the right side facing down onto the first shape. Press together around the edges and allow the fabric glue to dry.
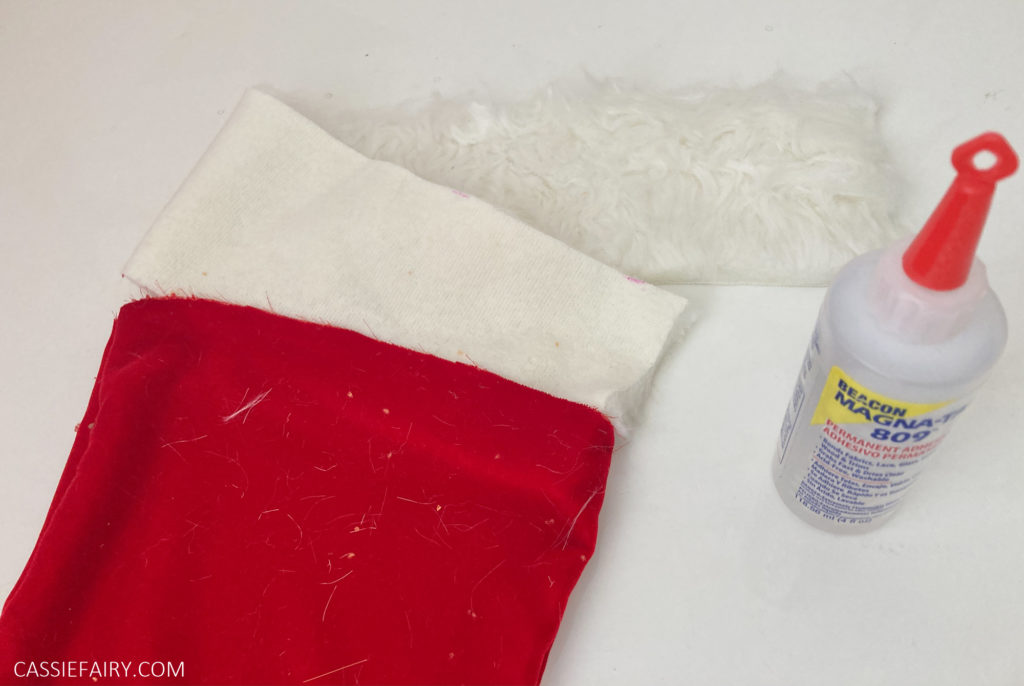
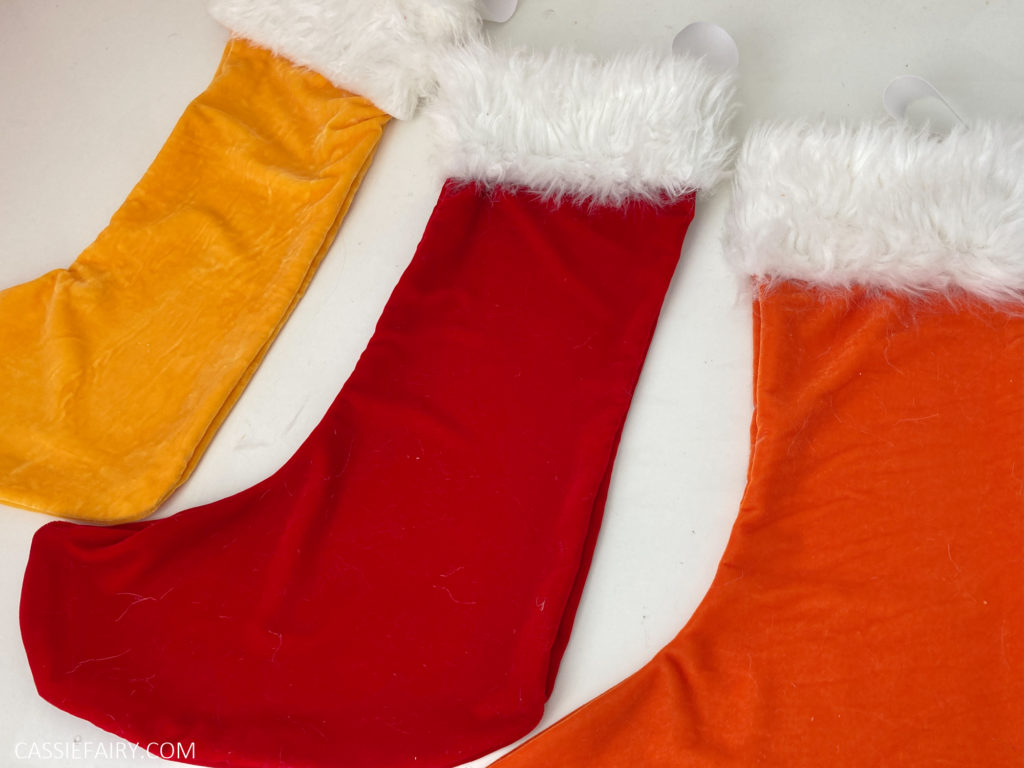
When dry, turn the stocking right-side-out and squeeze some fabric glue onto the back of the faux fur trim. Position it inside the top edge of the stocking and press down. Use the glue to make a seam at the back then flip over the top of the stocking so that the fluffy side is facing out. Glue a loop of ribbon inside the top of the stocking.
NO-SEW STOCKING WITH WEBBING
Like the first option, lay down the stocking shape with the right-side facing up. Position pieces of bonding webbing around the edge of the fabric. Position the second stocking shape with right-side facing down. You may need to pin in place to stop the fabric moving while you iron. Follow the instructions on the bonding webbing to use a hot iron to seal the edges together. You may need a wet tea-towel for this.
To attach the top trim, position it inside the top edge of the stocking and sandwich the bonding webbing between the non-fluffy back of the trim and the wrong-side of the stocking. Once ironed together, flip the stocking right-side out and flip the fluffy trim over the top. If your fluffy trim can’t be ironed (it may melt!) you could always glue it in place instead.
NO-SEW STOCKING WITH A HOT GLUE GUN
Same as the previous two methods but use a hot glue gun to attach the stocking shapes together. Carefully press the fabric pieces together as the hot glue may burn your fingers. You might need to work in sections rather than apply the glue and then attach the second stocking, as the glue hardens as it cools and you may fit it’s not sticky enough by the time you’re pressing the last ends together.
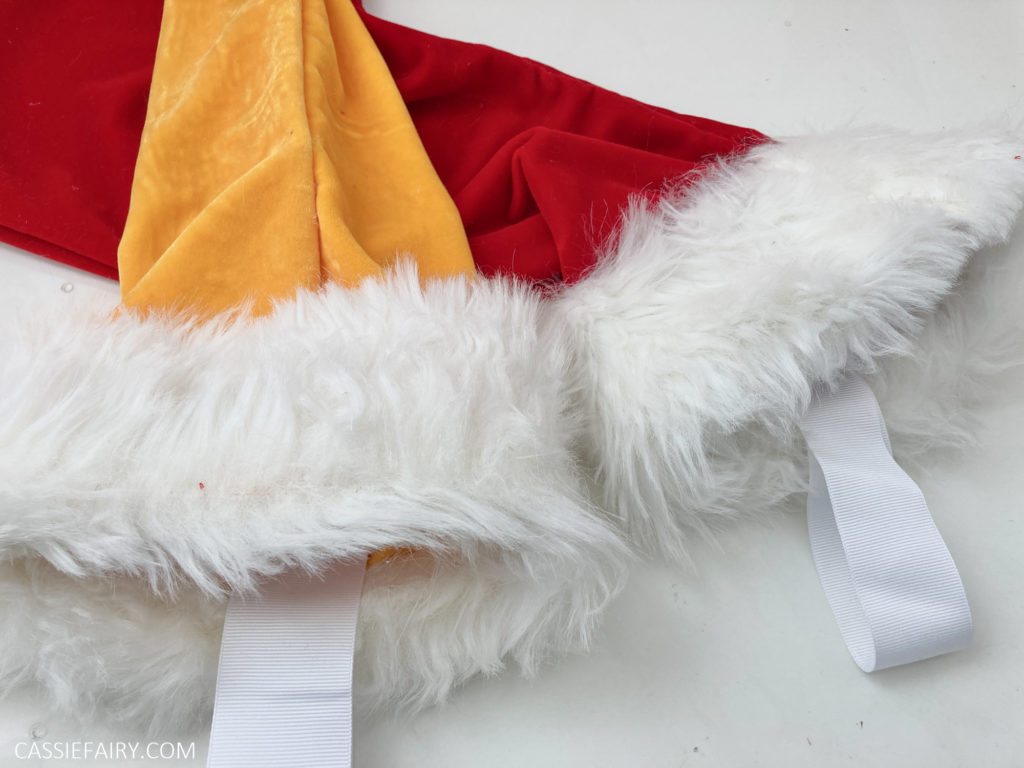
When it comes to glueing the seam at the back of the faux fur trim, you might need to trim away some of the fluff to give it a ‘haircut’ and enable you to glue the two ends together. Press the trimmed section down onto the back of the faux fur fabric to make a seam. When you turn the trim the right-side-out, you can fluff up the faux fur to cover the seam so that it’s barely noticeable.
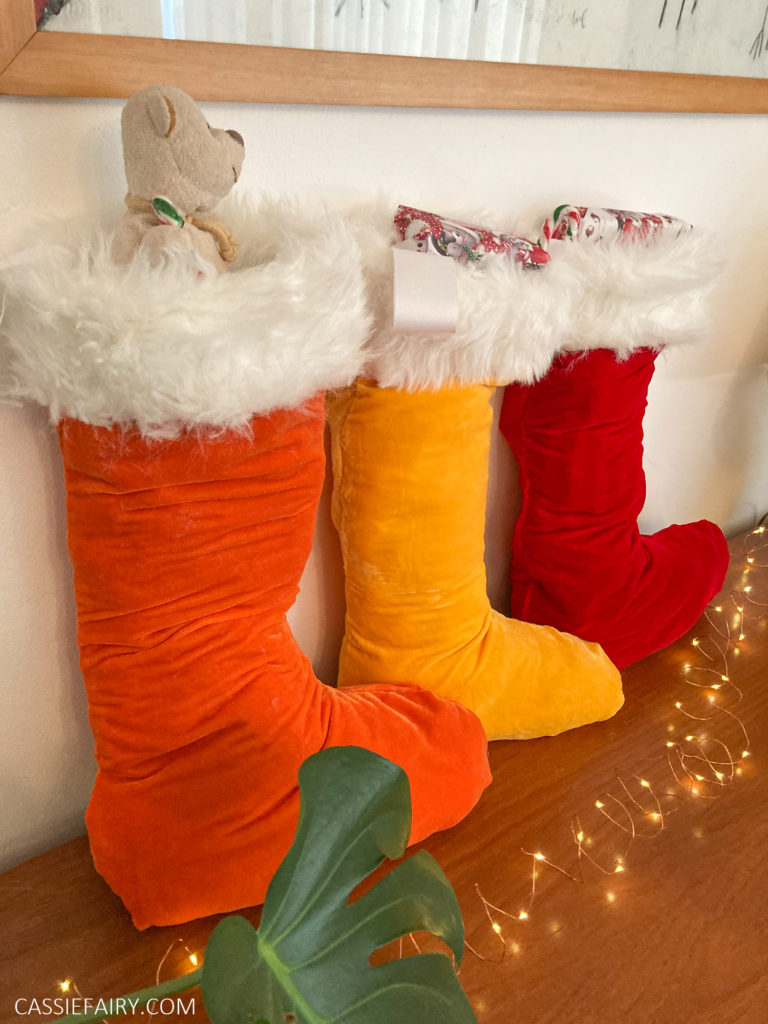
What do you think of my three no-sew Christmas stockings? If you’re making your own stockings you can choose any fabrics you like to match your interior or to coordinate with your festive decorations theme this year. I’ve put together a little video on my Cassiefairy YouTube Channel to show you how I made these three stockings step-by-step.
Christmas stockings don’t really need to be washed so using the hot glue gun to seal the edges is fine, but the other two methods of fabric adhesive and iron-on blonding webbing are washable if you need to do so in the future. And, if the seams of the stockings ever come apart, don’t worry – you can just re-glue them the same way!
Let me know if you have a go at making these stockings in the comments below and I’d love to see photos of your creations so please tag me on Instagram @cassiefairy.
PIN IT FOR LATER
This article is a sponsored collaboration. The pink links in the content indicate a sponsored link or information source. The blog post reflects my own experience and the sponsor hasn’t had any control over my content 🙂


4 responses
Fantastic! Good luck with making your own Christmas stockings! 🙂
Thanks for this! Making one soon!
Thank so much, I’m glad you like it! Let me know how you get on with your project 🙂
I love this! What a great idea 🙂 totally trying this!