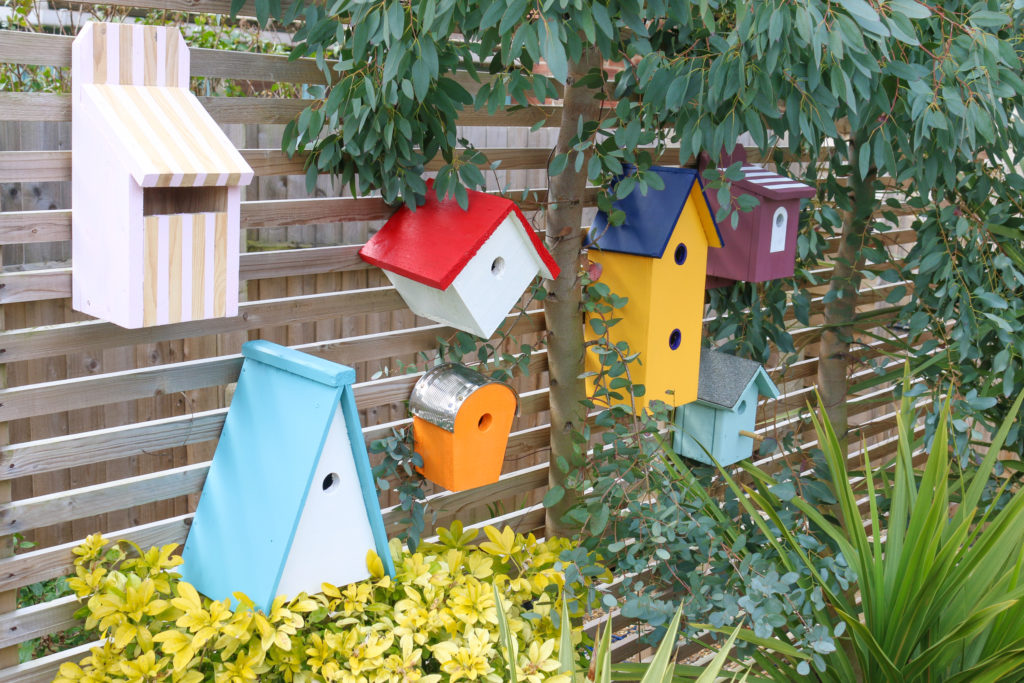
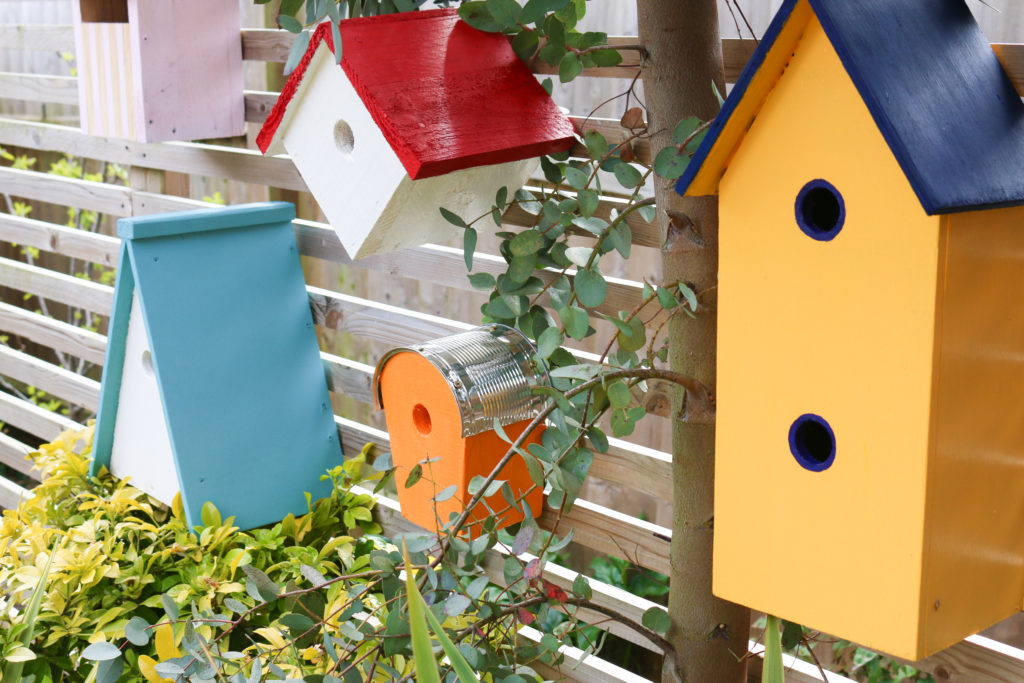
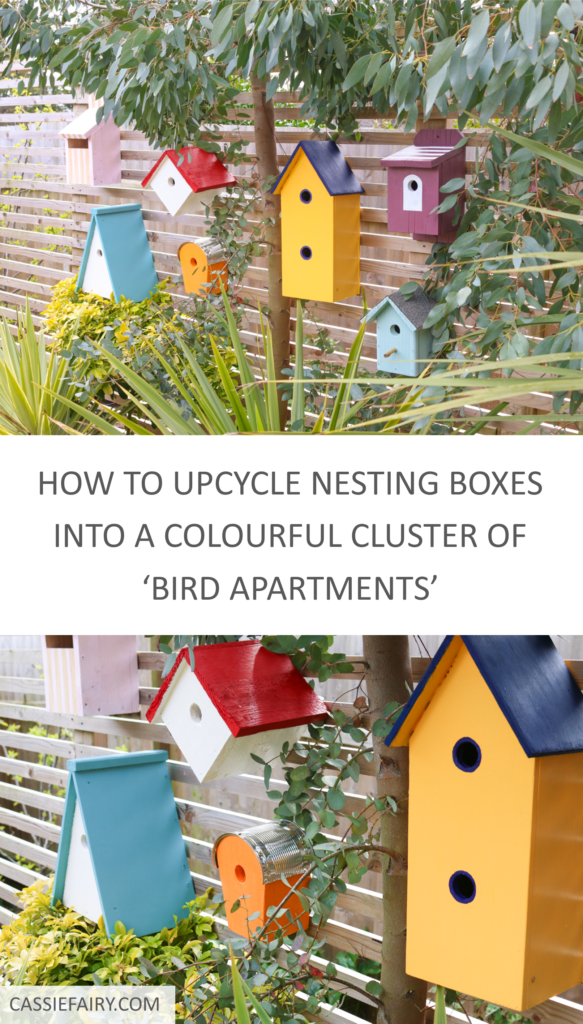
With BBC Springwatch in full swing, I thought that now would be the perfect time to share one of my latest upcycling projects with you – a cluster of colourful bird boxes. With a few old bird boxes that we’ve haven’t yet put up in our garden and some DIY ones that my husband built (including an open-fronted one especially for the robin we see hopping around) I got out my brushes and started to revamp them…
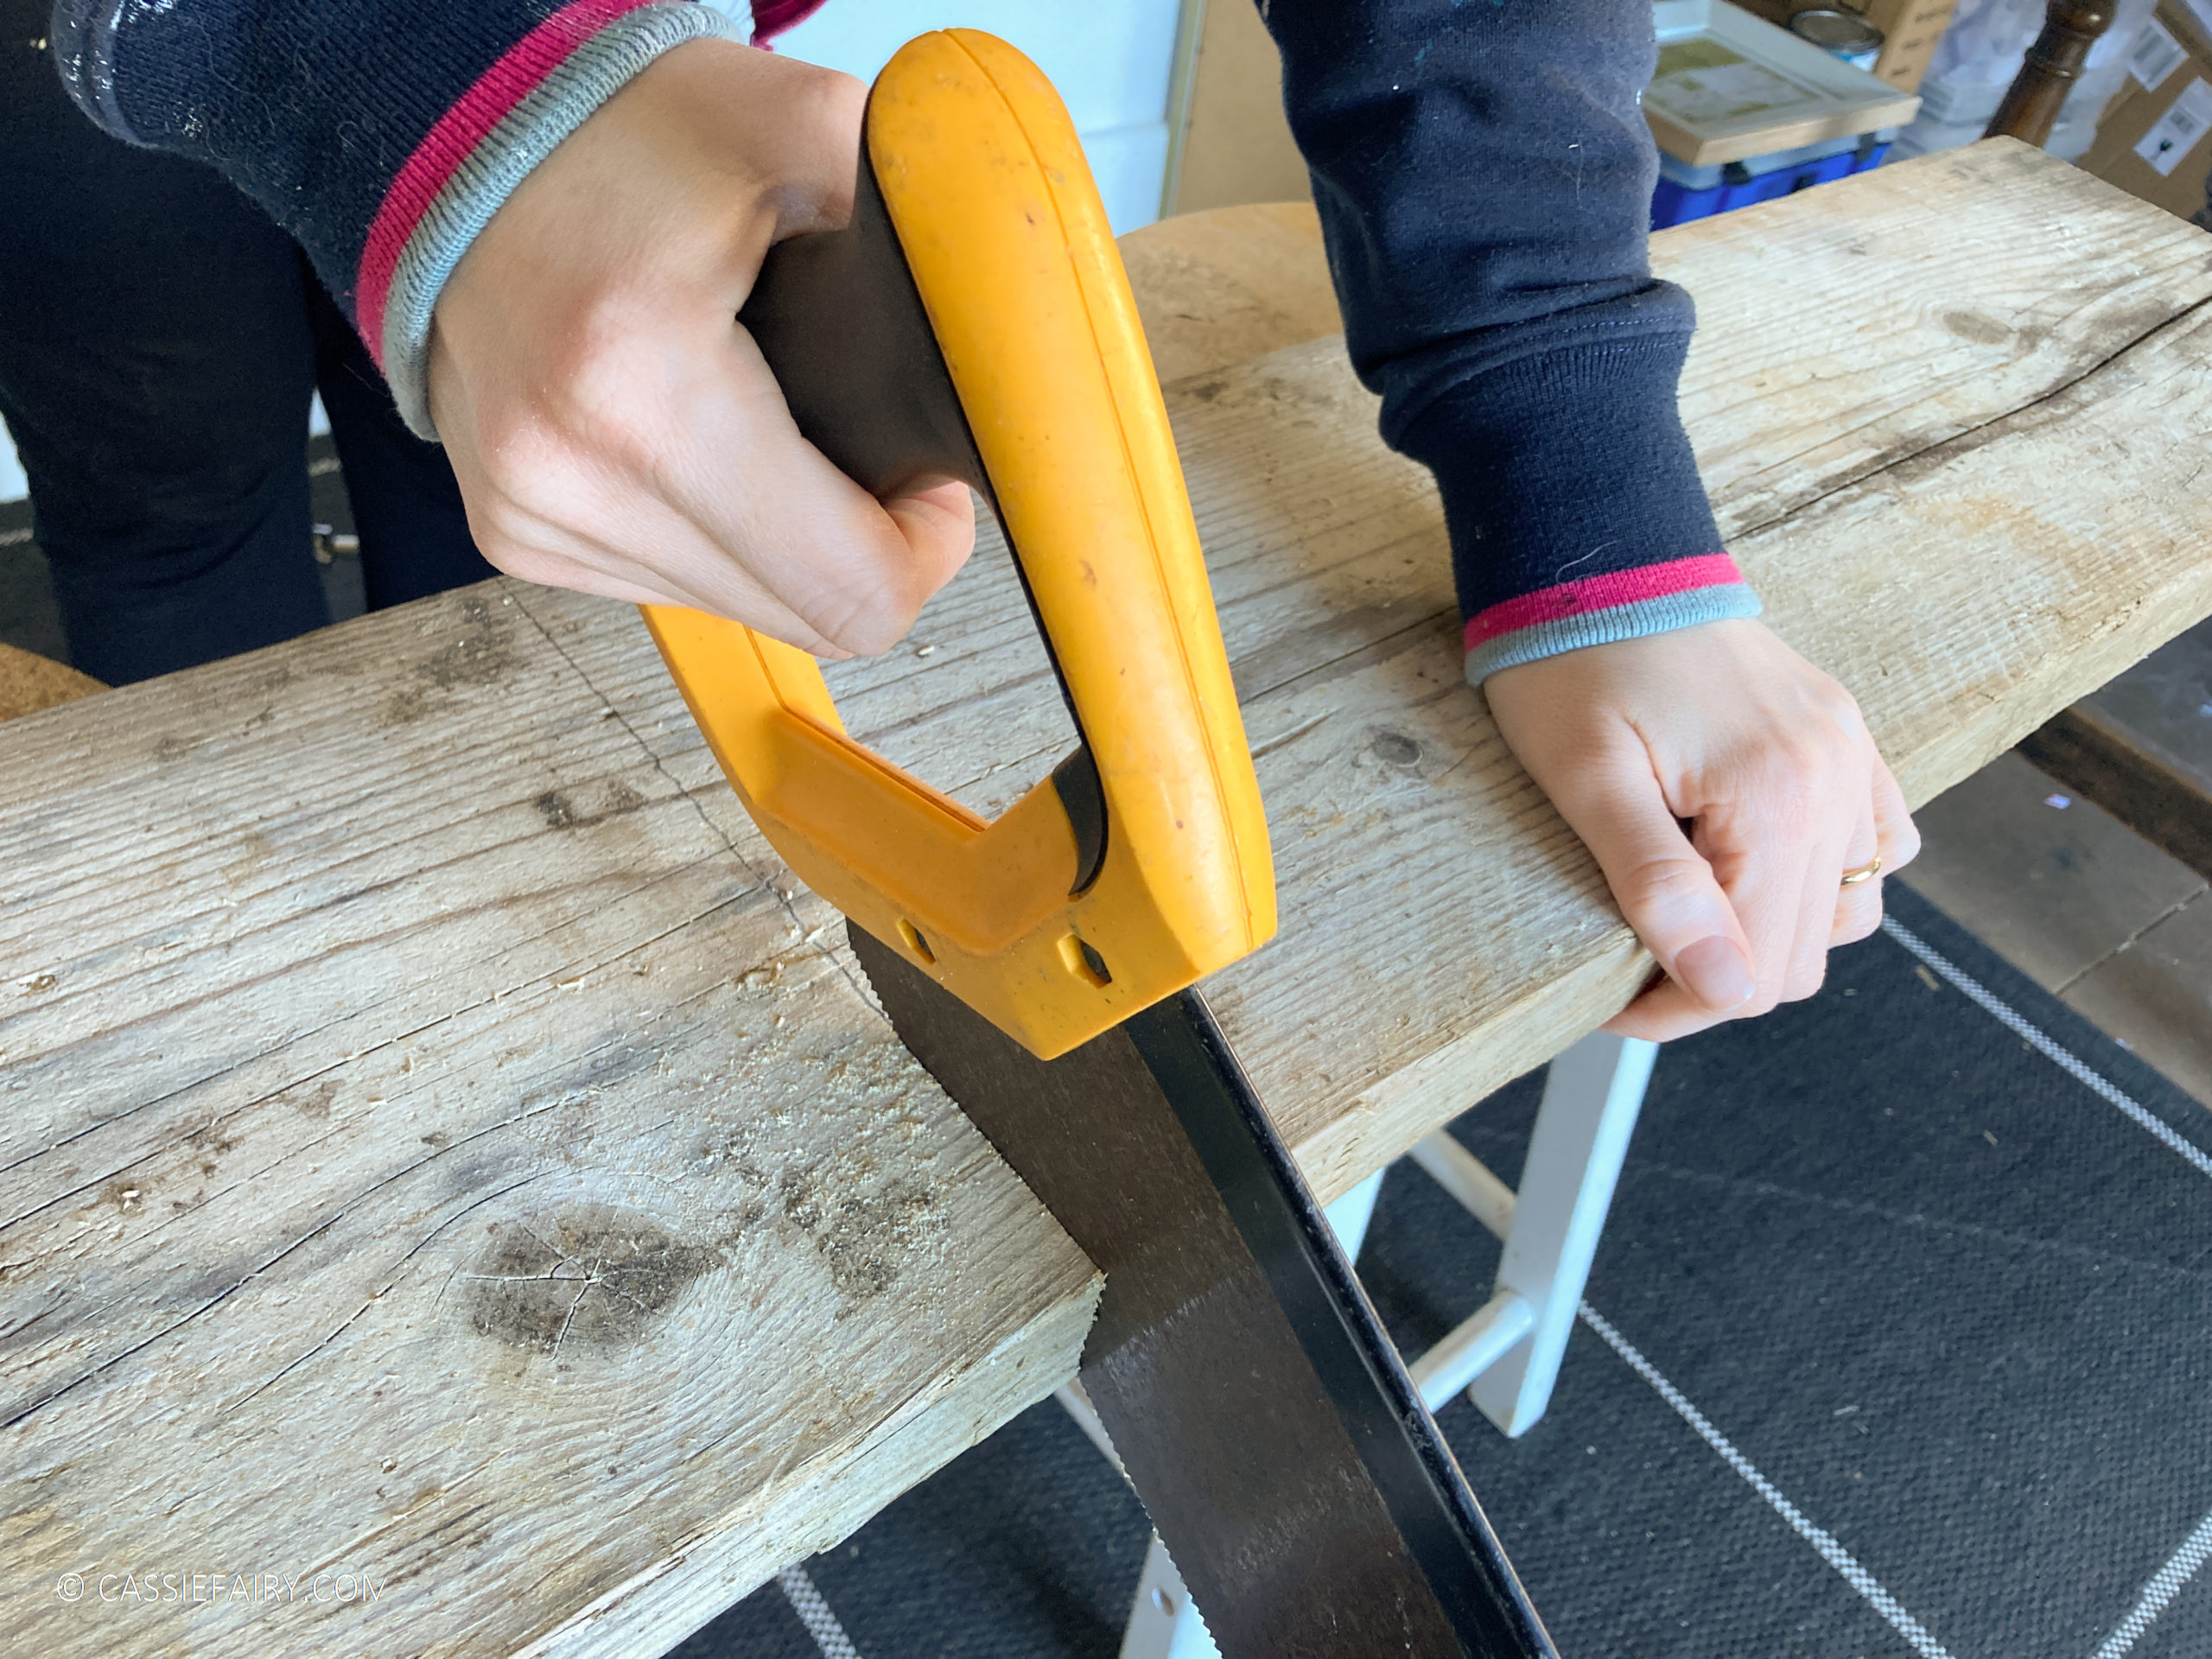
I was delighted when Harris Brushes shared my step-by-step project on their Instagram grid. Their account is packed full of handy DIYs and painting tips so I was thrilled when they posted my photos of the project and shared details of how to create the project – so be sure to check out the post if you want to have a go at creating some fun bird boxes designs yourself.
BUT before you start taking down your existing bird boxes and painting them, an important thing to consider is that many boxes are already being used by nesting birds so it’s crucial not to take down old bird boxes until the laying/fledging season is over. The RSPB recommends waiting until the autumn to remove, clean and reinstall bird boxes.
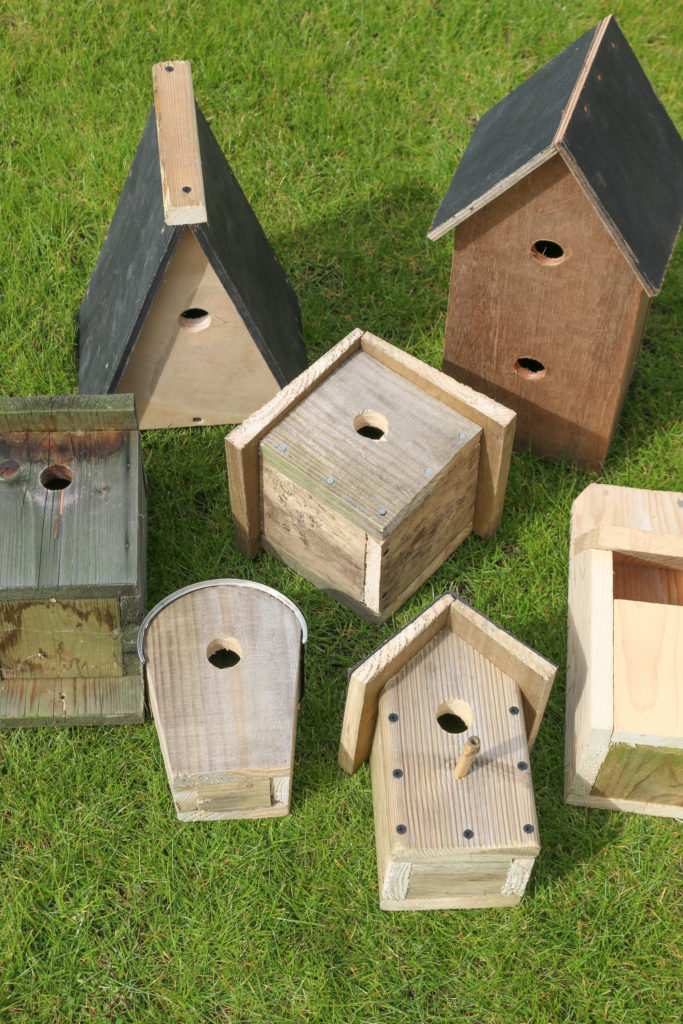
So, if you still want to create a colourful cluster of bird boxes this summer, you could either add brand new boxes that you paint BEFORE putting them up your garden. New boxes can be bought from local wildlife trusts, garden centres or DIY stores, and the RSPB has an online guide to build a bird box if you don’t mind DIYing.
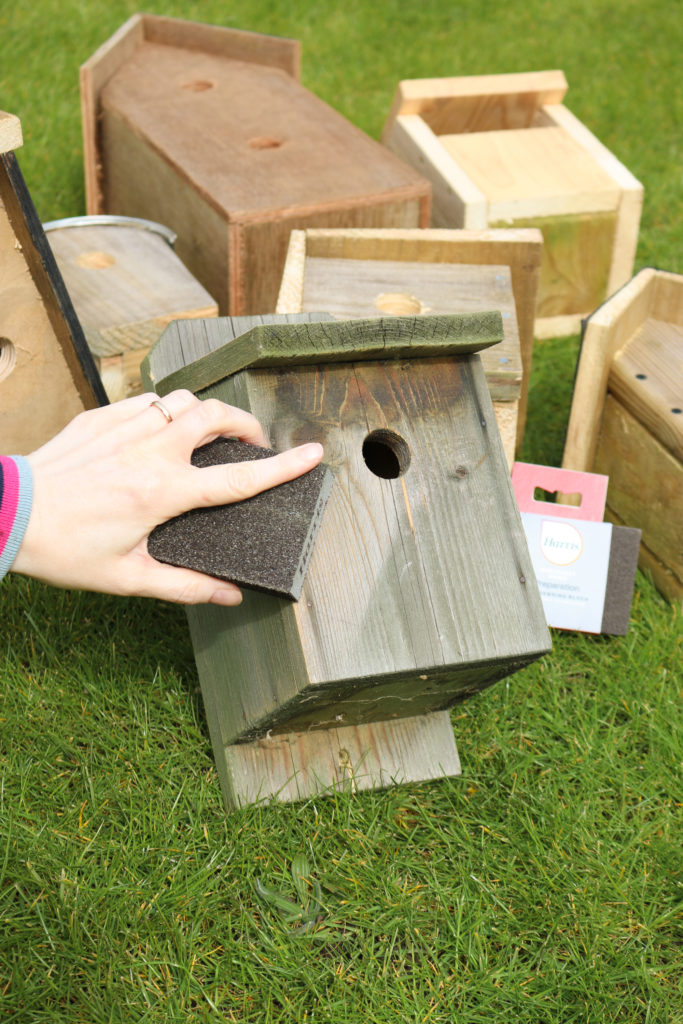
Also, another thing to consider is that many birds like to have their own territories – so you’ll only get one blue tit family nesting within one area, and robins are supposed to be territorial birds anyway! However, I’ve noticed that other birds such as house sparrows only require the hole itself and a little space around it as a territory, which is probably why there are so many sparrow families in our garden. So be sure to space out the houses accordingly and vary the sizes of the nesting box holes to attract as many different species as possible – tits like 25mm, 28mm for great tits, tree sparrows and pied flycatchers, 32mm for nuthatches and house sparrows, 45mm for starlings, 100mm with an open front for robins and wagtails.
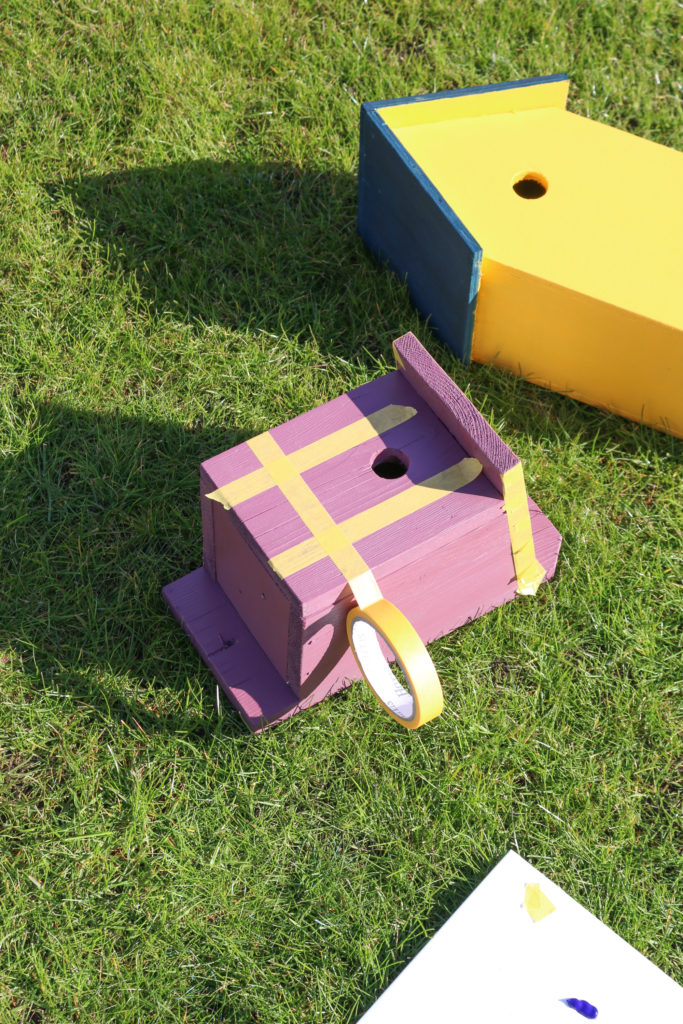
Painting the new boxes can be a fun activity to do with the children over half term or at the weekend. All the family can get involved with choosing colours, painting the boxes and even adding patterns using masking tape or using smaller craft brushes like the ones I used to outline the entrance holes and paint a door on the front! Once dry, you can choose a lovely location for your bird ‘apartments’ and adults can install them.
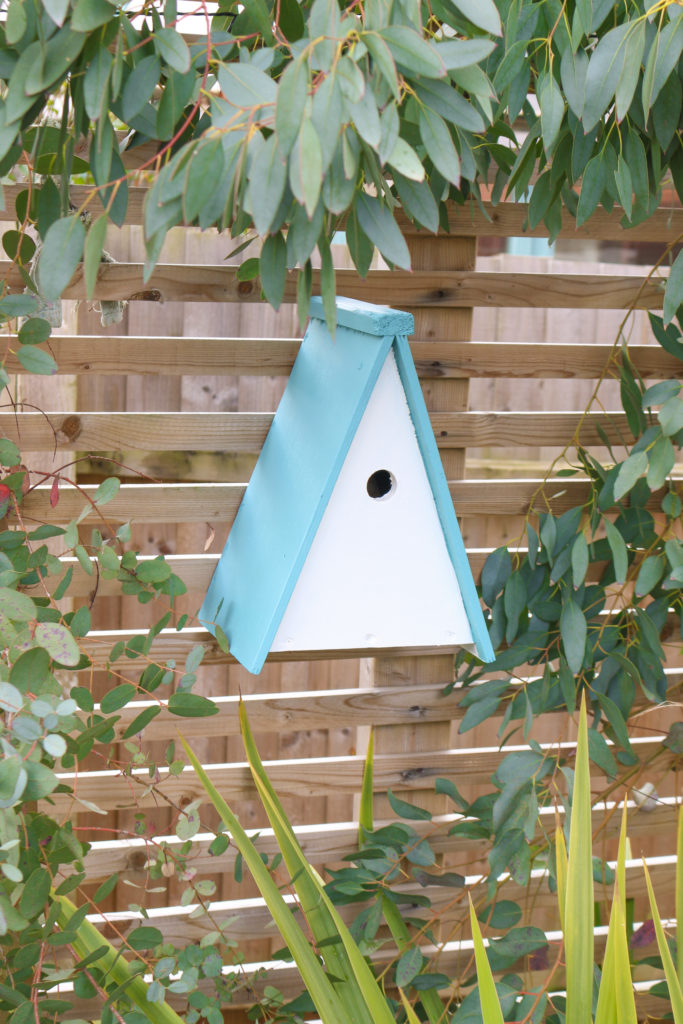
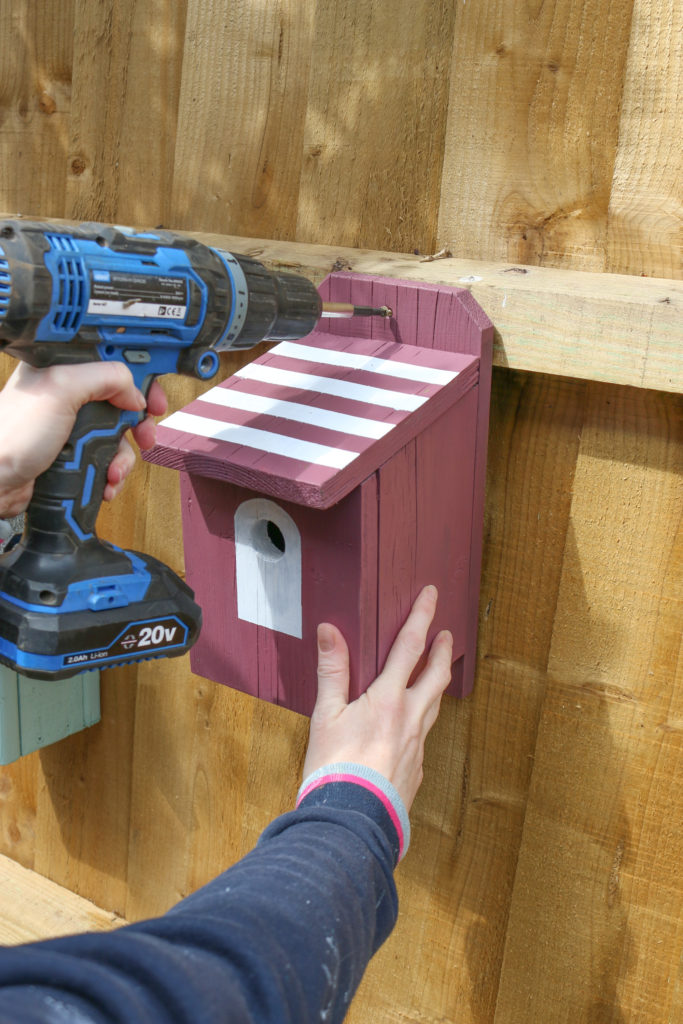
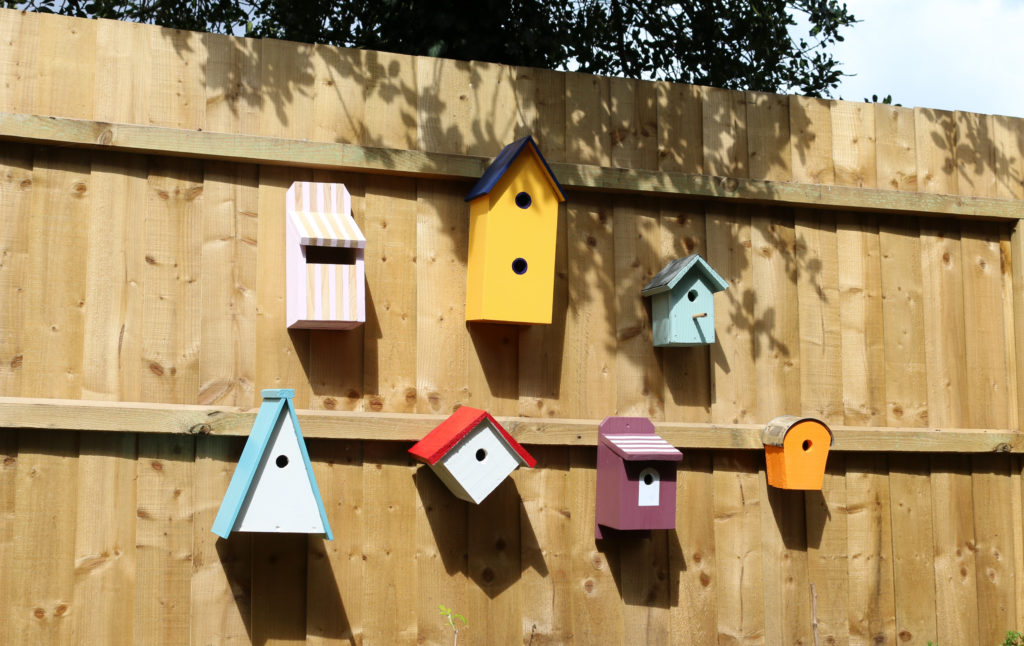
At first I attached the bird boxes to my fence. The tree you can see above the fence is full of sparrows and tits so I thought it would be a good spot to try to attract birds into the boxes. However, the fence doesn’t have any plants nearby other than the big holly tree above it and I later read that Blue Tits have a very specific location in mind when choosing a nest – they like the entrance hole to be facing north-east, and this fence faces south-west!
So within a day I had moved the bird boxes onto the trellis, which faces north-east-ish and is surrounded by plants and eucalyptus trees. Having branches and foliage nearby helps the birds to feel more protected and gives them easy landing-zones from which to access the bird boxes.
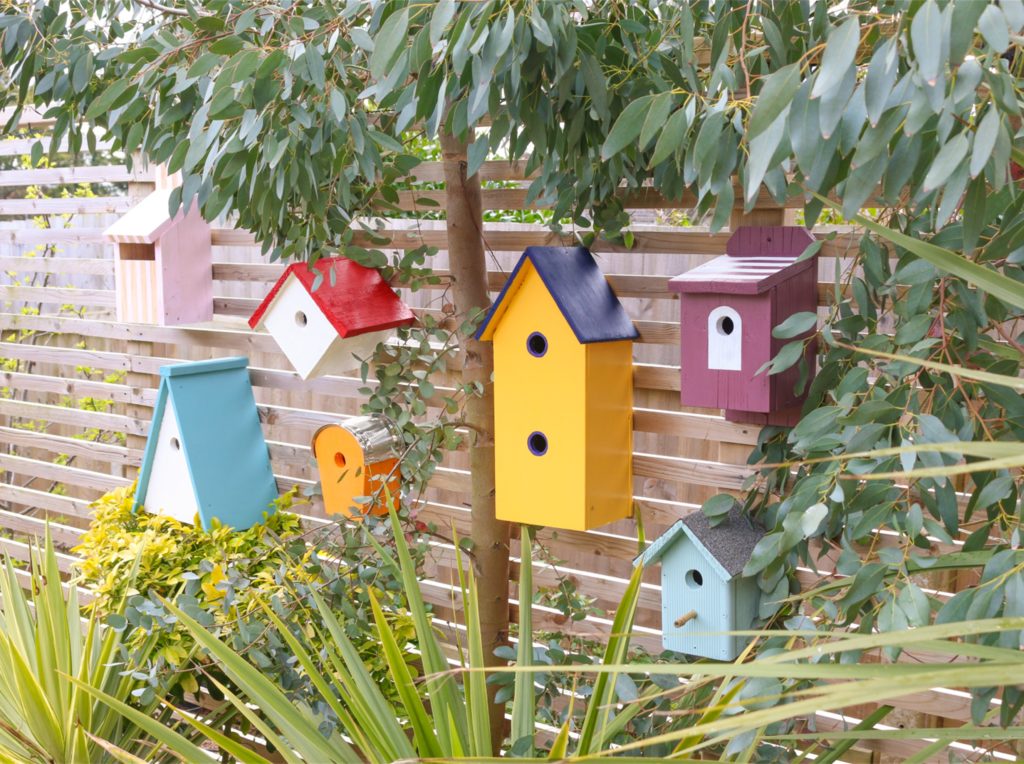
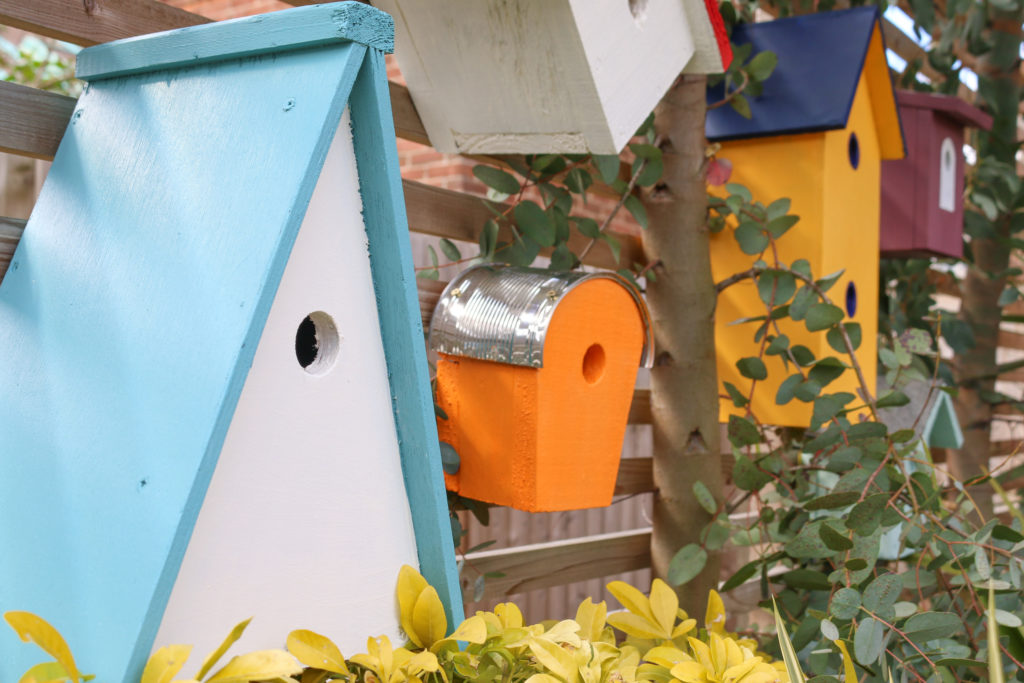
And finally, here’s the best news of all – Blue Tits have moved into the big yellow bird box! I did wonder whether bright colours would put off birds but obviously not! A few species have investigated the boxes as potential nests and, within a day or two of us putting them up on the trellis, a pair of Blue Tits decided to create a home there. Here’s a quick video of a blue tit bringing nest materials into the bird box…
Will you have a go at revamping your old bird boxes this year? Let me know in the comments below what colours you would choose to coordinate with your garden and I’d love to see your upcycles so please tag me in your photos on Instagram @cassiefairy.
PIN IT FOR LATER
This article is a sponsored collaboration. The pink links in the content indicate a sponsored link or information source. The blog post reflects my own experience and the sponsor hasn’t had any control over my content 🙂


