Did you ever make mud-pies as a child? Kids love to play outside with sand and mud – so having a kitchen to stir and splash in will spark their imagination. Plus, it means they can get as mucky as they like, keeping all the mess outdoors this summer!
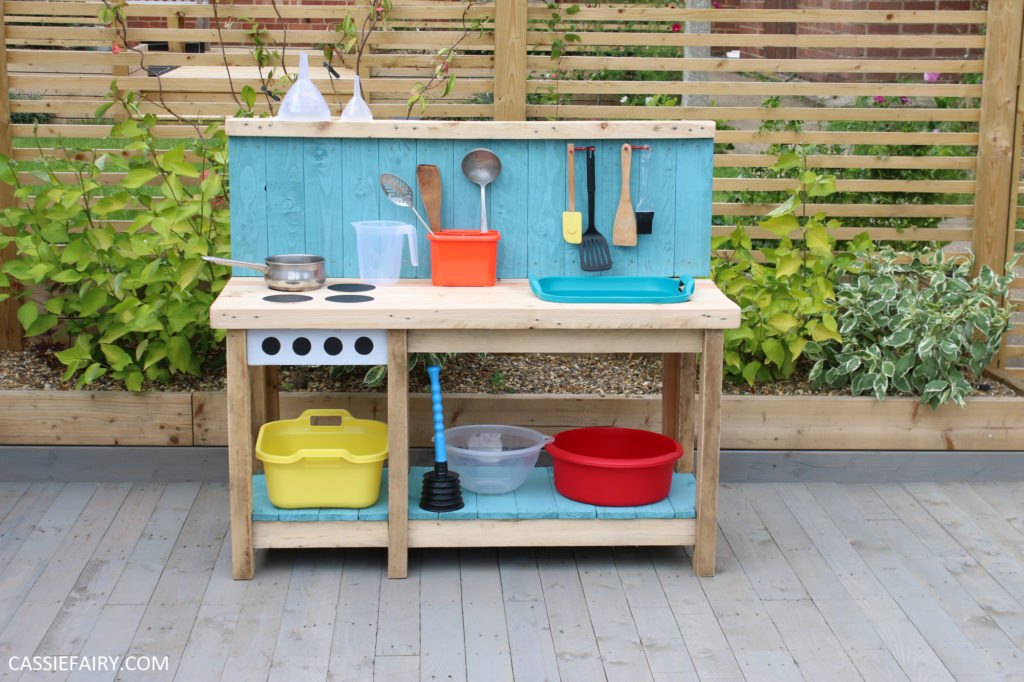
Here’s a step-by-step guide to help you turn a few brick pallets and some kitchen products into a colourful play kitchen that your little ones can use to make mud pies (but do not eat them!)
Step one
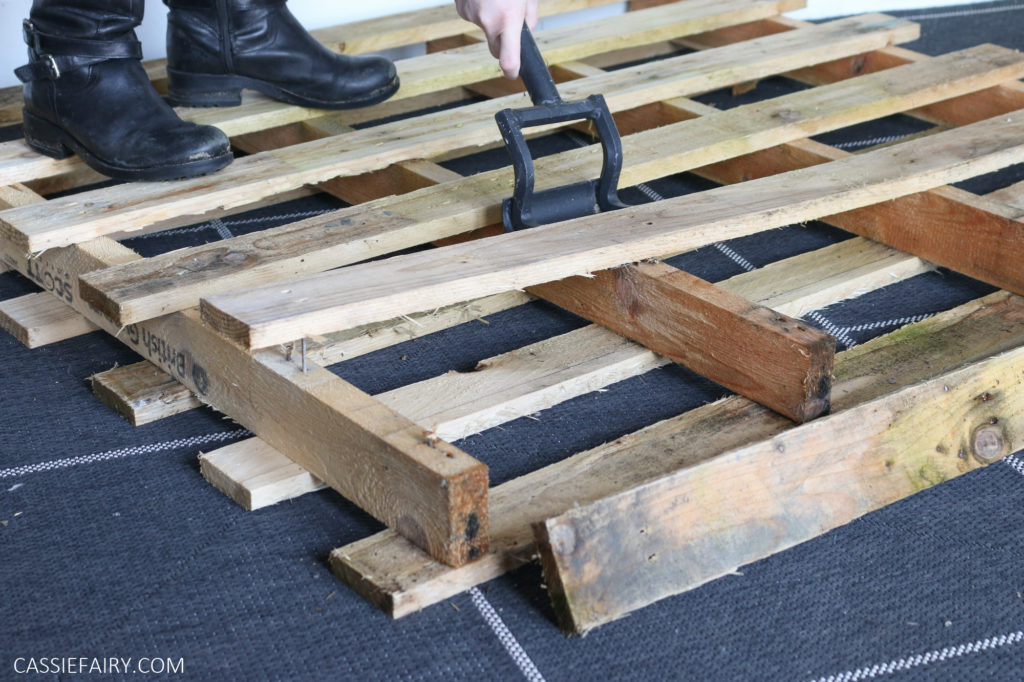
You’ll need a few brick pallets to create this project, as the supporting wood is what we’re going to use to build the frame and the “butchers’ block” worktop. Carefully dismantle the pallets using a wrecking bar or pallet pry bar. Then remove all the nails from the planks and the supports with a hammer.
Step two
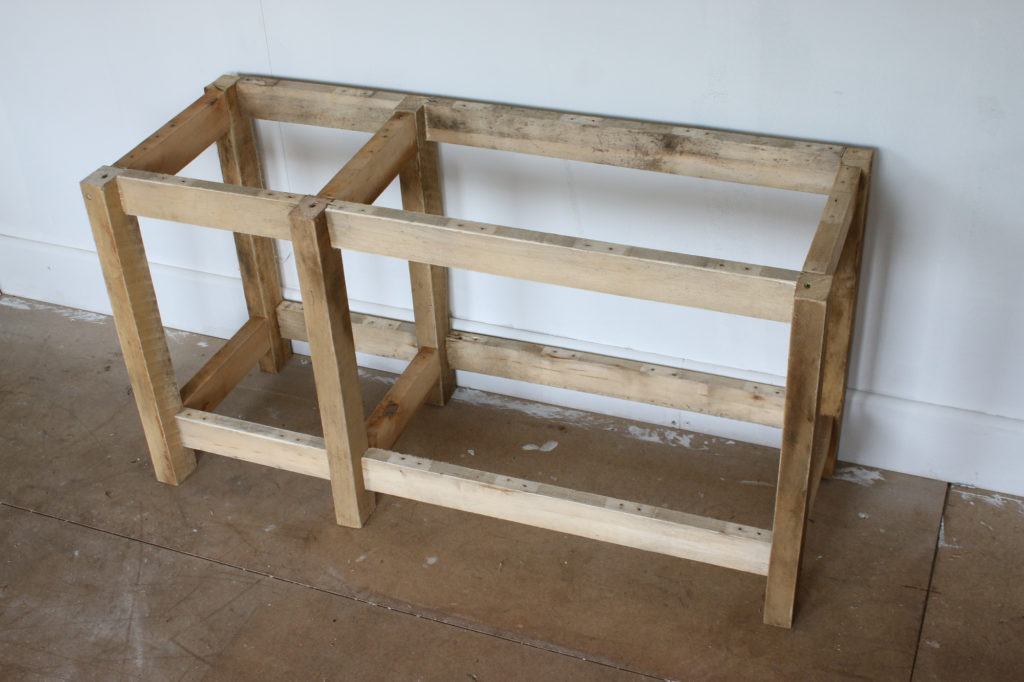
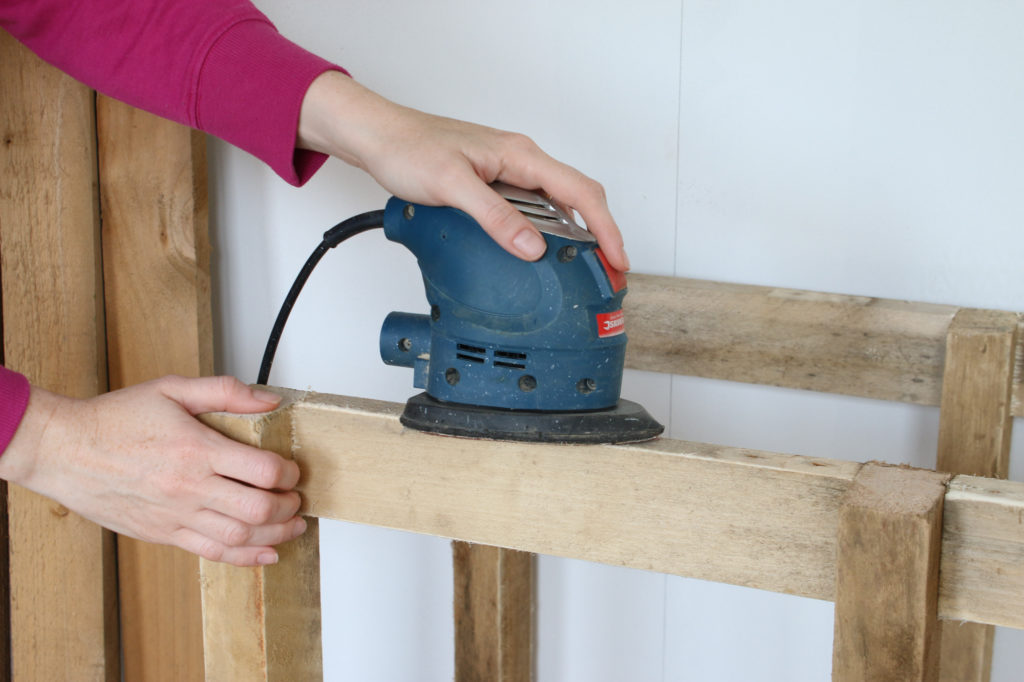
Decide on the height and width of the kitchen unit and cut pieces of the chunky support wood to create a frame. We went for a height of 2ft. Screw the frame together so that it looks like the image below. Then thoroughly sand down all the wood so that it’s completely smooth with no splinters or sharp edges.
Step three
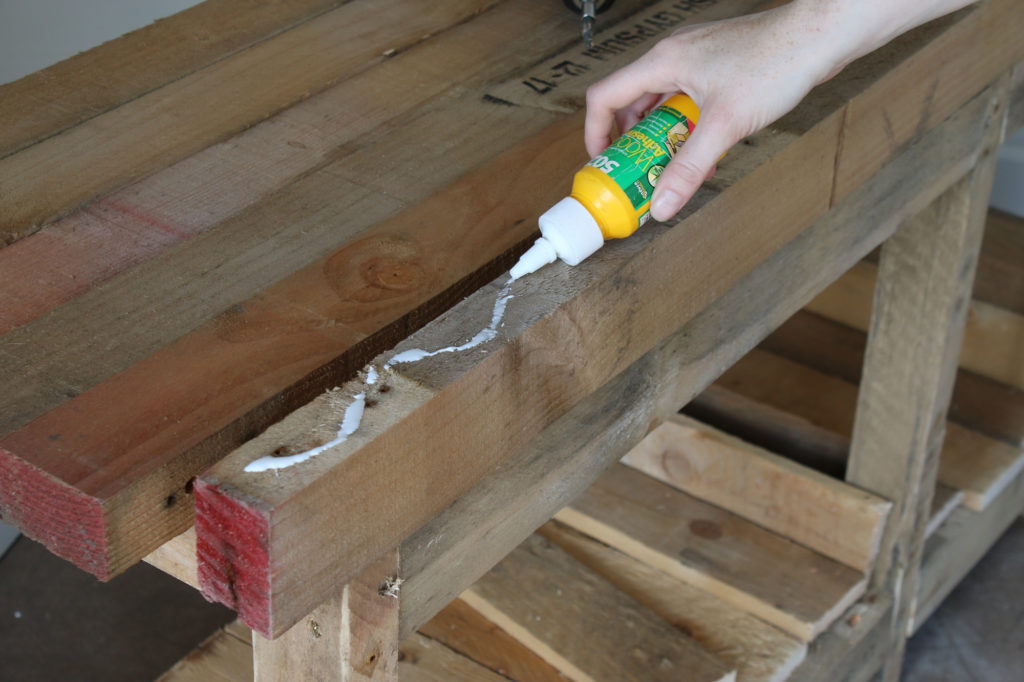
Next, use wood adhesive to glue the chunky supporting wood together to form a worktop. Once one piece is glued to the first, add a screw to secure it in place. Then glue on the next piece of wood and screw this to the first two. Repeat until you have the width of ‘worktop’ you need for the kitchen unit.
Step four
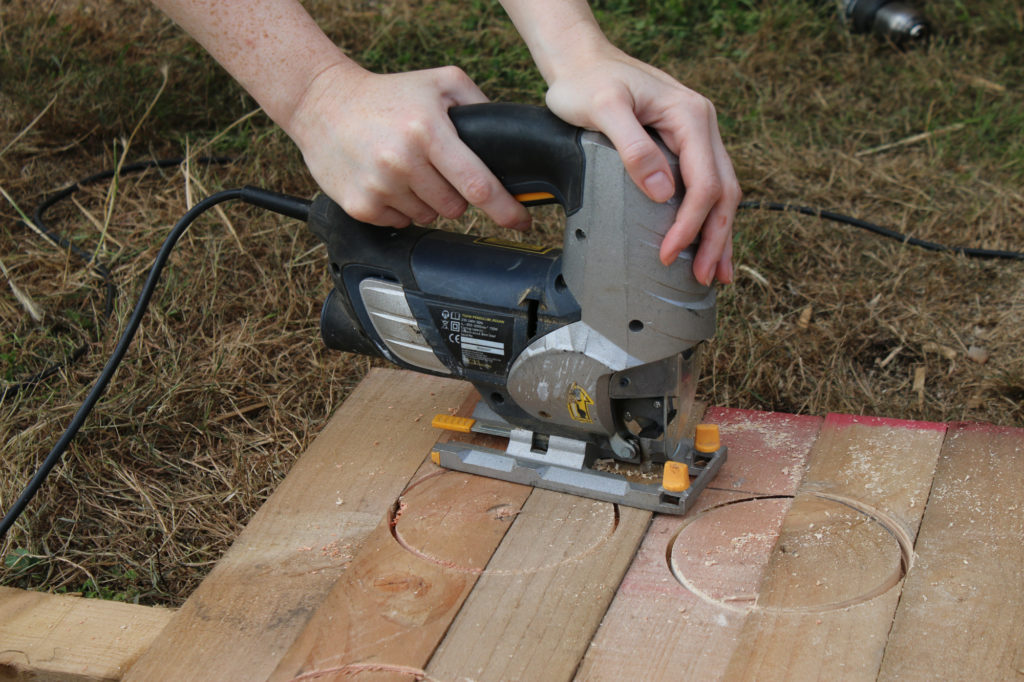
You can trace around a washing-up bowl to create a hole in the work top for a sink. Use a ‘tank cutter’ or hole saw to cut out curved edges at the corners. Once the holes are cut out of the four corners, use jig saw to cut straight lines between them and create an opening for the washing-up bowl.
Step five
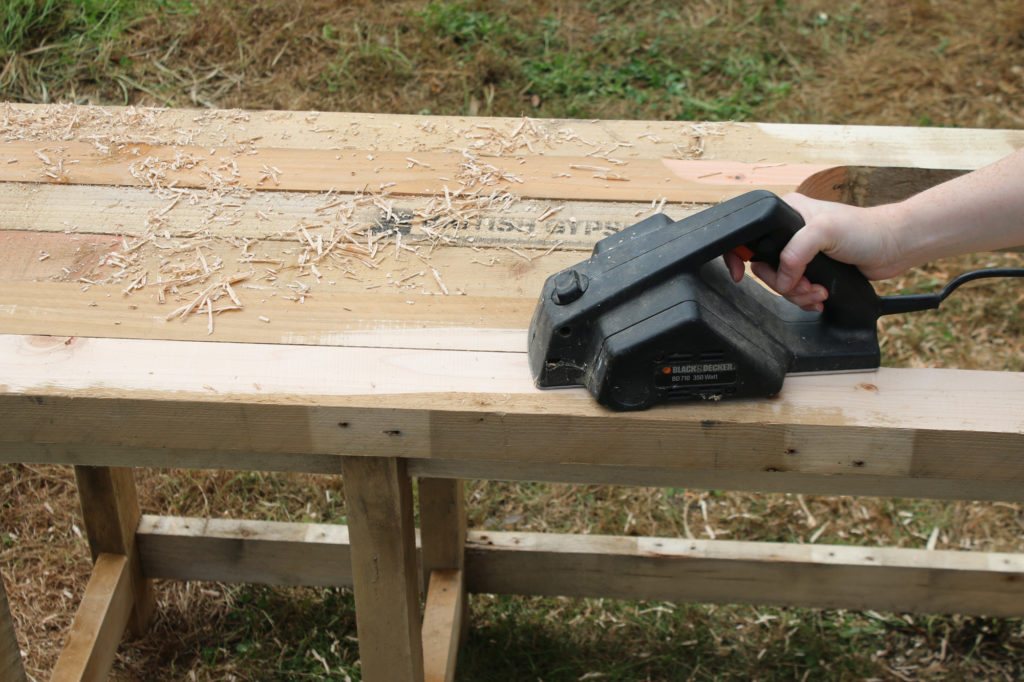
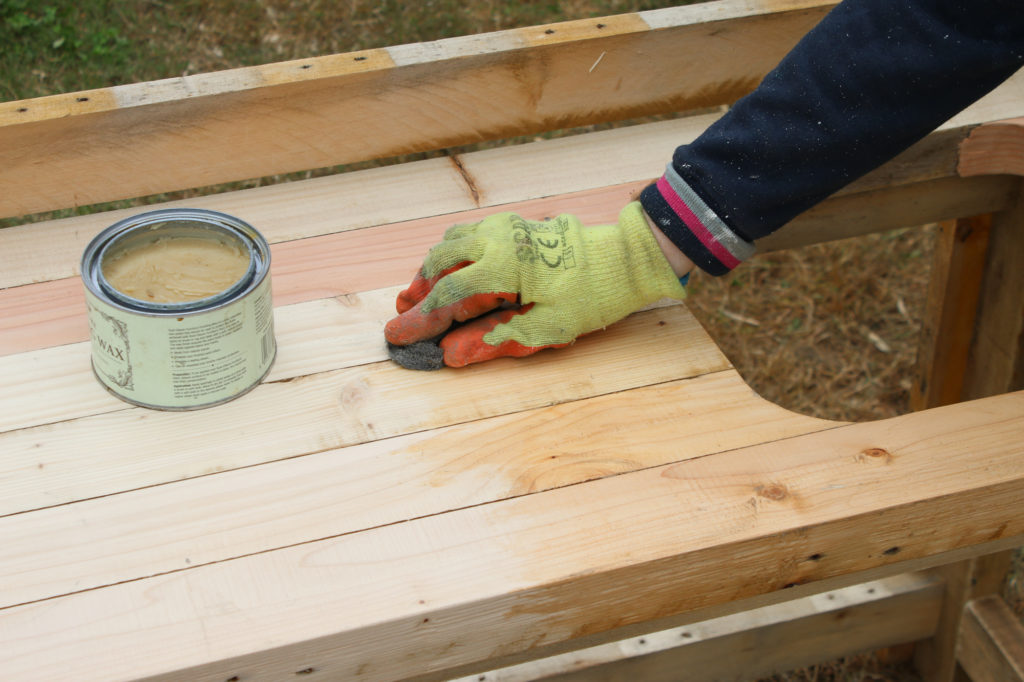
Next, use a planer to smooth the surface and create that classic “butchers’ block” finish. Then sand down thoroughly to remove all splinters and rough edges before waxing with a clear finishing wax (following the instructions on the tin).
Step six
The shelf at the base of the kitchen unit and the back panel are made from the planks from the pallet. Cut them to size and then use a sander to sand them until they are completely smooth. Next, use a non-toxic child-friendly paint in the colour of your choice to paint the planks before you add them to the unit.
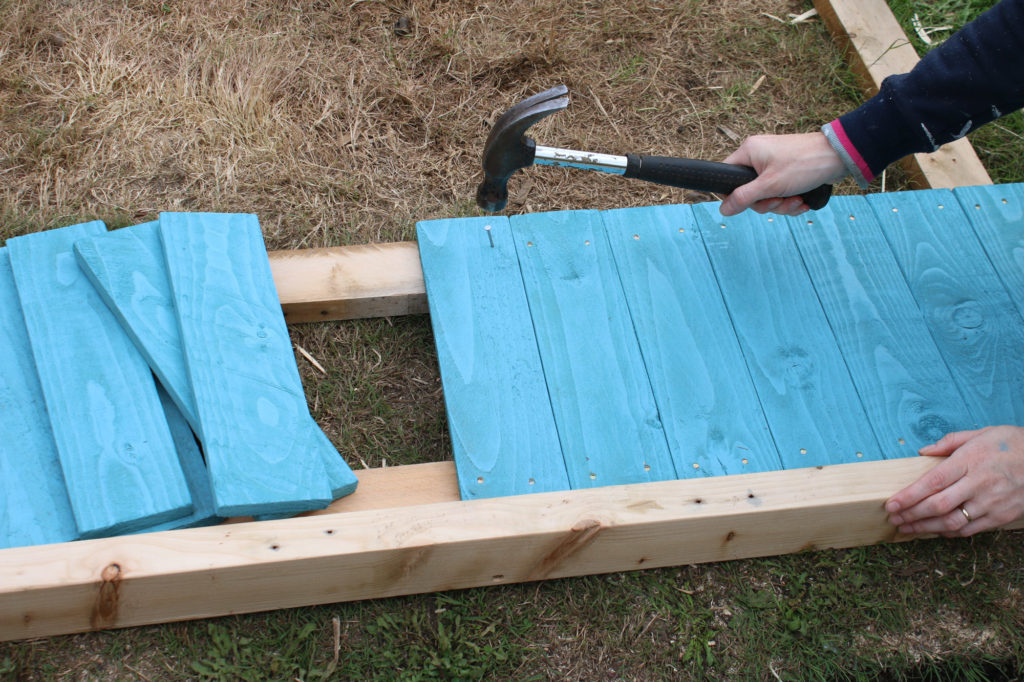
Allow the paint to dry thoroughly and then use a hammer to nail the planks into the base of the frame. Using more planks, attach them to two more chunky supports and add longer ‘legs’ at the sides, which can be screwed into the frame. At this stage you can add a top shelf if you like, using another piece of support wood that has been sanded down and waxed.
Step seven
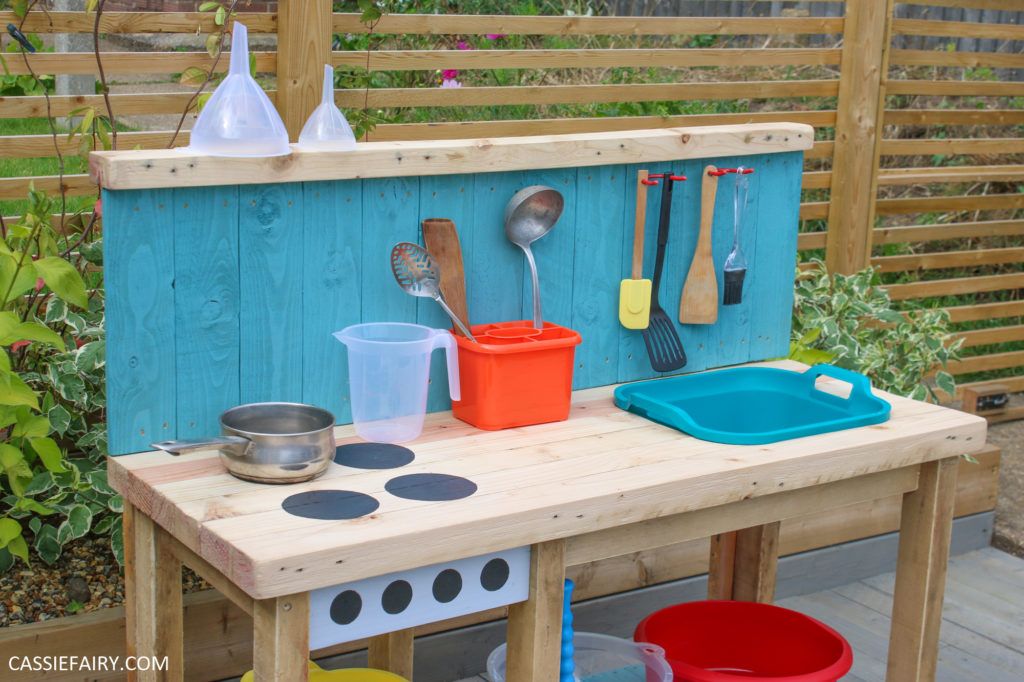
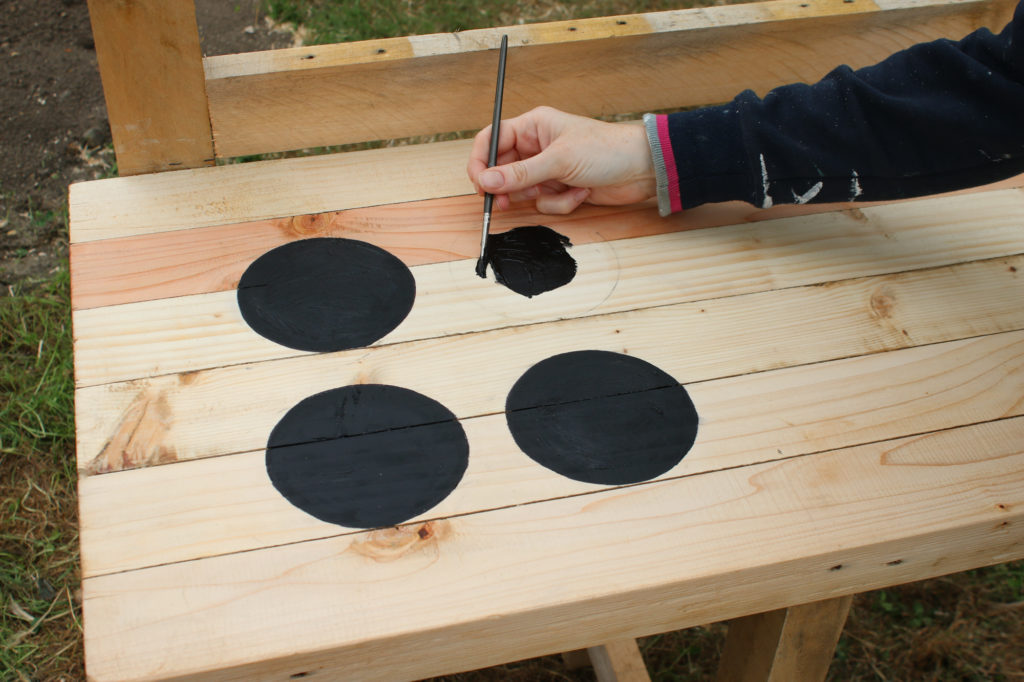
Add some finishing touches to really turn the unit into a play kitchen. Paint some ‘hobs’ onto the worktop surface and ‘buttons’ onto the front using non-toxic acrylic paint.
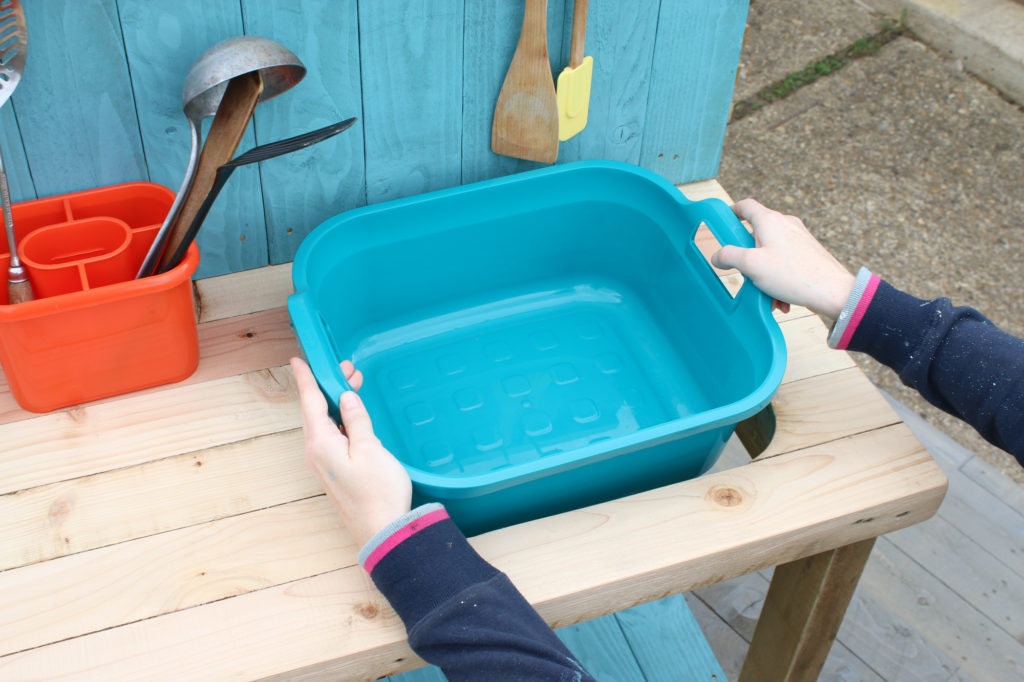
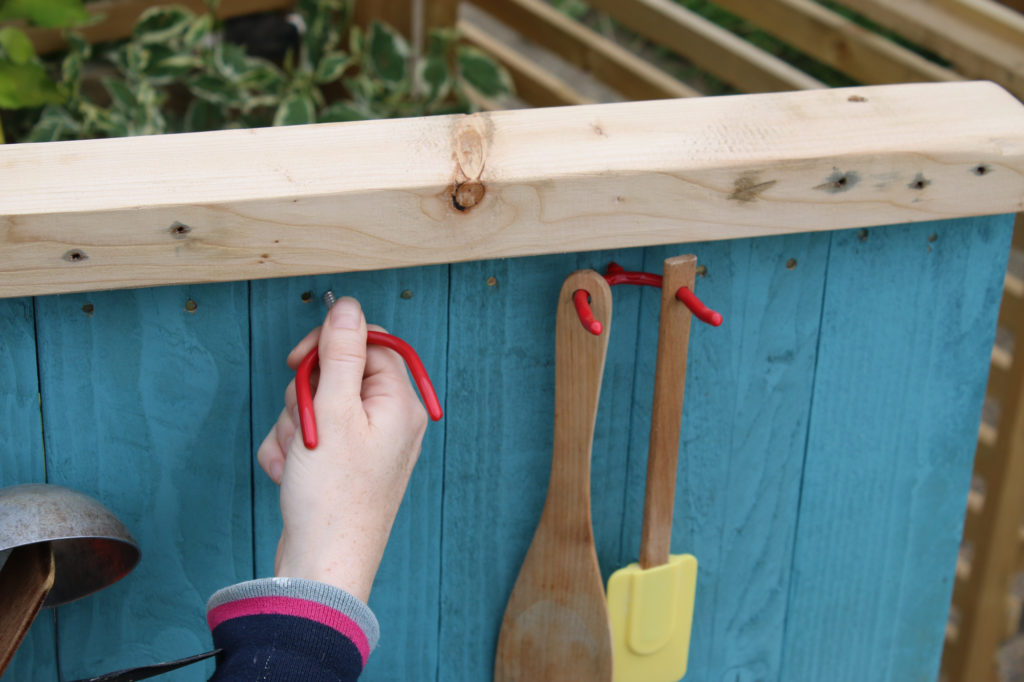
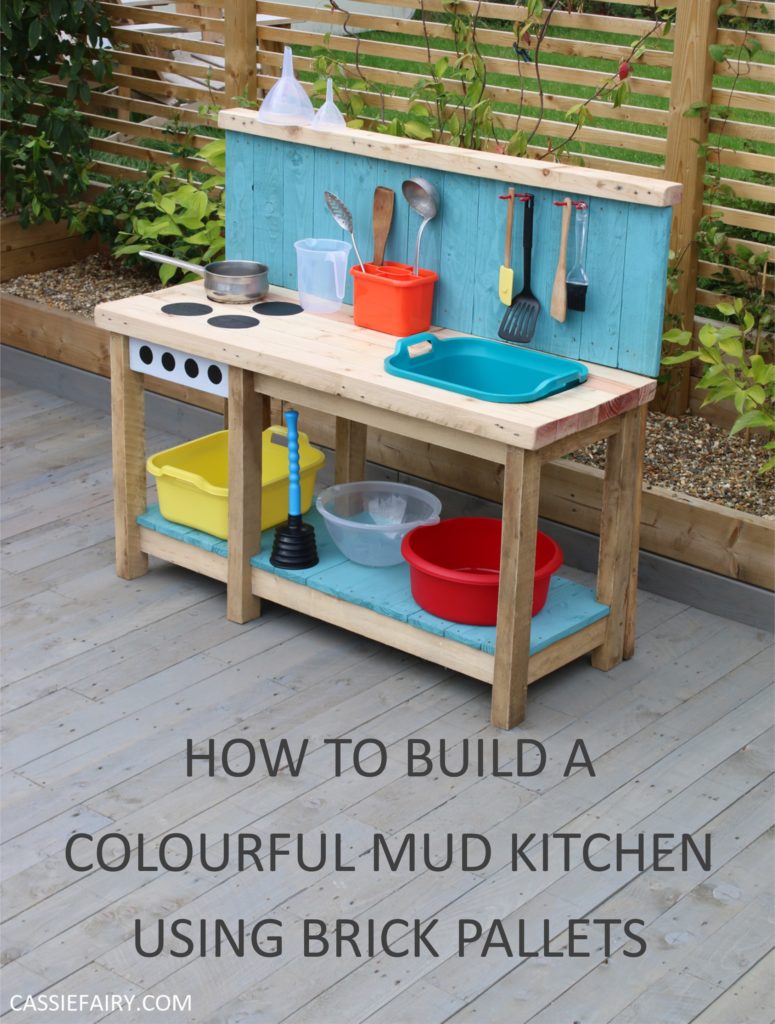
Pop a brightly coloured washing-up bowl into the hole, and position more bowls, jugs and funnels around the unit. Finally, screw in some rubber-coated workshop hooks (away from eye level) and hang up old spatulas, spoons and ladles for the little ones to play with.
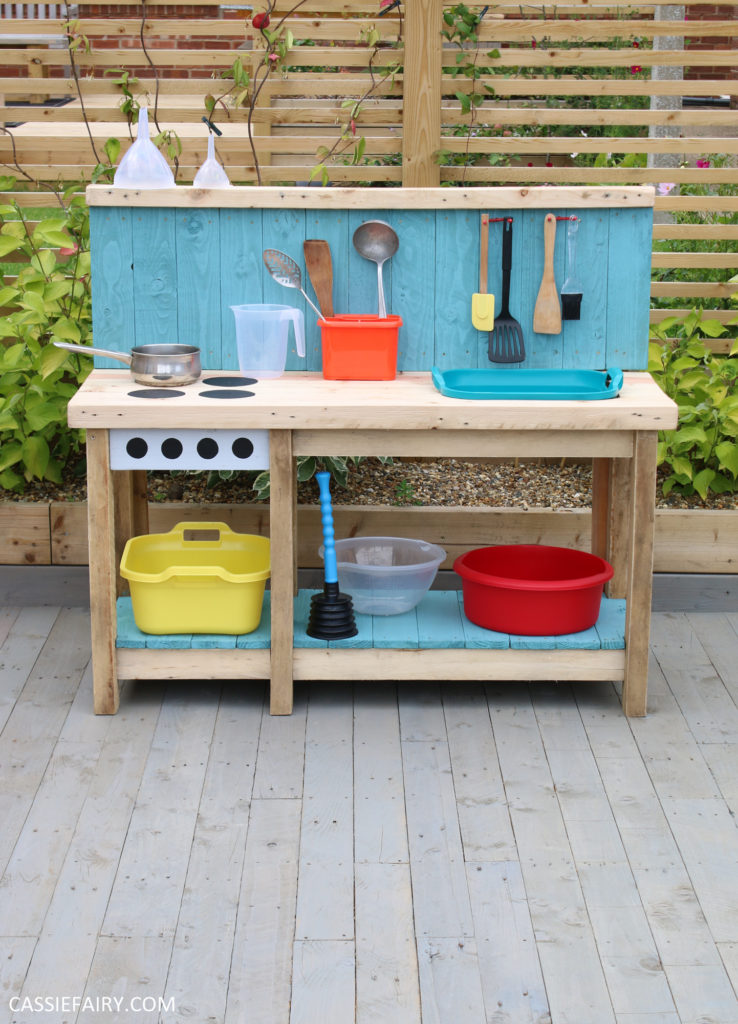
And there you have it – an outdoor mud kitchen for kids, made entirely from old brick pallets! Load up the bowls with sand and water so that little ones can have fun creating concoctions in old pans and pouring the water through funnels.
If you don’t fancy the DIY approach, it’s also possible to buy ready-made kitchens for kids so search for Mamas and Papas kitchen toy discount codes to help your budget go further when shopping for children’s playsets.
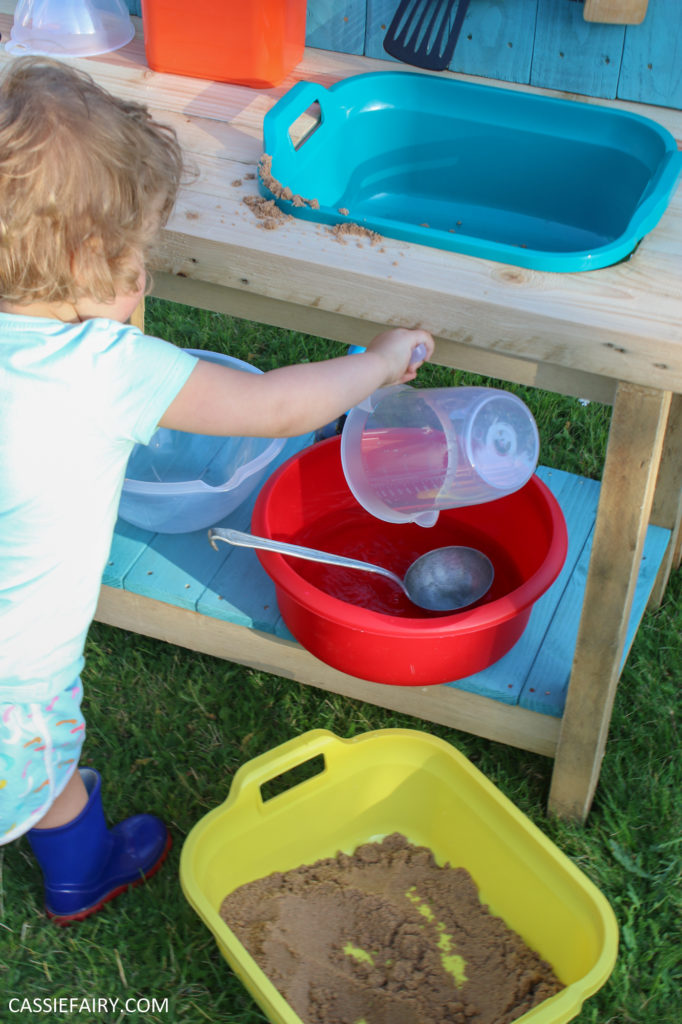
Let me know if you have a go at making this mud kitchen from pallets and I’d love to see your own versions so please take me in your DIYs on Instagram @Cassiefairy.
Pin it for later
As with all our projects, please take care while using tools, materials and equipment. All projects on this blog must be completed at your own risk. We do not take responsibility for any harm or injury that may occur. Be safe!
This article is a sponsored collaboration. The pink links in the content indicate a sponsored link or information source. The blog post reflects my own experience and the sponsor hasn’t had any control over my content 🙂


