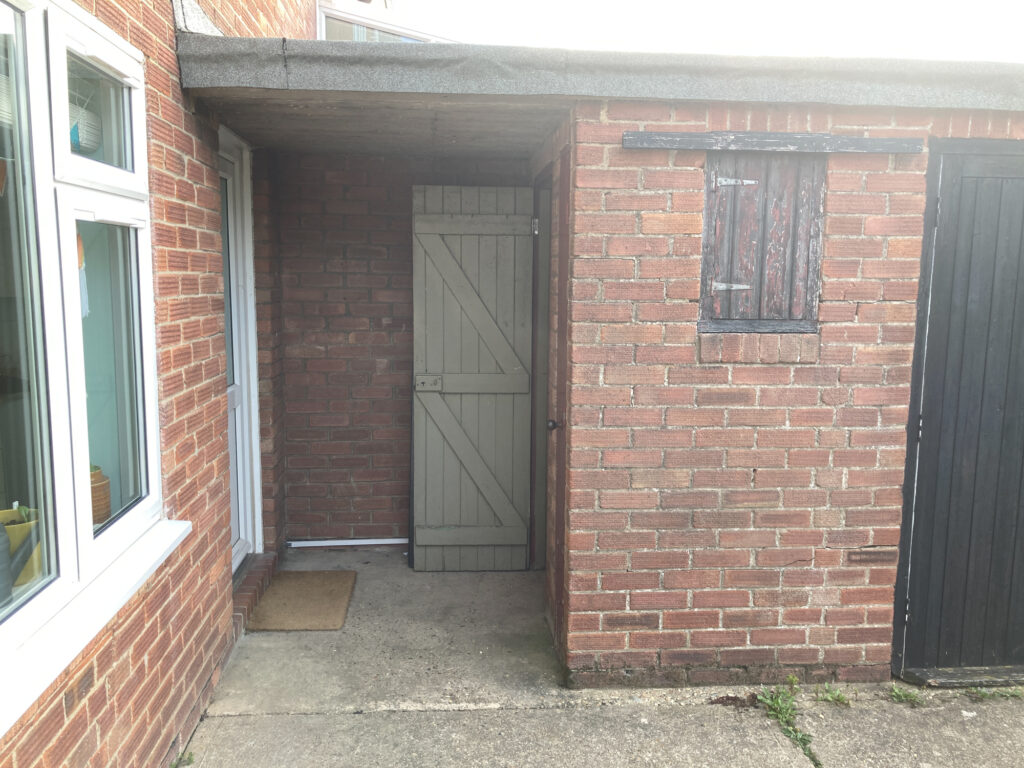
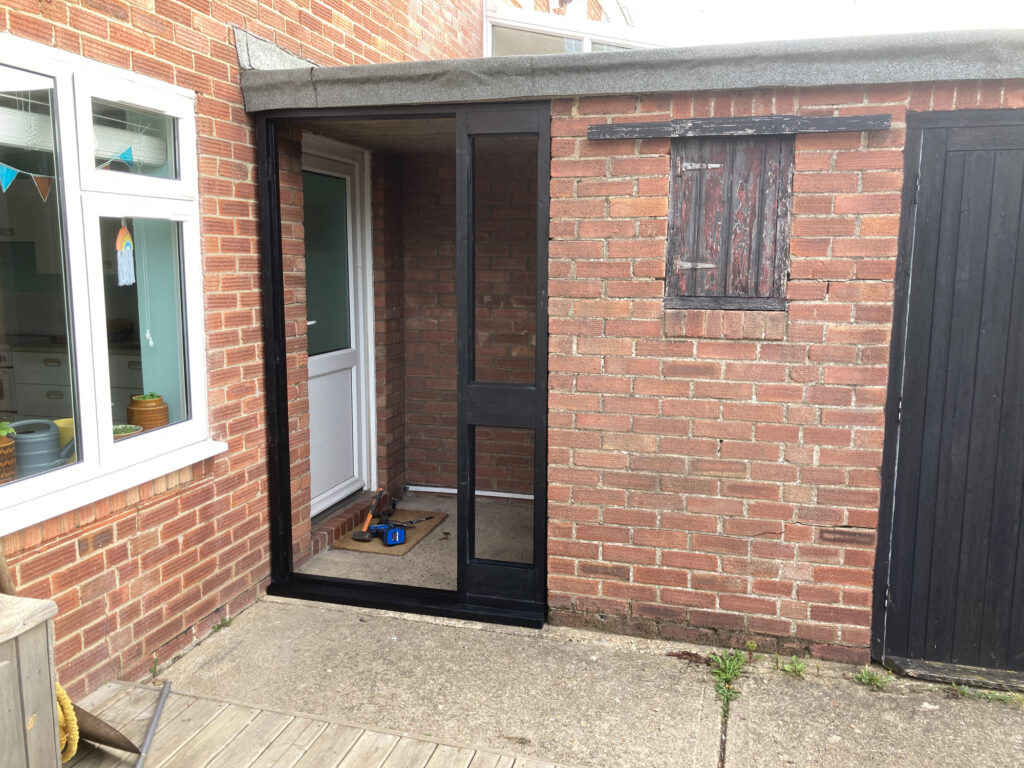
Our porch has always been open to the elements – more of a brick outbuilding than part of our home, and definitely not suitable for storing shoes or coats. So, when we discovered an old door frame in a nearby skip, we jumped at the chance to enclose the space and turn the outdoor porch into an indoor boot room.
What would you use a porch for? A pantry? A utility space? Bike storage? Maybe it could become a mini garage-style space, with tools and storage for outdoor items? Or would you go for a mud-room, where all wellies, raincoats and pet-paraphernalia could be stored?
Luckily, the door frame and door that we found had been taken out of a 1950s house just like ours down the road. So, fortunately, the size was exactly right to fit into the opening of our porch. We would just need to add a few trims around the edges to tidy off the look but, essentially, it was the ideal fit.
An added bonus was that it came with the key for the lock. Often, when you find windows or doors in a skip, it’s unlikely that the keys will be with them. That’s nothing a residential locksmith can’t sort out for you but it made the whole job easier to already have the key for the door.
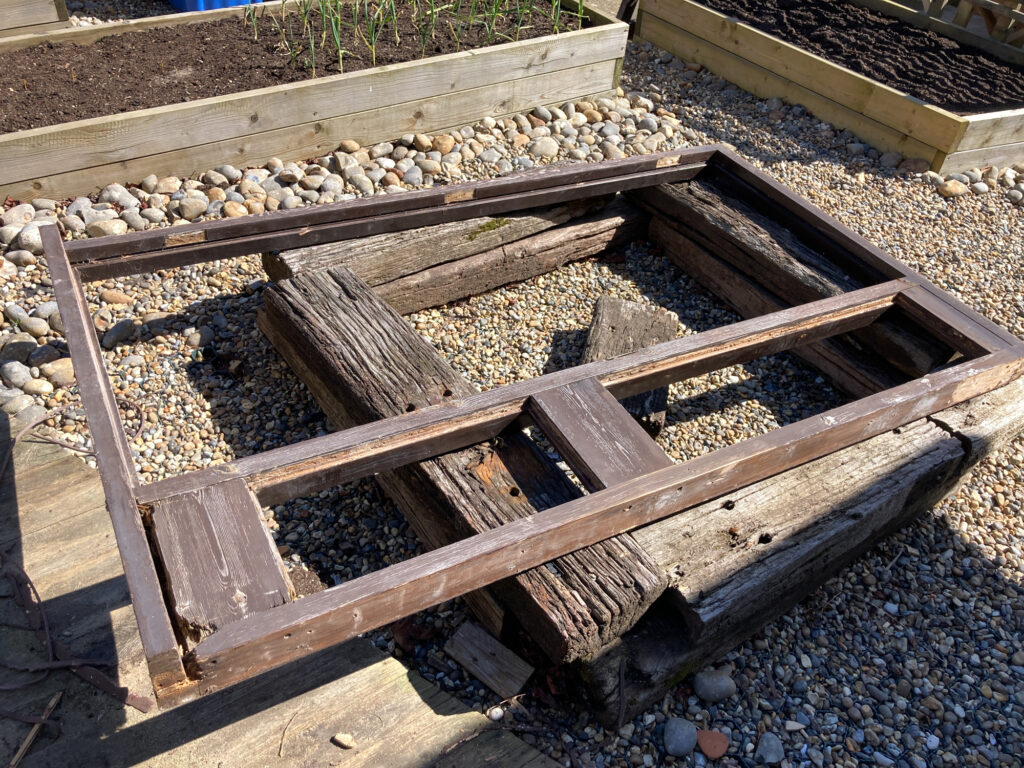
Plus, it had all the glass needed to glaze the door and the frame, using the same wire-cross safety glass that we have in our brick outbuilding, which is attached to the back of the porch. So, I knew it was all going to match – there was just the small matter of the door and frame being so damaged that it was crumbling apart.
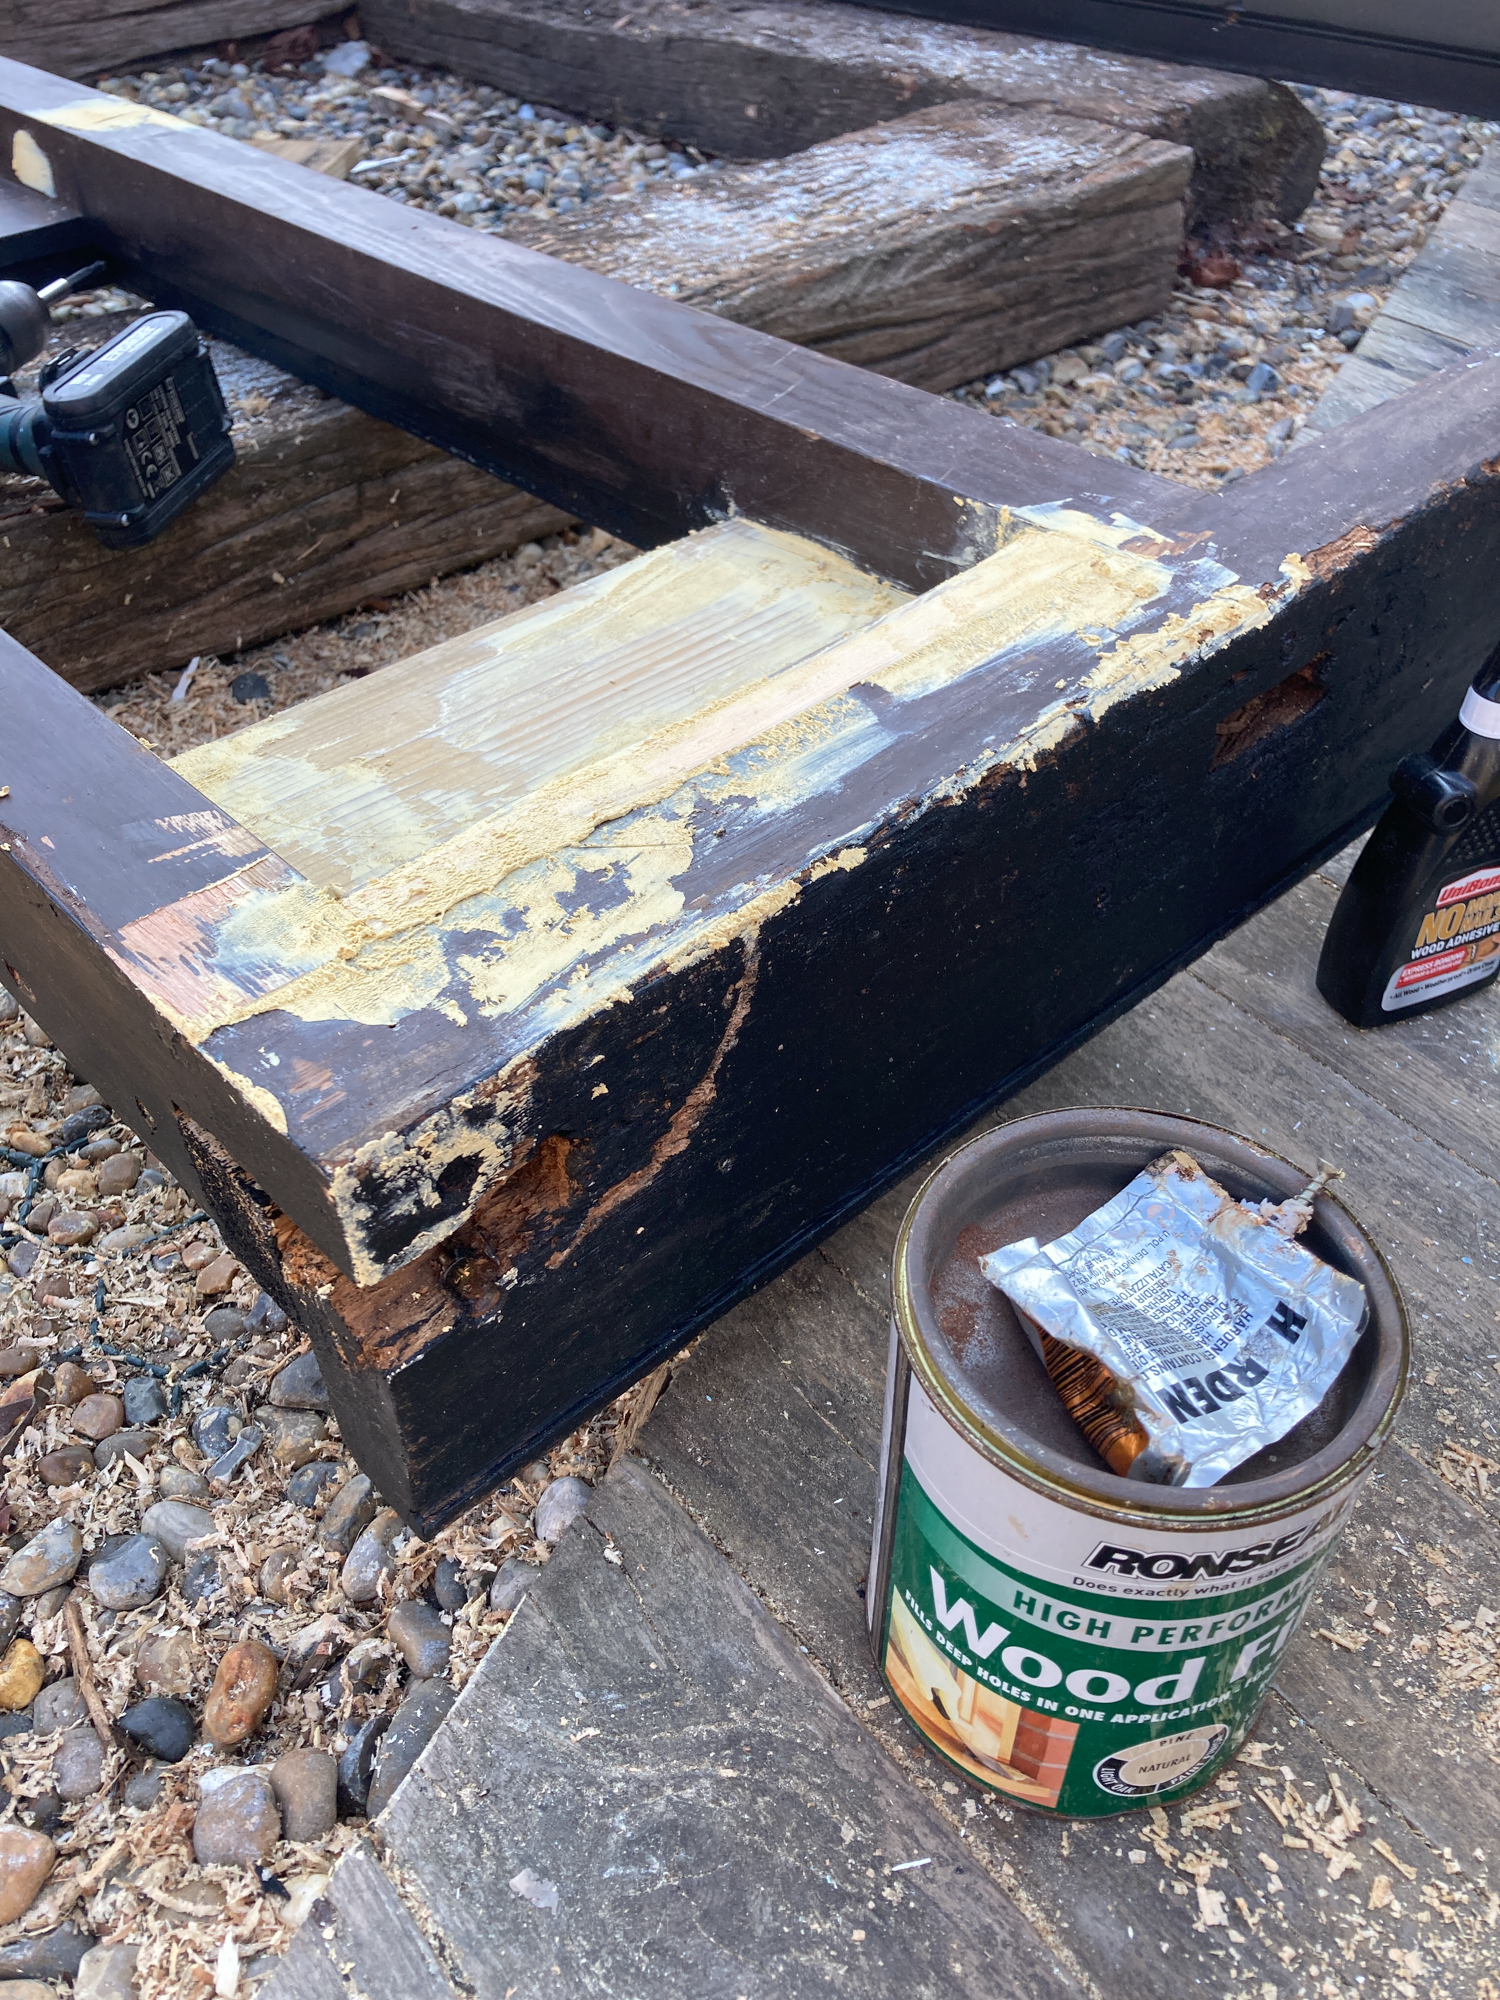
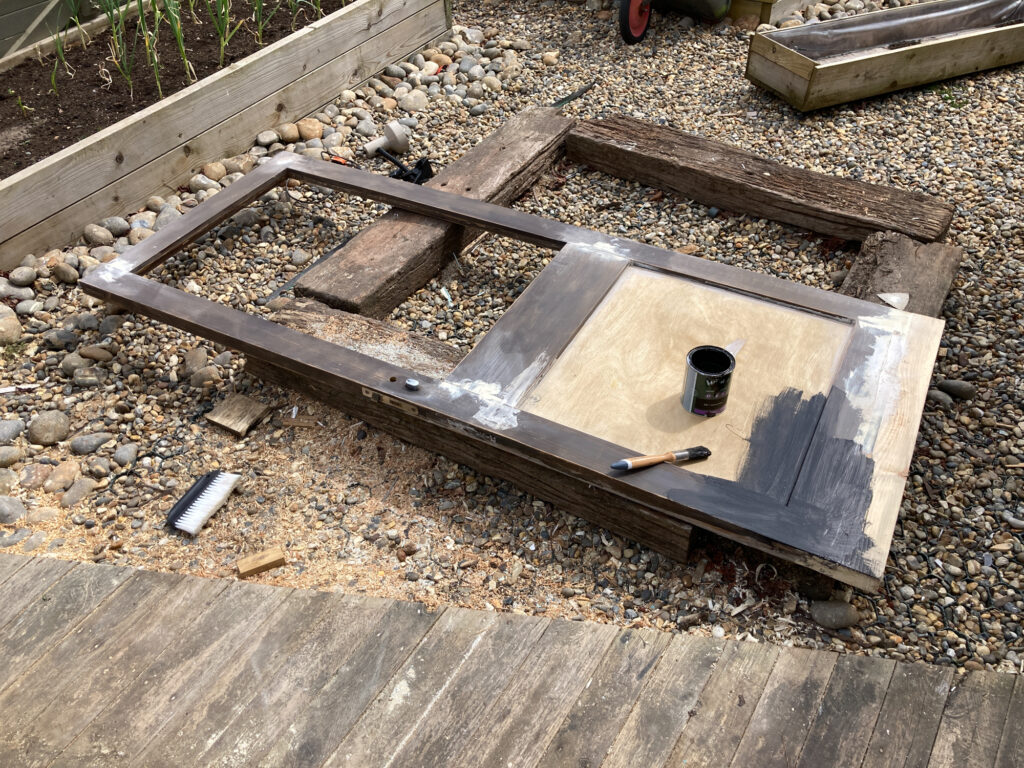
Nonetheless, after asking permission we rescued the frame from the skip and walked it down the road to our house. Then we set about repairing the wood. My husband added new pieces of timber across the bottom of the door and at the base of the holey frame. Plus, we decided to add a new piece of marine ply to the bottom section of the door to make it sturdy.
We then used lots of wood filler to fill in any other damaged areas and to help the new timber fit into the door frame seamlessly. I did a lot of sanding until the wood was smooth and then painted the door and frame with black exterior paint from Wilko, which is nice and thick so it didn’t need too many coats.
Fitting the frame was the easy part, as it was already the right size to fit the porch opening. Just a few bits of packing wood at the sides and it was ready to go. We used expanding foam to complete the seal and have since added matching black trims over the edges inside and out.
Hanging the door, however, was a different story. It’s amazing how many small little adjustments are needed to make a door fit into a frame. Plus, as the weather became damper later in the year the door swelled slightly and then we needed to plane it down even more to stop it from sticking!
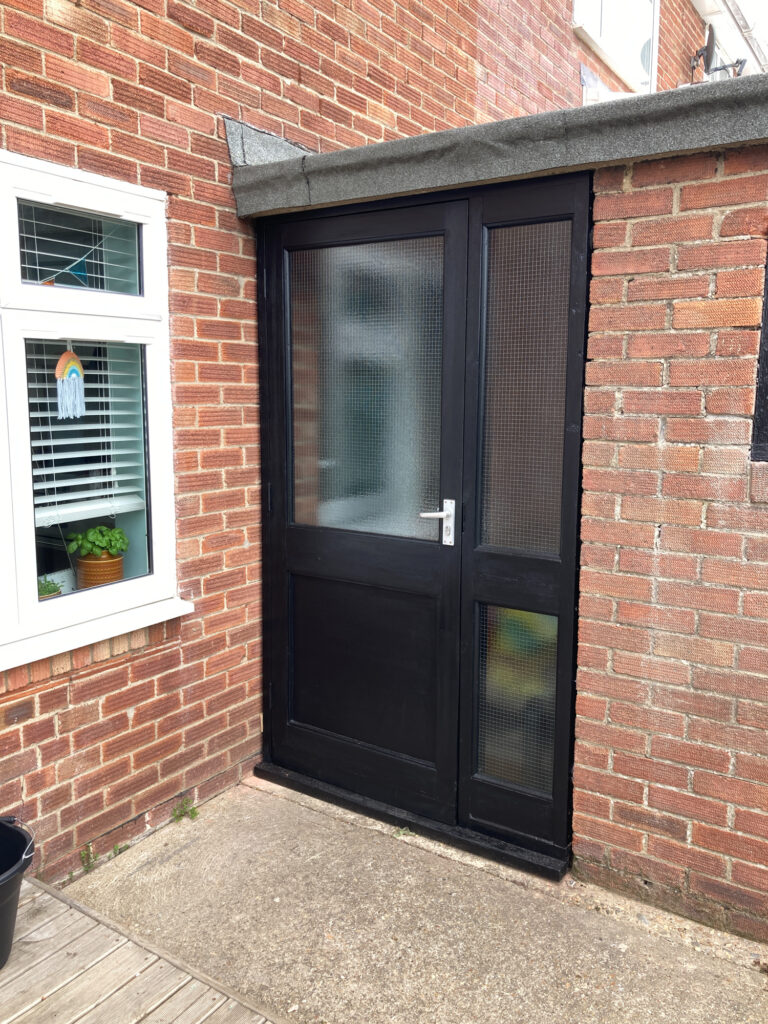
I love the way that the door looks and the wire-grid glazing is just perfect for our 1950s home. We had to buy a few angled wooden trims to hold the glazing in place and complete the edges of the frame and now it looks like new.
The porch is finally enclosed and we essentially have an extra room in our home, albeit a brick-and-concrete one with no insulation, dampproofing or flooring. But we’re tackling that next!
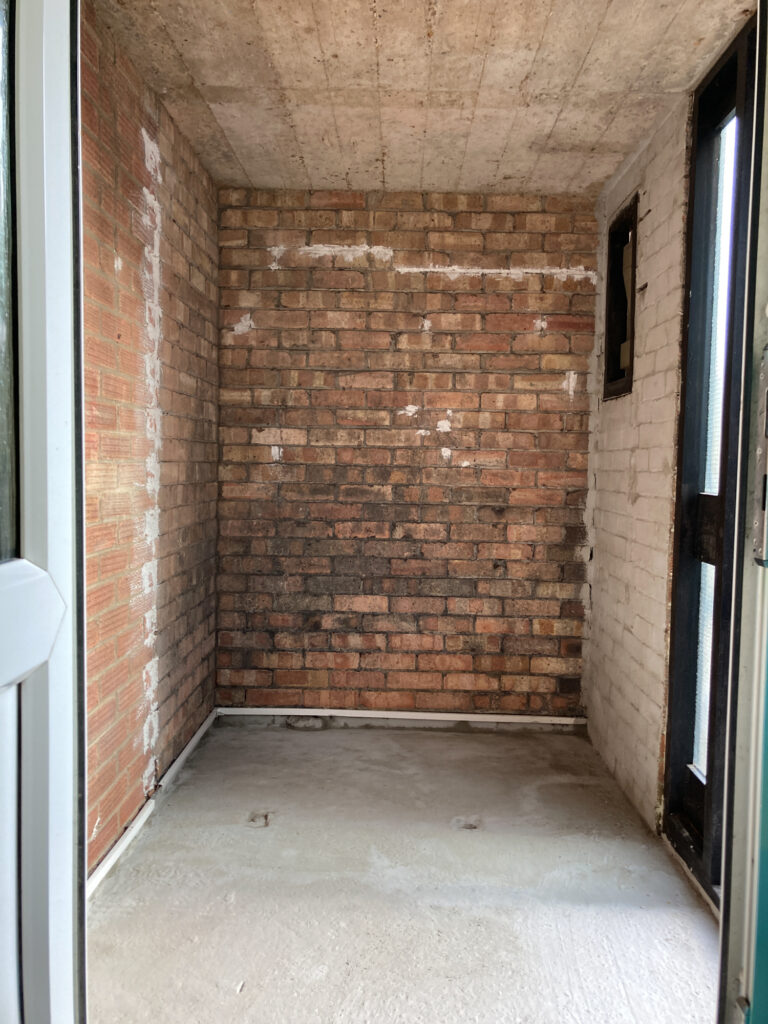
I’ll be sharing more steps of my porch makeover soon, including a video of the painting, the flooring we used and storage solutions so be sure to check back soon.
This article is a sponsored collaboration. The pink links in the content indicate a sponsored link or information source. The blog post reflects my own experience and the sponsor hasn’t had any control over my content 🙂


4 responses
Thank you so much, it’s proving to be handy extra space already! 🙂
Wow! It looks fantastic. What a large inside space you have made
Thanks very much Tanya, I’ll share some more progress pics next week! 🙂
Would love to see what you did next – keep us posted!