Building a home brewery from second-hand items is not only achievable but also rewarding, as it allows you to create unique and personalized flavours while saving money.
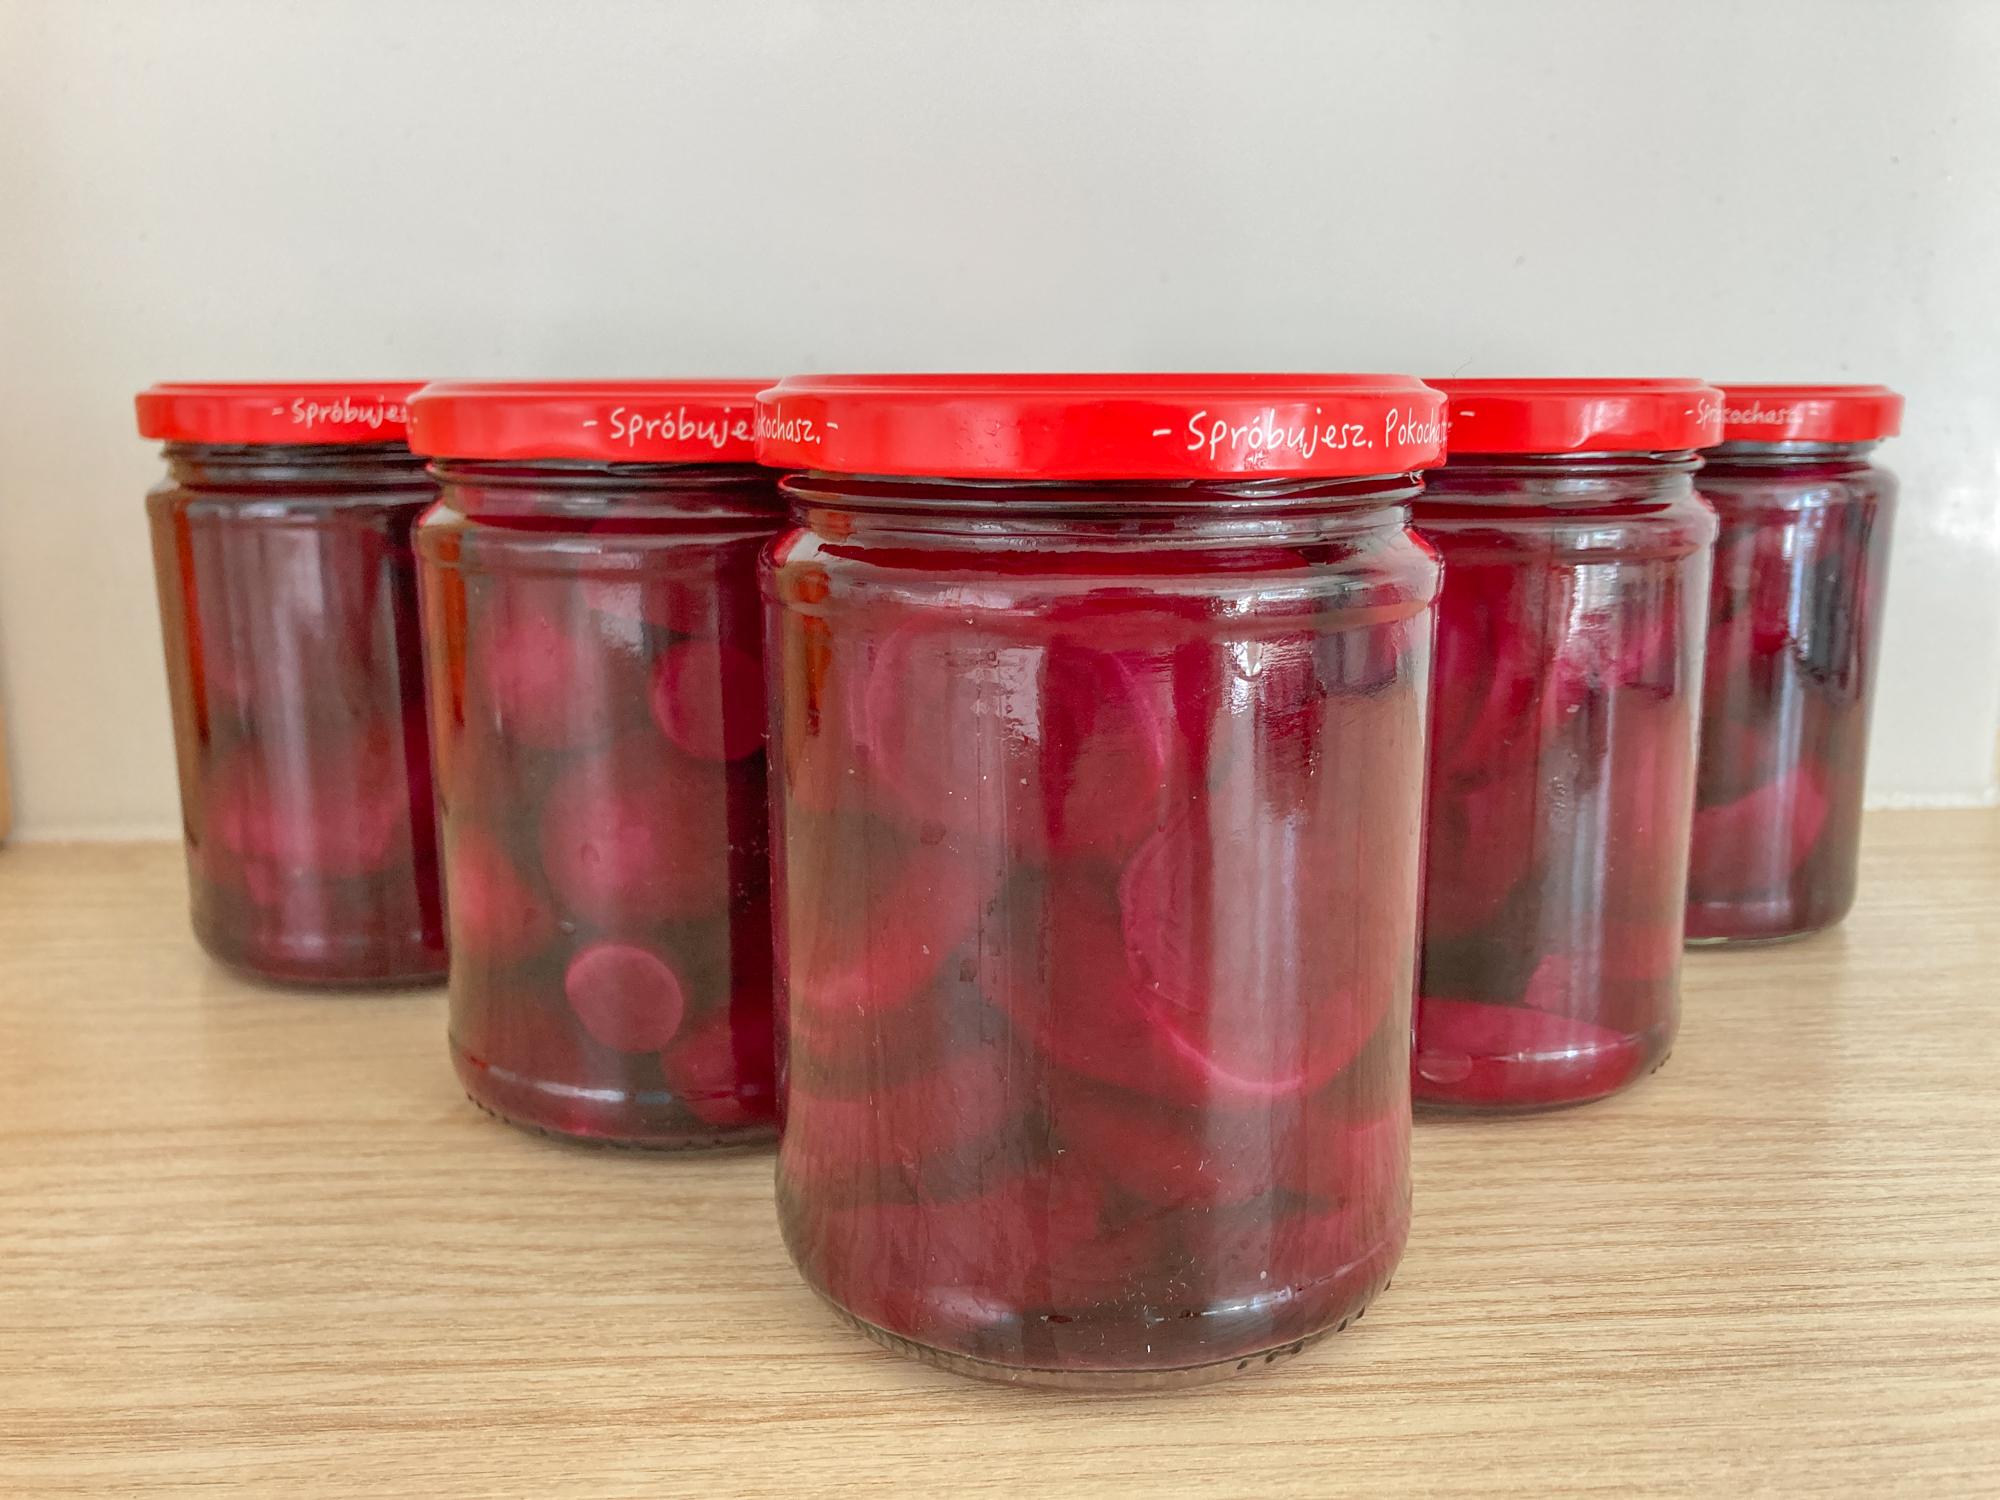
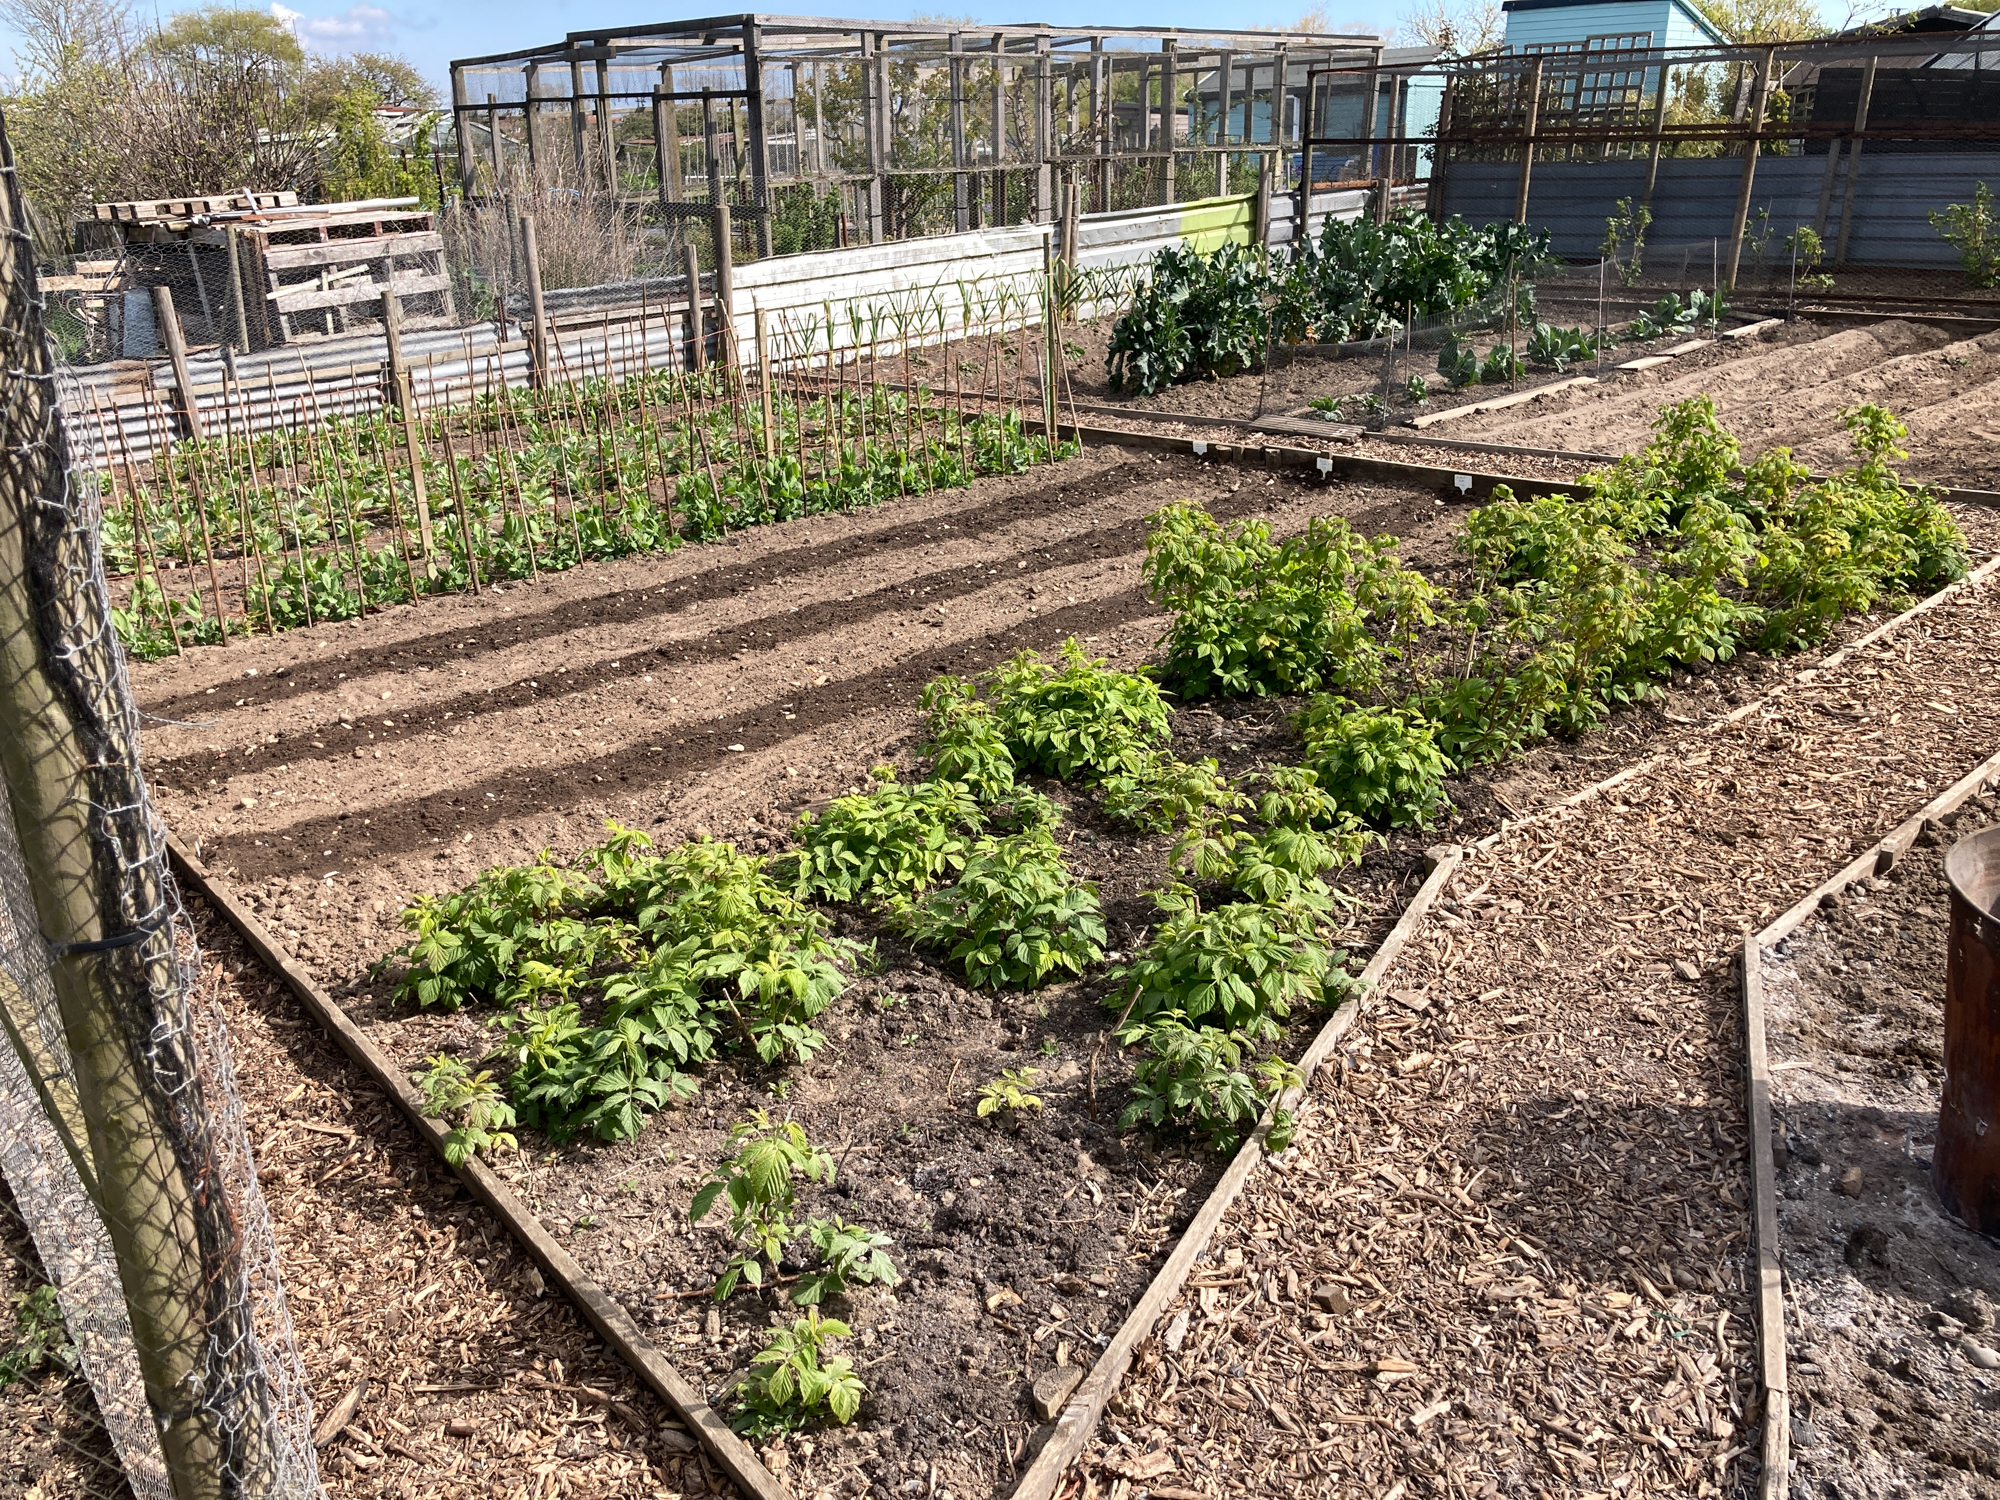
I’ve always preserved the fruit and vegetables that we grow on our allotment and, since we’ve been growing hops in the garden (photo below), I quite like the idea of making my own beer too!
As you embark on this exciting DIY journey, I’ll guide you through each step: from researching and acquiring the necessary equipment to setting up your brewing space and managing the process with specialized software.
Let’s dive into this amazing world of homebrewing while keeping an eco-friendly approach and a budget in mind. Cheers!

1. Research the Essential Components and Brewing Process
You might be thinking, “Why research?” Well, knowing the ins and outs of home brewing will not only boost your confidence but also help you make informed decisions when purchasing equipment and troubleshooting any issues that may arise. Trust me, a little bit of knowledge can go a long way!
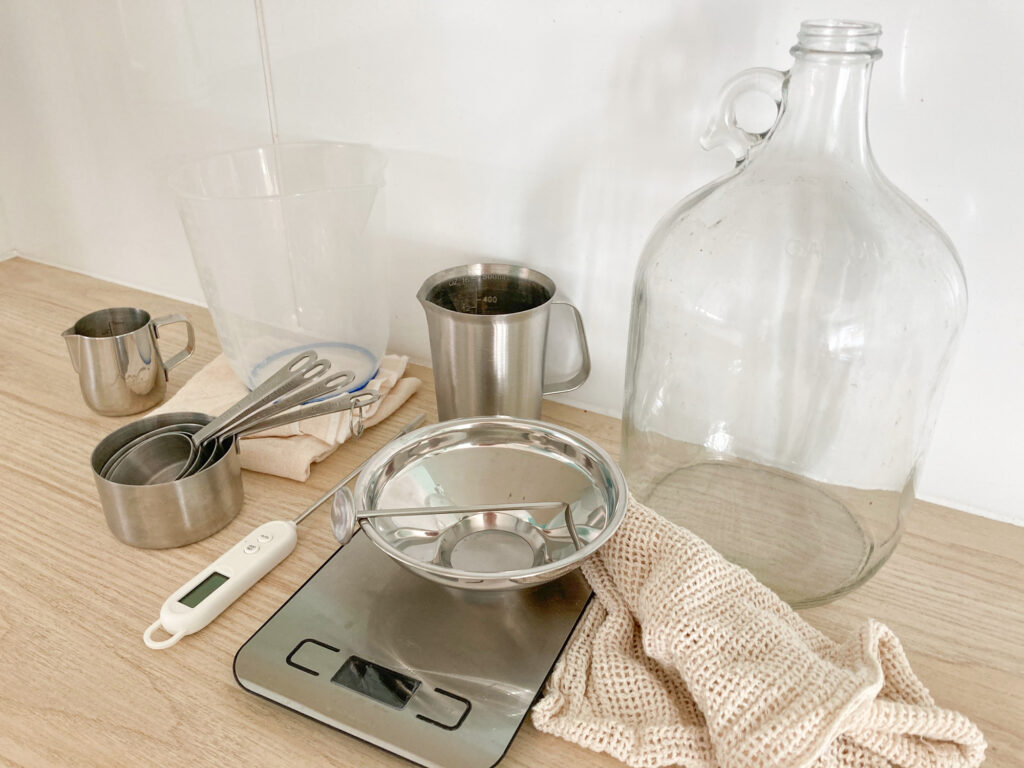
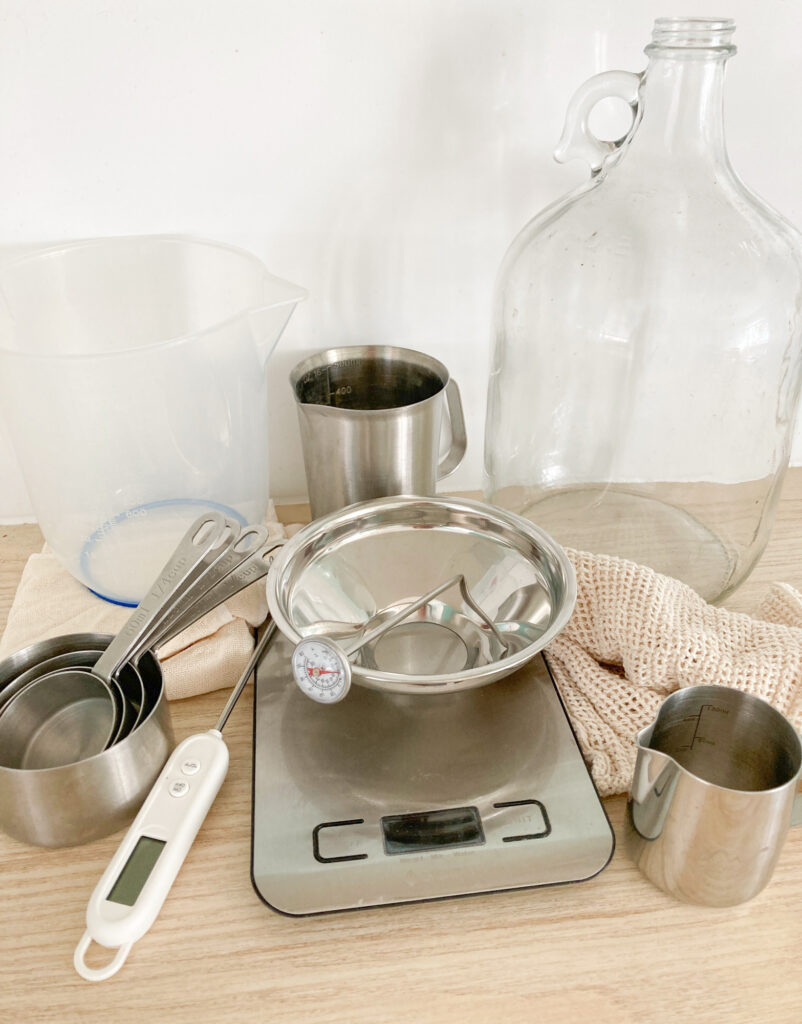
Start by familiarizing yourself with the key components needed for brewing. This includes items like kettles for boiling your wort, fermenters to house the yeast and let your beer develop its flavour, and chillers for cooling down your brew. It’s important to know what each piece does so you can identify what’s necessary for building an efficient home brewery.
Another significant aspect is understanding the brewing process itself. We’re talking about mashing, lautering, boiling, fermenting – you get it! The more you know about how everything works together (the art and science behind this wonderful process), the better equipped you’ll be to create quality brews time after time.

2. Compile a List of Required Equipment and Materials
First off, you’ll need a brewing kettle. This is where all the magic begins – cooking up your wort from grains or extract. Look for a kettle that can accommodate the batch size you’re planning to brew and has a robust build for years of faithful brewing service.
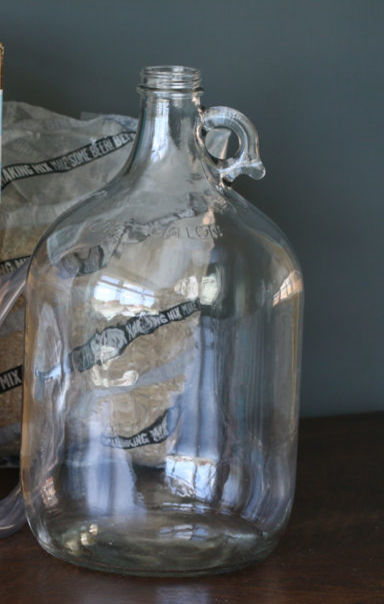
Next, consider fermentation vessels. These are containers where your beer will undergo that wonderful transformation from sugary wort to a delicious beverage with the help of yeast. You can choose between different options like demijohns or food-grade plastic buckets depending on your preferences and budget.
You’ll also want to add items like wort chillers, thermometers, hydrometers (for measuring specific gravity), tubing, airlocks, bottles, or kegs for storing your finished product – you catch my drift! A clean workstation is key too; ensure sanitizing agents are part of your essentials.
3. Search for Second-Hand Items in Local Flea Markets or Online Marketplaces
First things first, explore your local area to see if there are any flea markets, auction houses, garage sales, or other places where used homebrewing gear might be sold. You never know when someone in your neighbourhood could be parting with their brewing equipment.
Another excellent option is checking out online marketplaces like eBay or Facebook Marketplace. In today’s world of technology and interconnectedness, many people prefer to sell their second-hand items online, which works to your advantage because it extends the range of what’s available beyond just your immediate neighbourhood.
When searching for equipment online (and offline), a quick safety note: always stay vigilant about potential scams or dishonest sellers. Make sure you inspect any item carefully before purchasing by asking questions and examining photographs – don’t hesitate to request more specifics!
Also, don’t be afraid to negotiate prices; sometimes you’ll find that sellers are willing to compromise to make a sale, which gives you a handy discount. This leaves more of your budget available for buying ingredients instead.
4. Explore Specialized Brewing Software
With the right brewing software in place, you can streamline processes like recipe creation, ingredient tracking, and process management – you’ll feel like a pro in no time! Plus, it helps you get consistent results so the delicious beer you brewed can be recreated in the future with no guesswork.
There are quite a few choices out there when it comes to picking brewery management software, but you can get started with Ollie. It is a fantastic tool designed specifically for brewers like yourself and offers user-friendly interfaces that let you input recipes or ingredients and manage all the essential aspects of brew day in one central location.
These software programs also help by calculating volumes, temperatures, and other important data points based on your specific setup. Imagine spending less time worrying about numbers and more time enjoying your delicious beer – sounds delightful, right? I know some guys who started brewing at home and now they have a popular brand and are producing beer on an industrial scale – that could you be you!
5. Set Up Your Home Brewery Space
This step is crucial because a well-organized and functional brewing area will make everything run smoother and ultimately result in better brews. First up, choose a location that suits your brewing needs. Consider an area with ample space to store your equipment (both during and between brews), operate comfortably while brewing, and conduct cleaning tasks afterward.
Easy access to water sources for brewing purposes is crucial – you don’t want to end up hauling heavy buckets of water from one place to another every brew day! Also, proper ventilation is vital in ensuring a safe environment during the process; remember that boiling wort produces steam that could lead to condensation issues if not adequately ventilated.
Additionally, prioritize cleanliness when setting up your home brewery space. Brewing beer involves working with live organisms (yeast) that can be affected by lurking bacteria or other contaminants. Make sure the area is easily cleanable using food-grade sanitisers. Your brewing space might affect the quality of the beers you brew.
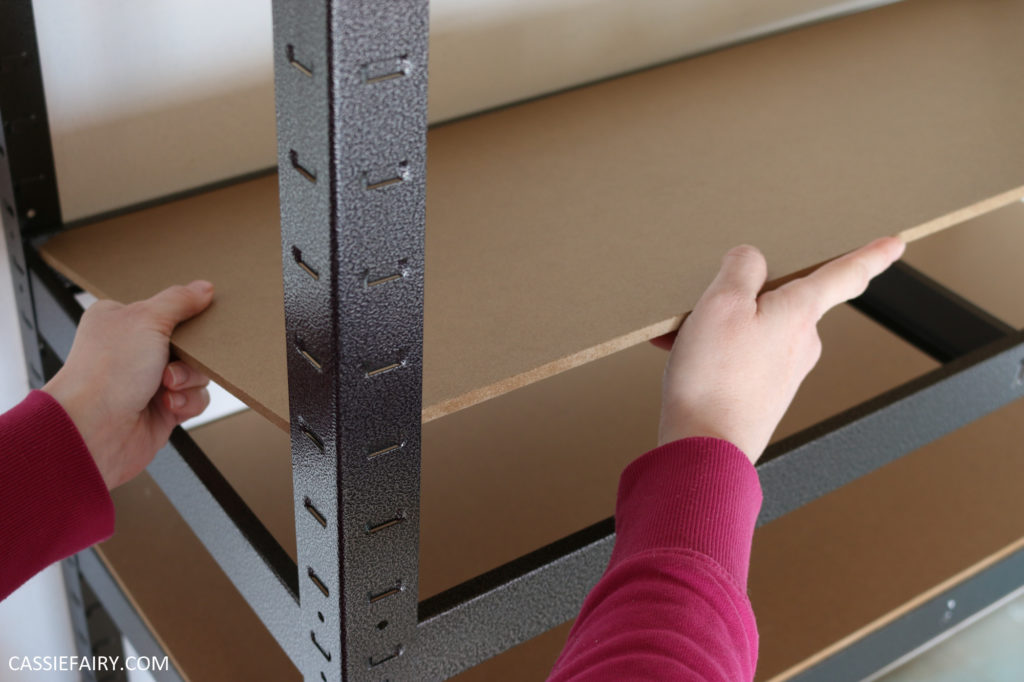
6. Organize your Equipment, Materials, and Software to Streamline Your Homebrewing Experience
Begin by categorising and arranging all your brewing gear. Create designated areas within your brewing space for specific tasks like mashing, boiling, fermenting, and bottling or kegging. Having everything logically organized will make brew days more efficient and enjoyable.
Now that you’ve arranged your physical items well, direct attention to configuring the brewery management software you chose earlier. Ensure you have all current recipes, ingredient lists, batch sizes, and other relevant details entered into the software system.
Finally, establish a cleaning regimen for both before and after every brewing operation. A clean environment is essential for producing high-quality beer because contaminants can negatively impact the taste of your final product. Regularly sanitise tools; maintain an orderly workspace; remember that a clean space is often a successful one!
Get Started Now
It’s time to roll up your sleeves, gather those second-hand treasures, and bring your dream of a home brewery to life! With thorough research, proper organization, and the use of excellent brewery management software, you’ll soon be creating sensational craft beers that are uniquely yours.
Don’t let the thought of expense or inexperience hold you back from embarking on this rewarding journey. Embrace the adventure that awaits; unleash your creativity and share the joy of freshly brewed beer with family and friends. Remember that every step brings you closer to perfecting your personalized brewing oasis.
Let me know if you’ve brewed your own beer at home in the comments below. I’d love to hear your tips for making your own craft ale and any fun experiences you’ve had.
Pin it for later

This blog post is an advertisement feature that has been written in collaboration with a sponsor. The pink links in this post indicate a sponsored link 🙂