Today I’m sharing a tip on making your own scratch-remover using just a couple of household ingredients. If you’re a fan of the mid-century modern style like me but are on a tight budget (also like me!) this ‘polish’ will help bring most teak surfaces back to a soft shine and disguise scratches. Give it a try on your existing retro homewares and see what you think, because if it works for you then you’ll be able to buy battered old teak furniture safe in the knowledge that you will be able to renovate it for a fraction of the cost of getting it professionally repaired. 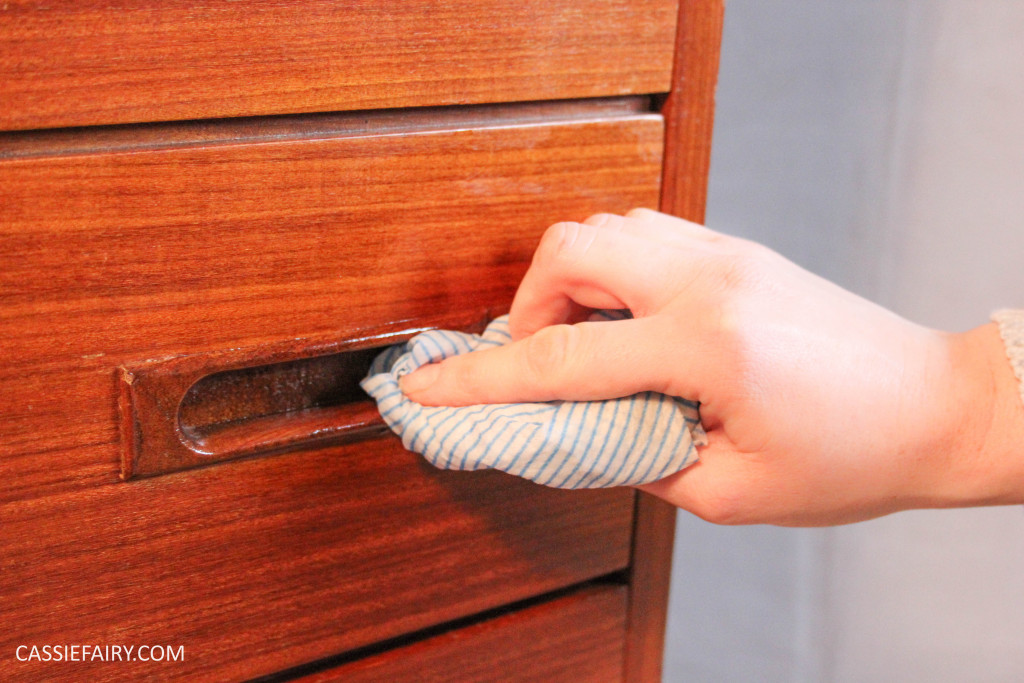 I can’t emphasise enough just how much I love mid-century teak furniture. I am literally surrounded by it in my home and the only thing that stops me from buying more is that I have no more room for it. Our living room has a gorgeous teak sideboard that is just the right length for the space and is the perfect location for our old Dansette record player. We have G-Plan book shelves all around the house and we’ve just bought a pair of matching teak desks for our new office space (still very much a work in progress but at least we already have the desks, even if we don’t have a roof yet!). Teak mirrors, drawers and shelves have popped up all around the house and even our fruit-bowl is turned wood. So you can understand why I needed to find a cheap and easy way to clean and maintain my furniture. By the way, if you’d like to check out more of my mid-century modern blog posts – here’s the link. Here are my ‘before’ photos of the chest of drawers:
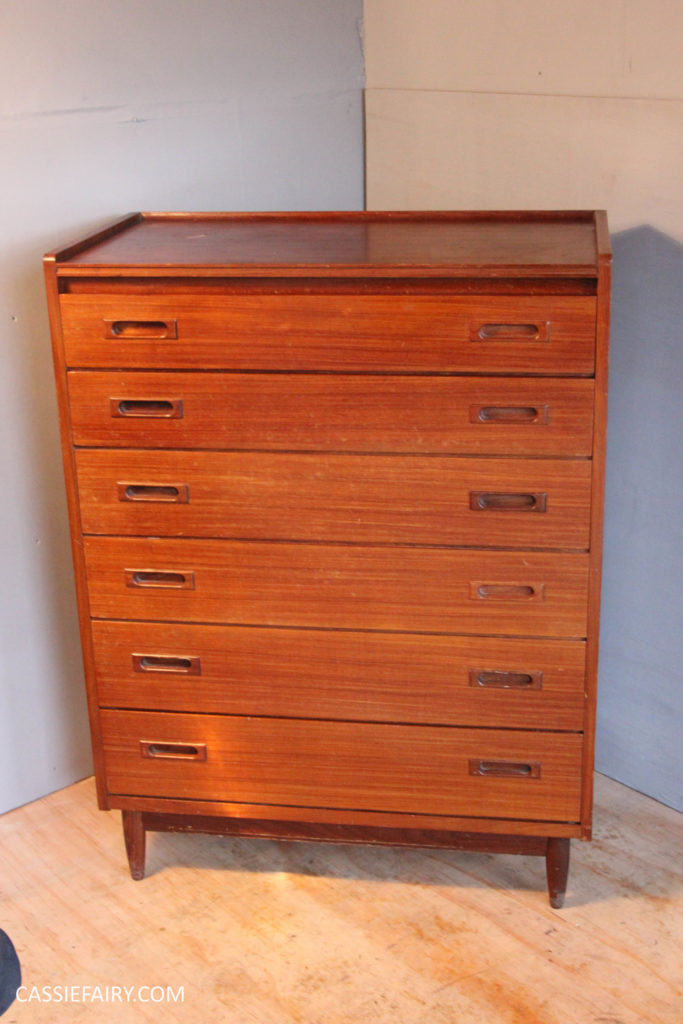
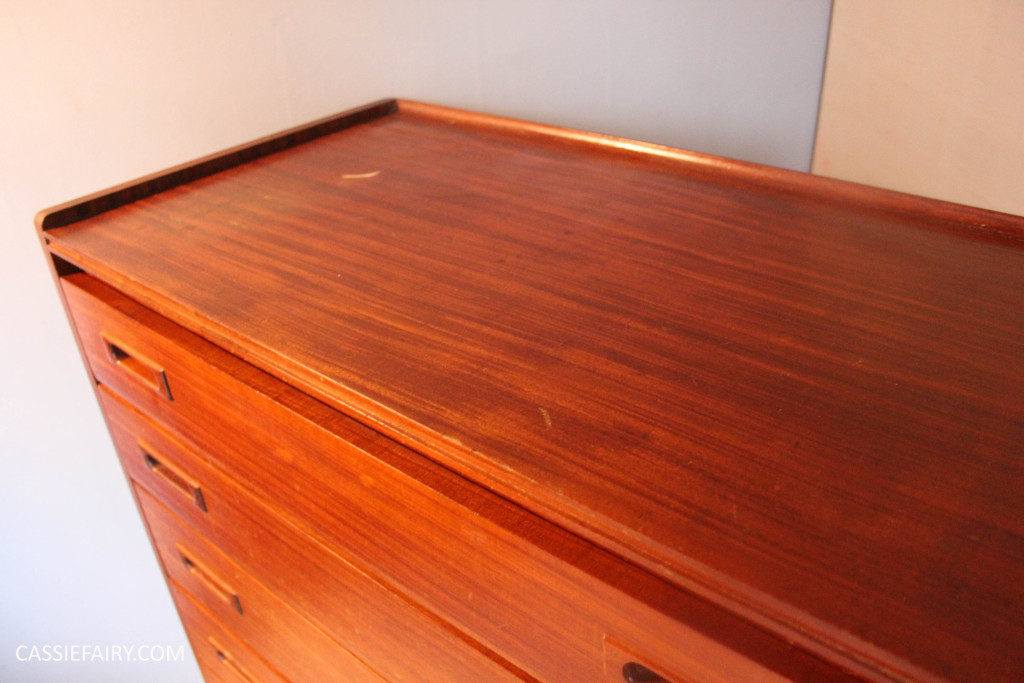
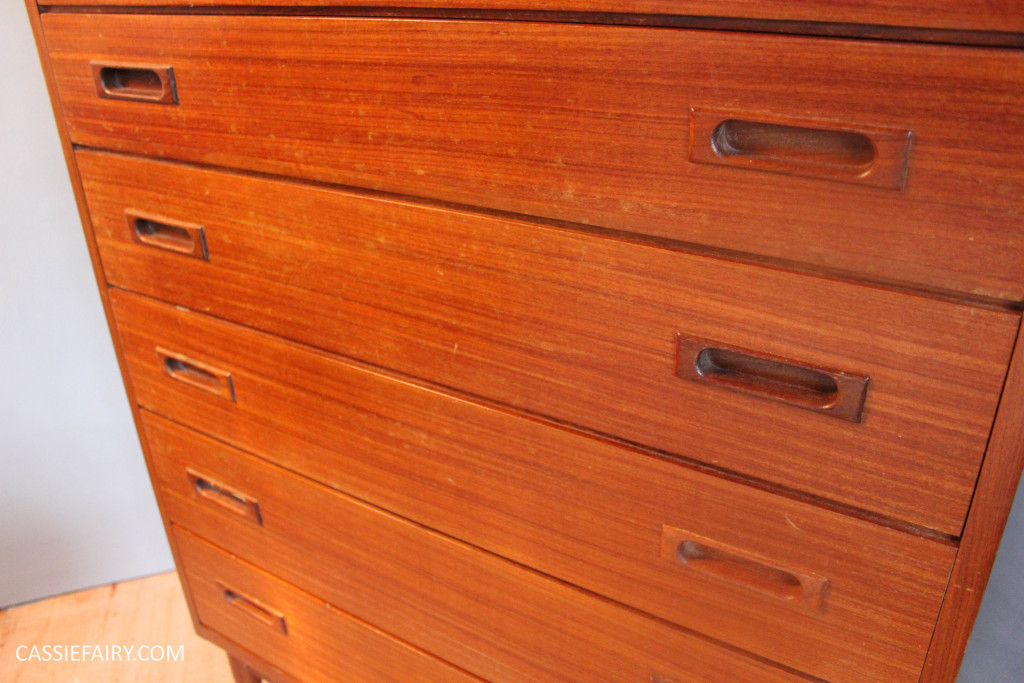
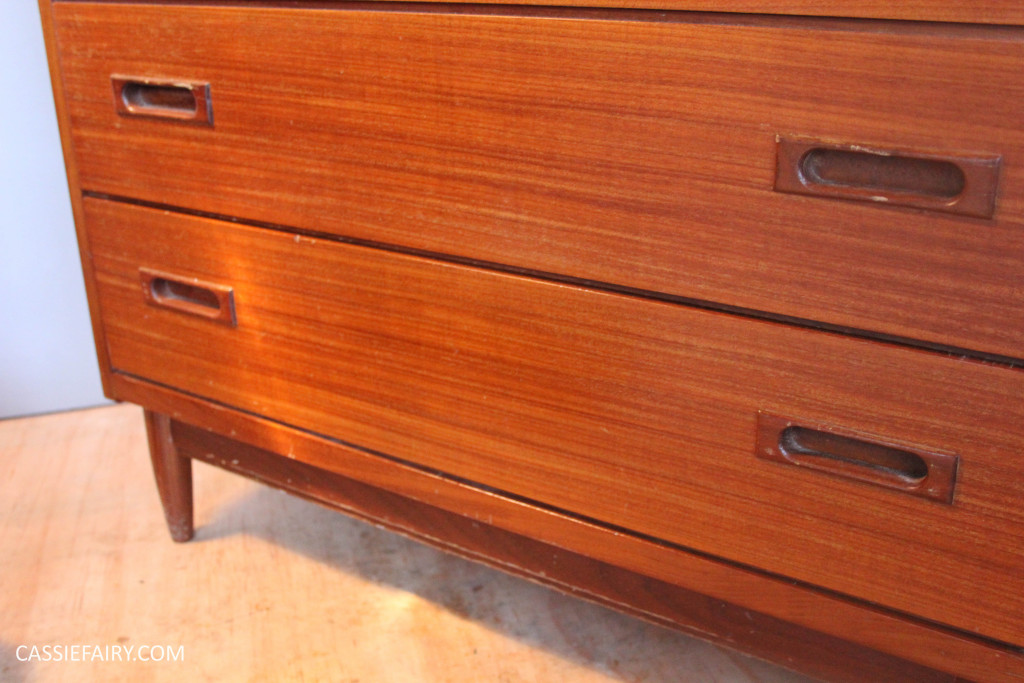 Sure, teak oil is cheap and does the job of shining up a surface nicely, but it sometimes it doesn’t cover the scratches well enough so I searched online for a natural, aerosol-free solution to clean up my ‘new’ teak furniture before bringing it into my home. I found a few blog posts out there that have recommended vinegar and oil mixtures for repairing scratches on wood, such as this one from Domestic Bliss Squared, so I took these ideas and mixed up my own ‘polish’.
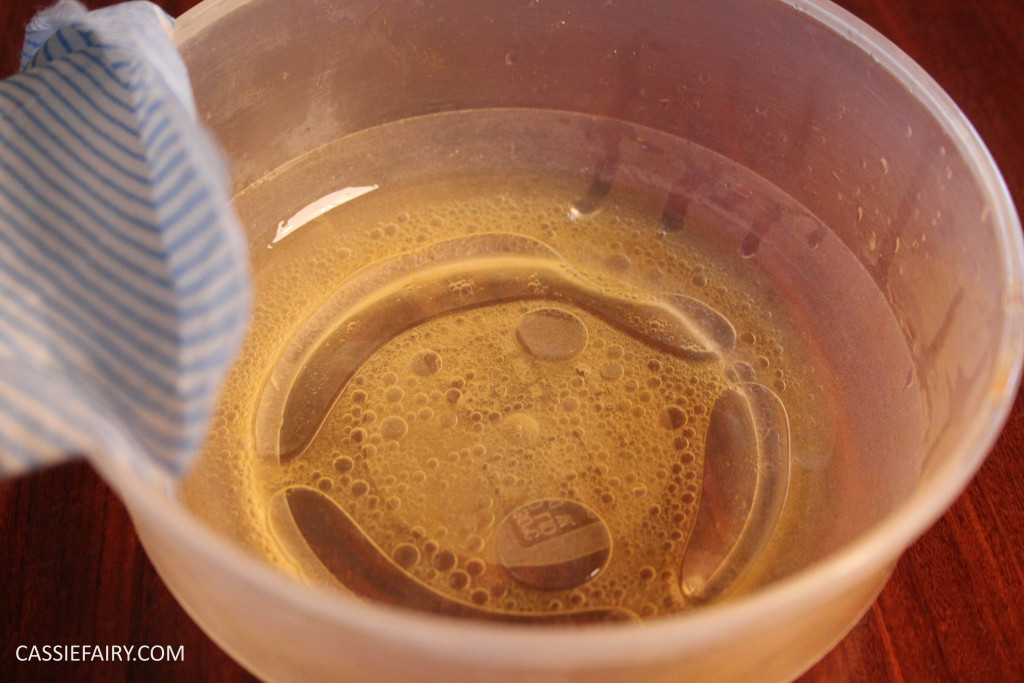
 Of course, I didn’t need as much of a quantity that the recipes online gave me – a whole cup of polish would have been too much for my teak unit – so I used a spirit measure to add 25ml of white vinegar to a 75ml measure of olive oil. This gave me the recommended ratio but just the small amount that I needed. I guess you could mix up larger quantities if you were planning to use it often and store it in a jam jar, but the amount I mixed was enough for this chest of drawers, and my desk AND a once over of the sideboard. And yes, there is still some left!
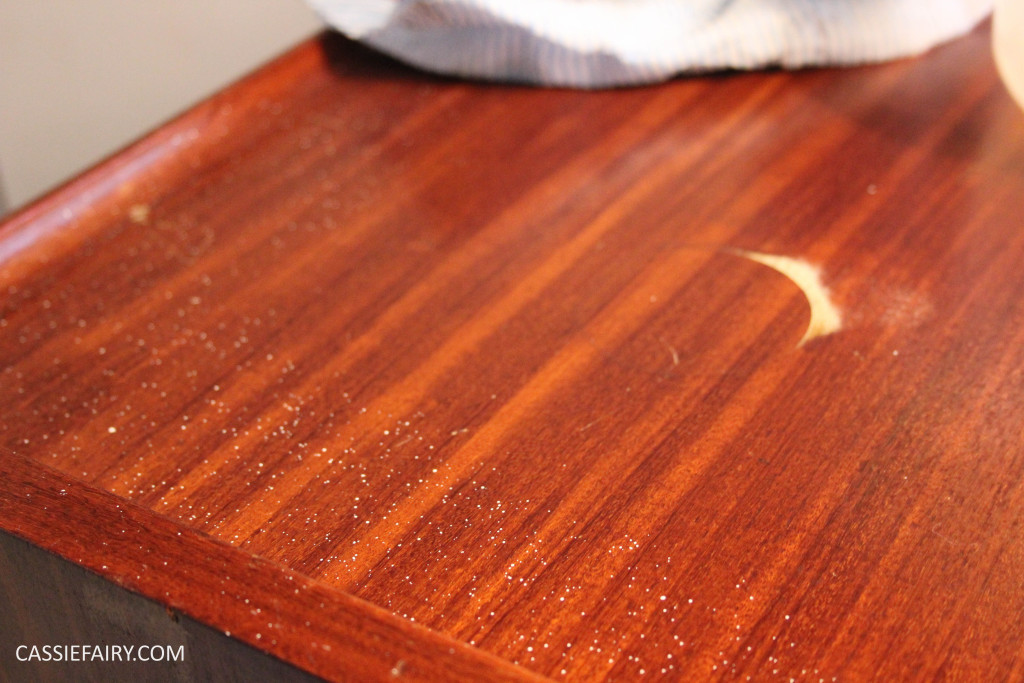
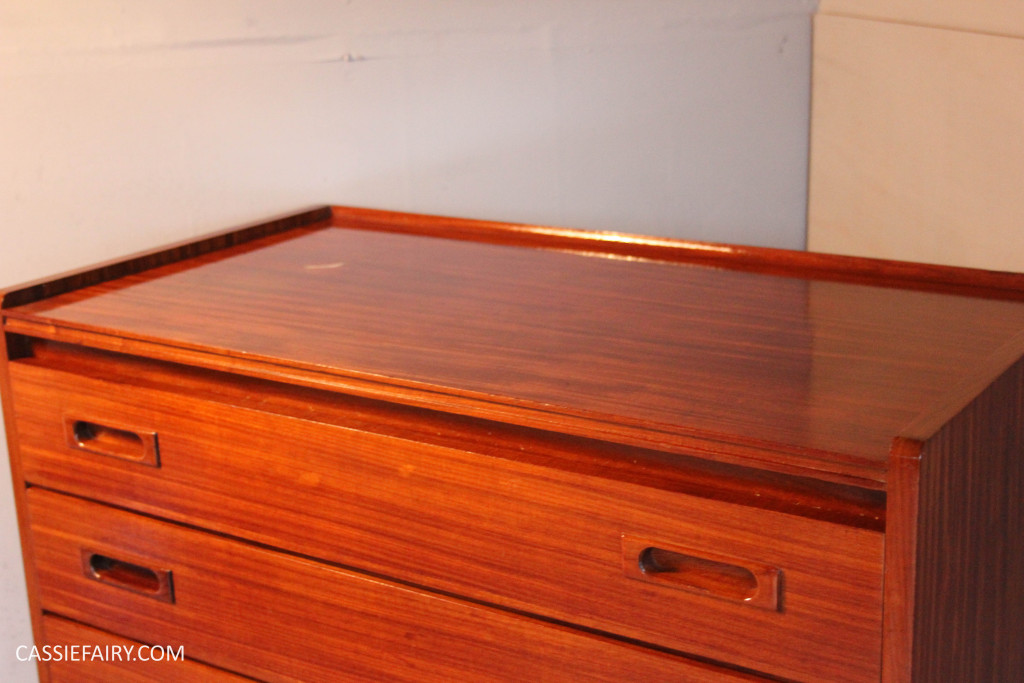 I rubbed the polish all over the teak chest of drawers and the scratches began to disappear. I actually wasn’t planning to make a blog post out of this so I’d started on cleaning the drawers before I took any photos but I was so impressed with the result of just a little buffing that I ran to get my camera before going any further. It didn’t need any hard rubbing, no sanding or pre-cleaning; the vinegar and oil solution seemed to clean and repair at the same time.
Now, I don’t know what a professional furniture repairer would say about this method, but I was never going to get it ‘properly’ repaired so it was a case of ‘live with it’ or give it a go, and I’m happy with the result I got with these two household ingredients. I guess if you have a particularly expensive item or rare piece of furniture, you might want to have scratches or stains looked at professionally but I’m just cleaning it up to put in my own home and don’t plan to sell it on in the future so hopefully it will be fine with this homemade solution.
As you can probably see on the top, the white mark where a hot cup has damaged the surface is still there (and I’m not going to bother sanding it down to get a better finish) but all the small scratches have magically disappeared and it looks considerably better than it did when I brought it home from a vintage junkyard. I am one happy thrifter!







7 responses
That’s great news, thank you for letting me know! 🙂
Thank you, you have rescued my mid century teak table.
Hi Vern, thanks for getting in touch. I was lucky not to have any scratches on the handles so I can’t really offer any advice on this. But on other projects, it’s sometimes possible to use fine wire wool to rub a little finishing wax into the scratches, which might make them look better? I would test this idea on an area that you can’t see (underneath or on the back?) before trying it on the handles in case it doesn’t work.
Hi. Do you have any tips for taking out or hiding a scratch on the handles (the same habdles as in your chest of drawers)
Thank you, I am a massive fan of teak furniture too! X
We love G plan, it is solid without being cumbersome..Top tips for bringing it back to life. Thank you.