Sunshine, bumble bees and watering cans. Yes, I spent all of last weekend in the garden, tending my veggie patch and chilling out with my husband. But I wasn’t relaxing all weekend, oh no. We were working hard and it took all weekend to complete our project, but boy was it worth it!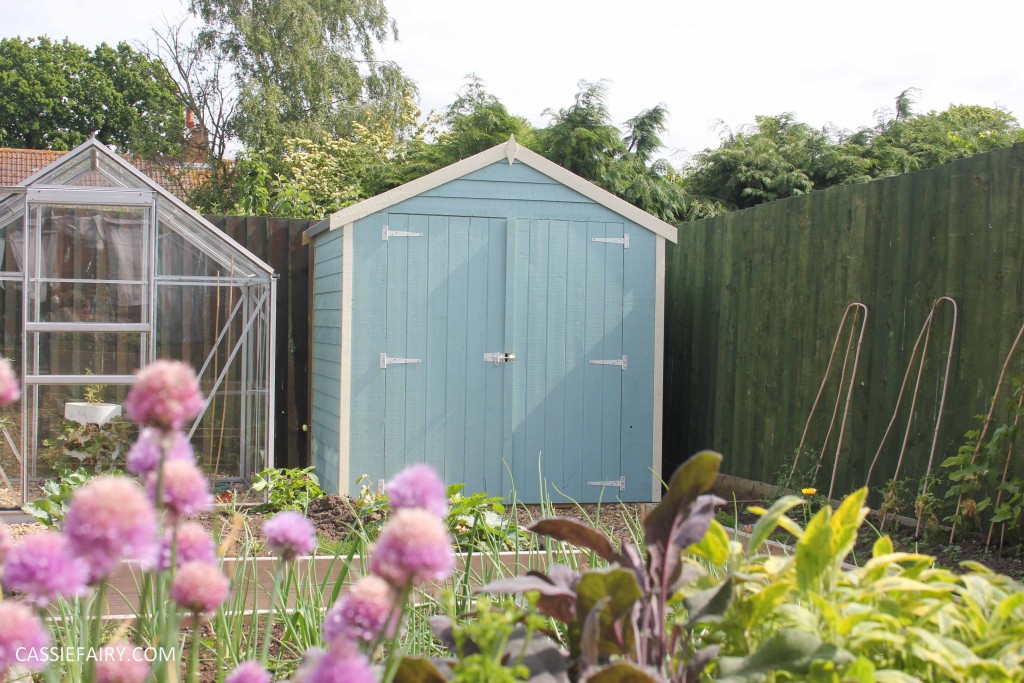 I took delivery of my new garden building on Thursday last week and, having pictured it in my mind’s eye hundreds of times, I was bursting to put it together and start creating my dream garden. I’d waited a couple of weeks for the delivery since ordering it with George at Asda and during that time, I’d decided on a colour palette of duck egg blue and cream, and had been spending hours pinning painted sheds to my garden board on Pinterest.
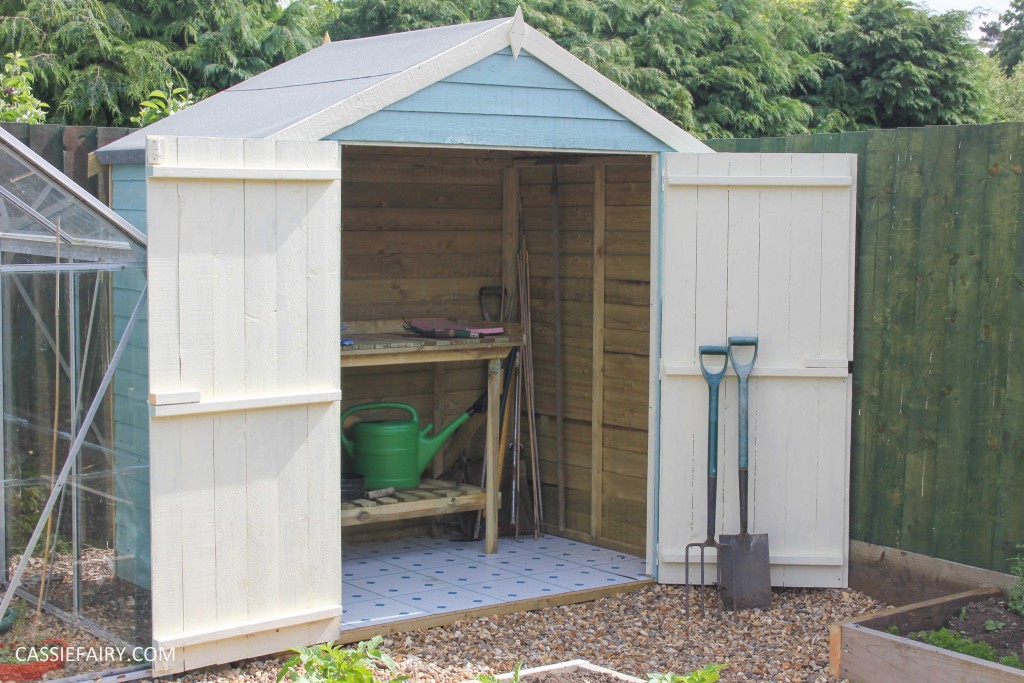 The shed that we chose was a small 6ft x 4ft shed but instead of a standard shape with one door and windows down the side, we chose a design which had double doors at the front. The building is the same shape and size as our greenhouse (although a little taller) so the shed would look neat sitting beside it in our veggie patch. Also, the double doors make it look similar to a beach hut and that’s exactly the kind of effect I was hoping to achieve so I was very pleased when we found the Fairwood Double Door Overlap shed at such a bargain price online.
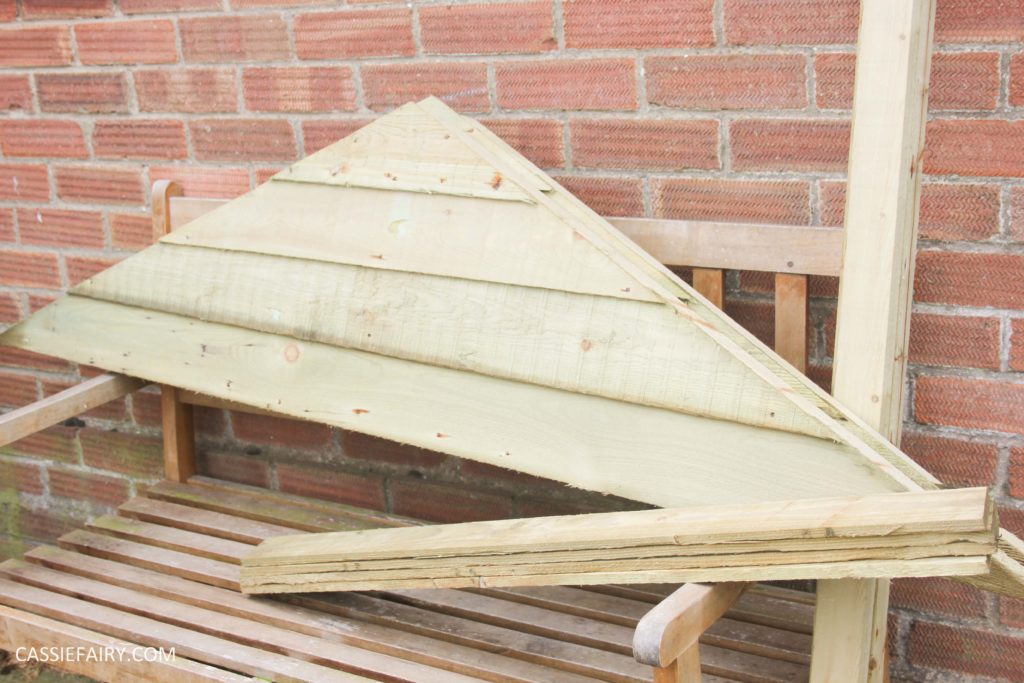
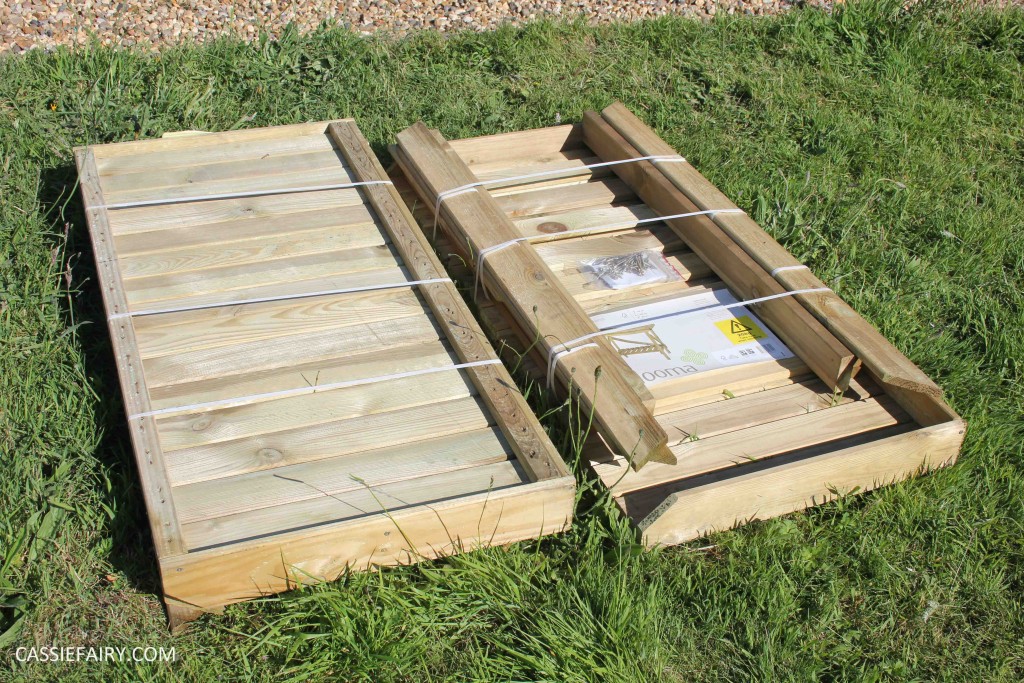
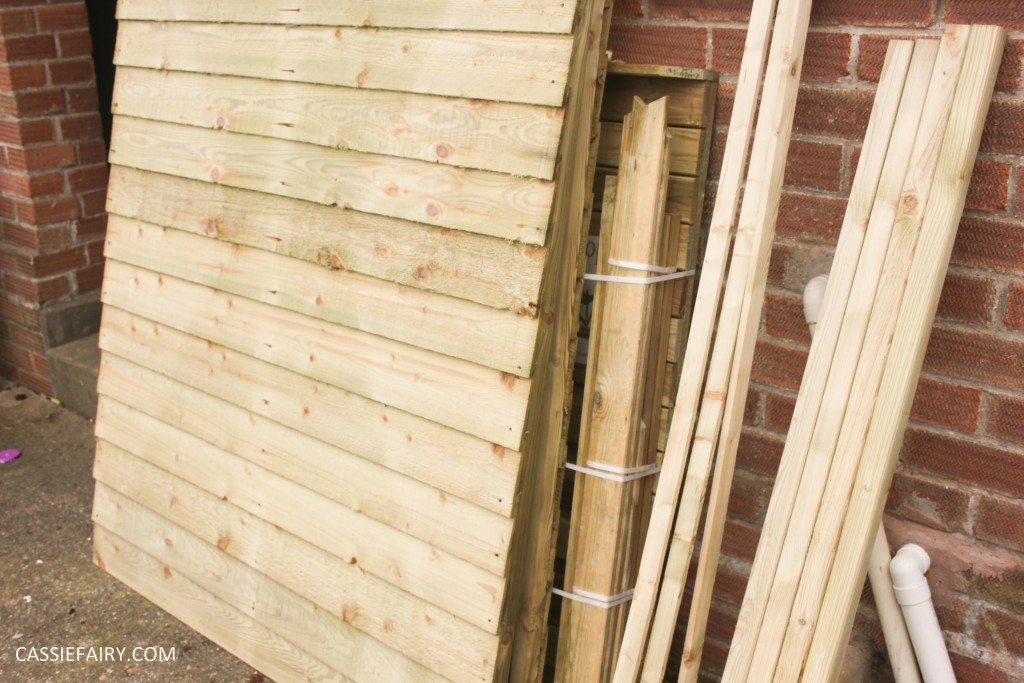 When it arrived, I was a little bit surprised at the number of pieces. I think I’d had a Playmobil version of a shed in my mind, and it turns out that real sheds actually have a lot more bits to put together! Thankfully my husband is a dab hand at DIY and I’m great at holding things in the right place, so the construction of the shed didn’t actually take all that long. It was the painting..!
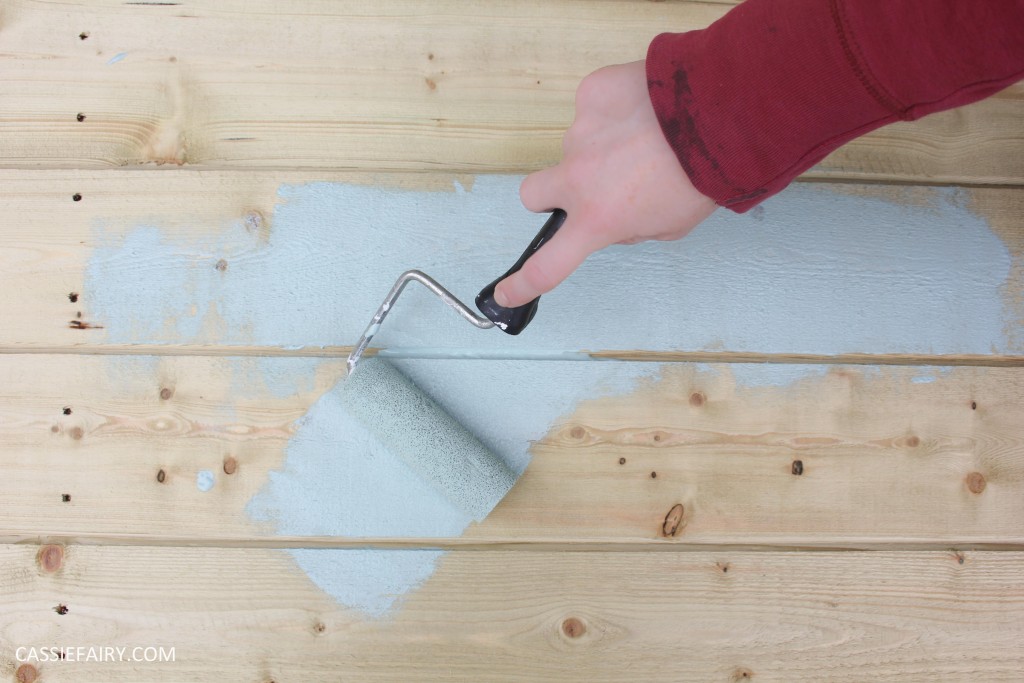
 I am proud to say that I painted the whole shed myself, go me! Once I got started I just didn’t want to stop and even the setting sun didn’t stop me. I chose a duck egg blue called ‘River Mist” from Asda Home & Garden for the main body of the shed to make it look like a beach hut and I kicked off the project by painting the flat panels before we constructed the shed. This was a really good way to paint the shed because it meant that I could paint all the edges and joins before it went together and I didn’t have to worry about dripping Classic Cream paint onto the blue (yes, I’m a dripper) because I could paint all the trims separately, and at a safe distance away from the blue panels!
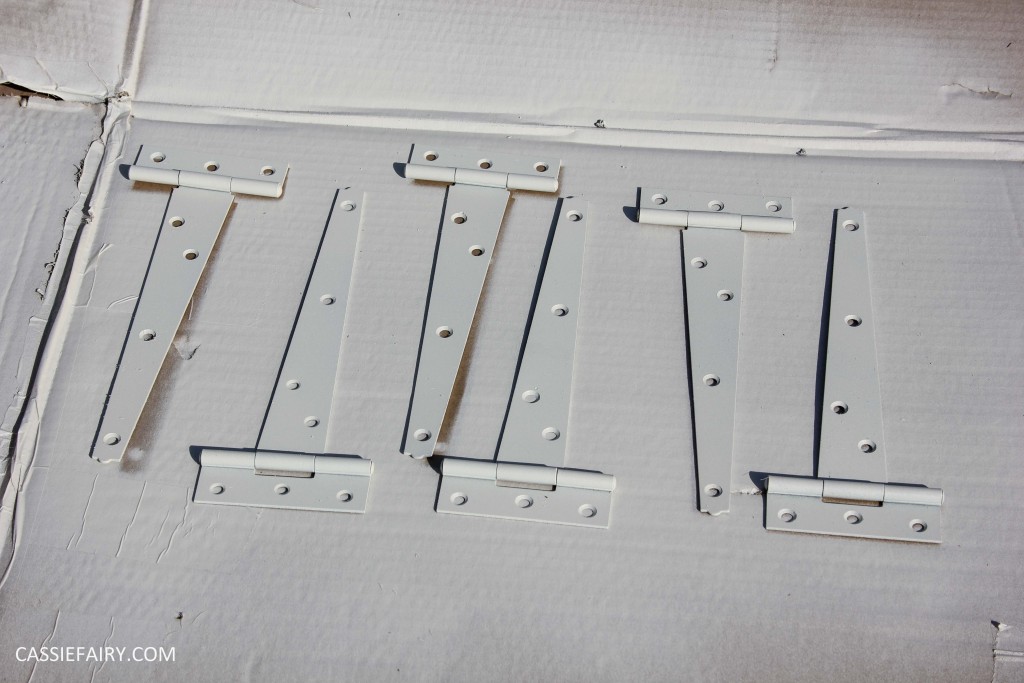
It took two coats to get a good strong depth of colour but just one coat of this paint would have given a lovely ‘washed’ effect which some of you may prefer, but I wanted to get the look of a beach hut that has been painted with many layers over the years so I doubled up and did each panel twice. I also decided to use some cream spray paint to coat the shiny metal hinges, bolt and catches and even though I wasn’t sure how they would turn out I’m very pleased that I did spray them before attaching them to the shed, as the cream paint makes the building look even more like a beach hut. Here are my tips for painting a shed:
- Start by painting all the joins in the shiplap or over lap panels and doors
- Use an old toothbrush to do this, it gets into all the grooves nicely!
- Paint any knots in the wood and over the nail-heads
- Use a small sponge roller to cover the rest of the panel
- Allow to dry completely before rolling a second coat of paint onto the wood
- You shouldn’t need to re-paint the ‘crevices’ but you’ll be able to se any spots you’ve missed and can paint them this time!
- Paint all the trims, diamonds and edge-batons before attaching to the shed
- If you’d like the metalwork to match the colours of the shed, spray paint them and allow to dry completely before attaching to the doors or building.
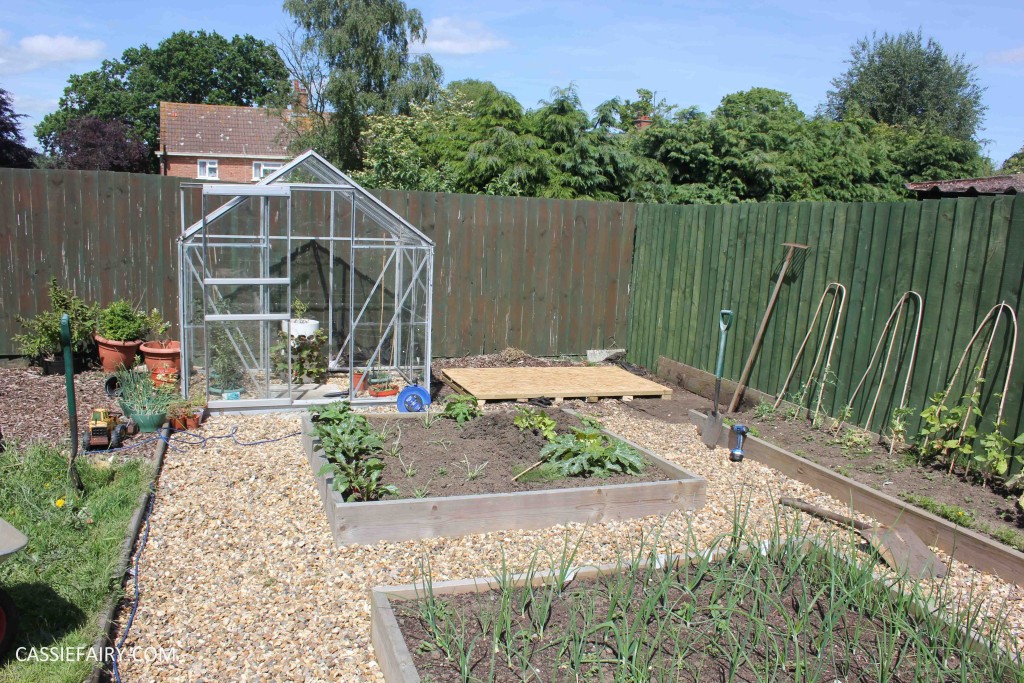
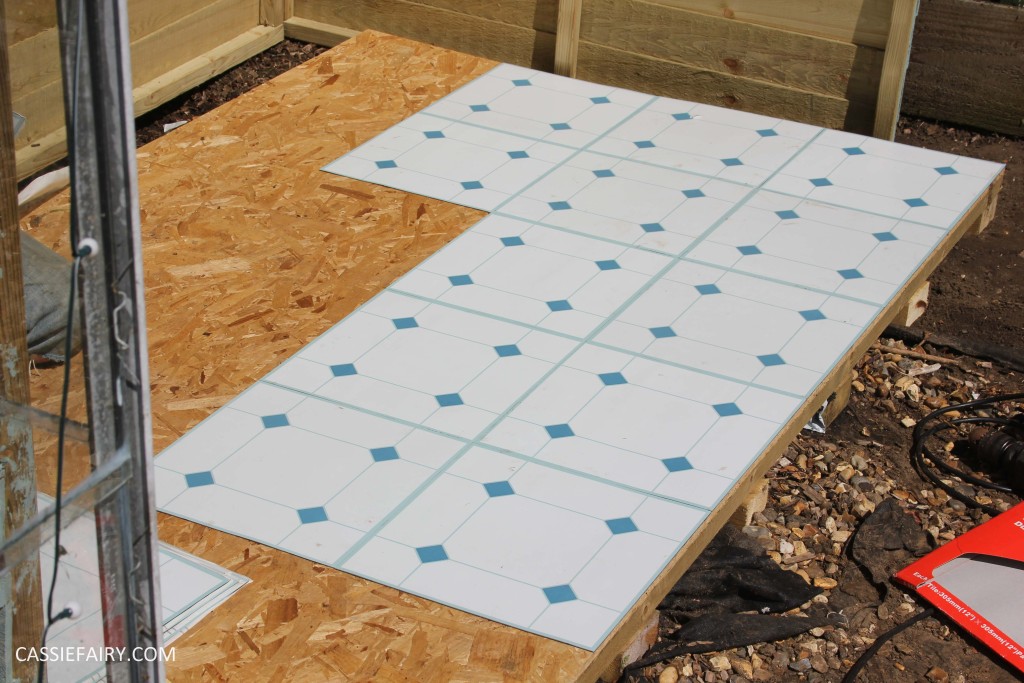
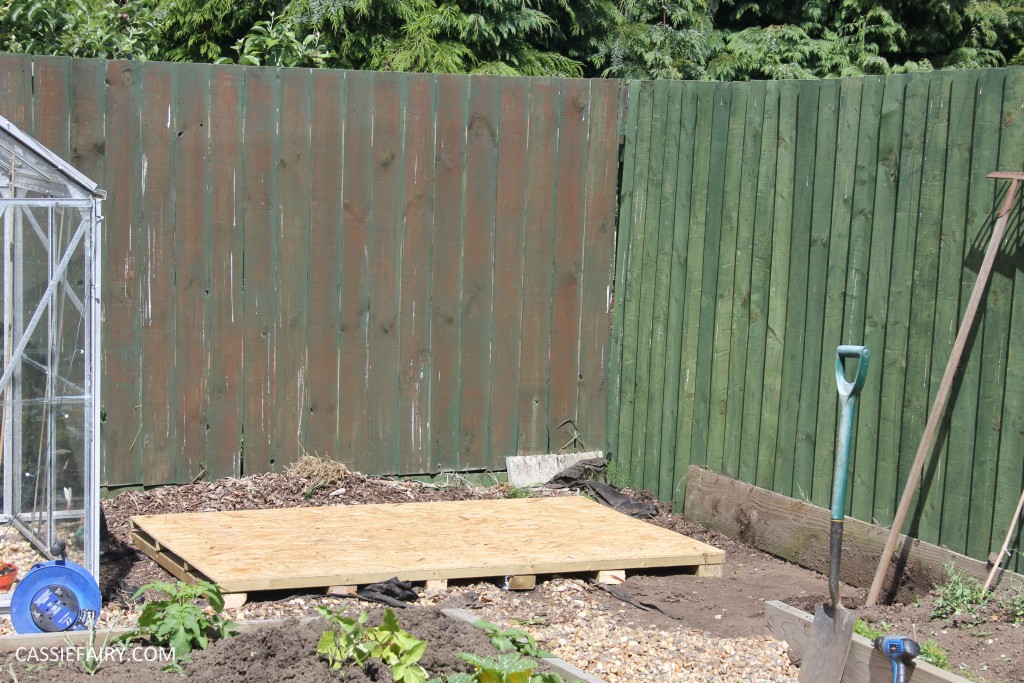 The next part was the construction of the shed. We laid 6 pressure-treated bearers on the ground on a sheet of weed-resistant membrane before setting down the floor of the shed. We could see how much room the shed would take up beside the greenhouse and decided to reduce the length of the raised-bed at the side of the shed so that the doors could open freely. At this stage we decided to lay some self-adhesive vinyl floor tiles that we found in the garage. These were left-over from decorating my caravan and we had just the right amount to cover the floor of the shed; we had 28 tiles and needed 26, phew!
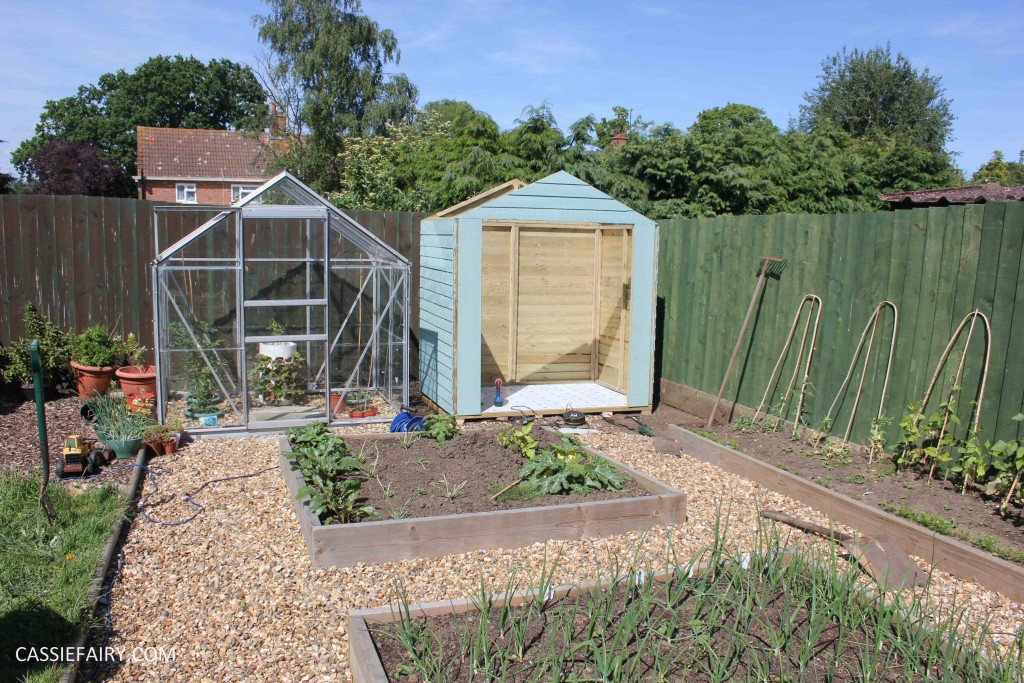
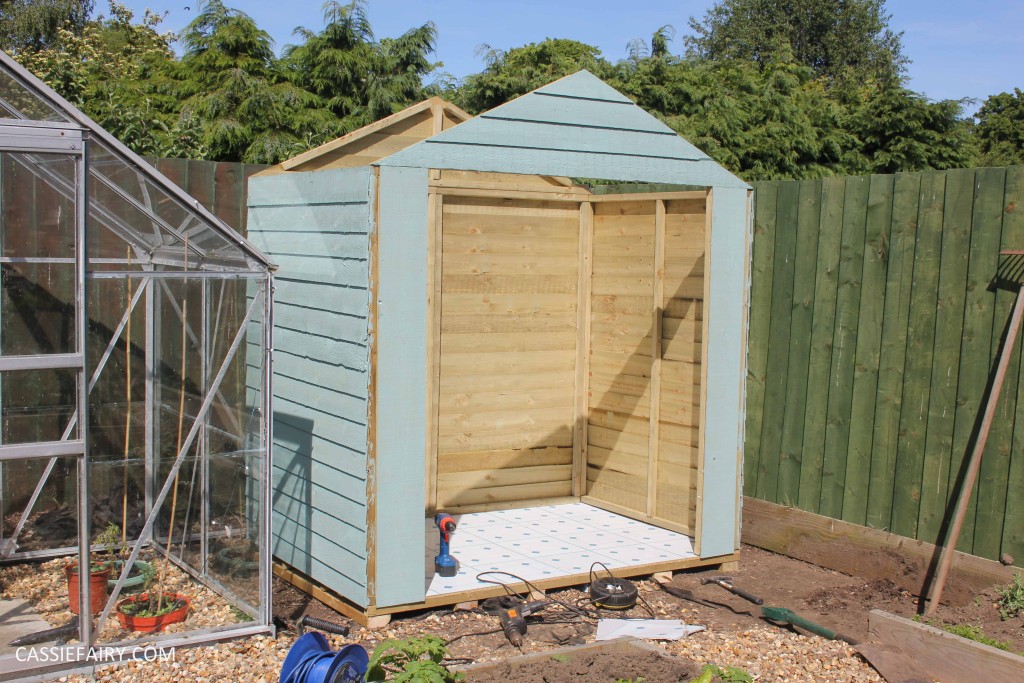 After the floor was stuck to the base, I held the panels together in the corners while my husband drilled pilot holes and screwed the panels together. I couldn’t believe how quick this process was and we had the shape of a shed together within half an hour. We took a break for a mini-milk ice lolly and sat in the shed while we ate. The next stage was the roof.
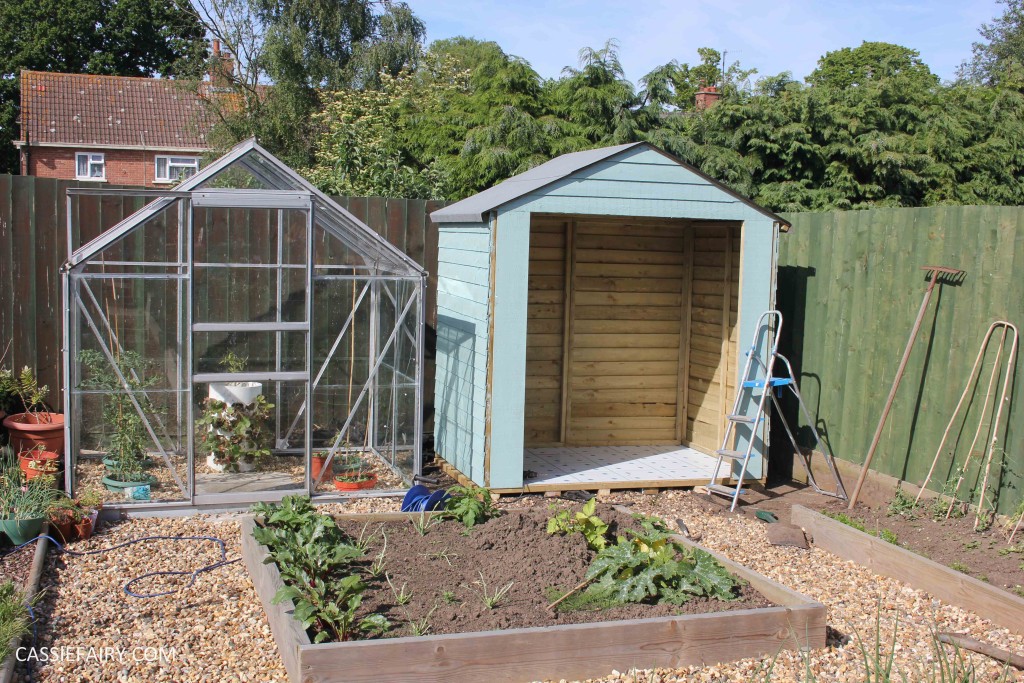
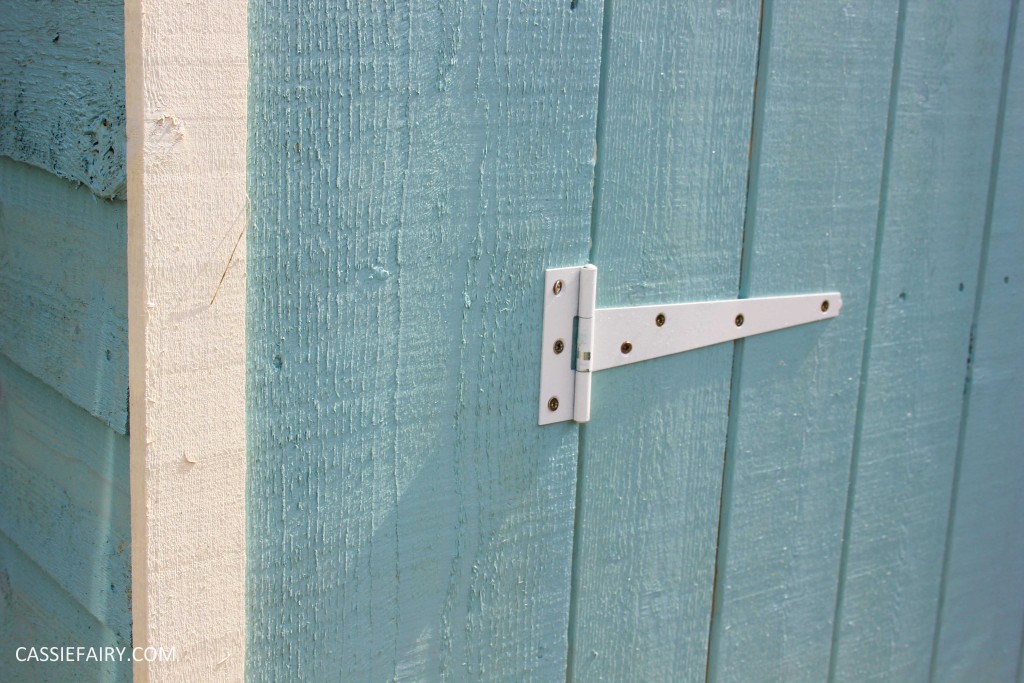
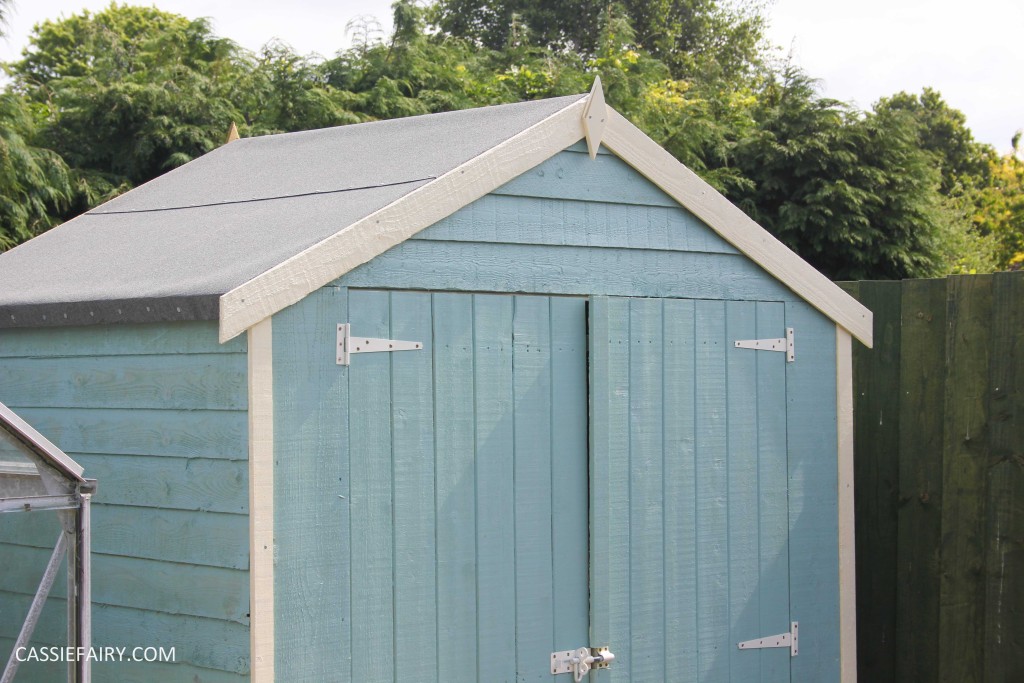 Two beams run across the centre of the apex and the roof is attached to these. I left hubby to tack on the felt while I gave the trims a final coating of cream paint, which dried within minutes in the hot sunshine. A flourish of screws attached the hinges to the doors, and it was clear that the plan to spray-paint the fixings had worked – it looks fantastic! Again, I held the doors in place while my husband attached them and we fitted the bolt and catches to complete the doors.
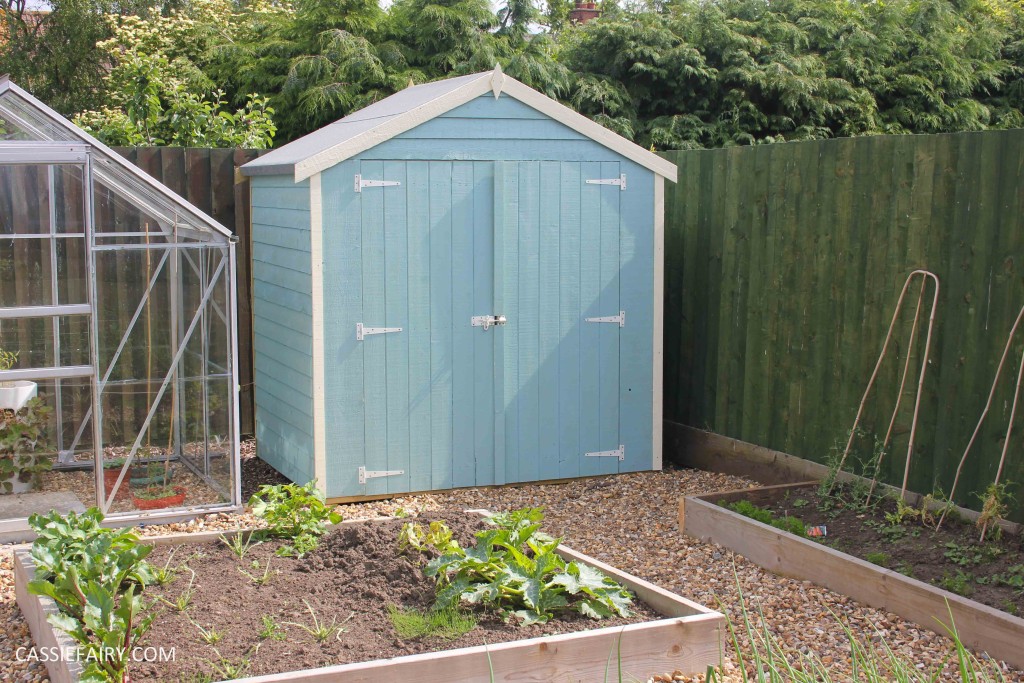
 The final flourish was adding the trims to the top of the shed and down the corners. As we stepped back to admire the building I let out a little whoop of joy. I couldn’t believe that my Pinterest board was coming to life in my own garden!
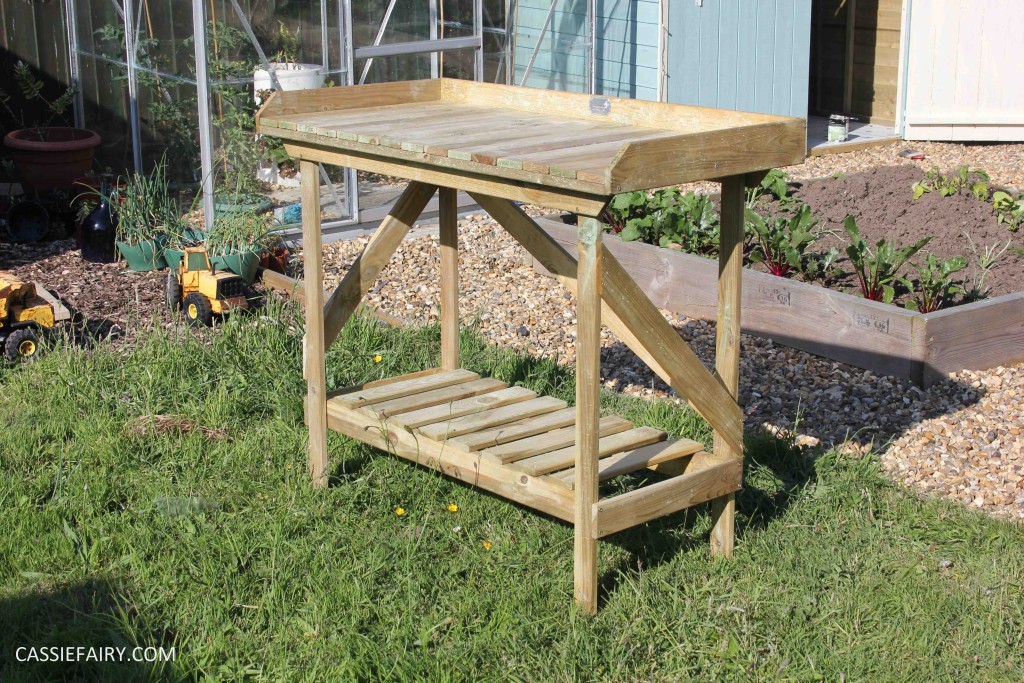
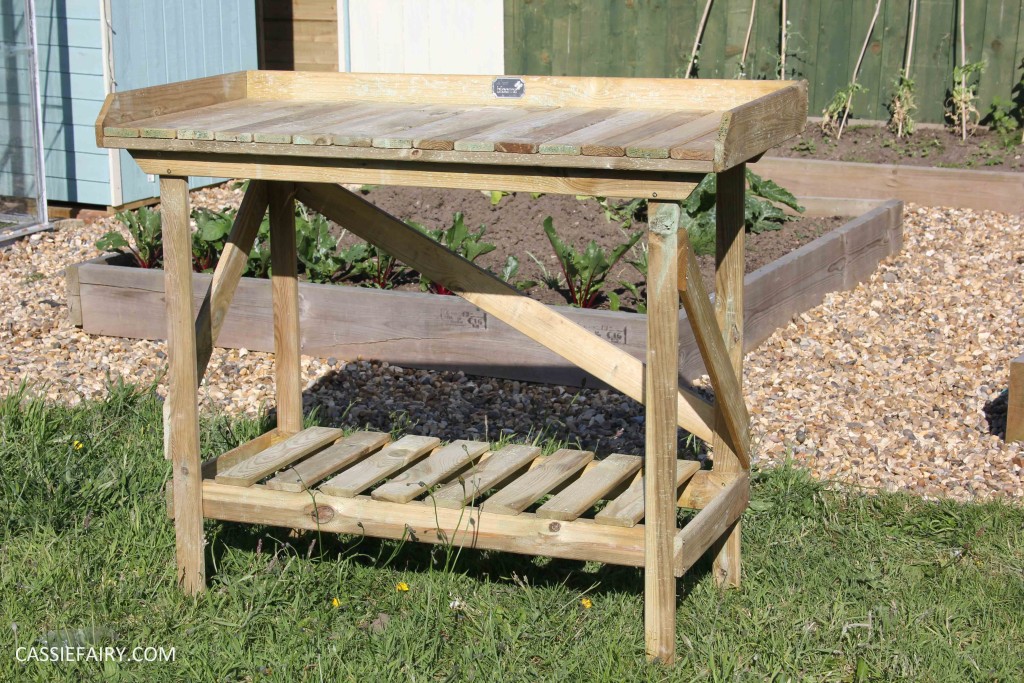
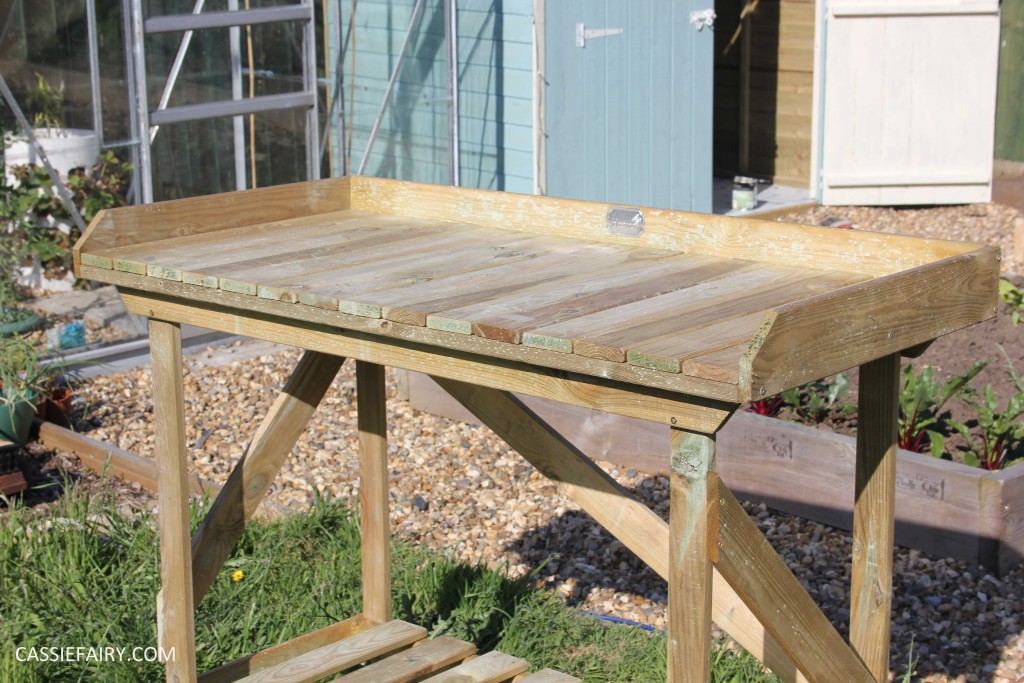 We also picked up a bargain £40 timber potting bench from Asda which my husband put together while I raked the gravel over the weed-resistant membrane to make a ‘beach’ path in front of the shed. Actually, I don’t think I should call it a shed anymore, it’s definitely a beach hut now!
We’ve not completely ‘moved in’ to the beach hut yet; the potting bench is 4 ft long so it fits along the side of the shed perfectly, but I kind of like having it in the centre too with tools either side. I want to buy some hooks to hang our space and fork etc and find a place for everything, but I really can’t wait to start actually potting plants in my little hut!
What do you think of my new garden building and the finished veggie patch? I definitely think it completes the garden – that corner was looking a little bare before and certainly feels more complete now that we have a little ‘row’ of beach huts! Let me know if you too have been out in the garden this weekend and what you’ve been getting up to by leaving me a comment below or tweet your garden photos to @cassiefairy
Some items in this blog post have been gifted to me and the pink links indicate a gifted product, affiliate link or information source. All thoughts and opinions in this post are based on my own experience and I am not responsible for your experience 🙂




4 responses
Ooh thanks Lubaina 🙂
Ooh thanks Aimee! Pinterest guides my life haha! 😀
Love it,it’s so Pinterest!well done you xxx
Totally brilliant and awesomely useful thank you !