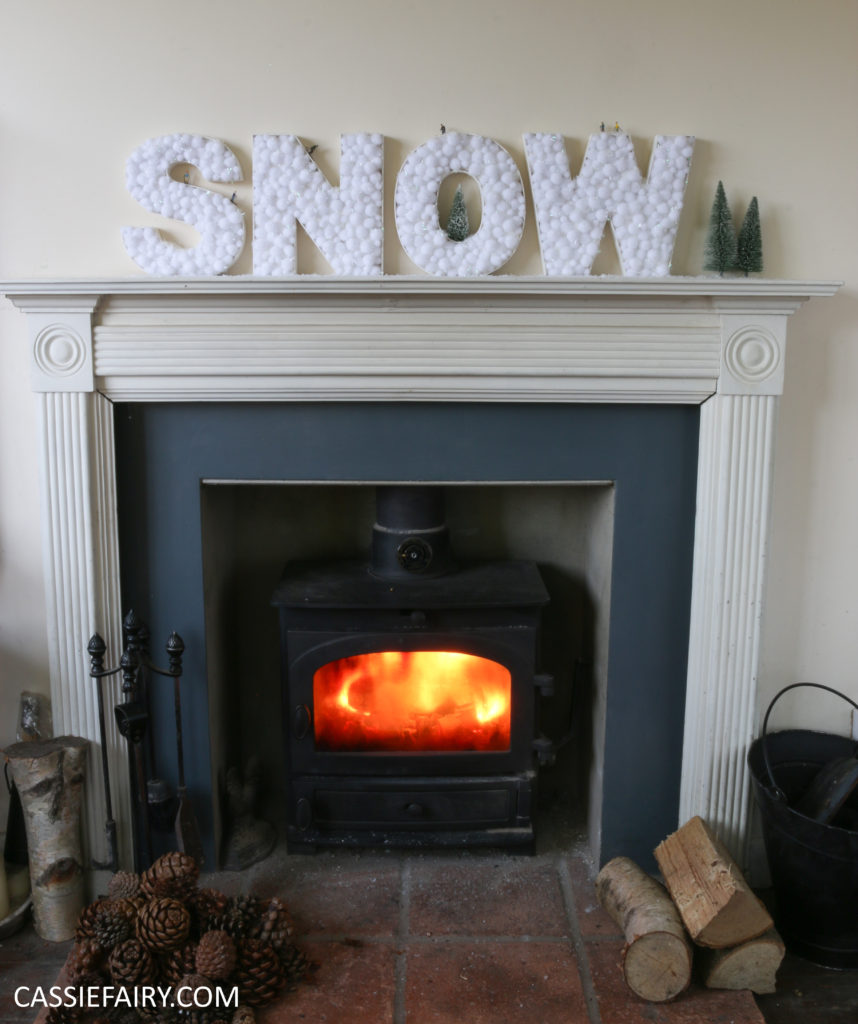
With Christmas fast approaching, my latest DIY project is a rather festive one indeed. Yes, I’ve got my trusty glue gun out again and I’ve been busy attaching pom-poms to anything that stays still! Since decorating the Christmas tree, I decided that my mantlepiece was looking rather empty and after a bit of pondering, I came up with these ‘snow’ letters to dress the top of the fireplace. And yes, I filmed the whole process so that I could make a step-by-step video to show you how it’s done. 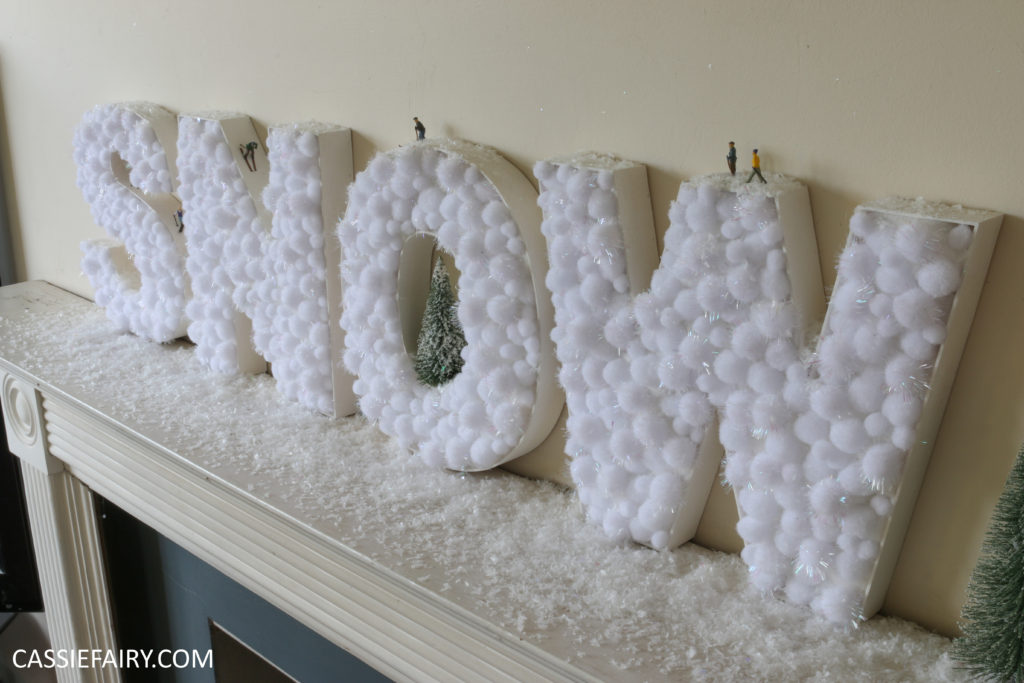
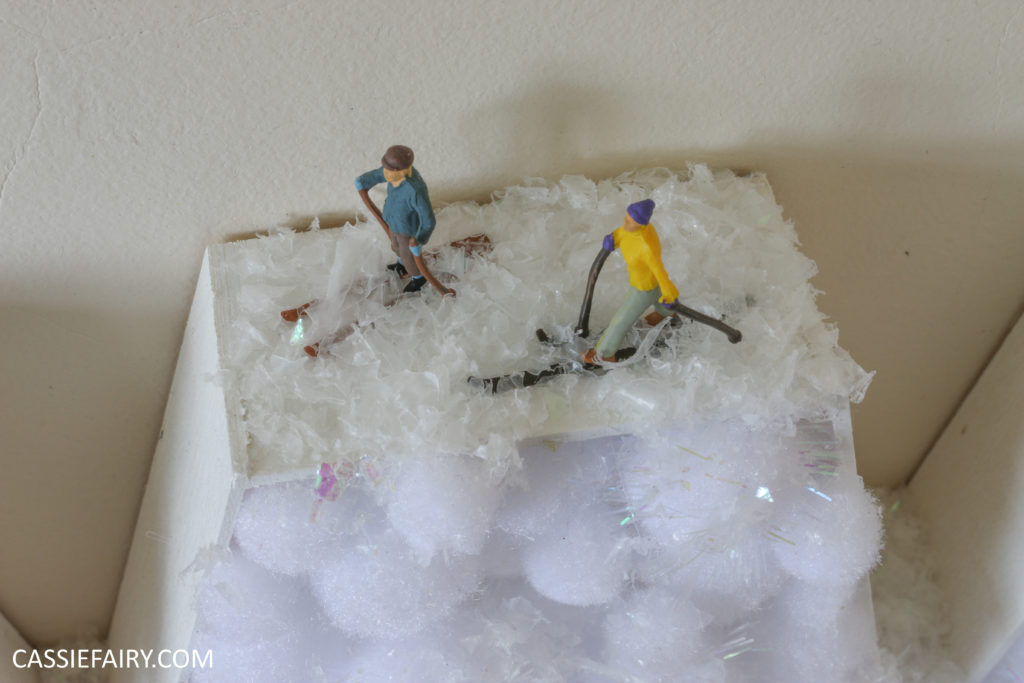
 And I’ve been thinking of all of you who don’t necessarily have space for a tree, because these snowy letters only take up the space of a mantlepiece or shelf yet it still makes for a rather impressive and imposing display. This decoration project can be made any size (depending on what kind of craft letters you find) and any colour – just change the spray paint and pom-pom colours to make a bright red SANTA sign or even a sparkly pink ‘LOVE’ display for Valentine’s Day early next year. Multicoloured pom-pom letters could be used to make a birthday celebration display or why not make a glitzy metallic “2019” sign for your New Year’s Eve party?!
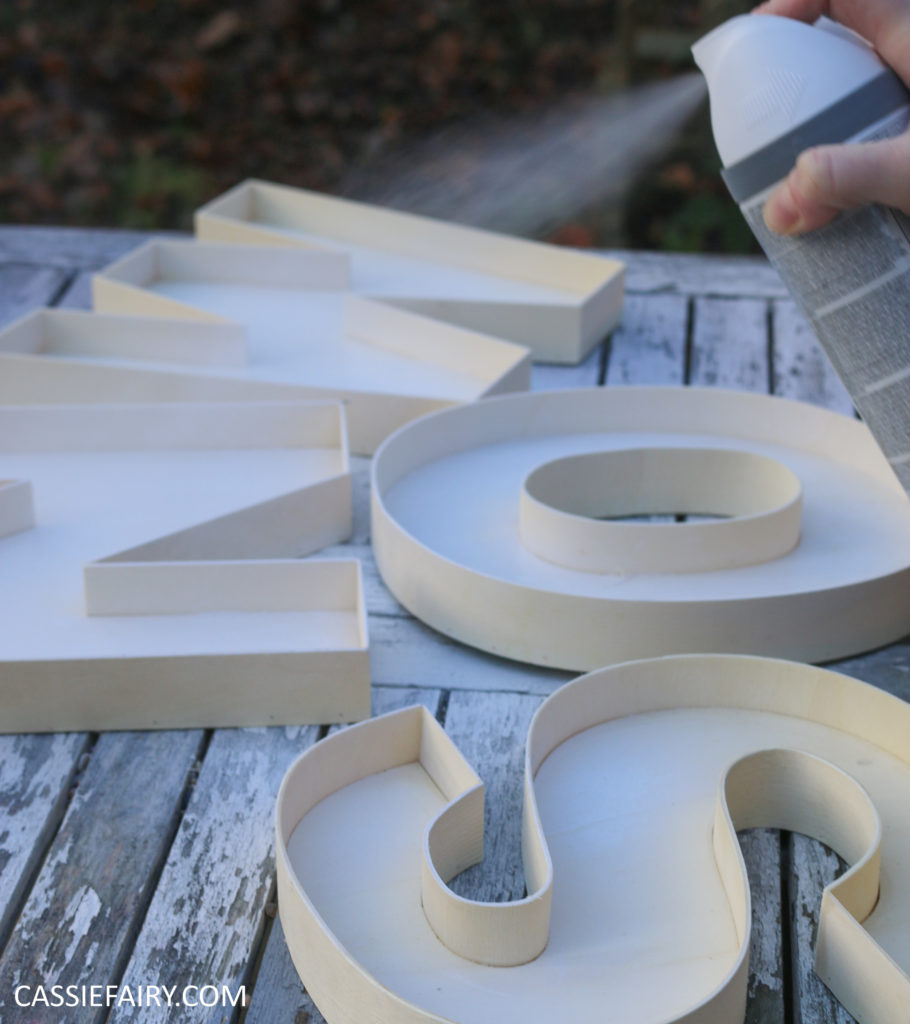
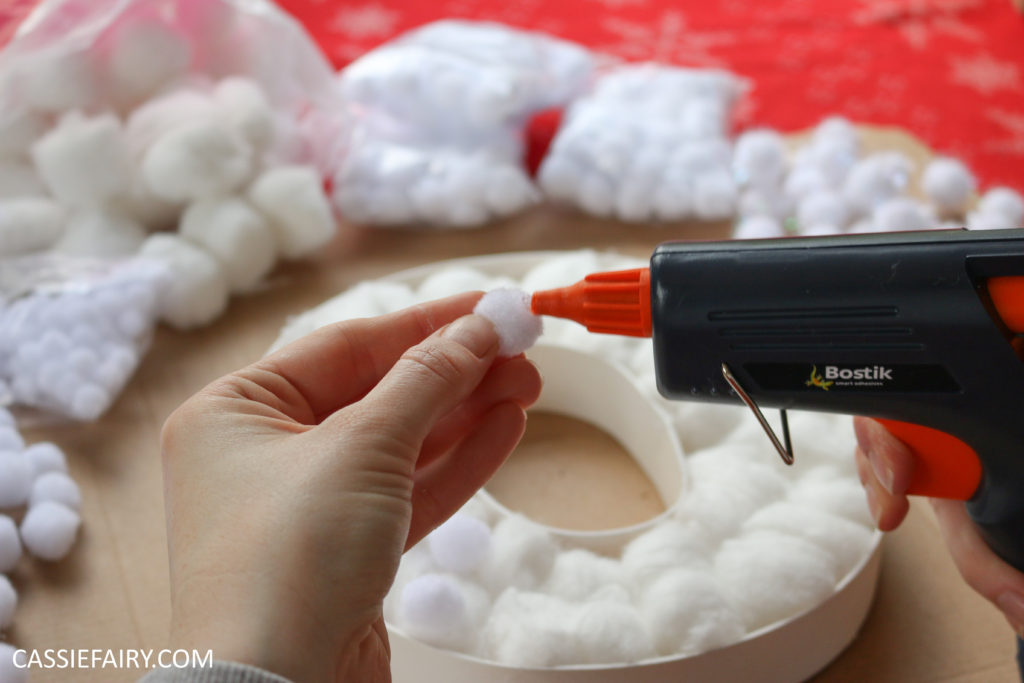 Click on the video below to view the step-by-step guide.
To make this project you will need:
- Large craft letters – I got mine from Hobbycraft for £4 each, but I’ve seen cardboard letters for just £1 in The Range.
- A glue gun and glue sticks
- White spray primer (or coloured spray paint if you prefer)
- Cotton wool – I picked up a large bag of cotton wool balls from Superdrug for 75p
- Various sizes and types of pom-poms – The teeny tiny pom-poms came from Etsy and I got the iridescent pom-poms from The Range £1.50 for a pack of 80, and a pack of 40 is available in Poundland too.
- Optional extras – Miniature trees and figures – I tracked mine down (excuse the pun) in a model railway shop.
- Snow spray and glittery faux snow (from Poundland or similar).
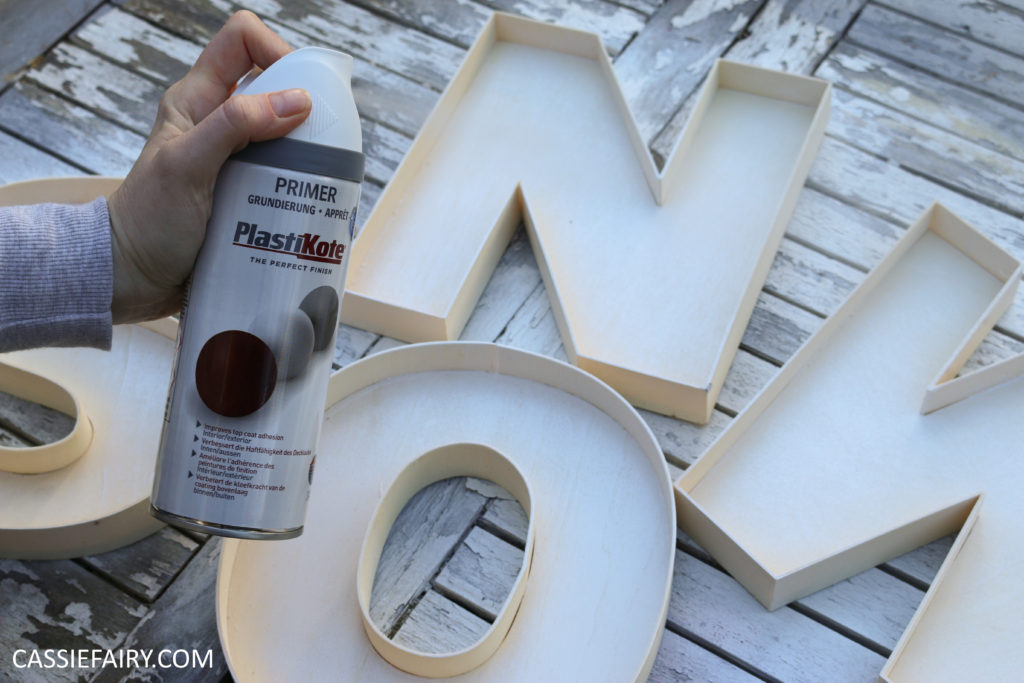
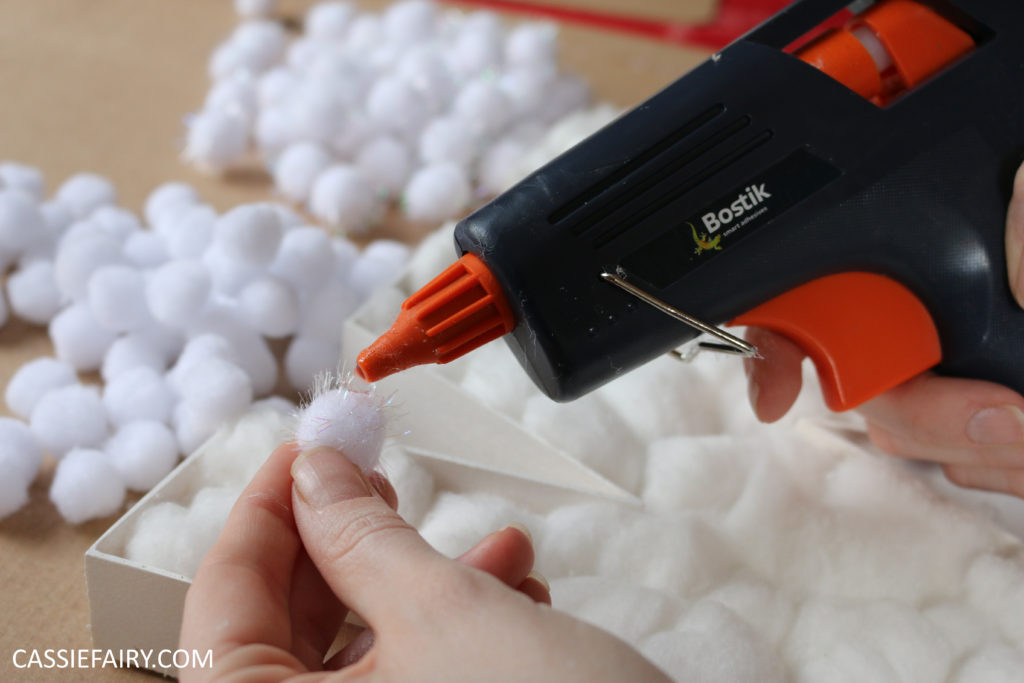
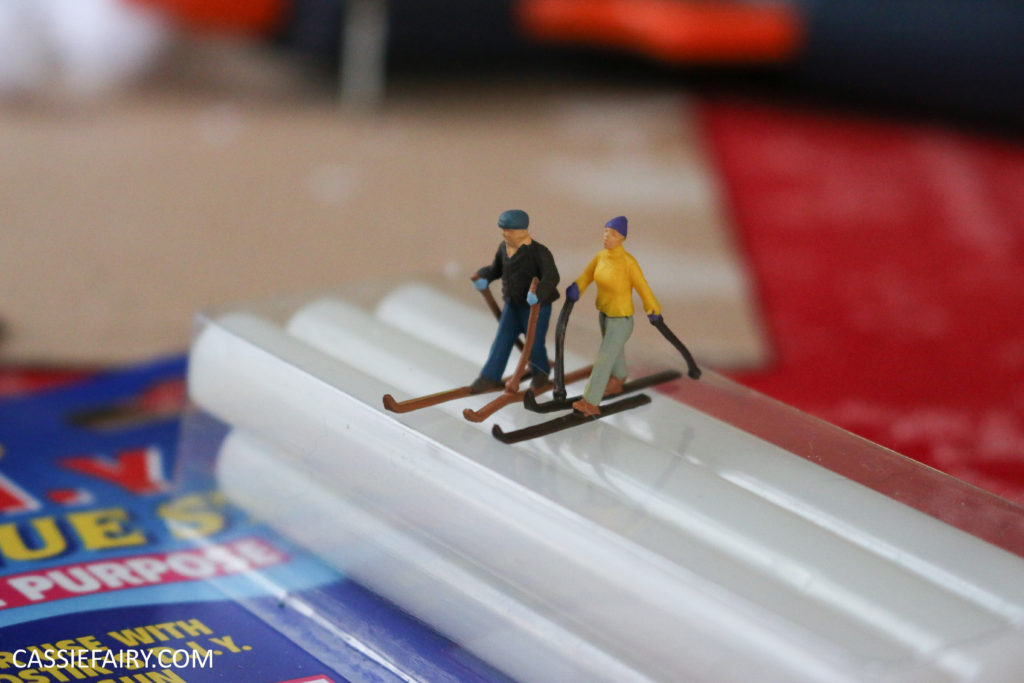
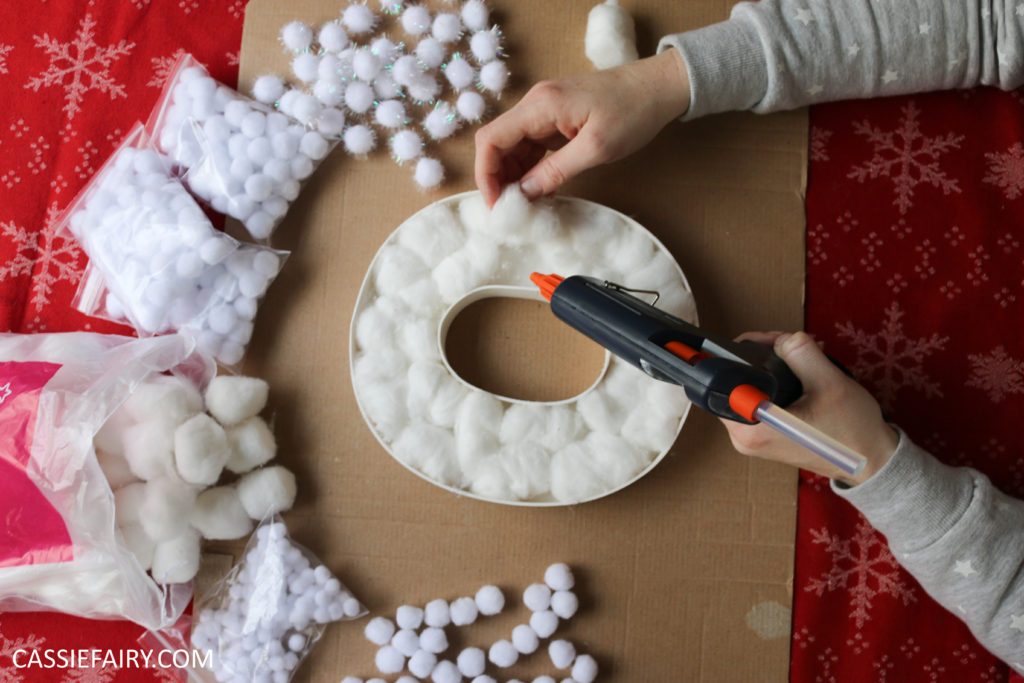
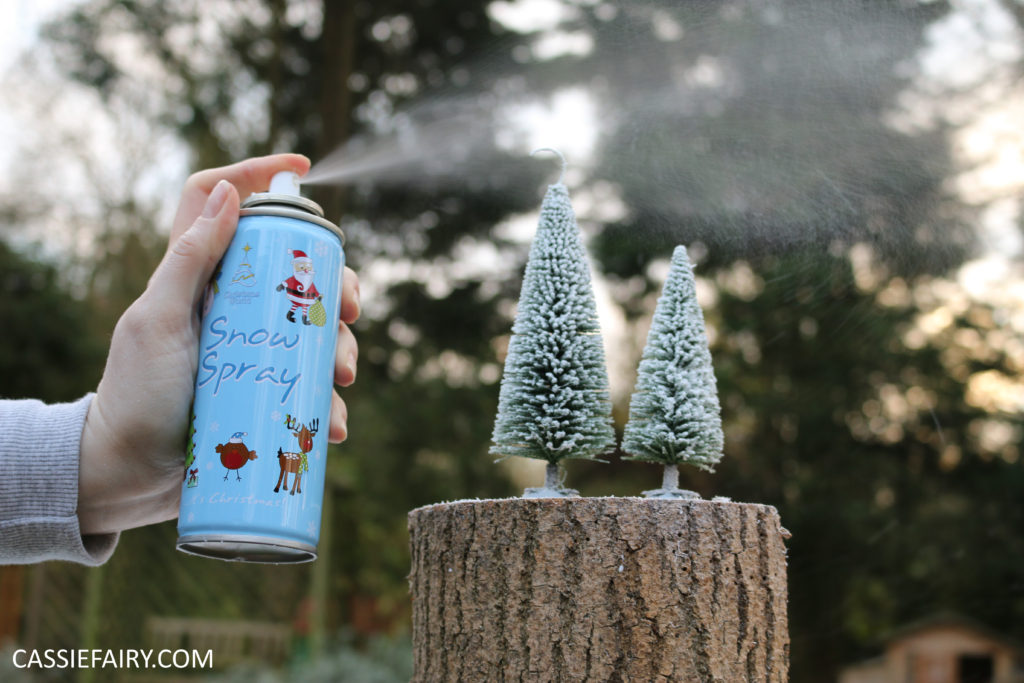 It’s a really quick and easy project to do too – the thing that takes the longest time is waiting for the paint to dry. Which, in fact, doesn’t even take that long. I’ve shared the step-by-step guide on my YouTube channel today so you can see just how easy the process is. I’ve even included a time lapse of all the pom-pom gluing so that you can see how the letters can be built up with lots of different layers and sizes of pom-poms.
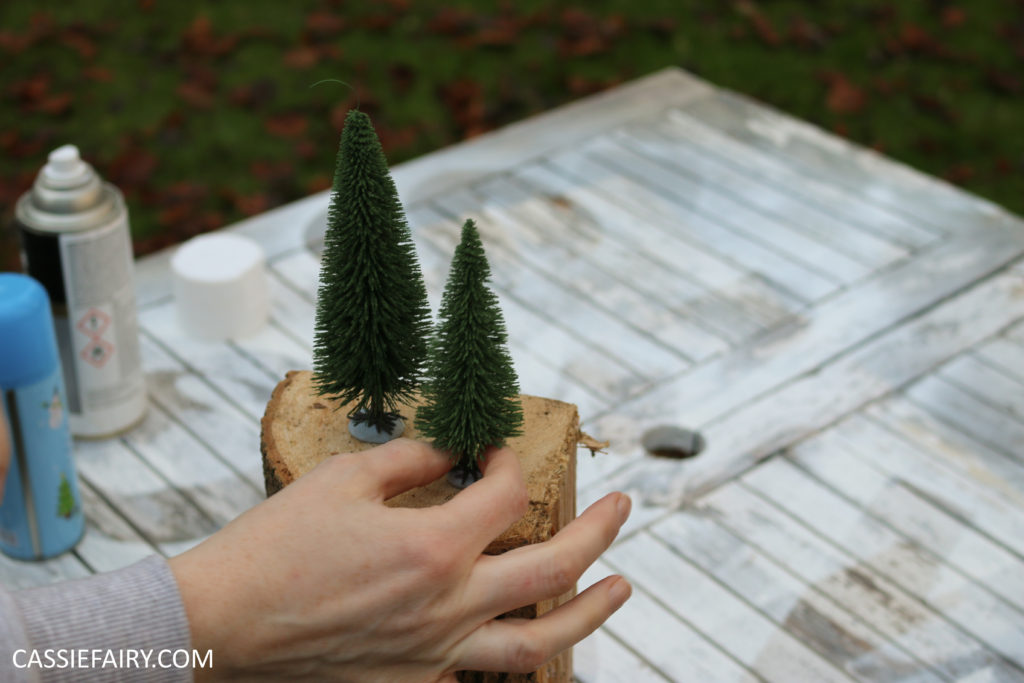
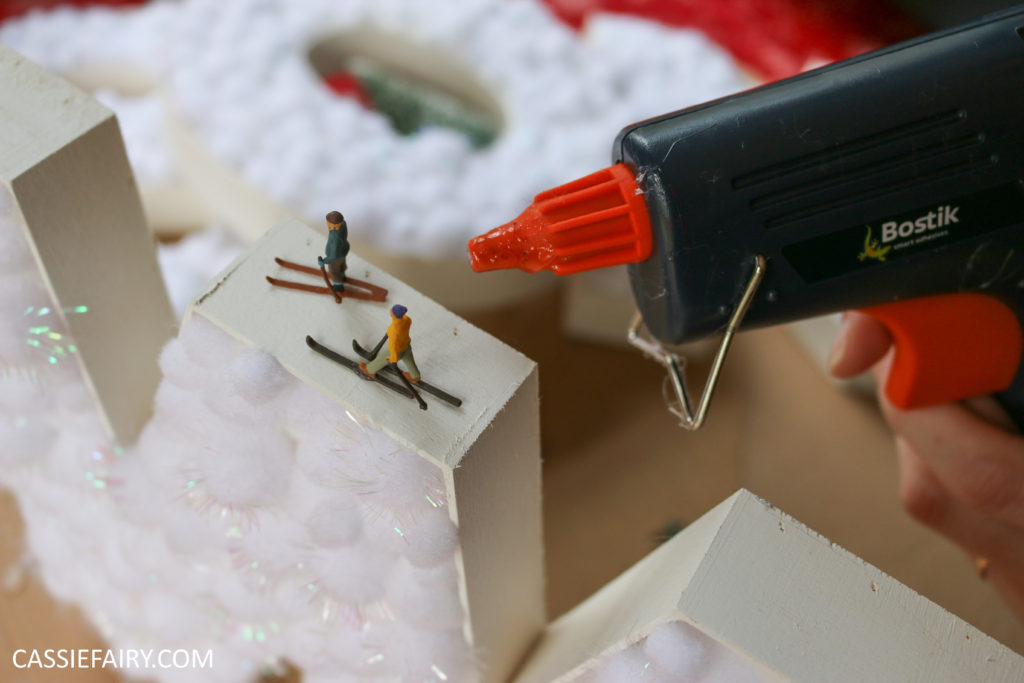
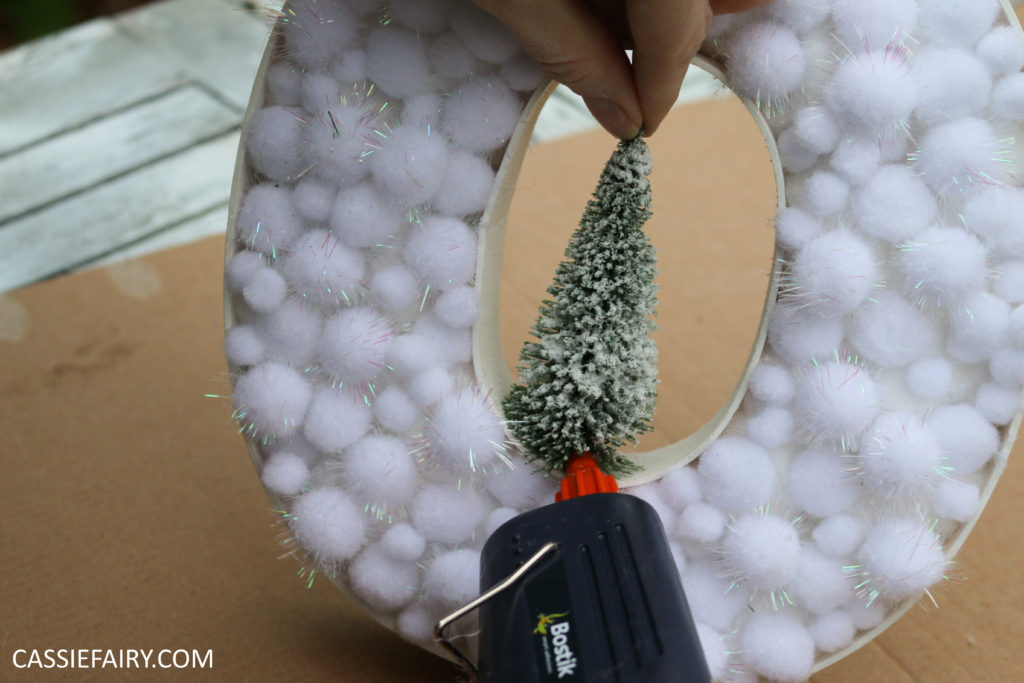
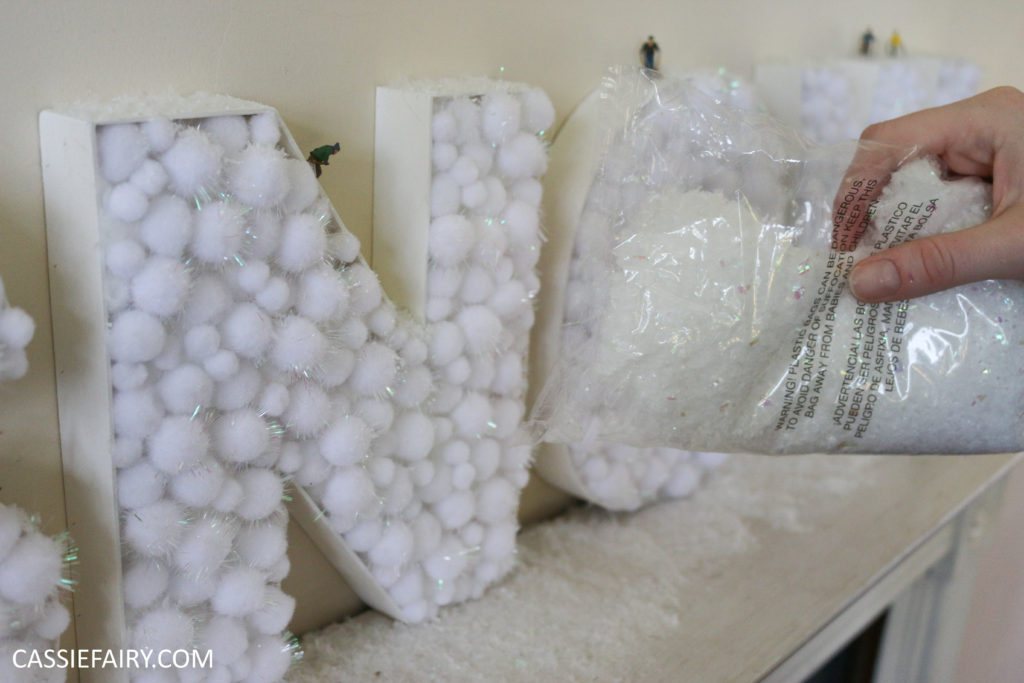 It was actually great fun to make this decoration, and having the glue gun make it super-easy. I wouldn’t like to tackle the project without one – I think that I’d get in a right muddle with superglue! I really enjoy sitting down to make something with my own hands and I’m thrilled that, with a little bit of effort, I’ve got a Christmas decoration in my home that no-one else has. That is, until you all follow this tutorial and make it for yourselves!
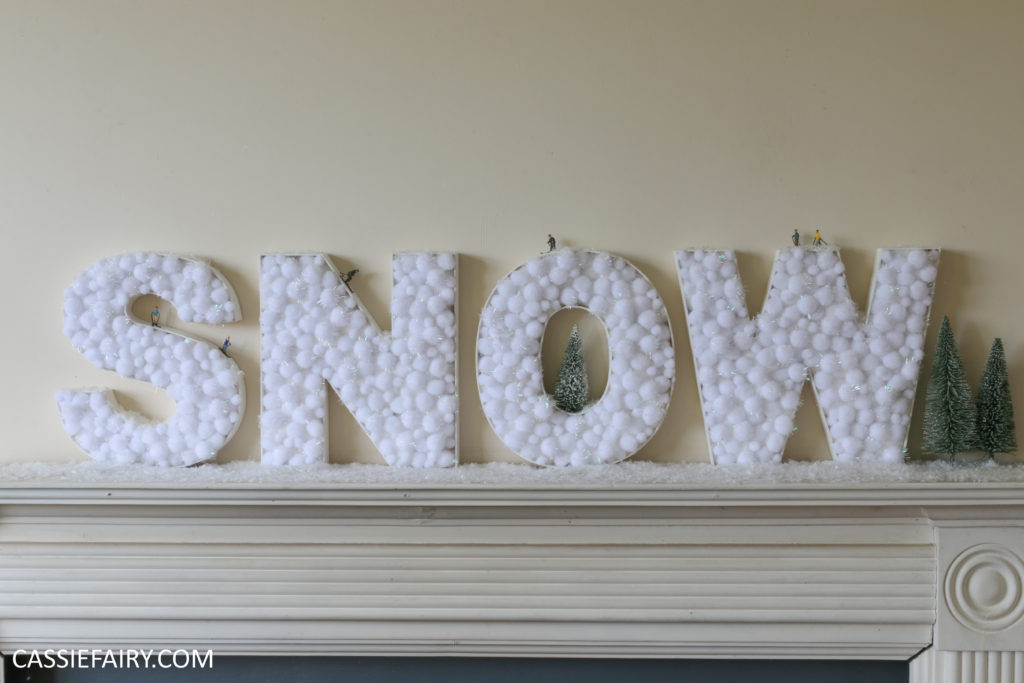
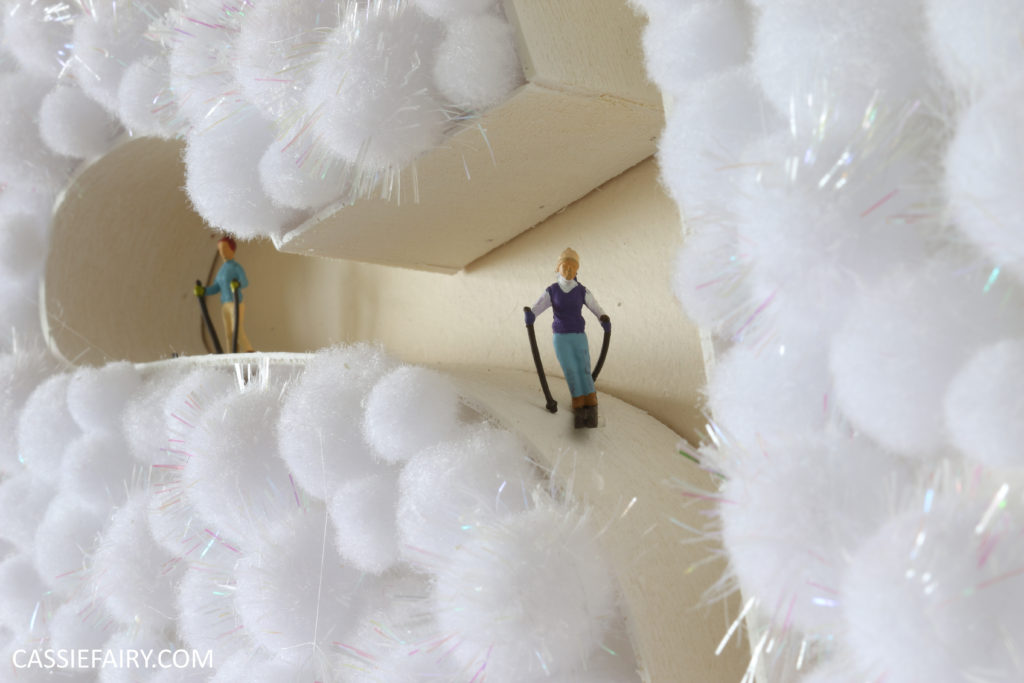
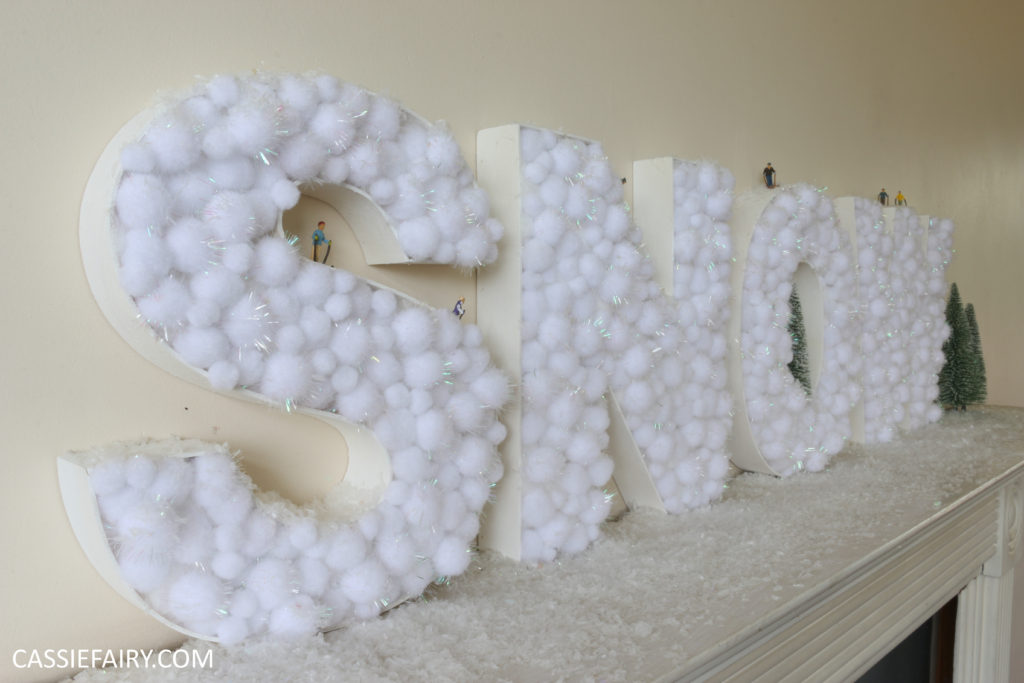
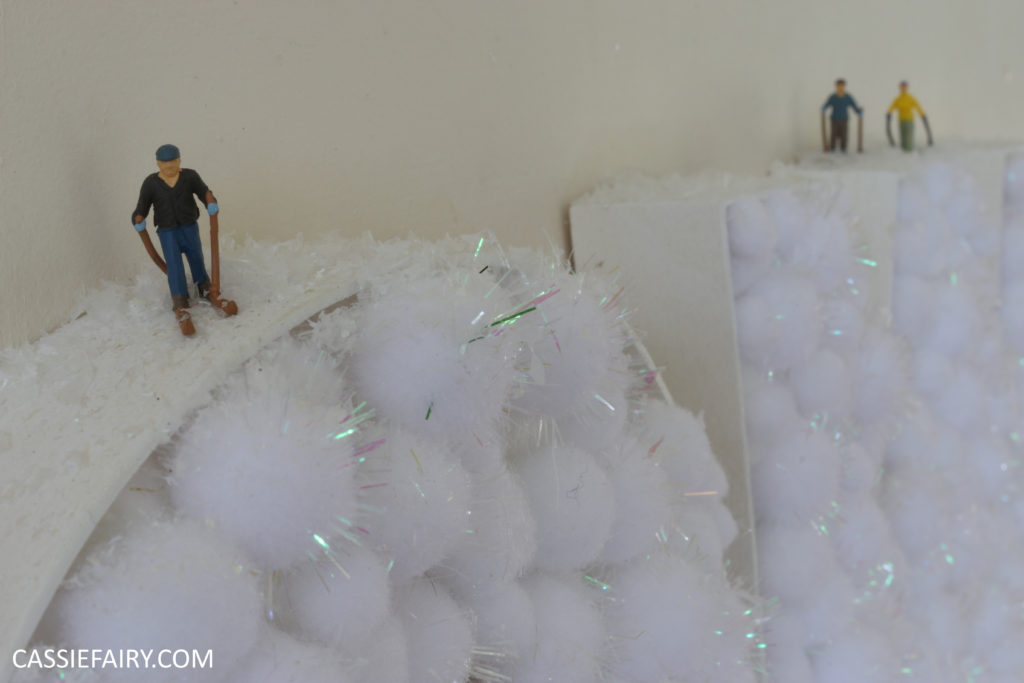 Hope you’ve enjoyed looking through all the photos I took at each stage, and don’t forget to check out the video on YouTube for the full step-by-step instructions (and please give me a subscribe if you like it!). Let me know how you get on with this project and please tag me in your photos @Cassiefairy if you have a go at making this Christmas mantlepiece display for yourself! Here are some more pics – enjoy!








2 responses
Love it! I use a Bostik, too. I’ve just bought a new one, but the last glue gun lasted years, so I went for the same make. Mine is cool melt. Much kinder to the fingers 😉 I’ll be pinning this for future inspiration. Thanks Cassie! Sue x