A leaking shower is something no-one wants in their bathroom. It can be quite an inconvenience when the shower doesn’t function as it should, so what can you do to repair the shower? How can you identify which part of the shower is causing the leak? Can you do some minimal repairs before calling a plumber? Well, you can get more info here and probably fix the whole problem on your own and here are 6 tips for fixing a leaky shower:
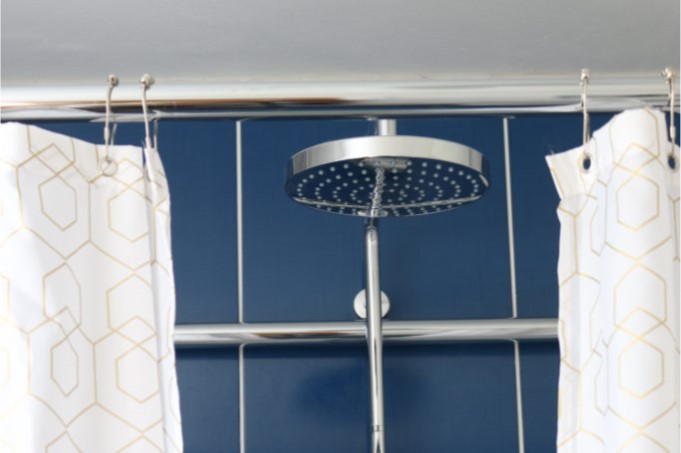
1 REPAIR THE SHOWERHEAD
This is the first thing you can do to attempt to fix the shower. For you to repair this part of the shower, you’ll need to turn off the main water supply so you don’t flood the whole house! You can then unscrew the showerhead until it comes off. What is the condition of this head? What is the condition of the plastic washer? How about the O-ring threads? Are they worn out? If they are worn out, you can have these replaced so that your showerhead will not leak.
2 CHECK & UNCLOG SHOWERHEAD HOLES
While you’ve got the showerhead off, you can check that the showerhead holes are clear. Clogged holes are a likely cause of a leaking shower. If lime and other substances build up over time, the holes will clog, meaning that water will always be leaking from the showerhead. You can use a brush to unclog the holes or soak the showerhead in a limescale cleaning solution until the holes are clear.
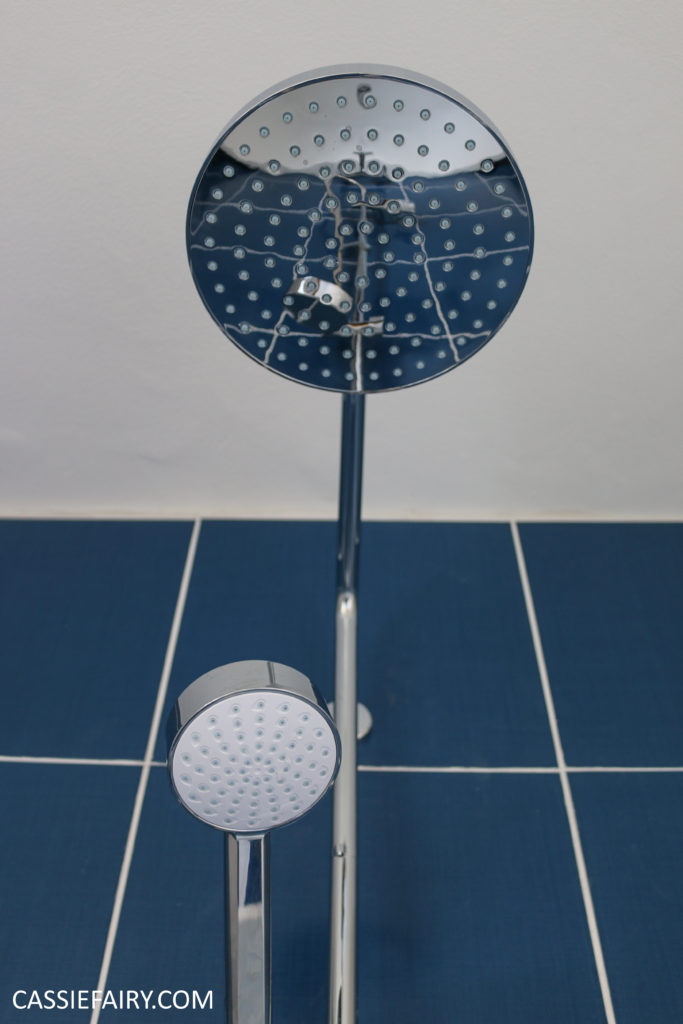
3 REPLACE WORN OUT RUBBER WASHERS
A worn out rubber washer is another common cause of a leaking shower head. In this case, you need to replace the washer so that water does not escape through the cracked washer, also known as the “O-ring”. Buy a replacement washer, pop it into place and put the whole shower back together.
4 CHECK THE PIPE CONNECTION
Where the shower meets the water supply is a common place where leaks happen. Turn off the mains water before you investigate this problem! To determine if the leak is coming from the hot water or the cold water pipes, you can feel the water that is dripping from the showerhead. If it is hot or cold, then the appropriate valve will need to be replaced or repaired. You may see a foam seal or a rubber washer that goes around the seal between the pipes and shower unit. You can replace the seal so that leaks will be controlled.
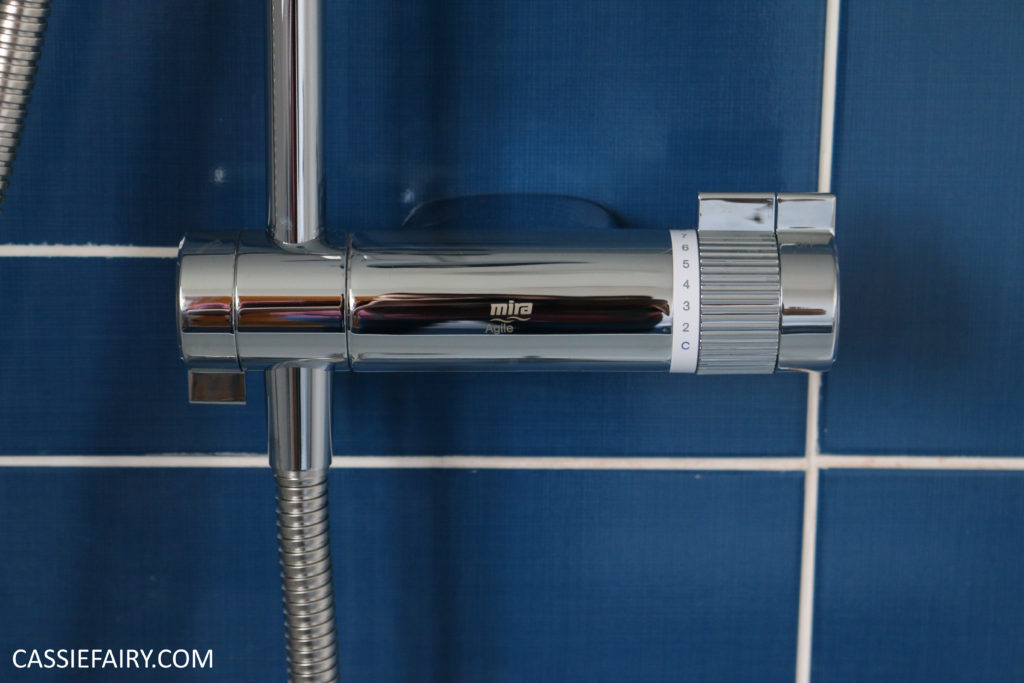
5 CLEAN IT
You should clean up the pipes before you put the shower back together. The valves and the pipes should be washed thoroughly by the use of a cleaning agent made from heated distilled vinegar and water. This should make the valves easier to use and allow free water flow.
6 CALL A PLUMBER
If you’re not able to do any of the above – or if these tips don’t solve the leak – now is the time to call a plumber. A qualified plumber can come out to your diagnose the problem with you shower, service it and repair it.
PIN THIS POST FOR LATER…
This blog post is an advertisement feature that has been written in collaboration with a sponsor. The pink links in this post indicate a sponsored link 🙂







One Response
Thanks for having this article, it helps a lot. It’s a well-written blog and it is very informative. Keep on blogging, looking forward to see more of your posts!