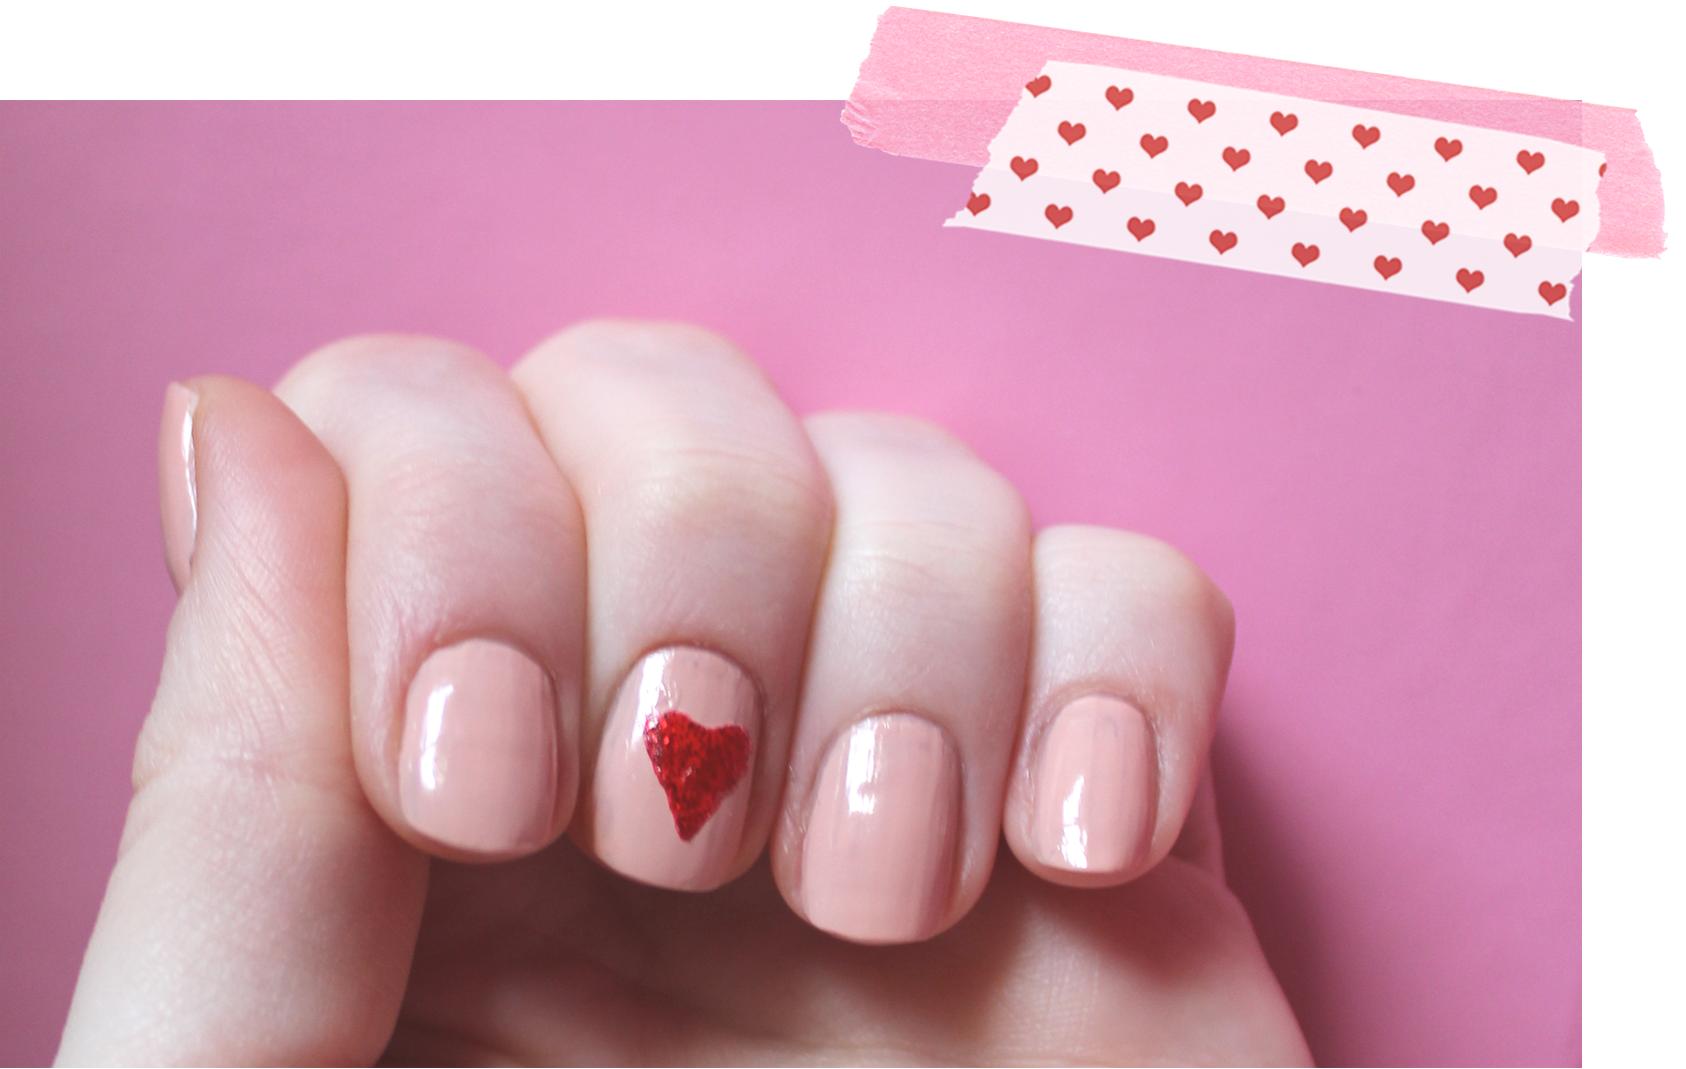
I took a bit of time over the weekend to try out an idea for getting pretty heart-shapes onto my nails ready for Valentine’s Day. I snapped some pics of the process and I’ve created a bit of a DIY tutorial for making your manicure a little bit more romantic for V-Day, or even for weddings, or just everyday – Who doesn’t love hearts?!

I began by painting my nails with 2 coats of a nude polish – here I’ve used Nails Inc – and letting them completely dry before moving onto the next step. I used masking tape to make a heart-shaped stencil – dab the masking tape on something (my sleeve did the trick) couple of times to make it a bit less sticky and then fold in half and cut a half-heart shape from the centre of the masking tape. This took me a couple of attempts to get it the right size – my first attempt covered my whole nail! Unfold the masking tape and carefully place onto your nail of choice. I stuck it on my middle finger, but later thought that it would be more appropriate for Valentine’s Day if I’d painted the heart on my ring-finger, but hey ho! Paint with a contrasting polish or glitter varnish and wait for it to dry before peeling off the masking tape stencil. Add a topcoat to keep everything in place and to stop your loved-up manicure from chipping before the big day.

Let me know if you give this technique a go and I’d love to see your photos – http://twitter.com/CassiefairyTutu or leave a comment below – thanks!
Related articles
-
Firework Fingers Nail Polish (cassiefairy.com)
- Pumpkin Princess Nails (cassiefairy.com)
- Chocolate Nails with a UV glow (cassiefairy.com)


12 responses
Thanks so much, I really enjoyed making this tutorial! Did you give it a go yourself?? 🙂
Aww this is so cute I love the nail polish colors that pink looks so pretty 🙂
Oh you should, it’s really easy to do & it looks proper impressive when you’ve finished! happy valentines 🙂 x
Ooh, i’m working on valentines so i might try and cheer up my day with some nails like these! 😀